Mathematical morphology is a tool used for extracting image components that are useful representation and description of region shape. The two fundamental operations for morphological processing are dilation and erosion.
Dilation: Dilation expands the image pixels means it add pixels to the boundaries of the image object. It is given by the expression:
A⊕B={ Z|[(B ̂_z )∩A]∈A}
A -> The image
B -> The structuring element.
(B ̂_z ) -> It means taking reflection of B about its origin and shifting it by Z.
The expression indicates that dilation of A with B is set of all displacements, Z, such that (B ̂_z ) and A overlap by at least one element.
Erosion: Erosion is different from dilation as it removes the boundaries of foreground pixels. It shrinks the image. It is given by the expression:
A⊝B={ Z|(B ̂_z )∈A}
The expression indicates that the erosion of A by B is set of all points that B, translated (shifted by Z), is a subset of A that is B is entirely contained within A. Erosion reduces the number of pixels from the object boundary.
Opening and Closing of Image
Opening is a morphological operation that can be expressed as a combination of first erosion and then dilation operations; it removes small objects from a binary image. Closing, to the contrary, is another morphological operation that can be expressed as a combination of first dilation and then erosion operations; it removes small holes from a binary image. These two are dual operations.
Opening: It is given by the expression:
A∘B=OPEN(A,B)=(A⊝B)⊕B
The equation is self explanatory that Opening is Erosion followed by Dilation.
Closing: It is given by the expression:
A∙B=CLOSE(A,B)= (A⊕B)⊝
The equation is self explanatory that Opening is Dilation followed by Erosion.
Program
Importing the python libraries
import cv2
import numpy as np
import matplotlib.pyplot as plt
Reading the image
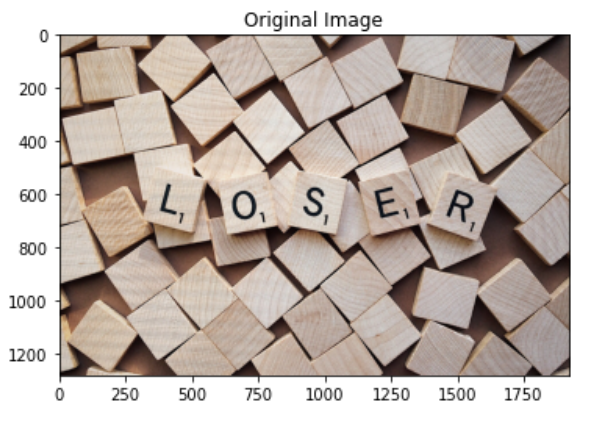
Matplot lib expects img in RGB format but OpenCV provides it in BGR. So we use the COLOR_BGR2RGB function to convert to RGB format just for displaying the original image.
image = cv2.imread('loser-2362302_1920.jpg')
image = cv2.cvtColor(image, cv2.COLOR_BGR2RGB)
plt.title('Original Image')
plt.imshow(image);
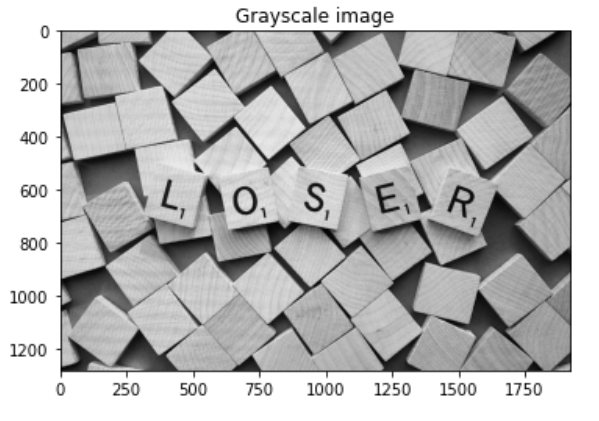
Taking the grayscale of the image
Grayscale of image is taken to simplify our operations on image. You can take color images also whatever formats you want like RGB, HSV etc.
grayImage = cv2.cvtColor(image, cv2.COLOR_RGB2GRAY)
plt.title('Grayscale image')
plt.imshow(grayImage, cmap='gray', vmin=0, vmax=255);
Take the size of the image
m, n = grayImage.shape
print(f'Rows: {m}, Columns: {n}')

Defining the structuring element
You can give different sizes of structural element, here I have taken as 15
structE= np.ones((15,15))
constant= (b-1)//2
print(structE)
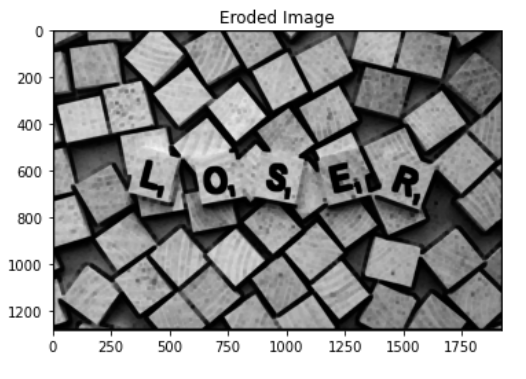
Demostrating Erosion
erode = np.zeros((m,n))
print(erode)
for i in range(constant, m-constant):
for j in range(constant,n-constant):
temp= grayImage[i-constant:i+constant+1, j-constant:j+constant+1]
product= temp*structE
erode[i,j]= np.min(product)
plt.title('Eroded Image')
plt.imshow(erode,cmap="gray")
cv2.imwrite("BiggestLoserEroded.png", erode)
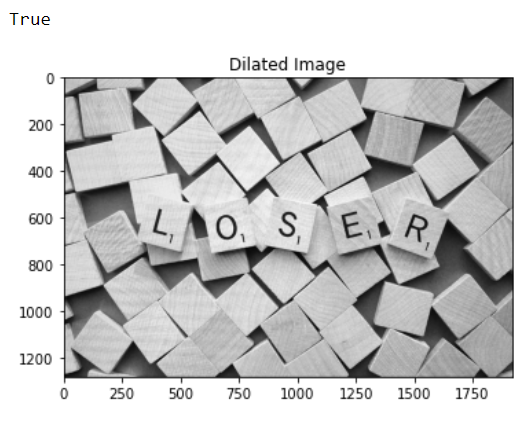
Demonstrating Dilation
dilate = np.zeros((m,n))
structD= np.array([[0,1,0], [1,1,1],[0,1,0]])
constant1=1
for i in range(constant1, m-constant1):
for j in range(constant1,n-constant1):
temp= grayImage[i-constant1:i+constant1+1, j-constant1:j+constant1+1]
product= temp*structD
dilate[i,j]= np.max(product)
plt.title('Dilated Image')
plt.imshow(dilate,cmap="gray")
cv2.imwrite("BiggestLoserDilated.png", dilate)
Implementing Opening and Closing using inbuilt function of openCV
structuringElement= cv2.getStructuringElement(cv2.MORPH_RECT,(3,3))
erodeLoser = cv2.erode(grayImage, structuringElement, 1)
dilateLoser= cv2.dilate(erodeLoser,structuringElement, 1)
opening = cv2.dilate(dilateLoser,structuringElement, 1)
closing= cv2.erode(opening, structuringElement, 1)
plt.figure(figsize=(10,10))
plt.subplot(3,2,1)
plt.imshow(grayImage, cmap="gray")
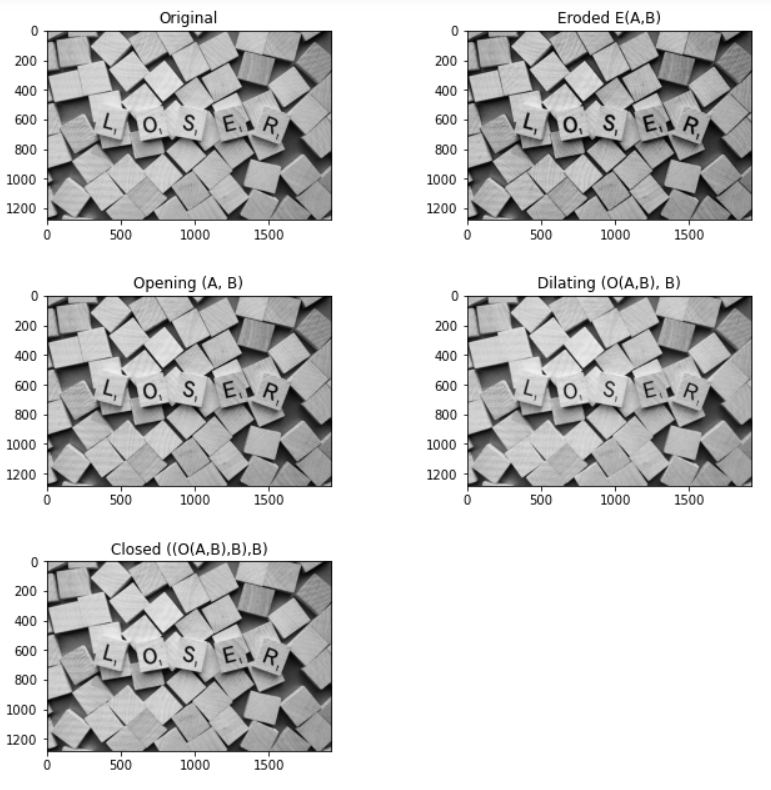
plt.title("Original")
plt.subplot(3,2,2)
plt.title("Eroded E(A,B)")
plt.imshow(erodeLoser, cmap="gray")
plt.subplot(3,2,3)
plt.title("Opening (A, B)")
plt.imshow(dilateLoser, cmap="gray")
plt.subplot(3,2,4)
plt.title("Dilating (O(A,B), B)")
plt.imshow(opening, cmap="gray")
plt.subplot(3,2,5)
plt.title("Closed ((O(A,B),B),B)")
plt.imshow(closing, cmap="gray")
plt.subplots_adjust(left=0.1,
bottom=0.1,
right=0.9,
top=0.9,
wspace=0.4,
hspace=0.4)
cv2.imwrite("BiggestLoser_filtered.png", closing)
Tools Used: Jupyter NoteBook
Python Libraries: OpenCV, numpy, matplotlib
Explanation
There are various applications of mathematical morphology in image processing like thickening, thinning, filtering etc. In this program the fundamental operations of morphological image processing (Erosion, Dilation) is demonstrated. The original image is taken and converted to RGB format as openCv reads the image in BGR and matpltlib uses RGB. Hence to plot the original image it is converted to RGB through COLOR_BGR2RGB function of OpenCV. The size of the image is acquired and the structuring element is defined. The eroded image is formed by applying the .min function of numpy. For Dilation the structure element is taken as the matrix of 3x3 containing elements [0,1,0], [1,1,1],[0,1,0]. The dilated image is formed by applying the .max function of numpy. For demonstrating opening and closing of the image I used inbuilt function of OpenCv. The functions used are erode, dilate and getStructuringElement of the OpenCv library. erode() method is used to perform erosion on the image. The dilate() method performs dilation and takes two inputs in which one is our input image; the second is called the structuring element. getStructuringElement() function is used to get the structuring element. Matplotlib is used to plot and subplot the processed images.
Conclusion: The noise of the image is filtered using the morphological operations of opening and closing.
Previous blogs Related to computer vision
References: Wikipedia, geeksforgeeks website, medium.com website, OpenCv documentation, personal prepared notes.
Reference 1 Reference 2 Reference 3 Reference 4
Image Source: https://pixabay.com/photos/loser-name-calling-letters-scrabble-2362302/
I tried to make the code simple to understand and gave explanation of the various functions used in the program. Feel free to give your suggestions. Until we meet again in some other post, this is @biggestloser signing off....

@ryzeonline you might enjoy this blog , I did
I did enjoy it! It's amazing what a bit of math applied to an image can do! The results are almost 'magical' :) As an experienced Photoshopper, I definitely benefit from all the work that math geniuses do, and I'm grateful for it. Thanks for the heads up @brittandjosie ! 🙏
Thanks for visiting my post sir....
🙏
Thanks for appreciation mam.......
As always you are welcome
Hi, I am happy and really appreciate to be invited to read your post. Honestly I read it again and again but I cannot understand anything because I am not at your genius mathematics level to derive with all this maths hahahha gosh. I am sorry for not understanding the equation but one language that we both could understand.... I Am Groot! cheers, ainie
OMG, You are hilarious 😅 😅 😅, I am happy you read my post...
I would like to thank you in our favourite language...
I AM GROOT 😂 😂 😂 😂 😂
Excellent post friend, good job continues like this❤️
Thanks for stopping by, how is your cycling going...............
Congratulations @biggestloser! You have completed the following achievement on the Hive blockchain and have been rewarded with new badge(s) :
Your next target is to reach 700 upvotes.
You can view your badges on your board and compare yourself to others in the Ranking
If you no longer want to receive notifications, reply to this comment with the word
STOP