
Creating thumbnails is an important part of being an article writer. It's the first thing your readers see and it should make them curious while also encapsulating the essence of your article. Today I'm going to share with you how I create thumbnails for my articles using assets that are appropriate for commercial use.
1. The software
I'm not using Photoshop or GIMP because these tools are overkill for this kind of work which shouldn't take more than 30 minutes. I use a program called Gravit Designer which is a tool developed by the Corel Corporation the creators of Corel Draw. The tool is proprietary, but it offers the most simple interface for this kind of work without compromising on the features. It is clean, intuitive and it is really easy to use even by total novices like myself.
You can go ahead and download the free version of Gravit Designer so we can get started.
2. Background
Upon opening the application you will be prompted to register using your email, Facebook, or Google. I went ahead and used my Google account just because it was faster. After the registration phase, you will be asked to create a canvas for your new design, you can just leave everything empty and click on Create to use an infinite canvas.
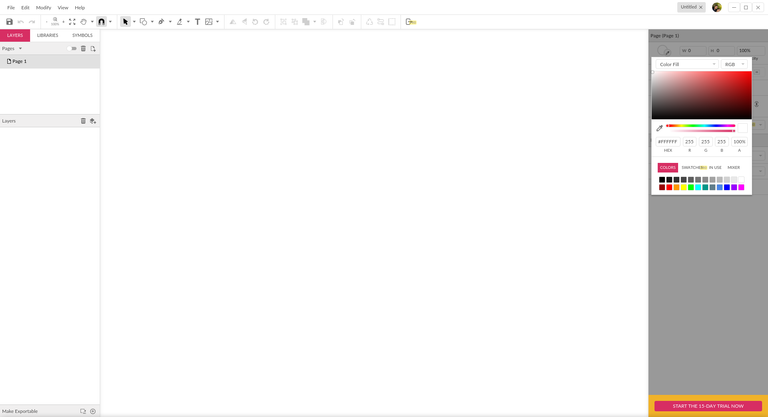
On the right side, you have a sidebar with the color options. Click on the white circle to change the color of the page. You will be presented with a color picker that has two sliders, one for changing the color and one for opacity. Since we don't want to include the canvas in our final thumbnail we'll make it transparent by dragging the opacity slider all the way to the left.
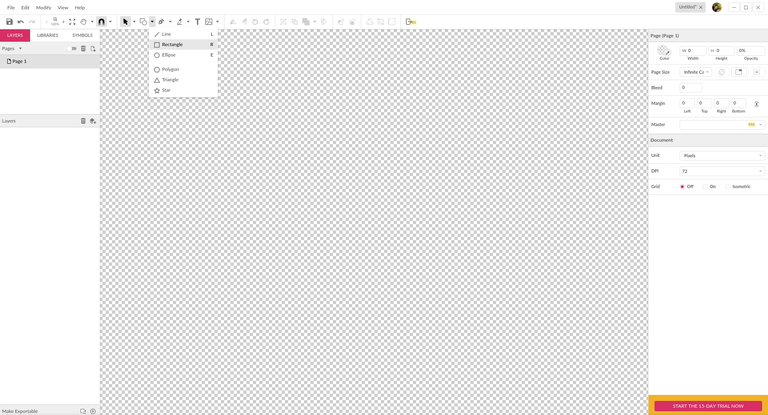
Now we'll start creating the background of our thumbnail, which is a white rectangle in our case. On the top toolbar choose the menu for drawing shapes and select the rectangle. I'll make mine 640px x 320px.
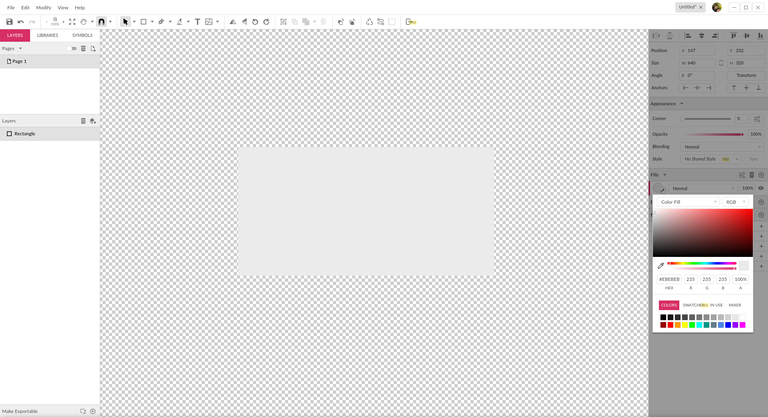
By default, the rectangle will be gray, but changing its color is just as easy as it was with the canvas. Find the color option on the right side and choose the color you want.
3. Blobs
The blobs are the two rounded shapes that you see in the background of this thumbnail. I generated them using a site called Blobmaker which generates a random blob given some parameters and lets you download an SVG file of the blob.
Note: Always use SVG when possible because you can edit their color, form, etc.
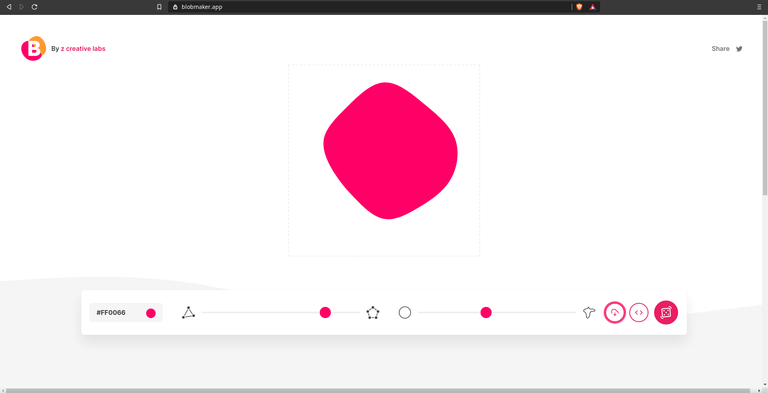
Generate two blobs that you like and download them on your desktop. Don't worry about their color right now, we can edit that later.
4. Import the blobs
Back in Gravit Designer we can click on the image icon on the top bar, the same one where we selected the rectangle shape. Clicking on it will open a dialog to import an image file. Find your blobs and click on one of them to import it, then repeat the process to import the second blob.
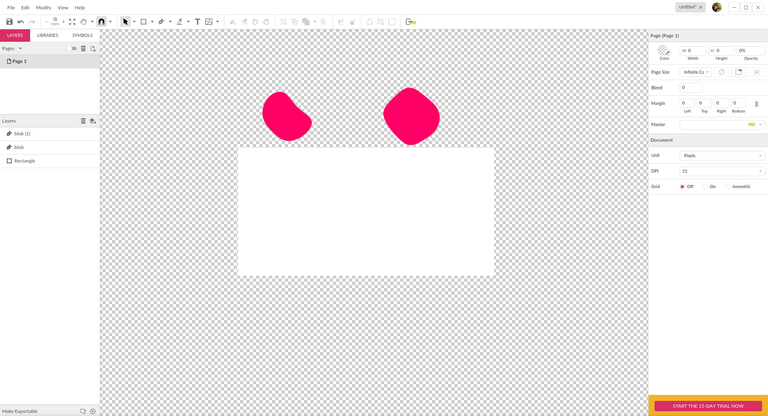
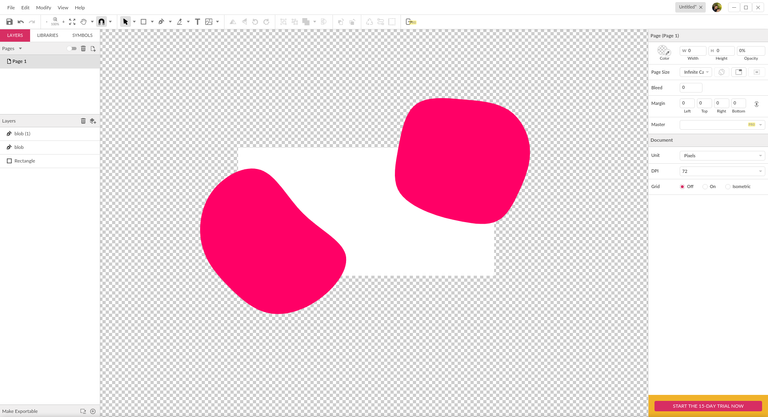
After we imported our blobs we need to resize them to cover the bottom left and top right corners of the rectangle. Tip: to resize a shape without deforming it, hold SHIFT when resizing.
5. Masking
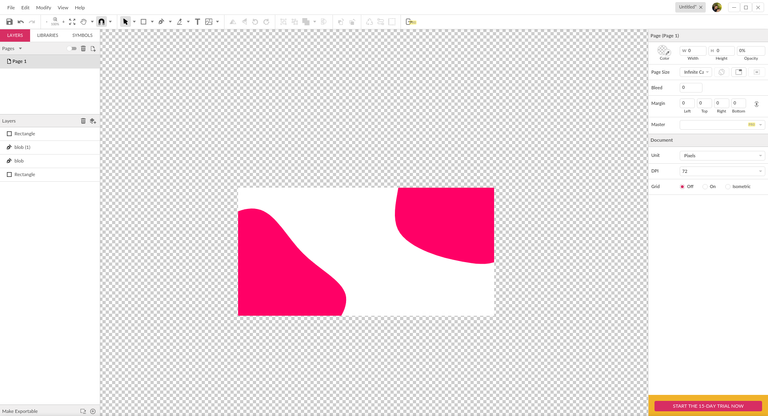
This doesn't look quite right, not like in the final thumbnail anyway. We need to hide the content that is overflowing the rectangle, therefore we are going to use a masking process. Don't panic, it's much easier than it sounds.
Select the rectangle and copy-paste it using CTRL+C and CTRL+V.
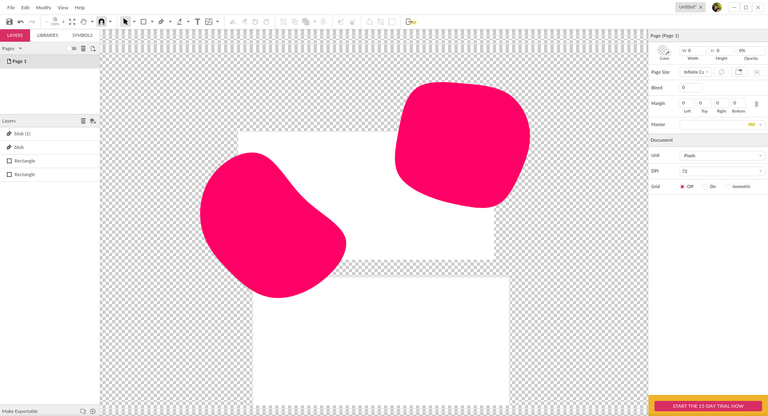
In the left sidebar, in the layers section, we have all the shapes that we currently use. Select the new rectangle and drag it so it is the first shape in the list. Then drag the new rectangle so that it perfectly covers the original rectangle.
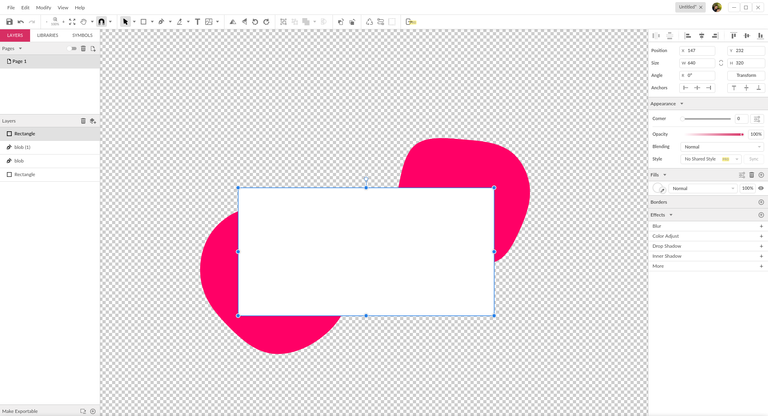
Now, in the right sidebar where it says Blending choose the Mask option for the rectangle on top. That's it you successfully used a mask.
6. Choosing the colors
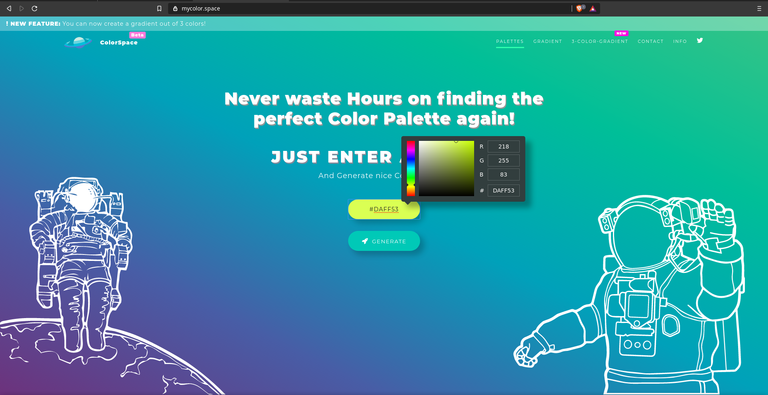
To choose the colors, I usually use a site called Color Space. What I like about it is that I can just select a color that I like and it automatically generates some color palettes that go well with my color.
To do this you just use the color picker on their page and click generate.
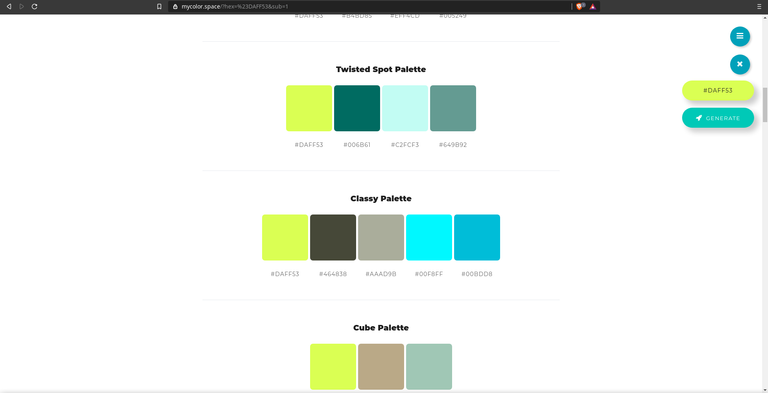
You can generate a palette for yourself now and use the colors that you like best as we proceed with this guide.
7. The illustration
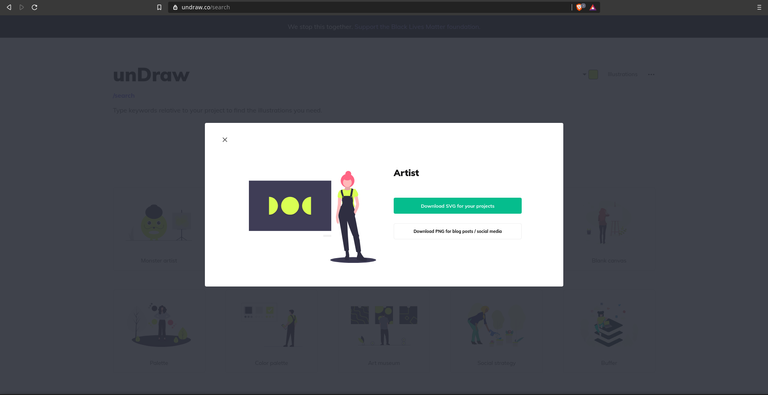
I don't have much talent, but I know talent when I see it. Our next resource we're going to visit is Undraw, my go-to source for high-quality illustrations. You can download whatever illustration you like, I went with the one called Artist and I chose the same color here as I did on Color Space. Remember to download the SVG file.
Heading back to Gravit Designer, we import the illustration, and in the Layers section on the left side, we place it as the first shape.
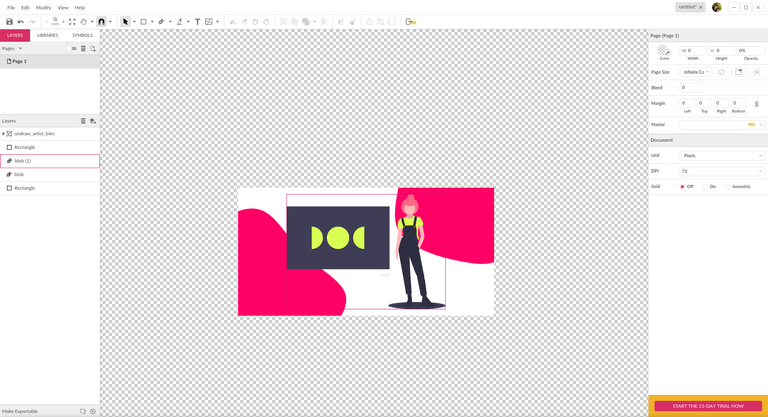
8. Linear gradient
Let's style the blobs next. We are going to use a linear gradient with two colors for each. I don't know anything about color theory so use whatever you like from the Color Space palette you chose.
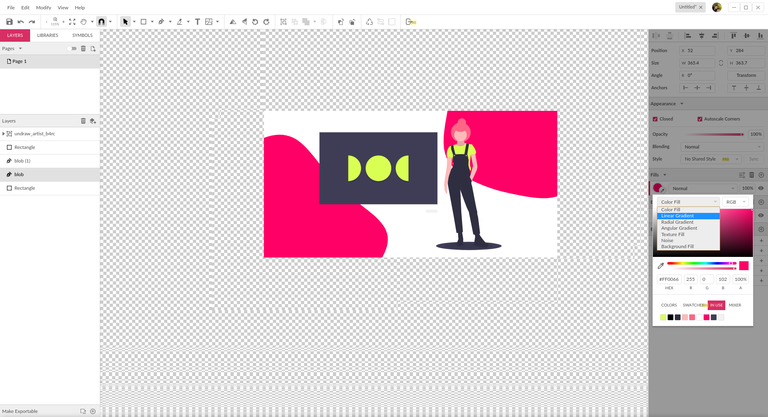
To apply a linear gradient to a shape, just select the shape (you can do so from the Layers menu) and select the color option on the right hand side. Select linear gradient in the options at the top of the color picker. A new bar with two sliders will appear. Clicking on a slider gives you the option to change the color on one side of the gradient while clicking on the bar itself will add another slider, and therefore, another color to the gradient.
9. Finishing touches
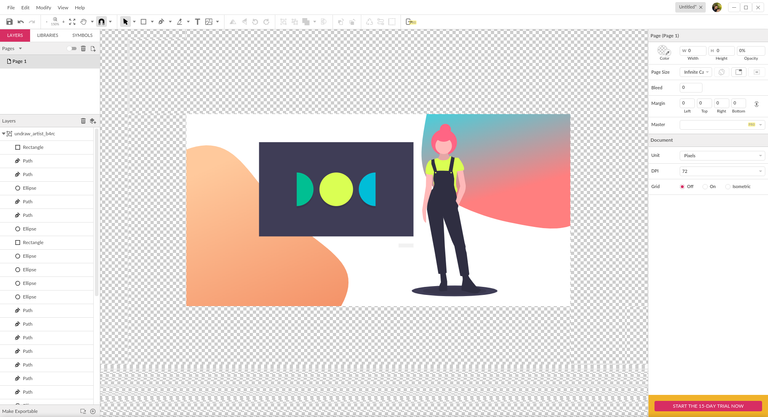
To edit parts of the illustration, just select the illustration and then select the shape in the illustration that you want to edit, then select the color that you want to apply.
Tip: It might be helpful to zoom in to better select the right shape. To do that just hold CTRL and scroll up and down.
You will now want to select everything on the canvas and group all the shapes under a new unique shape. To do that, just select everything with the mouse and click on the Clip option on the top bar.
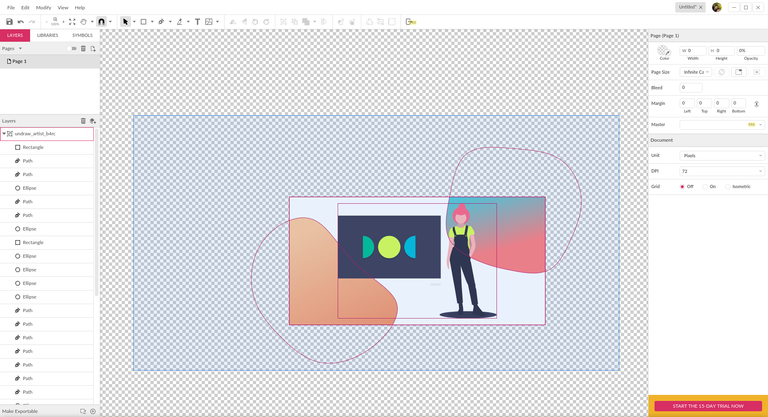
Selecting the new Rectangle shape that appears in the Layers section and cranking the Corners option up to 25 will give you the rounded corners you see on the final image.
That's it, you can now create your own thumbnails using different resources you find online and you can also dive into some of the more advanced features of Gravit Designer.
In the end, you should export your work into something that can be uploaded to your blog like a .png file. Click on File > Export > PNG to do just that.

Conclusion:
I hope you'll find this guide useful and I hope I was able to teach you something new today. How do you make your thumbnails? Do you like spending time on designing thumbnails, or do you even think that authors should spend time on that? Let me know in the comments!
Is there a reason for downvoting my post, @alexbalan? Should I return a ‘favour’?
Do what you must dude, I honestly don't care about your threats. Why would I upvote evrything? Just be nice? To not attract the vengeance of internet people? Feel free to rate any content the way you see fit. I'm not going to bow down and ask for forgiveness if that's what you're here for.
It’s not a threat, I asked for the reason. Why did you do it? For the fun? You didn’t like a report from an event?
I do not believe nor do I support the 'corona hoax' theory or the 'corona 5G' theory. I also don't believe that you are headed to dictatorship. That's why. I do disapprove wholeheartedly the violence that was shown last night
You may believe what you wish, but I was sending evidences that it is a hoax, and official numbers that can be verified. Why you didn’t find anything to refute those evidences?
What is 'corona 5G' theory? I have put up a text explaining that 5G isn’t responsible for anything about the corona virus. You don’t like it either?
Are you an expert in law also? Do you know what happens in Serbia better than I do?
You disapprove police violence but you giving me a downvote? Are you watching too much television?
Ugh all this for a freaking downvote. Look dude, this discussion has no place on this post, this post is not about corona or news or anything remotely related, ok? I'm not taking back that downvote which is like -0.001. Deal with it. I'm done.
Of course, any discussion would further reveal what kind of person you are. Good luck to you.