Hola a todos! Como están? Espero que estén teniendo un muy bonito día y que su semana esté empezado excelente. El día de hoy les traigo un dibujo que recientemente coloreé y estoy muy emocionada de contarles un poco sobre como se me ocurrió y su paso a paso.
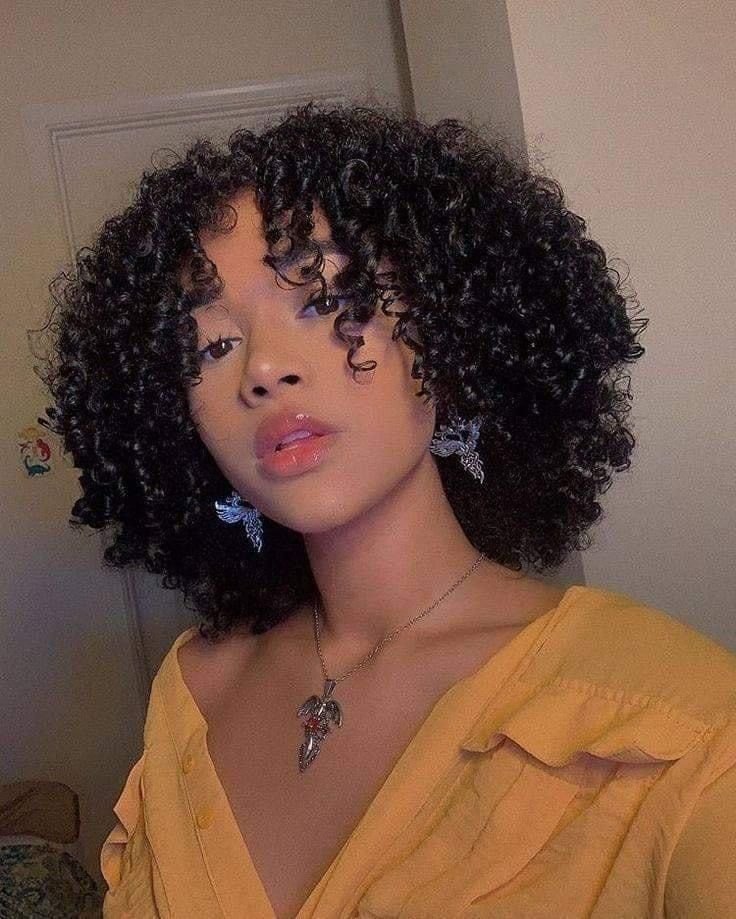
Escogí hacer una bruja porque quería hacer algo nuevo con lo que todavía no había experimentado en el arte digital, al principio fue un poco complicado buscar una inspiración que me ayudara a tener una idea de lo que iba a hacer así que me tocó ir a Pinterest en busca de ideas y aquí fue cuando me apareció la imagen de una chica bastante hermosa y como ya tenía planeado la temática la utilicé de modelo para realizar el dibujo.
╰───────────✧──────────────╮
Step by Step / Paso a Paso
╰───────────✧──────────────╮
Primeramente realizo el boceto en físico para luego pasarlo de forma limpia a la aplicación y así empezar a realizar el delineado. Delineé todo el dibujo con color negro, para la parte del pelo y los que iban a ser los collares no utilicé líneas muy gruesas.
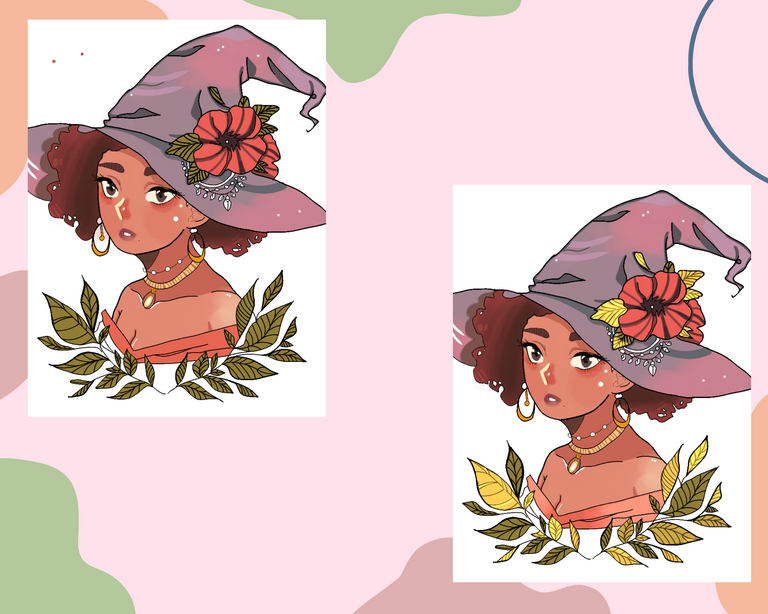
Luego coloqué los colores base en cada una de las partes del dibujo. Esto era nuevo para mi porque siempre coloreaba parte por parte pero vi en un tutorial que colocando todos los colores base de una vez me iba a dar una mejor visión de lo que iba a ser todo el dibujo así que decidí intentarlo.
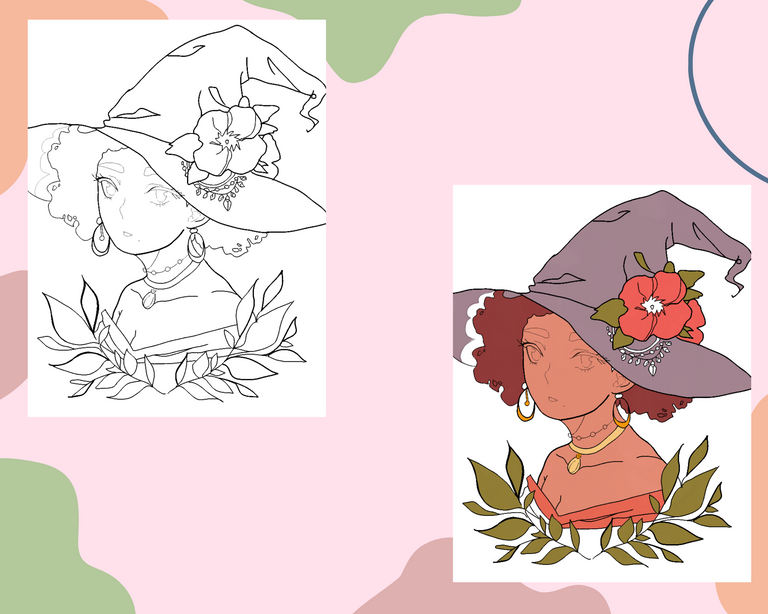
Para la piel empecé con sombreando la parte del torso, primero añadiendo una sombra muy oscura en una esquina del cuello y luego de arriba hacia abajo hasta llegar a las clavículas con un tono un poco más oscuro que el color base. Luego añadí un pequeño reflejo en una esquina del hombro para darle luminosidad.
Para la cara utilicé tonos rojos opacos para darle un toque de rubor e igualmente hice con la nariz. Le dibujé con un color blanco un reflejo a un lado de la nariz. Luego coloreé los ojos con un color marrón muy oscuro como los tenía la modelo que estaba utilizando.
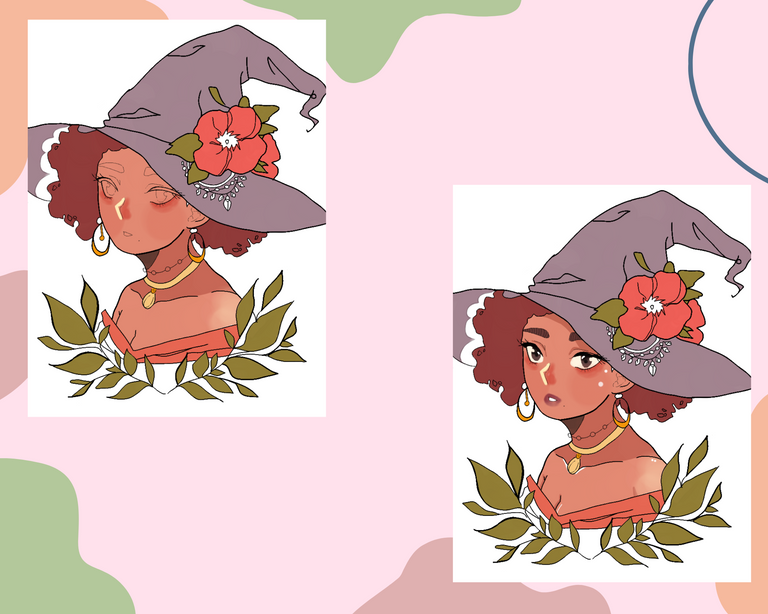
Para el sombrero realicé sombras con un color más oscuro que el color base y para darle luminosidad sombreé algunas partes con color rosado.
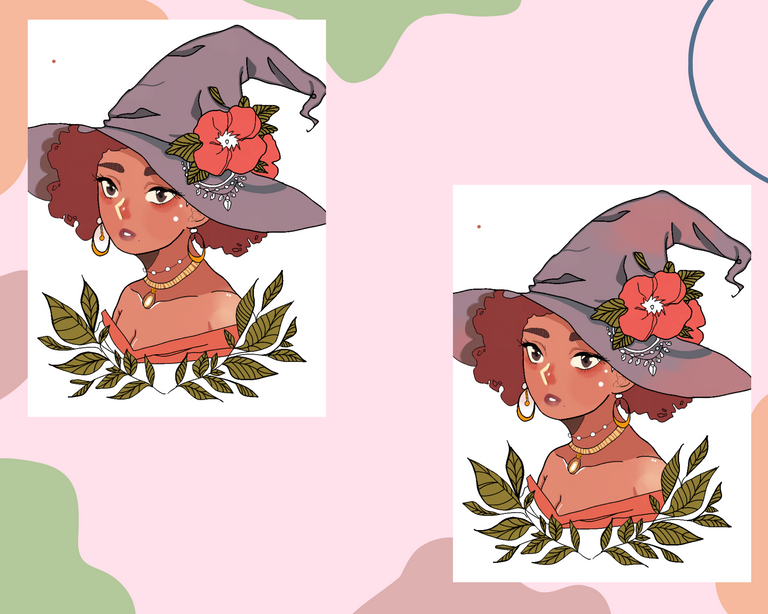
Para las hojas dibujé lineas adentro y coloreé con color amarillo en una capa de luminosidad algunas hojas. Para la flor hice varias lineas con un color oscuro y rellené la parte del centro con color marrón oscuro.
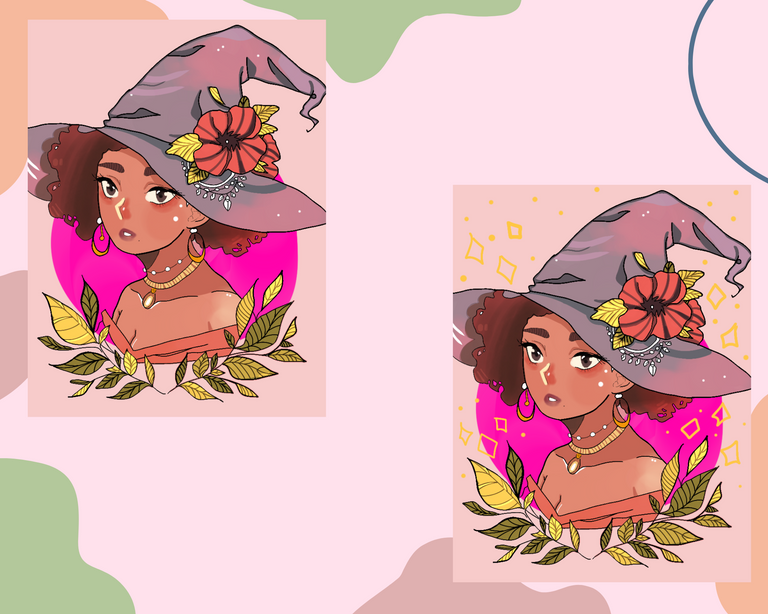
Para el fondo utilicé un color rosa pálido y en el medio realicé un círculo de color rosa fuerte. Luego añadí formas de brillos(? la verdad es que esa era mi idea pero al final no sé si se interpreta así😆
╰───────────✧──────────────╮
Result / Resultado
╰───────────✧──────────────╮
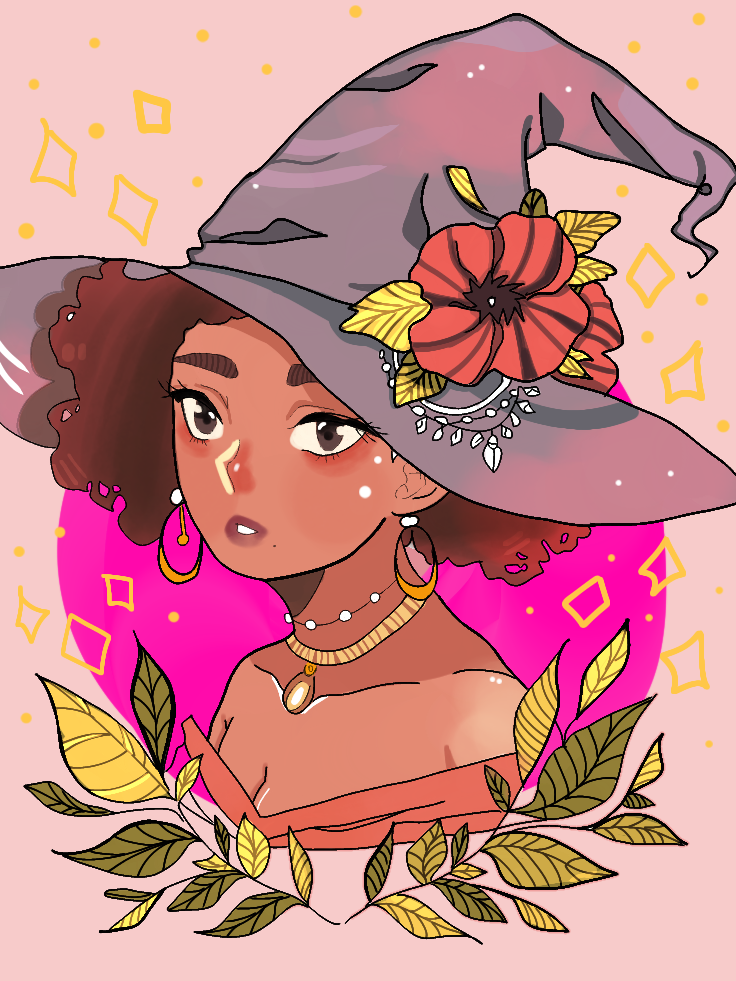
I hope you liked it! See you next time.🖤
Espero que les haya gustado! Hasta la próxima.🖤
App Ibis Paint X
Feels like holloween with all of these witch art. I did a witch drawing too for last week.
She is cute !LUV
(1/1) gave you LUV. tools | wallet | discord | community | <><
HiveBuzz.me NFT for Peace
¡Thank you! 💗
Yay! 🤗
Your content has been boosted with Ecency Points
Use Ecency daily to boost your growth on platform!
Support Ecency
Vote for new Proposal
Delegate HP and earn more, by @annnngela.