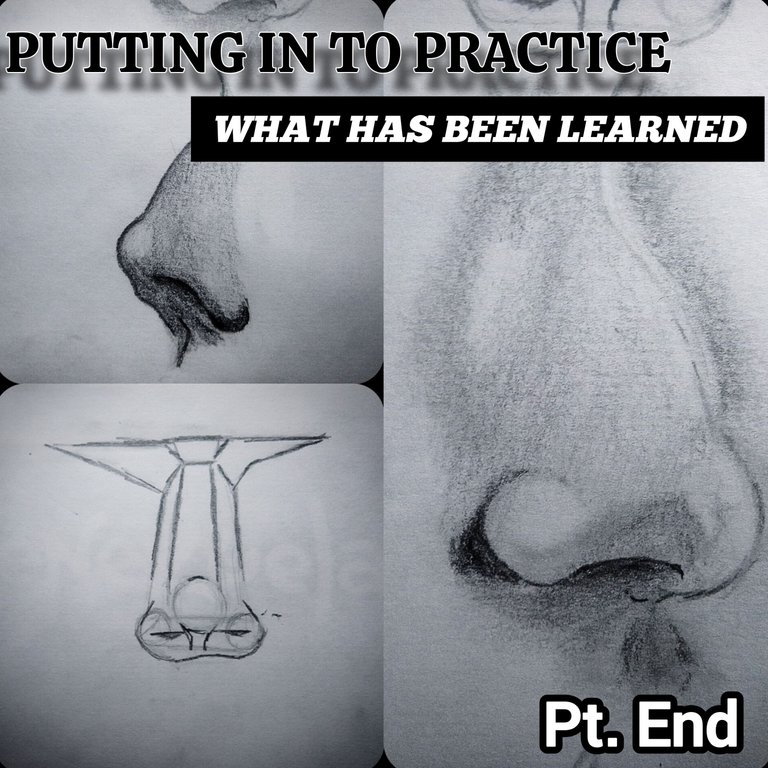
Hello to all the artists and Sketchbook community, I hope everyone is doing well today. For those who don't know me, my name is Cristhenos and this is my first time posting in the community. I hope I don't have any inconvenience with the ecosystem, and if I haven't followed some of the community rules, I would like you to let me know in the comments. Having clarified these issues, let's go to the main topic of this post. This time I present to you the 3rd part of the post (putting into practice the methods learned), where we cover the methods to draw the eyes and lips, and finally, it is the turn of the nose. As in the previous posts, I will be putting this method into practice with photos from the internet to see how much progress I have made; now, without further ado, I leave you below with the procedure.
procedure
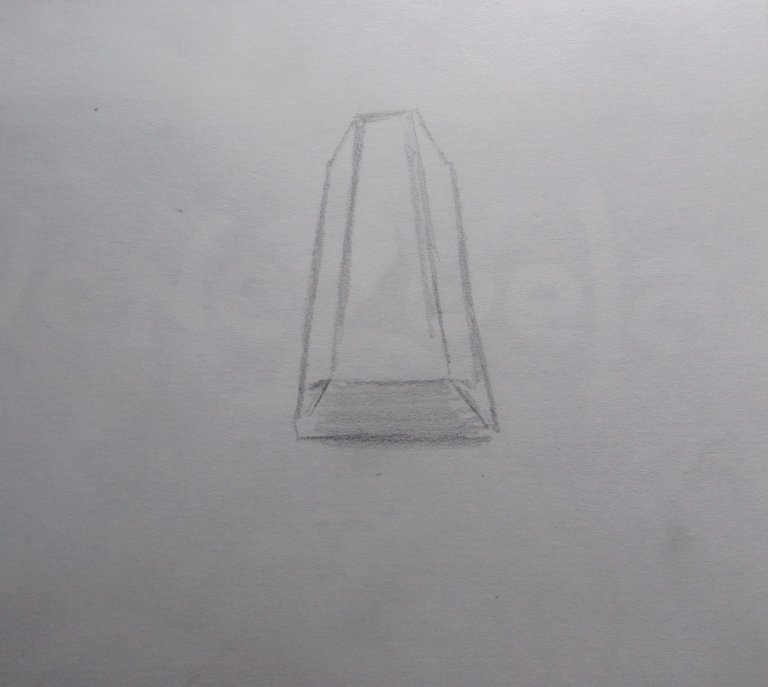
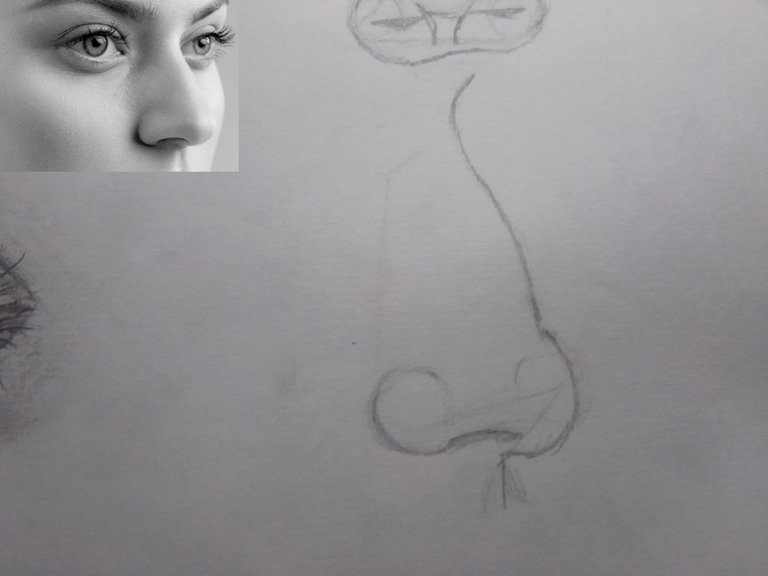
As with the previous posts, I will explain the method to follow and then move on to the practice. The first thing we are going to do will be this structure, which is kind of like a rectangle. If we can master this structure mentally, we will be able to draw any kind of nose, no matter what angle it is at.
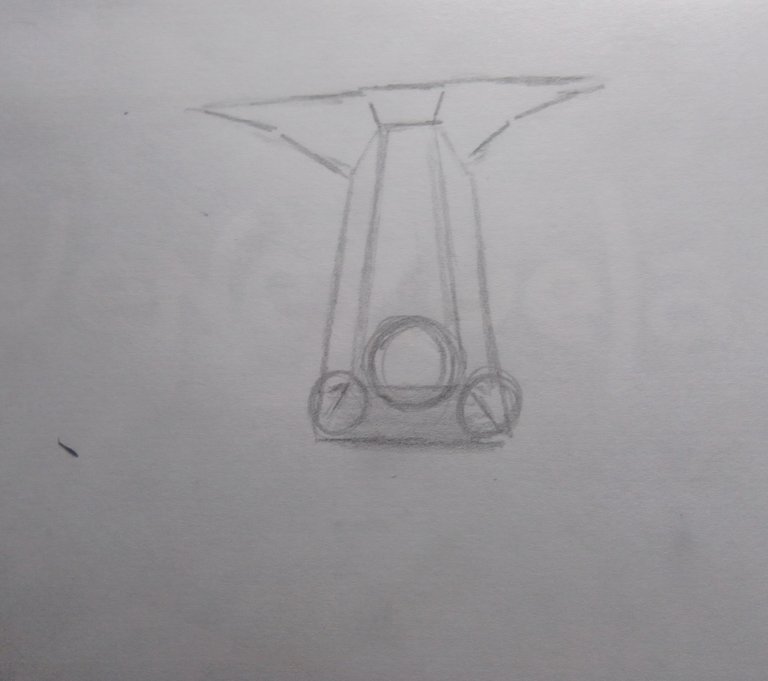
What we are going to do next is to draw three circles at the bottom; these circles will form the tip and the nostrils. We can also add some entrances at the beginning of our rectangle, which would serve as a place where the eyes would go.
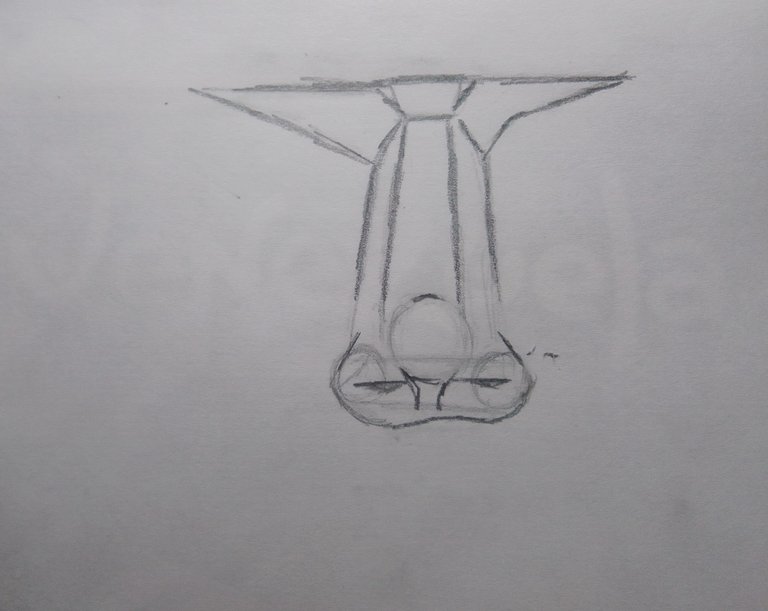
Finally, we erase everything to highlight and give it a more human touch and not so mechanical. What we are going to look for is to give it some shape, highlighting the back and erasing the circles, but without losing the feeling of the structure.
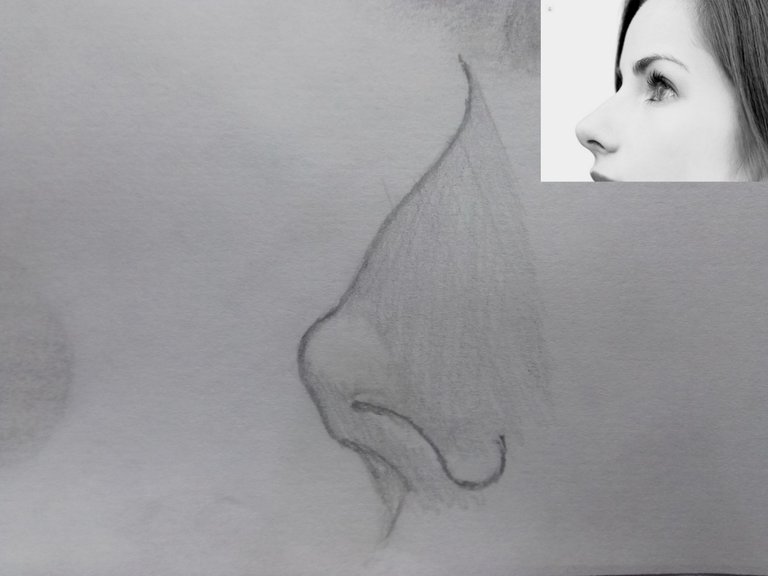
Now let's apply all this with this image that I used as reference:
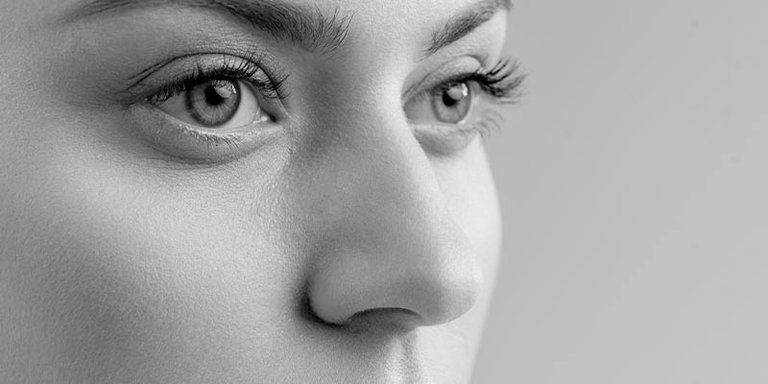 The first thing we are going to do is to draw our structure, which in this case would be in profile position. In this case we are not going to draw the same figure as in the beginning, but we are going to imagine that we rotate the same figure until we see it in profile.
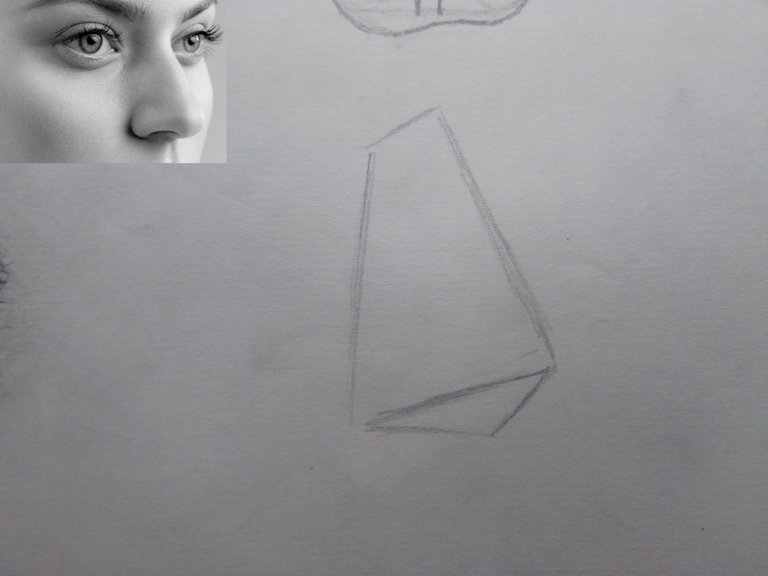 Moving to our initial sketch, we can see that the nose is not completely flat; instead, it has a rise on the dorsum of the nose.
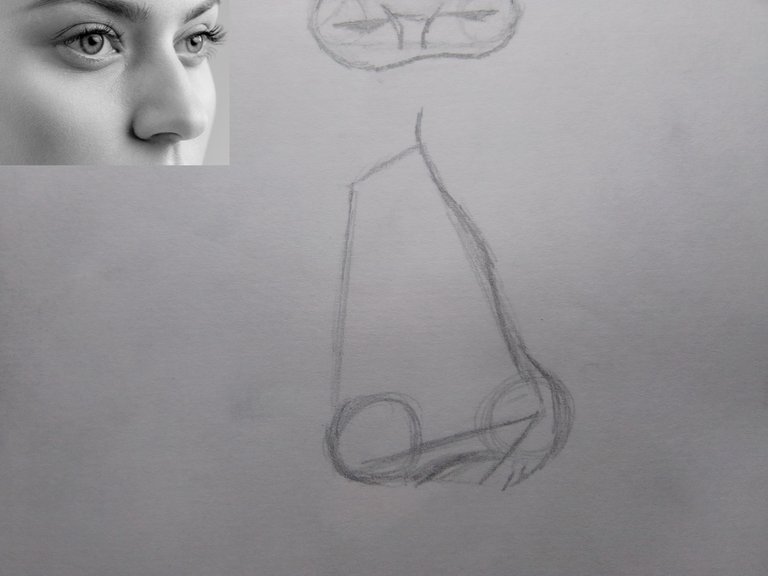
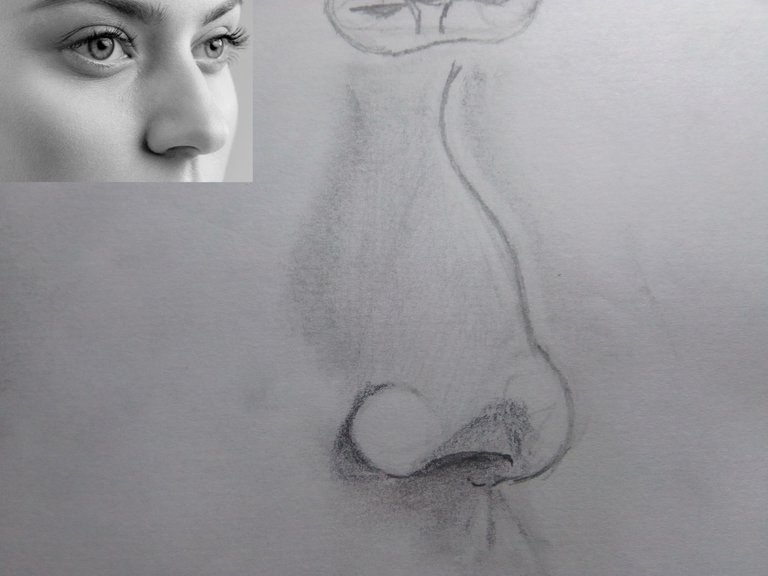
Once we have the whole structure already assembled, we are going to erase everything and then highlight with an HB2 pencil, preferably the most important areas, such as the nose wings and the cupid's bow. For those who do not know what the cupid's bow is, it is the part that separates the lips from the nose.
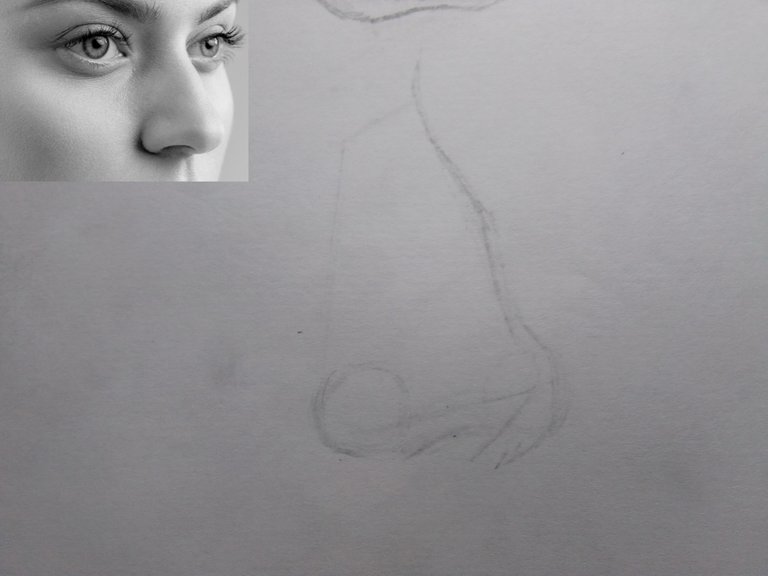
Finally, we are going to shade with the 2B pencil to play a little with the light and we can press a little on the areas that have shadows and that, at the time of passing the blur, these differences in tones are noticed. For those parts that reflect the light, we only have to erase a little with the eraser of a pencil to be more precise and that's it.
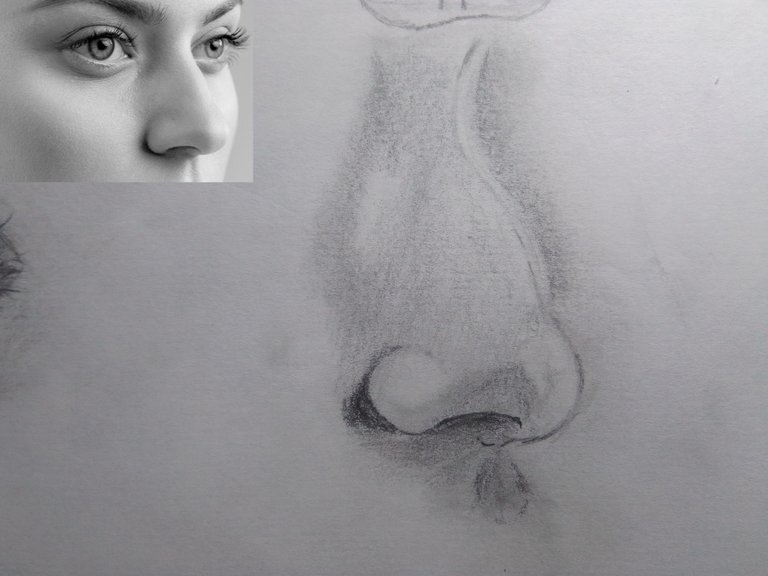
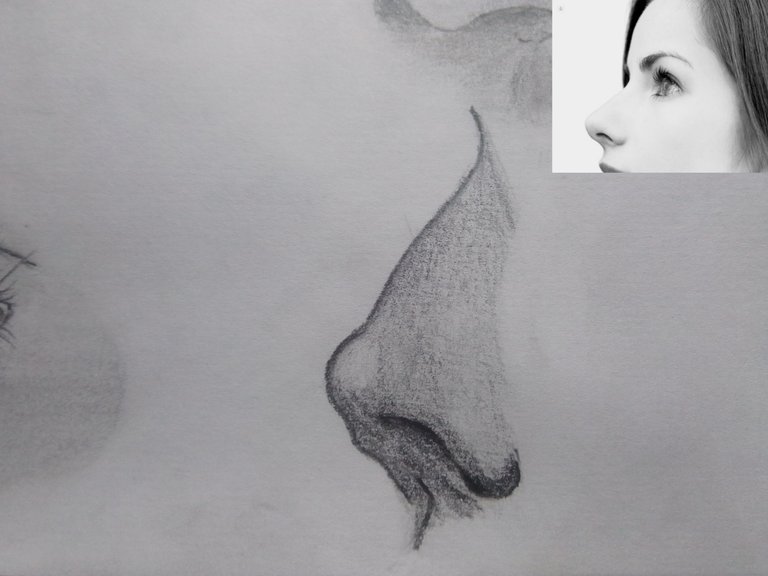
For the last sketch I will use this image as a reference:
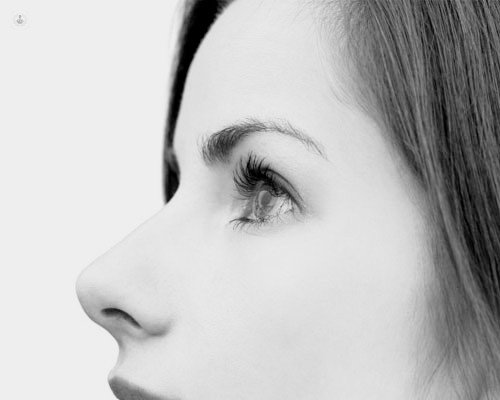 As with the previous image, we are going to create our initial structure, which is similar to the previous drawing, since both are in profile; the only thing that changes here is that it is slightly upwards.
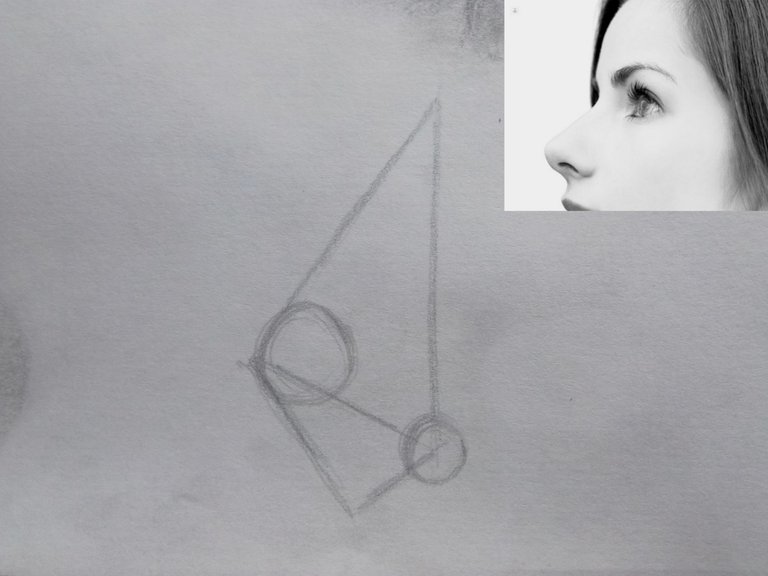
Now we are going to trace the shape of the nose. Once all this is done, we erase and highlight again with the HB2 pencil the silhouette of the nose.
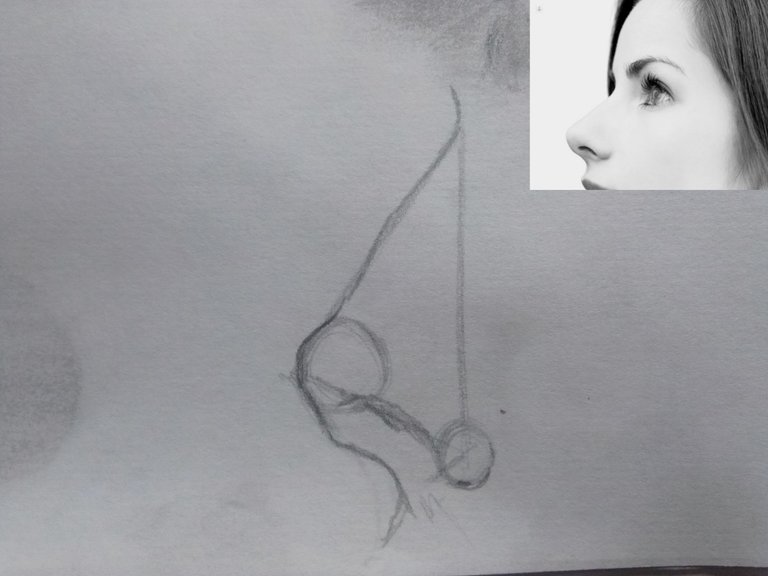
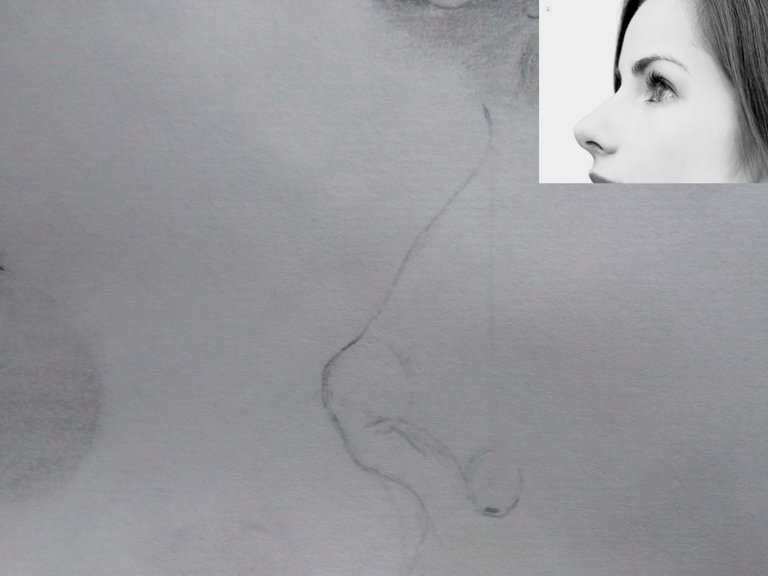
Finally, we shade the whole drawing with the H pencil to try to create more layers of tonality. Using pencils like 2B and 6B we can create different shades and that's it.
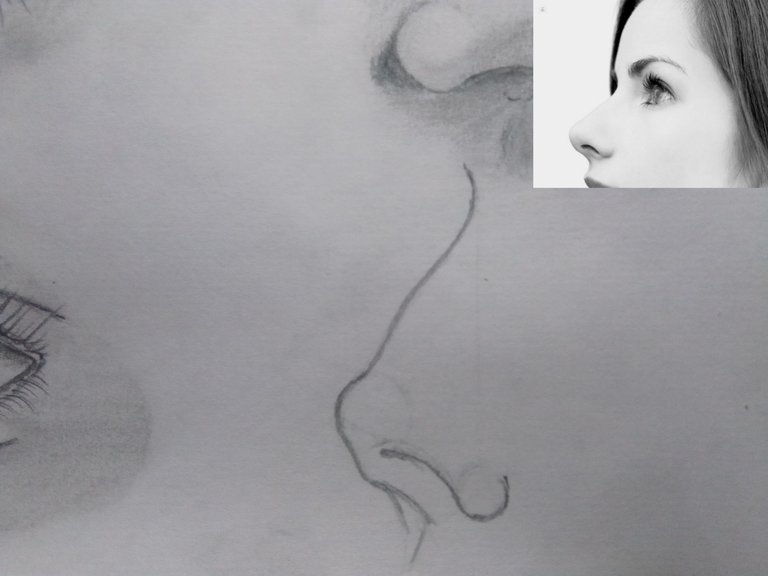
It was a very satisfying experience to finish this post. Since for the elaboration of the present drawings, as in my two previous posts, it was a work of almost 7 hours and that for me one of the most pleasant sensations is to see how your work begins to stop being simple doodles to become something meaningful. Thank you very much for making it to the end. With nothing more to say, see you until the next publication.
All photos were taken with my Yezz art 2 pro phone.
link to the images used in this post👇.
| Muchas gracias por leer mi publicación! | Thank you very much for reading my post! |
|---|
| Redes Sociales | Social Network |


Congratulations @cristhenos! You have completed the following achievement on the Hive blockchain And have been rewarded with New badge(s)
Your next target is to reach 2750 upvotes.
You can view your badges on your board and compare yourself to others in the Ranking
If you no longer want to receive notifications, reply to this comment with the word
STOP