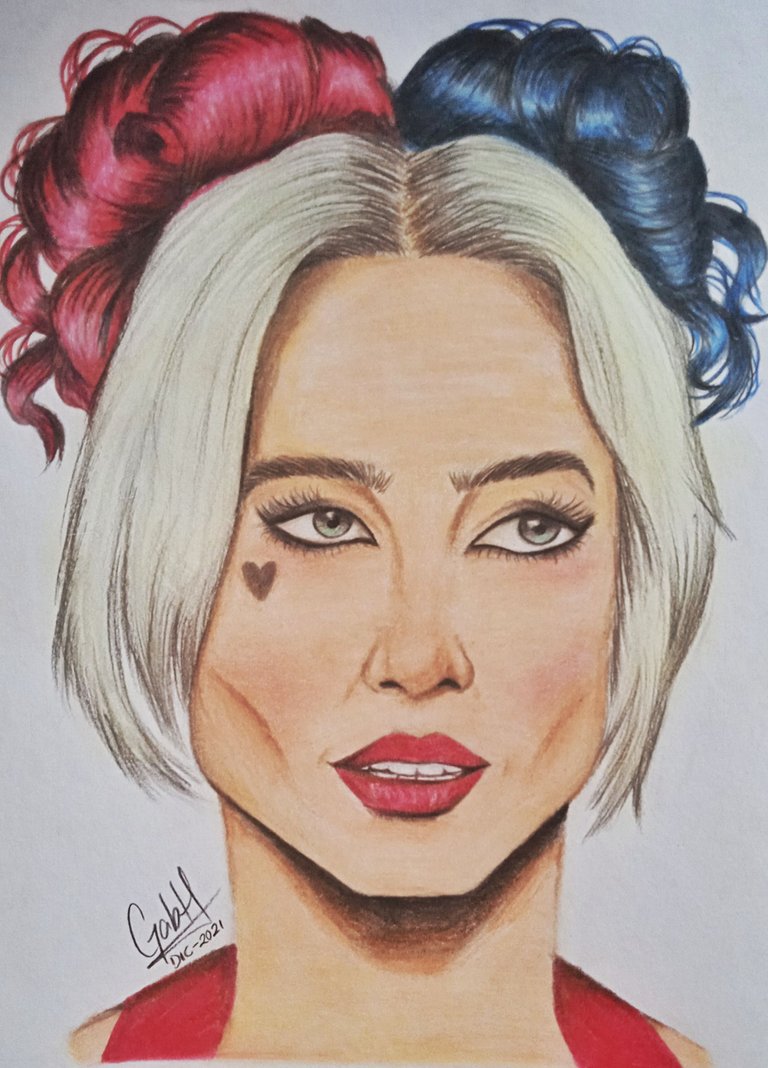
Holaa a todos mis lectores! Espero se encuentren muy bien, el día de hoy les traigo el proceso de un dibujo que realice hace poco y es un retrato de uno de mis personajes favoritos en la nueva película de James Gunn, The suicide squad. Espero que les guste y los invito a leerme. ❤️🖤
Hello to all my readers! I hope you are feeling well, today I bring you the process of a drawing I made recently and it is a portrait of one of my favorite characters in the new James Gunn movie, The suicide squad. I hope you like it and I invite you to read me. ❤️🖤

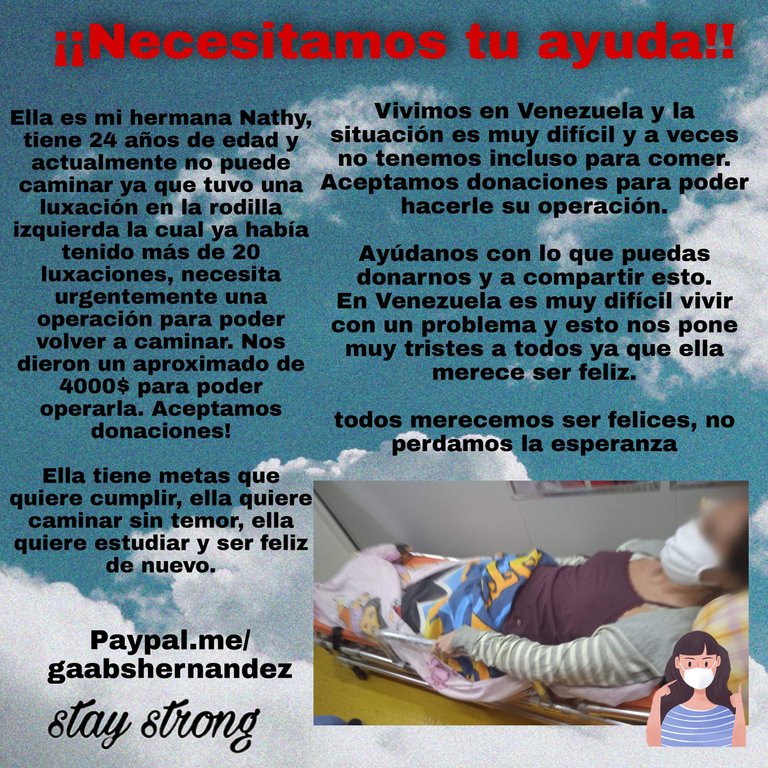
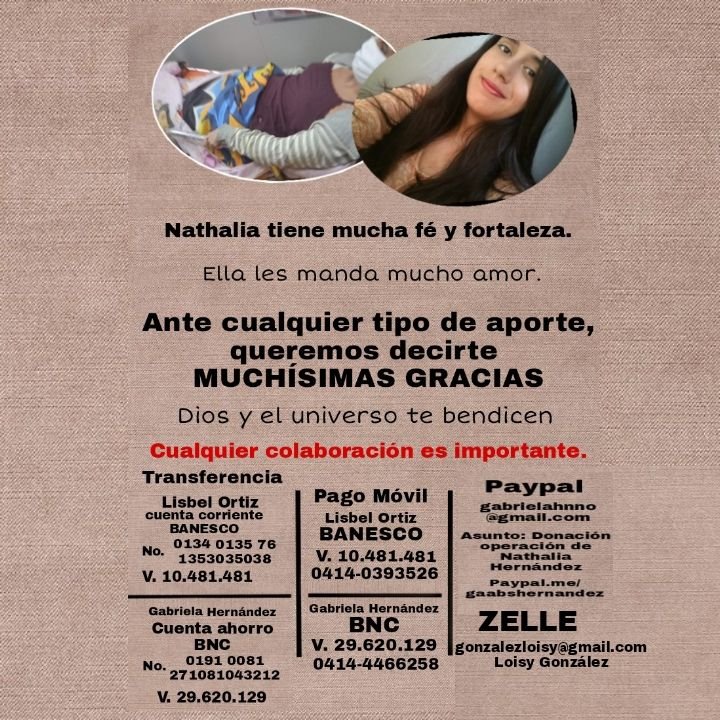
Antes de comenzar con mi post les quería decir que todo lo ganado en los post que vaya subiendo van a reunirse para poder recaudar dinero para la operación de rodilla mi hermana @naath ! Muchas gracias por su apoyo.
Before I start with my post I wanted to tell you that all proceeds from the posts I upload will be collected to raise money for my sister's knee surgery @naath ! Thank you so much for your support.
 |  |
|---|
- Lo que utilice para realizar el dibujo en tradicional en una hoja tipo cartulina tamaño 35 x 28 cm, un lápiz de grafito 2 HB y un borrador (corté mi borrador haciendo que las esquinas quedarán en punta así será más fácil borrar espacios pequeños) y mis colores marca kores.
- What I used to make the drawing in traditional on a cardboard type sheet size 35 x 28 cm, a graphite pencil 2 HB and an eraser (I cut my eraser making the corners to be pointed so it will be easier to erase small spaces) and my colors kores.

✨Paso a paso/ Step by Step✨
 |  |
|---|
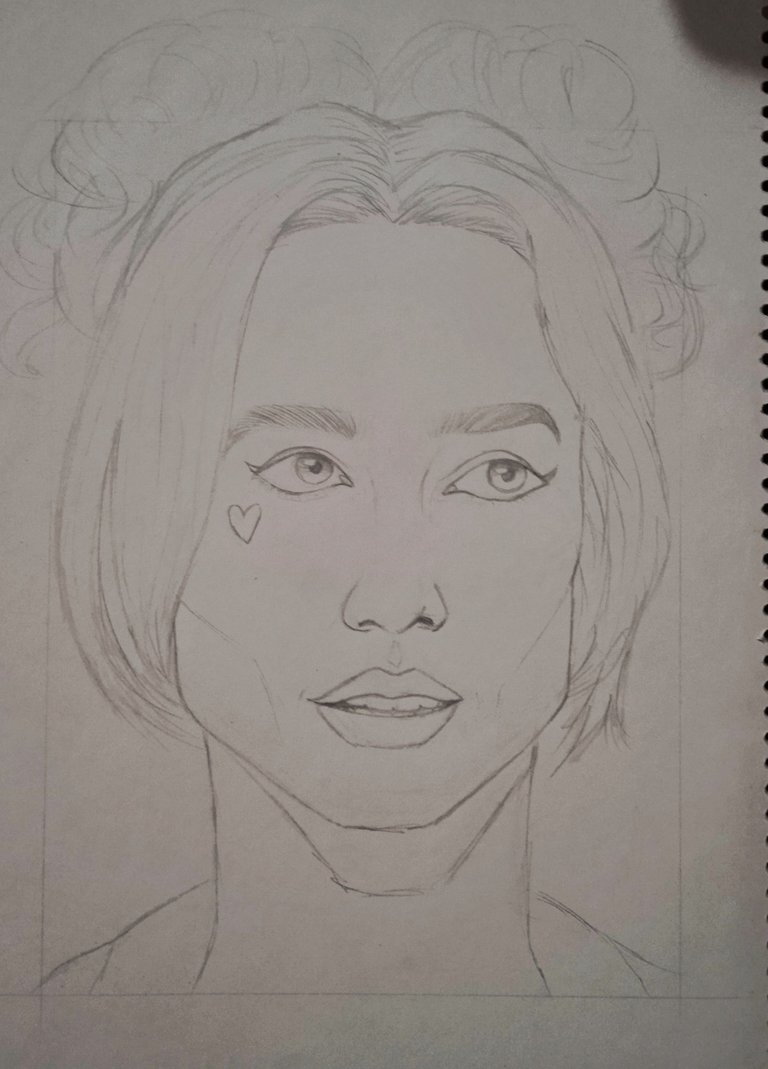
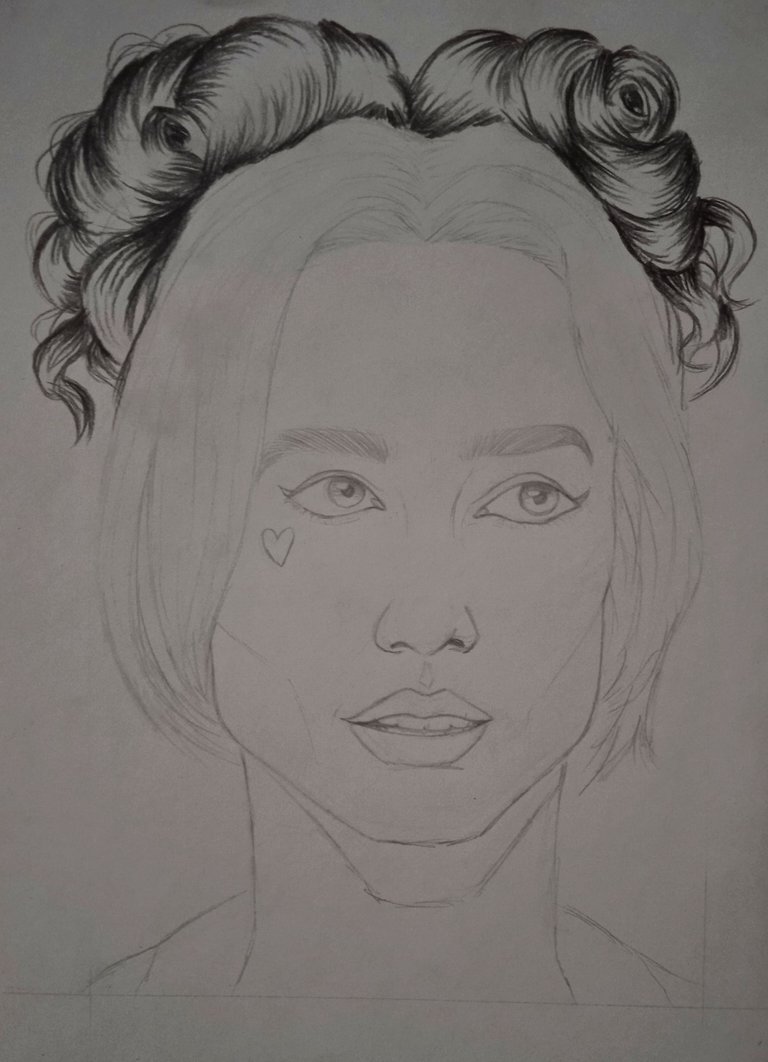
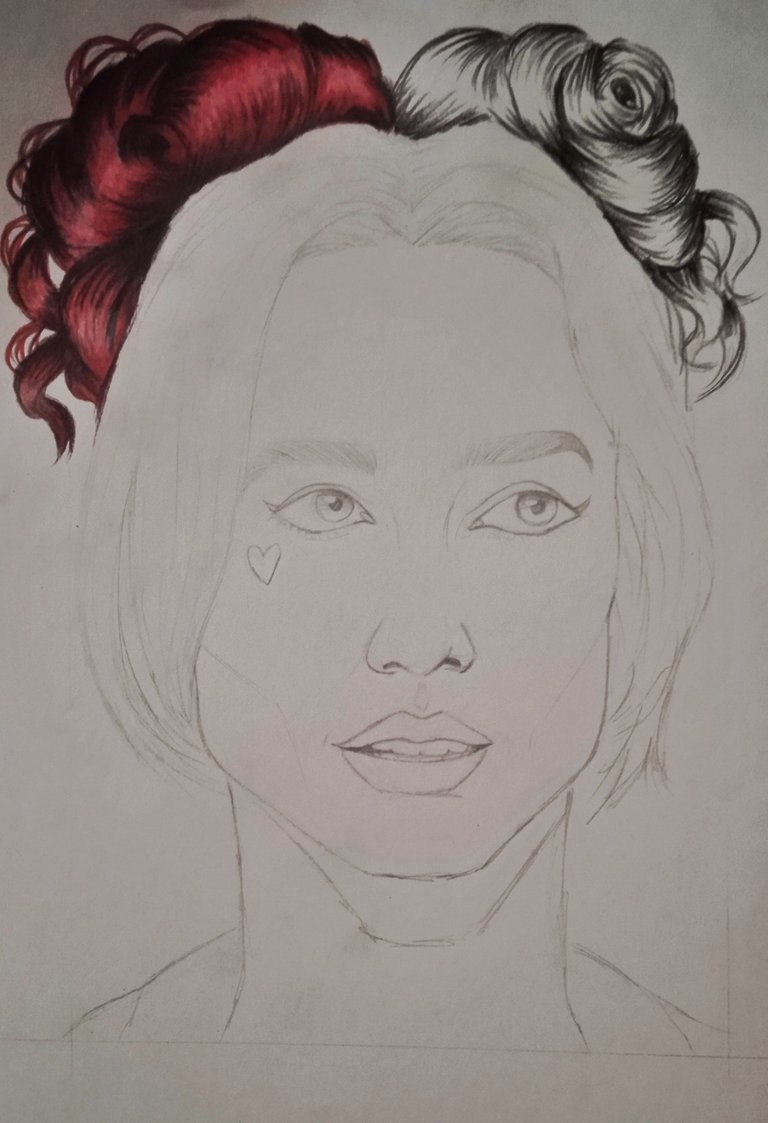
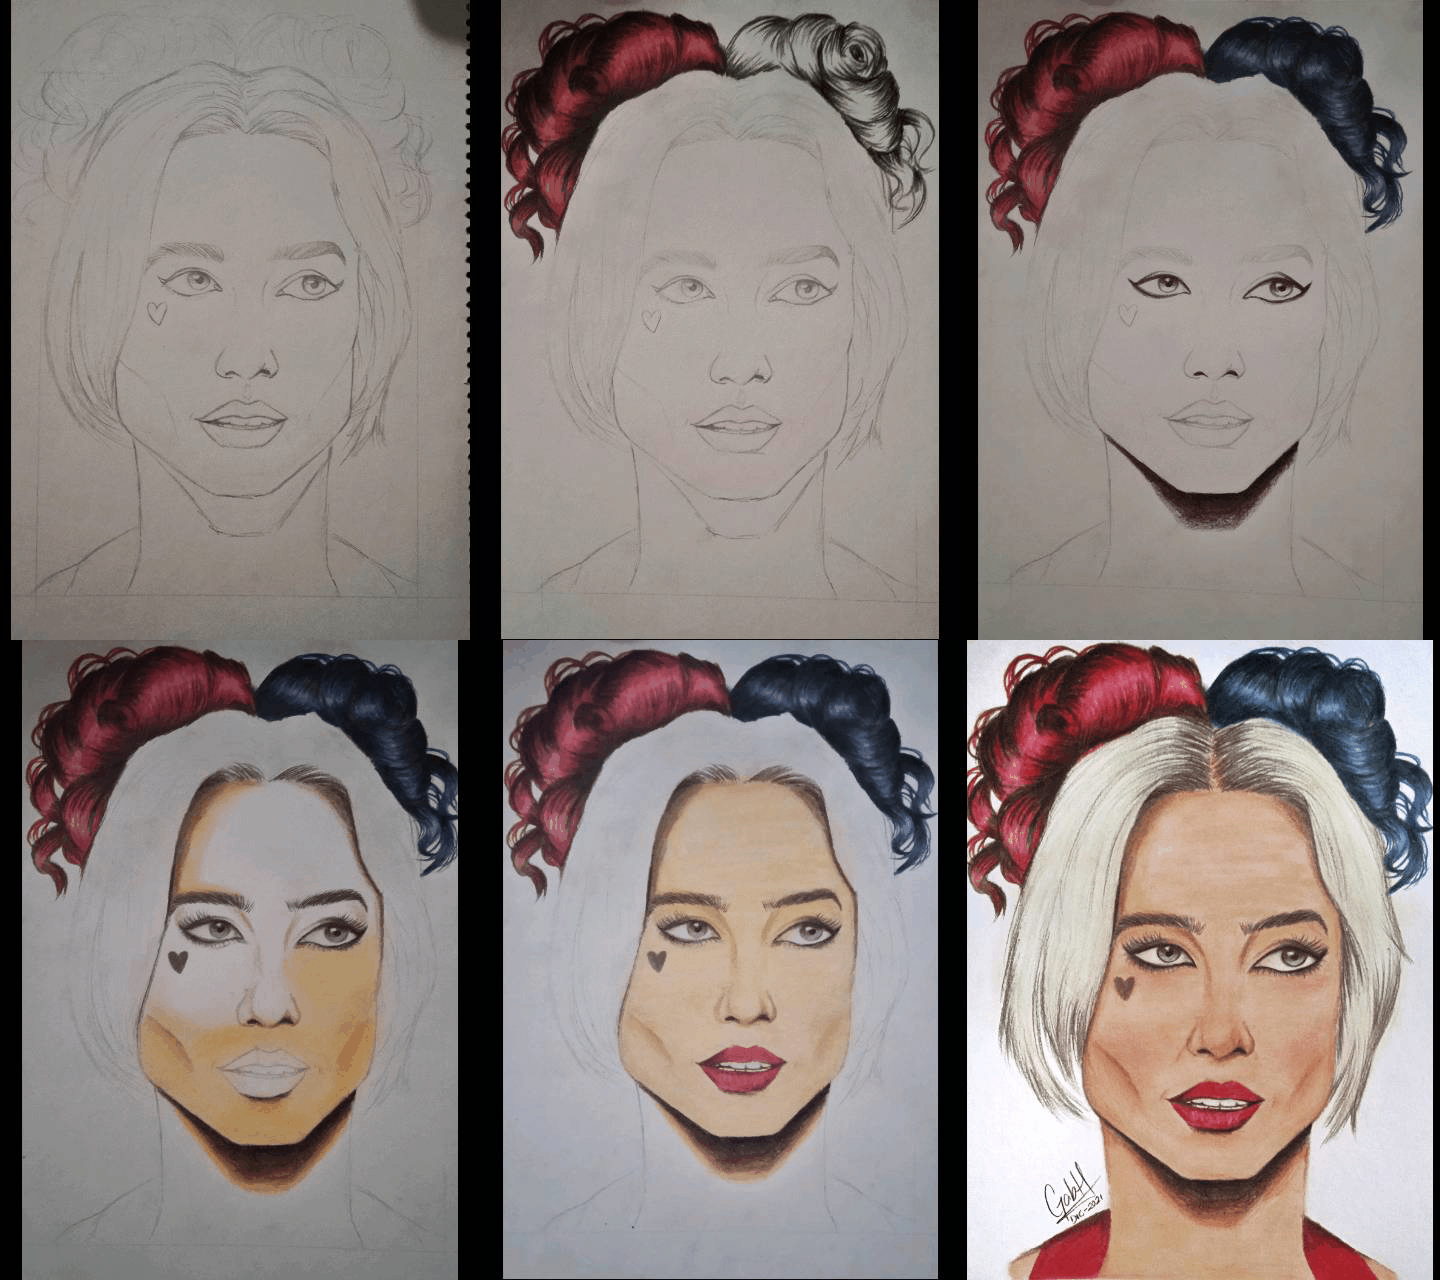
Comencé realizando el boceto del rostro, sin hacer mucha presión al grafito para evitar que a la hora de borrar se manche la hoja y tratando de encontrar la mayor precisión posible a la hora de ir integrando sus rasgos. Luego borré las líneas más marcadas y comencé a pintar el cabello, primero pintando con el color negro para hacer las sombras.
I started by sketching the face, without putting too much pressure on the graphite to avoid smudging the sheet when erasing and trying to find the greatest possible precision when integrating its features. Then I erased the most marked lines and began to paint the hair, first painting with the black color to make the shadows.
 |  |
|---|
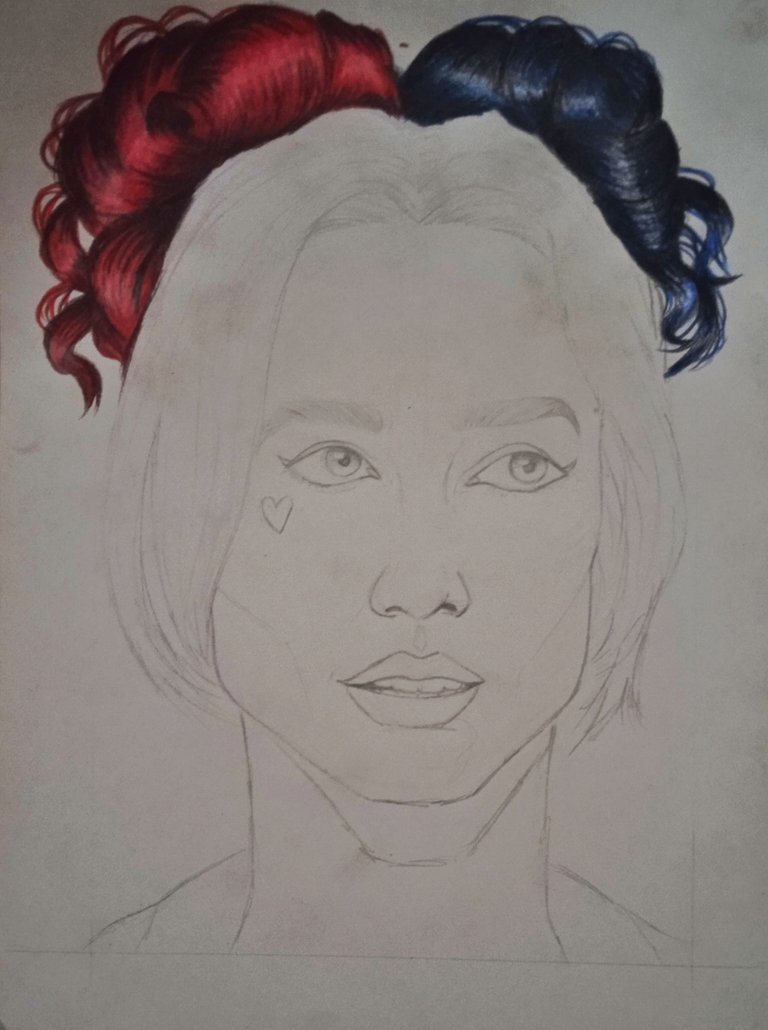
Pinte luego el primer moño combinando un rojo ladrillo con un rojo cereza para hacer profundidad y para que se notara el brillo del cabello pinte con un lápiz blanco las partes dónde se refleja más la luz. Luego continué con el otro moño haciéndolo de color azul pero más oscuro, agregando más color negro y menos azul e igualmente pinte el las partes más claras con color blanco para la iluminación.
I then painted the first chignon combining a brick red with a cherry red to create depth and to show the brightness of the hair I painted with a white pencil the parts where the light reflects more. Then I continued with the other chignon making it blue but darker, adding more black color and less blue and also painted the lighter parts with white color for the illumination.
 |  |
|---|
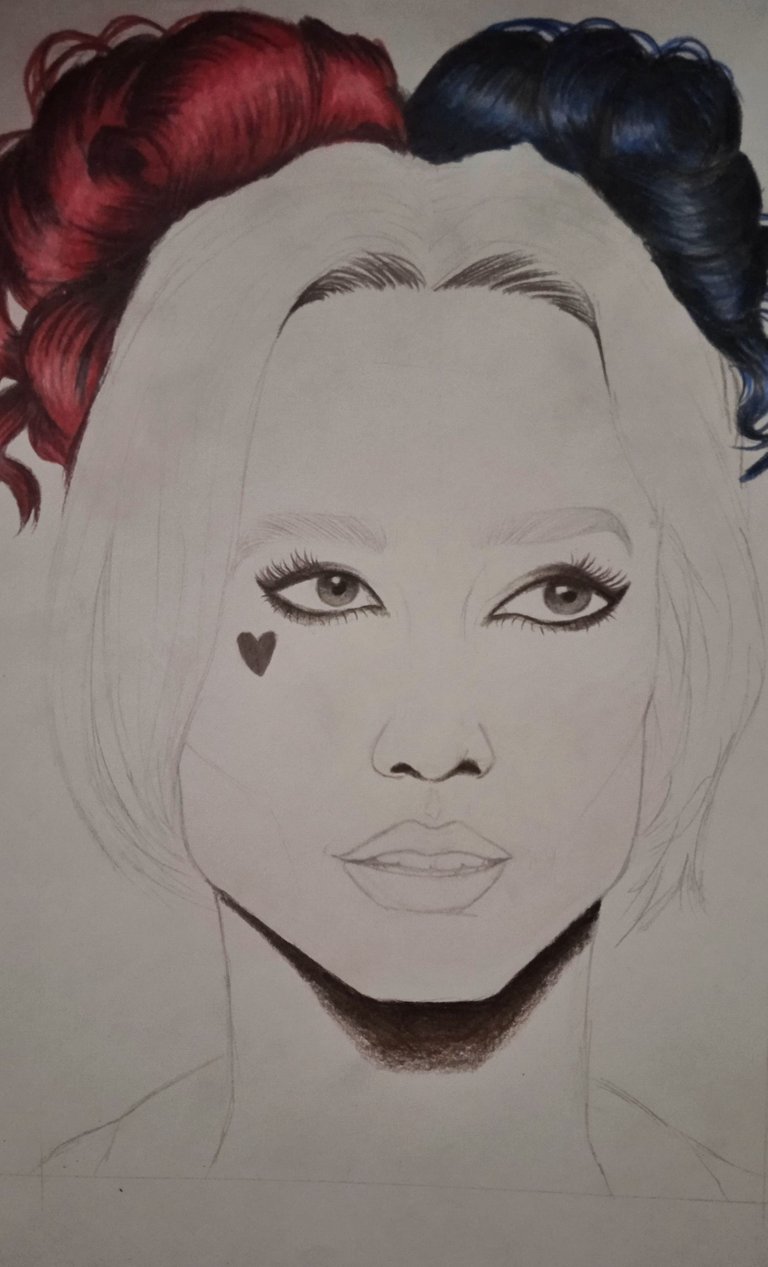
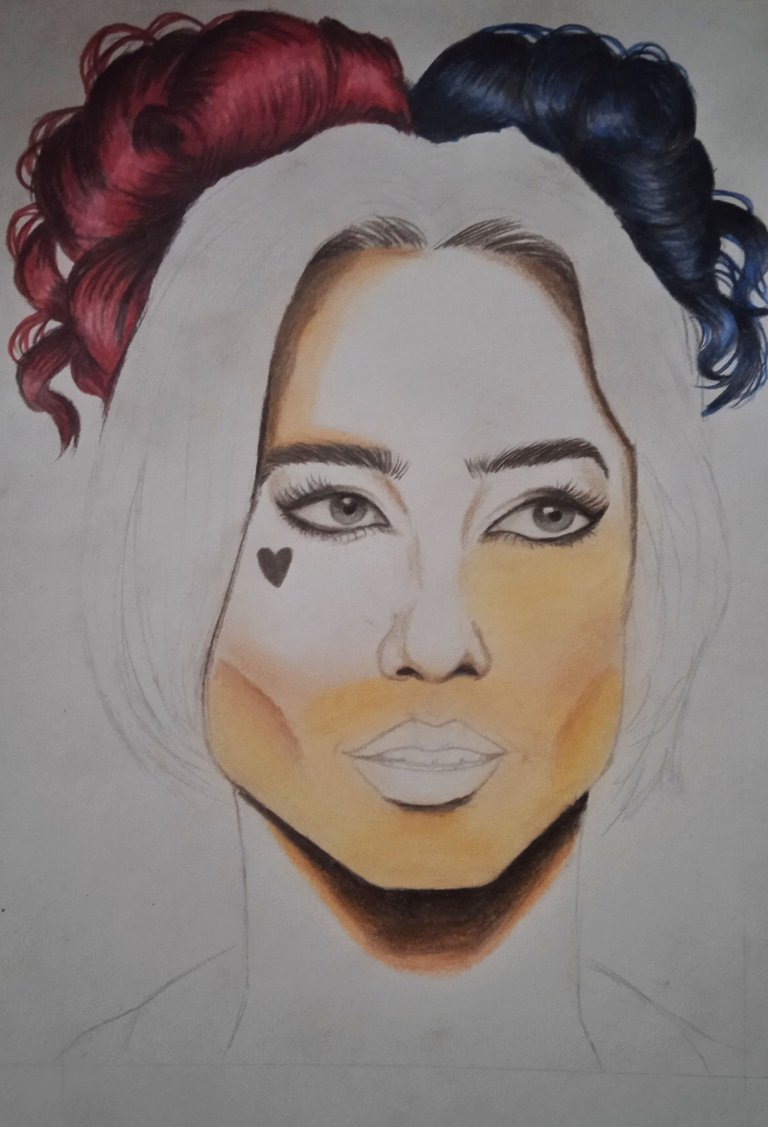
Comencé a pintar los ojos con color negro y todas las partes que sean oscuras como los orificios de la nariz, el cuello y la sombra que se crean en el cabello además de hacer un poco oscuras las raíces. Pinte la ceja con un color marrón oscuro y negro dejando espacios para que se viera más realista, luego pinte el corazón que tiene en la mejilla. Comencé a hacer la piel, primero utilice tiza amarilla con tiza naranja para hacer una base y luego la pintaba con color blanco, además hacía algunas líneas de expresión con un marrón claro.
I started to paint the eyes with black color and all the parts that are dark like the nose holes, the neck and the shadow that are created in the hair and also made the roots a little dark. I painted the eyebrow with a dark brown and black color leaving spaces to make it look more realistic, then I painted the heart on the cheek. I started to make the skin, first I used yellow chalk with orange chalk to make a base and then I painted it with white color, I also made some expression lines with a light brown.
 |  |
|---|
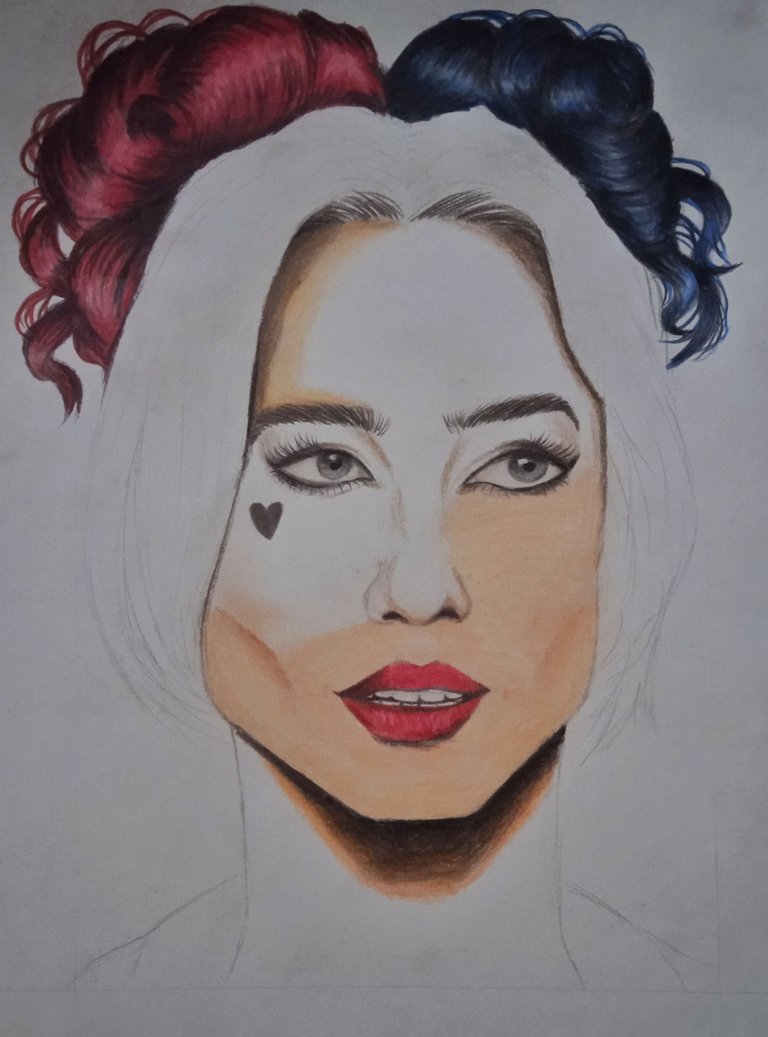
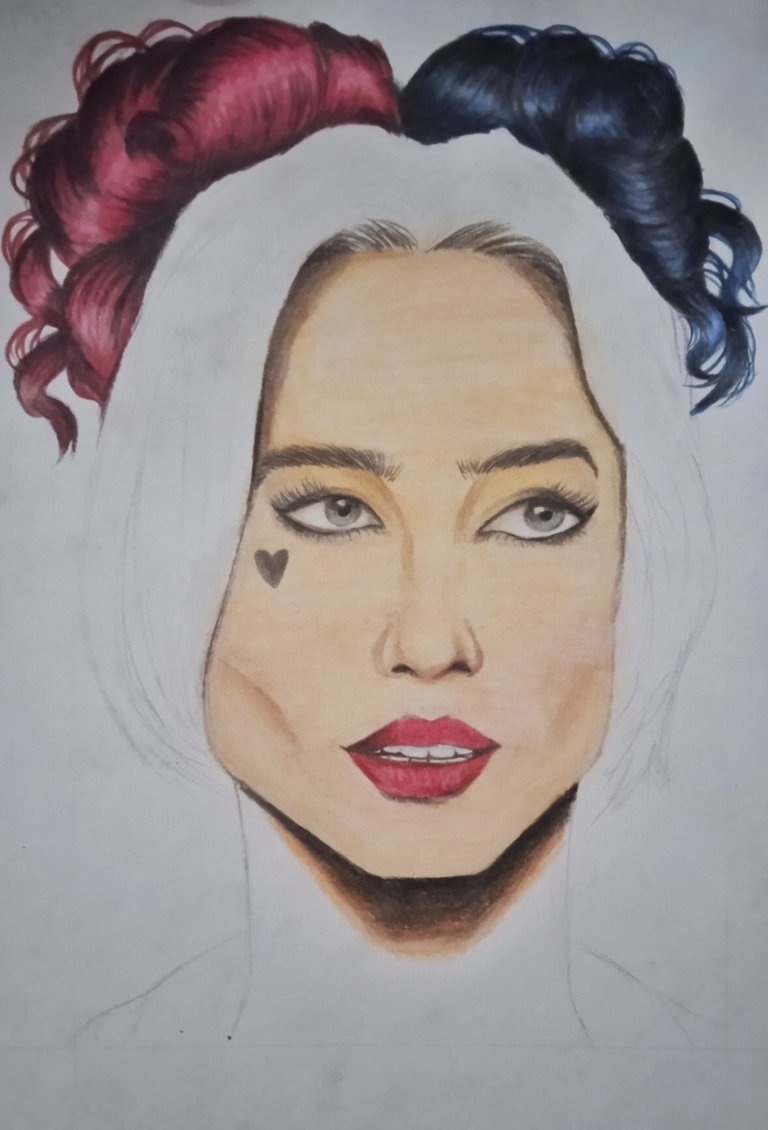
Borre la base de tiza para que se viera más clara y pinte con un color piel, continué pintando los labios primero haciendo un degradado entre sombras, las partes más oscuras las pinte con el color negro, luego les agregue rojo ladrillo para hacer la transición y por último pinte con rojo cereza en las partes más brillantes, para darle el brillo pinte con un lápiz blanco. Luego realice lo mismo para la frente de las demás partes en blanco. Agregando marrones para las partes oscuras y dónde hay líneas de expresión.
I erased the chalk base to make it look lighter and painted with a skin color, I continued painting the lips first making a gradient between shadows, the darkest parts I painted with black color, then I added brick red to make the transition and finally I painted with cherry red in the brightest parts, to give the brightness I painted with a white pencil. Then do the same for the forehead of the other parts in white. Adding brown for the dark parts and where there are expression lines.
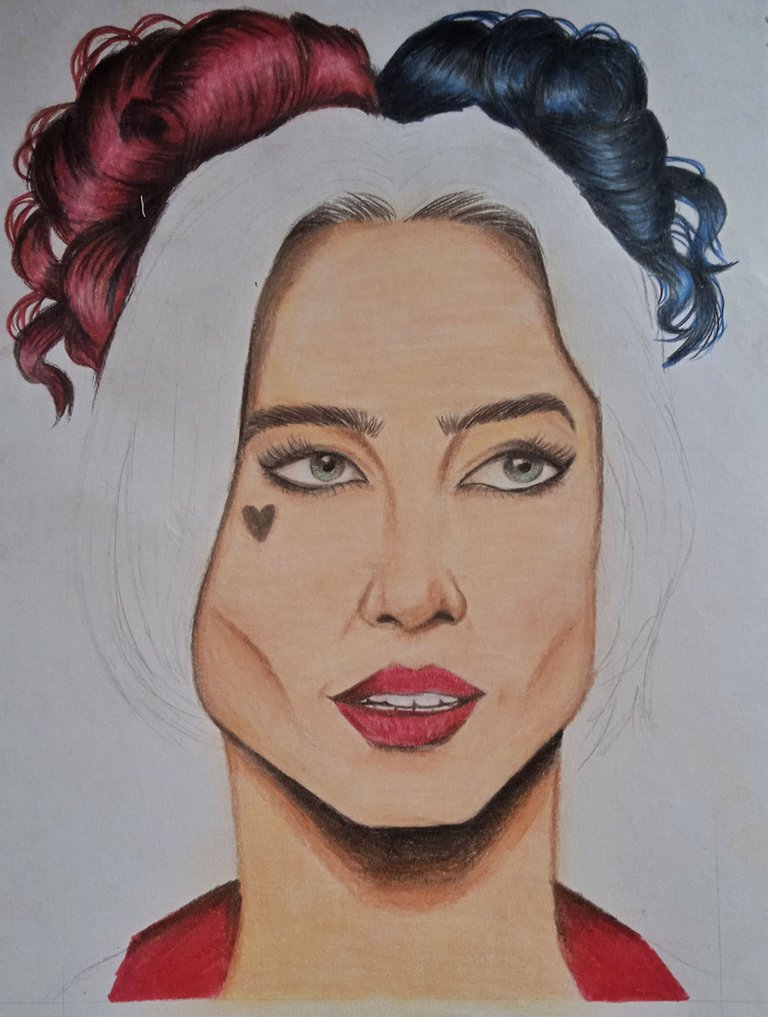
Continué haciendo el cuello con la misma técnica, pinte los lazos de su vestido haciendo la transición entre la parte oscura y la clara.
Continue making the neck with the same technique, paint the ties of her dress making the transition between the dark and light parts.

Este es el resultado del dibujo, por último pinte el cabello que es un amarillo pálido, agregue tiza amarilla pero muy poca y luego pinte con gris para hacer los cabellos y las líneas, además de las separaciones del cabello las pinte con negro y marrón. Agregue mi firma y tome las fotos. Hace poco comencé a hacer más prácticas de anatomía y aún estoy en la parte del rostro humano así que quise hacer una práctica además de agregarle colores para resaltarlo aún más. Siempre me ha gustado este personaje desde que comencé a escuchar de el cuando se iba a estrenar la primera película y desde ahí me gustó muchísimo más así que quise hacerle un dibujo en su presentación más reciente. 😊❤️🖤
This is the result of the drawing, finally I painted the hair which is a pale yellow, I added yellow chalk but very little and then painted with gray to make the hair and lines, besides the hair separations I painted them with black and brown. I added my signature and took the photos. I recently started doing more anatomy practice and I'm still on the human face part so I wanted to do some practice and add colors to make it stand out even more. I've always liked this character since I started hearing about her when the first movie was going to be released and from there I liked her a ton more so I wanted to do a drawing of her in her most recent presentation. 😊❤️🖤

Espero que les haya gustado y gracias por apoyarme siempre! Nos vemos pronto y sigan creando.❤️/ I hope you liked it and thanks for always supporting me! See you soon and keep creating! ❤️
Realicé la traducción en
https://www.deepl.com/es/translator
Todas las imágenes son de mi autoría/ All the photos are my property
GabsArtBook/status/1471929880841437188
The rewards earned on this comment will go directly to the person sharing the post on Twitter as long as they are registered with @poshtoken. Sign up at https://hiveposh.com.https://twitter.com/
Hola te quedó muy lindo tu dibujo felicidades y bendiciones.
Muchas gracias!! 🥺💗
Muy hermosa tu obra
Muchas gracias! 🥺💗