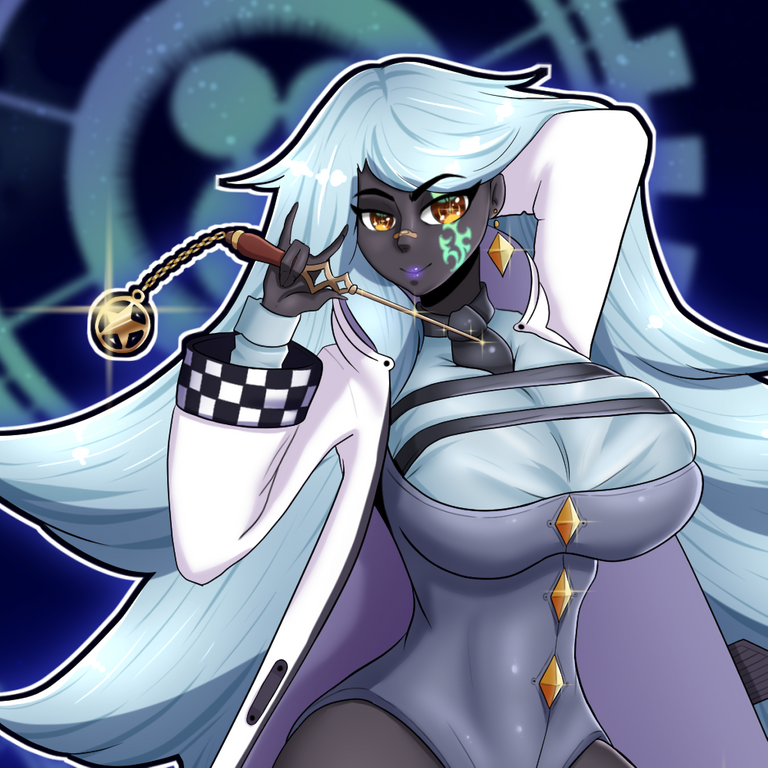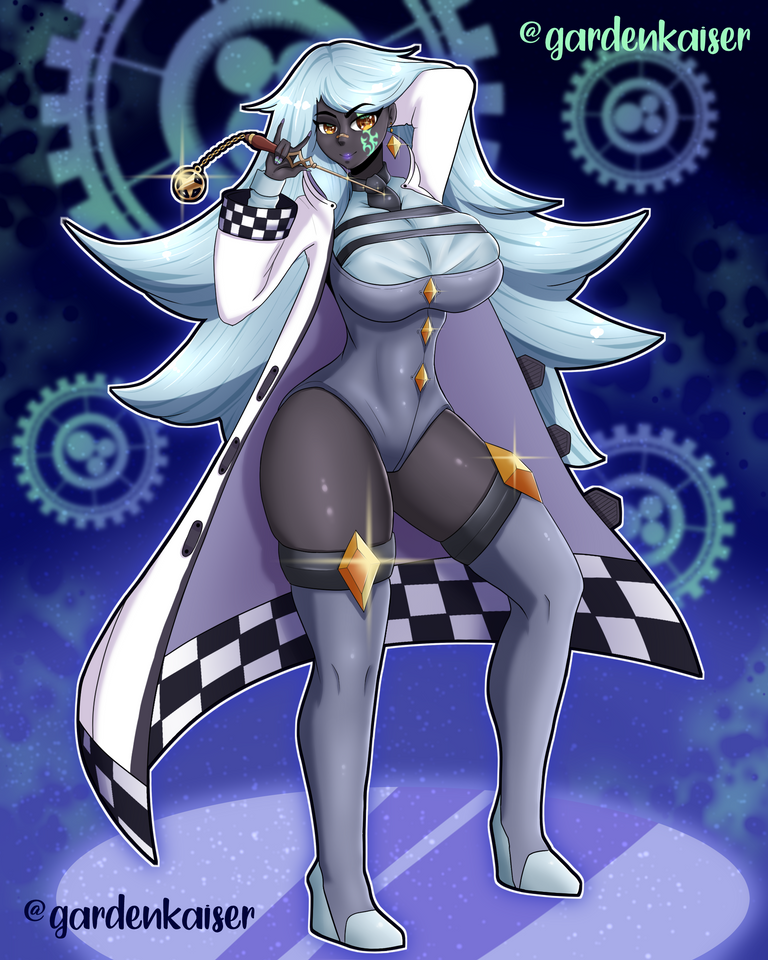
Hello Hivers, today I bring you the step by step of this time magician. The first thing to do is perform the magician pose. This will be a simple pose, to make it look full body and with a good structure, in which to draw all the elements that our character will have, such as clothes, jacket and gems.
Hola Hivers, hoy les traigo el paso a paso de esta maga del tiempo. Lo primero que hay que hacer es realizar la pose de la maga. Esta será una pose simple, para que se viera de cuerpo completo y con una buena estructura, en la cual poder dibujar todos los elementos que tendrá nuestro personaje, como lo son la ropa, la chaqueta y las gemas.

After having the details well defined, I made the final outline with various details. I recommend working the outline in two layers, one containing the lines that define the general spaces of the elements such as skin, jacket and other elements, and on another layer the details such as the lines of the knees, folds of clothing and shadows such as that of the neck.
Luego de tener bien definido los detalles le hice el delineado final con varios detalles. Recomiendo trabajar el delineado en dos capas, en una que estén las líneas que defines espacios generales de los elementos como la piel, chaqueta y otros elementos, y en otra capa los detalles como las líneas de las rodillas, pliegues de la ropa y sombras como la del cuello.

Later, I define the colors and start with the shading, which I do on other layers in multiply mode, using the same color that I am working on. Afterwards, I added some light shadows with the airbrush to give volume. As you can see for the layer that is white, I did not use gray to add shadow, I used purple because I like the way it looks better, it gives a more fantasy touch to the illustration.
Posteriormente, defino los colores y comienzo con el sombreado, el cual lo hago en otras capas en modo de multiplicación, usando el mismo color en el que esté trabajando. Después, le agregué unas ligeras sombras con el aerógrafo para dar volumen. Como pueden apreciar para la capa que es blanca no usé el gris para agregar sombra, usé el color morado debido a que me gusta mas como se ve, le da un toque más de fantasía a la ilustración.

In another layer with the airbrush and using light tones, but that they are of the same range of the color with which I am working, I added the lights and then with the normal brush I added stronger lights with lines on the edges and with ovals in others. areas, which I blur a little.
En otra capa con el aerógrafo y usando tonos claros, pero que sean de la misma gama del color con el que estoy trabajando le agregué las luces y después con el pincel normal le agregué luces más fuertes con líneas en los bordes y con óvalos en otras áreas, los cuales difumino un poco.

As last details I add 3 borders to the silhouette of the character; a black one, then a white one and finally a fading purple one. In this way the character enhances more and gives him a kind of aura of power.
Como últimos detalles le agrego 3 bordes a la silueta del personaje; uno negro, después uno blanco y por último uno difuminando de color morado. De esta manera el personaje realza mas y le da una especie de aura de poder.


This is all for today, I hope you liked it, remember to leave your like if you liked it and want more content, if you have any questions you can leave them in the comments and in the next blog I will be answering. I send you a strong hug!
Esto es todo por hoy, espero que les haya gustado, recuerden dejar su like si les gusto y quieren más contenido, si tienen alguna duda las pueden dejar en los comentarios y en el siguiente blog estaré respondiendo. ¡Les mando un fuerte abrazo!
Collages made with: befunky
Translator: Google Translate
Drawing program: Clip Studio Paint
The images are my own
Collages realizados con: befunkyTraductor: Google Translate
Programa de dibujo: Clip Studio Paint
Las imágenes son de mi autoria
Discord: Garden#7637Instagram: @gardenkaiser
Saludos amigo. Tu trabajo es excelente, me gusta la calidad del trabajo y como utilizaste la gama de colores, de verdad espero poder aprender a usar los programas de dibujo así de bien algún día :)
@tipu curate
Upvoted 👌 (Mana: 80/100) Liquid rewards.
Thank you for sharing this amazing post on HIVE!
non-profit curation initiative!Your content got selected by our fellow curator @kaerpediem & you just received a little thank you via an upvote from our
You will be featured in one of our recurring curation compilations and on our pinterest boards! Both are aiming to offer you a stage to widen your audience within and outside of the DIY scene of hive.
Join the official DIYHub community on HIVE and show us more of your amazing work and feel free to connect with us and other DIYers via our discord server: https://discord.gg/mY5uCfQ !
If you want to support our goal to motivate other DIY/art/music/homesteading/... creators just delegate to us and earn 100% of your curation rewards!
Stay creative & hive on!
Congratulations @gardenkaiser! You have completed the following achievement on the Hive blockchain and have been rewarded with new badge(s):
Your next payout target is 50 HP.
The unit is Hive Power equivalent because your rewards can be split into HP and HBD
You can view your badges on your board and compare yourself to others in the Ranking
If you no longer want to receive notifications, reply to this comment with the word
STOPCheck out the last post from @hivebuzz:
Support the HiveBuzz project. Vote for our proposal!