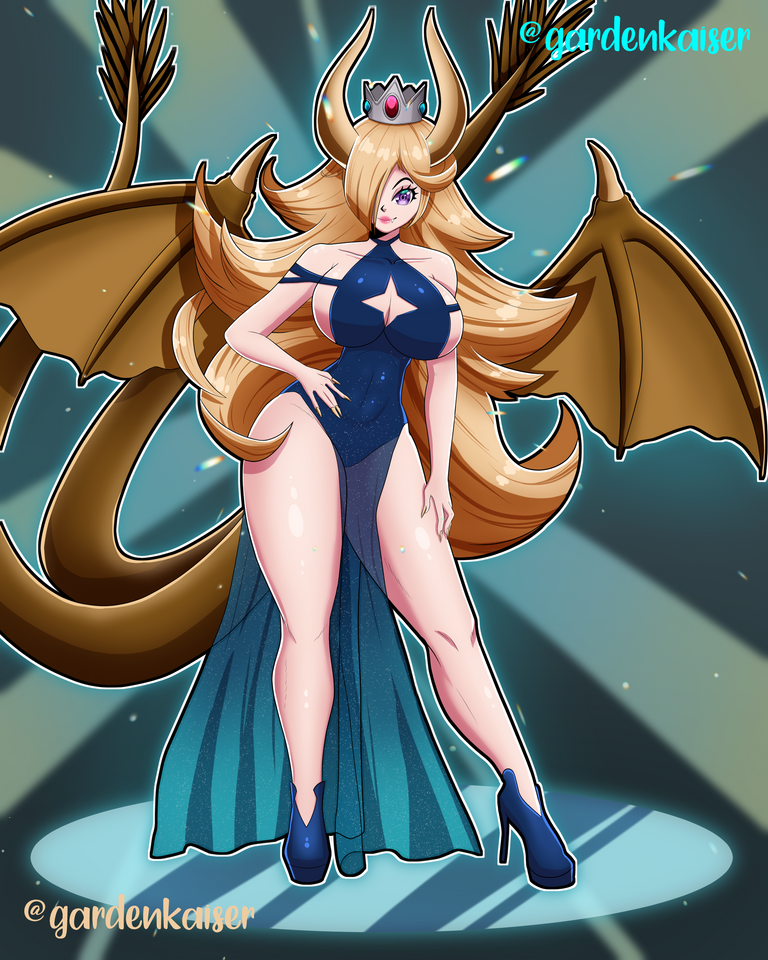
Hello Hivers, today I bring you the step by step of how I made this illustration. For this one I wanted it to have the following specifications;
1. Being a fusion of two characters (Rosalina/Estela from the Mario Galaxy saga and a brown dragon)
2. That he had a full human form
3. A dark blue dress
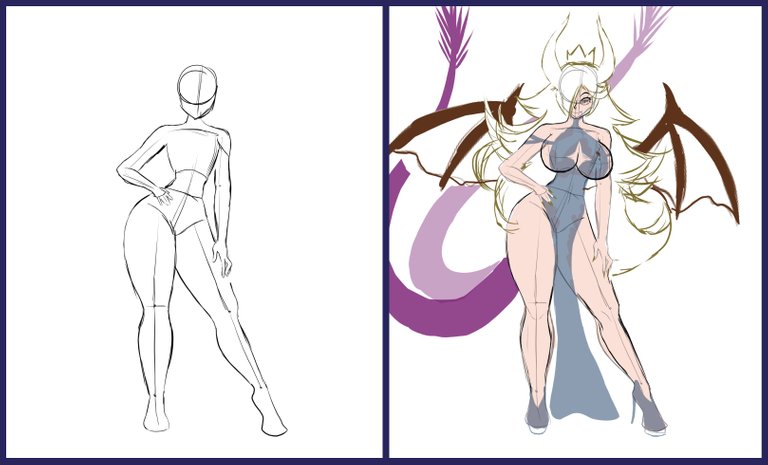
The first step was the creation of the pose without many details, to later add the parts that it inherits from the dragon as they are; the tails, wings, a fang and horns, in addition to the dress some heels.
Hola Hivers, el día de hoy les traigo el paso a paso de como realicé esta ilustración. Para esta quise que contara con las siguientes especificaciones; 1. Ser una fusión de dos personajes (Rosalina/Estela de la saga de Mario Galaxy y un dragón marrón) 2. Que tuviera una forma humana completa 3. Un vestido de color azul oscuro El primer paso fue la creación de la pose sin muchos detalles, para posteriormente agregarle las partes que hereda del dragón como lo son; las colas, alas, un colmillo y cuernos, además del vestido unos tacones.
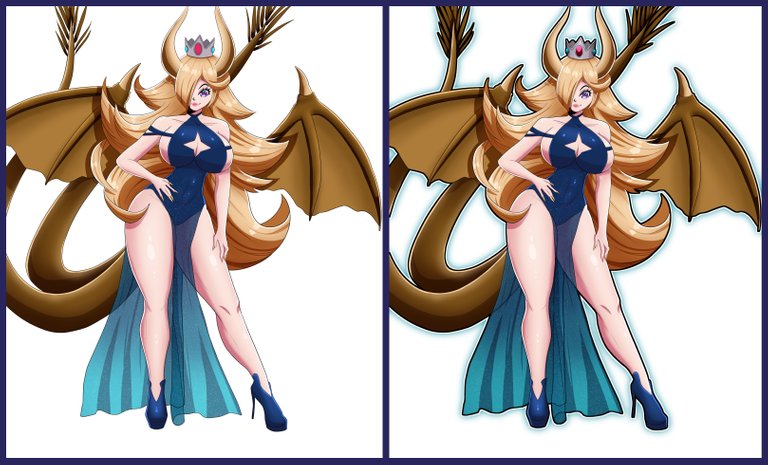
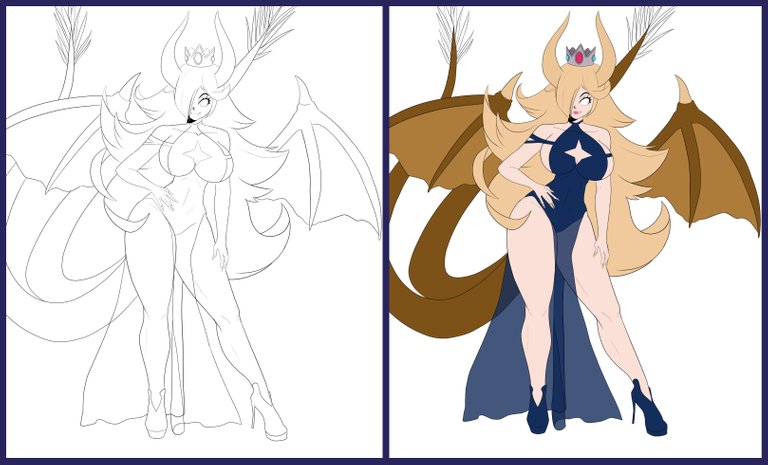
After having the sketch ready, I started with the inking or lineart. Then add the base colors of the entire drawing.
Before continuing I will explain how I do the coloring. For this, the main thing is to have a light base color because I am going to darken the color with the following ones capable of the other darker tones.
Luego de tener el boceto listo, comencé con el entintado o lineart. Después le agregue los colores base de todo el dibujo. Antes de continuar les explicaré como hago el coloreado. Para esto lo principal es tener un color base claro debido a que el color lo voy a oscurecer con las siguientes capaz de los otros tonos más oscuros.
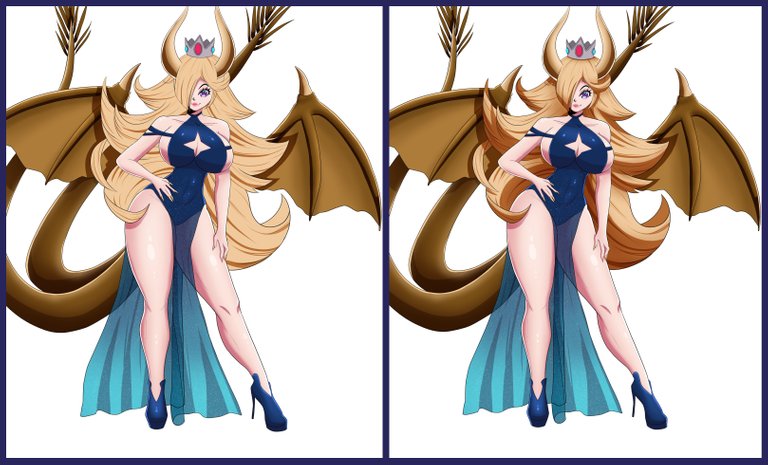
The first thing is to have the base color ready, then I add the second tone where I think there is a shadow or where I need to make it look more prominent. Later I have three options: leave the color and clearly see the tone divisions (flat color), use color mixing or use the blur tool. **I recommend using all three to give dynamism to the work.**
Lo primero es tener el color base listo, después le agrego el segundo tono donde considere que haya sombra o donde necesite para que se vea con mas relieve. Posteriormente tengo tres opciones dejar el color y que se vea claramente las divisiones de tonos (color plano), usar el mezclado de color o usar la herramienta de desenfoque. Recomiendo usar las tres para ir dando dinamismo a la obra.
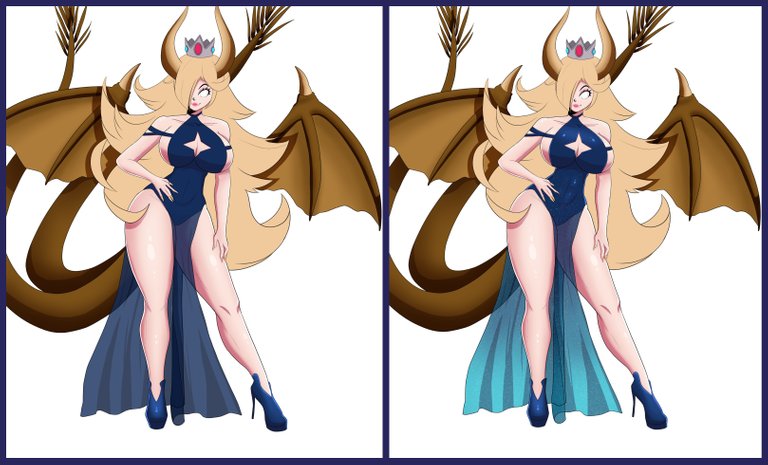
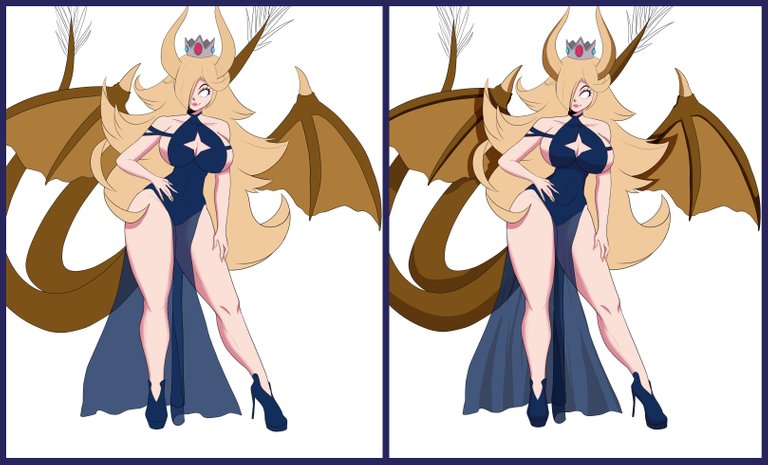
Then with the color white or a color super close to white I add a white border to the brightest places. For this illustration I wanted to give it the effect that there is a lot of light from all directions. In addition to minor glitter details with oval shapes.
Después con el color blanco o un color super cercano a ser blanco le agrego un borde blanco a los lugares mas iluminados. Para esta ilustración le quise dar el efecto de que hay mucha luz de todas direcciones. Además de detalles de brillos menores con formas de óvalos.
For hair, the process is a little different. Starting from the base color in another layer, I add lines of various thicknesses with a darker tone to identify strands. Later on another layer with the multiplication mode, plus the normal brush with which I work and an airbrush I am adding shadow.
Ya para el cabello el proceso es un poco distinto. Partiendo del color base en otra capa le agrego con un tono más oscuro líneas de varios grosores para identificar mechones. Posteriormente en otra capa con el modo de multiplicación, más el pincel normal con el que trabajo y un aerógrafo le voy agregando sombra.
We apply the respective light details in white and lower the opacity a bit so that it does not cover the details. I like to add a black border, then a white one and finally a colored one with the airbrush to enhance the character.
Note: I will explain the simple backgrounds, eyes and other details that I make in my work in future blogs.
Aplicamos los respectivos detalles de luz en blanco y le bajo la opacidad un poco para que no tape los detalles. Me gusta agregarle un borde negro, después uno blanco y por último con el aerógrafo uno de color para realzar personaje. Nota: Los fondos sencillos, ojos y demás detalles que realizo en mis trabajos los explicaré en siguientes blogs

Collages made with: befunky
Translator: Google Translate
Drawing program: Clip Studio Paint
The images are my own
Collages realizados con: befunky Traductor: Google Translate Programa de dibujo: Clip Studio Paint Las imágenes son de mi autoria

!LUV it
(1/1) gave you LUV. H-E tools | connect | <><@sidekickmatt
Congratulations @gardenkaiser! You have completed the following achievement on the Hive blockchain and have been rewarded with new badge(s):
Your next target is to reach 200 upvotes.
You can view your badges on your board and compare yourself to others in the Ranking
If you no longer want to receive notifications, reply to this comment with the word
STOPCheck out the last post from @hivebuzz:
Support the HiveBuzz project. Vote for our proposal!