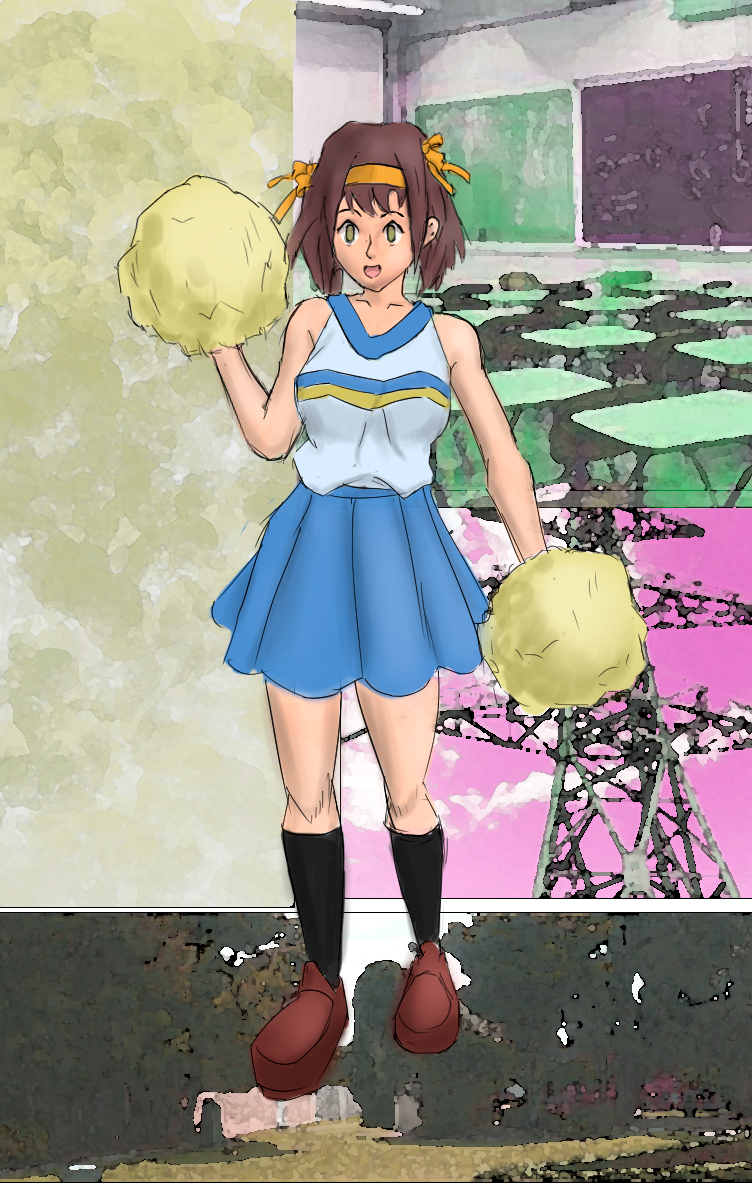
Hola, muy buenas. En esa ocasión les vengo a mostrar todo el proceso detras de este dibujo del personaje del anime del mismo nombre: "Haruhi Suzumiya". Se que es no es el mejor, pero prometo esforzarme para hacerlo mucho mejor la próxima ves. Yo tiendo a mejorar muy rápido, y creo que el exponer mis errores me hace preocuparme mas por corregir mis errores, los cuales en este caso diria que son que no me gusta del todo la cara ni la perspectiva y proporciones de la pose...
Hello, everyone. On this occasion, I want to show you the process behind this drawing of the anime character of the same name: "Haruhi Suzumiya". I know it's not the best, but I promise to work hard to do much better next time. I tend to improve very quickly, and I think exposing my mistakes makes me more concerned about correcting them. In this case, I would say that I don't like the face, the perspective, or the proportions of the pose.

I hope this is correct. Let me know if you have any other questions.
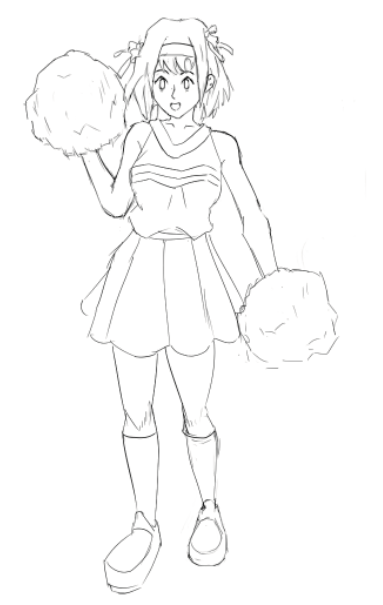
Pero bueno. 1. El sketch.
But well. 1. The sketch.
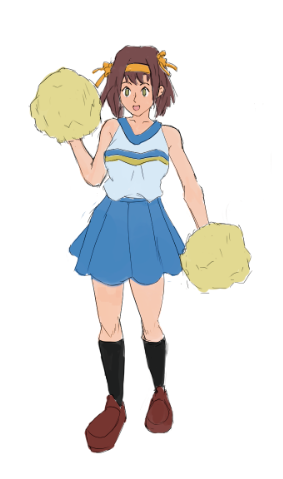
- El color base.
2. The base color.
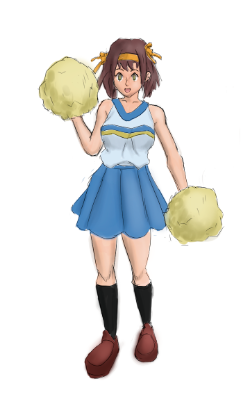
- El Shading
3. The shading
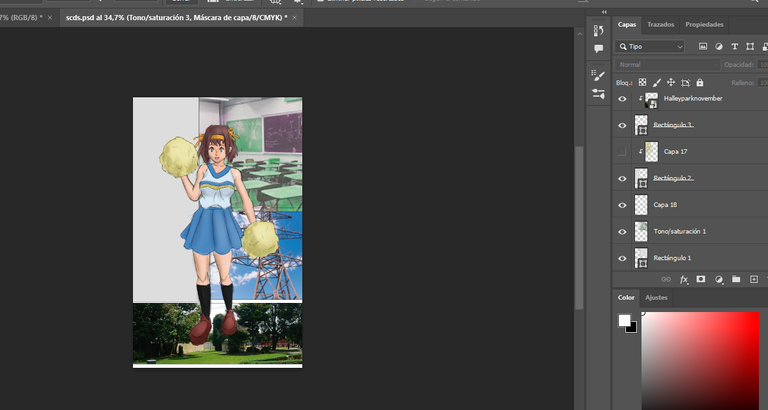
A partir de aqui decido pasarme a Photoshop ya que queria experimentar con algunas cosas, pero bueno, entre otras cosas decido hacer un fondo para el dibujo algo similar a cierto frame del opening del mismo anime, ya que este se ve muy genial
From here, I decide to move to Photoshop because I wanted to experiment with some things. But well, among other things, I decide to make a background for the drawing similar to a certain frame from the opening of the same anime, since it looks very cool.
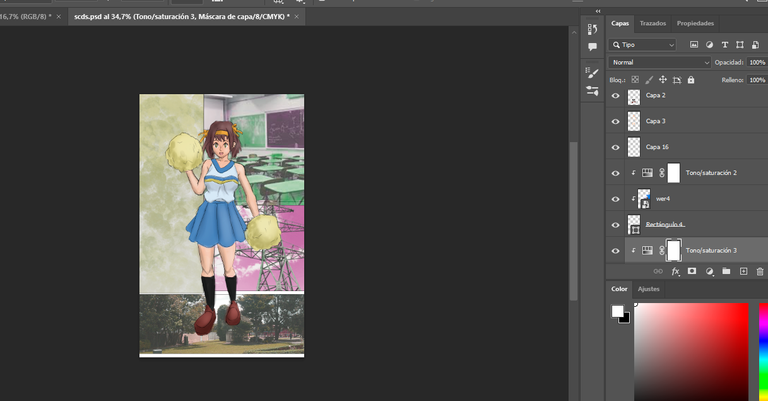
Es de esta forma que queda, y la forma en que lo hice fue en el caso del de la nube, simplemente con un pincel de nube, y en el caso del salon, la torre y el parque, pues son simples imagenes retocadas para tener cierto grado de tono aplicado a la imagen en su totalidad
This is how it turns out, and the way I did it was in the case of the cloud, simply with a cloud brush, and in the case of the living room, the tower, and the park, well, they are simple images retouched to have a certain degree of tone applied to the entire image.
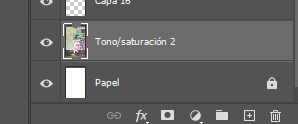
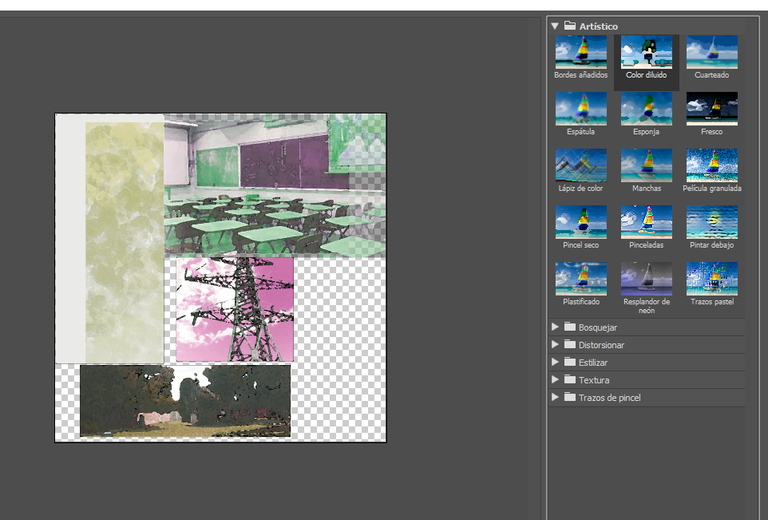
Al final uno todas las imagenes del fondo en una sola capa. Esto es para aplicar un filtro, como se ve abajo. Esto con fines de que la imagen tenga un estilo mas homogéneo
Finally, I combine all the background images into a single layer. This is to apply a filter, as seen below. This is in order for the image to have a more homogeneous style.

Y el resultado final es este.
Añado, que las imagenes de referencia son estas:
I add that the reference images are these:
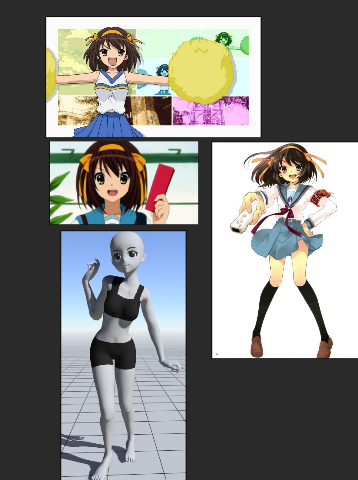
Y por si se lo preguntan: La pose es sacada de una web para posicionamiento de mannequins, y es esta: https://webapp.magicposer.com.
Gracias por leer, hasta luego!
And just in case you're wondering: The pose is taken from a website for mannequin positioning, and it is...

Thank you for reading, and see you later!