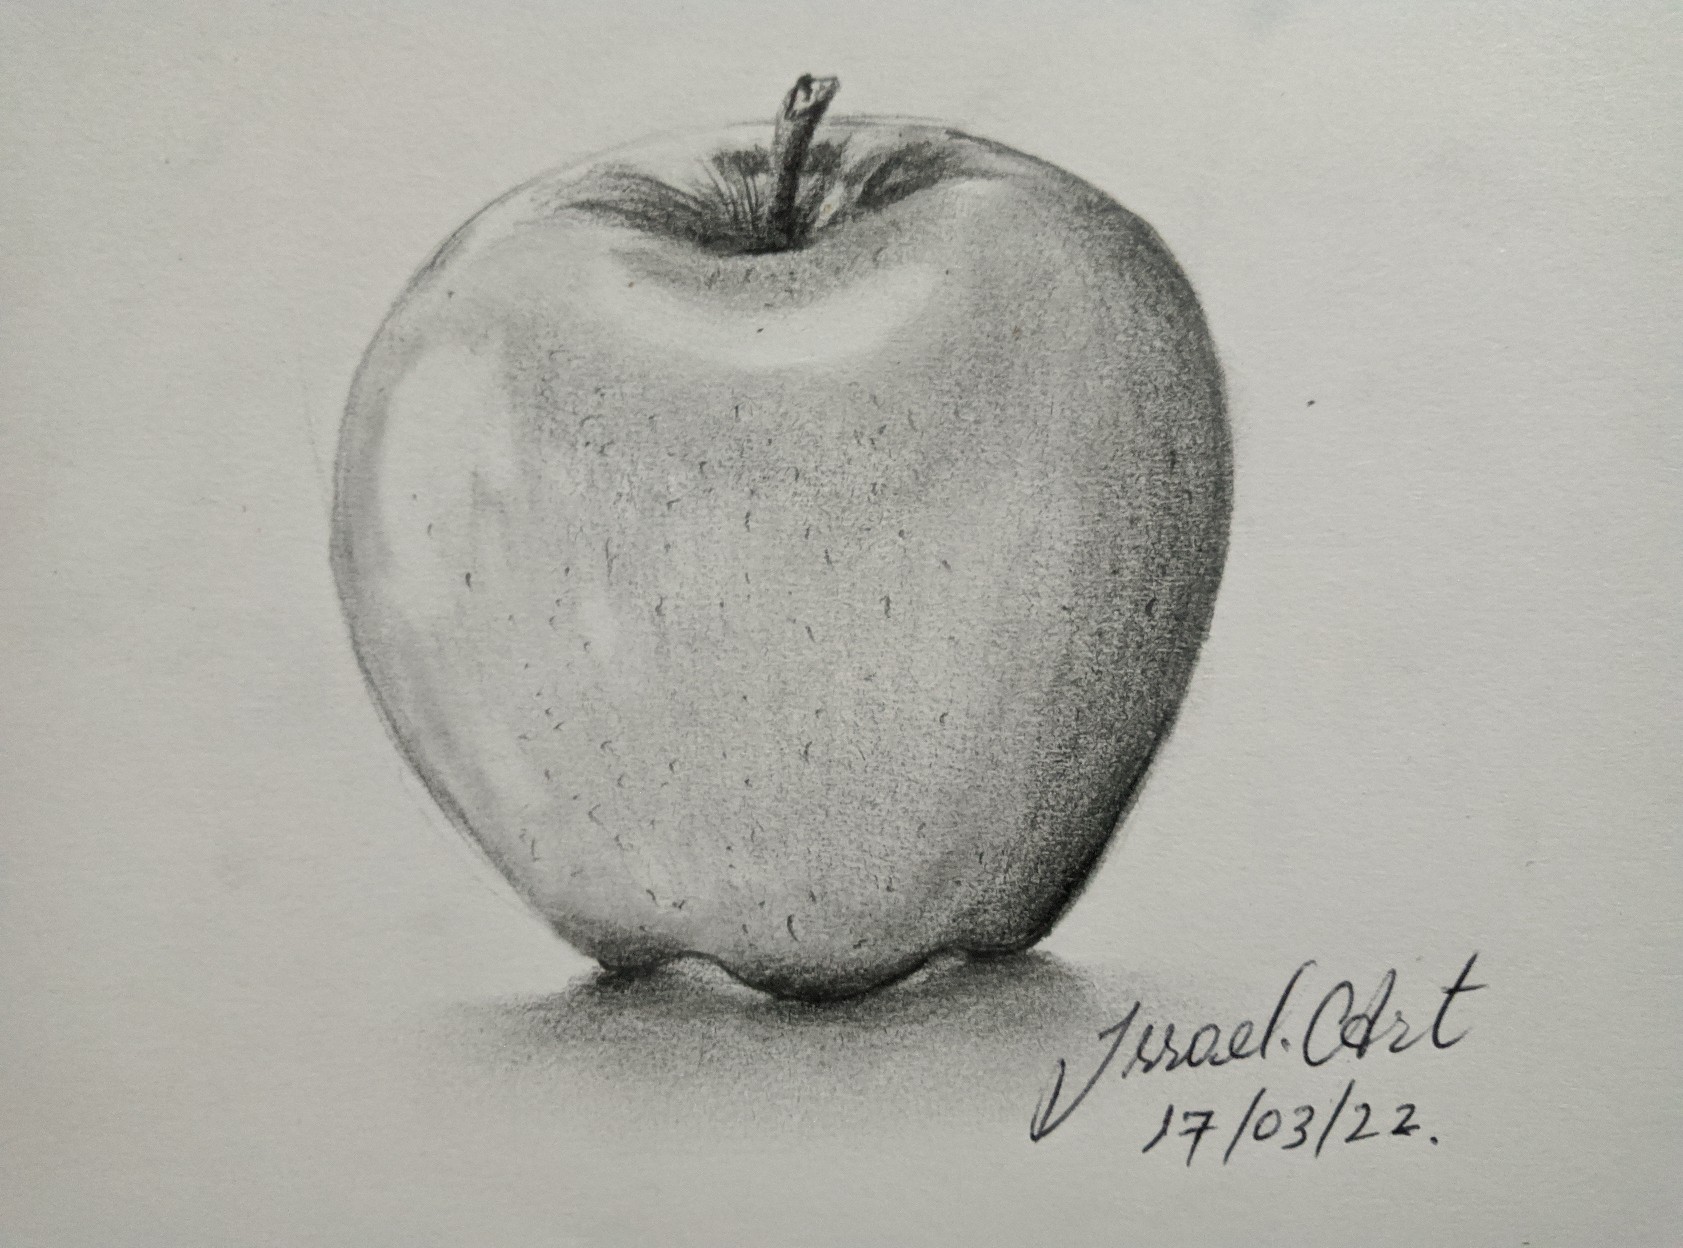
Buenos días queridos compañeros de la colmena, el día de hoy les compartiré un dibujo de una manzana realista, así que bienvenido a mi post espero que al terminarlo ya sepas como dibujar manzanas es muy fácil y se necesita muy poco.
Good morning dear fellow hives, today I will share a drawing of a realistic apple, so welcome to my post. I hope that when you finish it you already know how to draw apples, it is very easy and very little is needed.

Materiales:
. Hoja de cartulina
. Lápices de dibujo " H, 2D, 3B"
. Borrador
. Difumino
Materials:
. cardstock sheet
. Drawing pencils " H, 2D, 3B"
. Eraser
. I blur
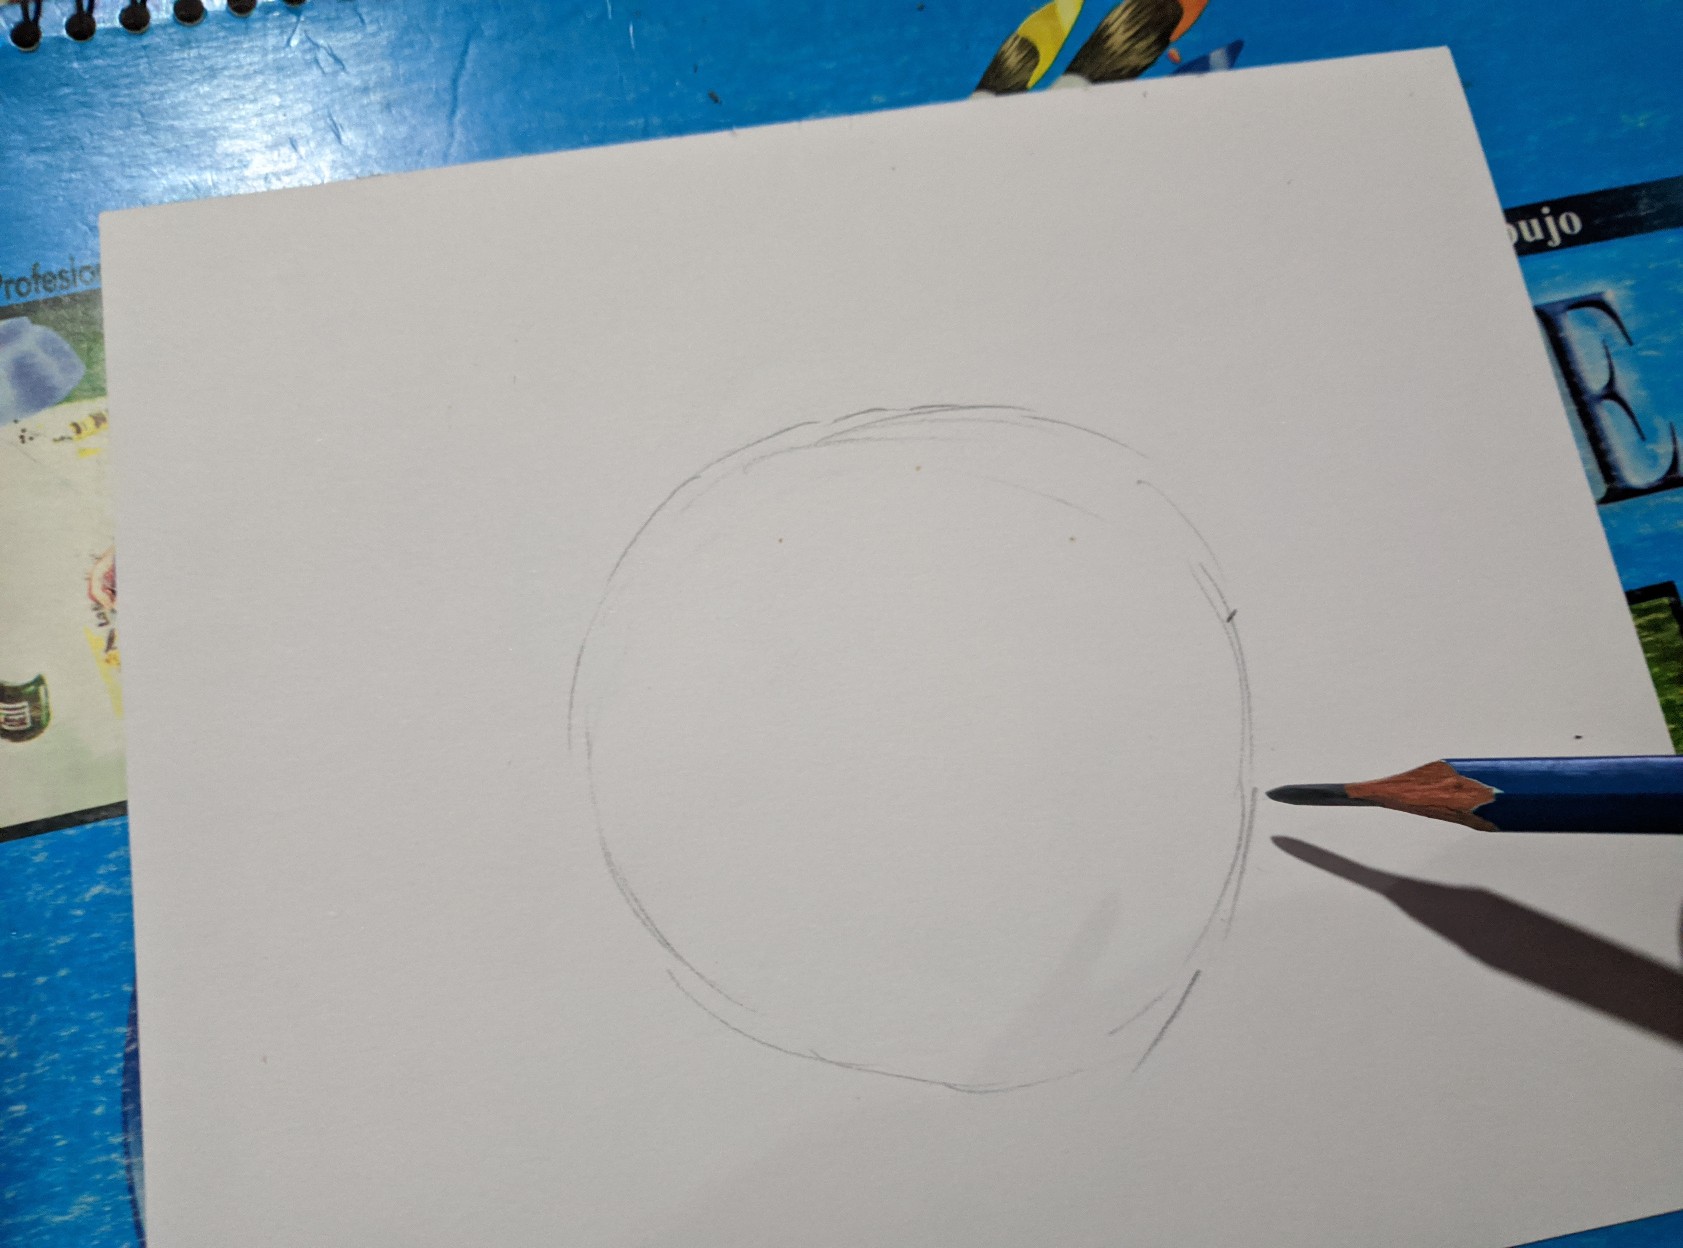
Para comenzar dibuje un circulo en la cartulina.
To begin, draw a circle on the cardboard.
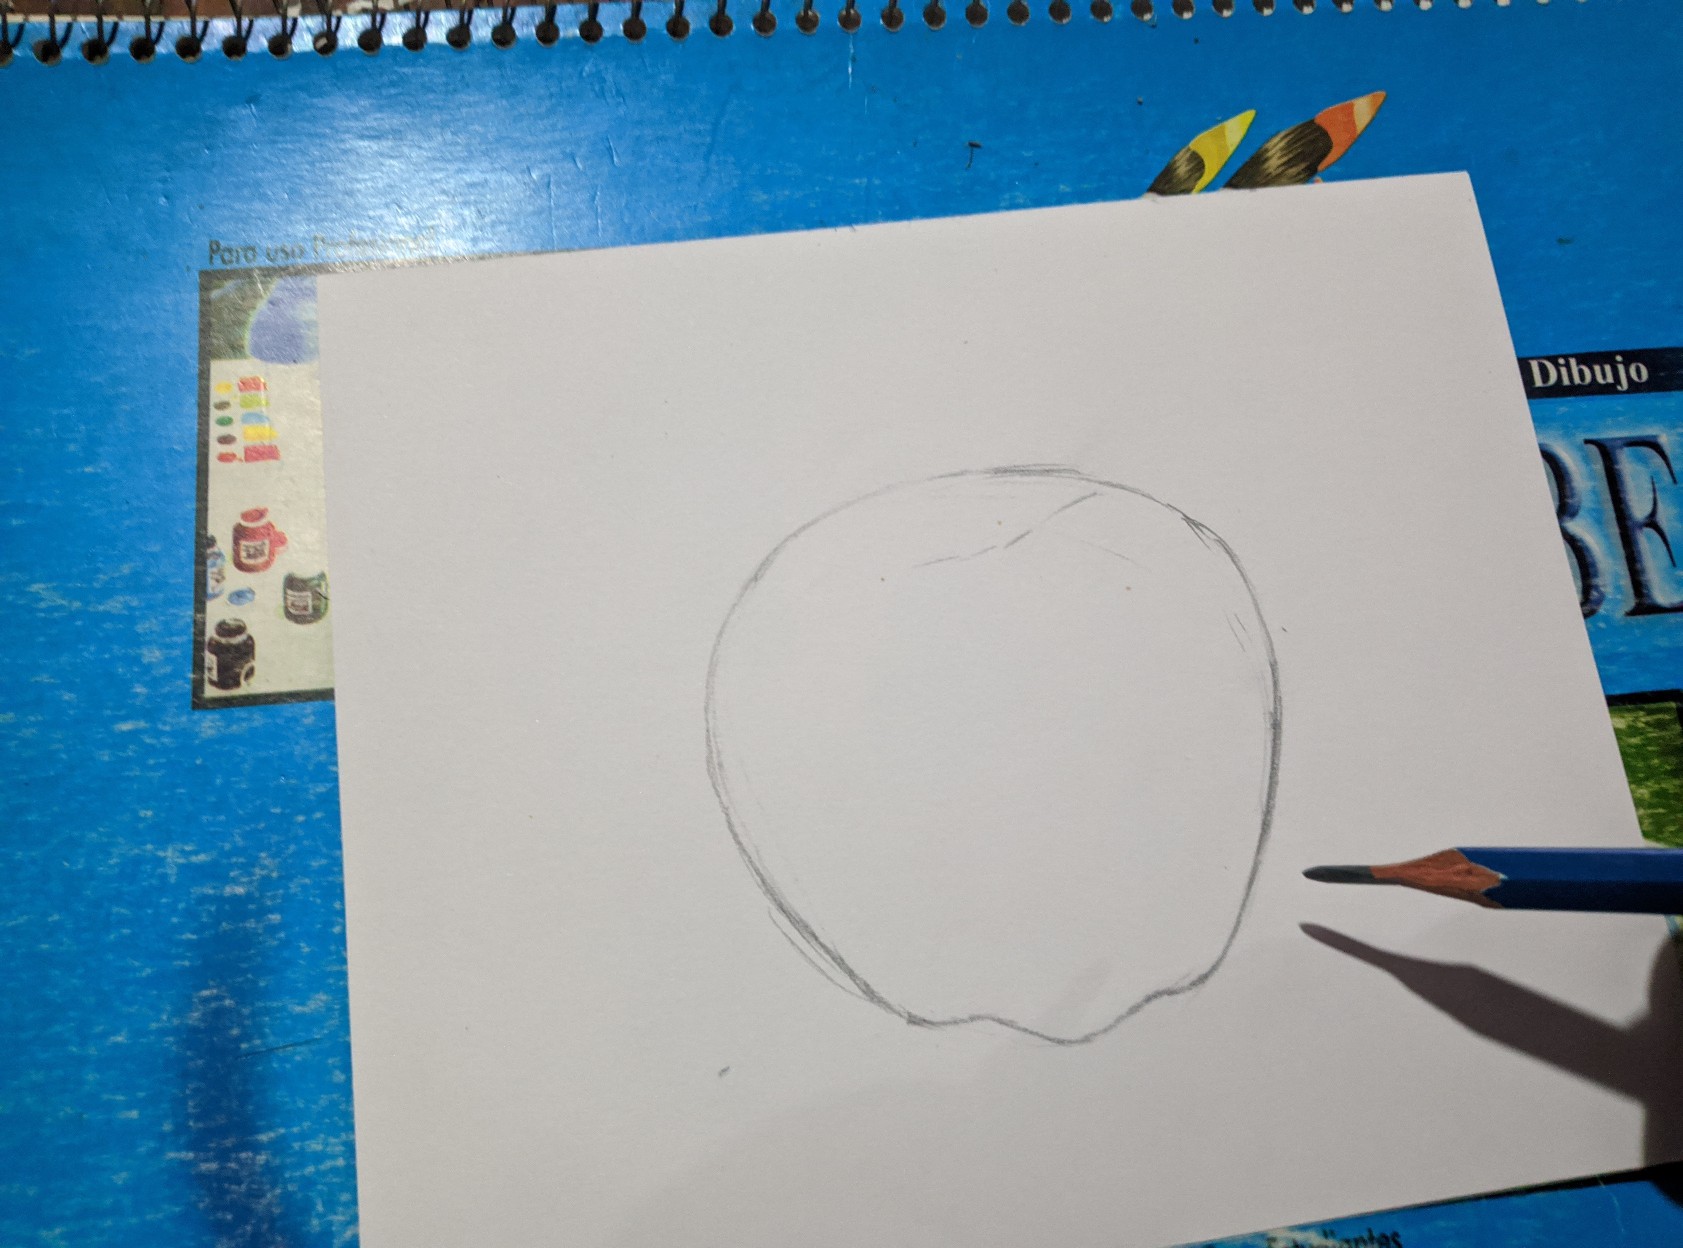
Luego le hice la forma de una manzana es muy fácil y no se necesita referencias comencé haciendo este dibujo con un lápiz "H"
Then I made the shape of an apple, it's very easy and no references are needed, I started making this drawing with a pencil "H"
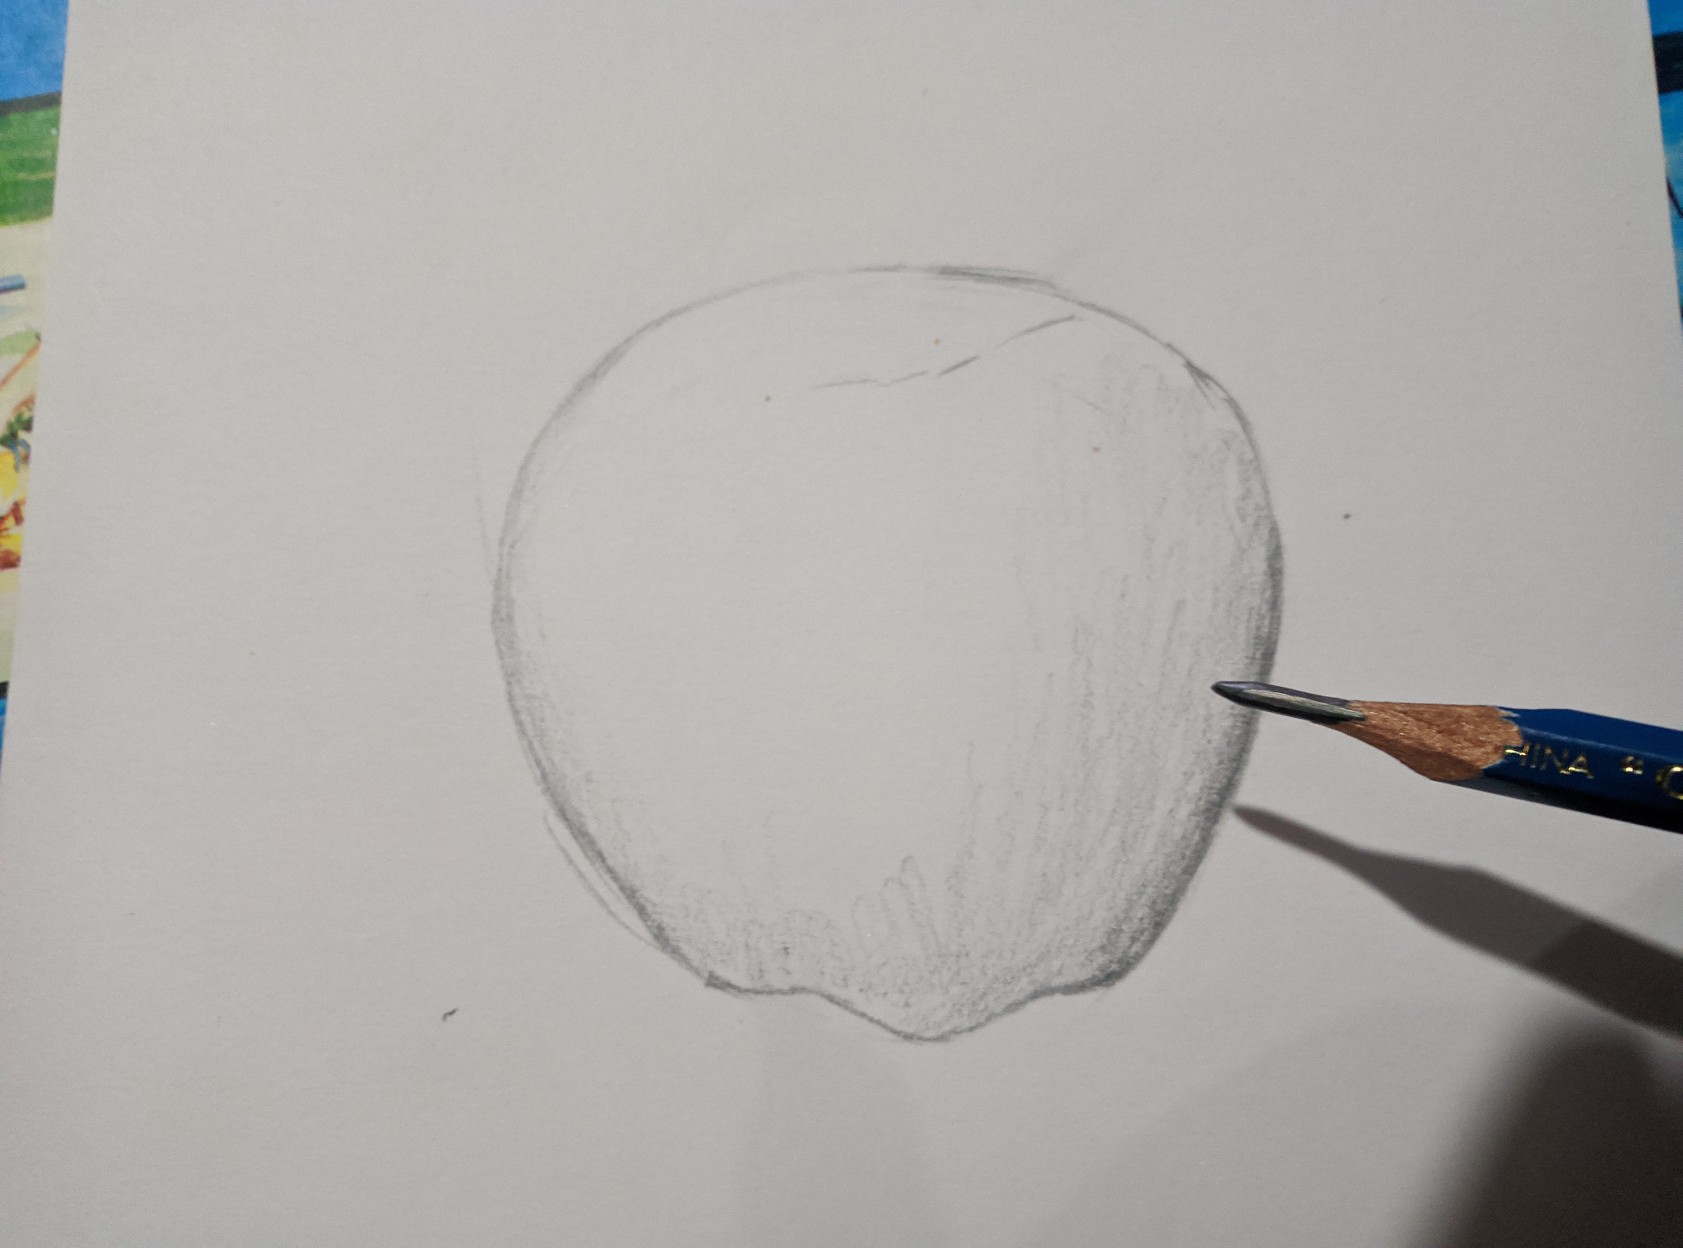
Luego de tener la forma de una manzana comenzare el sombreado, de el lado izquierdo será la iluminación así que el lado mas oscuro será el derecho, comenzare a hacer las sombras con el mismo lápiz "H" para hacer un primer sombreado suave.
After having the shape of an apple I will start the shading, the left side will be the lighting so the darker side will be the right, I will start making the shadows with the same "H" pencil to make a first soft shading.
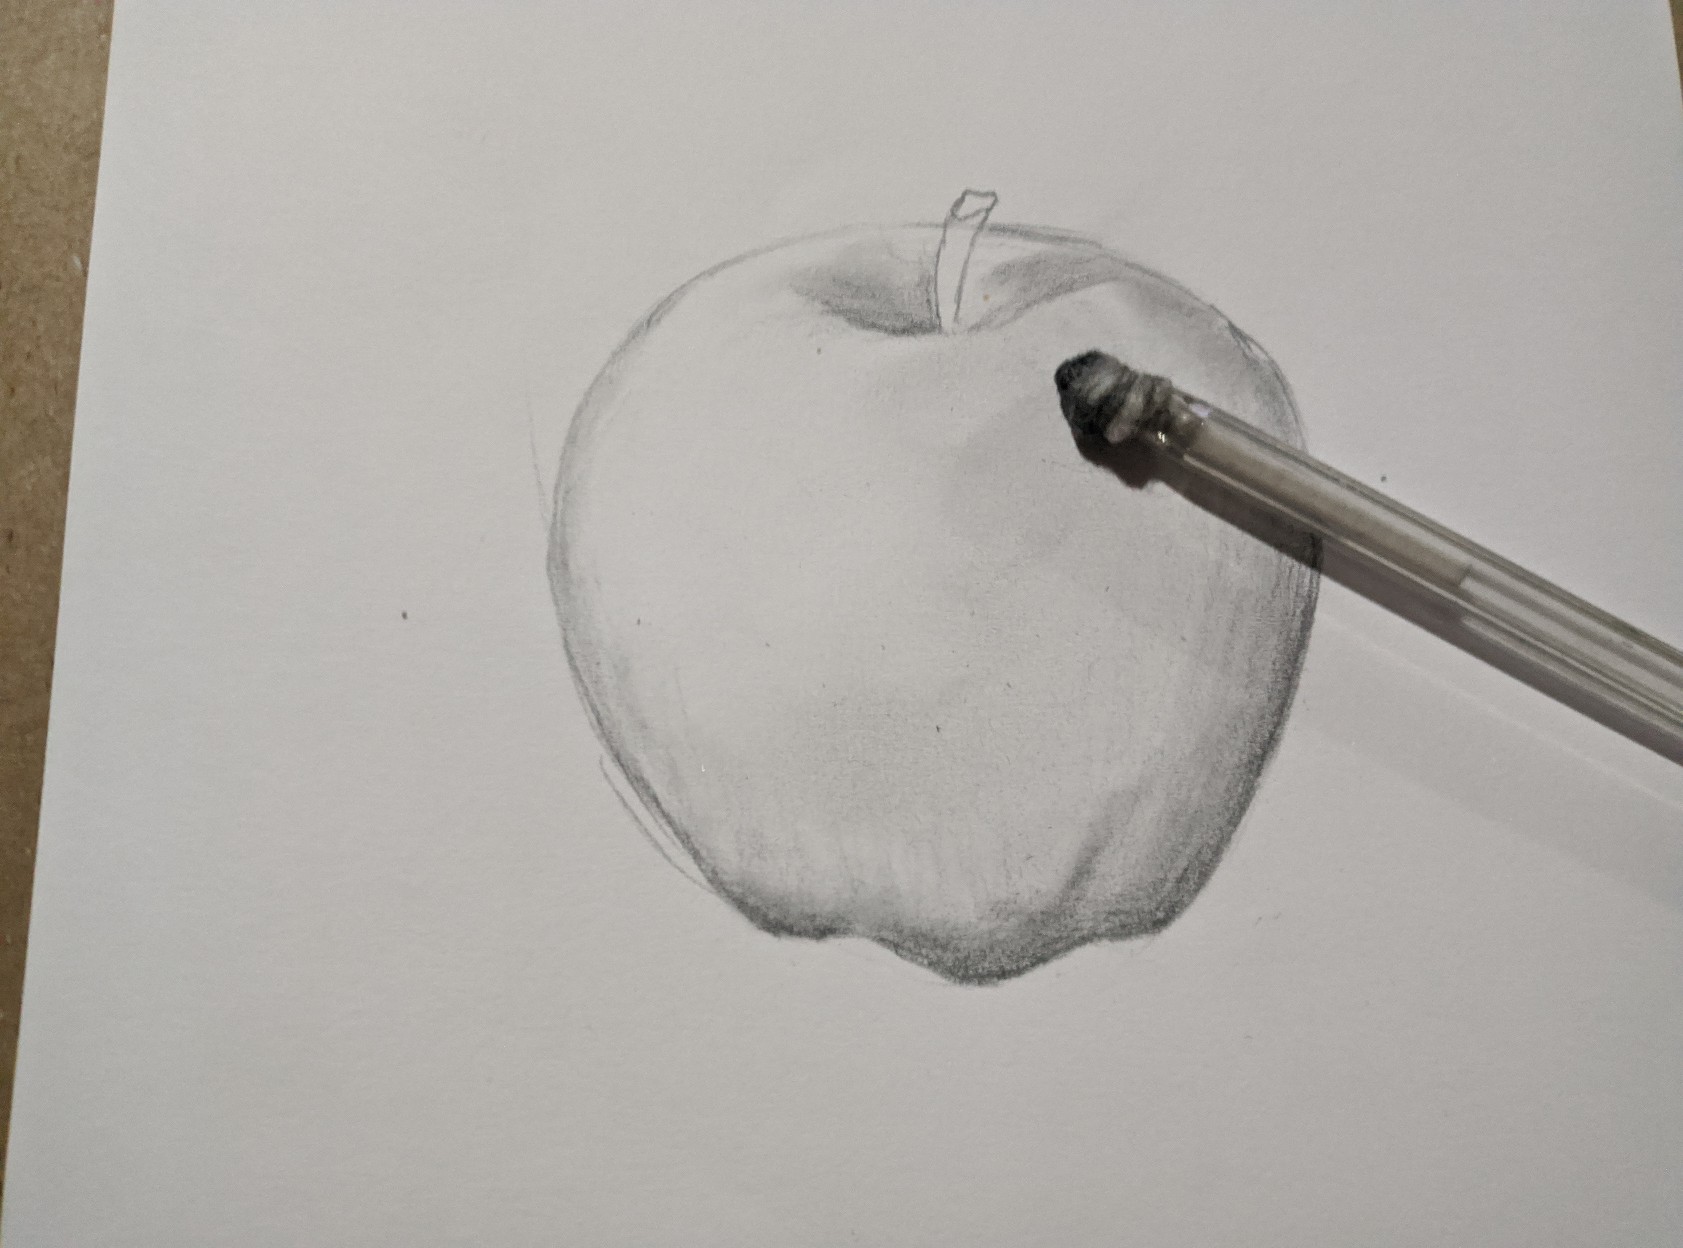
Luego hay que difuminar un poco el sombreado para que quede mas uniforme, en mi caso use un difumino casero hecho por mi que no es mas que medio hisopo dentro de un bolígrafo sin punta.
Then you have to blur the shading a little so that it is more uniform, in my case I used a homemade blur made by me that is nothing more than half a swab inside a blunt pen.
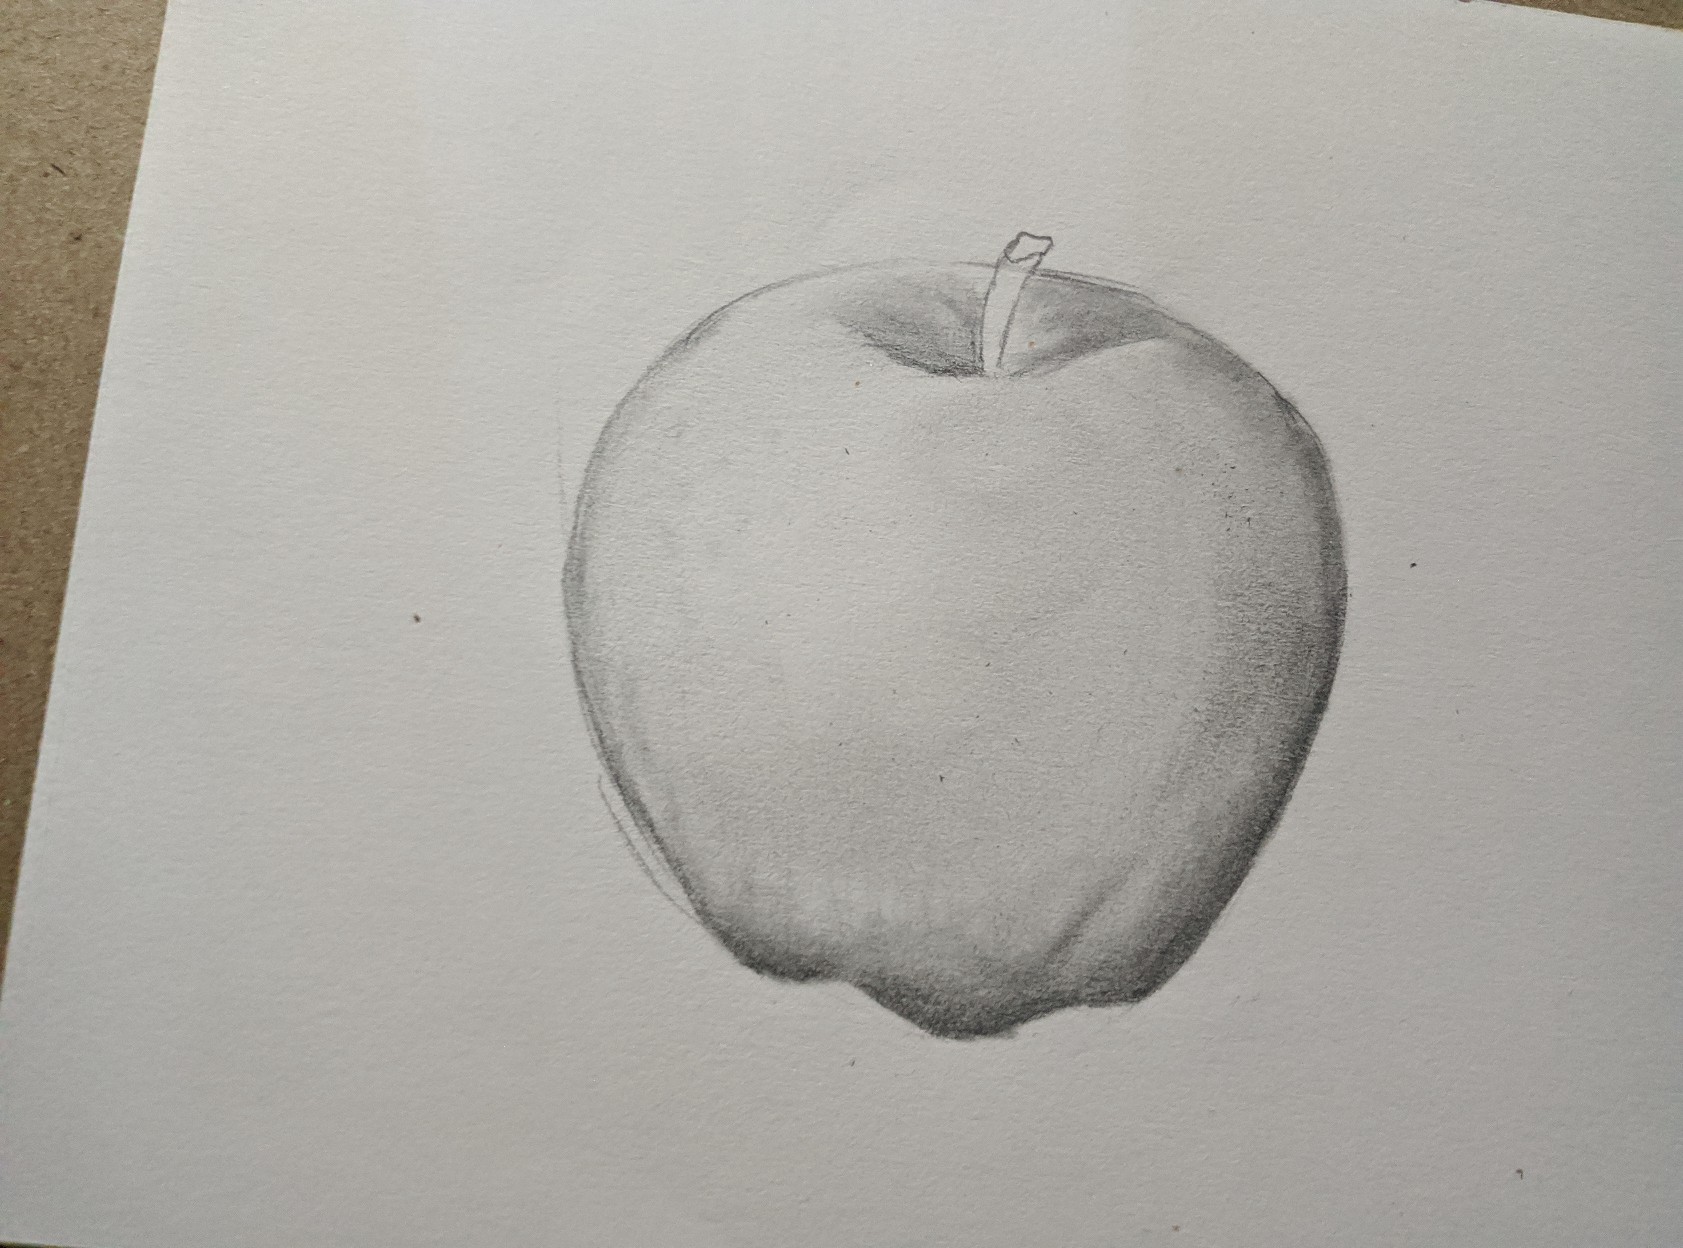
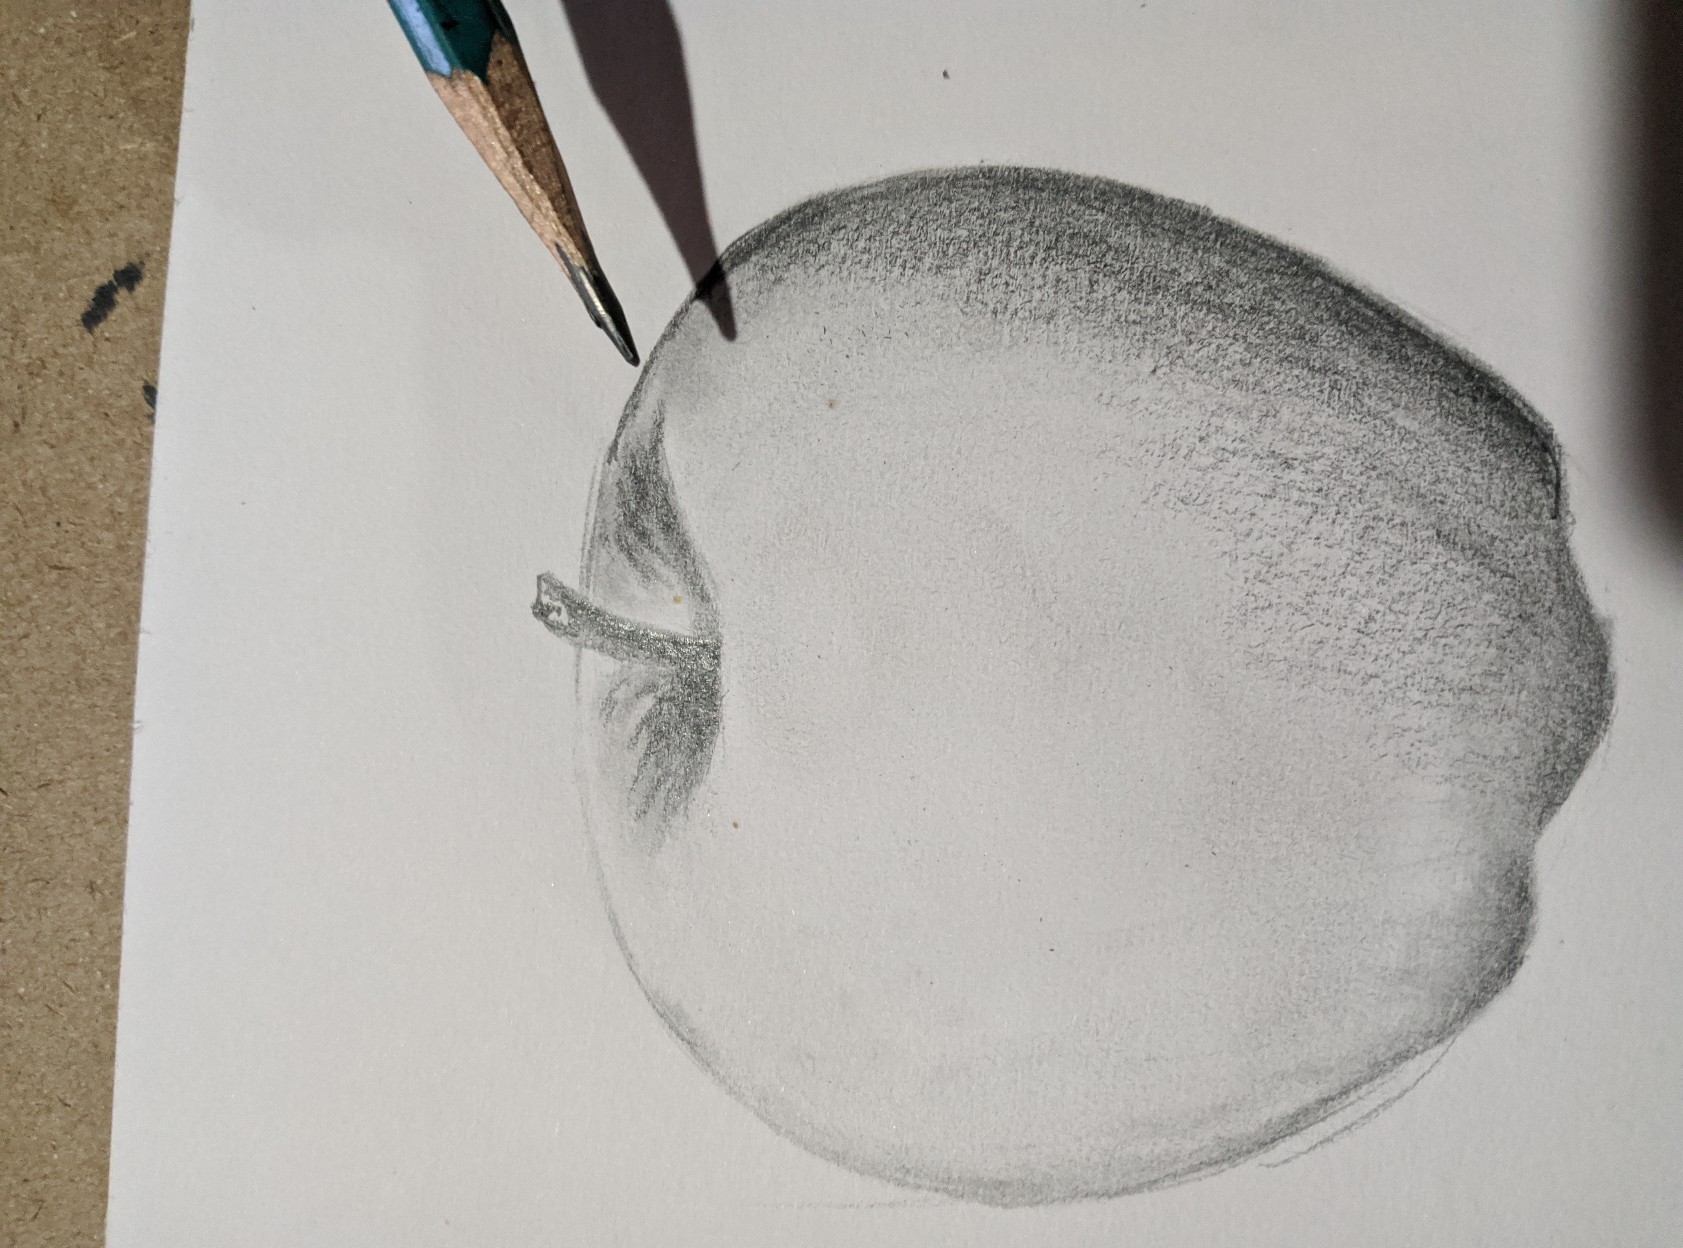
Para dar mas oscuridad a las sombras utilice un lápiz "2B"
To make the shadows darker use a "2B" pencil.
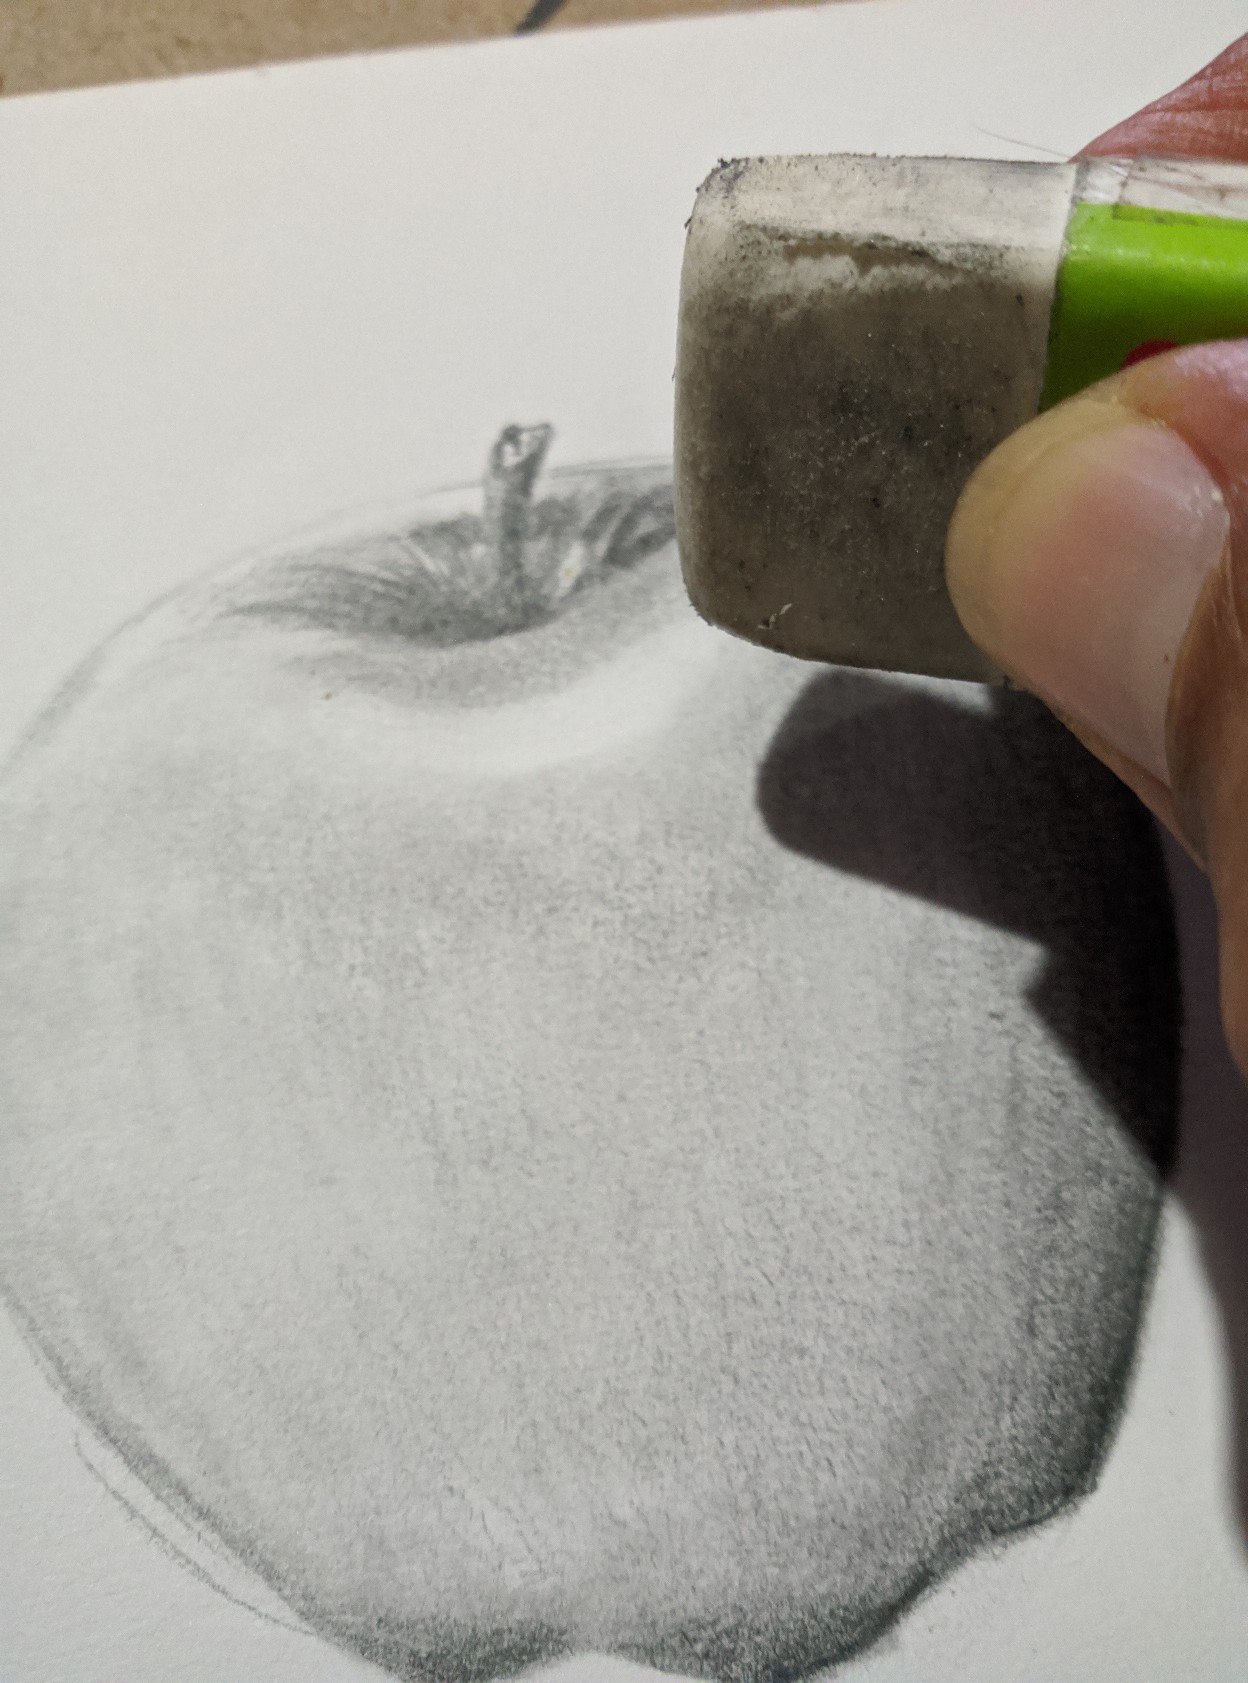
Di un poco de brillo en algunas zonas con un borrador.
Add a bit of shine to some areas with an eraser.
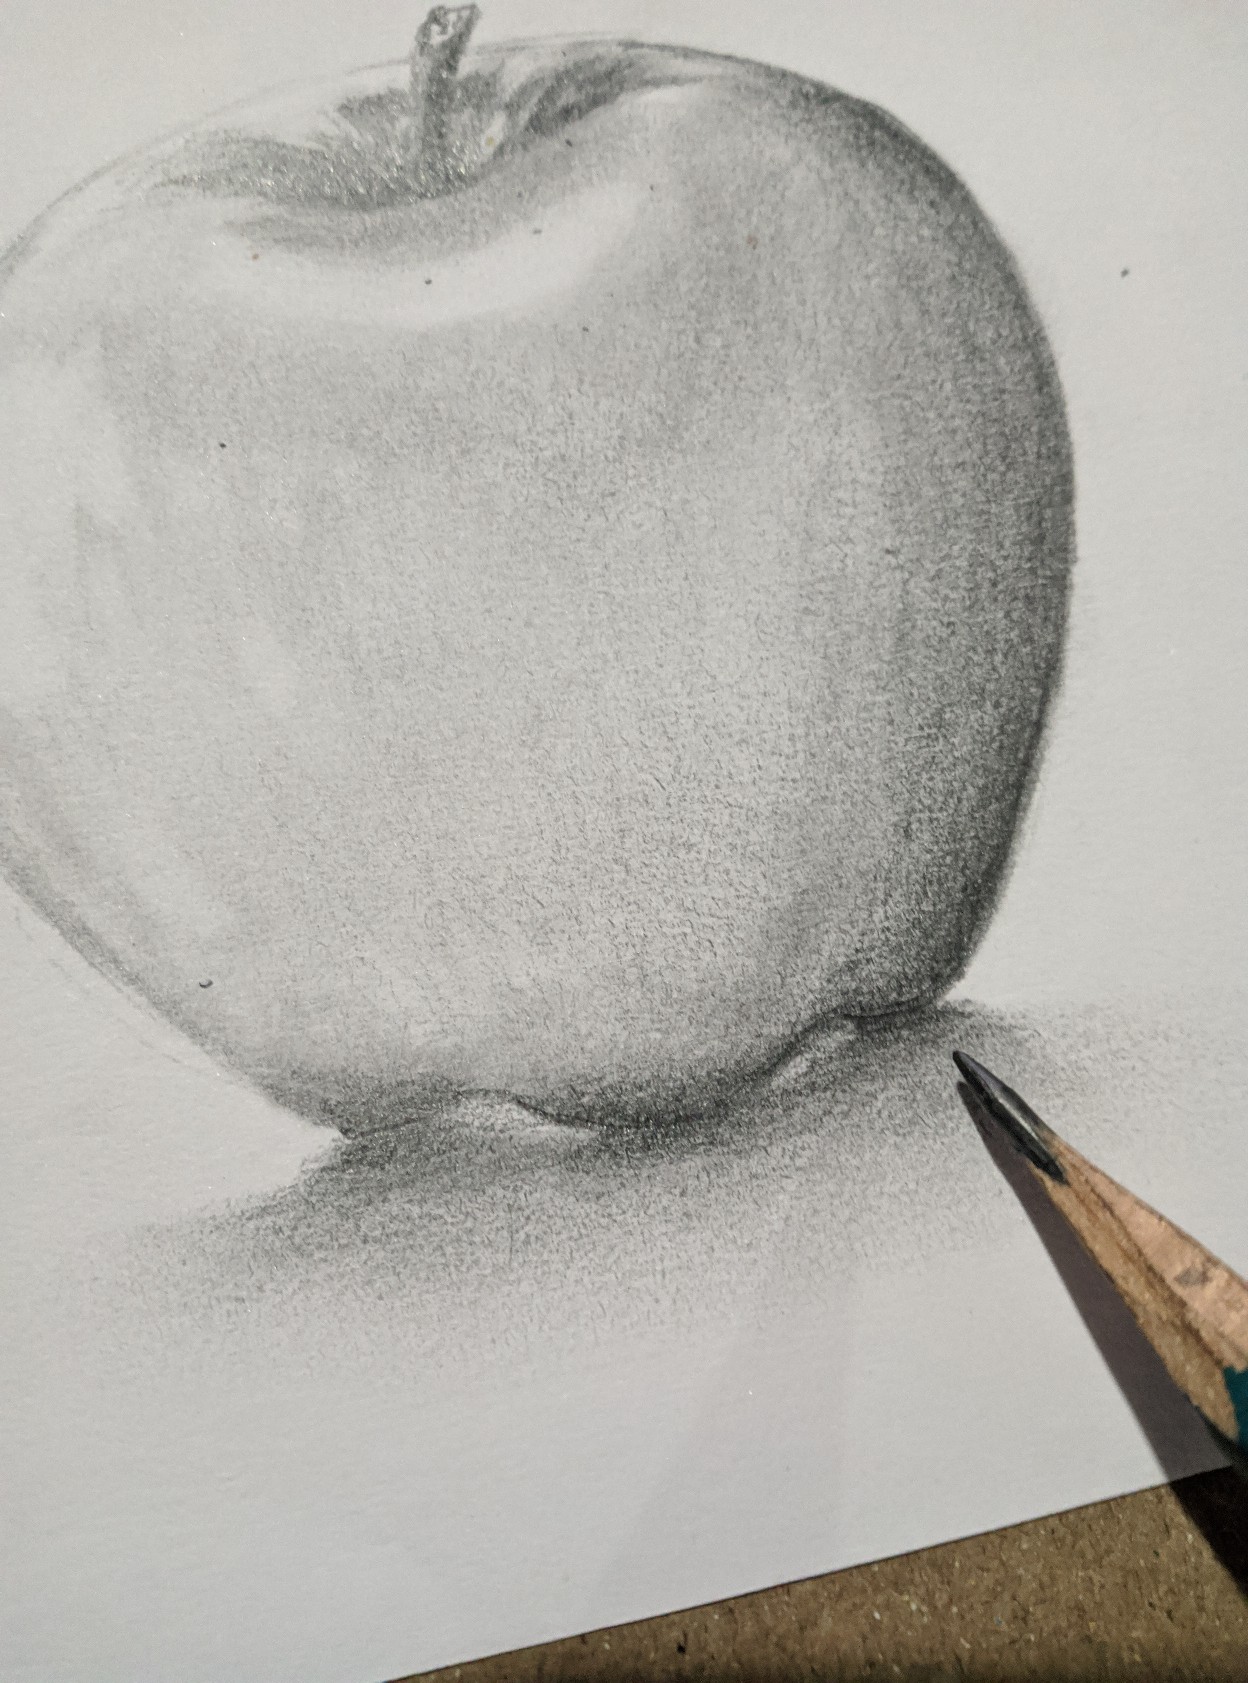
Por ultimo use un lápiz "3B" para dar un poco mas de oscuridad
Finally use a "3B" pencil to give a little more darkness
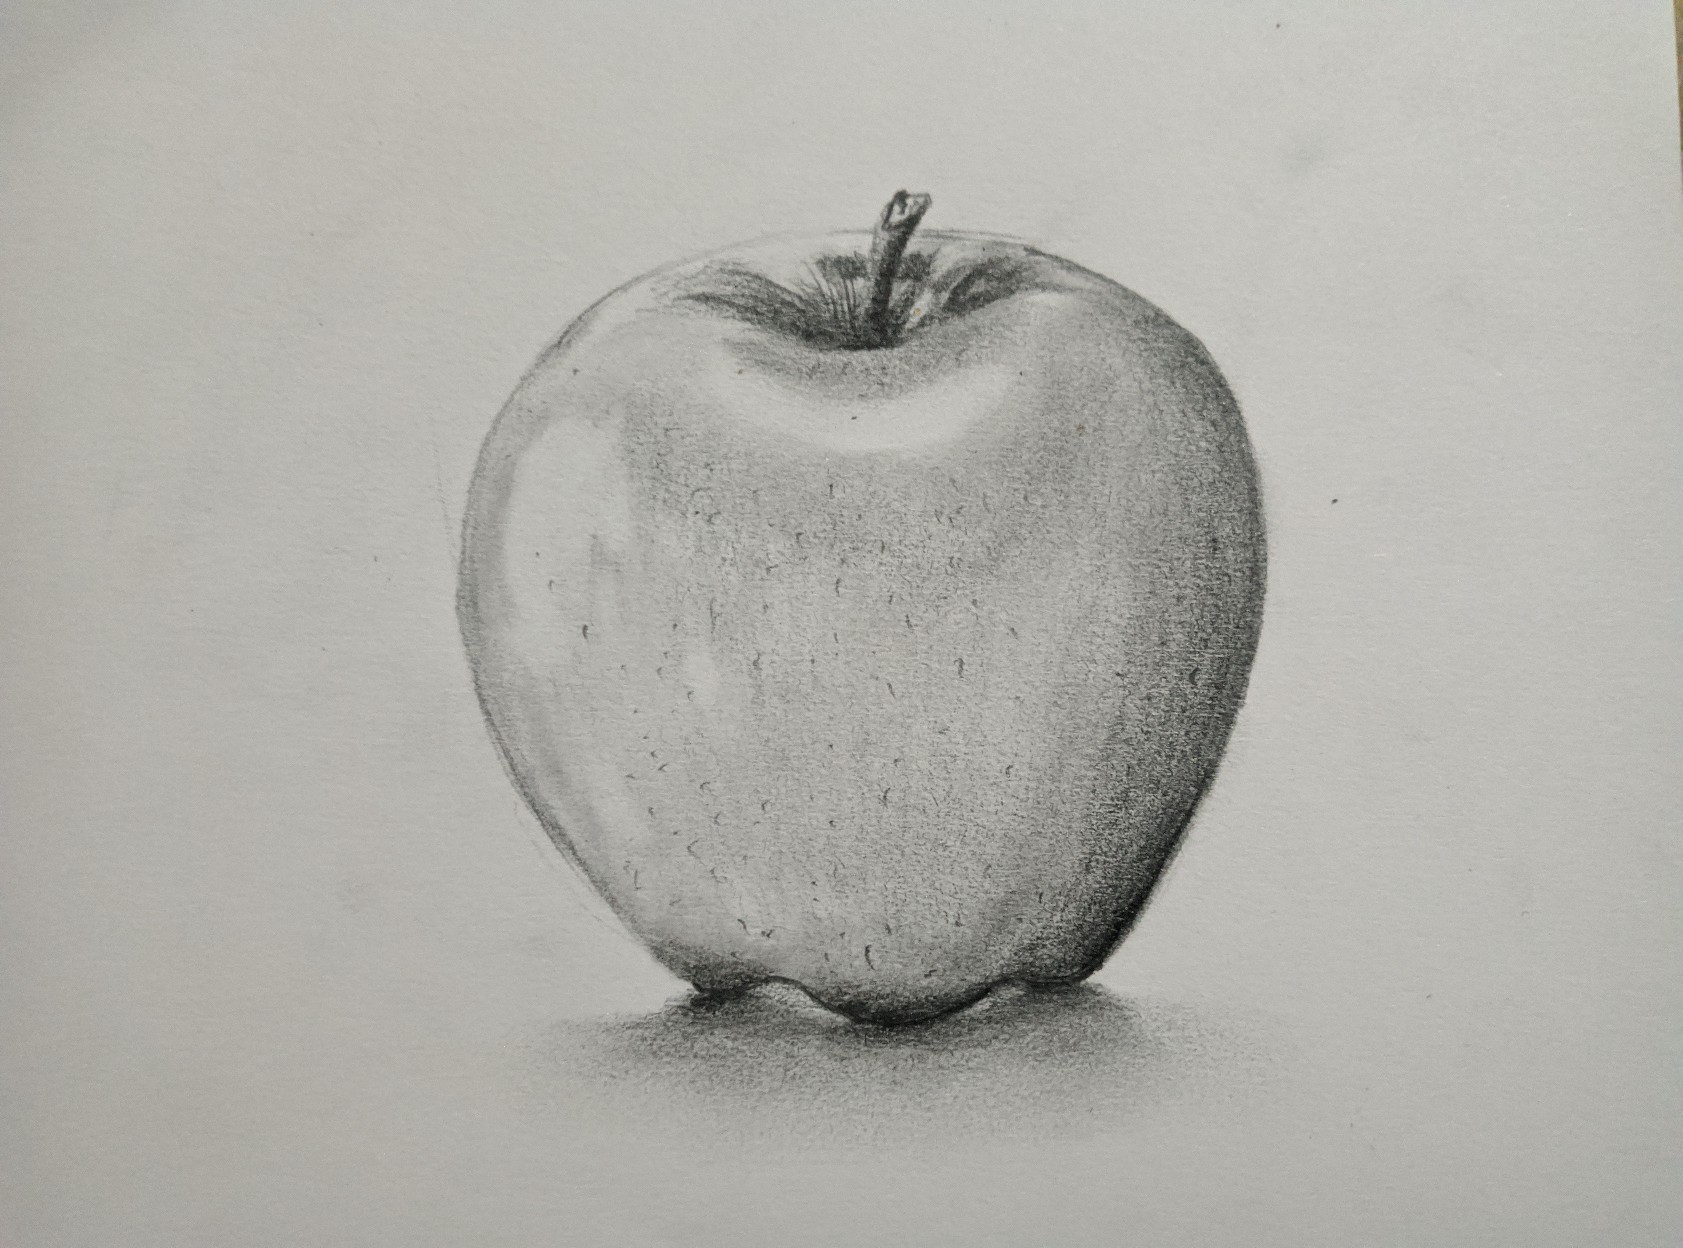

Este fue el resultado final, espero allá sido de utilidad este pequeño tutorial y gracias por visitarme y leerme, hasta una nueva publicación.
This was the final result, I hope this little tutorial has been useful there and thanks for visiting and reading me, until a new publication.

. Las imágenes son tomadas con mi teléfono redmi 9
. Traducido con el traductor de google
. Pictures are taken with my redmi 9 phone
. Translated with google translate
Nice work
thanks my friend
This is so accurate to the real one!!!! How did you make it? This is so good! 😍😍😍
Hello friend, it is easy to do, you just have to know how to use pencils a little and work with lights and shadows, so animate it is a matter of practice.
Amazing!
thanks my friend