¡Hola amigos de HIVE!
Espero que estén todos excelente. Hoy les quiero mostrar algo nuevo que hice, algo nuevo que experimenté y me gustó mucho como quedó. Este es un nuevo episodio de Leslie prueba u nuevo estilo, pero esta vez dibujando a Hyunjin de Stray kids en el Trailer de ★★★★★ (5-STAR), ¿qué tal si vemos como ocurrió todo?
Hi HIVE friends!
I hope y'all are doing great. Today I want to show you something new I did, something new I experimented with and I really liked how it turned out. This is a new episode of Leslie trying out a new style, but this time drawing Hyunjin from Stray kids in the ★★★★★ (5-STAR) trailer, how about if we see how it all happened?
Proceso / Process
Paso 1 / Step 1
Comencé con tomando la referencia y haciendo el boceto en tradicional.
I started taking the reference and making the sketch in traditional.
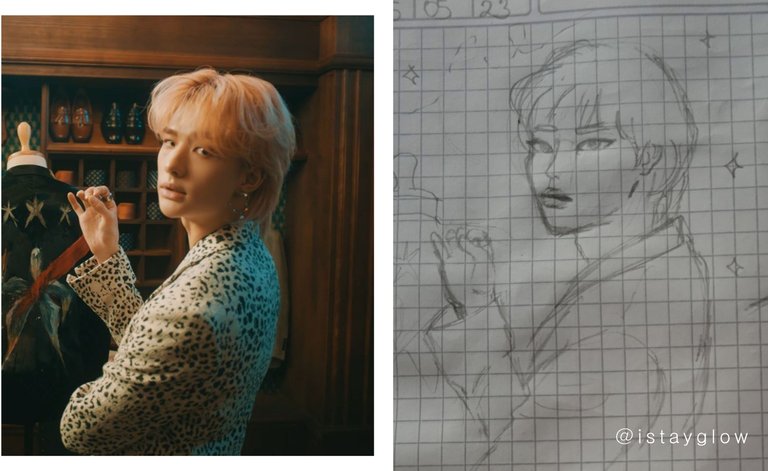
Reference | Sketch
Paso 2 / Step 2
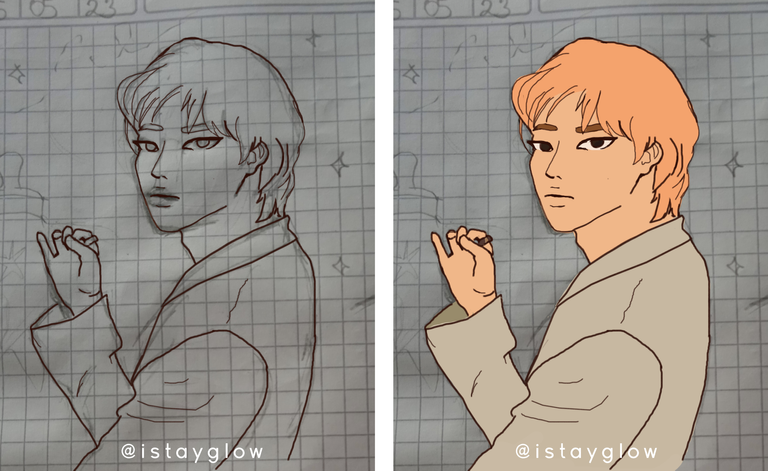
En digital, dibujé un lineart y añadí los colores base de la piel, el cabello y la ropa.
In digital, I drew a lineart and added the base colors ofthe skin, the hair and the clothes.
Paso 3 / Step 3
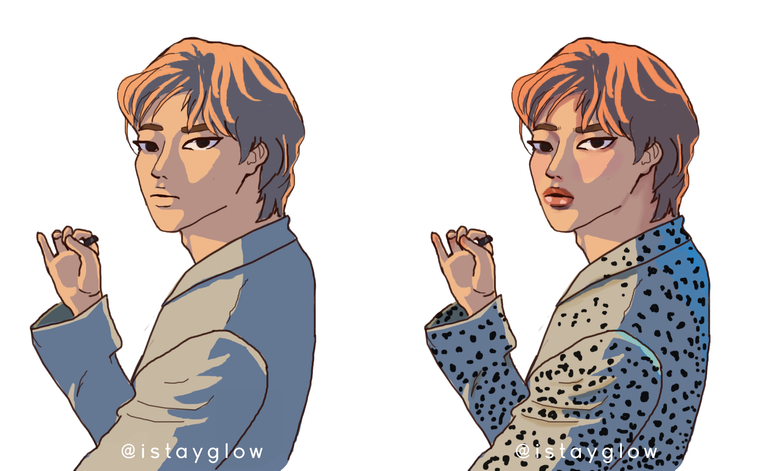
Luego, creé capas de recorte en modo multiplicar para crear sombras y luego rendericé un poco la piel y la ropa.
Then,I created clipping layers in multiply mode to create shadows and then rendered the skin and clothes a bit.
Paso 4 / Step 4
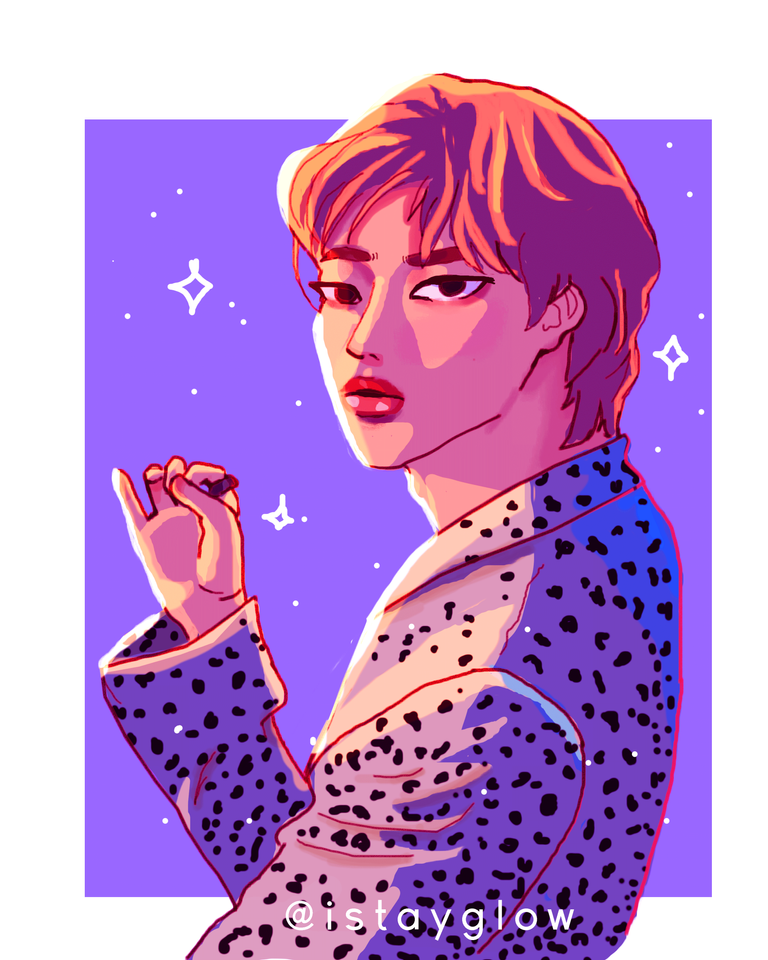
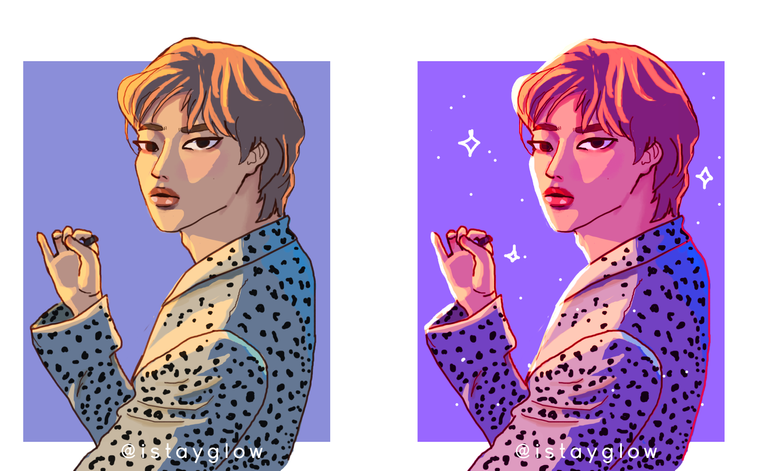
Finalmente, añadí más capas de recorte para la iluminación, una en modo superposición y otra en sobreexposición lineal (añadir). Además, mantuve el fondo simple, hice correcciones de color para que se viese todo más cohesivo, añadí brillitos para decorar y ¡listo!
Lastly, I added more clipping layers for the lighting, one in overlay mode and one in linear overexposure (add). Also, I kept the background simple, made color corrections to make everything look more cohesive, added some sparkles for decoration and that's it!
¡Nos vemos la próxima!...
Thank you for coming this far <3 I hope you liked it!
See you next time!...