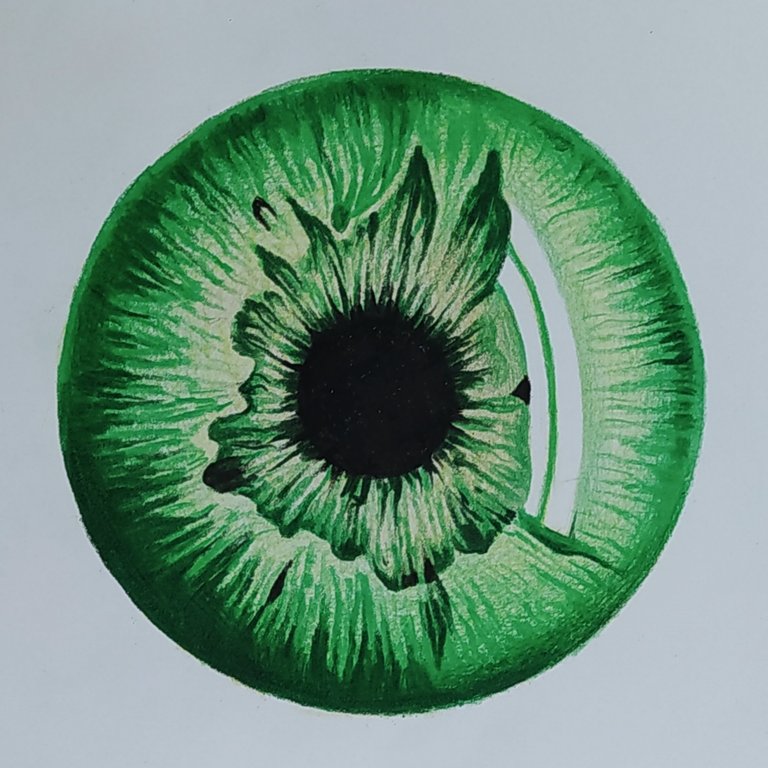
Hello, good time, my good friends.
I am at your service by teaching colored eye painting.
This painting was done using MQ colored pencils.
I took pictures of the work steps for you, and I will upload them step by step for you to watch.
I used pargar to start and execute a precise circle.
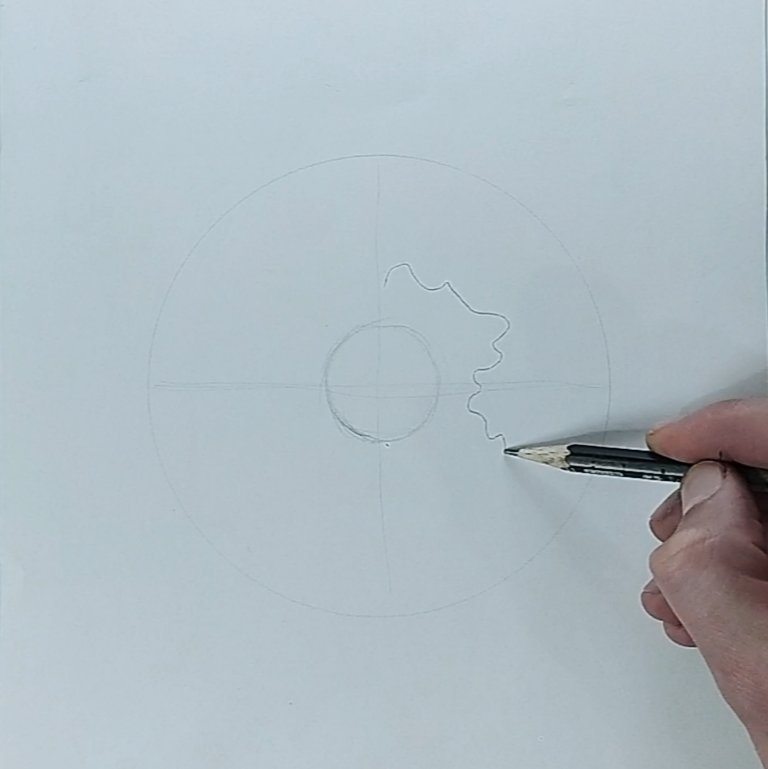
Then, using a pencil, we put the details inside the eyes.
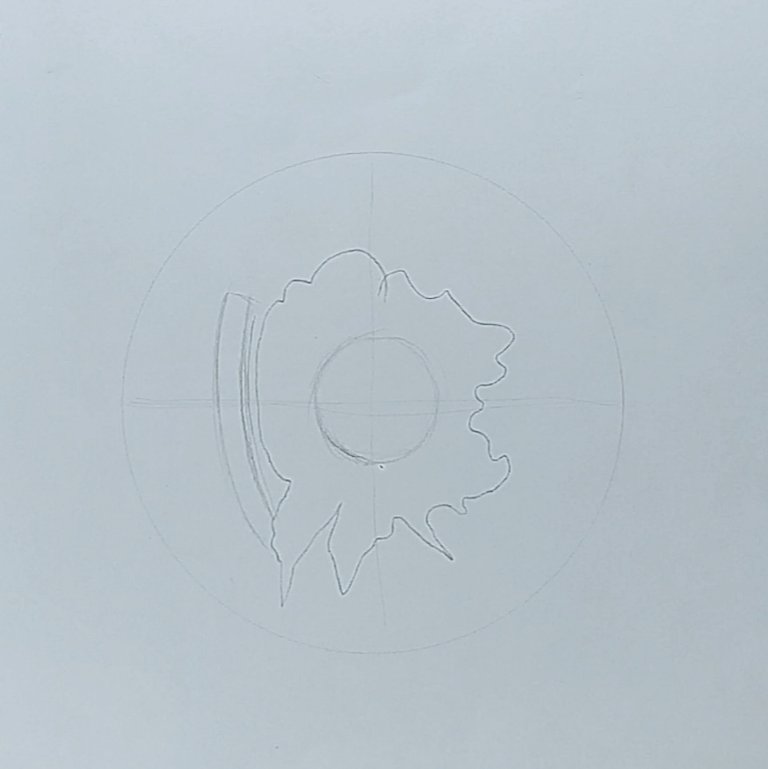
After finishing placing the details inside the eye, we remove the effects of the pencil with an eraser so that it does not mix with the color of the ink.
Because the combination of colored ink and graphite pencil is unpleasant.
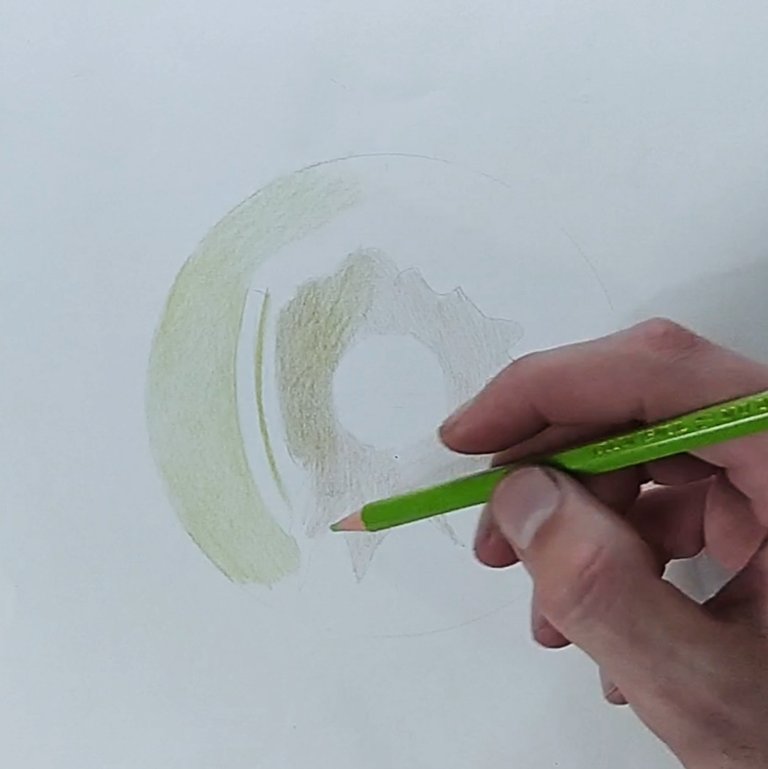
Then we put the initial liner of our artwork with a green pencil.
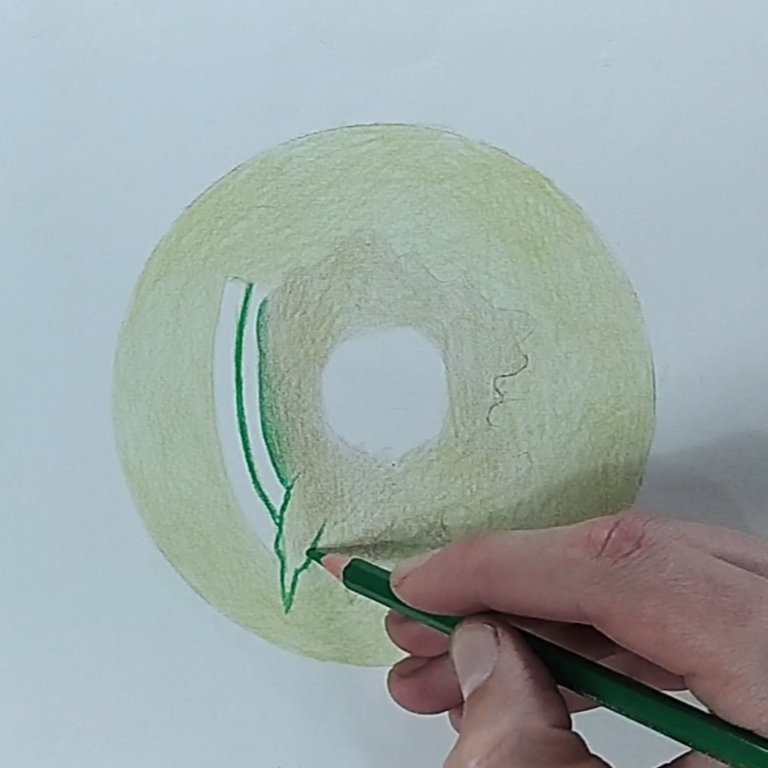
We gradually add darker layers to the painting.
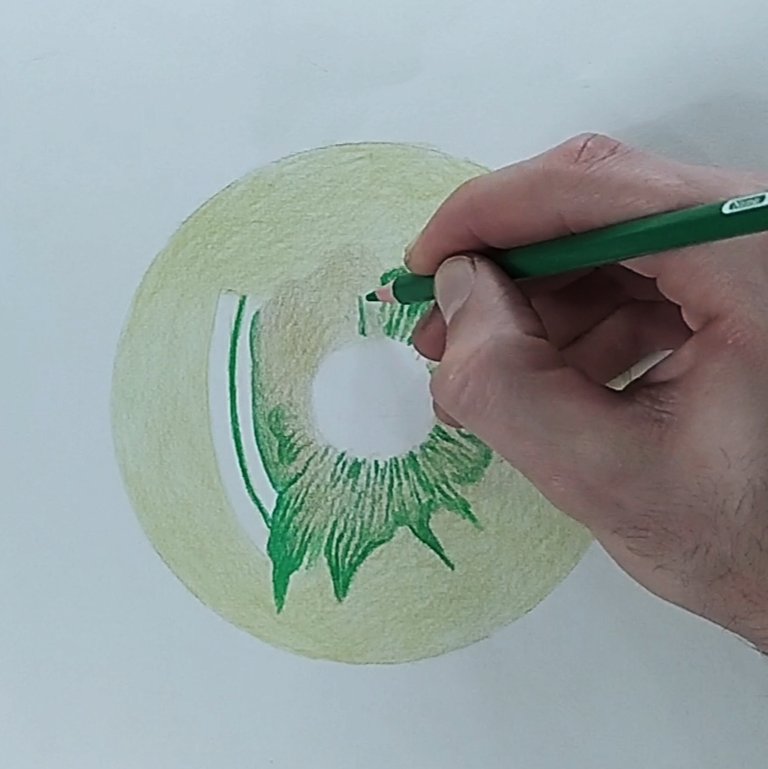
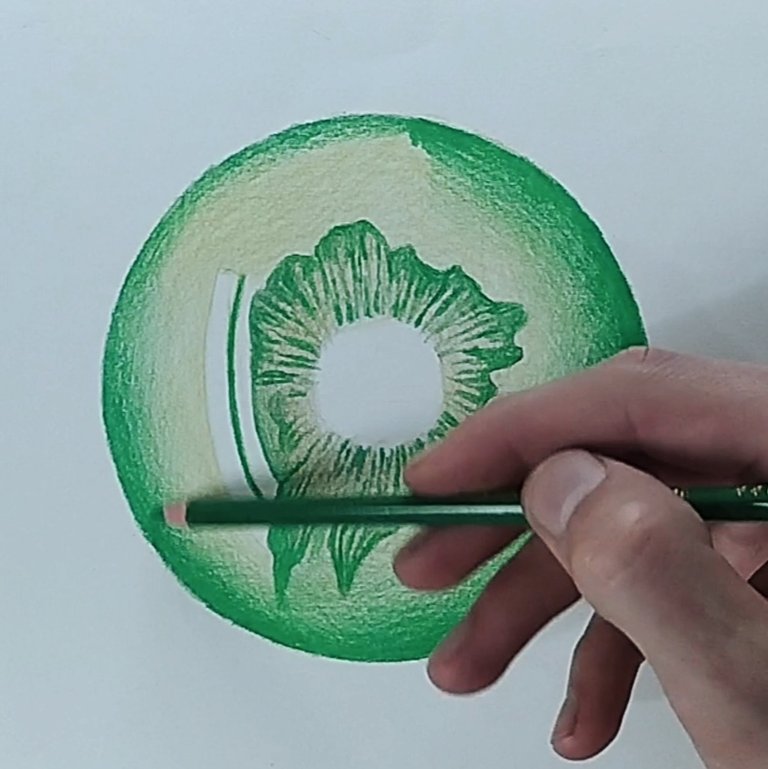
As you have seen, we start with light layers and move to dark layers.
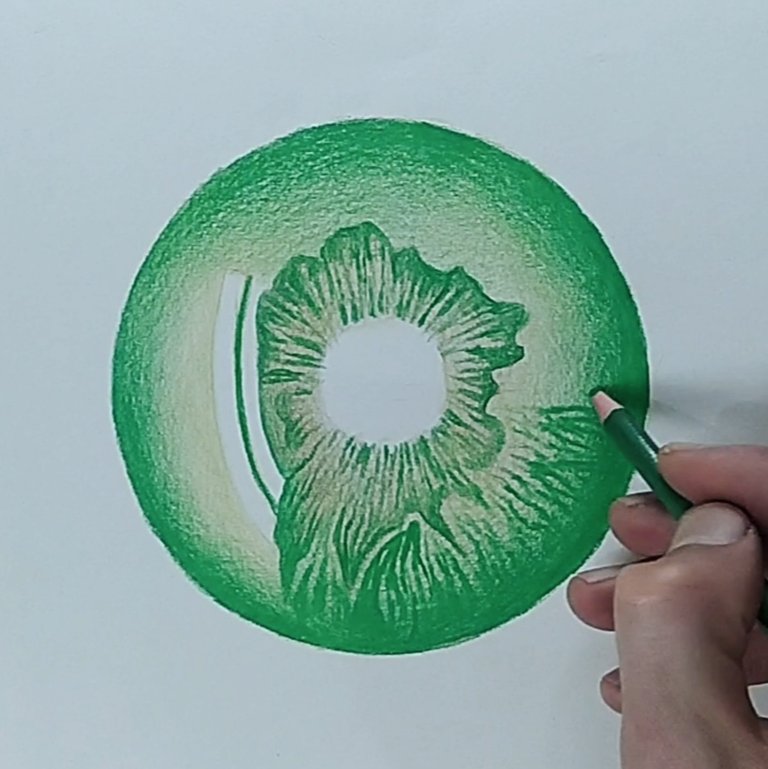
We add the veins that are inside the eye and then blacken the cornea of the eye.
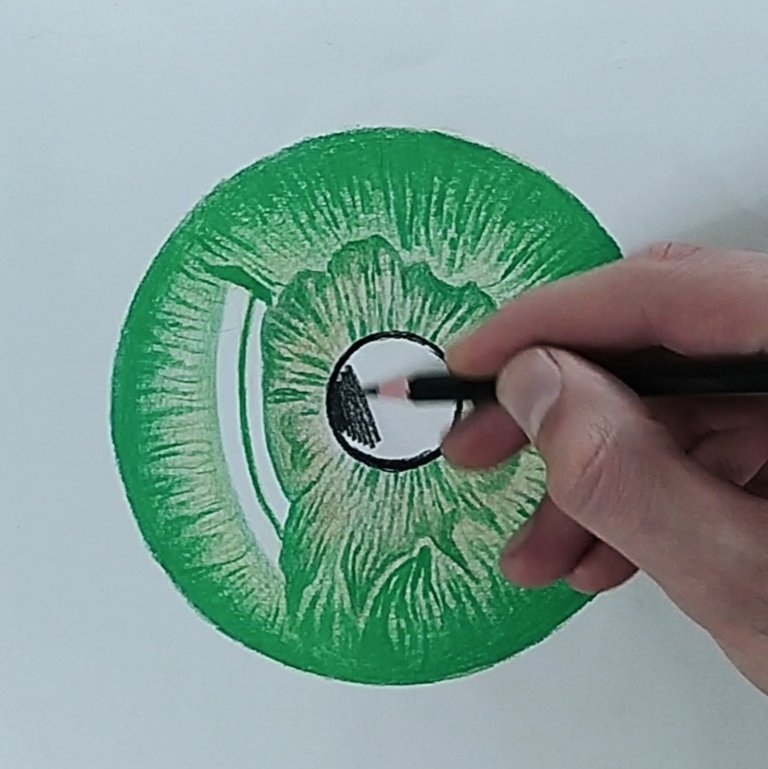
Then we do the last work with darker colors and finish the work.
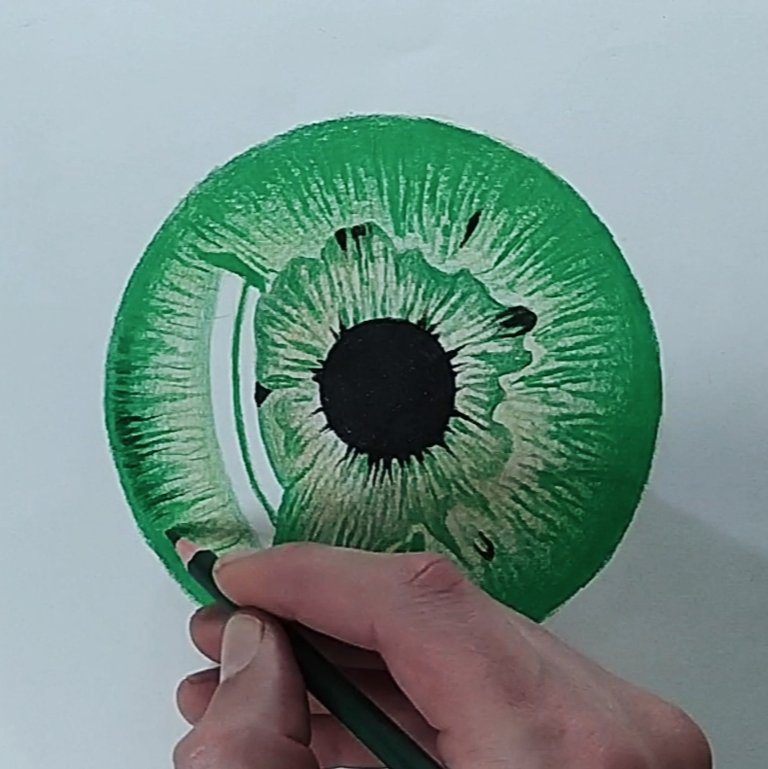
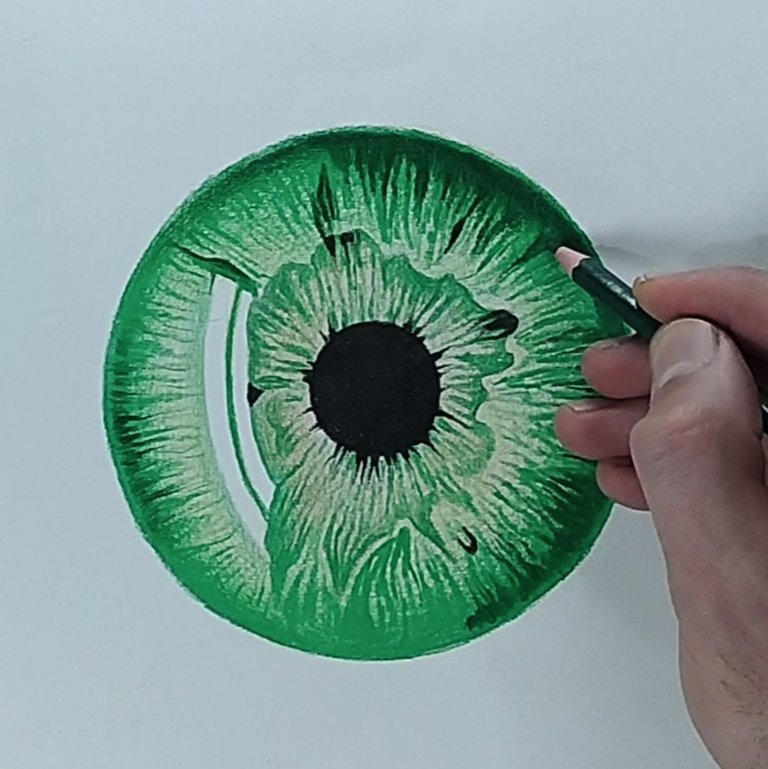
As you can see, at the end, we put dark layers on the details we had previously put and finally we created a colored eye.

Thank you for watching.
I hope you like it.
Art by @khodadadpoor.art