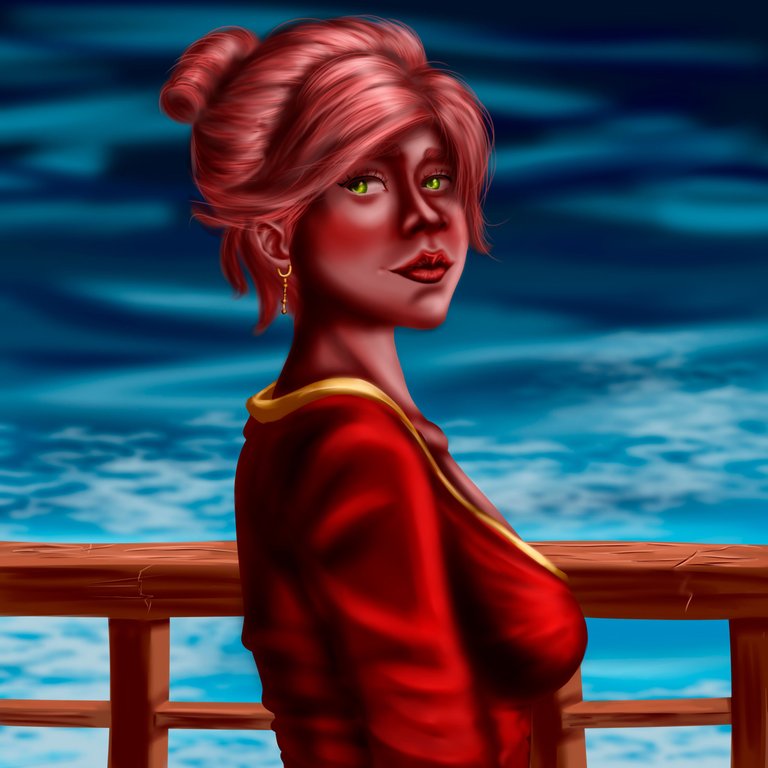
Happy Thursday my dear readers, I hope you are very very well, my name is Manuel and as always it is a great pleasure to have you here in my artistic blog, this time I come to share with you a work that I wanted to do without any elaborate or specific theme, a drawing more free style to try some reddish tones that I had a little forgotten in my personal color palette. What I came up with was to create a pose or portrait style illustration of a pretty woman named Vilmah, with tanned skin, and a neat and elegant reddish orange hair; another reason to make this drawing was also to practice a little with my airbrush brushes, to the acules I made some slight adjustments of pressure and texture to achieve a better realism and level of detail in my characters ... and well without further ado I leave you with the process that I hope you like it very much:
Feliz jueves mis queridísimos lectores y lectoras, espero que se encuentren muy muy bien, mi nombre es Manuel y como siempre es un gran gusto tenerlos por aquí por mi blog artístico, en esta oportunidad vengo a compartirles una obra que quise realizar sin ninguna temática elaborada o especifica, un dibujo más a estilo libre para probar algunas tonalidades rojizas que tenía un poco olvidadas en mi paleta de colores personal. Lo que se me ocurrió fue crear una ilustración a estilo pose o retrato de una linda mujer llamada Vilmah, de piel un tanto bronceada, y una arreglada y elegante cabellera de color Naranja Rojiza; otra razón para hacer este dibujo fue también para practicar un poco con mis pinceles de aerógrafo, a los acules les hice unos leves ajustes de presión y textura para lograr un mejor realismo y nivel de detalle en mis personajes…y bueno sin más los dejo con el proceso que espero les guste mucho:
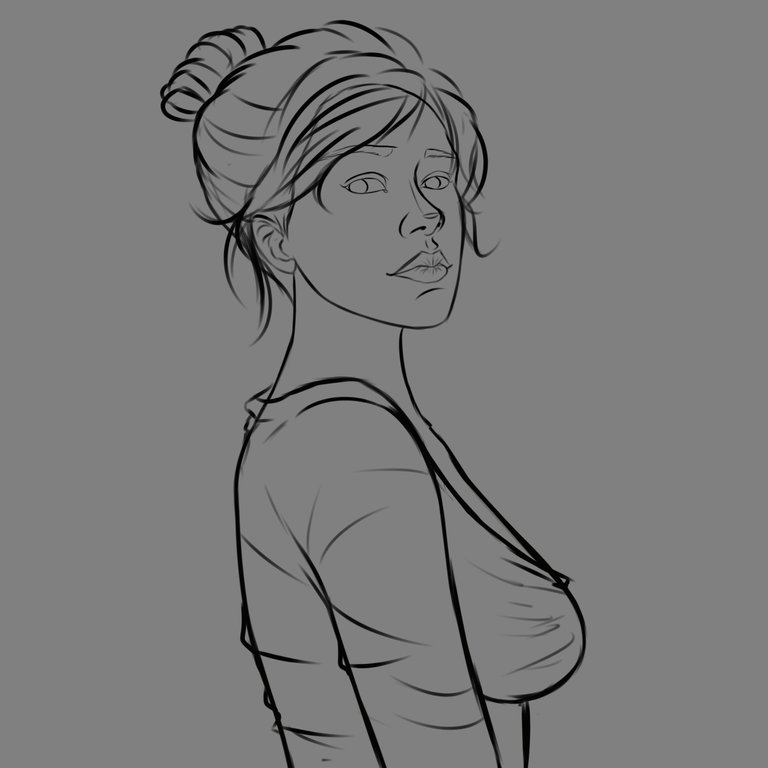
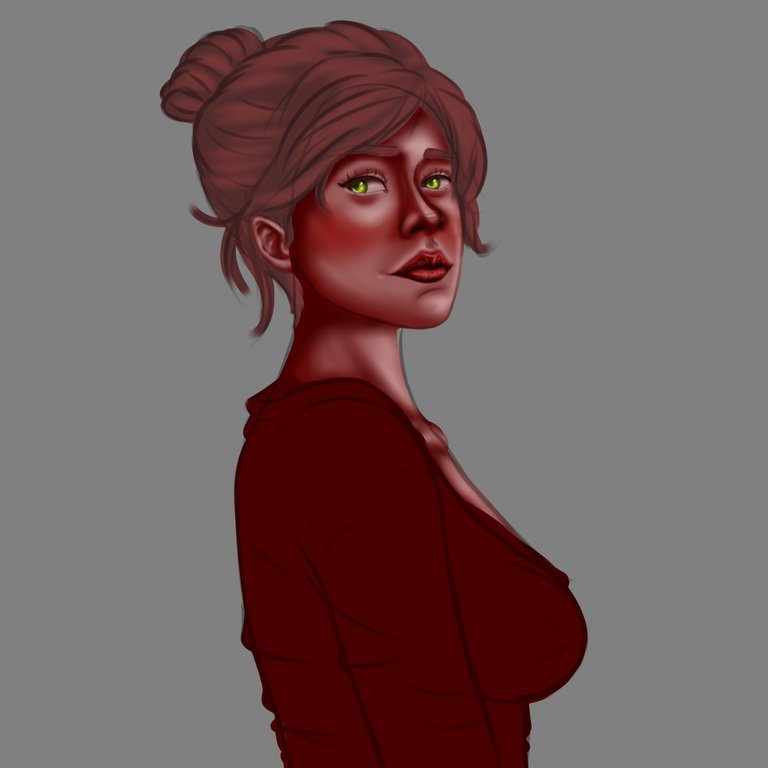
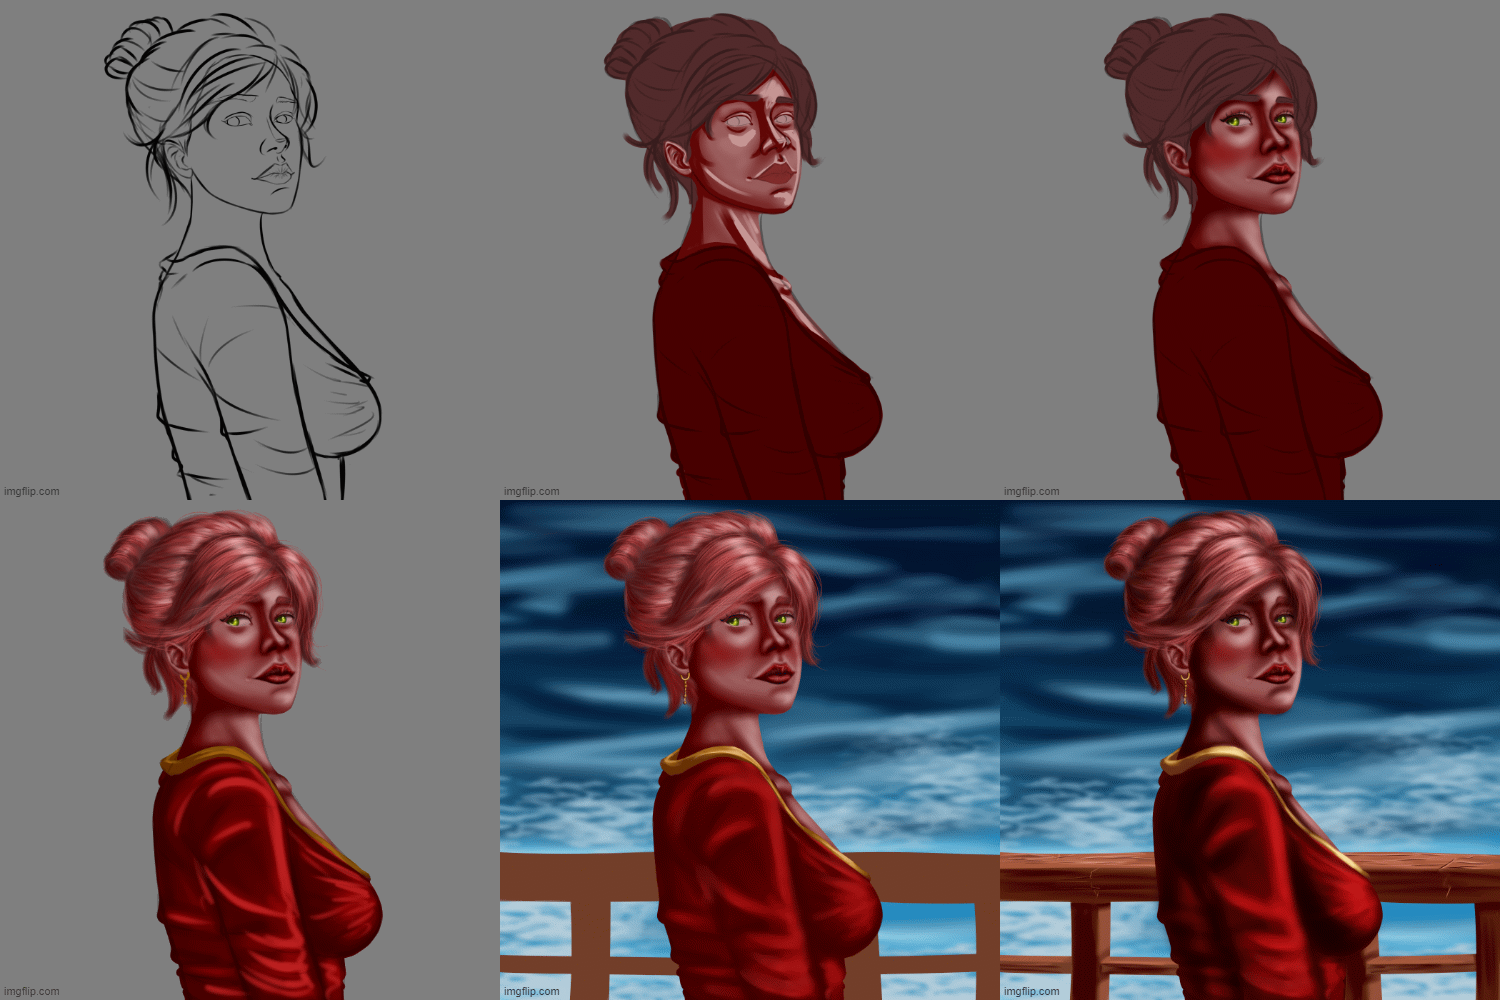
To begin with I focused on creating a good first sketch, and as I said before I opted more for a structure like a pose or portrait where the girl was turning slightly towards the front of my canvas while the sea could be seen behind her; I finished the line art with my comic brush and I moved on to the choice of colors in a new layer, for the skin I used a very saturated peach tone that I hadn't used for many months and that I thought would give it a tanned touch, and I mixed it with some orange-brown tones and a little white not so pure to get a good volume and texture of brightness.
Para empezar me enfoque en crear un buen boceto primerio, y como les dije antes opte más por una estructura como de pose o retrato donde la chica estuviese dándose una ligera vuelta hacia el frente de mi lienzo mientras el mar se lograba ver detrás de ella; termine el line art con mi pincel de comic y de una me pase a la elección de los colores en una capa nueva, para la piel use un tono durazno muy saturado que tenia muchos meses sin usar y que me pareció le daría un toque un tanto bronceado, y lo mezcle con algunos tonos naranjas-marrones y un poco blanco no tan puro para así conseguir un buen volumen y textura de brillos.
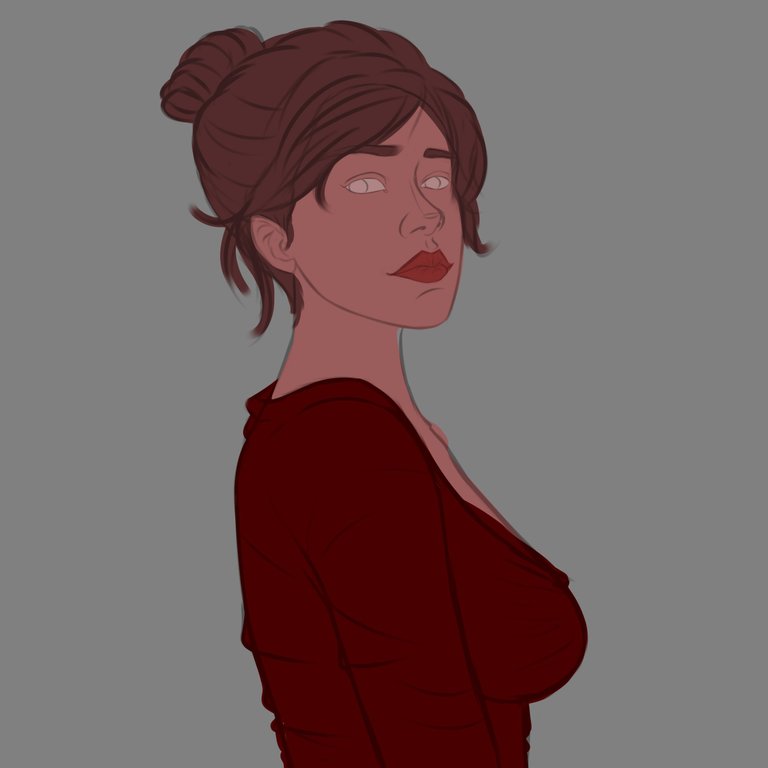
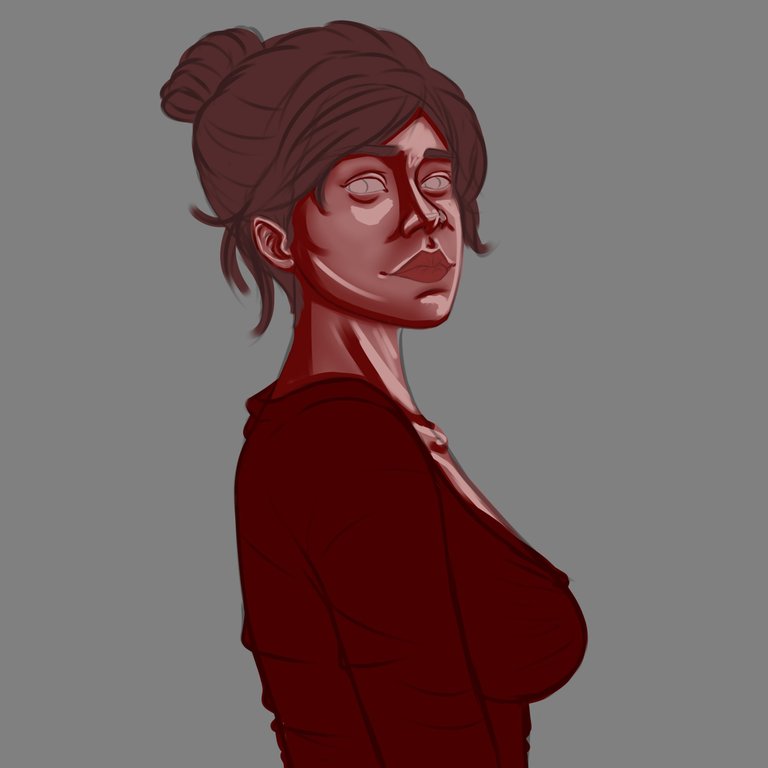
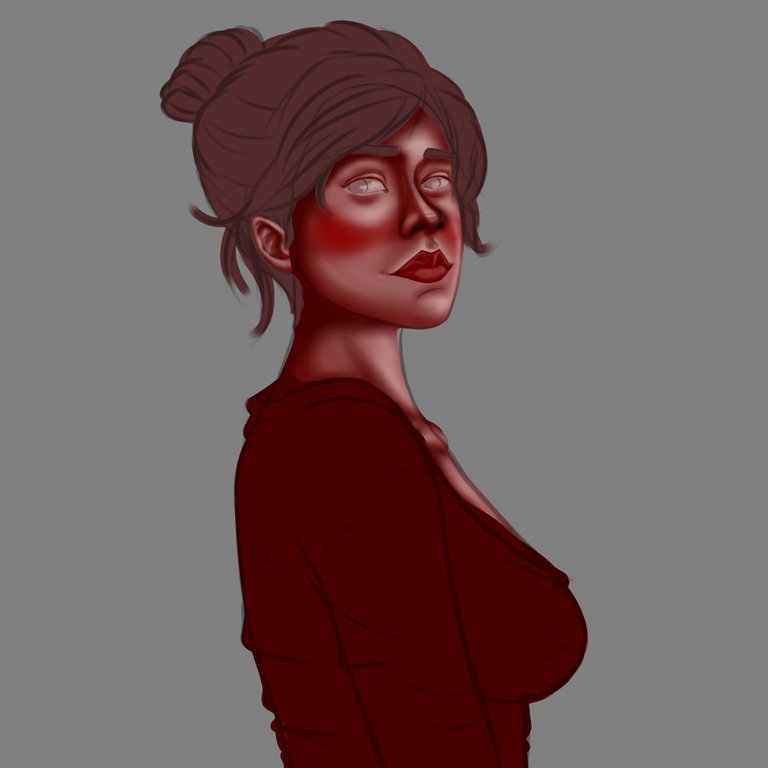
After defining the skin base and the primary volume the next thing was to create a separate layer of shadow where I cast normal shadows on the nose, under the eyelids and collarbones, but I also cast some occlusion shadows under the hair and on the neck; with the airbrush I used some soft red tones to create a little bit of warmth effect under the cheeks and on the nose without too much pressure. For the painting of the eyes I proposed to create a quite calm and tender look, for the base of the eyes I used a mixture of gray tones with a little brown, then inside them I made a mixture of green tones that I don't really use much, but I thought it was a good moment to use them too; with the eyes ready I continued with the lips, here I dedicated myself more to create a good volume with dark reds, but with a lot of shine on the edges.
Luego de definir la base de la piel y el volumen primario lo siguiente fue crear una capa aparte de sombra donde plasme sombras normales en la nariz, debajo de los parpados y clavículas, pero también plasme algunas sombras de oclusión debajo del cabello y en el cuello; con el pincel de aerógrafo aproveche algunos tonos rojos suaves para crear un poco de efecto de calidez bajo las mejillas y en la nariz sin demasiada presión. Para el pintado de los ojos me propuse crear una mirada bastante tranquila y tierna, para la base de los ojos use una mezcla tonos grises con un poco de marrón, luego dentro de ellos realice una mezcla de tonos verdes que realmente tampoco uso mucho, pero me pareció buen momento para también usarlos; con los ojos listo seguí con los labios, aquí me dedique mas a crear un buen volumen con rojos oscuros, pero con mucho brillo en los bordes.
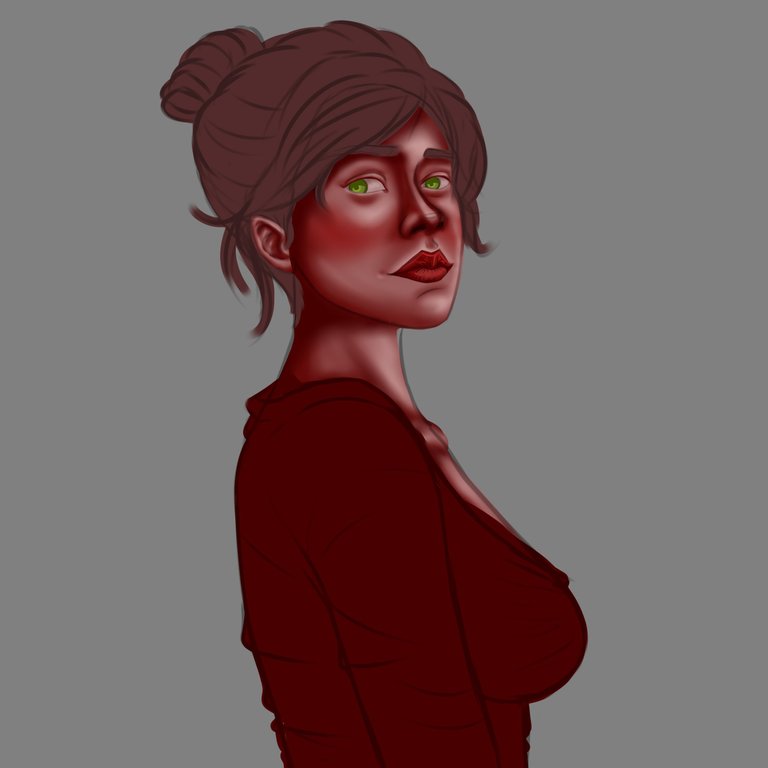
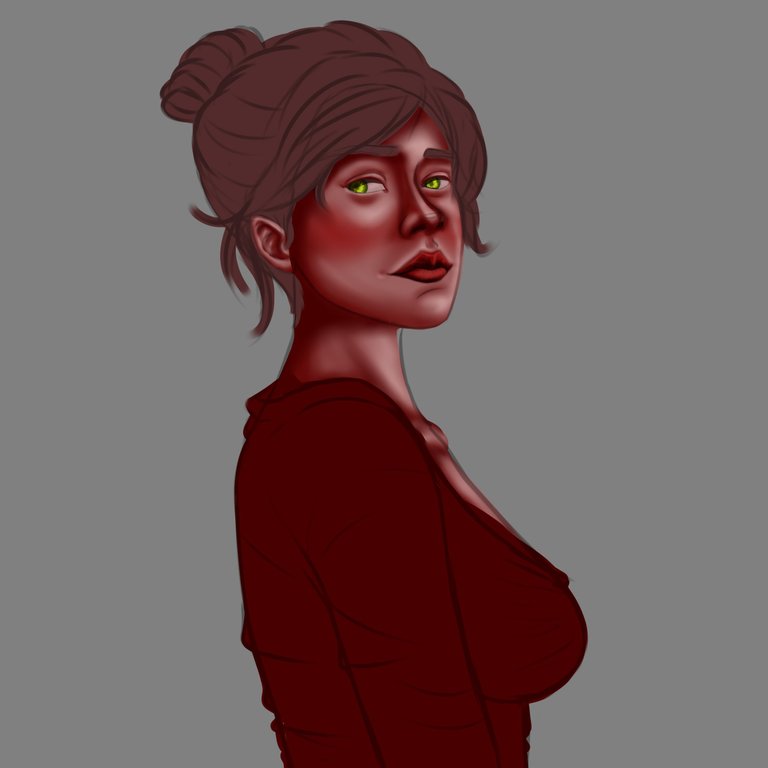
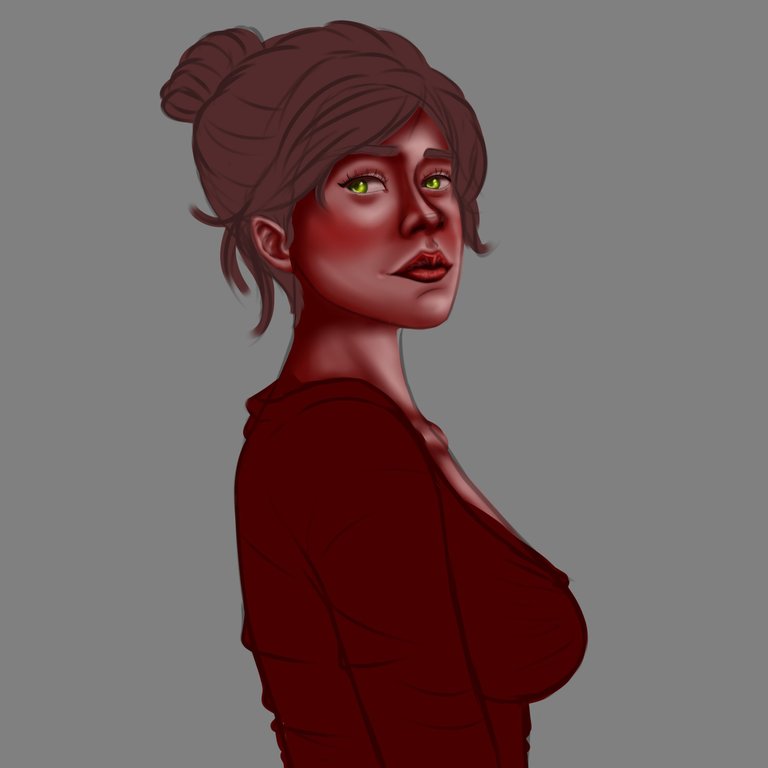
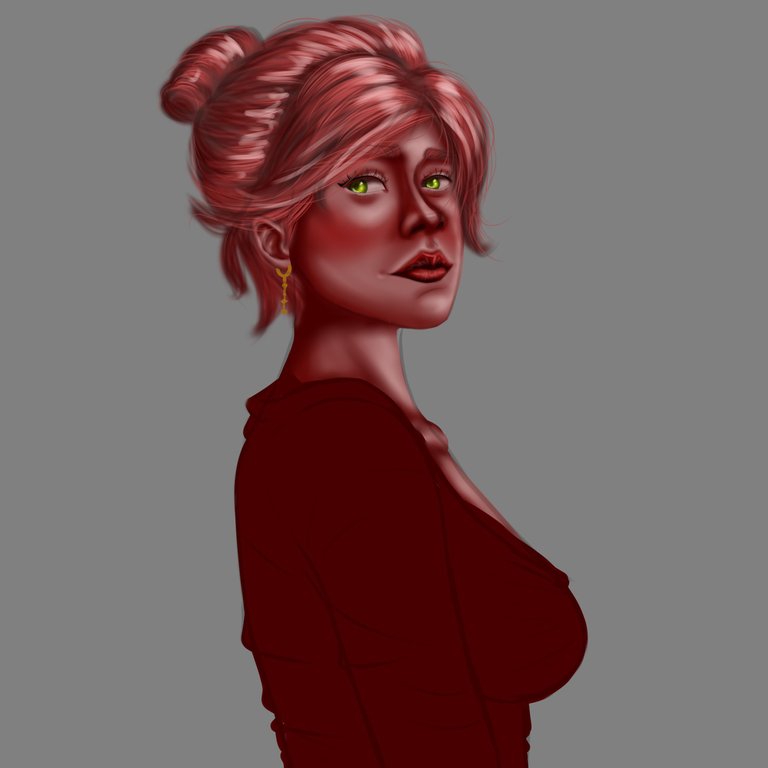
For the hair painting I wanted to do something that combined, but at the same time that looked very cool and striking, so what I came up with was to create a hairstyle as collected up with a kind of elegant bun and I worked with orange colors mixed slightly with browns, reds and a little white, something important here was to use the airbrush brush to mix all the above tones evenly and without blurring too much; with the primary highlight ready the next thing was to give a little more volume and dimension to the hair, for this I took my 3-tip brush and tried to make a gradient effect leaving the brighter strands on the top and in the front bangs.
Para el pintado del cabello quise hacer algo que combinara, pero al mismo tiempo que se viese muy genial y llamativo, así que lo que se me ocurrió fue crear un peinado como recogido arriba con una especie de moño elegante y los trabajé con colores naranjas mezclando levemente con marrones, rojos y un poco de blanco, algo importante aquí fue usar el pincel de aerógrafo para mezclar todos los tonos anteriores de manera uniforme y sin difuminar demasiado; con el relieve primario listo lo siguiente era darlo un poco las de volumen y dimensión al cabello, para esto tome mi pincel de 3 puntas y trate de hacer un efecto como de degradado dejando los mechones mas brillantes en la parte de arriba y en el flequillo del frente.
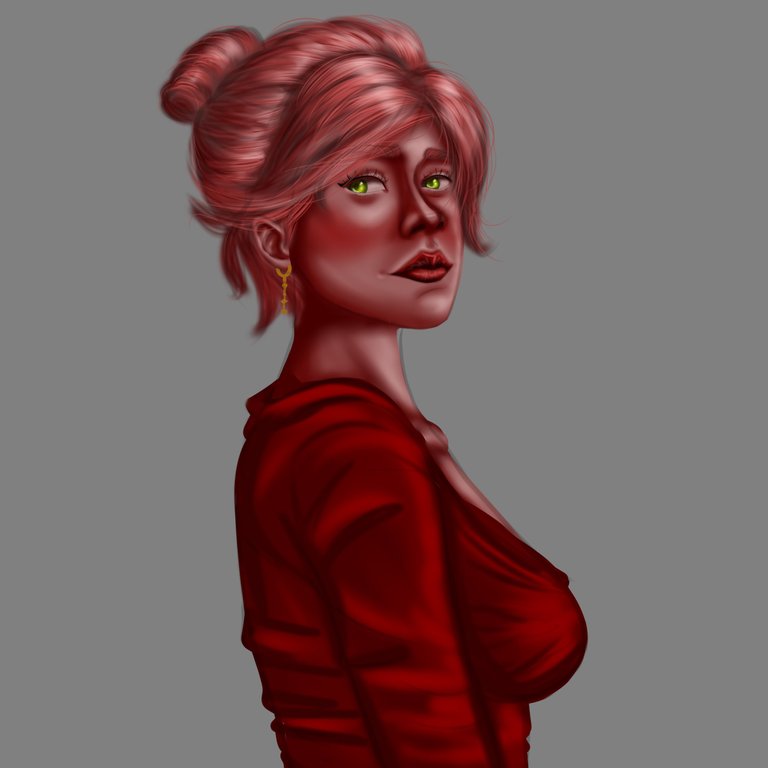
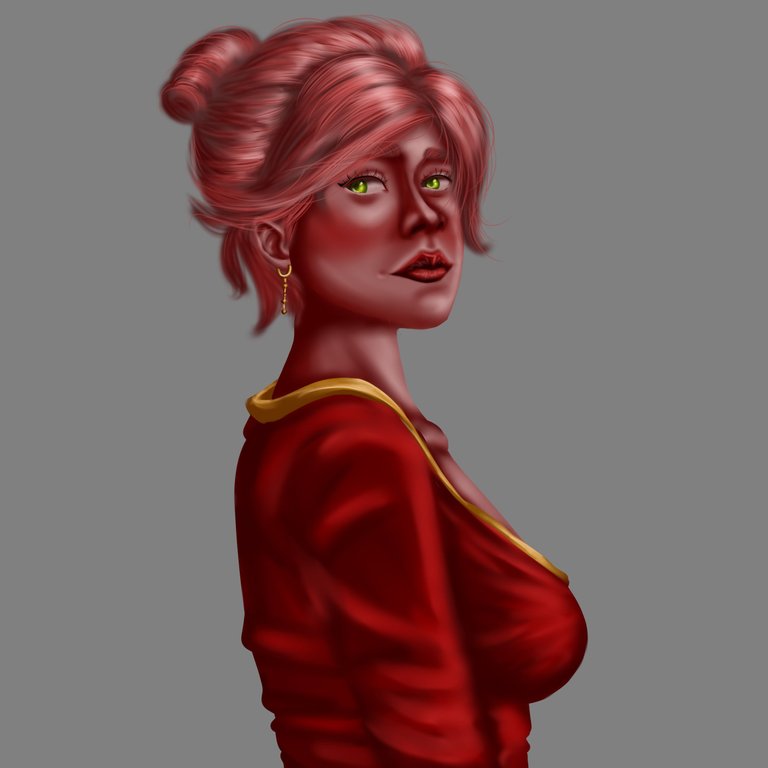
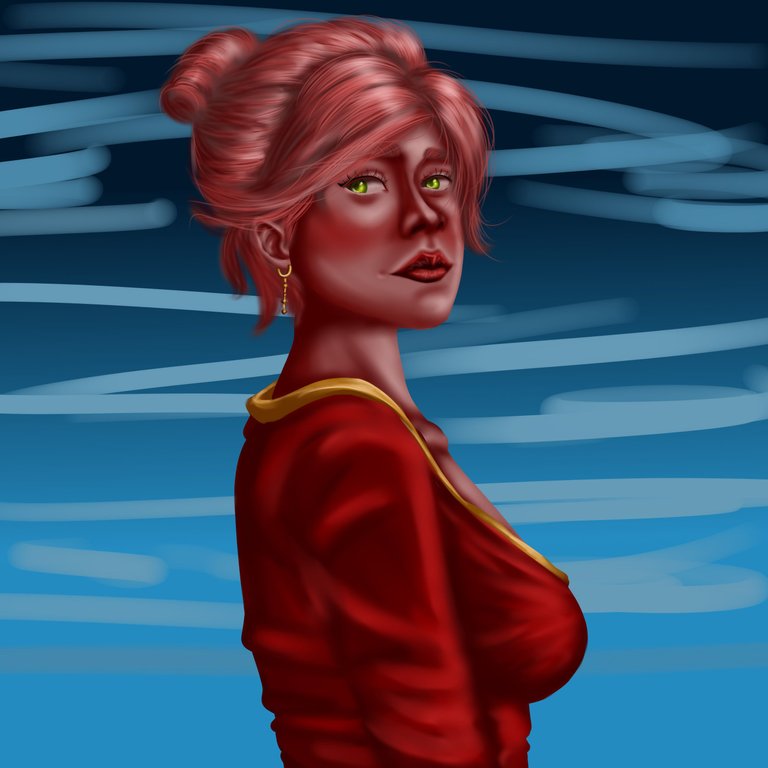
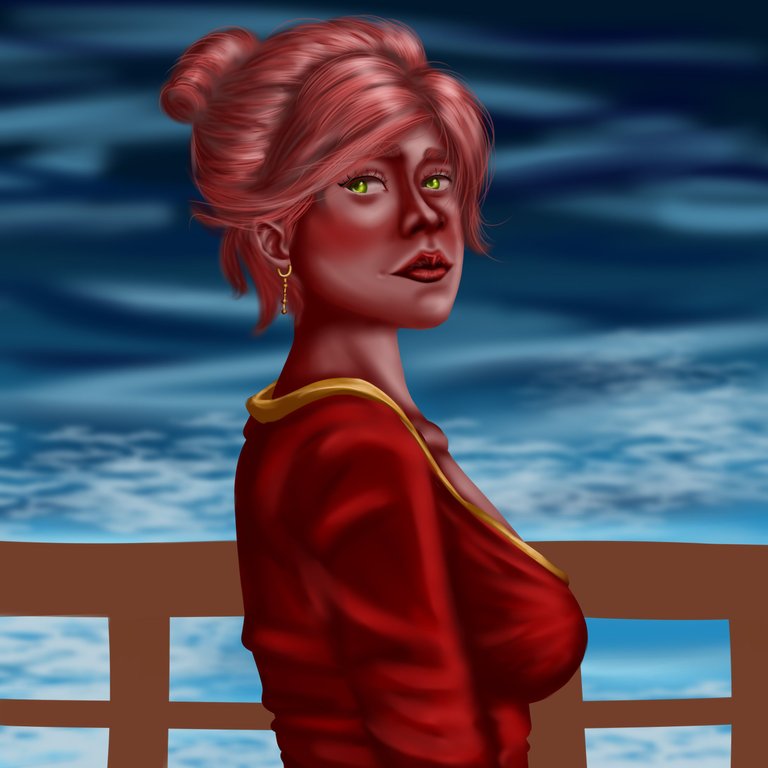
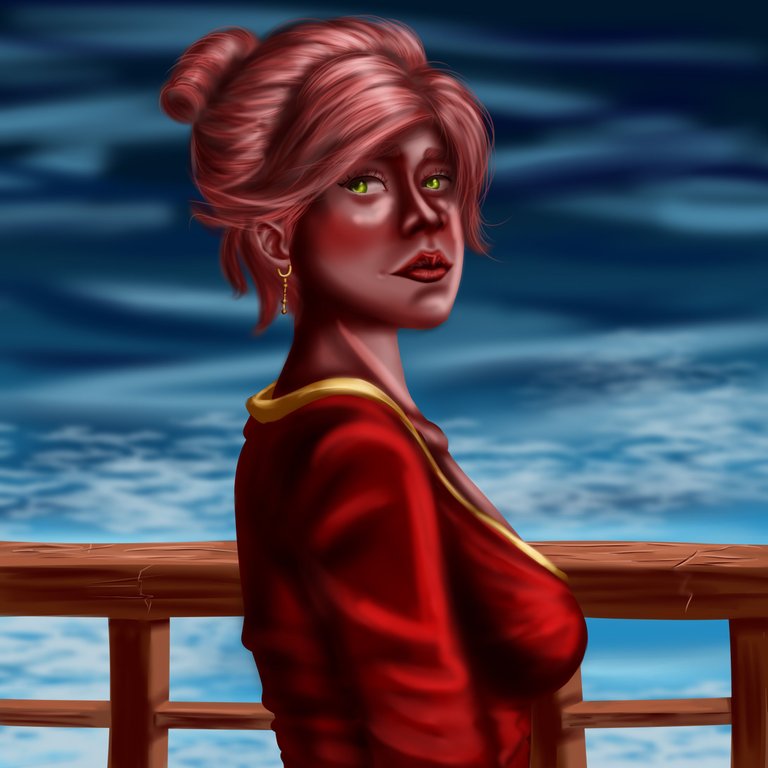
In the case of the painting of the dress was where I finally used the reddish tones that I had unused in my color palette, my idea was to create an elegant dress of intense red, here the first thing was to use the airbrushes to get that soft texture, but at the same time a little loose with folds in the arms and neck, then with flat brushes little by little I was giving a little more shape and subtle rigidity to the dress using brighter and brighter tones; as an additional touch to make the dress look even more striking I came up with the idea of painting shiny golden edges in the neck area. Already with everything related to the main character ready the only thing left to do was to paint a good background, and the idea I had was to create a kind of pier and just behind in the background a big blue sea, for the painting of the pier I mixed various brown tones and formed a texture like smooth wood with small cracks; then to paint the background I used navy blue tones with some lighter ones and also a little bit of white.
En el caso del pintado de la vestimenta fue donde mas utilice por fin los tonos rojizos que tenia sin usar en mi paleta de colores, mi idea fue la de crear un vestido elegante de color rojo intenso, aquí lo primero fue usar los aerógrafos para conseguir esa textura suave, pero al mismo tiempo un poco holgada con pliegues en los brazos y el cuello, luego con pinceles planos poco a poco fui dándole un poco mas de forma y rigidez sutil al vestido usando tonos cada vez mas brillantes; como toque adicional para que el vestido se viese aún más llamativo se me ocurrió la idea de pintar bordes dorados brillantes en la zona del cuello. Ya con todo lo referente al personaje principal listo lo único que me quedaba por hacer era pintar un buen fondo, y la idea que tuve fue la de crear una especie de muelle y justo más atrás en el fondo un gran mar azul, para el pintado del muelle mezcle tonos marrones varios y forme una textura como de madera lisa con pequeñas grietas; después para pintar el mas de fondo use tonos azules marinos con algunos mas claros y también un poco de blanco.
MATERIALS / MATERIALES
- Sai Paint Tool Program
- Huion inspiroy h610 v2 tablet
- Programa Paint Tool Sai
- Tableta Huion inspiroy h610 v2
That was all for today, thank you very much to all of you for having reached this part, I hope you liked my drawing a lot and if so I invite you to let me know in the comments where I always love to read them. I send you a big hug and I'll see you again in the next post...see you next time! ✍🏽🤙🏽.
Esto fue todo por el día de hoy, muchísimas gracias a todos por haber llegado hasta esta parte, espero que mi dibujo les haya gustado mucho y si fue así los invito a hacérmelo saber en los comentarios donde siempre me encanta leerlos. Les mando un fuerte saludo y un gran abrazo y nos volveremos a ver en un siguiente post…hasta la próxima!✍🏽🤙🏽.