Hola comunidad de HIVE♡
Hello HIVE community♡
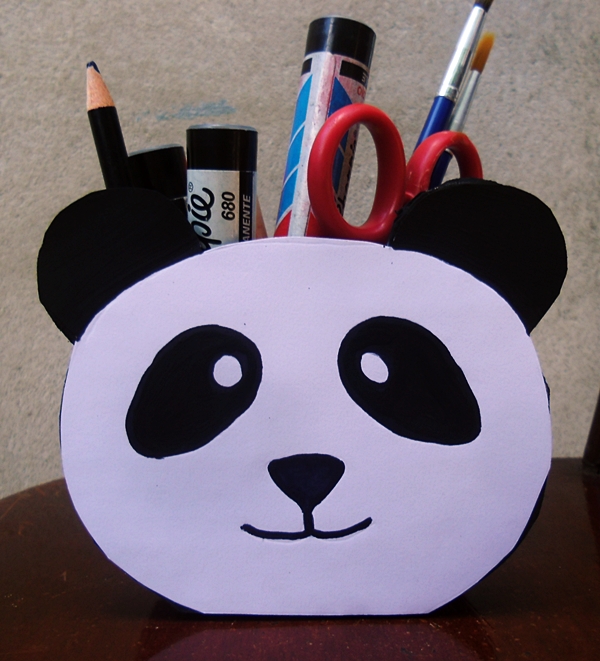
Ha llegado el momento de ponerle un poco de orden a tu escritorio. Si te pasa como a mí que a veces queremos tener los materiales que más utilizamos al alcance de la mano pero se hace difícil tener todo en un mismo lugar. Pues acá traigo una buena solución, creativa, fácil de hacer y sobre todo con materiales básicos que tenemos en casa.
It's time to get your desk in order. If you are like me, sometimes we want to have the materials we use the most within reach but it is difficult to have everything in one place. Well, here I bring a good solution, creative, easy to make and above all with basic materials that we have at home.

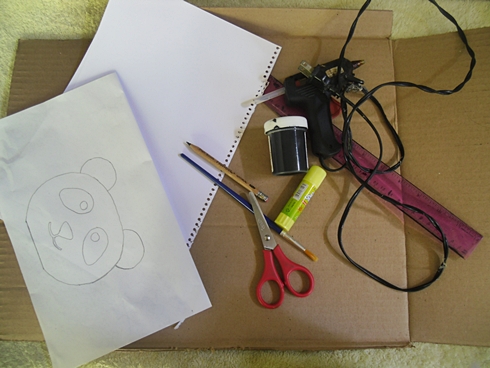
| Cartón | Cardboard |
|---|
| Pega liquida o en barra | Glue liquid |
| Cartulina blanca | White cardboard |
| Pintura negra | Black paint |
| Silicon caliente | Hot silicon |
| Tijera | Scissors |
| Regla | Rule |
| Lápiz | Pencil |
| Pincel | Sponge |
✂️MEDIDAS | MEASURES ✂️
| Cara del panda 12cmx14cm | Panda face 12cmx14cm |
|---|
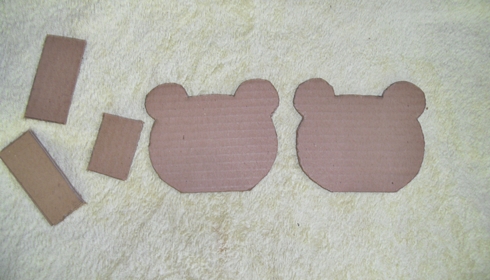
| Dos franjas 10cmx5cm | Two strips 10cmx5cm |
| Una franja 7cmx5cm | A strip 7cmx5cm |
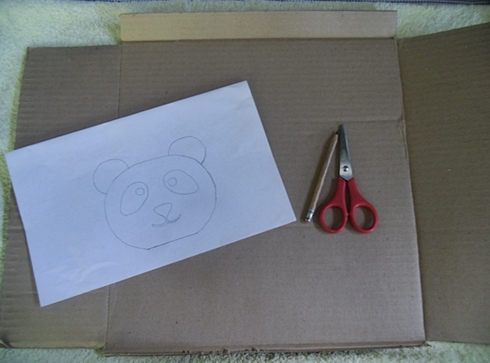
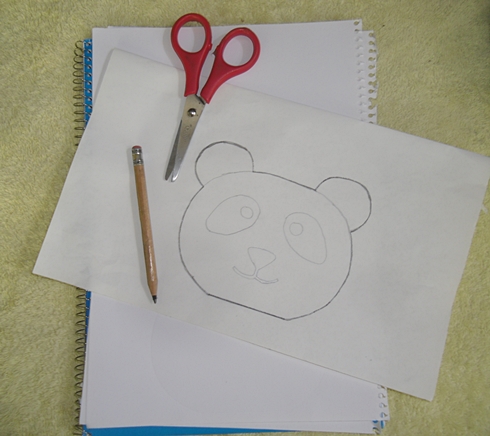
Iniciamos dibujando la cara del panda en el cartón, en este caso serian dos piezas una para ambos lados (12cm de alto y 14cm de ancho). Después con ayuda de la regla y el lápiz se realizan dos franjas de 10cm de alto y 5cm de ancho, posteriormente se realiza la ultima franja que seria de 7cm de alto y cm de ancho.
We start by drawing the face of the panda on the cardboard, in this case it would be two pieces one for both sides (12cm high and 14cm wide). Then with the help of the ruler and pencil we make two strips of 10cm high and 5cm wide, then we make the last strip that would be 7cm high and cm wide.
Luego que se tengan todas las piezas listas se procede a recortar.
After all the pieces are ready, we proceed to trimming.
El siguiente paso seria pegar las tres franjas en una de las bases del panda. La franja mas pequeña en la parte de abajo y las otras dos a los lados, así como se muestra en la imagen.
The next step would be to glue the three stripes to one of the panda bases. The smaller strip at the bottom and the other two at the sides, as shown in the picture.
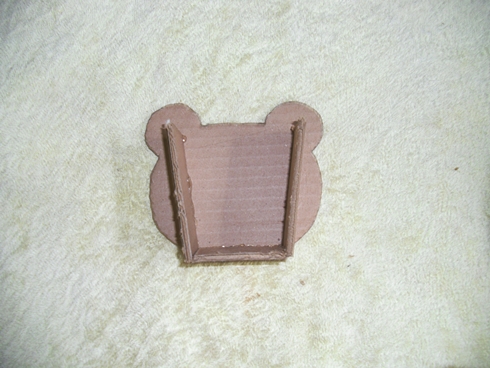
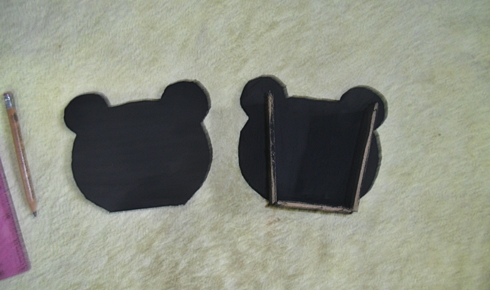
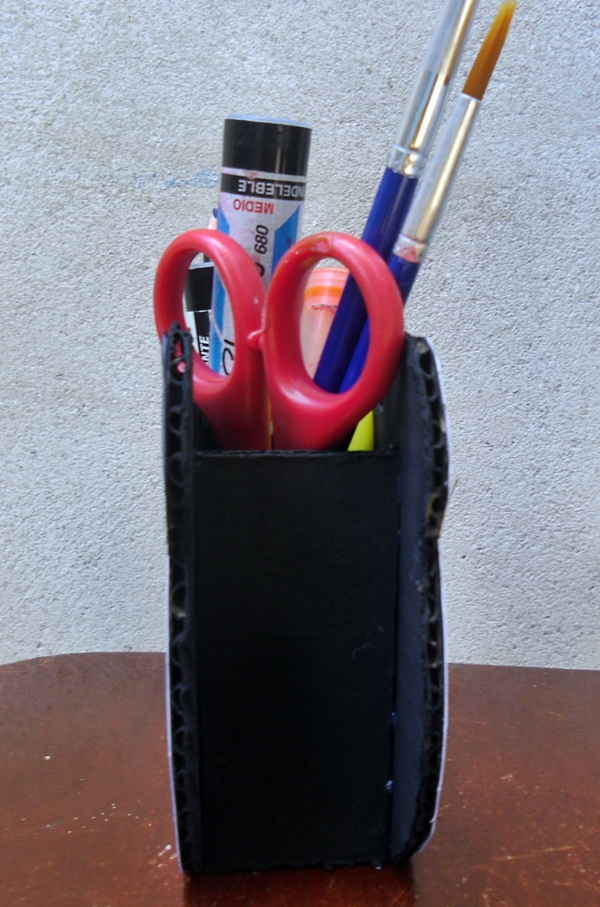
Después se procede a pintar la base de color negro. Una vez secas se pegan con silicon caliente para que tengan más resistencia.
Then the base is painted black. Once dry, they are glued with hot silicon to make them more resistant.
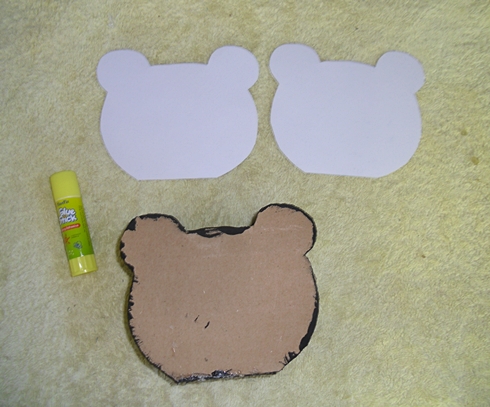
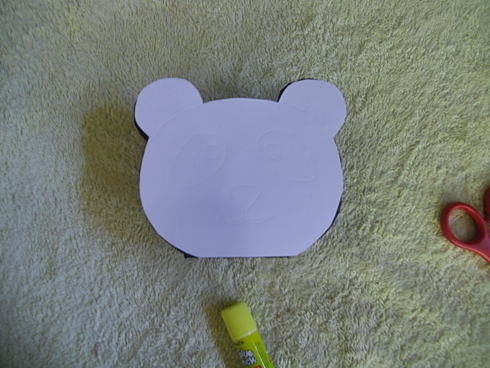
Con la cartulina blanca se realizan dos caras del panda para luego pegarlas en la base.
The white cardboard is used to make two sides of the panda and then stick them to the base.
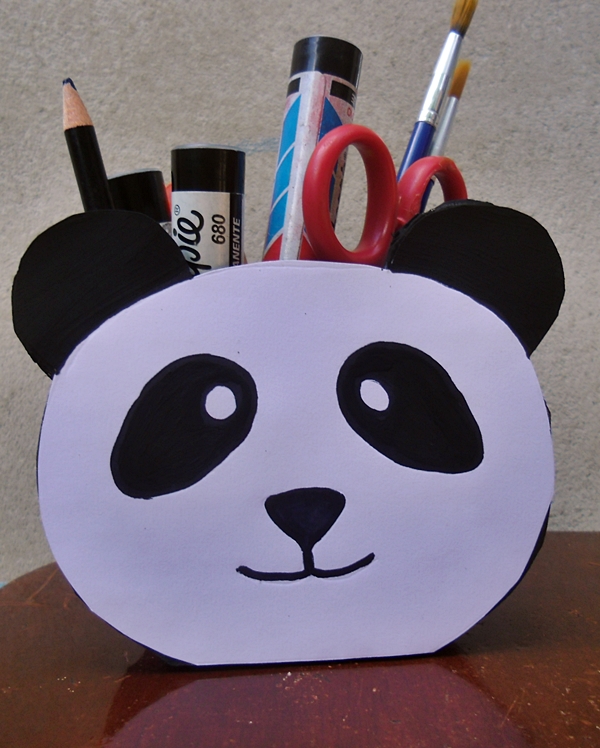
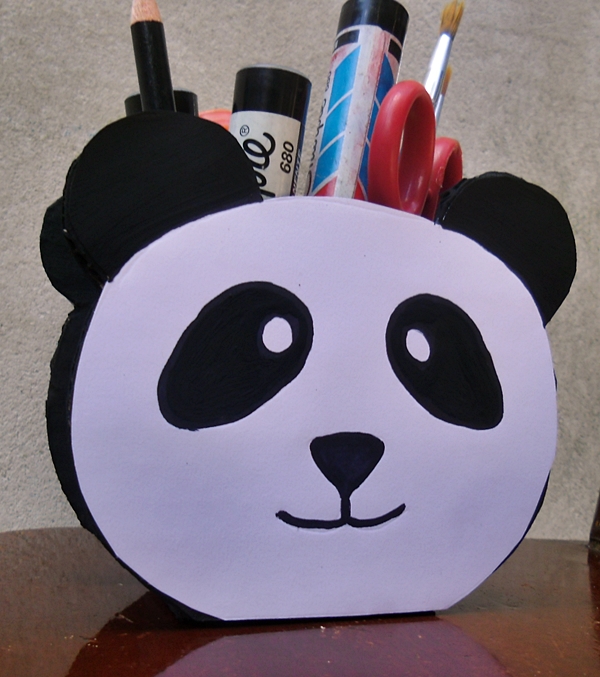
Con un marcador o lápiz se dibujan los ojos, la nariz, orejas y boca para luego pintarlos.
With a marker or pencil you draw the eyes, nose, ears and mouth and then paint them.

Imagenes y gif realizados en PhotoScape.
Images and gifs made in PhotoScape.


Hayy que lindo e ingenioso, gracias por compartir
Gracias a ti por comentar. Saludos♡
Linda creatividad.
Muchas gracias. Saludos♡
Fàcil de realizar, sencillo y muy bonito, excelente presentaciòn de tutorial. Gracias por compartir! @mavis16