English Version
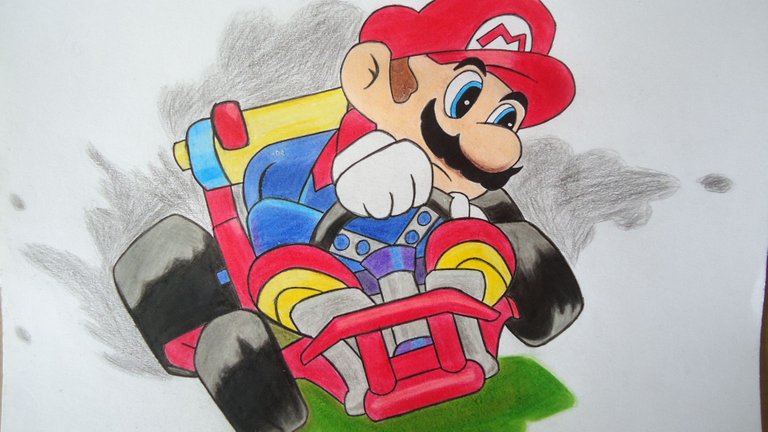
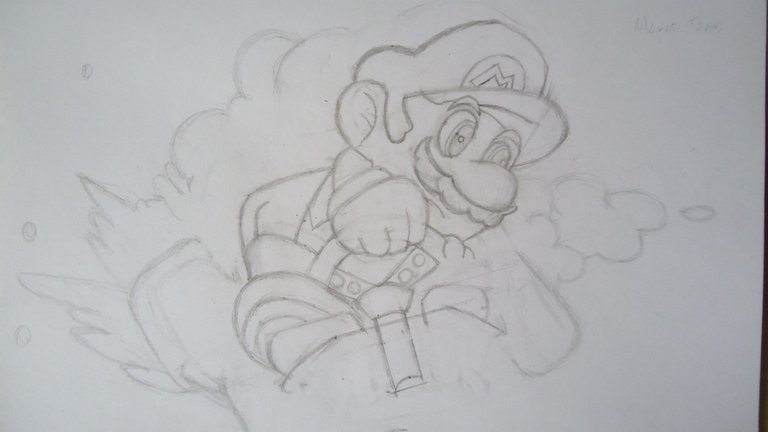
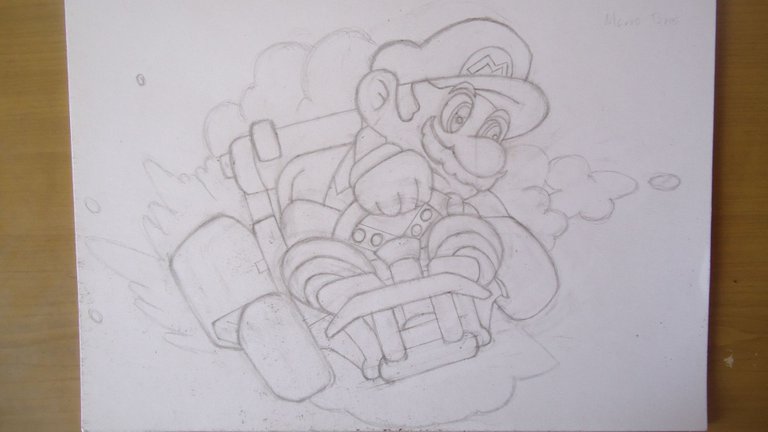
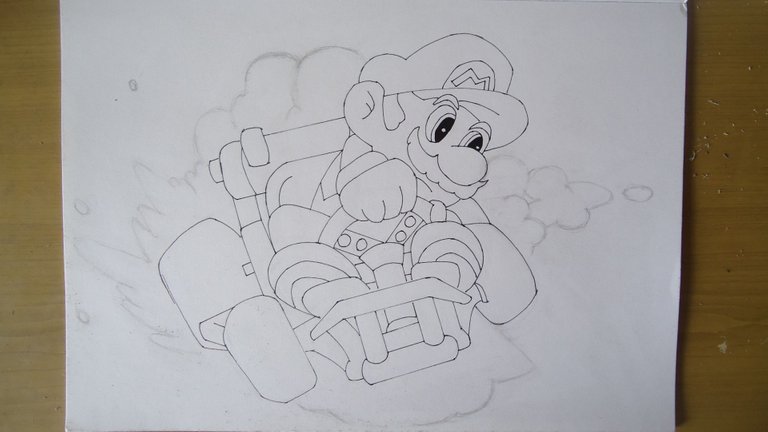
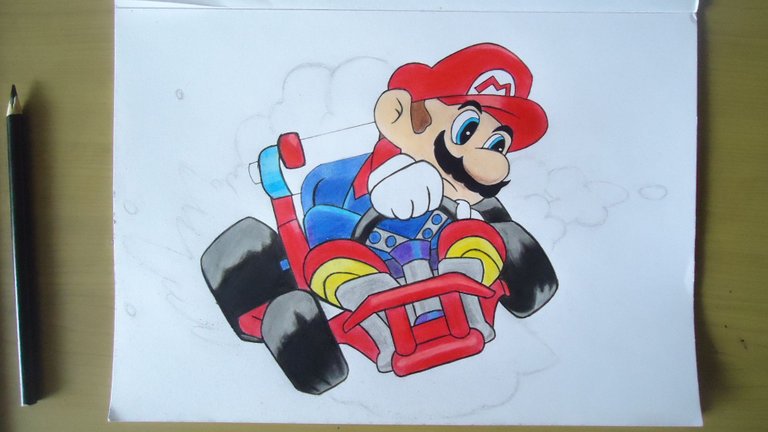
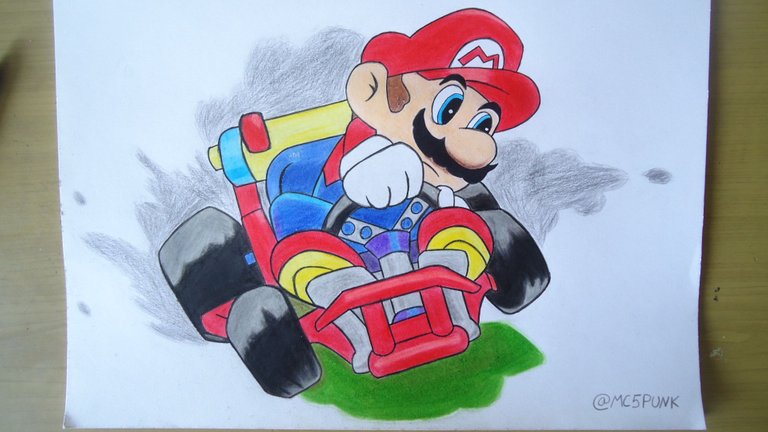
Greetings friends, glad to be among you again to bring you another drawing that in this case is about Mario Kart. To make our drawing we must create a sketch which will be modified until we obtain the figure with the desired proportions. Then, we outline with a marker to remove the graphite and leave everything completely clean. Once this is done, we begin to color the hat, face and part of the overalls with their respective colors. We continue with all this process to paint part of the vehicle with the red color, and the tires with black and gray (to give shine). Finally we paint the background with yellowish green color (ground) and the back of the vehicle with black applied in a faint way (to emulate the dust).
Ready! And what do you think?
On my part I say goodbye, and I hope you have loved what I have shown. I wait for your comments, I will be giving you an answer as soon as possible. And you be the judges of this work.
Until a next installment and thanks for the support received.
Materials used:
- Drawing pad.
- Fine tip marker (fountain pen).
- HB pencil.
- Eraser.
- Pencil sharpener.
- Paintbrush.
- Crayola colored pencils.
Source of the images
All images were captured with my Sony Cybershot camera.
Versión en Español
Saludos amigos, encantado de estar entre ustedes nuevamente para traerles otro dibujo que en este caso se trata de Mario Kart. Para hacer nuestro dibujo debemos crear un boceto el cual se ira modificando hasta obtener la figura con las proporciones deseadas. Luego, delineamos con un marcador para retirar el grafito y dejar todo totalmente limpio. Una vez hecho lo anterior comenzamos a colorear el sombrero, rostro y parte del overol con sus respectivos colores. Continuamos con todo este proceso para pintar parte del vehículo con el color rojo, y los neumáticos con el negro y gris (para dar brillo). Ya por último pintamos el fondo con color verde amarillento (suelo) y la parte trasera del vehículo con negro aplicado de forma tenue (para emular el polvo).
¡Listo! ¿Y qué les parece?
De mi parte me despido, y espero que les haya encantado lo mostrado. Aguardo por sus comentarios, les estaré dando respuesta lo mas pronto posible. Y sean ustedes los jueces de este trabajo.
Hasta una próxima entrega y gracias por el apoyo recibido.
Materiales usados:
- Block de dibujo.
- Marcador de punta fina (estilografo).
- Lápiz HB.
- Borrador.
- Afilador de lápiz.
- Brocha.
- Lapices de colores Crayola.
Fuente de las imágenes
Todas las imágenes fueron capturadas con mi cámara Sony Cybershot.


I see you are very good at painting dolls like that, from the first painting until they are ready to be pressed very neatly. thanks for sharing with us
Thanks for commenting, friend.
I like it
Thanx 🙂👍
Nice! Brings back memories.
Thank you for your comment, I wish you the best.
Un excelente dibujo, hay mucho potencial en esas manos, felicitaciones.
Gracias, aprecio bastante su observación😃
Me gusta tu dibujo, el acabado está muy bueno
Muchas gracias por tu comentario, amigo, lo aprecio bastante.