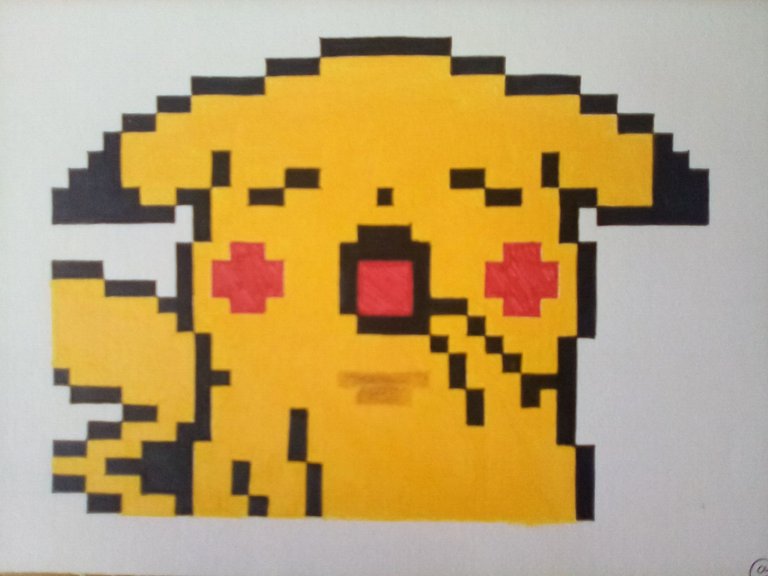
Friends, for this occasion we are going with one of the most recognized characters of the video game company, such as Nintendo and its emblematic Pikachu, pixel style. The process will be explained in detail below with several steps to follow, in which surely this can help all those people to create this drawing or other similar ones. Now, without so much detours let's start.
Amigos, para esta ocasión vamos con uno de los personajes más reconocidos de la empresa de videojuegos, como viene siendo Nintendo y su emblemático Pikachu, al estilo pixel. El proceso se explicará con detalles a continuación con varios paso a seguir, en que de seguro esto les podrá ayudar a todas aquellas personas a crear este dibujo u otros parecidos. Ahora bien, sin tantos rodeos empecemos.
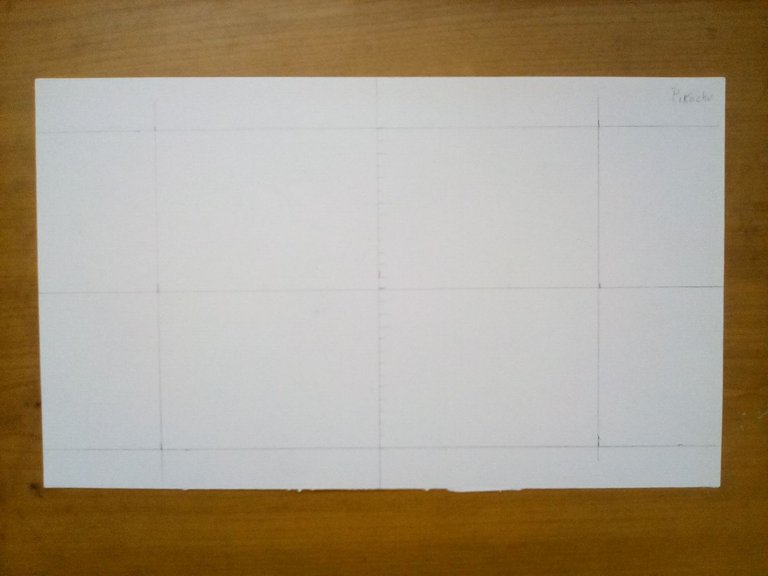
1- the first thing I did was to draw a series of lines that allowed me to place the center inside the space of the sheet (in this case a cardboard).
1- lo primero que hice fue trazar una serie de líneas que me permitiesen ubicar el centro dentro del espacio de la hoja (en este caso una cartulina).
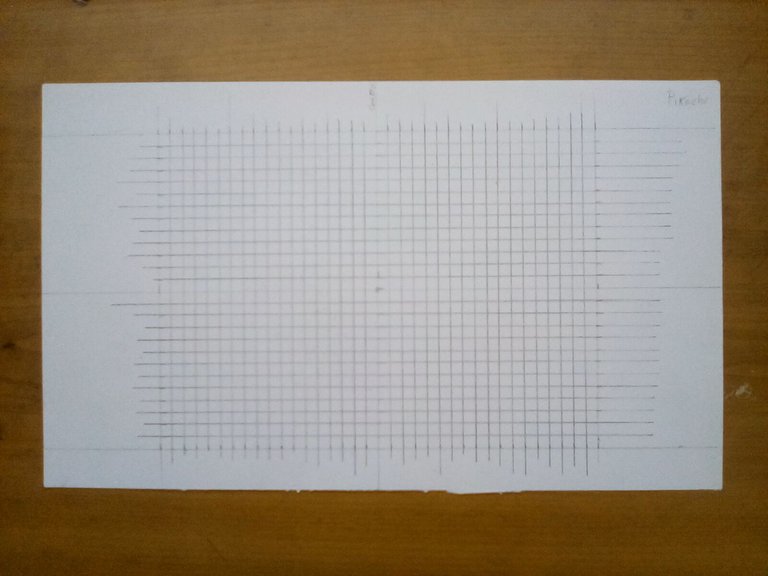
2- then, fill the entire delimited area with a series of squares whose dimensions are 0.05 mm.
2- luego, rellene todo el área delimitada con una serie de cuadros que cuyas dimensiones son de 0,05 mm.
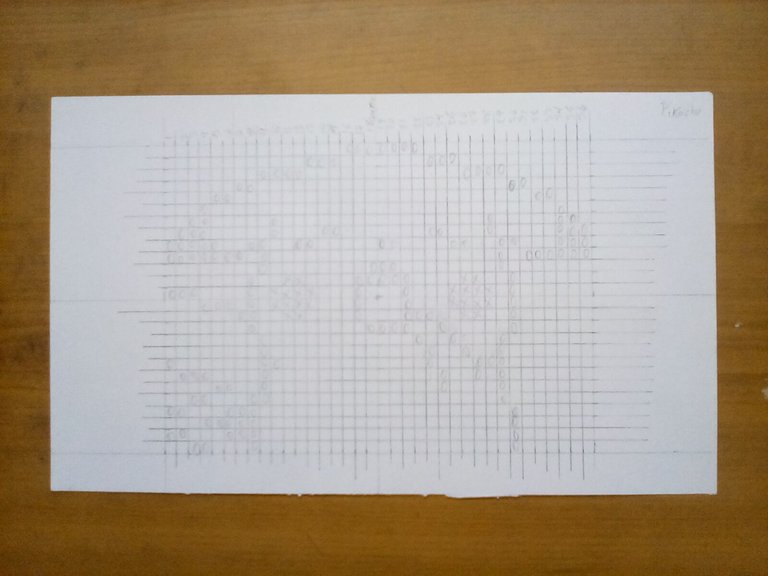
3- from there select all the squares that would shape the character: these squares would be 26 high by 36 wide.
3- a partir de ahí seleccione todos los cuadros que darían forma al personaje: estos cuadros serían 26 de alto por 36 de ancho.
4- then, with a fine-tipped marker mark all the lines.
4- después, con un marcador de punta fina marque todas las líneas.
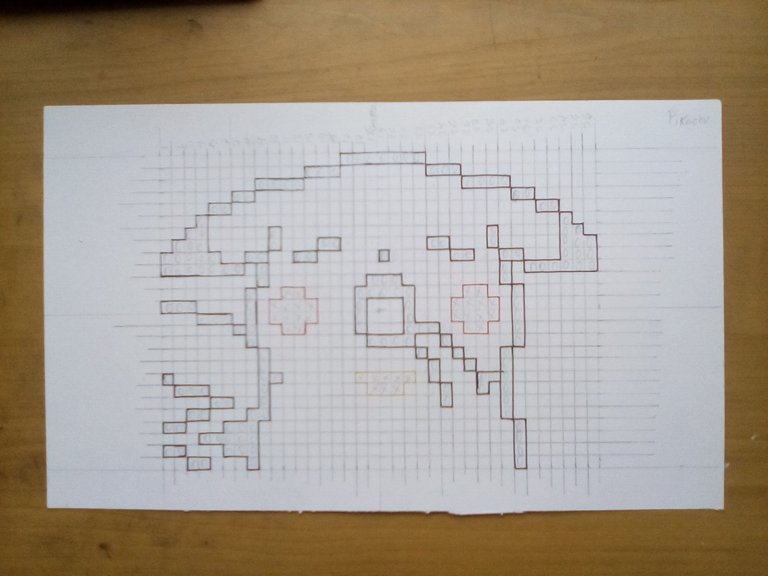
5- and with the help of a white school eraser remove all the graphite.
5- y con la ayuda de un borrador blanco escolar retire todo el grafito.
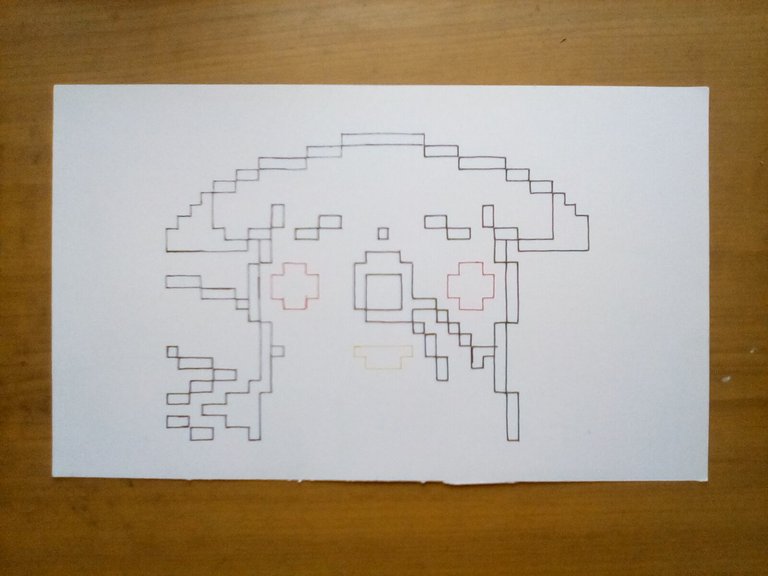
6- fill in all the respective boxes with an alcohol-based marker (black lines), and a fine-tipped marker (applying the grating technique on the cheeks).
6- rellene todos los respectivos cuadros con un marcador a base de alcohol (líneas negras), y un marcador de punta fina (aplicando la técnica del rallado en las mejillas).
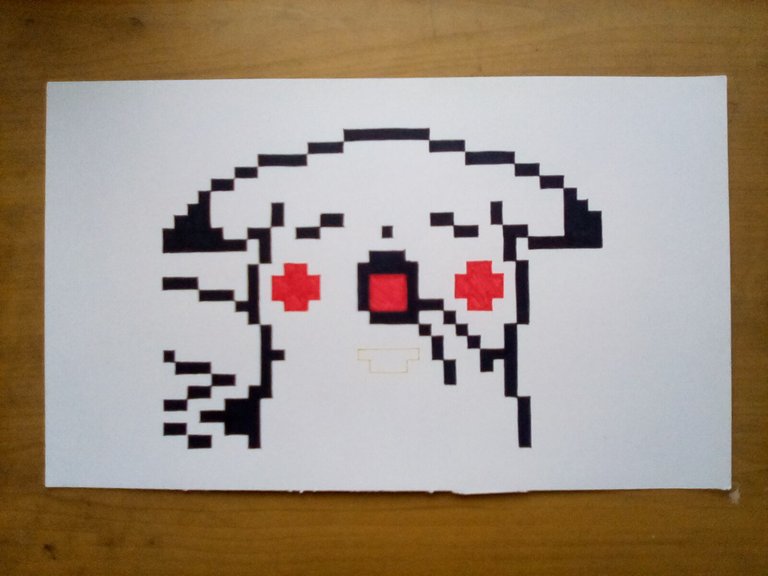
7- and with a yellow pencil paint everything missing - part of the chin was painted with a mixture between yellow and brown.
7- y con un lápiz de color amarillo pinte todo lo faltante -parte del mentón se pintó con una mezcla entre amarillo con marrón.
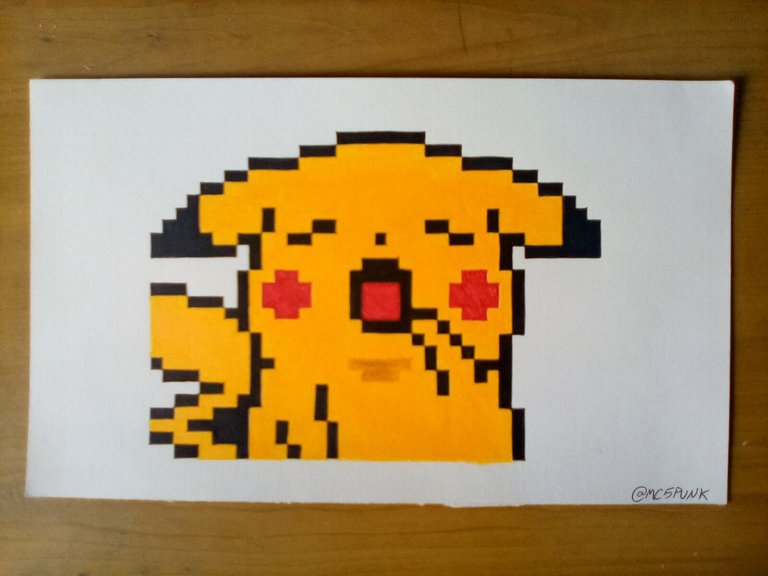
And that's it! We are done with our work 😃 What do you think?
Y listo! Hemos concluido con nuestro trabajo 😃 Que les parece? 😁
I hope this will motivate you to do it. And remember you can comment at the end of this post, I'll be reading and giving you feedback. I also appreciate all the support received from all of you.
Espero que esto les sirva de motivación para hacerlo. Y recuerden que pueden comentar al final de esta publicación, los estaré leyendo y dando respuesta. También agradezco todo el apoyo recibido por parte de todos ustedes.
Without more to say I'll see you in a next installment.
Sin más que decir nos vemos en una próxima entrega.
Until then 😎👍.
Hasta entonces 😎👍
Materials used/Materiales usados
- School white eraser;
- Graphite pencil 3H;
- Cardboard;
- Rule;
- Brush;
- Fine point marker;
- Crayola colored pencils;
- Alcohol-based marker.
- Borrador blanco escolar;
- Lápiz de grafito 3H;
- Cartulina;
- Regla;
- Brocha;
- Marcador de punta fina;
- Lápices de colores Crayola;
- Marcador a base de alcohol.
Source of the images/Fuente de las imágenes
Images captured with my Amazon Fire 8 tablet.
Imágenes capturadas con mi tableta Amazon Fire 8.
Traducido con Deepl.com
Hi there,I really appreciate your style of art.it came out really beautifully, well done.
Thank you very much for your comment, I really appreciate it. Happy new year 😎👍
you are welcome