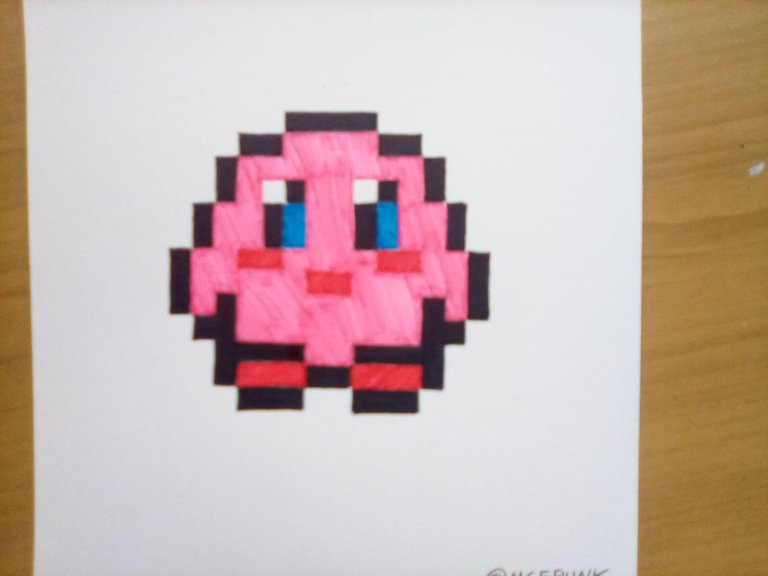
Well, friends, we come with more pixel-style drawings and this time it's Kirby's turn, who as we well know is part of the set of famous Nintendo characters; which has had partition together with others in certain games as well as has also come to act alone.
Bien, amigos, venimos con más dibujos al estilo pixel y está vez le toca a Kirby, que como bien sabemos forma parte del conjunto de personajes famosos de Nintendo; el cual ha tenido partición en conjunto con otros en ciertos juegos así como también ha llegado a actuar en solitario.
Now, as for the drawing process we will see below the step by step for its elaboration, so without further ado let's start.
Ahora, en cuanto al proceso del dibujo veremos a continuación el paso a paso para su elaboración, así que sin más preámbulos comencemos.
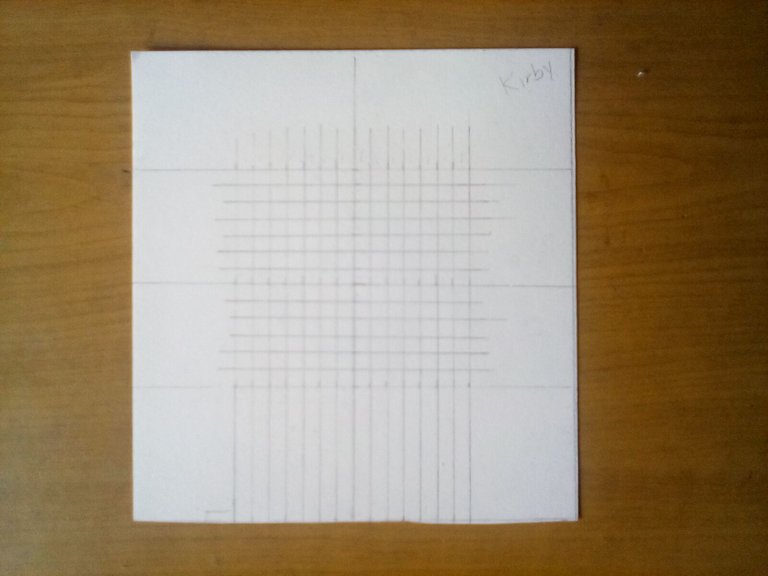
1- we started with the creation of a series of paintings with the help of a ruler and they will have a dimension of 0.5mm both in width and in length.
1- empezamos con la creación de una serie de cuadros con la ayuda de una regla y que tendrán una dimensión de 0,5mm tanto de ancho como de largo.
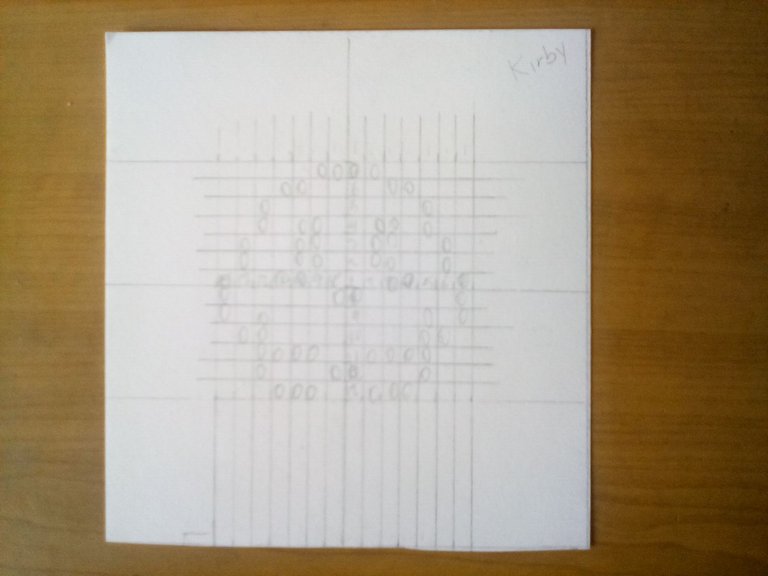
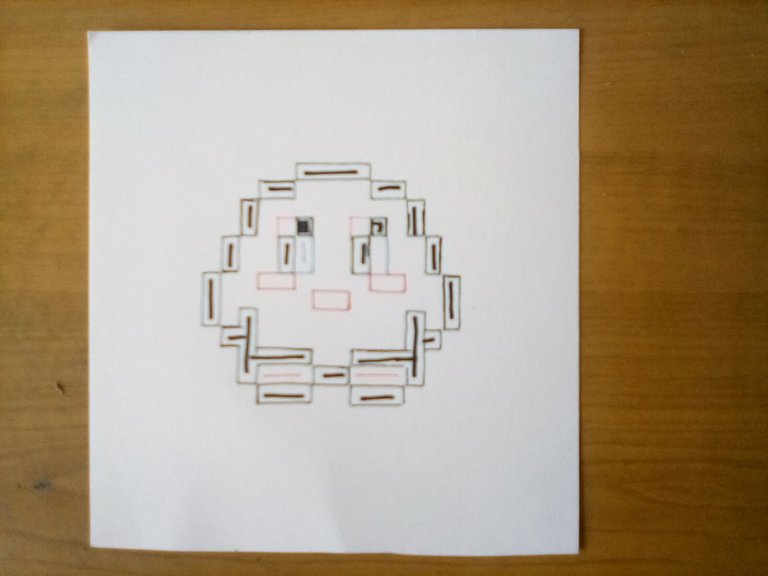
2- next, we select the squares that will shape our figure: 13 along and 14 across.
2- seguidamente, seleccionamos los cuadros que darán forma a nuestra figura: 13 a lo largo y 14 a lo ancho.
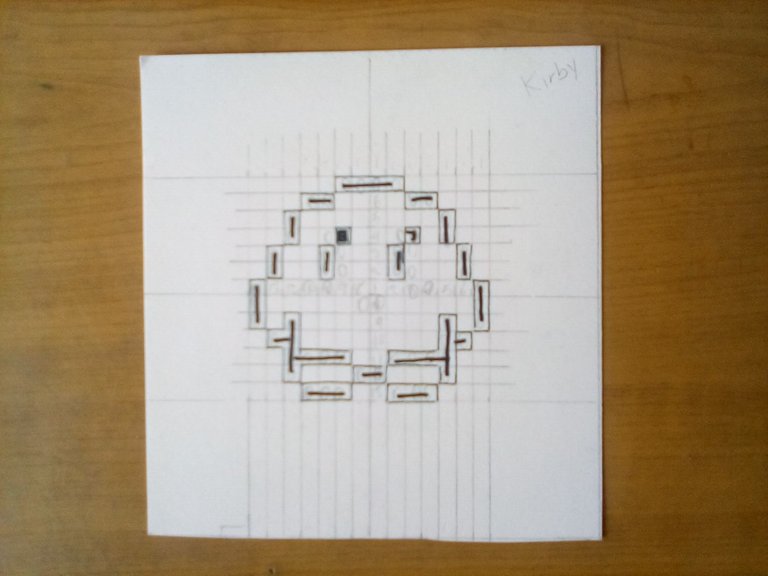
3- with a fine point marker we re-mark all the pictures.
3- con un marcador de punta fina volvemos a remarcar todos los cuadros.
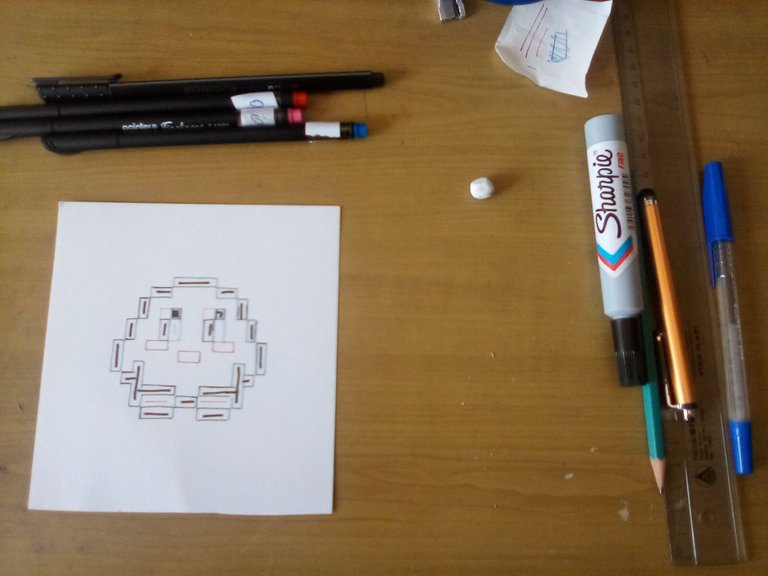
4- we remove the graphite with a white school eraser.
4- retiramos el grafito con un borrador blanco escolar.
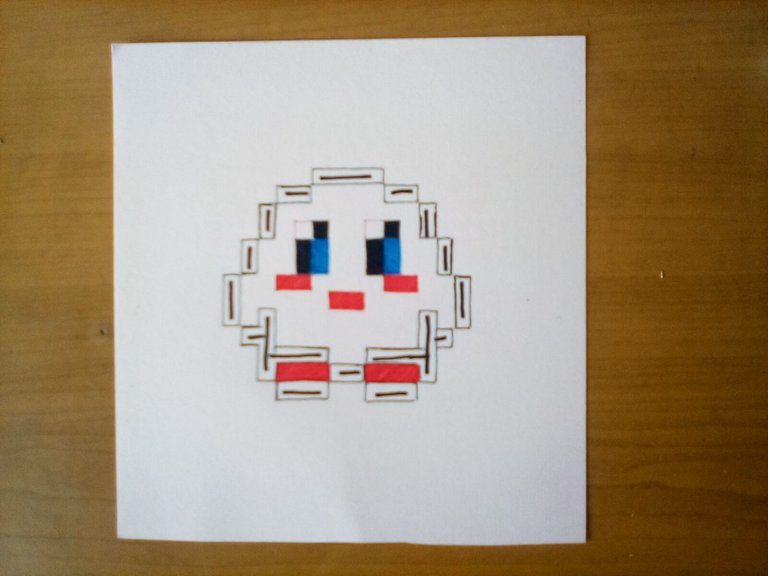
5- we colored the pictures that give detail to the character, such as the cheeks, mouth and eyes (in this case fine-tipped markers were used).
5- coloreamos los cuadros que dan detalle al personaje, como son las mejillas, boca y ojos (en este caso se usaron marcadores de punta fina).
6- fill in the empty spaces of the boxes with an alcohol-based marker.
6- rellenamos los espacios vacíos de los cuadros con un marcador a base de alcohol.
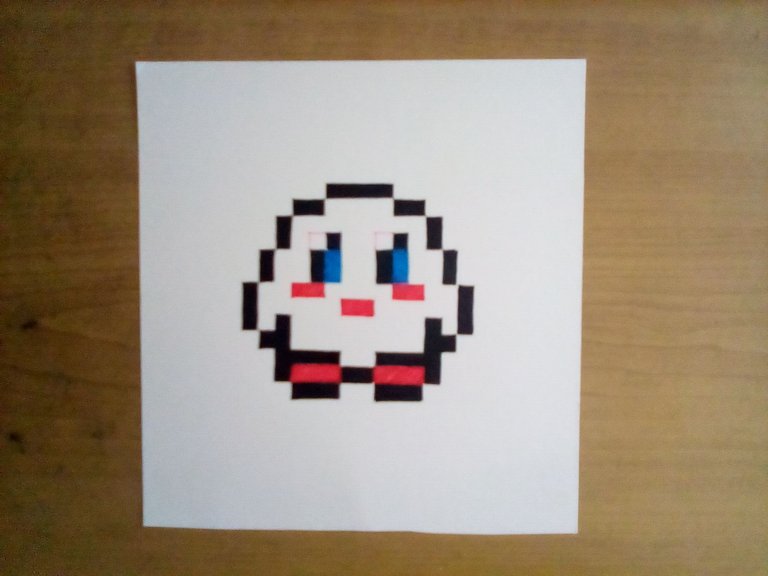
7- again with a fine tip marker Kirby was colored again in his missing spaces.
7- nuevamente con un marcador de punta fina se volvió a a colorear a Kirby en sus espacios faltantes.
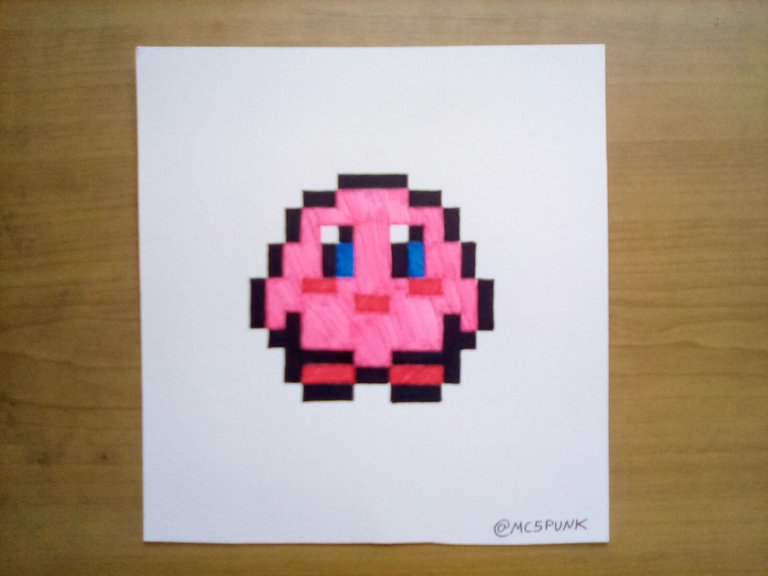
And that's it! We are done with our work 😃 What do you think?
Y listo! Hemos concluido con nuestro trabajo 😃 Que les parece? 😁
I hope this will motivate you to do it. And remember you can comment at the end of this post, I'll be reading and giving you feedback. I also appreciate all the support received from all of you.
Espero que esto les sirva de motivación para hacerlo. Y recuerden que pueden comentar al final de esta publicación, los estaré leyendo y dando respuesta. También agradezco todo el apoyo recibido por parte de todos ustedes.
Without more to say I'll see you in a next installment.
Sin más que decir nos vemos en una próxima entrega.
Until then 😎👍.
Hasta entonces 😎👍
Materials used/Materiales usados
School white eraser;
Graphite pencil 3H;
Rule;
Fine-tipped markers;
Alcohol-based marker;
Cardboard.
Borrador blanco escolar;
Lápiz de grafito 3H;
Regla;
Marcadores de punta fina;
Marcador a base de alcohol;
Cartulina.
Source of the images/Fuente de las imágenes
Images captured with my Amazon Fire 8 tablet.
Imágenes capturadas con mi tableta Amazon Fire 8.
Traducido con Deepl.com