Happy Sunday and happy labor day 😀
I present you my latest work in tattoo art and I will share with you the process of this one. I made it yesterday in the comfort of my home to a good friend, I decided to give it to him because I had long wanted to make a design something dark and I knew he would like it.
Feliz domingo y día del trabajador 😀
Les presento mi último trabajo en el arte del tatuaje y les comparto el proceso de este. Lo realicé el día de ayer en la comodidad de mi hogar a un buen amigo, decidí regalárselo porque hacía tiempo que quería hacer un diseño algo dark y sabía que a él le iba a gustar.
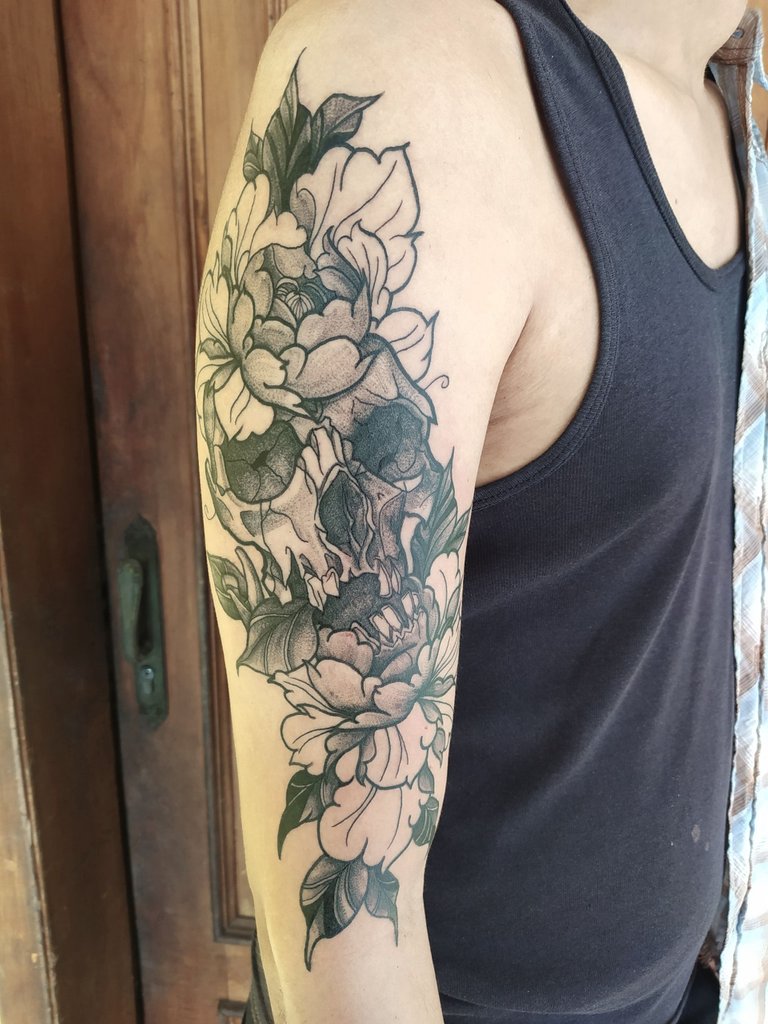
Photograph taken today with natural light
Fotografía tomada hoy con luz natural
It took me 5 hours and a half to make it, for my level is quite exhausting this kind of pieces, but it was worth the effort. Here is the process:
Me tomó 5 horas y media hacerlo, para mi nivel es bastante agotador este tipo de piezas, pero valió la pena el esfuerzo. Este es el proceso:
PROCESS - PROCESO
Tattoo design:
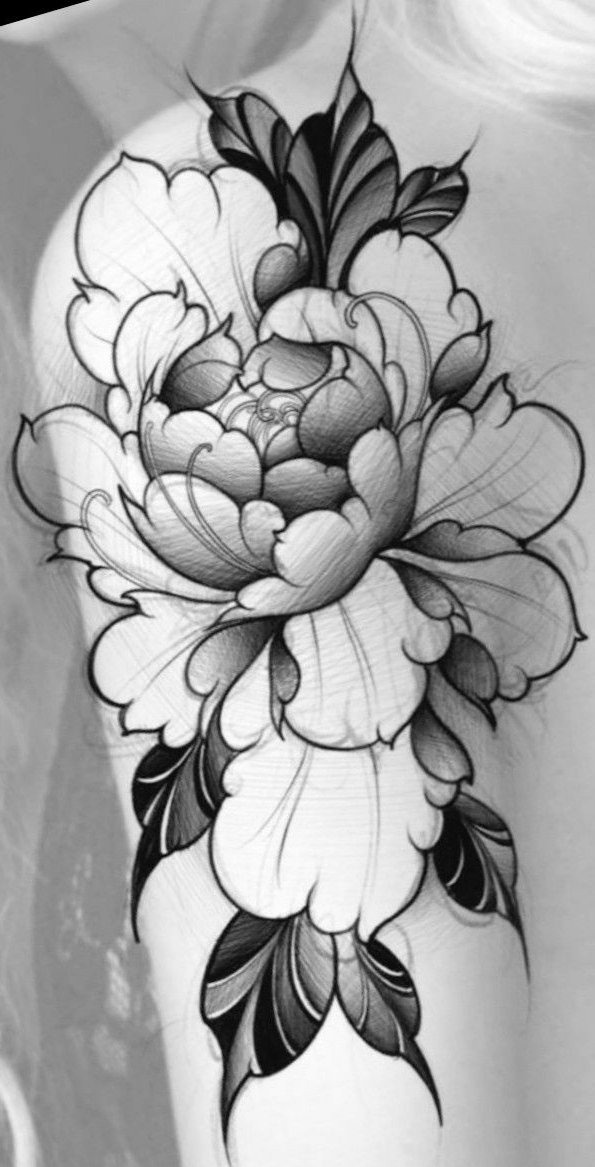
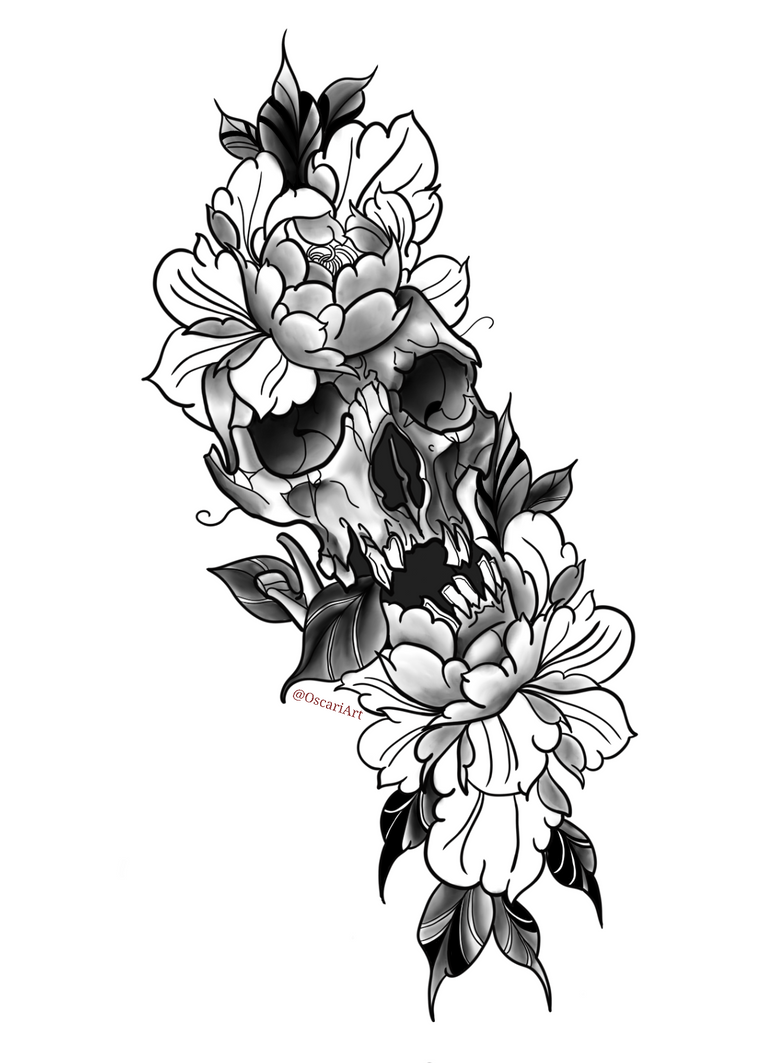
Two weeks ago I made the design where where I chose a neotradi skull and a peony as a reference.
(Skulls are commonly associated with death, but for me it's more a symbol of equality, no matter your sex, skin tone, if you are rich or poor, we all end up in the same way when we pass to another plane)
Diseño de tatuaje:
Hace dos semanas hice el diseño donde elegí una calavera neotradi y una peonía como referencia.
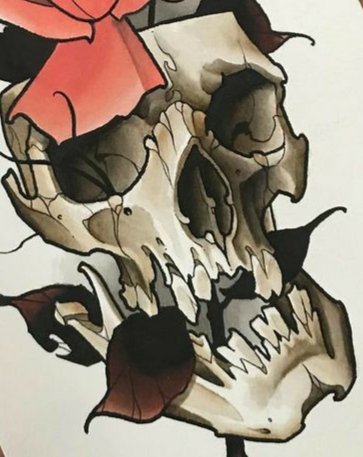
(Las calaveras se asocian comúnmente con la muerte, pero para mí es más un símbolo de igualdad, no importa tu sexo, tono de piel, si eres rico o pobre, todos acabamos de la misma manera cuando pasamos a otro plano)
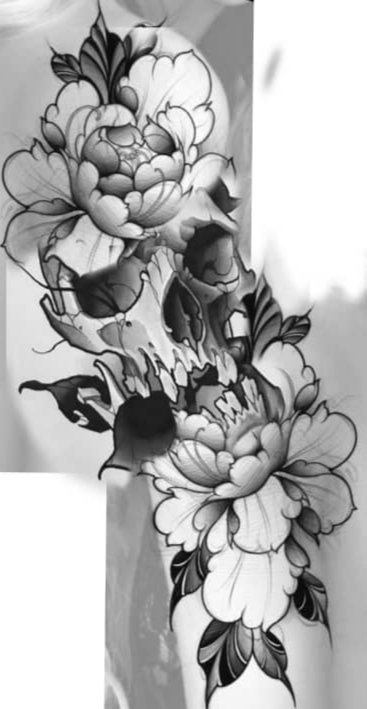
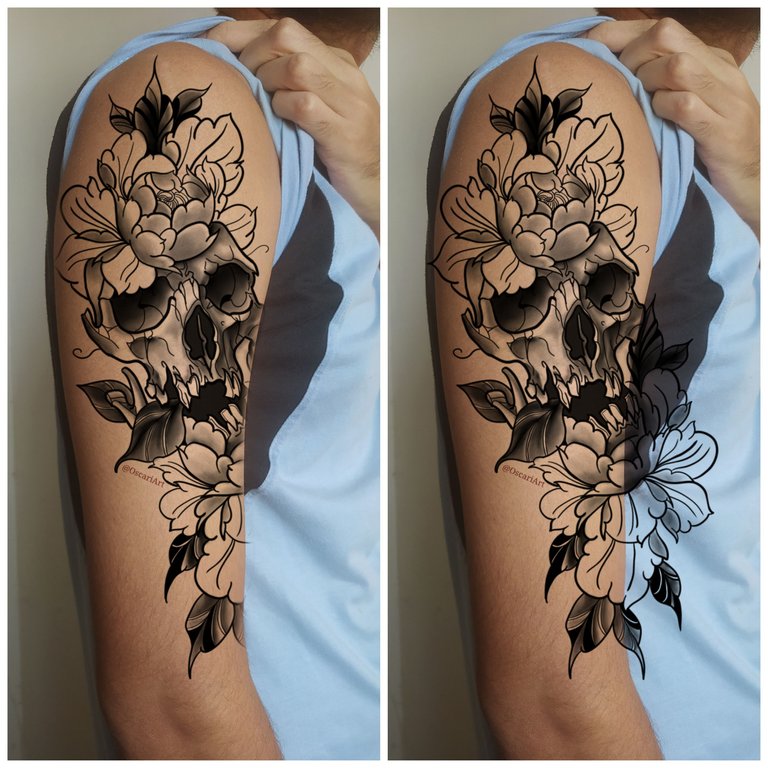
I passed these two to editing in Picsart where I fit the skull between two peonies. And then I digitized it so that the details could be understood.
Once I had the design ready, I printed it, it is approximately 34 cm long and 17 cm wide.
Pasé estas dos a edición en Picsart donde encajé la calavera entre dos peonías. Y luego lo digitalicé para que se entendieran los detalles.
Una vez que tuve el diseño listo, lo imprimí, tiene aproximadamente 34 cm de largo y 17 cm de ancho.
Tattoo process:
I stenciled my tattoo by marking on hectographic paper, then cleaned and disinfected the area where it would be done, then transferred the stencil to the skin using stencil gel.
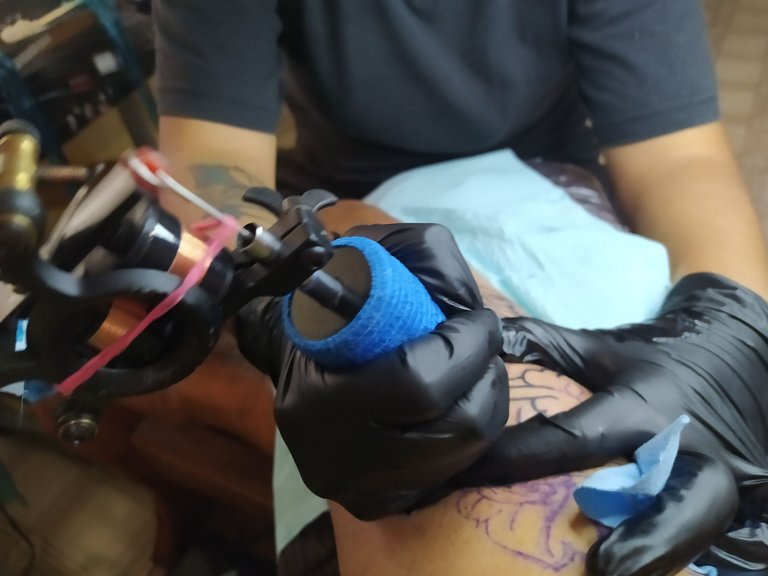
While waiting for the stencil to dry I set up my machines, this time I used a coil machine with 11 rs needle and my pen Rocket machine with 7rl needles for fine lines.
Proceso de tatuaje:
Realicé el stencil de mi tatuaje marcando en papel hectográfico, luego limpié y desinfecté la zona donde se realizaría, después transferí el stencil a la piel utilizando gel de stencil.
Mientras esperaba que el stencil se secara preparé mis máquinas, esta vez utilicé una máquina de bobina con aguja de 11 rs y mi máquina Pen Rocket con agujas de 7rl para las líneas finas.
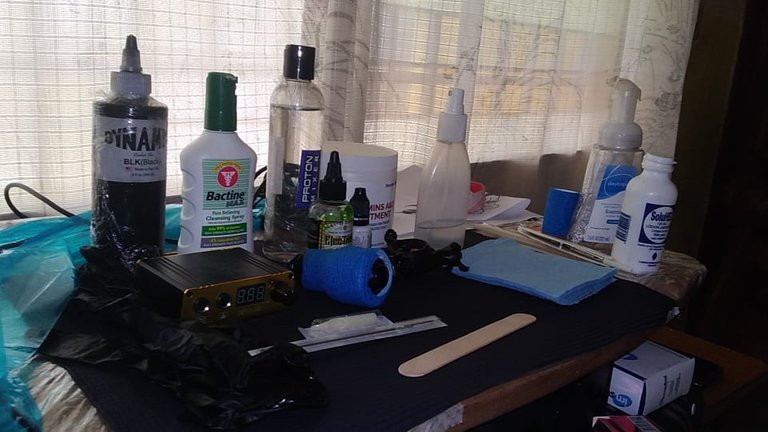
Photo courtesy of my friend
Fotografía por cortesía de mi amigo
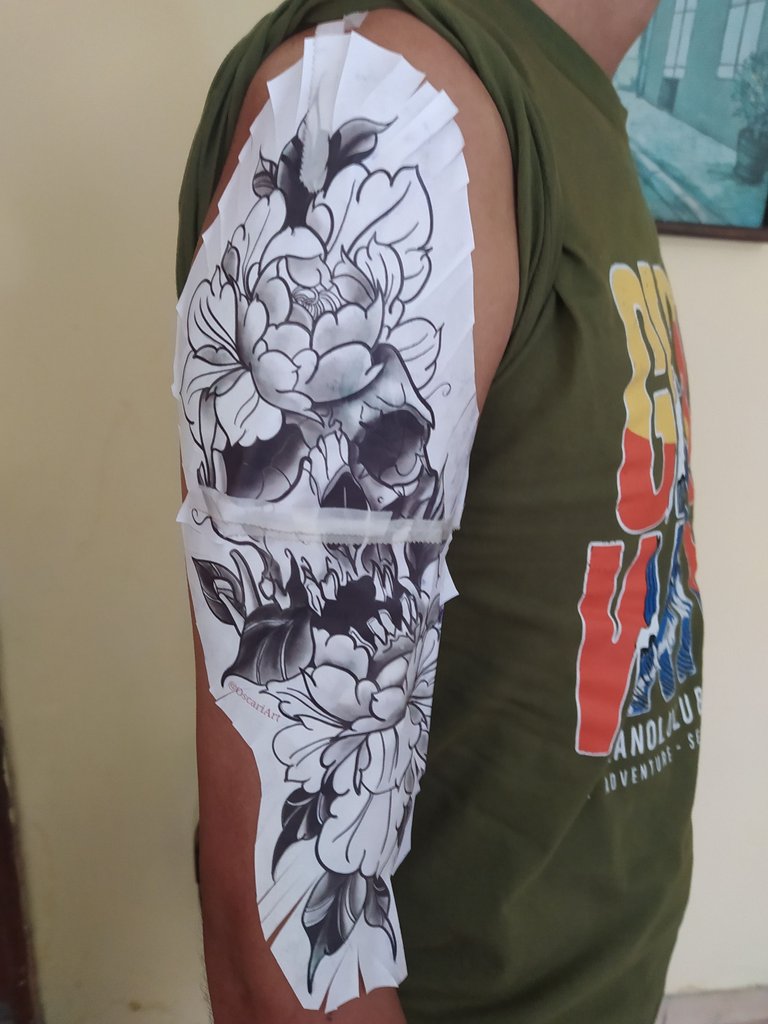
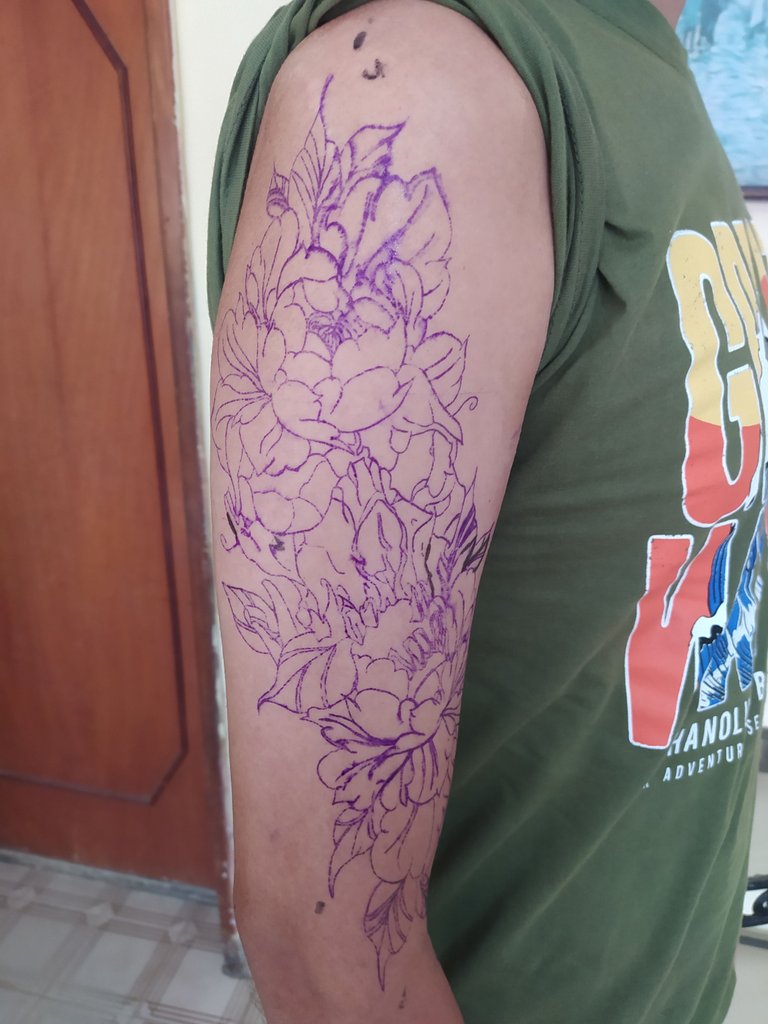
Starting to work the tattoo from the bottom up, I did all the lines and fills at once, to avoid erasing the stencil.
Empezando a trabajar el tatuaje de abajo a arriba, hice todas las líneas y los rellenos a la vez, para no borrar la plantilla.
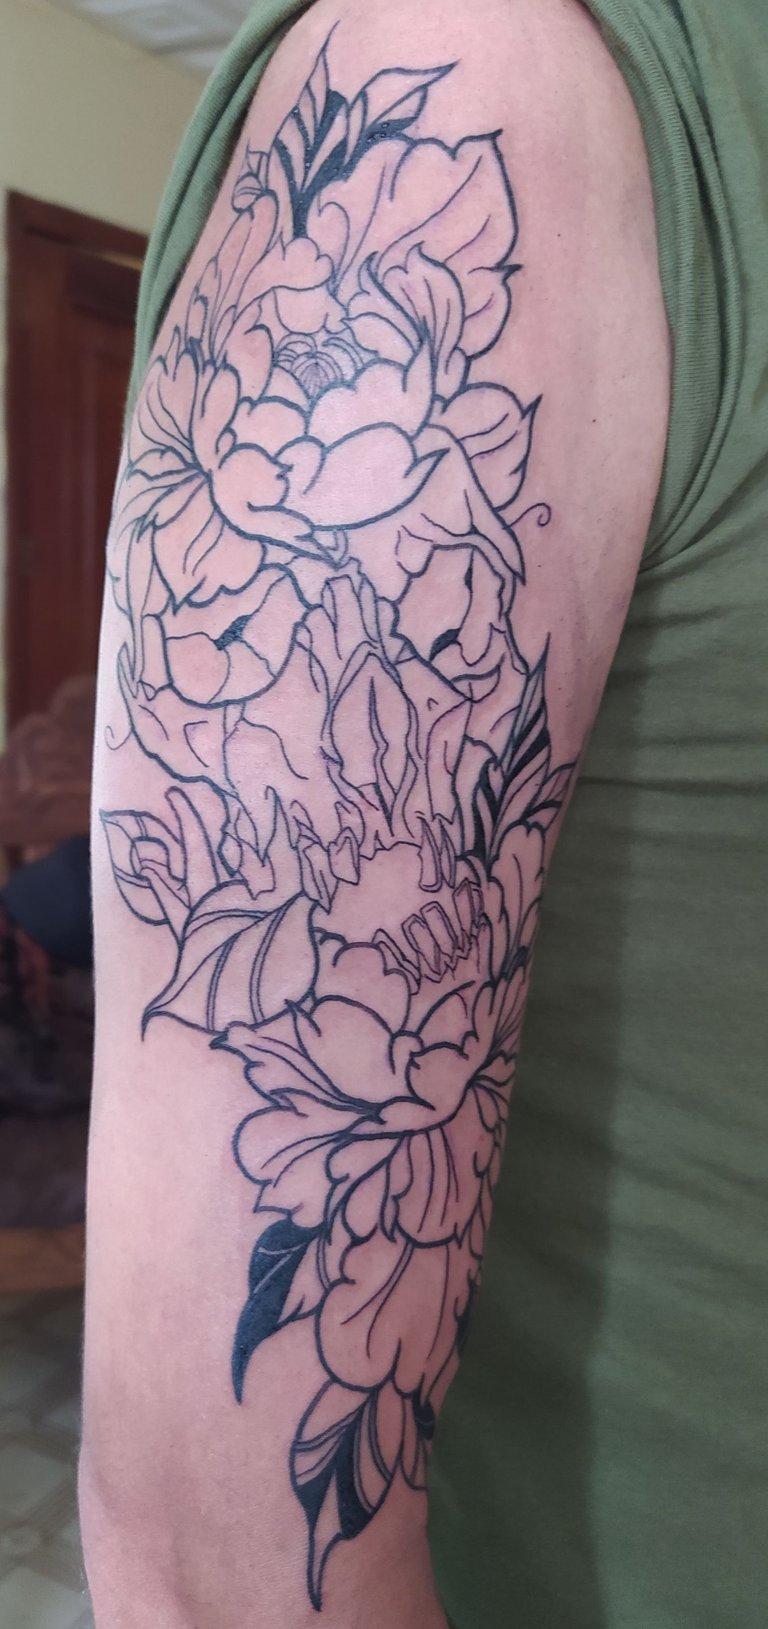
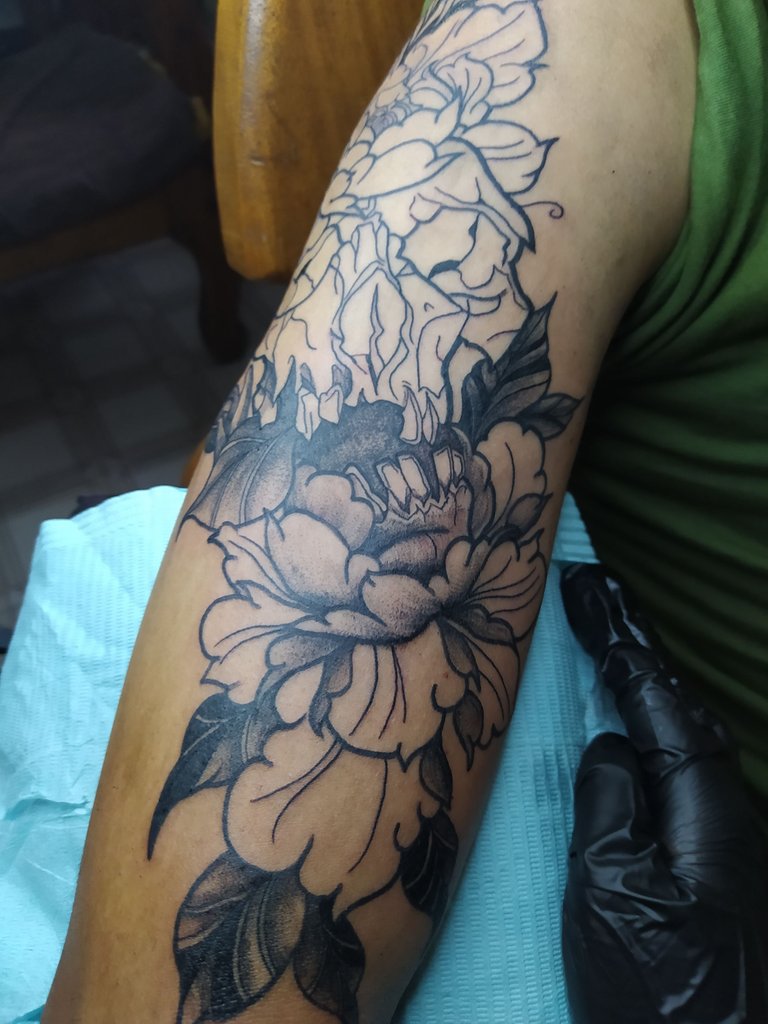
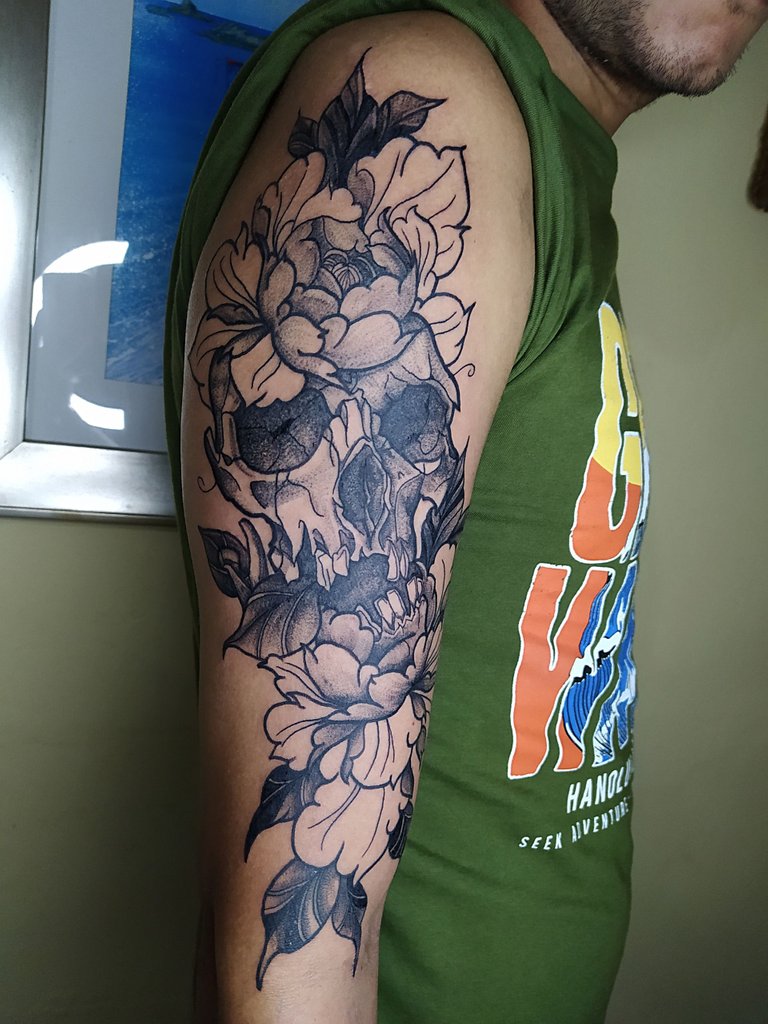
Este es el resultado final, por el momento pienso continuar este diseño en el futuro con geometría. Espero que les haya gustado. Gracias por llegar hasta aquí.
Tool | Herramientas
Xiaomi Note 8 Phone | Teléfono Xiaomi Note 8
Translated in Deelp
App used | App utilizadas:
Picsart
Illustration elaborated in App Autodesk Sketchbook
All photographs without references are my own. | Todas las fotografías sin referencias son de mi autoría
Twitter @OscariArt
Instagram:
Tattoo Art @OscariArt
Illustration @oscari.artdigital
Nice work!
You are welcome 😎
That's a very ferocious but cool design.
Excelente post al igual que el tatuaje !!
Muy detallado todo el procedimiento!! Saludos
Muchísimas gracias. Se aprecia el comentario. :3
Realmente amo el estilo de tus tatuajes, soy tu fans n° 1🌚❤
Y si te tatuamos nuevamente? JAJAJAJAA
amazing tattoo