English version
Hello friends of Hive. Welcome to a new post. I hope you are feeling well and I also wish you have a nice day.
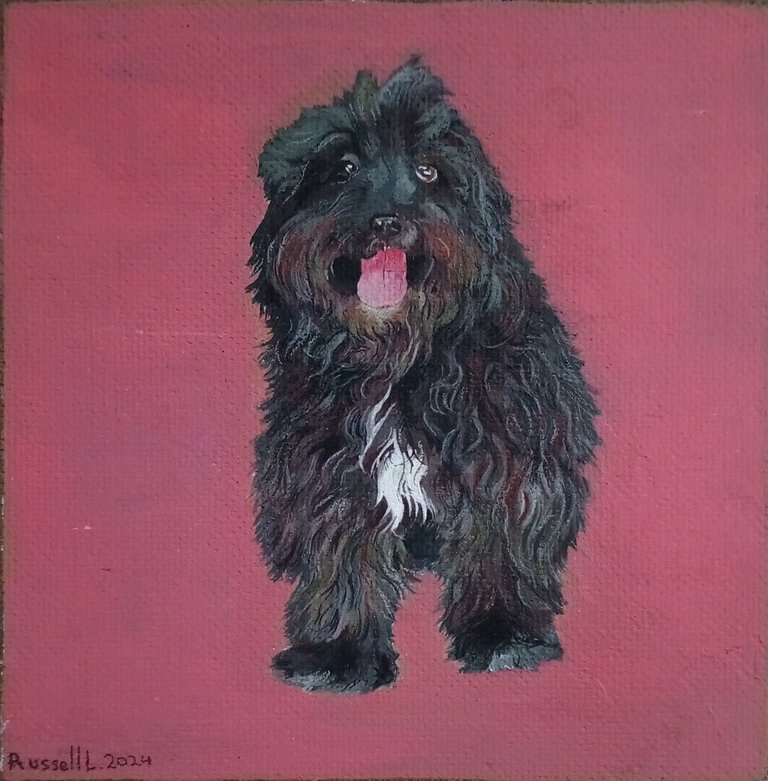
Today I want to share with you a painting I did for a lady who asked me to paint her doggy.
The story begins when I was in the classroom and this lady (who is a worker who works in this institution) was looking for someone who could draw her dog, and when I asked who was the best painter among us (my classmates) I felt flattered to see that everyone pointed to me saying that I was the best to take that job.
It actually took several weeks before I could start doing this painting, but I was already busy with other activities and a painting that I had been working on for quite a while.
Now I would like to share part of the process of making this painting with you.
Step by step:
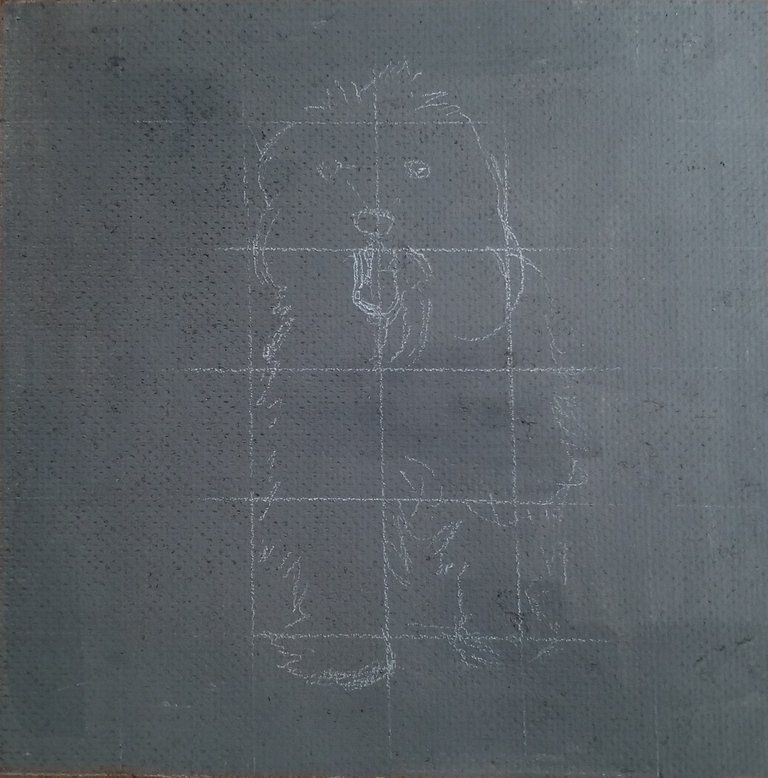
Before starting with the painting I applied three coats of base paint, about 60% gray. Then with a white color I made grids to better mark the proportions and then make the sketch of the dog.
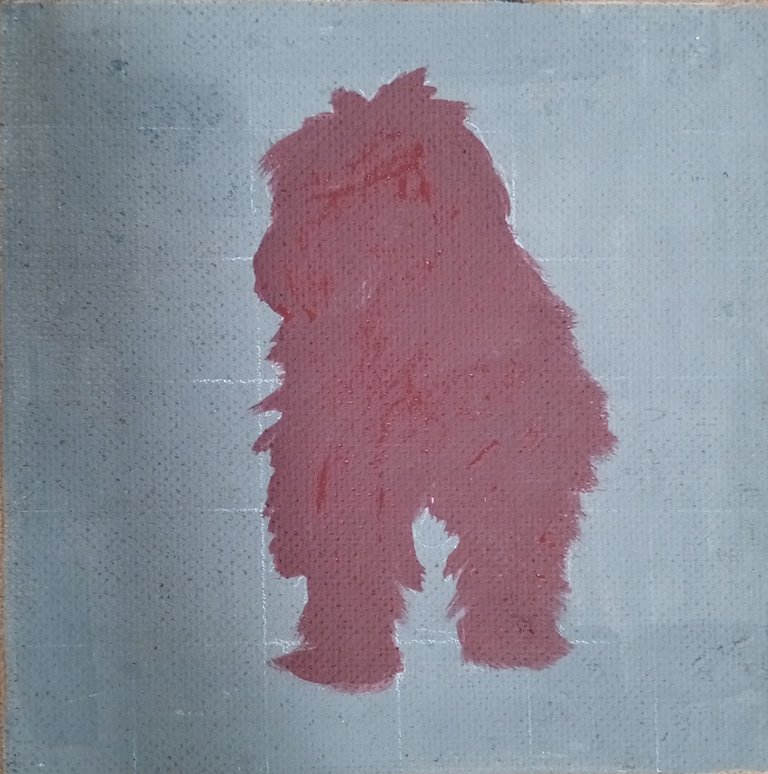
On the sketch I applied a layer of paint without leaving the limit of the outline of the dog's figure. I did this to make the surface I was working on a little more uniform since it has a weird texture that leaves spaces between the brushstrokes and it doesn't look so good.
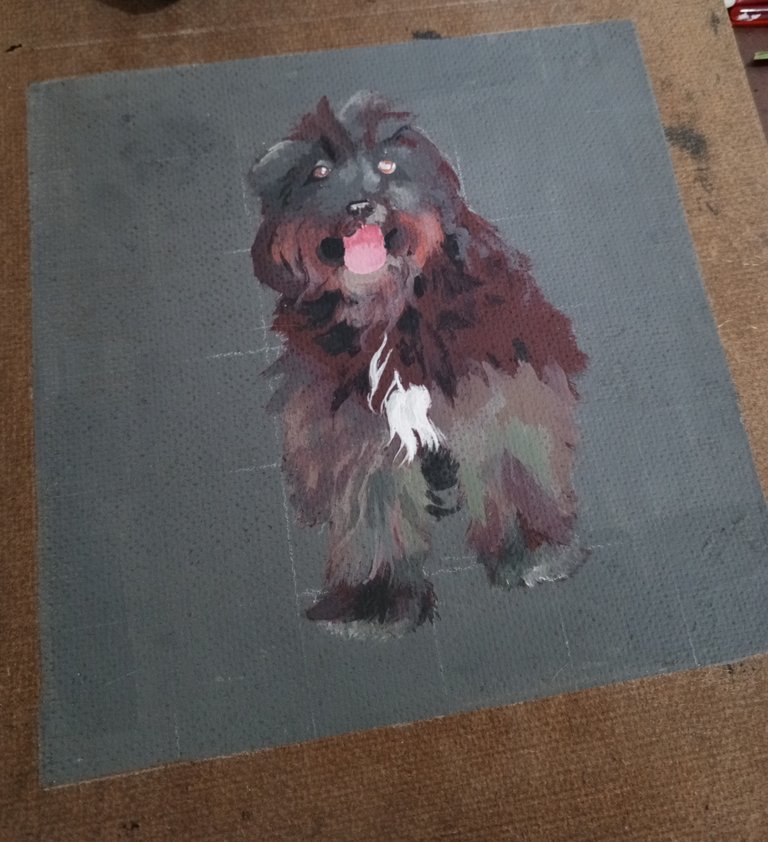
Now I started to use brush strokes without much definition, something like brown and gray spots.
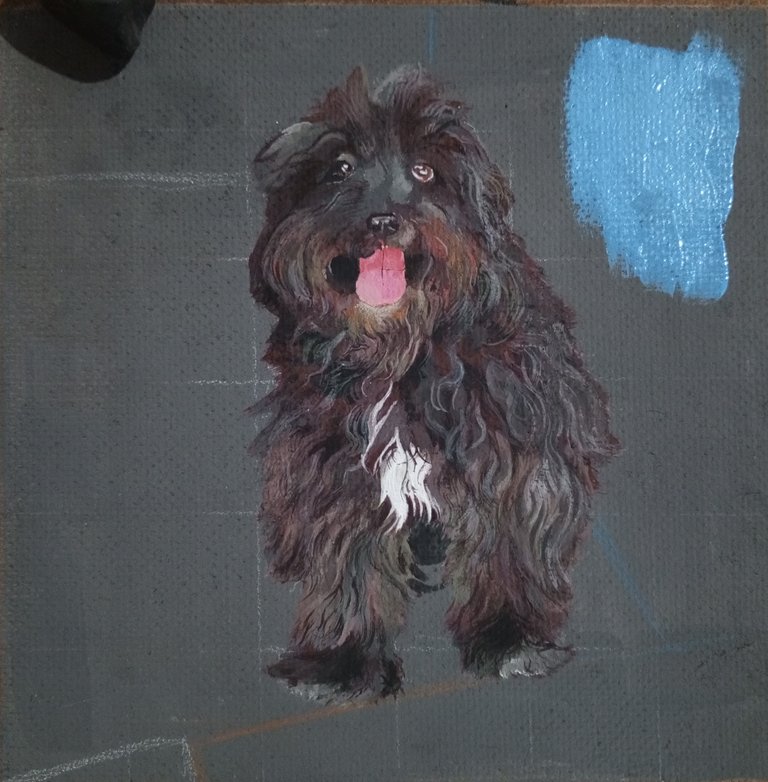
Then I was working the volumes of the hair and the contrast that exists between each strand of it. At first I confess that I felt the process of adding the color was a little annoying, but then I got the hang of it and it was super easy to make this painting.
And to finish the job I added a light reddish background. This painting didn't take me more than a day and a half and it took me mostly choosing the color that the background would be painted.
What did you think? Leave me a comment below!
Thanks for reading this far, see you next time!
Versión en español
Hola amigos de Hive. Bienvenidos a un nuevo post. Espero que se encuentren bastante bien y también deseo que tengan un lindo día.
El día de hoy quiero compartir con ustedes una pintura que hice para un encargo que me hizo una señora para que pintara a su perrito.
La historia empieza en que yo estaba en el salón de clases y está señora ( que es una obrera que trabaja en está institución) estaba buscando alguien que pudiera dibujar a su perro, y al preguntar quien es el que mejor pintaba entre nosotros (mis compañeros de clases) me sentí alagado al ver que todos me señalaron asegurando que yo era el mejor para tomar ese trabajo.
Realmente pasaron varias semanas antes de que pudiera empezar a hacer esta pintura, pero ya me encontraba ocupado con otras actividades y una pintura que ya venía trabajando hace un buen rato.
Ahora me gustaría compartir parte del proceso de hacer esta pintura con ustedes.
Paso a paso:
Antes de empezar con la pintura aplique tres capss de pintura base, de un tono de gris al 60% mas o menos. Después con un color blanco hice cuadrículas para marcar mejor las proporciones y asi después hacer el boceto del perro.
Sobre el boceto aplique una capa de pintura sin salirme del límite del contorno de la figura del perro. Esto lo hice para hacer un poco mas uniforme la superficie en la que estaba trabajando ya que tiene una rara textura que deja espacios entre las pinceladas y no se ve tan bien que digamos.
Ahora empecé a usar pinceladas sin mucha definición, algo así como manchas de color marron y gris.
Despues fui trabajando los volúmenes del pelo y el contraste que existe entre cada mechón de ello. Al principio confieso que sentí el proceso de añadir el color un poco fastidioso, pero después le agarre el hilo y fue super facil hacer esta pintura.
Y para culminar el trabajo agregué un fondo de color rojizo claro. Esta pintura no me tomo mas de un dia y medio y tarde mas que todo eligiendo el color del que sería pintado el fondo.
Que te pareció? Dejame tu comentario aquí abajo!
¡Gracias por leer hasta acá, hasta la próxima!