.jpeg)

Español
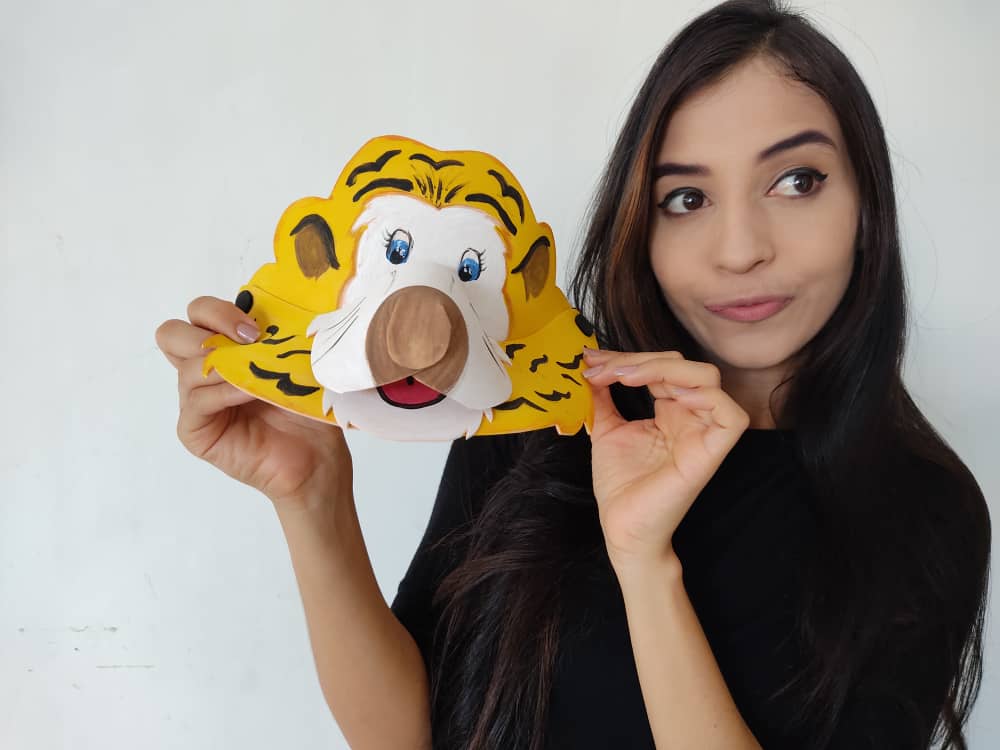
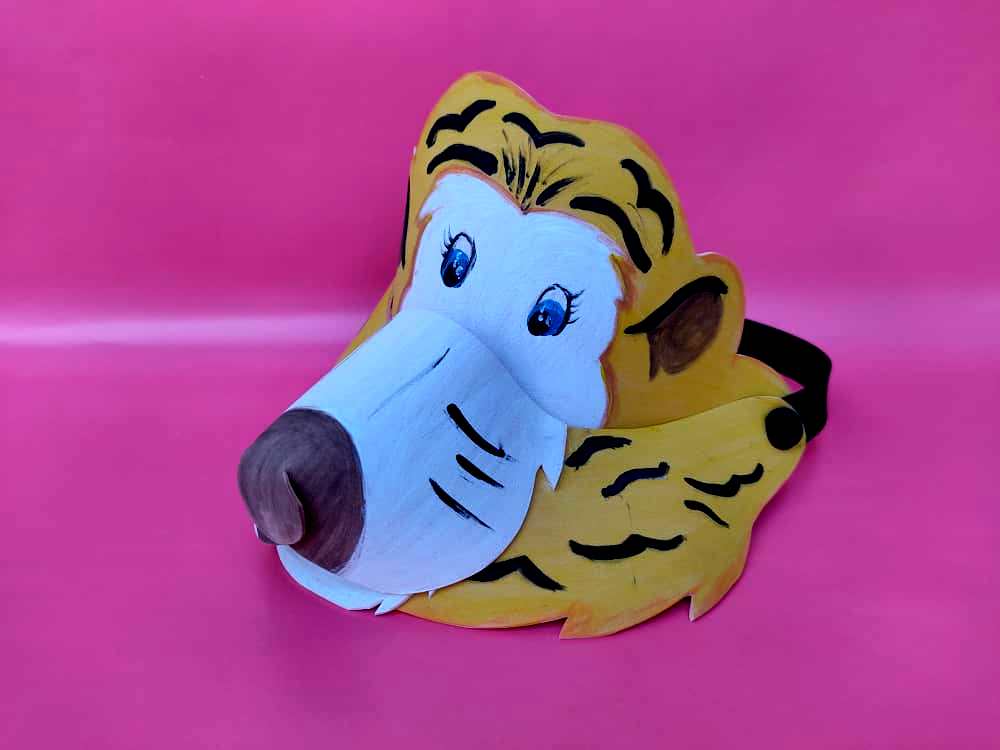
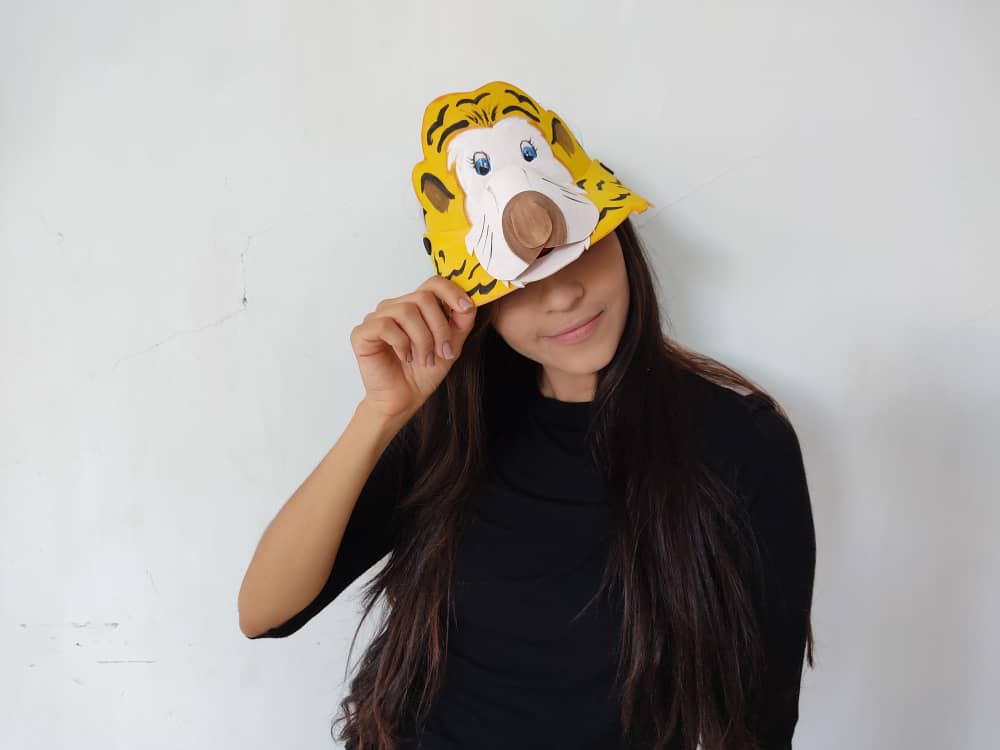
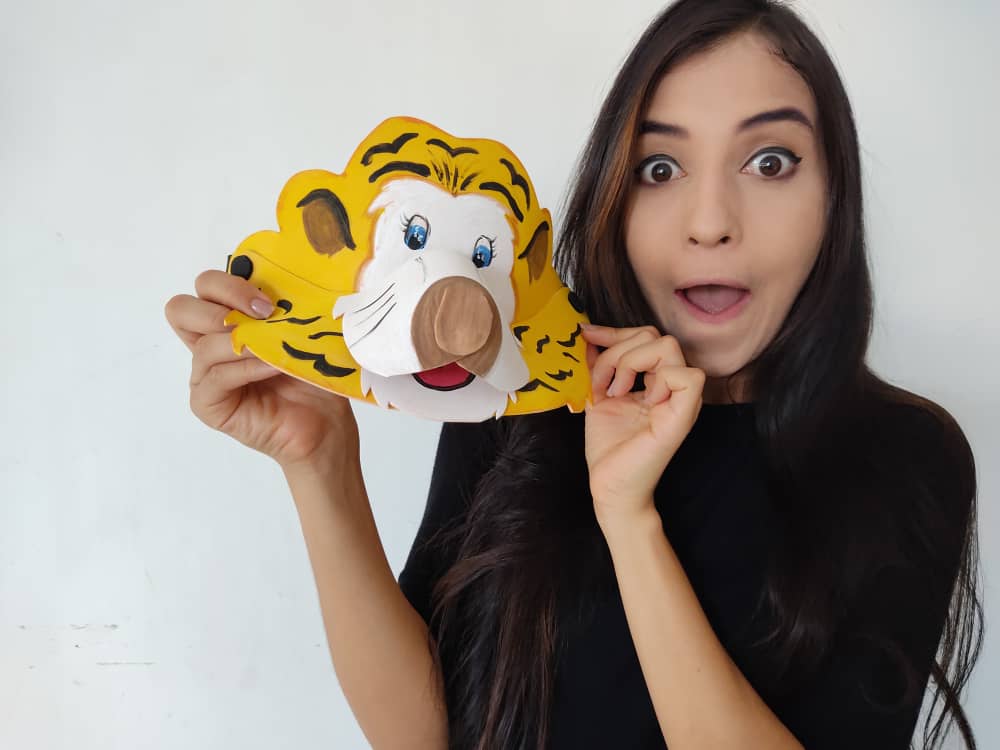
Hola querida familia de HIVE 🖖 En esta linda ocasión traigo para ustedes un nuevo y divertido paso a paso, en dónde les mostrare como elaborar una visera de tigre, perfecta y útil para que nuestros niños puedan protegerse de los rayos del sol de una manera muy original. Este lindo tigre está hecho de materiales muy económicos y fáciles de conseguir, y además de ser muy hermoso es bastante útil, así que no dejen de intentar en casa este increíble tutorial, y verán que felices se pondrán los más pequeños de la casa desarrollando está actividad tan genial. Además es una idea perfecta para pasar un rato agradable con nuestros pequeños en casa e incentivarlos, ya que, pueden ir, de a poco, desarrollando su ingenio y acercándose un poco más al trabajo artístico.
English
Hello, dear HIVE family 👋 On this beautiful occasion, I bring you a new and fun step by step, where I will show you how to make a tiger visor, perfect and useful for our children to protect themselves from the sun's rays in a very original way. This cute tiger is made of very cheap materials and easy to get, and in addition to being very beautiful it is quite useful, so do not stop trying this incredible tutorial at home, and you will see how happy the little ones of the house will be developing this such a great activity. It is also a perfect idea to spend a pleasant time with our little ones at home and encourage them, since they can go, little by little, developing their ingenuity and getting a little closer to artistic work.
¿Qué están esperando?
Utilizar estos hermosos materiales para transformarlos en una hermosa visera de tigre es una idea muy original y económica para proteger nuestro rostro y ojos de los rayos de sol. Antes de comenzar no olvidemos lavarnos nuestras manos.
What are they waiting for?
Using these beautiful materials to transform them into a beautiful tiger visor is a very original and economical idea to protect our face and eyes from the sun's rays. Before we start, let's not forget to wash our hands.


[Materiales | Materials]
Para hacer esta hermosa visera necesitaremos:
- Moldes.
- Foami o goma eva.
- Papel vegetal o calco.
- Lápiz.
- Tijera.
- Pincel o brocha.
- Pinturas.
- Cinta elástica.
- Grapadora.
- Pegamento o silicón liquido.
To make this beautiful visor will need:
- Molds.
- Foamy or EVA foam.
- Vegetable paper or tracing.
- Pencil.
- Scissors.
- Brush or brush.
- Paintings.
- Elastic tape.
- Stapler.
- Glue or liquid silicone.
Procedimiento (paso a paso)
Process (step by step)
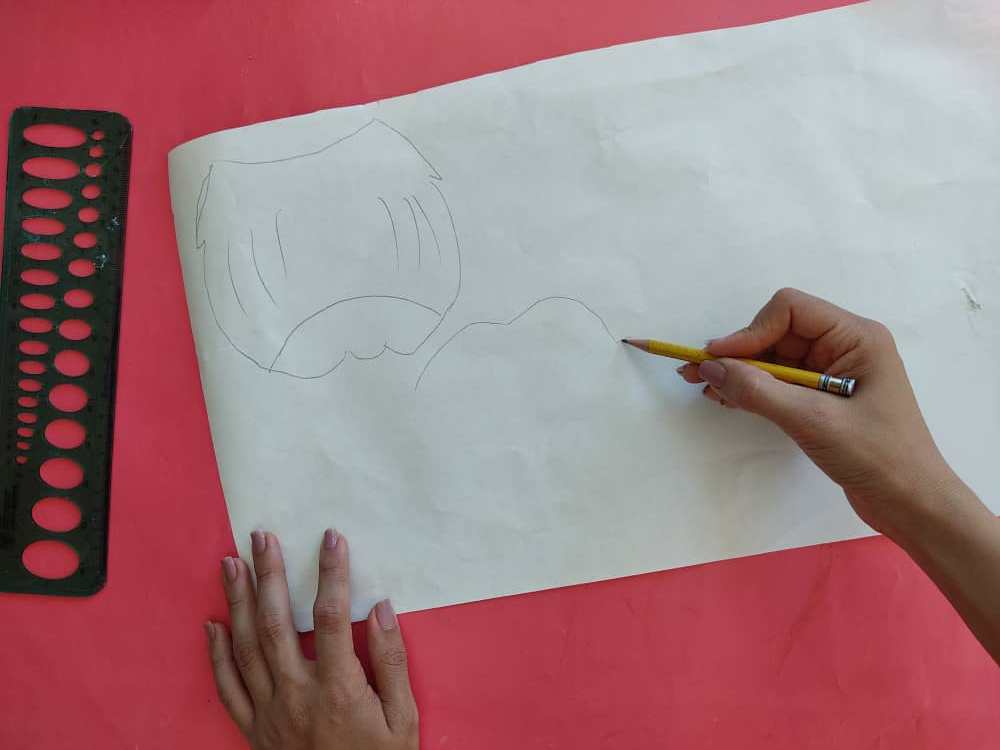
Primero, diseñamos el animal que más nos guste, en este caso yo opte por dibujar un lindo tigre, porque me encantan sus colores, y les recomiendo dibujar las partes de nuestra visera por separado para que sea más fácil de recortar.

First, we design the animal that we like the most, in this case, I chose to draw a cute tiger, because I love its colors, and I recommend drawing the parts of our visor separately so that it is easier to cut out.
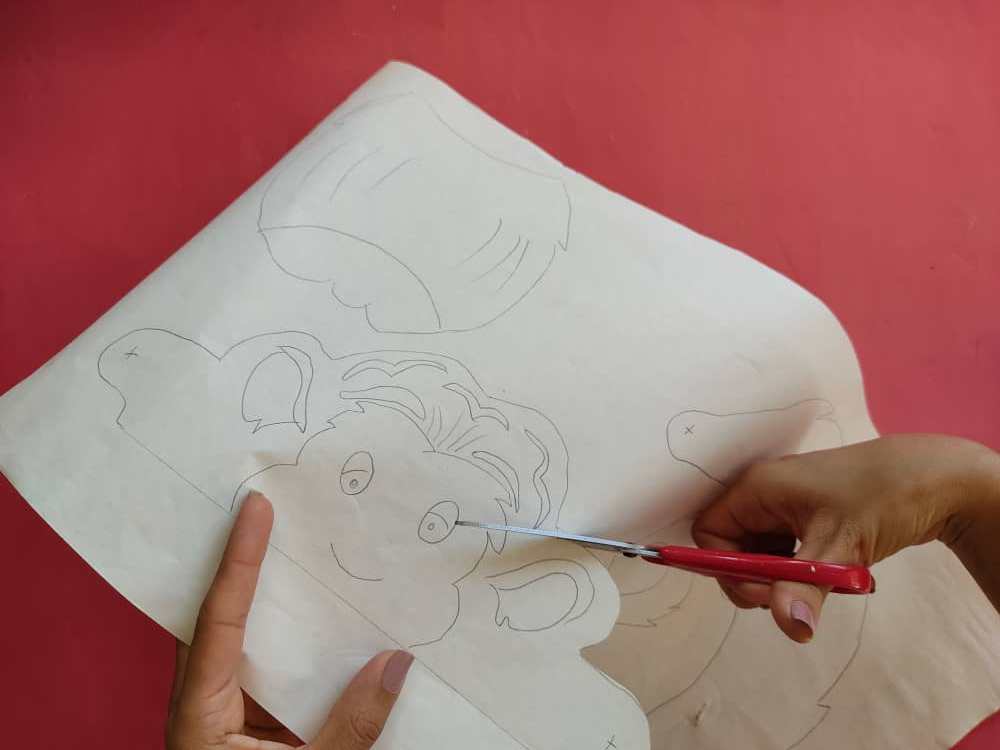
Luego, recortamos las partes de nuestro dibujo con mucho cuidado para conservar las medidas y evitar accidentes al utilizar la tijera.

Then, we cut the parts of our drawing very carefully to preserve the measurements and avoid accidents when using the scissors.
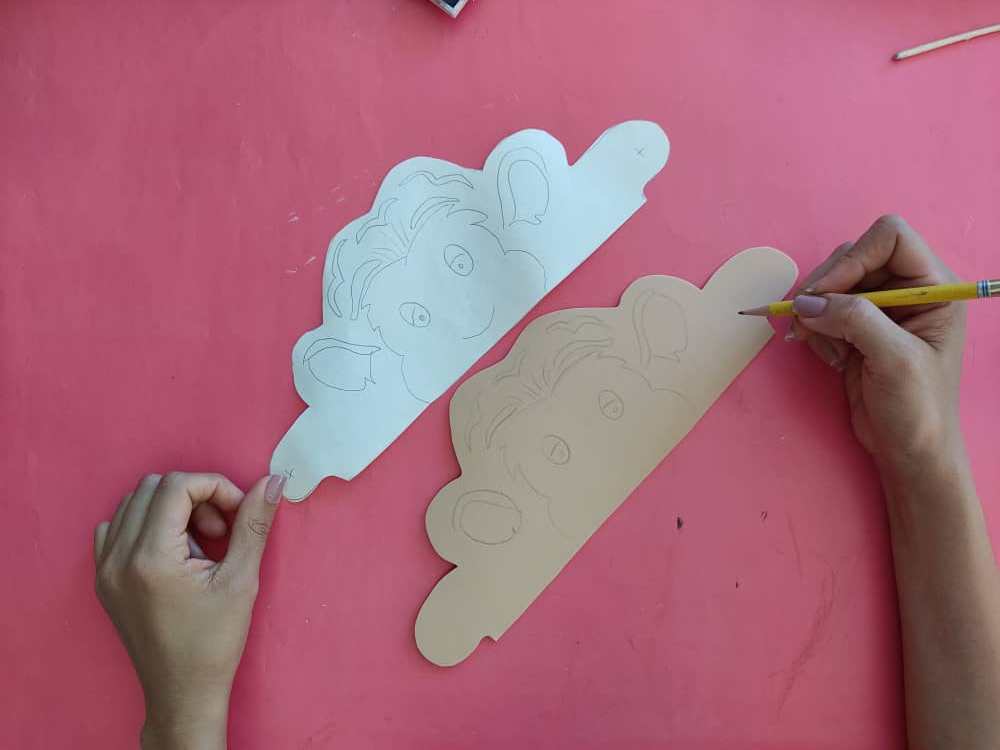
Una vez obtenidos los moldes, transferimos al foami y recortamos respetando las medidas de nuestros patrones, para lograr los resultados deseados.

Once the molds are obtained, we transfer to the foamy and trim respecting the measurements of our patterns, to achieve the desired results.
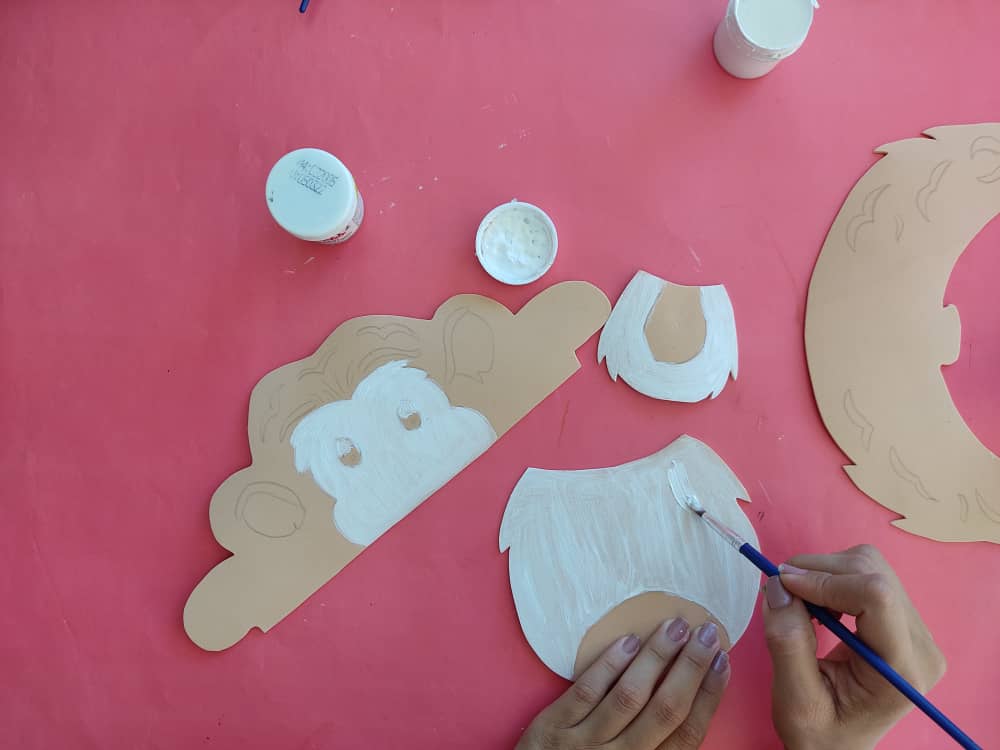
Ahora, con la ayuda de un pincel y pintura, damos vida y color a las partes de nuestra visera. Dejamos volar nuestra imaginación y pintamos nuestro trabajo con mucho amor y ternura, definiendo cada parte de este lindo tigre.

Now, with the help of a brush and paint, we give life and color to the parts of our visor. We let our imagination run wild and we paint our work with a lot of love and tenderness, defining each part of this cute tiger.
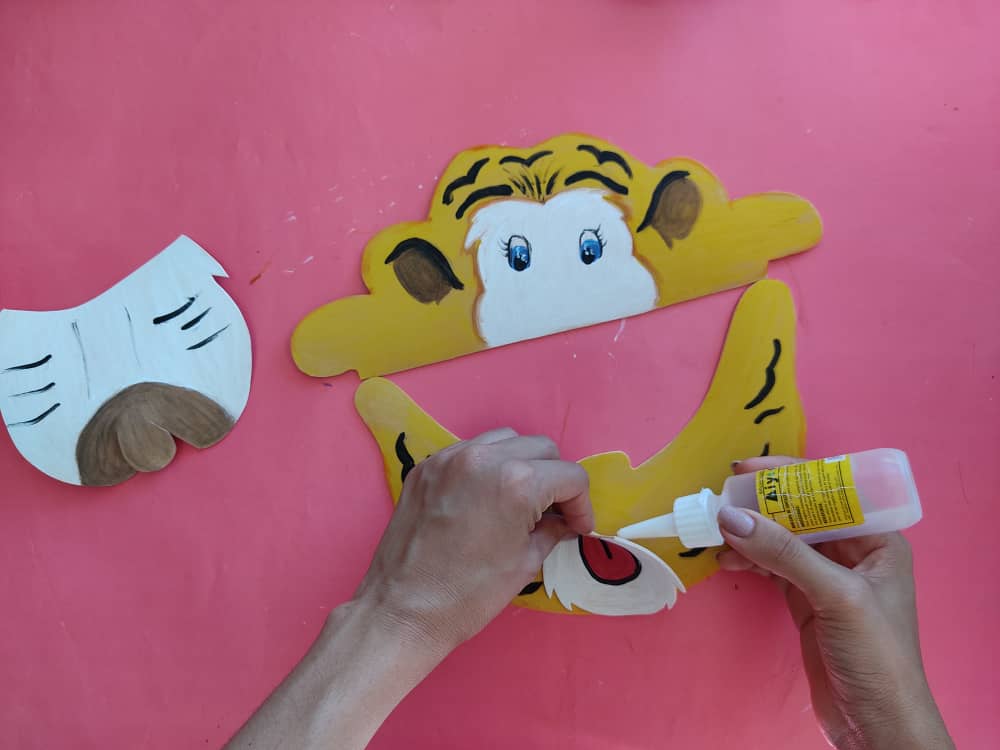
Luego, pegamos la lengua del tigre a la visera, y luego armamos la trompa. Debemos hacer un poco de presión para que las partes queden bien pegadas.

Then we glue the tiger's tongue to the visor and then assemble the trunk. We must apply a little pressure so that the parts are well glued.
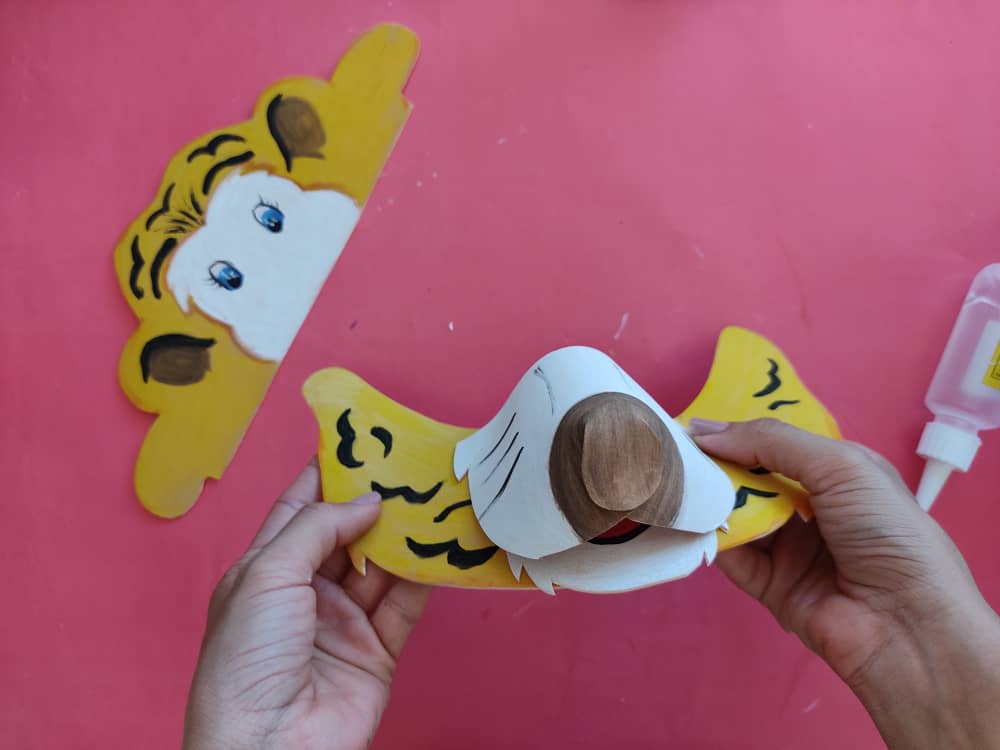
Seguidamente, pegamos la trompa a la visera, exactamente sobre la lengua que habíamos pegado en el paso anterior, y después, pegamos la cara del tigre a la parte trasera de la visera, asegurándonos que queden bien pegadas.

Next, we glue the trunk to the visor, exactly on the tongue that we had pasted in the previous step, and then, we glue the tiger's face to the back of the visor, ensuring that they are well glued.
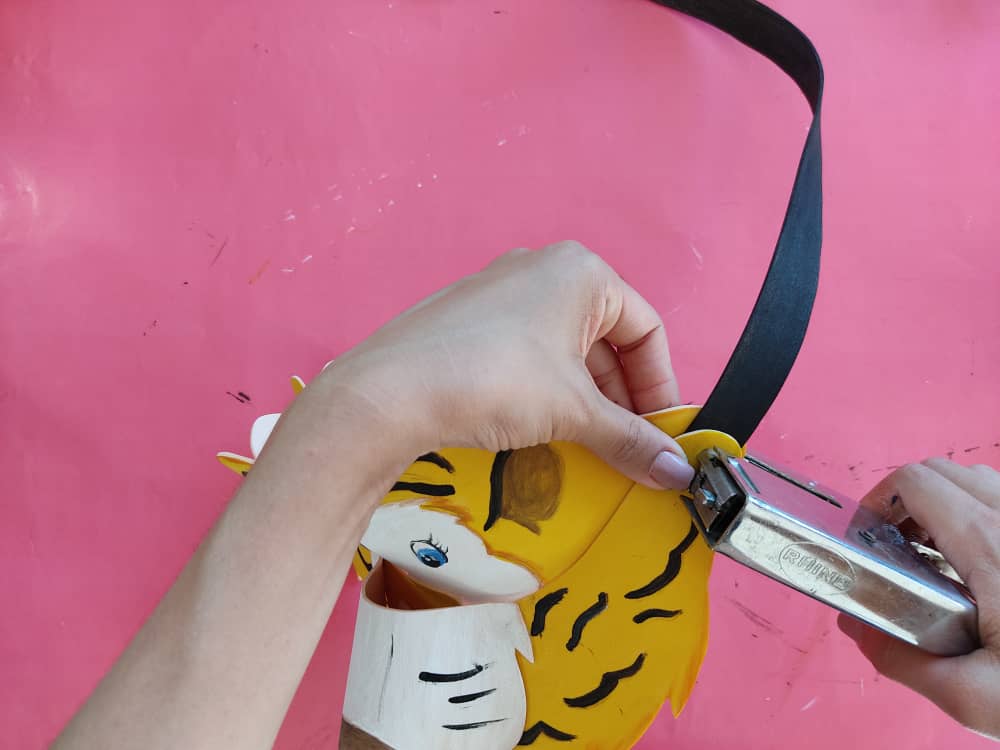
Por último, fabricamos un cierre o sujetador elástico para nuestra visera, con la ayuda una tira elástica de la medida de nuestra cabeza. Seguidamente, grapamos cada extremo de la tira en la parte trasera. y agregamos los detalles que más nos gusten para decorar.

Lastly, we make an elastic fastener or closure for our visor, with the help of an elastic strap that measures our head. Next, we staple each end of the strip to the back. and add the details that we like the most to decorate.

Gracias por acompañarme y espero que lo hayan disfrutado. ❤️
Thanks for joining and I hope you enjoyed it.❤️
.jpeg)
.jpeg)
.jpeg)
.jpeg)
.jpeg)


My twt #posh
tu visera esta hermosa, pero más me gusta como maquetas jejeje gracias.
Thanks for sharing your creative and inspirational post on HIVE!
non-profit curation service! This post got curated by our fellow curator @priyanarc and you received a 100% upvote from our
Join the official DIYHub community on HIVE and show us more of your amazing work!
Learn more.This post earned a total payout of 3.548$ and 1.774$ worth of author reward that was liquified using @likwid.