Hi There! 😊💙
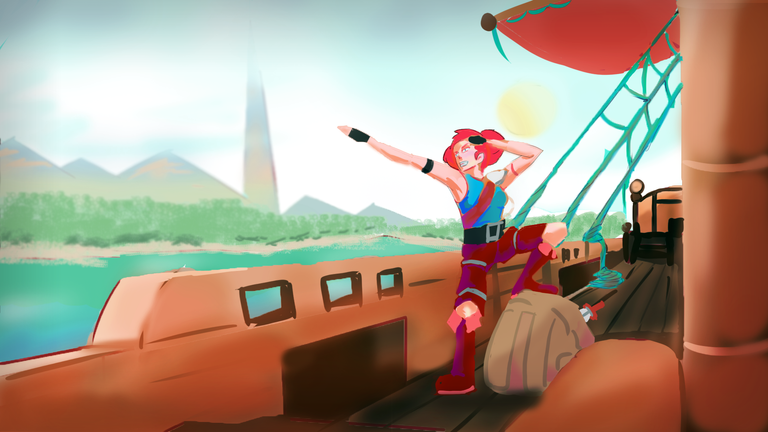
Welcome to another art blog of mine. Today, we continue on the journey of our heroine, Amelia as she cross the great lake of Mysta, the largest lake of her home continent, Do.
I decided to try developing my art style and to be honest, I am still on the awkward phase 😆. I want to make my piece to have a painterly look but it looks like I still need to learn how to do that. I tried limiting my line art to the focal point of the image and I think I was unto to something, I just need to develop it further.
I actually drew this while I was sick 😆 well, I am still bedridden and unable to do my work so I grabbed the extra time to draw. You can see how wobbly my lines today to so forgive me for that. 😁 I also did not drew the painting as detailed as I use to and just relied on the basic shapes for this one.
Now, here are the steps that I followed in making this piece: ✔️

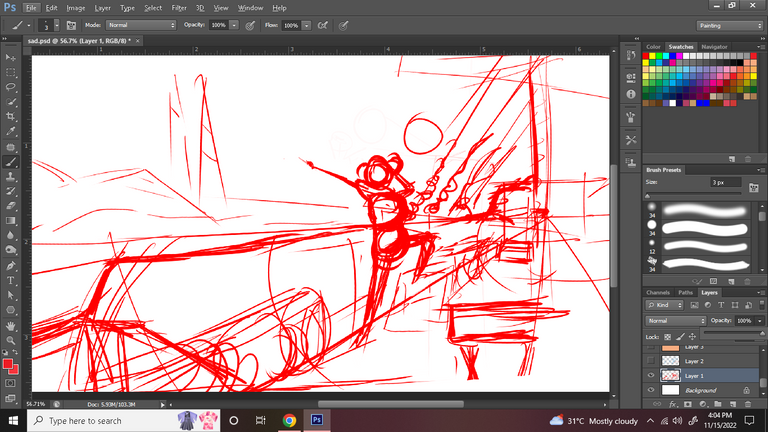
Step 1 ✔️
First, did a quick sketch of the piece that I want to draw. I want to use simple shapes for this piece that is why I focuses on placing my triangles, squares and circles.
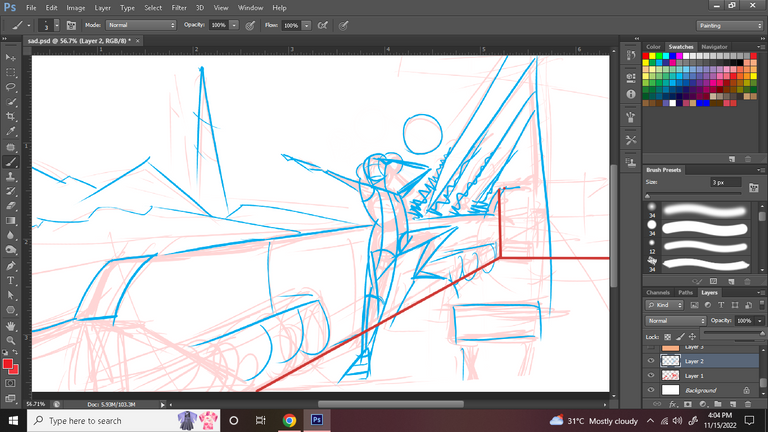
Step 2 ✔️
I then redrew the lines while also fixing some proportion mistakes. This time, I tried to be as clean as possible with my line because it will be included in my final output. 🙂
Due to my bad health, I forgot to fix some mistakes that I could easily fix. 😁 Looking back now, there are so much mistake in this piece but I still want to share this because it still turn out great in my opinion.
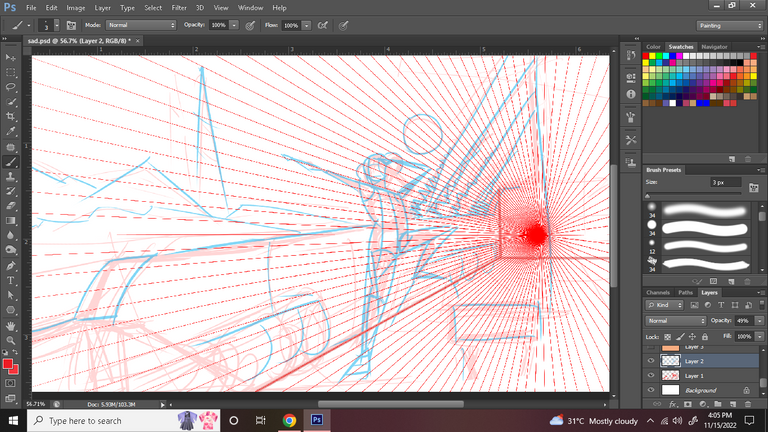
Step 3 ✔️
Step 3 is when I added the vanishing point and adjusted my lines to the right proportions. At first, I want it to be on a dutch angle but in the end, I decided not to since I still don't know how to. 😆 Better keep practicing right?
Step 4 ✔️
Then I added the flat colors. I did not care if the color is too saturated since I know that I can just cover it up in the end. I just want to place the general color of the piece.
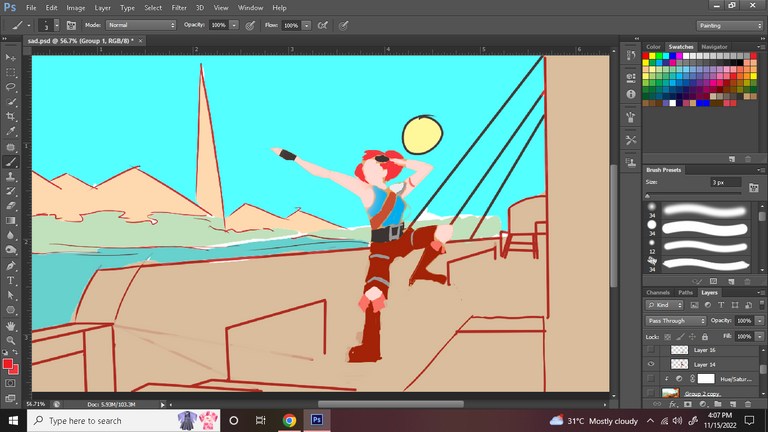
Step 5 ✔️
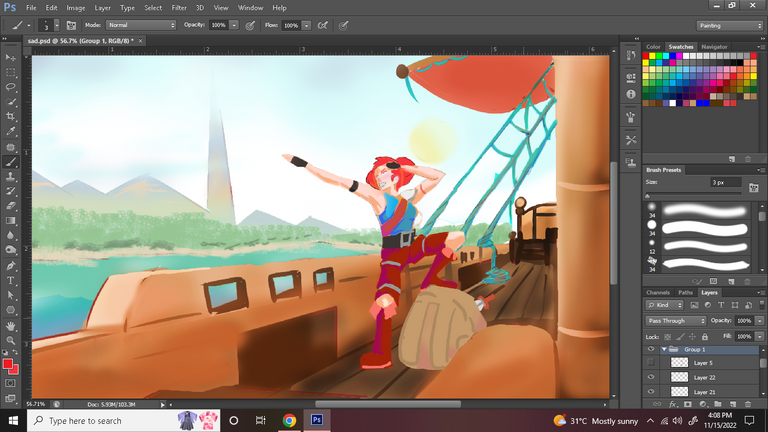
I then added the light and shadows of the image. I started by adding the shadows, placing it where the main light source don't shines. then I added the highlights, placing it where the mainlight source hits directly.
The truth is I accidentally merged my light and shadow layers while making this piece 😅 That is the reason why they are placed in the same step. 😆
I then blended the colors to the way I want.
Step 6 ✔️
Finally, I adjusted the colors to fix the values on the image. I aslo blured the part of the image that are the farthest from the main character. This is also my first time experimenting with the color burn function in photoshop and I can say that I like it very much. It's just that I should be careful on using it since It could make the piece looks dirty if done excessively.
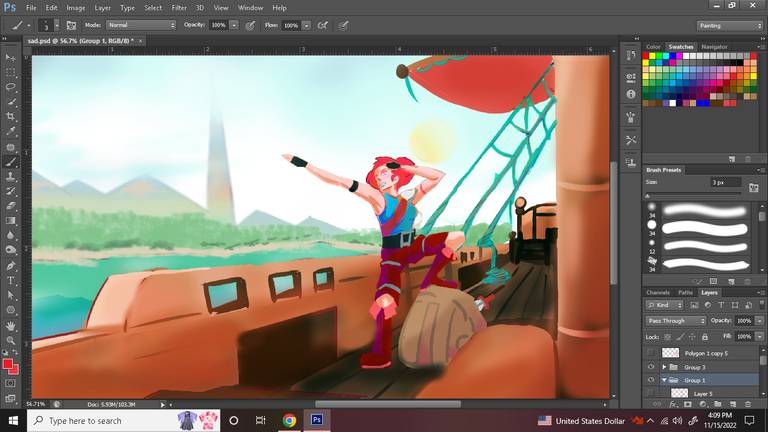
And this is the final result! I added some vignette to add some effects to the piece and this is the final result.
I hope you enjoyed this piece. ❤️
What should I work on next time? 🤔
I tried not adding lineart to this piece so there's that. I need to learn on how I could work that better. I want to make this piece looks like an oil peinting but as you can see, it was far from that. 😅 Oh boy, looking back at this piece, I can see many flaw that I should work on. 😆 Well, better get my health back so I could continue practicing 🤣
Well, that is all for me now! 😖
About Me
I am Shineko009 and I post Art, Spinterlands and sometimes Writing here on HIVE. I love watching Anime and Vtubers and I also enjoy listening to TWICE that is why I always reference them in my blogs. 🤣 Feel free to follow me if you enjoy this kind of content! ❤️

~~~ embed:1592494558956617728 twitter metadata:MjU5NjUxNjQzfHxodHRwczovL3R3aXR0ZXIuY29tLzI1OTY1MTY0My9zdGF0dXMvMTU5MjQ5NDU1ODk1NjYxNzcyOHw= ~~~
~~~ embed:1594419783105060864 twitter metadata:MzA1NjkxNzMxfHxodHRwczovL3R3aXR0ZXIuY29tLzMwNTY5MTczMS9zdGF0dXMvMTU5NDQxOTc4MzEwNTA2MDg2NHw= ~~~
The rewards earned on this comment will go directly to the people( @jijisaurart, @sensiblecast, @stemng ) sharing the post on Twitter as long as they are registered with @poshtoken. Sign up at https://hiveposh.com.
Fun illustration and done so well
Thank you! I'm glad you like it 😊 !PIZZA
I gifted $PIZZA slices here:
shineko009 tipped sensiblecast (x1)
(2/5)
shineko009 tipped motasticc (x1)
sensiblecast tipped shineko009 (x1) @shineko009 tipped @richjr (x1)
Please vote for pizza.witness!
Sometimes I do mistakes too like this! HAHA! Mixing two layers is a pain in the ass. I just laugh it out instead of getting stressed out HAHA! 😆
Yes! Art should be a fun process 😊
I really admire how you can use the vanishing point well, this one i still need to learn. Well.. I still need to learn a lot! haha. nice work BTW! !PIZZA
Cheers!
Thank you! I am still studying vanishing point and I was still limiting myself into 1 point perspective 😆 I'm glad you like my art. !PIZZA
Thank you for sharing this post in the DIYHUB Community!
Your content got selected by our fellow curator desro & you just received a little thank you upvote from us for your great work! Your post will be featured in one of our recurring compilations which are aiming to offer you a stage to widen your audience within the DIY scene of Hive. Stay creative & HIVE ON!
Please vote for our hive witness <3
Thank you so much! 😊
You're welcome. Keep up the good work. 😊
I loved it, and the process that you have shown, you can tell that you had a good time doing it and with a lot of patience. Even the very person you made it.
Thank you 😊 I'm glad you love it! And yeah, I did enjoy making this piece 😄 !PIZZA