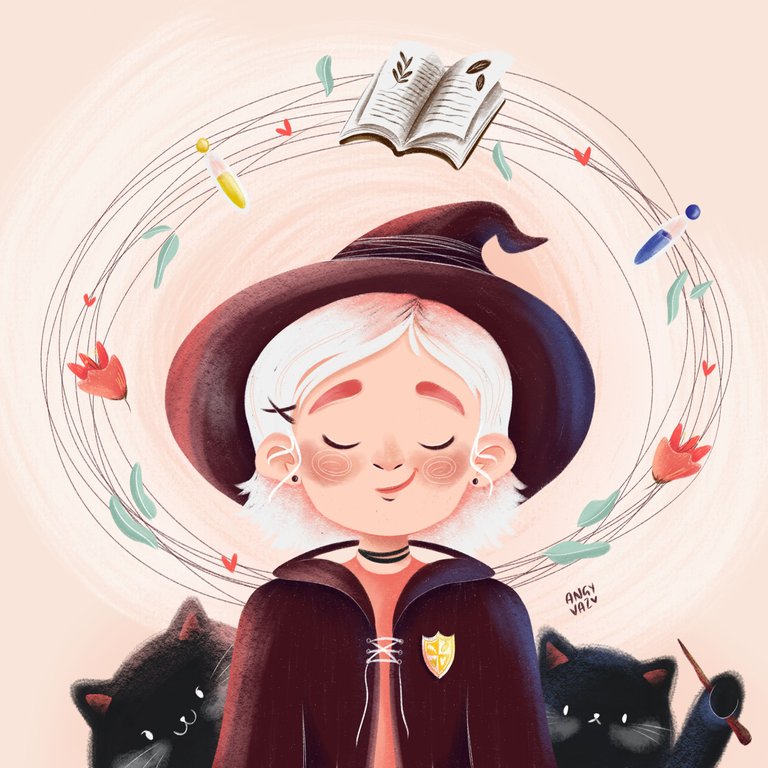


Hola, Hivers.
La ilustración de hoy fue un trabajo sencillo para poner en practica el sombreado y las combinación de colores. No soy muy fan de usar mucho naranja, pero esta vez salí de mi zona de confort y experimenté un poco. Espero que les agrade.
Veamos el proceso.
La ilustración de hoy fue un trabajo sencillo para poner en practica el sombreado y las combinación de colores. No soy muy fan de usar mucho naranja, pero esta vez salí de mi zona de confort y experimenté un poco. Espero que les agrade.
Veamos el proceso.
Hello, Hivers.
Today's illustration was a simple job to practice shading and color combinations. I'm not a big fan of wearing a lot of orange, but this time I stepped out of my comfort zone and experimented a bit.
I hope you like it.
Let's see the process.
Today's illustration was a simple job to practice shading and color combinations. I'm not a big fan of wearing a lot of orange, but this time I stepped out of my comfort zone and experimented a bit.
I hope you like it.
Let's see the process.

➊ Boceto
El dibujo cambió un poco en cuanto al boceto original. Hubo algunas detalles del cabello que no me gustaron y decidí cambiarlo por algo que fuera más cómodo durante el proceso. El resto quedó prácticamente igual.
El dibujo cambió un poco en cuanto al boceto original. Hubo algunas detalles del cabello que no me gustaron y decidí cambiarlo por algo que fuera más cómodo durante el proceso. El resto quedó prácticamente igual.
➊ Sketch
The drawing changed a bit from the original sketch. There were some details of the hair that I didn't like and I decided to change it to something that would be more comfortable during the process. The rest remained practically the same.
The drawing changed a bit from the original sketch. There were some details of the hair that I didn't like and I decided to change it to something that would be more comfortable during the process. The rest remained practically the same.
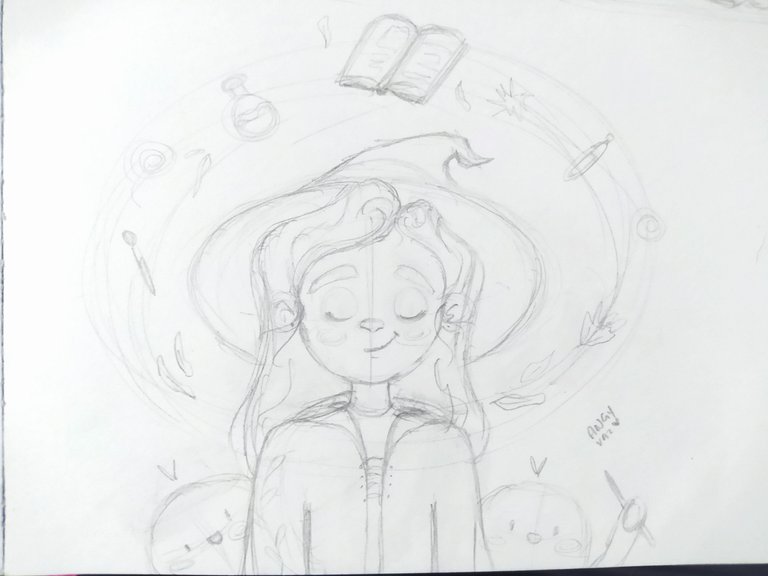
➋ Color Base
Después de cargar la fotografía en la app le bajo la opacidad a la capa y la coloco en modo de fusión Multiplicar en la parte superior. Todas las capas que cree a partir de allí lo hago por debajo del boceto, de esa forma puedo colorear la partes y seguir viendo el dibujo guía. Tambien uso los ajustes para que el boceto sea lo más blanco posible, sin el color de la hoja original, porque de lo contrario, los colores base se ven más oscuros de lo que realmente son y puede jugar en contra con nuestra percepción general.
Después de cargar la fotografía en la app le bajo la opacidad a la capa y la coloco en modo de fusión Multiplicar en la parte superior. Todas las capas que cree a partir de allí lo hago por debajo del boceto, de esa forma puedo colorear la partes y seguir viendo el dibujo guía. Tambien uso los ajustes para que el boceto sea lo más blanco posible, sin el color de la hoja original, porque de lo contrario, los colores base se ven más oscuros de lo que realmente son y puede jugar en contra con nuestra percepción general.
➋ Base Color
After loading the photo in the app I lower the opacity to the layer and place it in blending mode Multiply on top. All the layers that I create from there I do it below the sketch, that way I can color the parts and still see the guide drawing. I also use the settings to make the sketch as white as possible, without the original sheet color, because otherwise the base colors look darker than they really are and can play against our overall perception.
After loading the photo in the app I lower the opacity to the layer and place it in blending mode Multiply on top. All the layers that I create from there I do it below the sketch, that way I can color the parts and still see the guide drawing. I also use the settings to make the sketch as white as possible, without the original sheet color, because otherwise the base colors look darker than they really are and can play against our overall perception.
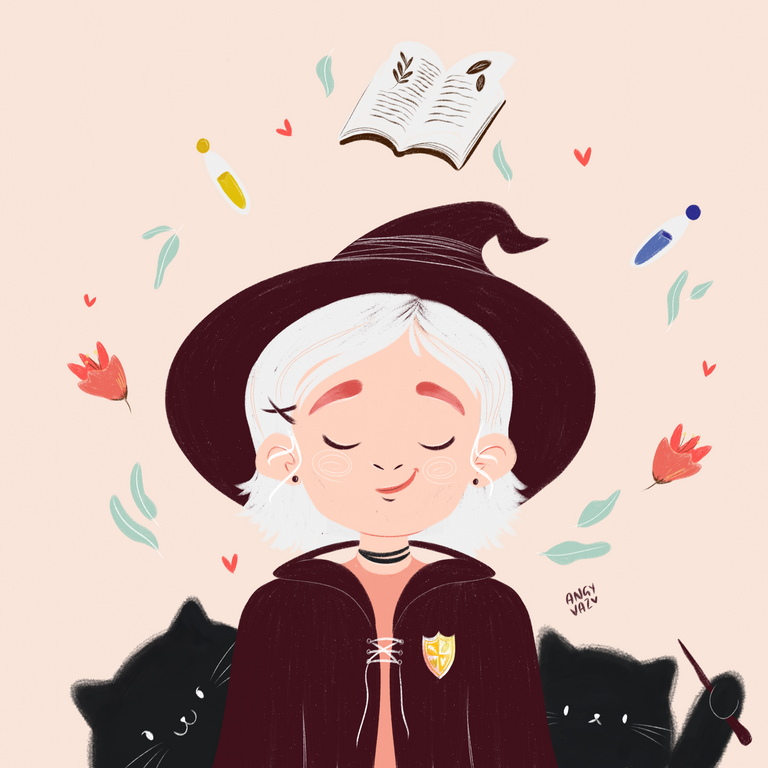
➌ Sombreado
Usé el Rotulador de Alcohol predeterminado de la app para agregar las sombras. Por lo general agrego sombras a la derecha y luces a la izquierda, además ocupo colores en lugar de sombrear con negro y blanco, o sólo oscurecer el mismo tono base. Da muy buenos resultados.
Usé el Rotulador de Alcohol predeterminado de la app para agregar las sombras. Por lo general agrego sombras a la derecha y luces a la izquierda, además ocupo colores en lugar de sombrear con negro y blanco, o sólo oscurecer el mismo tono base. Da muy buenos resultados.
➌ Shading
I used the app's default Alcohol Marker to add the shadows. I usually add shadows to the right and highlights to the left, plus I use colors instead of shading with black and white, or just darkening the same base tone. It gives very good results.
I used the app's default Alcohol Marker to add the shadows. I usually add shadows to the right and highlights to the left, plus I use colors instead of shading with black and white, or just darkening the same base tone. It gives very good results.
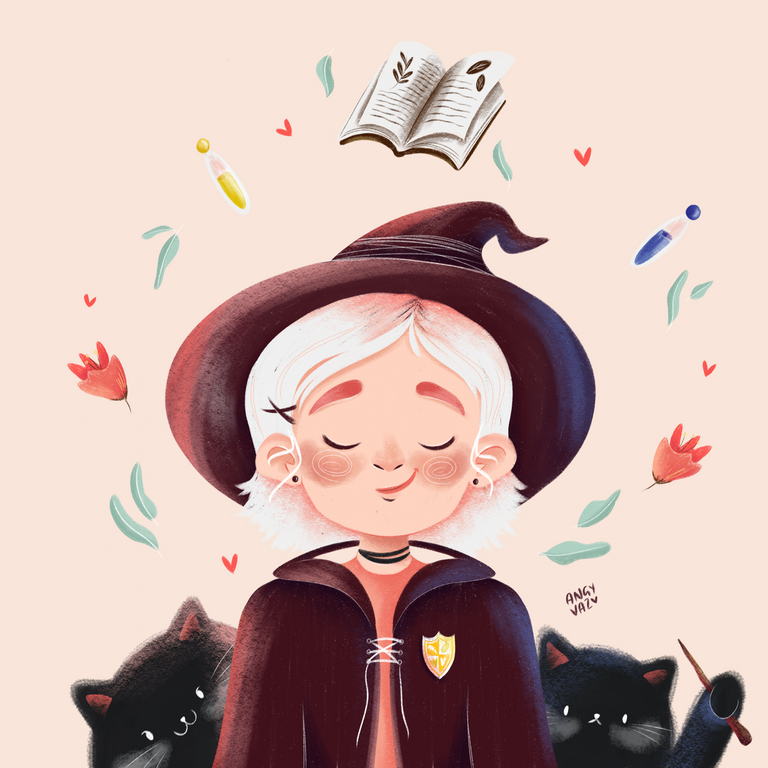

⚝ Final Art ⚝

Aunque fue una ilustración sencilla, tuve problema para encontrar el balance entre los colores del dibujo y el fondo. Probé cientos de tonos hasta que estuve conforme con el resultado final.
Gracias por llegar hasta aquí.
Ah, por cierto. ¡Hoy es mi cumpleaños! Lo pasaré bien y luego regresaré con nuevas ilutraciones.
Feliz fin de semana, Hivers.
Gracias por llegar hasta aquí.
Ah, por cierto. ¡Hoy es mi cumpleaños! Lo pasaré bien y luego regresaré con nuevas ilutraciones.
Feliz fin de semana, Hivers.
Although it was a simple illustration, I had trouble finding the balance between the colors of the drawing and the background. I tried hundreds of shades until I was satisfied with the final result.
Thank you for coming this far.
Oh, by the way. Today is my birthday! I'll have a good time and then I'll come back with new illustrations.
Happy weekend, Hivers.
Thank you for coming this far.
Oh, by the way. Today is my birthday! I'll have a good time and then I'll come back with new illustrations.
Happy weekend, Hivers.
This turned out great! Your color choices look really good, especially how you used soft and saturated colors together. Using colors in an interesting way is your specialty 😁
Have a fantastic birthday weekend!! 🎉
Oh, not so much as a specialty, I still work hard to find a good balance XD but with a lot of patience I get good results. Thanks for visiting, and for the birthday wishes!🤗
~Ahhhh love your style and concept! The color balance is perfect. By the way, what software are you using?
I always use Ibis Paint from my cell phone because I still don't have an Ipad or graphics tablet.😁
yaaay, another ibis paint phone user, hello 😁
Oh this is cool, I suck into choosing what is a perfect color combination that is why I'll go with dark sometimes and just blend them of how they my eyes like them, lol. But this one is awesome. Love the colors combi 🤩
Yes, there is no specific way to mix colors, it all depends on the style, creativity, and skills of the artist, so as long as it is consistent and looks good, everything will be perfect.😀
Awwwwn, she looks cute 🥰
Usually witches are defined as a really mean or seductive character however i absolutely love your representation ♥️😍
hahaha I can't create neither one nor the other, and it's the first time I draw a witch! So I did what I could, but it work.😹
Omg I really liked the colors that you used in your drawing.
well, evrybodys saying it , this awesome lovely colors lovely style and all, great
work
I really love the shading texture.
thanks🤗😁
It's hard to believe that you did this on your phone with ibis software. I do the same but never really tried out other brushes with textures like this. I love the represention of the witch here.
What kind of stylus do you use to create these?
It takes a bit of getting used to the app at first and finding a way to use the brushes in the right way, but you can get good results. I use a handmade Stylus coated with aluminum and cotton, there are many videos on how to do it on YouTube
I actually made one but not the one you are using. It didn't work out well plus my screen was full of water remnants. I think my screen has depressions here and there so it had touch issues.
Make sure to remove the excess water from the tip, that the cotton is only moist and not full of water. Also, that the aluminum completely covers the body of the pencil and part of the cotton, otherwise it will not conduct the touch correctly. mine works perfectly. If you use a cotton swab as a tip, you must cover it with an extra layer of cotton, which is more fluffy and not so rigid, it is what I have noticed that works better. When I start to have failures it's because everything has flattened or is very compact, and I have to replace the tip. I hope these tips help you.
Thanks for the detailed explanation. I'll try this and test it on my phone again.