

Hola, Hivers.
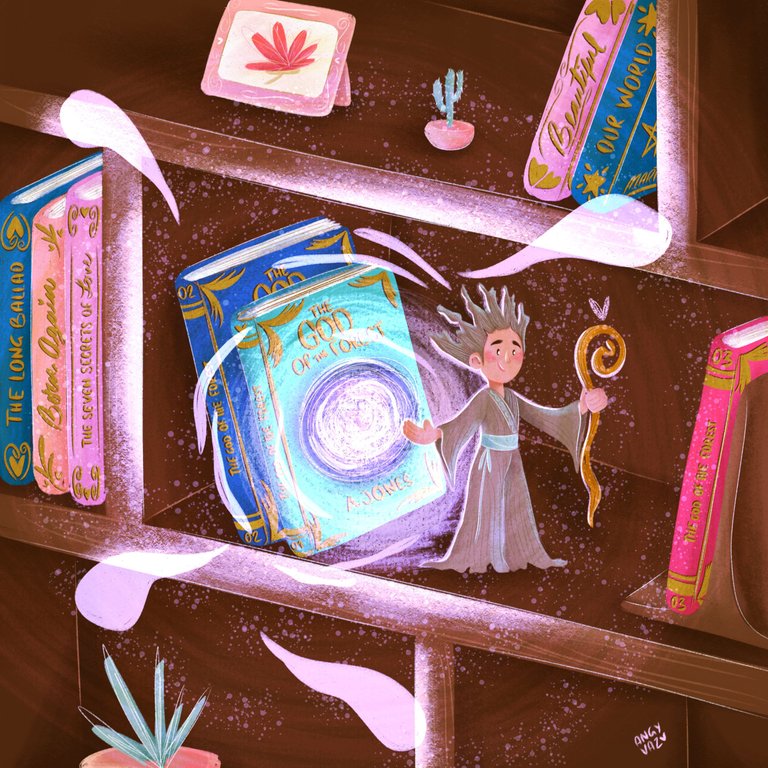
Les comparto mi más reciente ilustración, y como es costumbre, describiré el paso a paso para que todos sepan cómo llegué a este resultado.
¡Comencemos!
Les comparto mi más reciente ilustración, y como es costumbre, describiré el paso a paso para que todos sepan cómo llegué a este resultado.
¡Comencemos!
Hello, Hivers.
I share my most recent illustration, and as usual, I will describe the step by step so that everyone knows how I got to this result.
I share my most recent illustration, and as usual, I will describe the step by step so that everyone knows how I got to this result.
Let's start!

➊ Color Base
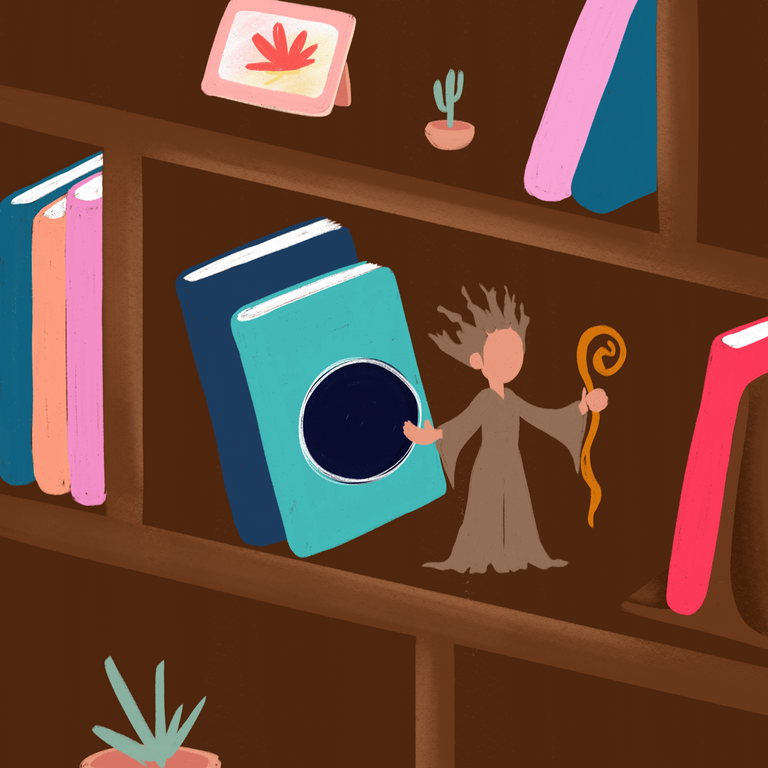
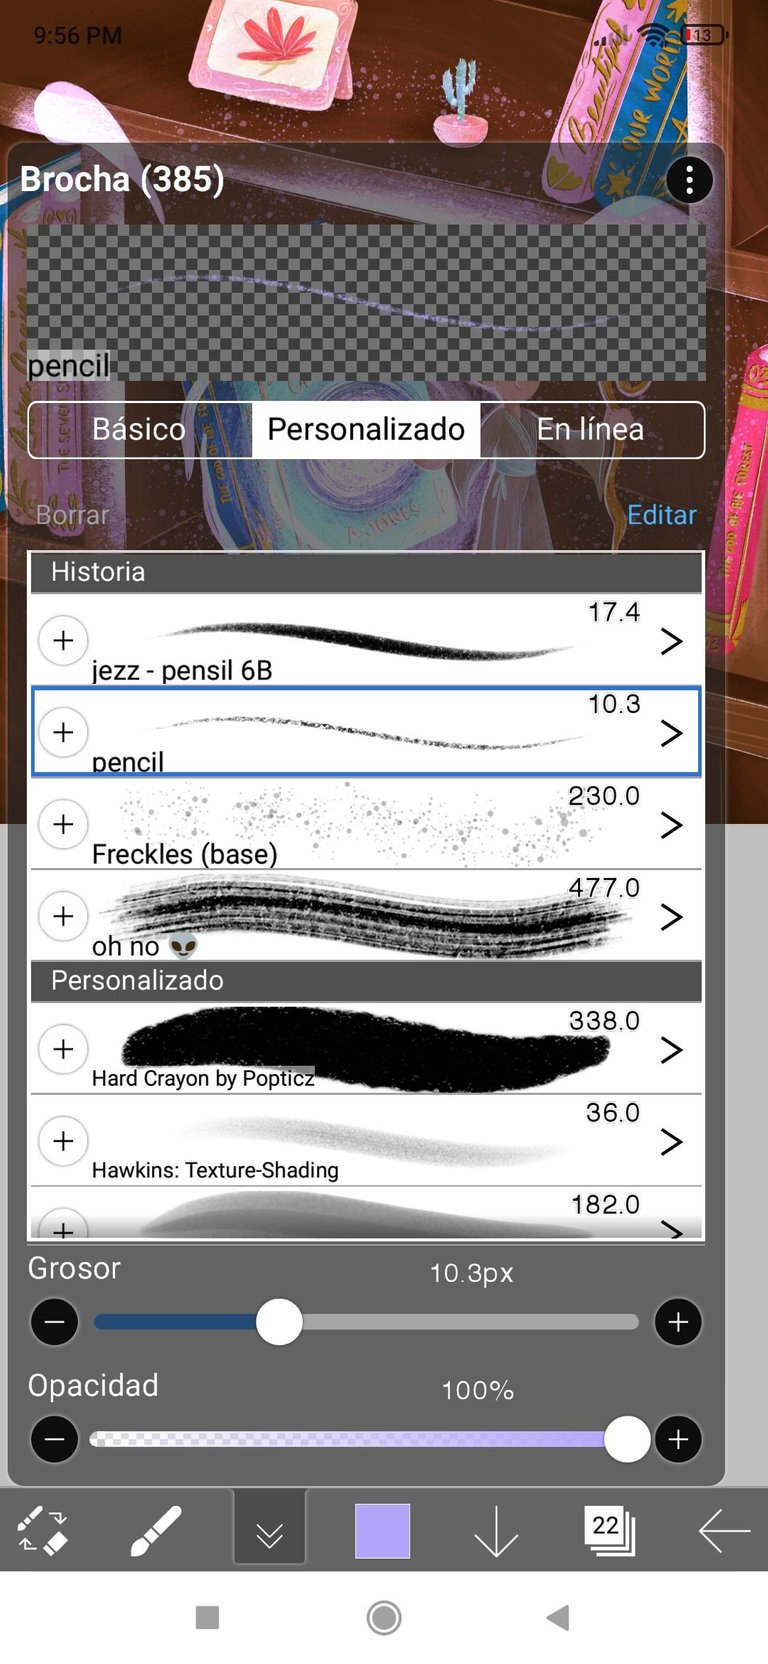
Después de cargar la foto del boceto en la aplicación (Ibis Paint), utilicé el pincel Jezz pencil 6B para agregar los colores base. Usé los colores que tengo guardados en mi paleta de colores. No seguí ningún patrón, solo elegí algunos colores que fueran amigables entre ellos y que encajaran con el concepto de cuento de hadas.
Después de cargar la foto del boceto en la aplicación (Ibis Paint), utilicé el pincel Jezz pencil 6B para agregar los colores base. Usé los colores que tengo guardados en mi paleta de colores. No seguí ningún patrón, solo elegí algunos colores que fueran amigables entre ellos y que encajaran con el concepto de cuento de hadas.
➊ Base Color
After uploading the sketch photo to the app (Ibis Paint), I used the Jezz pencil 6B brush to add the base colors. I used the colors that I have saved in my color palette. I didn't follow any pattern, I just chose some colors that were friendly to each other and fit the fairy tale concept.
After uploading the sketch photo to the app (Ibis Paint), I used the Jezz pencil 6B brush to add the base colors. I used the colors that I have saved in my color palette. I didn't follow any pattern, I just chose some colors that were friendly to each other and fit the fairy tale concept.
➋ Sombreado
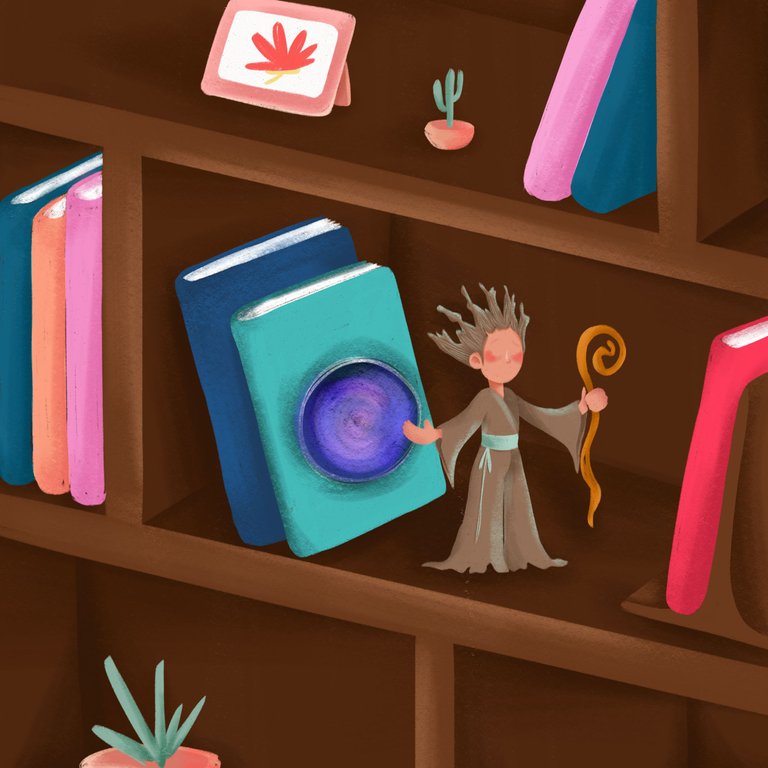
Mantuve un sombreado suave, con tonos un poco más oscuros que el color original sólo para darle dimensión a los objetos. Utilicé el pincel Rotulador de alcohol para este proceso.
Mantuve un sombreado suave, con tonos un poco más oscuros que el color original sólo para darle dimensión a los objetos. Utilicé el pincel Rotulador de alcohol para este proceso.
➋ Sombreado
I kept the shading soft, with tones a little darker than the original color just to give the objects dimension. I used the Alcohol Marker brush for this process.
I kept the shading soft, with tones a little darker than the original color just to give the objects dimension. I used the Alcohol Marker brush for this process.
➌ Detalles
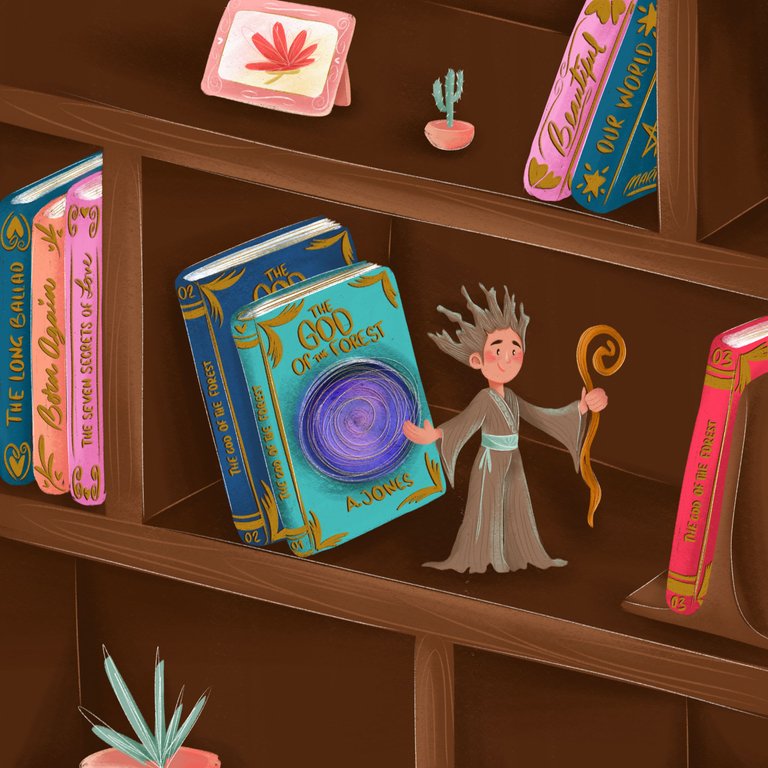
Esta es la parte divertida de la ilustración, darle vida al dibujo con los detalles. Ya que no había muchos componentes aquí, me dediqué a personalizar cada libro con paciencia. Usé mi propia letra y un color dorado para dar la sensacion de que eran libros de fantasía. ¡Me encantaría tener esa colección!
Esta es la parte divertida de la ilustración, darle vida al dibujo con los detalles. Ya que no había muchos componentes aquí, me dediqué a personalizar cada libro con paciencia. Usé mi propia letra y un color dorado para dar la sensacion de que eran libros de fantasía. ¡Me encantaría tener esa colección!
➌ Details
This is the fun part of the illustration, bringing the drawing to life with the details. Since there weren't many components here, I dedicated myself to patiently customizing each book. I used my own font and a gold color to give the feeling that they were fantasy books. I would love to have that collection!
This is the fun part of the illustration, bringing the drawing to life with the details. Since there weren't many components here, I dedicated myself to patiently customizing each book. I used my own font and a gold color to give the feeling that they were fantasy books. I would love to have that collection!
➍ Iluminación
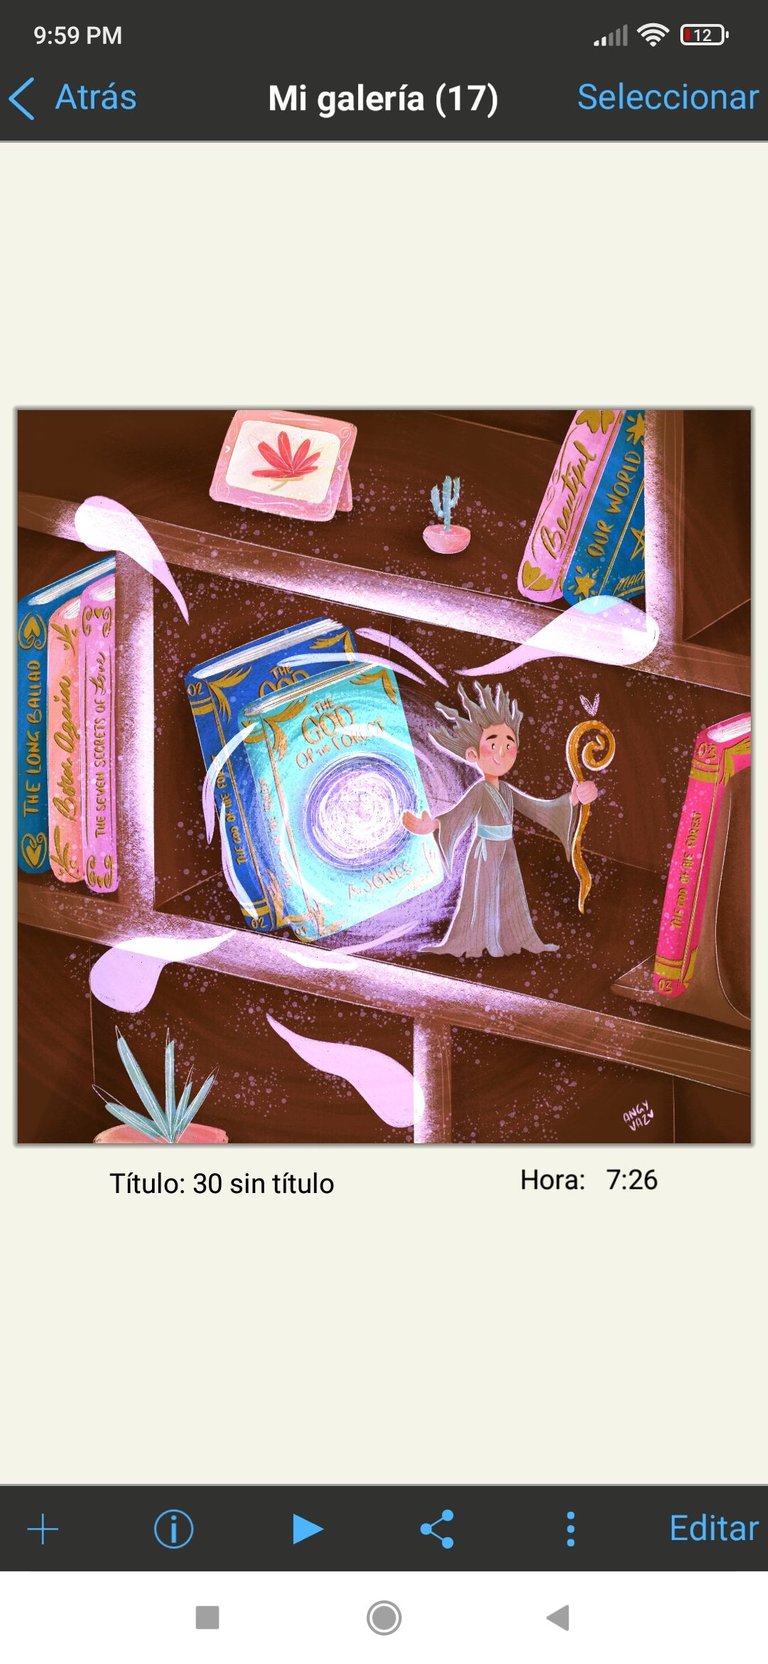
Hasta este punto, aunque ya tenía buenos detalles, le faltaba la magia. Utilicé una capa en modo Añadir y con un tono violeta le di pinceladas y pinceladas para crear todos los destellos alrededor del portal del libro. Sin este paso, simplemente no hubiera podido transmitir la esencia de la ilustración. Se siente bien haberlo logrado. ¡Hurra! Pero tardé siete horas y media en terminar XD.
Hasta este punto, aunque ya tenía buenos detalles, le faltaba la magia. Utilicé una capa en modo Añadir y con un tono violeta le di pinceladas y pinceladas para crear todos los destellos alrededor del portal del libro. Sin este paso, simplemente no hubiera podido transmitir la esencia de la ilustración. Se siente bien haberlo logrado. ¡Hurra! Pero tardé siete horas y media en terminar XD.
➍ Iluminación
Up to this point, although it already had good details, it was missing the magic. I used a layer in Add mode and with a violet tone I gave it strokes and strokes to create all the sparkles around the portal of the book. Without this step, I simply would not have been able to convey the essence of the illustration. It feels good to have achieved it. Hurrah! But it took me seven and a half hours to finish XD.
Up to this point, although it already had good details, it was missing the magic. I used a layer in Add mode and with a violet tone I gave it strokes and strokes to create all the sparkles around the portal of the book. Without this step, I simply would not have been able to convey the essence of the illustration. It feels good to have achieved it. Hurrah! But it took me seven and a half hours to finish XD.

⚝ Final Art ⚝

Fue estupendo trabajar en esta ilustración, sobre todo porque pude crear los detalles de iluminación como quería. Para los amantes de los libros, ¡que la magia siempre los acompañe!
Nos vemos pronto.★
Nos vemos pronto.★
This illustration was great to work on, especially since I was able to create the lighting details the way I wanted. For book lovers, may the magic always be with you!
See you soon.★
See you soon.★

Very cute illustration! Books really are magical!