ENGLISH
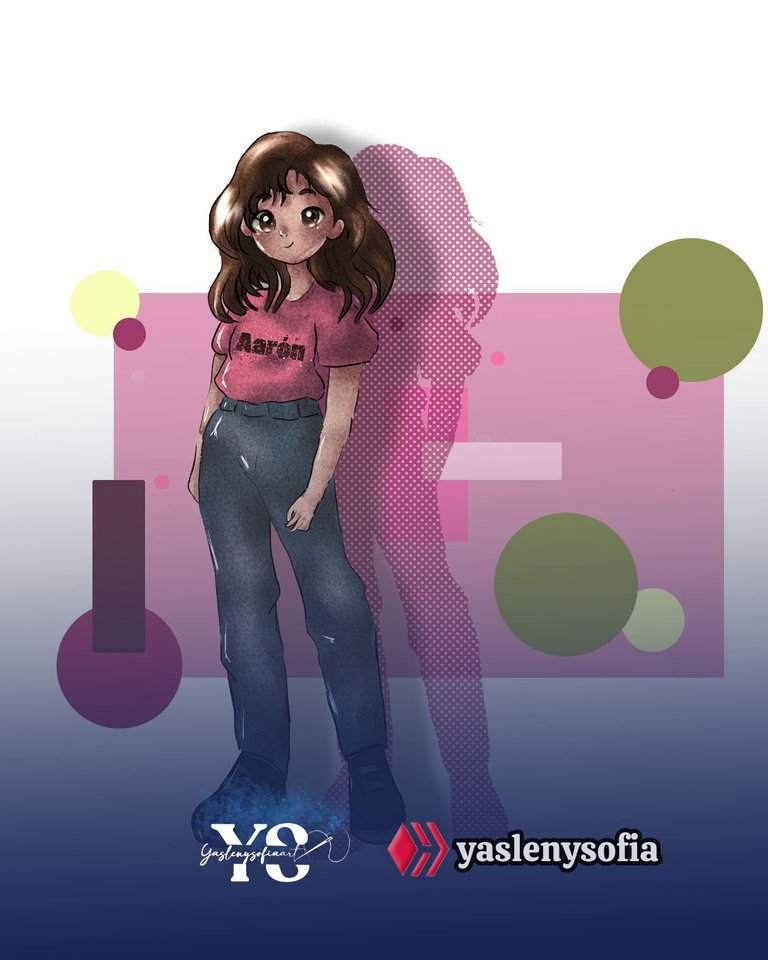
Greetings @sketchbook community, yesterday was my sister's birthday, but I had not managed to finish the drawing that, for some time now, I have been doing for her on her birthday. Even so, it's never too late and, as she liked the dividers I made for my blog, I took advantage of the drawing and designed some for her, here I leave you the whole process that it took me to do it.
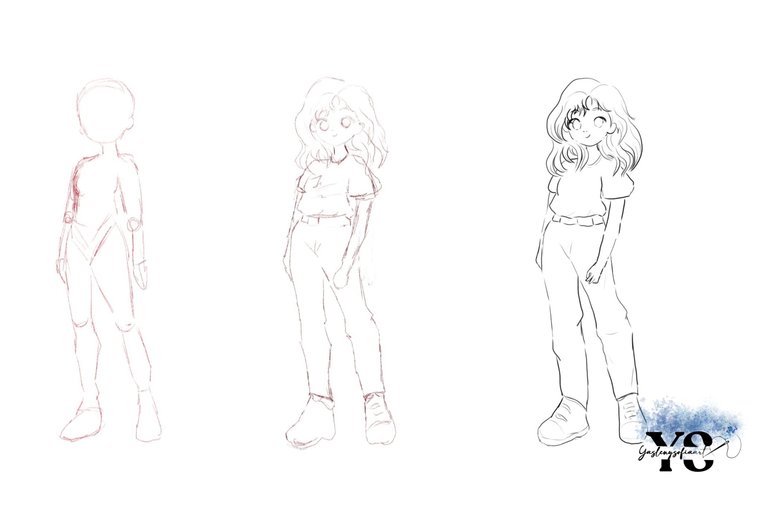
(Ignore the ugly hand I got😅)
The first thing was to make a sketch of my sister's drawing, making what is the base to know the pose she would have and then detailing the rest, loose hair (although she always wears it mostly up, but it looks nice without the tail), an outfit that is like she usually wears: loose shirt, a jean and rubber shoes.
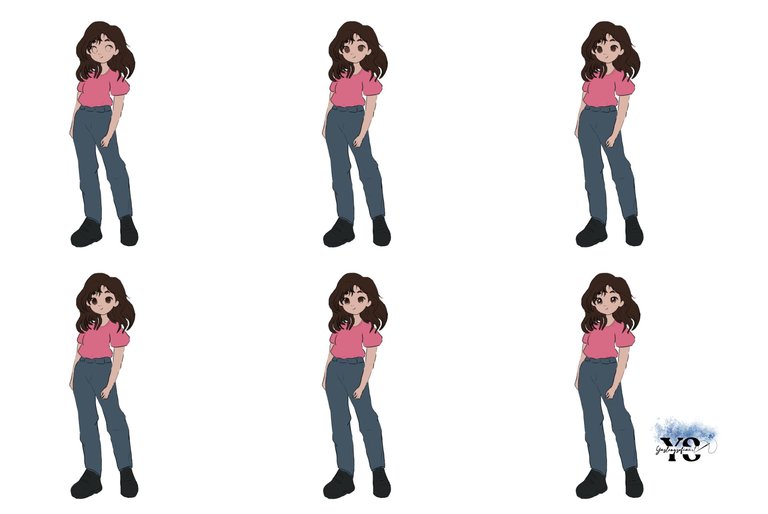
Once the lines were clean, I started to give the base colors and then I detailed the eyes, adding a few high tones of brown and the respective lights.
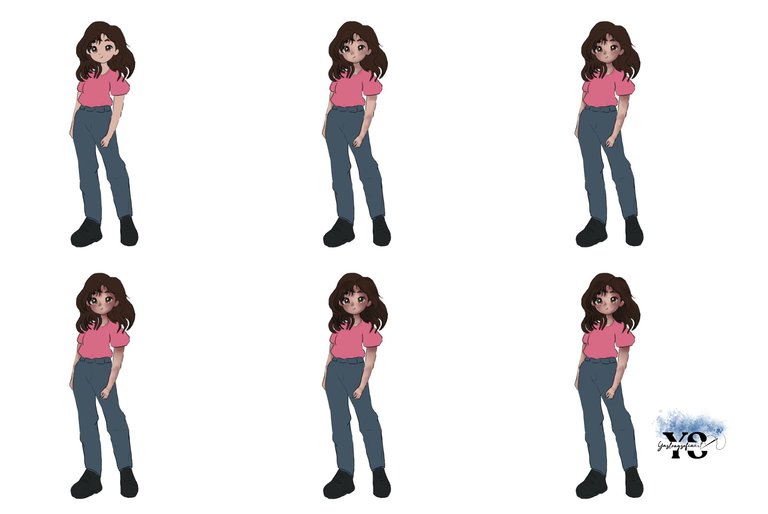
Continuously, I am adding the shadows to the rest, first the skin areas, then the hair and then the clothes, in this case I wanted to add Aaron's name on the shirt, that's how my nephew is called.
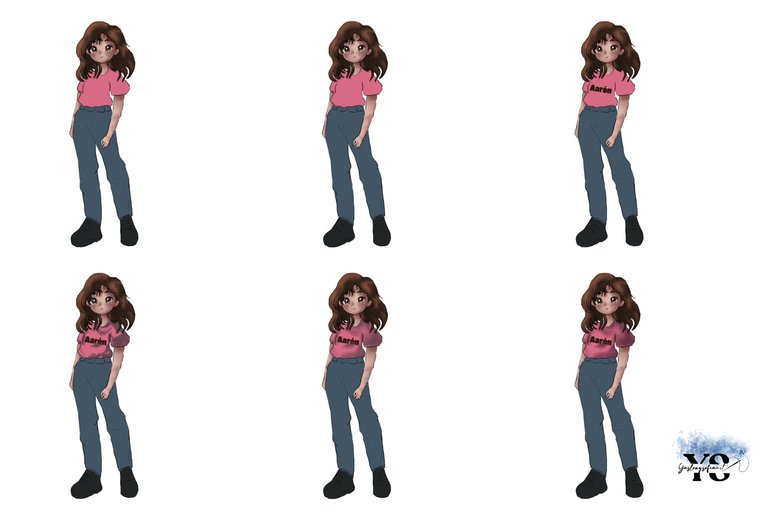
With the jean, here I played with the colors and some brushes that Krita brings by default, to try to get to the texture of them. As the shoes she usually wears are black with certain colors, I painted some in black with shades of green, it was the one I remembered at the moment.
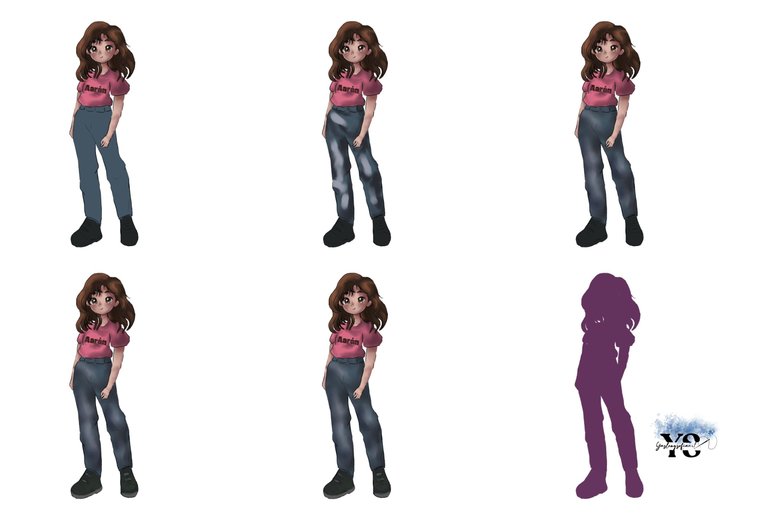
After that, I added a purple layer to the whole drawing, and I overlapped it, lowering its opacity and eliminating from this layer, what I wanted to be more illuminated. Then, I added a more intense light, in yellow color and with the luminosity fusion mode.
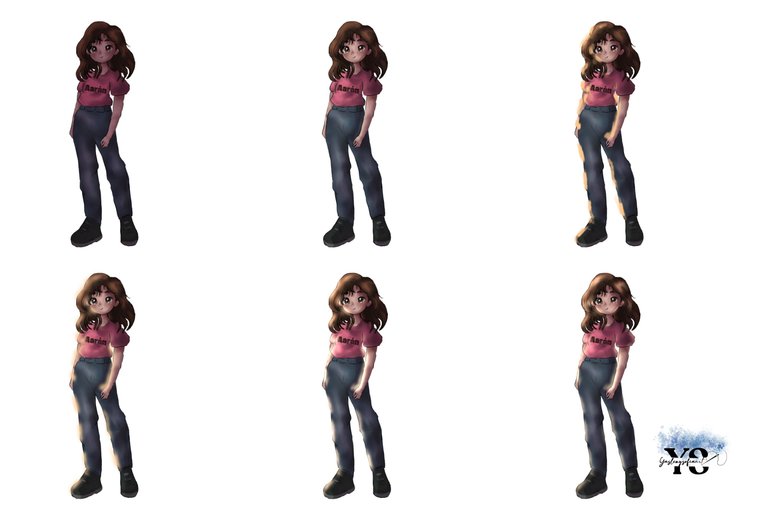
Even though the resulting effect seemed good to me, it was not what I wanted for the destiny of the illustration, so I got rid of all of it, and only added the most pronounced lights and shadows in the areas that needed it, such as the hair and others in the clothes and face.
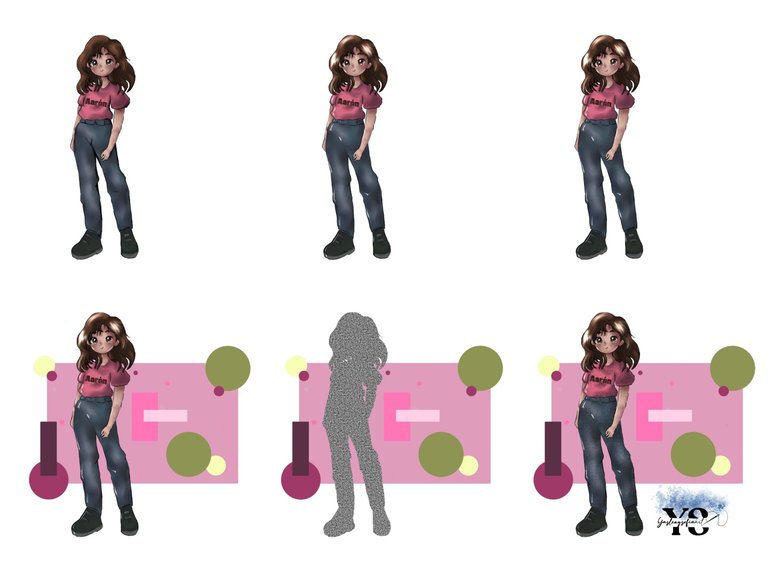
With respect to the background, I only added some geometric figures, between different shades of pink and green, as shown in the image. In the whole figure, I added a layer with texture, which I overlapped and lowered the opacity, to give it in layer style a parallel shadow.
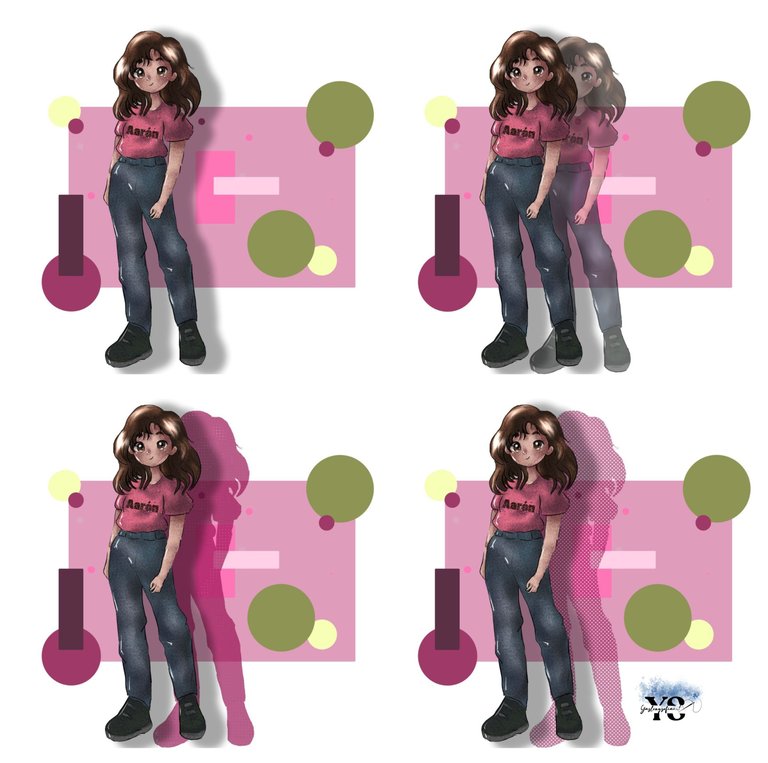
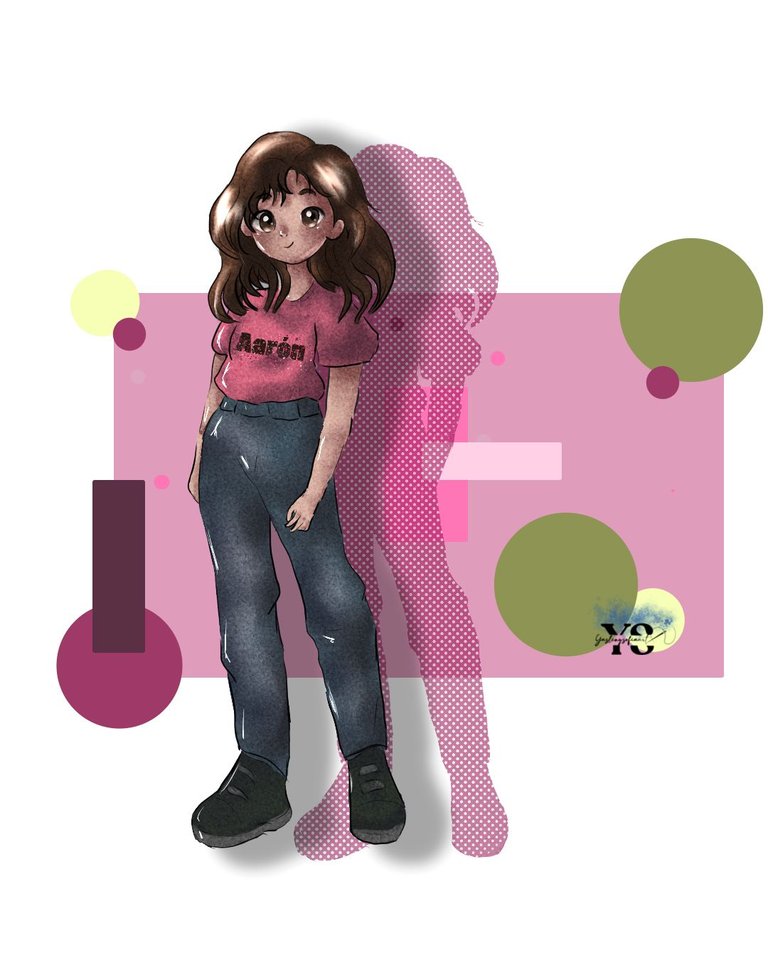
To finish, I exported the image alone without the geometric figures background in png, and painted it in pink with dotted texture, to put it behind the drop shadow.
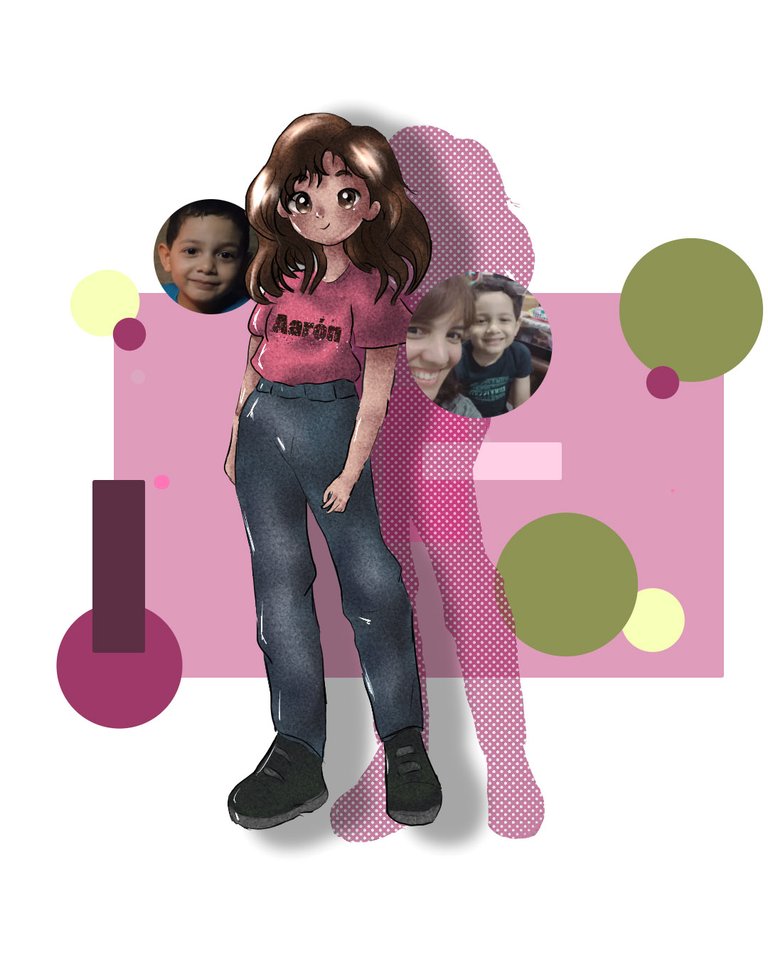
As I wanted to do something more, I added some pictures of her and Aaron on each side and in Photoshop I made the separators and for the banner at the end, I added this illustration.


How did it look? I hope you liked it and I will be glad to read your comments.


Thank you for reading my post. I hope you liked it. I will be attentive to answer your comments. You can visit my blog, follow my content and social networks.
FACEBOOK / INSTAGRAM / TWITTER

ESPAÑOL

Saludos comunidad de @sketchbook, el día de ayer estuvo de cumpleaños mi hermana, pero no había logrado terminar el dibujo que, de un tiempo para acá, le vengo haciendo en su fecha. Aun así, nunca es tarde y, como ella le gustó los separadores que hice para mi blog, aproveché el dibujo y les diseñé unos, aquí les dejo todo el proceso que me llevó realizarlo.

(Ignoren la mano tan fea que me quedó😅)
Lo primero fue hacer el boceto del dibujo de mi hermana, haciendo lo que es la base para saber la pose que tendría y así detallar lo demás, cabello suelto (aunque siempre lo lleva más que todo recogido, pero se le ve bonito sin la cola), una vestimenta que es como ella por lo general suele usar: camisa holgada, un jean y unos zapatos de goma.

Al tener las líneas limpias, comencé a darle los colores bases y seguidamente, detallo los ojos, agregando unos tonos altos de marrón y las respectivas luces.

Continuamente, voy agregando las sombras al resto, primero las zonas de la piel, luego el cabello y seguidamente la ropa, en este caso quise añadir el nombre de Aarón en la camisa, que así es como se llama mi sobrino.

Con el jean, aquí jugué con los colores y unos pinceles que trae por defecto Krita, para así intentar llegarle a la textura de los mismos. Como los zapatos que ella suele usar son negros con ciertos colores, pinté unos en negros con matices en verde, fue el que recordé en el momento.

Luego de ello, agregué una capa en morado a todo el dibujo, y le di superponer, bajándole de opacidad y eliminando de esta capa, lo que deseara que estuviese más iluminado. Para así, agregarle una luz más intensa, en color amarillo y con el modo de fusión luminosidad.

Aun cuando el efecto en el que estaba resultando, me pareció bueno, no era lo que deseaba en así para el destino de la ilustración, así me deshice de todo ello, y solo fui agregando las luces y sombras más pronunciadas en las zonas que requerían, como el cabello y otras en la ropa y rostro.

Con respecto al fondo, solo le fui agregando unas figuras geométricas, entre distintos tonos de rosado y verde, como se muestra en la imagen. En toda la figura, le añadí una capa con textura, la cual superpuse y baje de opacidad, para así darle en estilo de capa una sombra paralela.

Para ir finalizando, exporté la imagen sola sin el fondo de figuras geométricas en png, y la pinté en rosado con textura de puntitos, para ponerla detrás de la sombra paralela.

Como quería hacerle algo más, agregué unas fotos de ella y de Aarón en cada lado y en Photoshop le hice los separadores y para el banner del final, le agregué está ilustración.


¿Cómo me quedó? Espero le agradé y con gusto leeré sus comentarios.


Gracias por leer mi post. Espero que les haya gustado. Estaré atenta a responder sus comentarios. Pueden visitar mi blog, seguir mis contenidos y redes sociales.

FACEBOOK / INSTAGRAM / TWITTER

Posted Using InLeo Alpha
¡Felicitaciones!
1. Invierte en el PROYECTO ENTROPÍA y recibe ganancias semanalmente. Entra aquí para más información.
3. Suscríbete a nuestra COMUNIDAD, apoya al trail de @Entropia y así podrás ganar recompensas de curación de forma automática. Entra aquí para más información sobre nuestro trail.
4. Creación de cuentas nuevas de Hive aquí.
5. Visita nuestro canal de Youtube.
Atentamente
El equipo de curación del PROYECTO ENTROPÍA