Todo niño es un artista, el problema es seguir siendo un artista cuando crecemos".
Por fin les voy a mostrar un diseño propio que realicé el fin de semana, así que chicas a quien le guste, sepa coser y desee la ficha técnica detallada me avisa para enviarle mi diseño ilustrado para #Hive
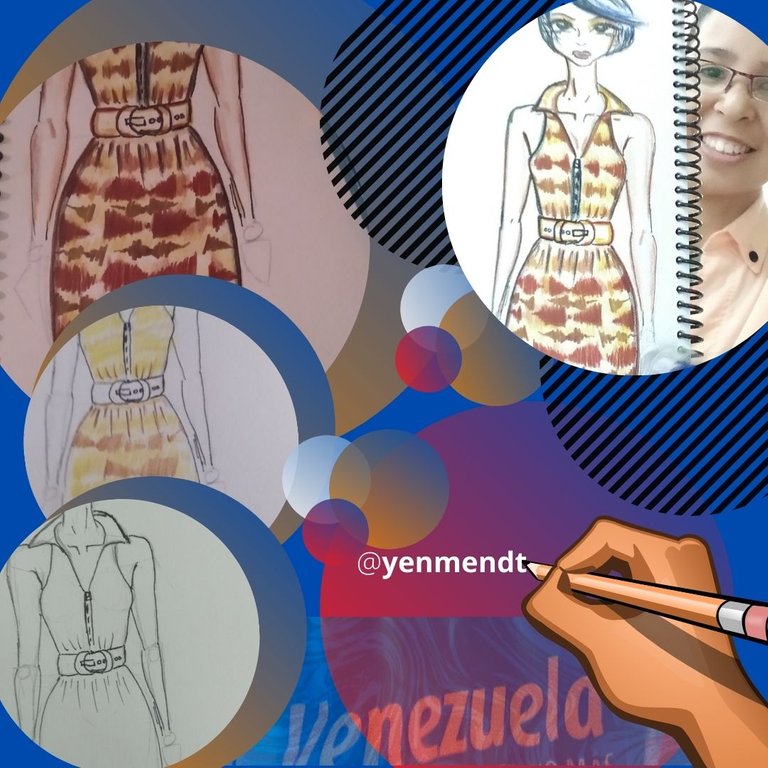

- Papel (yo uso mayormente de reciclaje para practicar) si tienes tu block de dibujo mucho mejor.
- Portaminas con mina 0.5
- Borra.
- Rapidograf o marcador de punta muy fina. También se le conoce como Micropunto tengo entendido.
- Colores: nude, naranja, marrón, amarillo, rojo, negro, azúl oscuro todos de la marca Paper Mate.
- Marcador fino negro No. 34, marrón, No.29, naranja No.03 todos de la marca Kores.
- ¡Motivación!

PERO ANTES DE EMPEZAR, TE HAGO LA SIGUIENTE PREGUNTA:
¿Sabes lo que es un boceto de moda?
El boceto de moda también es llamado diseño artístico o boceto de estilo. Es un tipo de diseño de moda capaz de expresar las ideas principales del diseñador para la pieza o colección. A partir de un primer bosquejo, el diseñador de moda desarrolla el boceto. Para saber mas sobre el tema dale click aquí Audaces


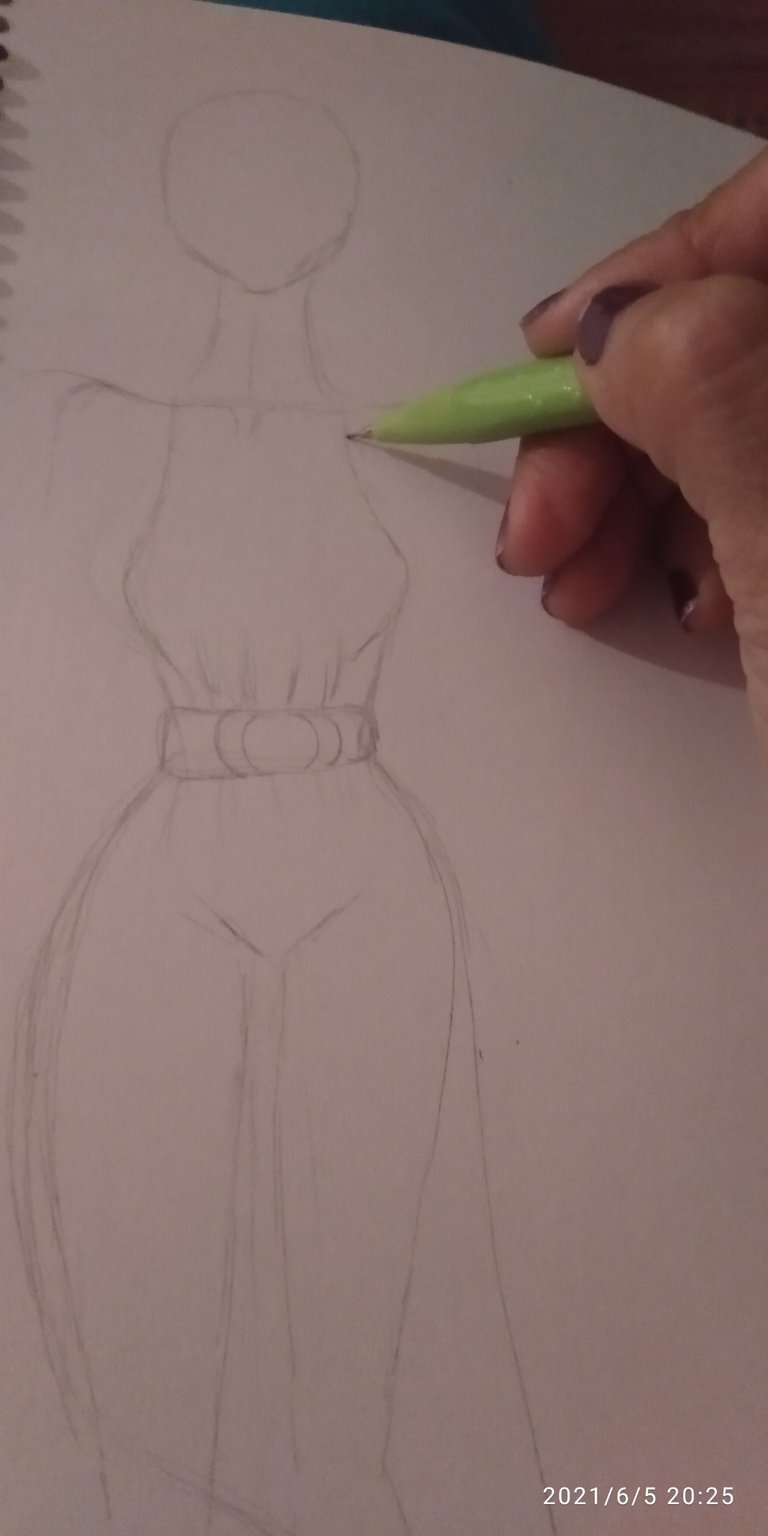
Comencé a realizar el figurín y luego encima el vestido que empiezo a crear según la inspiración me va diciendo, les sugiero dos cosas: una, que utilices las plantillas que te enseñé a realizar en los tutoriales de figurín básico como estilizado de ocho cabezas, ¡al tenerlo listo puedes crear tantos diseños desees! solo debes calcar en papel cebolla o vegetal, en mi caso yo lo hice a pulso porque es lo que me salió al momento.

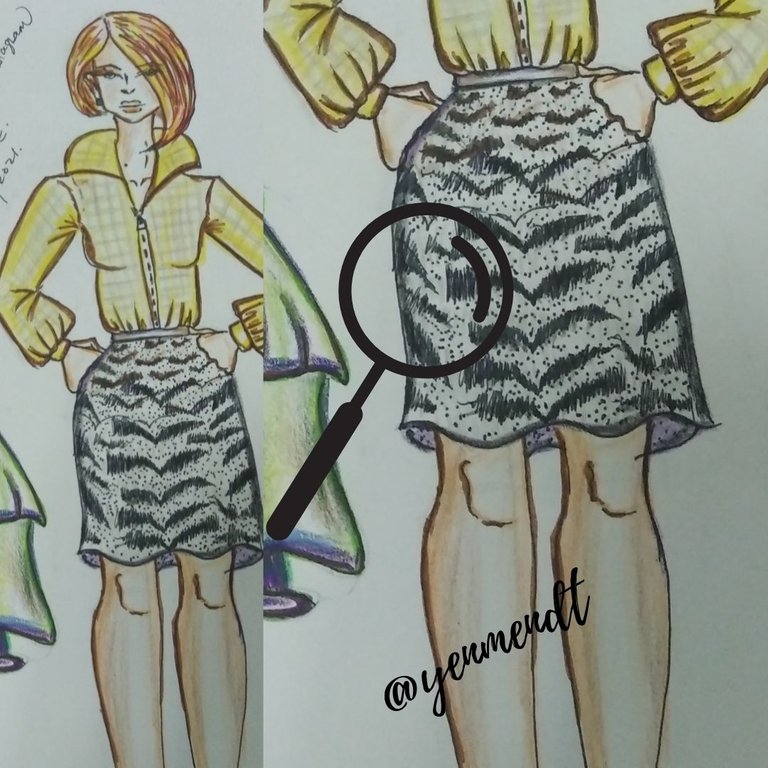
En un post anterior denominado Fin De Semana Creativo 2 :yenmendt publiqué una ilustración sobre una super top model y su agente, esté estampado de la falda me inspiré en un animal print de leopardo blanco y negro, lo hice según lo que me acordaba que vi en un desfile de moda en la tv, por cierto metiendo la lupa ahorita viendo, ¡veo las fallas horrorosas jajaja, pero bueno la práctica hace al maestro!

Entonces para este diseño usé el mismo estampado con diferente color, me gusta usar el portaminas porque así puedo borrar más fácil, el trazo es más sutil y es mi guía al pasar marcador finito o rapidograf, luego comencé a crear estampado de la tela del vestido que es asimétrico con cuello halter combinado con cuello camisero, empecé coloreando con amarillo pálido y luego un poco mas fuerte dejando respectivos espacios en blanco, le agregué un cierre que va desde zona del busto a la cintura, sumando un genial cinturón ancho.
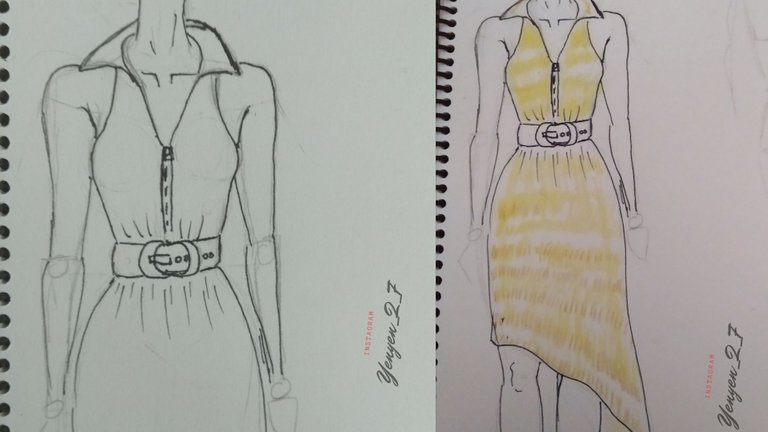

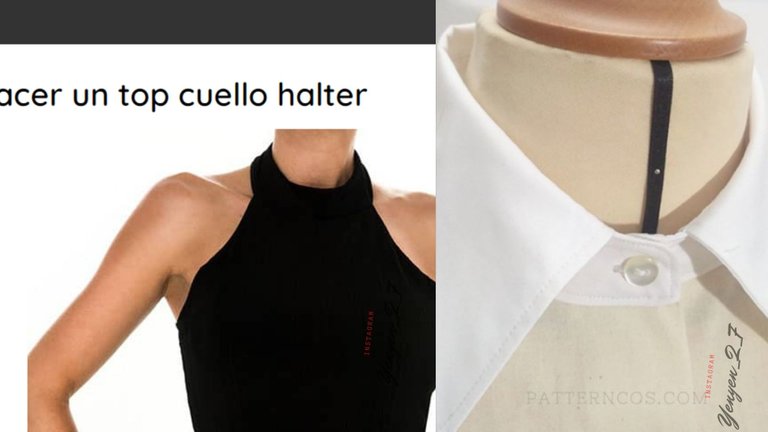
Para darme a entender mejor aquí les muestro un ejemplo claro de lo que es un cuello Halter y un Cuello Camisero, de hecho, aquí te dejo los tutoriales geniales: Topickr y PatternCos

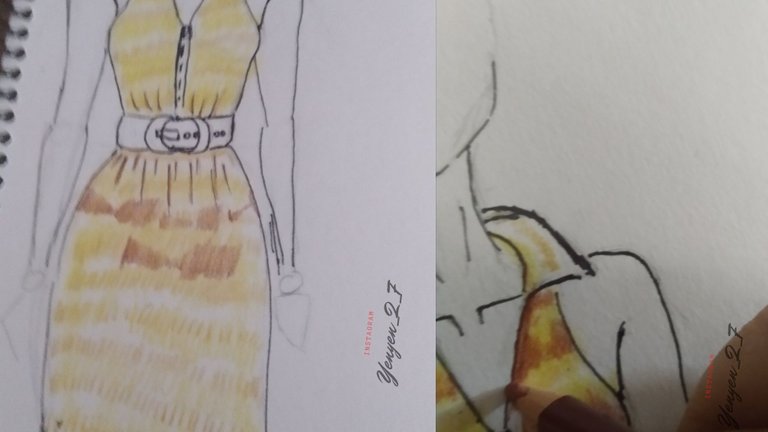
Aquí voy paso a paso, primero colocando color marrón, realizando minis torbellinos horizontales para realzar dicho estampado en todo el vestido, también lo usé para definir los bordes del vestido, así como el color rojo para enfatizar dichos torbellinos, se vieran diferentes.

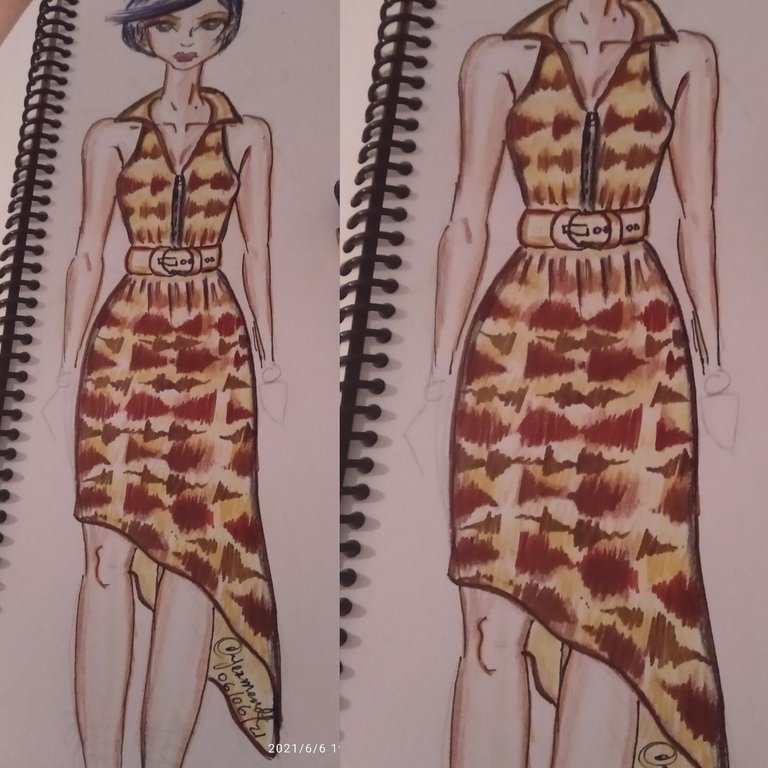
Segundo hice la piel con colores naranja para aportar luz, luego el tono nude propio de la piel y después marrón para definir algunos contornos. El cabello lo hice en azúl y por último finalizas con el color negro porque es el que le da valor a toda la definición del maniquí. lo harás tanto en el rostro como en el cuerpo completo.

¿Qué te pareció? ¿Te gustó? ¿Qué eliminarías o aportarías al diseño o sugerencias para ilustrar mejor? Estoy a la espera de tus valiosos comentarios, gracias mil por leer y nos veremos en el próximo post donde verás un tutorial de diseño como colorear tela de jeans.
Recomendación final
Cuando llegue la musa, debes dejarte llevar, sea la hora que sea, date unos minutos para ti, diviértete creando algo, aunque creas que es insignificante, resulta que vale oro porque despejó tu mente y lo que crees que has dibujado no es nada, para otros es una obra de arte.
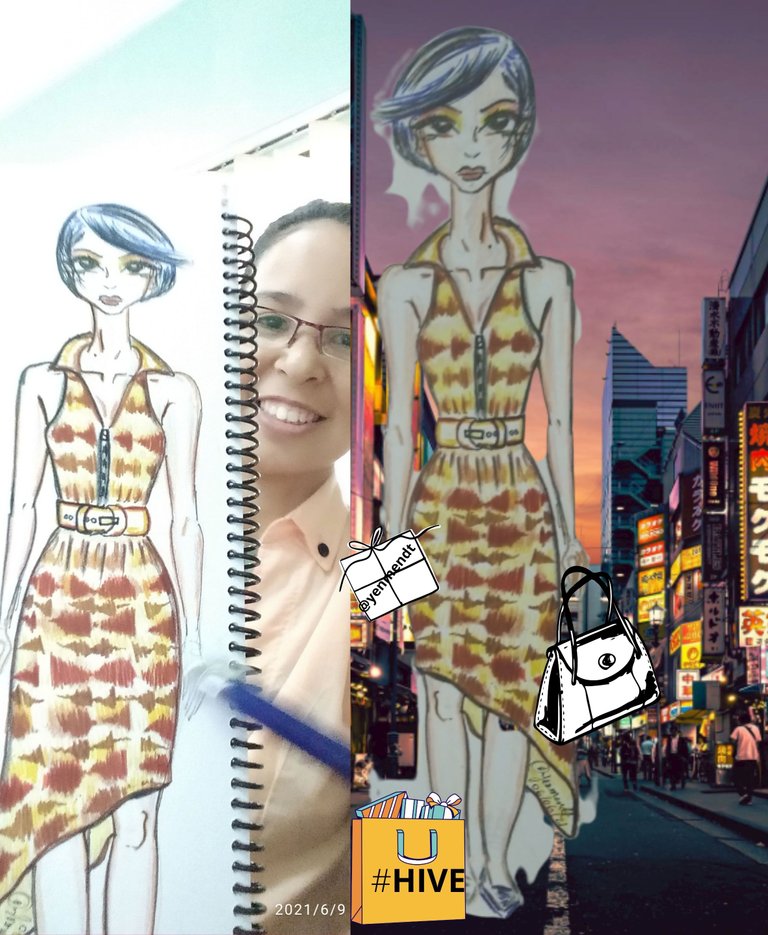

Ilustró para ti: Yenni Méndez
Fuente: : Todas las ilustraciones son propias.
Plantillas : fueron generadas con diseños personalizados en Canva y Remove.bg
Cámara: Mi genial teléfono Redmi 7A.
Traductor versión gratuita: DeepL

Now in English:
"Every child is an artist, the problem is to remain an artist when we grow up".
I'm finally going to show you a design of my own that I made over the weekend, so girls who likes it, knows how to sew and wants the detailed technical sheet let me know to send you my illustrated design for #Hive.

Paper (I use mostly recycled paper to practice) if you have your own sketchbook, all the better.
Mechanical pencil with 0.5 lead
Eraser.
Rapidograph or very fine tip marker. It is also known as Micropoint I understand.
Colors: nude, orange, brown, yellow, red, black, dark blue all from Paper Mate.
Fine tip marker black No. 34, brown, No.29, orange No.03 all from Kores brand.
Motivation!

BUT BEFORE WE START, I ASK YOU THE FOLLOWING QUESTION:
Do you know what a fashion sketch is?
Fashion sketch is also called artistic design or style sketch. It is a type of fashion design capable of expressing the designer's main ideas for the piece or collection. From a first sketch, the fashion designer develops the sketch. To learn more about this topic click here:Audaces


I started to make the figurine and then on top of the dress that I start to create as inspiration tells me, I suggest two things: one, that you use the templates that I taught you to make in the tutorials of basic figurine as stylized eight heads, when you have it ready you can create as many designs as you want! you only have to trace on onion or vegetable paper, in my case I did it by hand because it is what I came out at the time.


In a previous post called Creative Weekend 2 : yenmendt I published an illustration about a super top model and her agent, the pattern of the skirt I was inspired by a black and white leopard animal print, I did it according to what I remembered I saw in a fashion show on tv, by the way putting the magnifying glass now watching, I see the horrendous flaws hahaha, but well practice makes perfect!


So for this design I used the same pattern with different color, I like to use the mechanical pencil because I can erase easier, the line is more subtle and is my guide to pass fine marker or rapidograf, then I began to create pattern of the dress fabric which is asymmetrical with halter neck combined with shirt collar, I started coloring with pale yellow and then a little stronger leaving respective white spaces, I added a closure that goes from the bust area to the waist, adding a great wide belt.


To give me a better understanding here I show you a clear example of what is a Halter neck and a shirt collar, in fact, here I leave you the great tutorials: Topickr y PatternCos


Here I go step by step, first placing brown color, making mini horizontal swirls to enhance the print all over the dress, I also used it to define the edges of the dress, as well as the red color to emphasize the swirls, they looked different.


Second I did the skin with orange colors to bring light, then the nude tone of the skin and then brown to define some contours. The hair I did in blue and finally you finish with the black color because it is the one that gives value to all the definition of the mannequin. you will do it both in the face and in the whole body.


What did you think, did you like it, what would you eliminate or add to the design or suggestions to illustrate better? I am waiting for your valuable comments, thanks a thousand for reading and see you in the next post where you will see a design tutorial on how to color jeans fabric.
Final recommendation
When the muse arrives, you must let yourself go, whatever time it is, give yourself a few minutes for you, have fun creating something, even if you think it is insignificant, it turns out to be worth gold because it cleared your mind and what you think you have drawn is nothing, for others it is a work of art.


Illustrated for you: Yenni Méndez
Source: All illustrations are my own.
Templates were generated with custom designs in Canva and Remove bg.
Camera: My cool Redmi 7A phone.

Hermoso como siempre @yenmendt 😊❤️
Congratulations @yenmendt! You have completed the following achievement on the Hive blockchain and have been rewarded with new badge(s) :
Your next target is to reach 30 posts.
Your next target is to reach 200 replies.
You can view your badges on your board and compare yourself to others in the Ranking
If you no longer want to receive notifications, reply to this comment with the word
STOPEstan demasiado buenos tus diseños, aunque se muy bien que los puedes hacer mucho mejores, pero me gustaron mucho igual