On today's episode, we'll be colourgrading a photo I shot at a picnic with some nice people. After having conversations, fruit and drinks we decided to take some photos with what we had around.
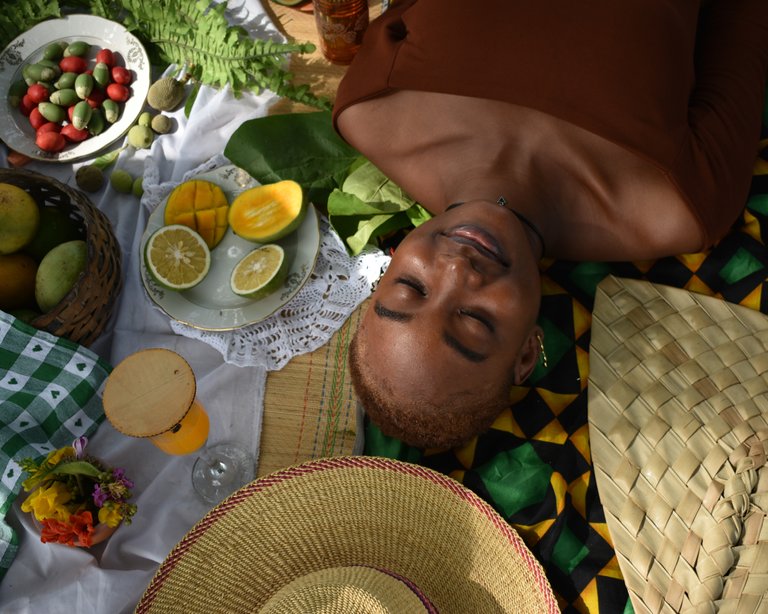
Here's what I achieved after editing my shot:
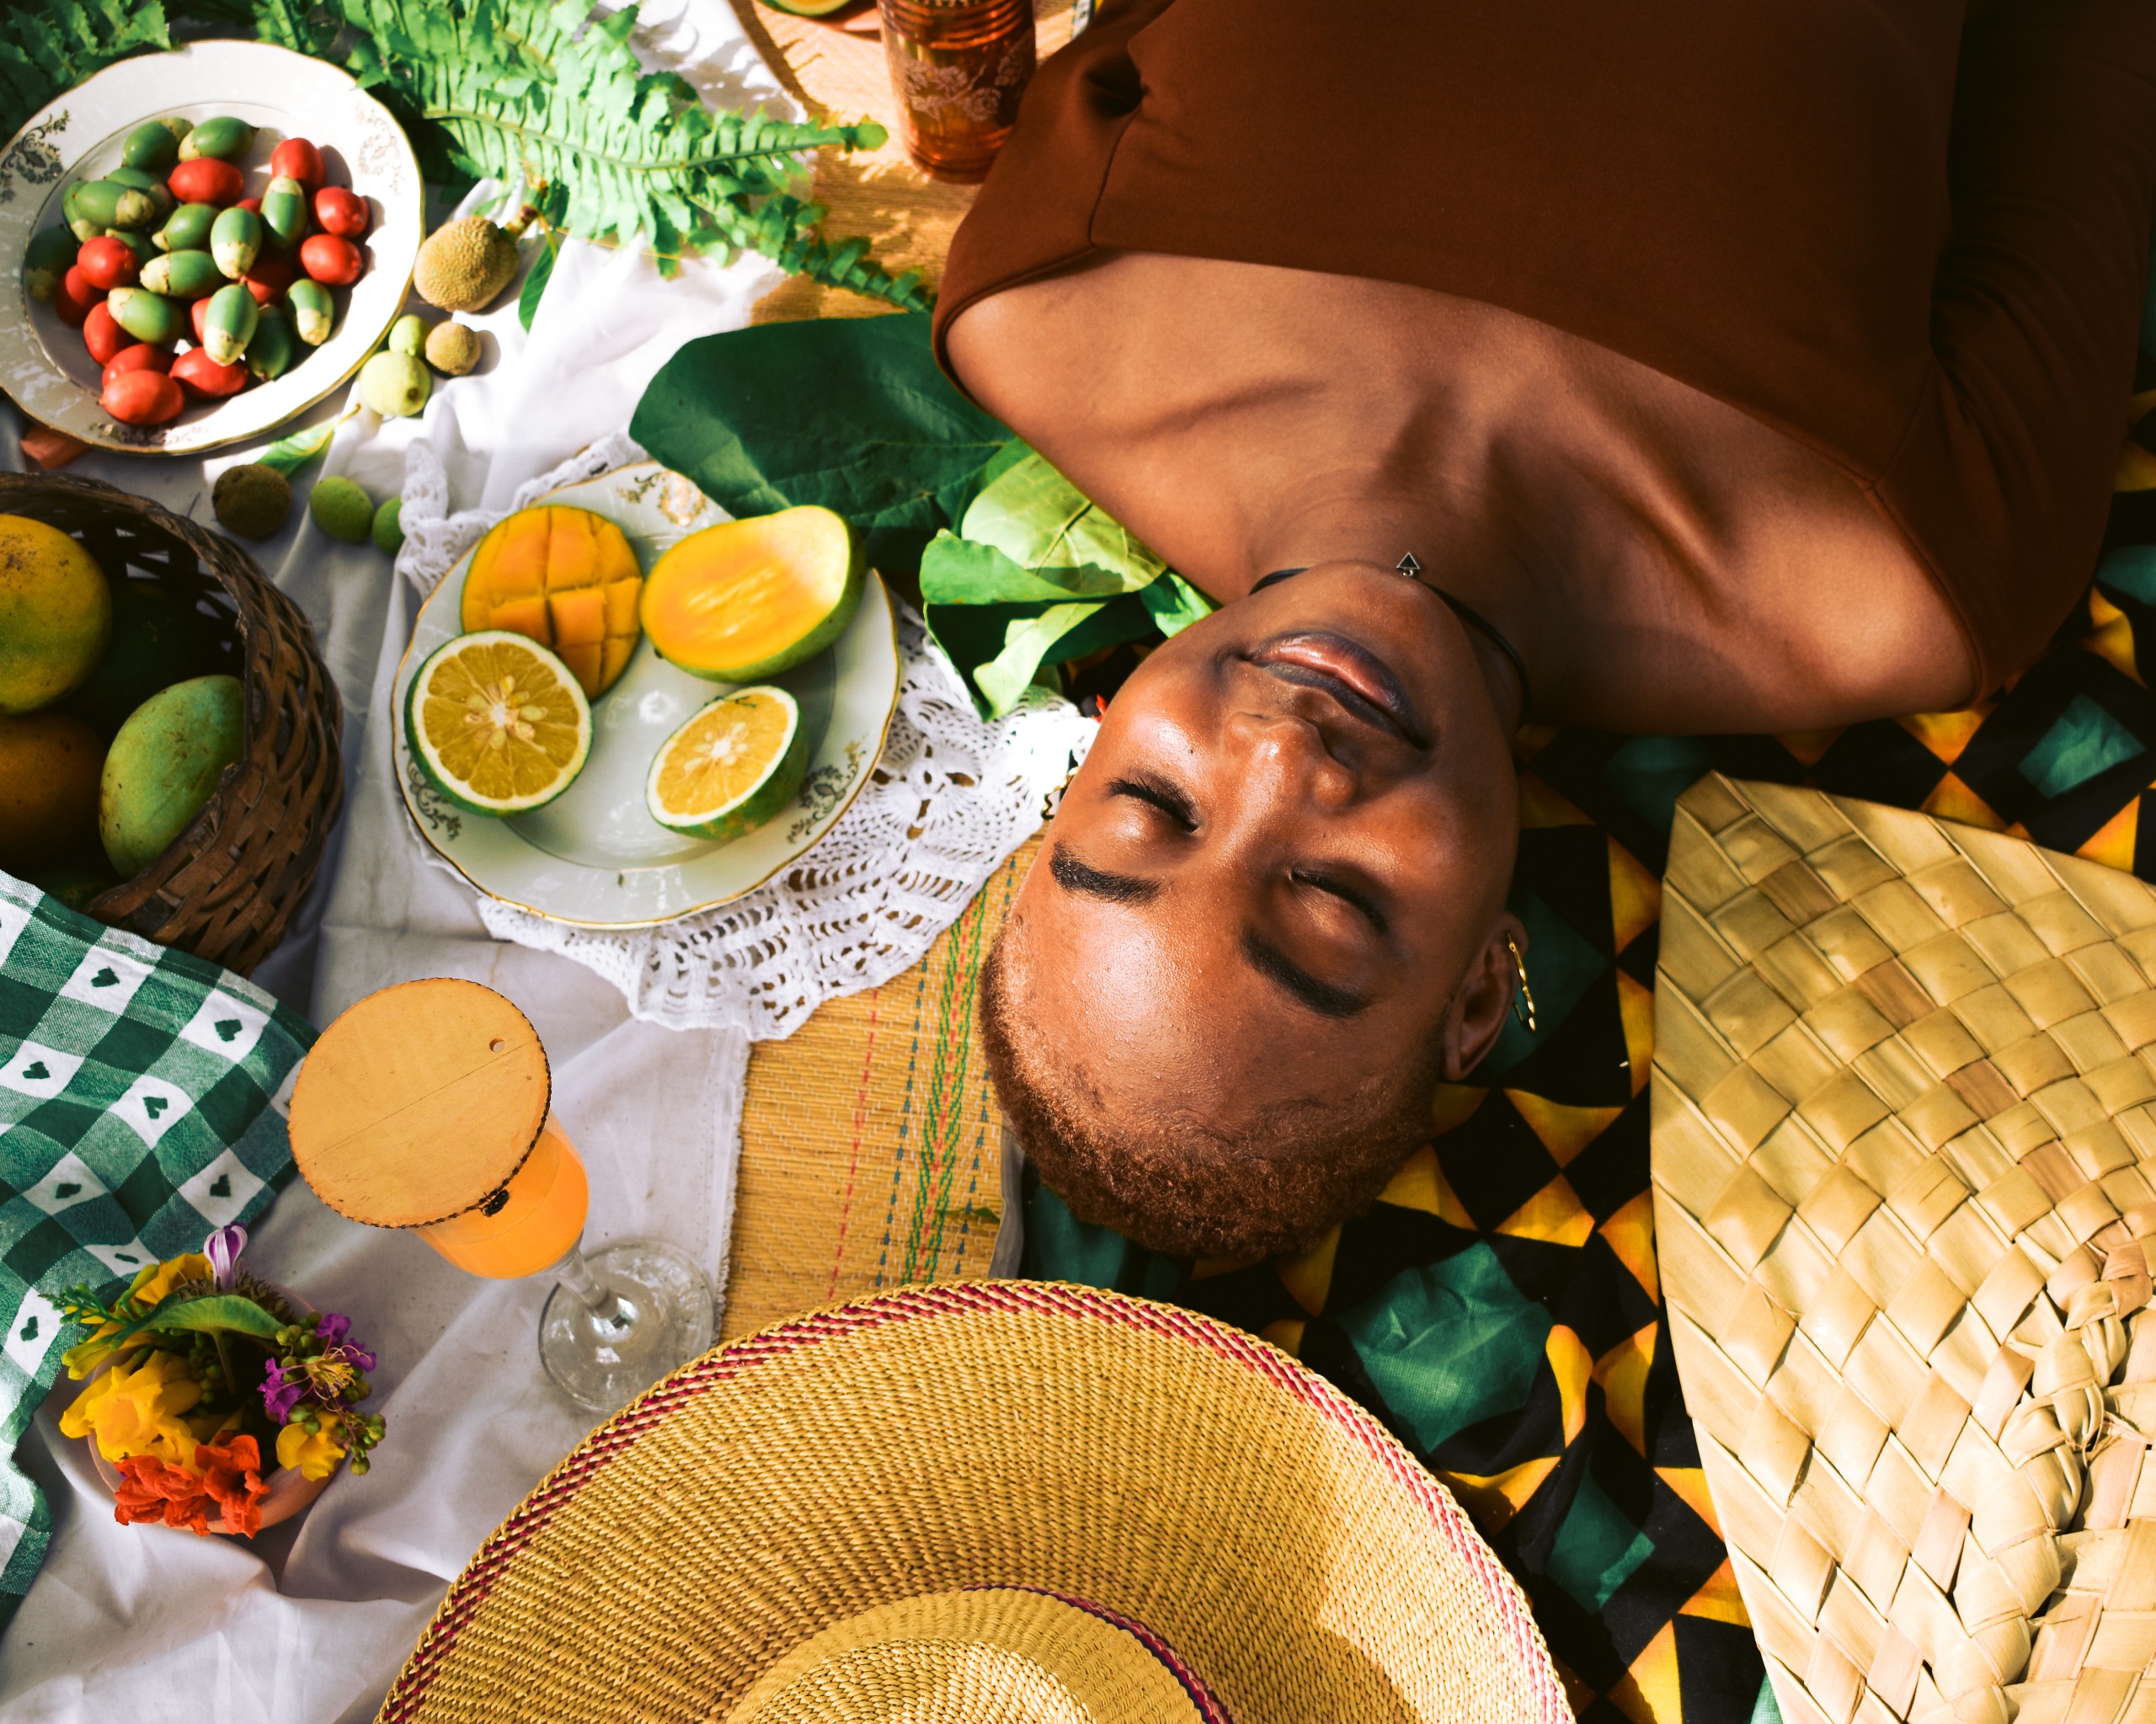
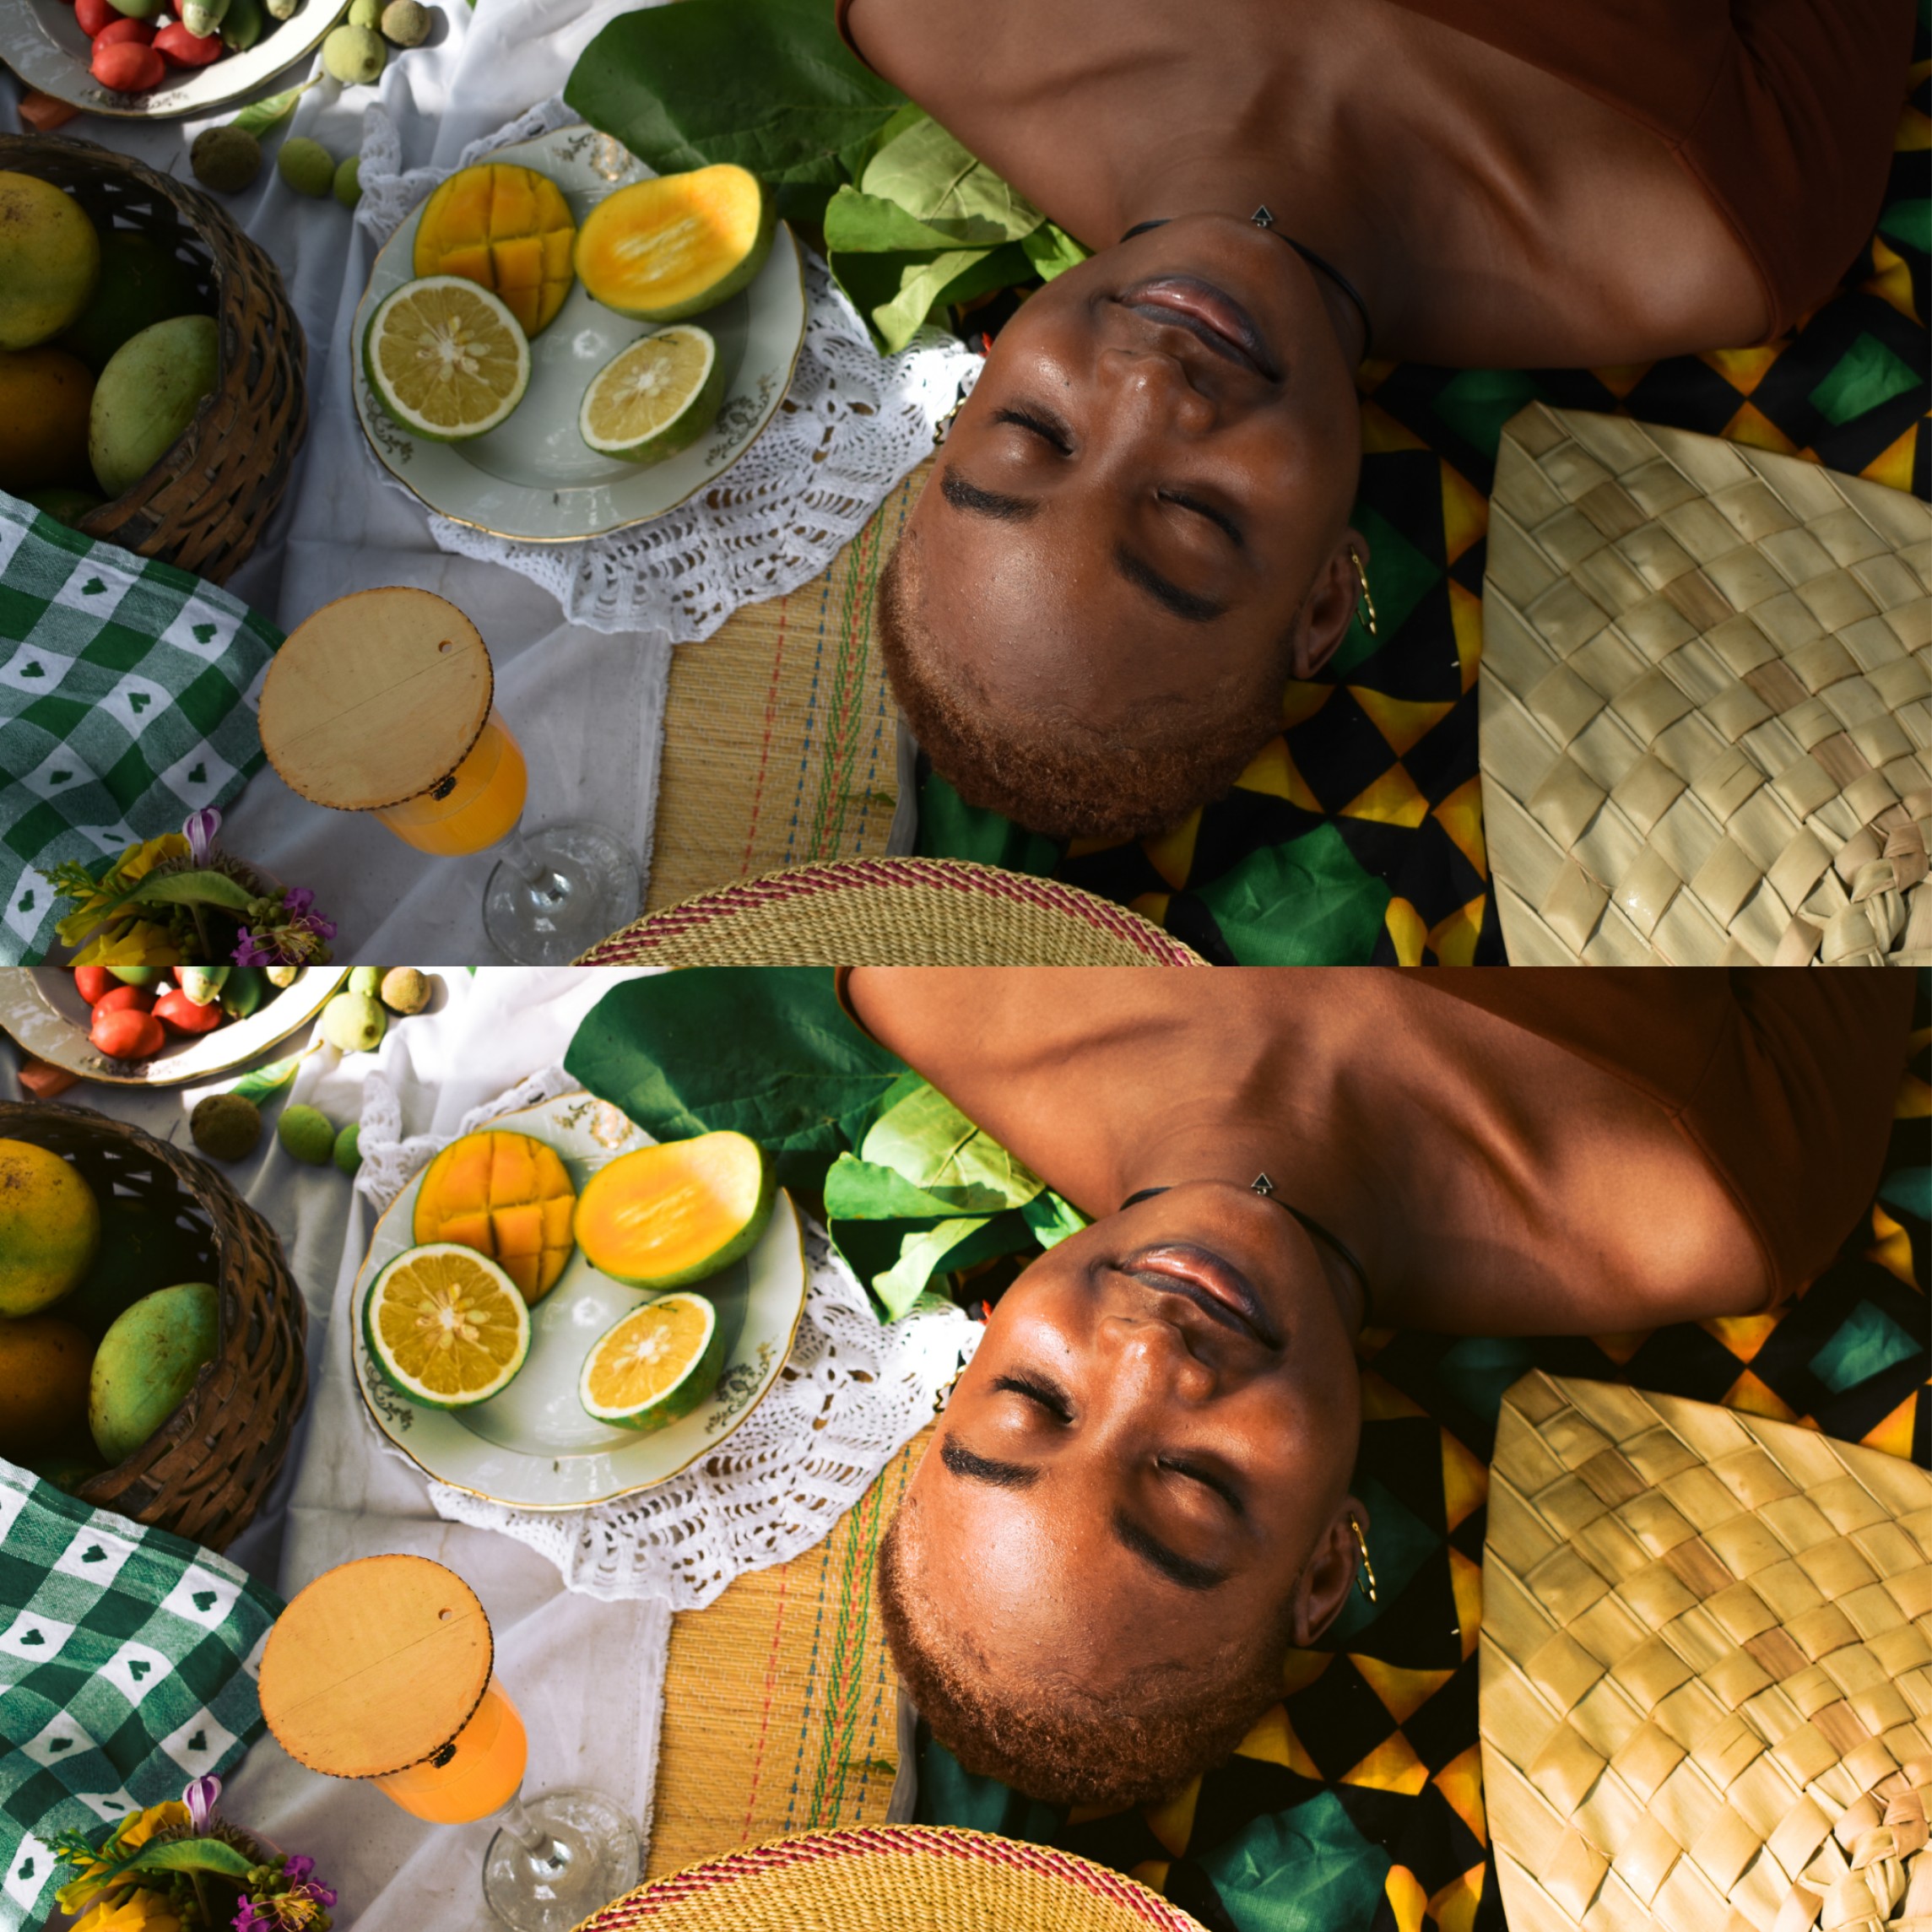
Now, here's the photo before it was edited. At first glance and comparison you'd see I boosted the contrast and colours a bit whilst warming up the photo temperature.
Without further a do, let's get to the colourgrading process for this photo.
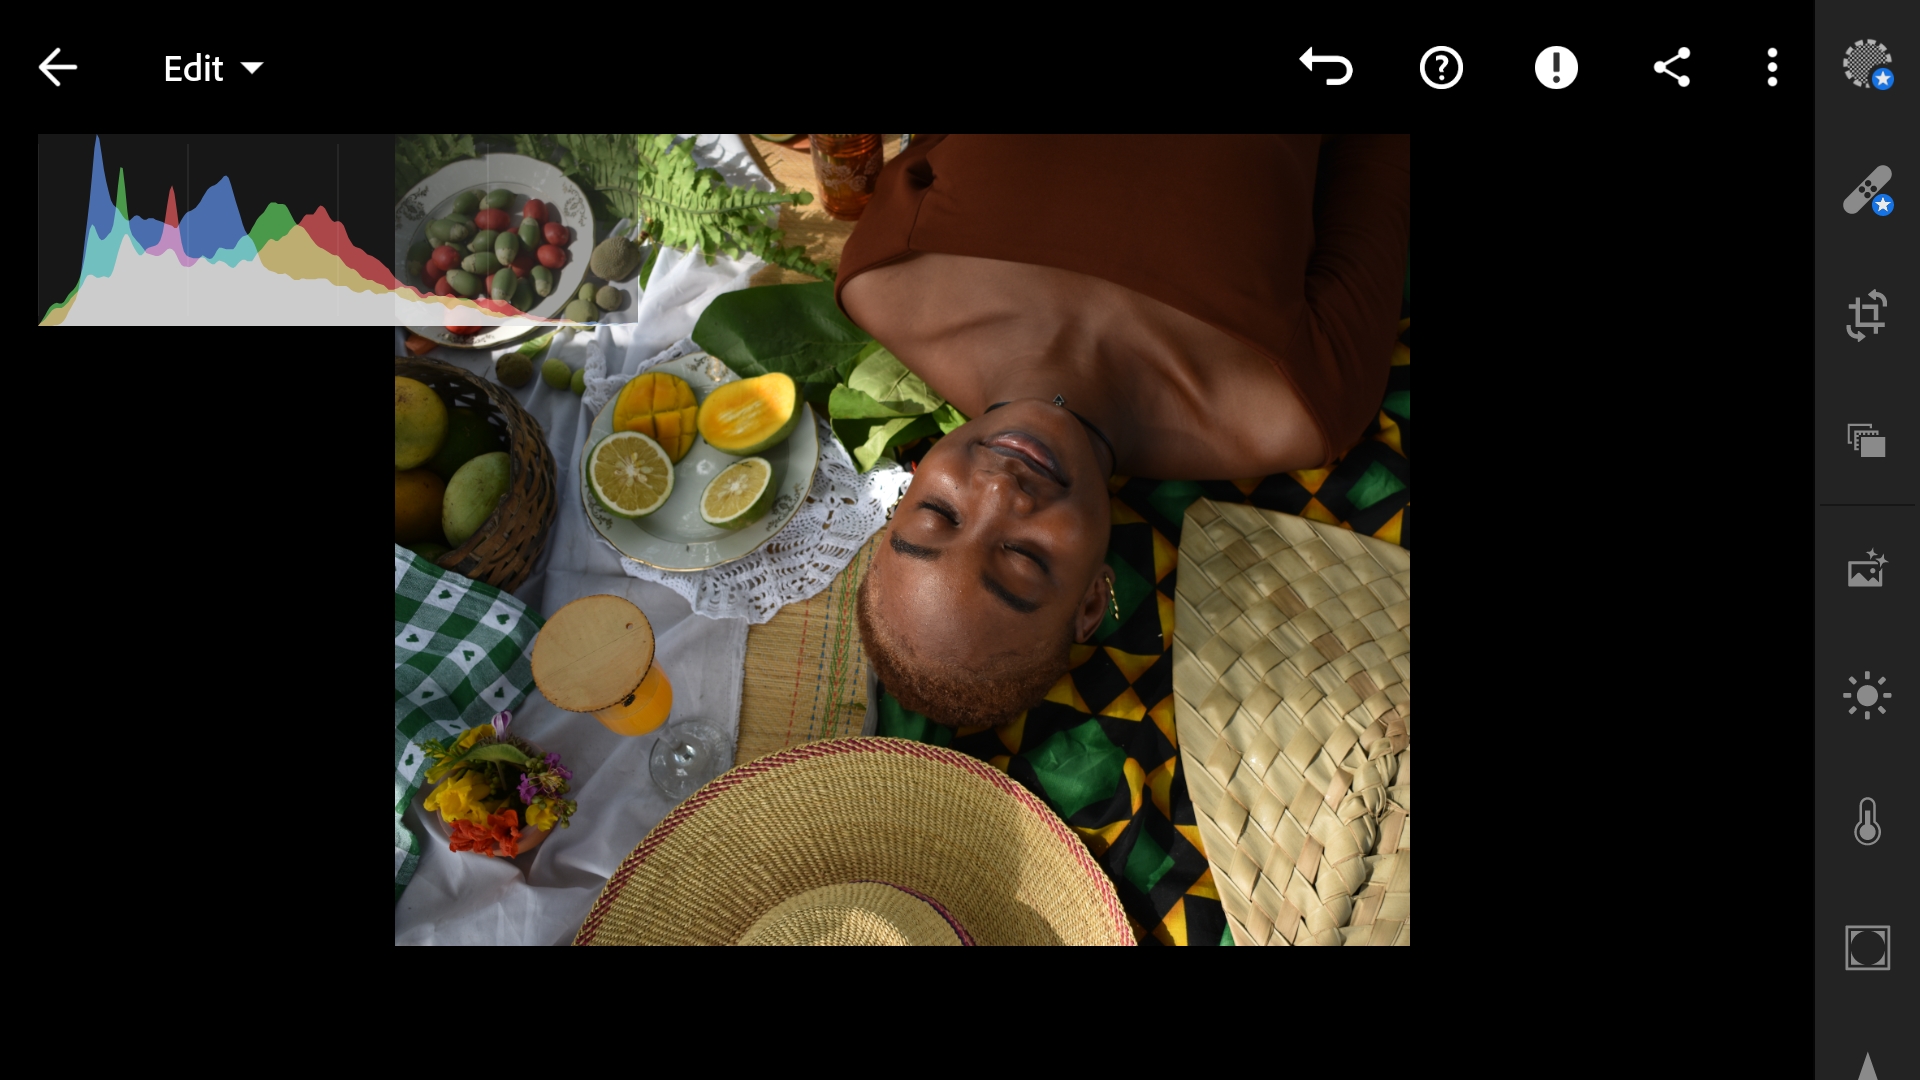
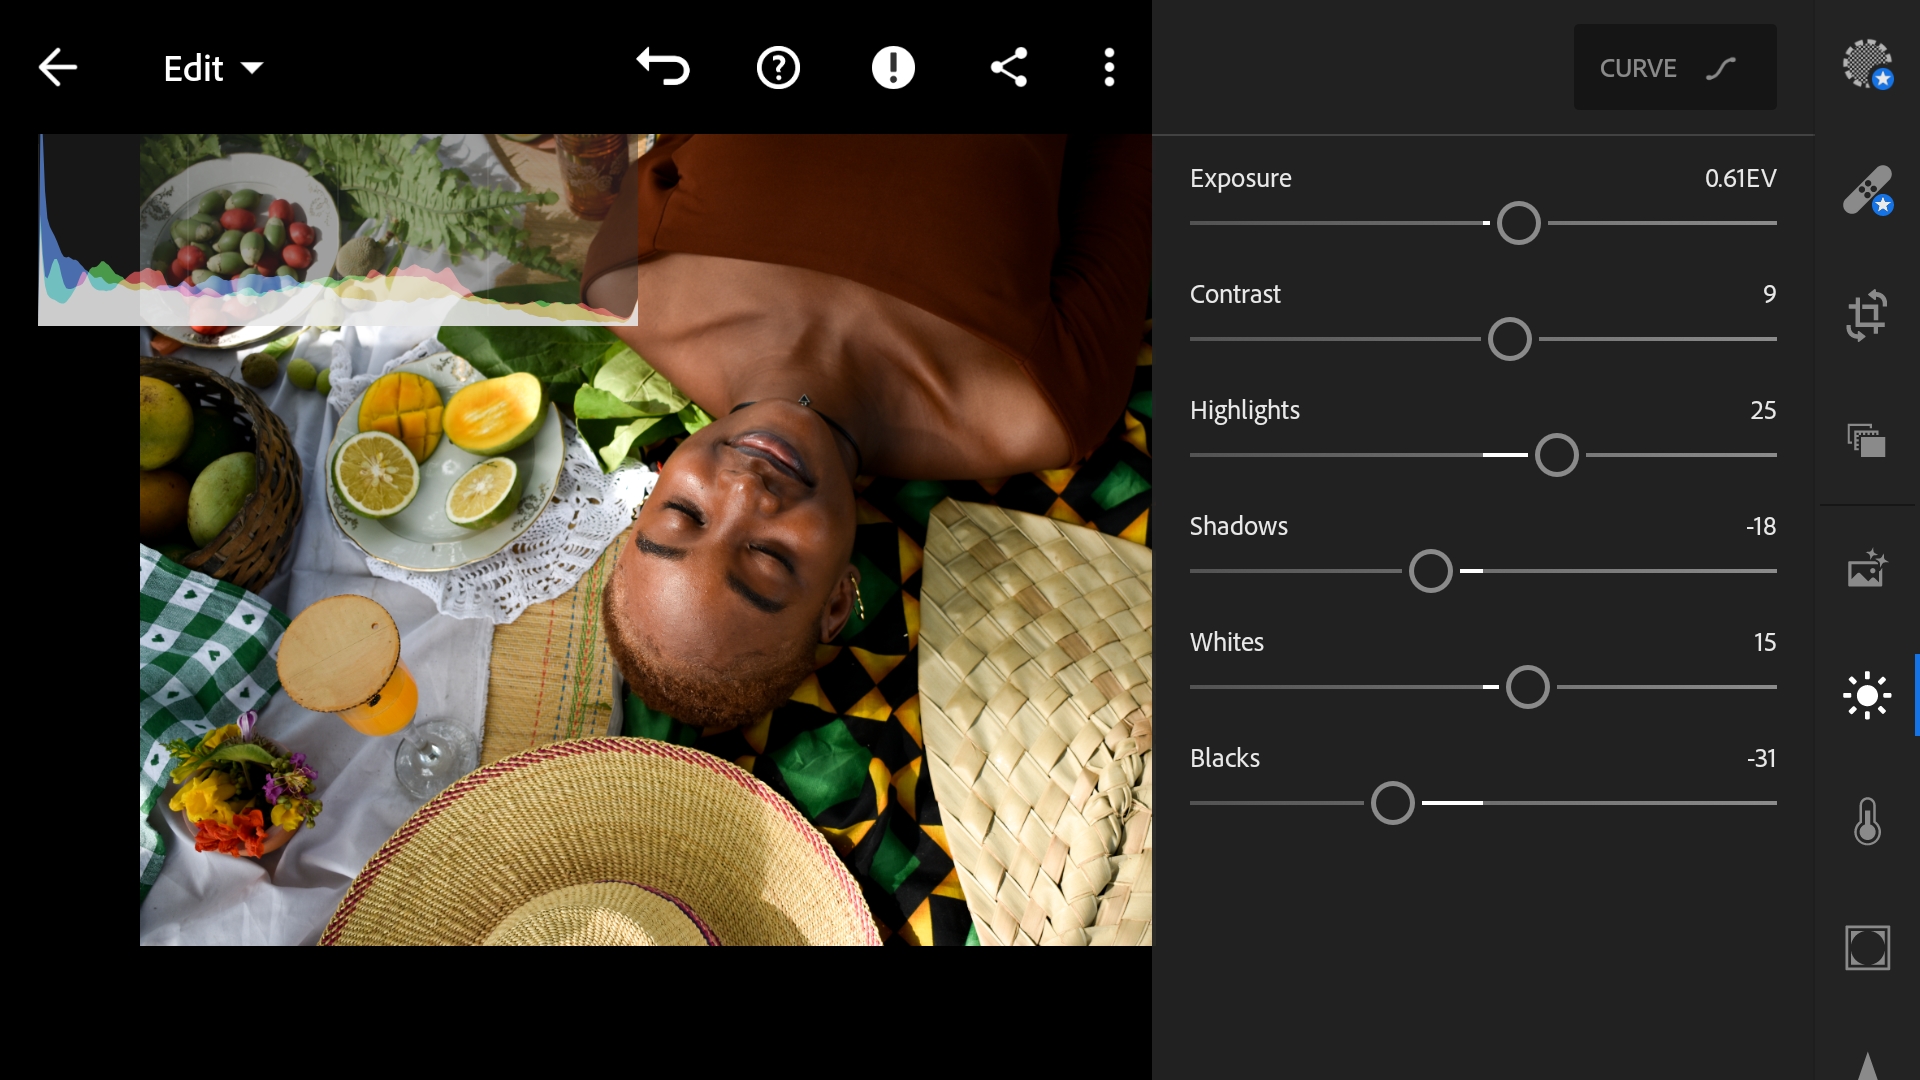
First of all, I imported the photo to the Adobe Lightroom Mobile app on my smartphone as seen below.
Basic tuning was done as I boosted to highlights and Whites a bit whilst darkening the shadows and blacks a bit. I equally increased the photo's exposure and added a little bit of contrast.
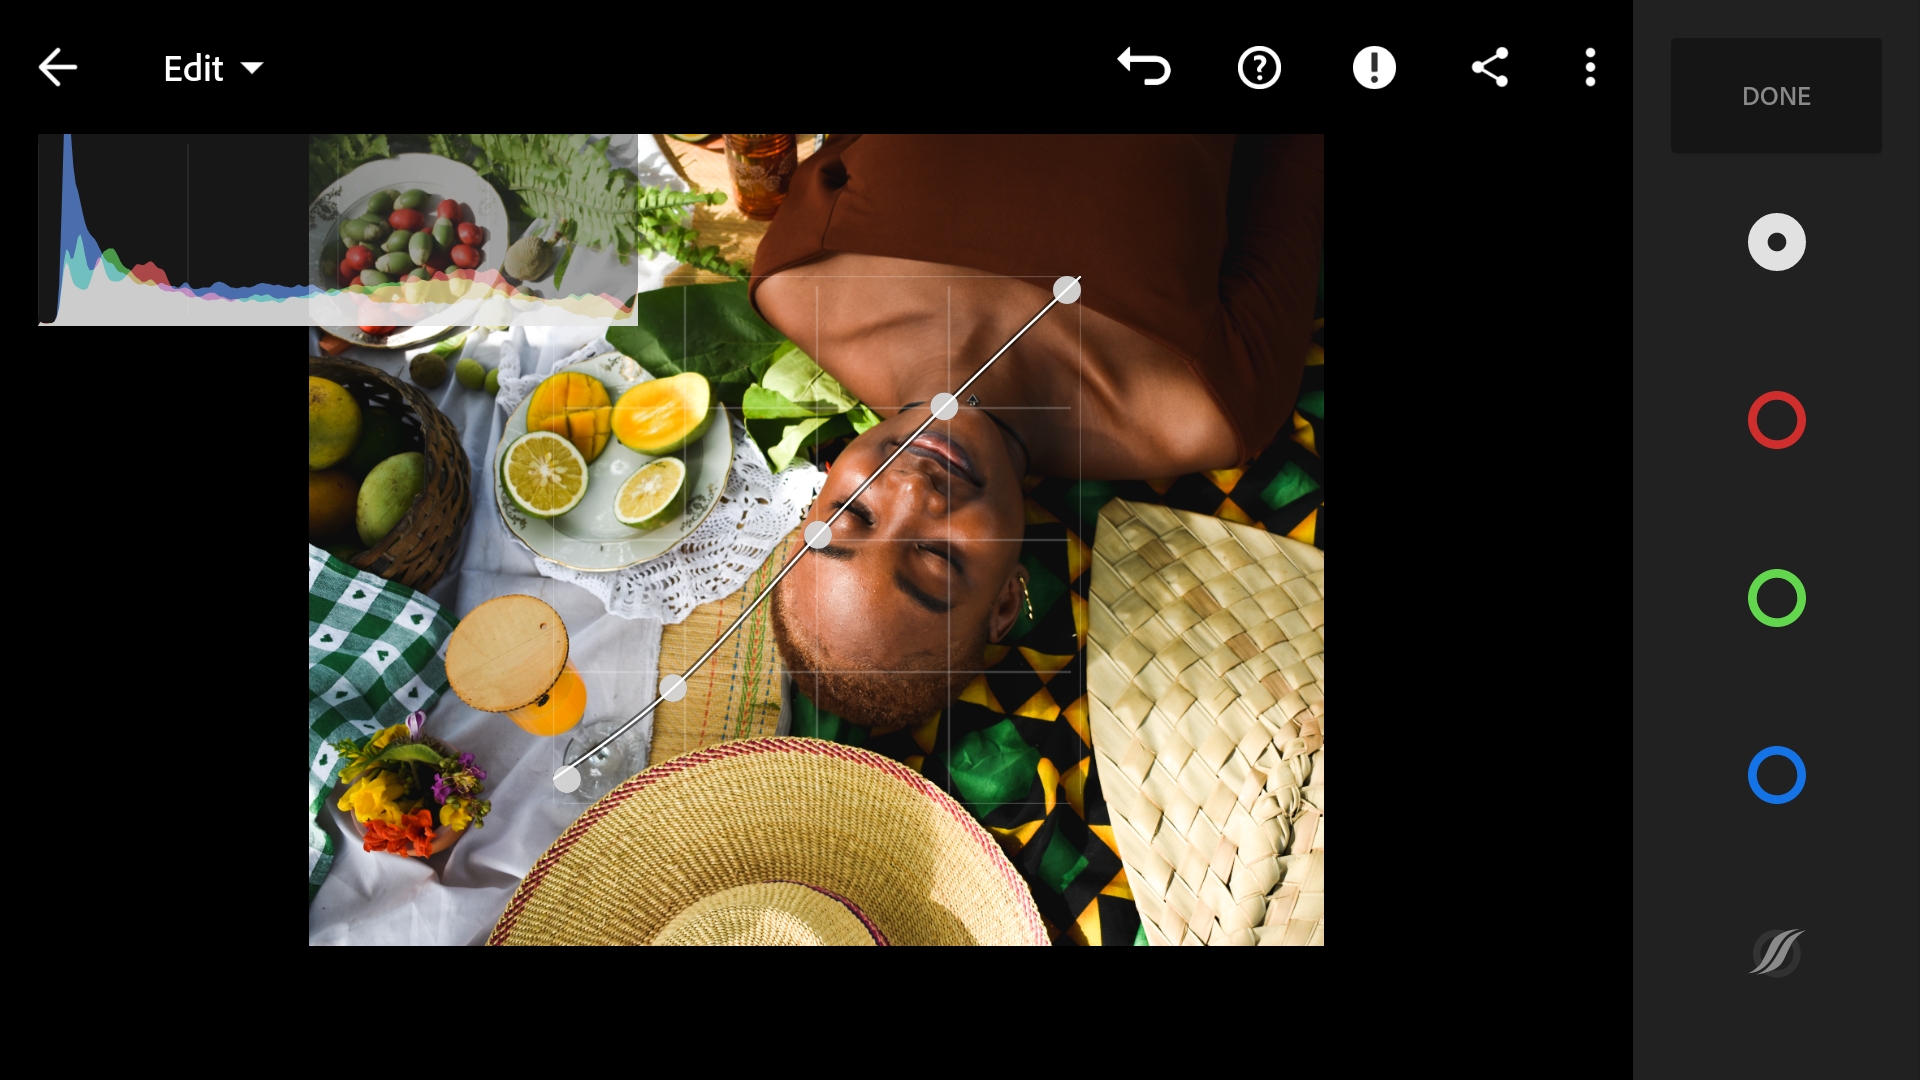
Now on the curves, I tweaked the luminance curve here to give me more contrast.
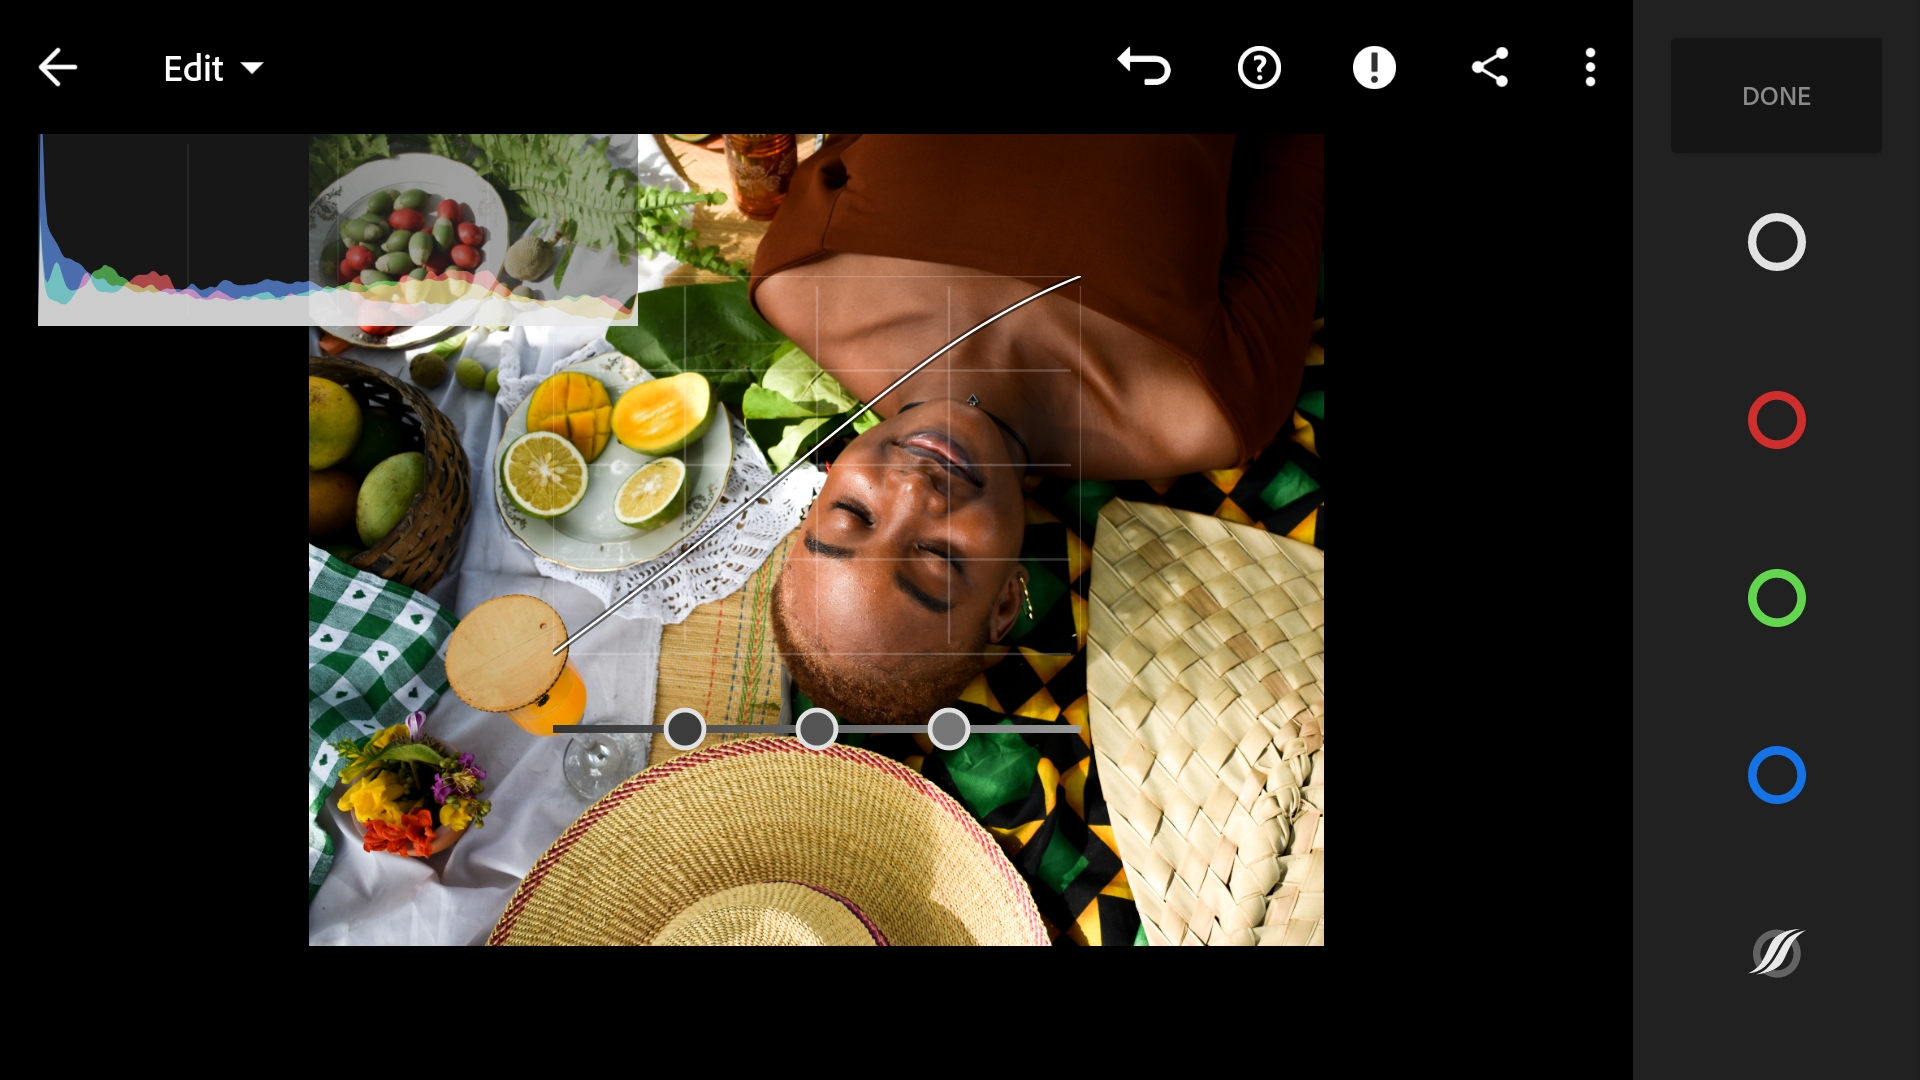
Then I clipped the blacks on the curve a little bit to fade the blacks a little.
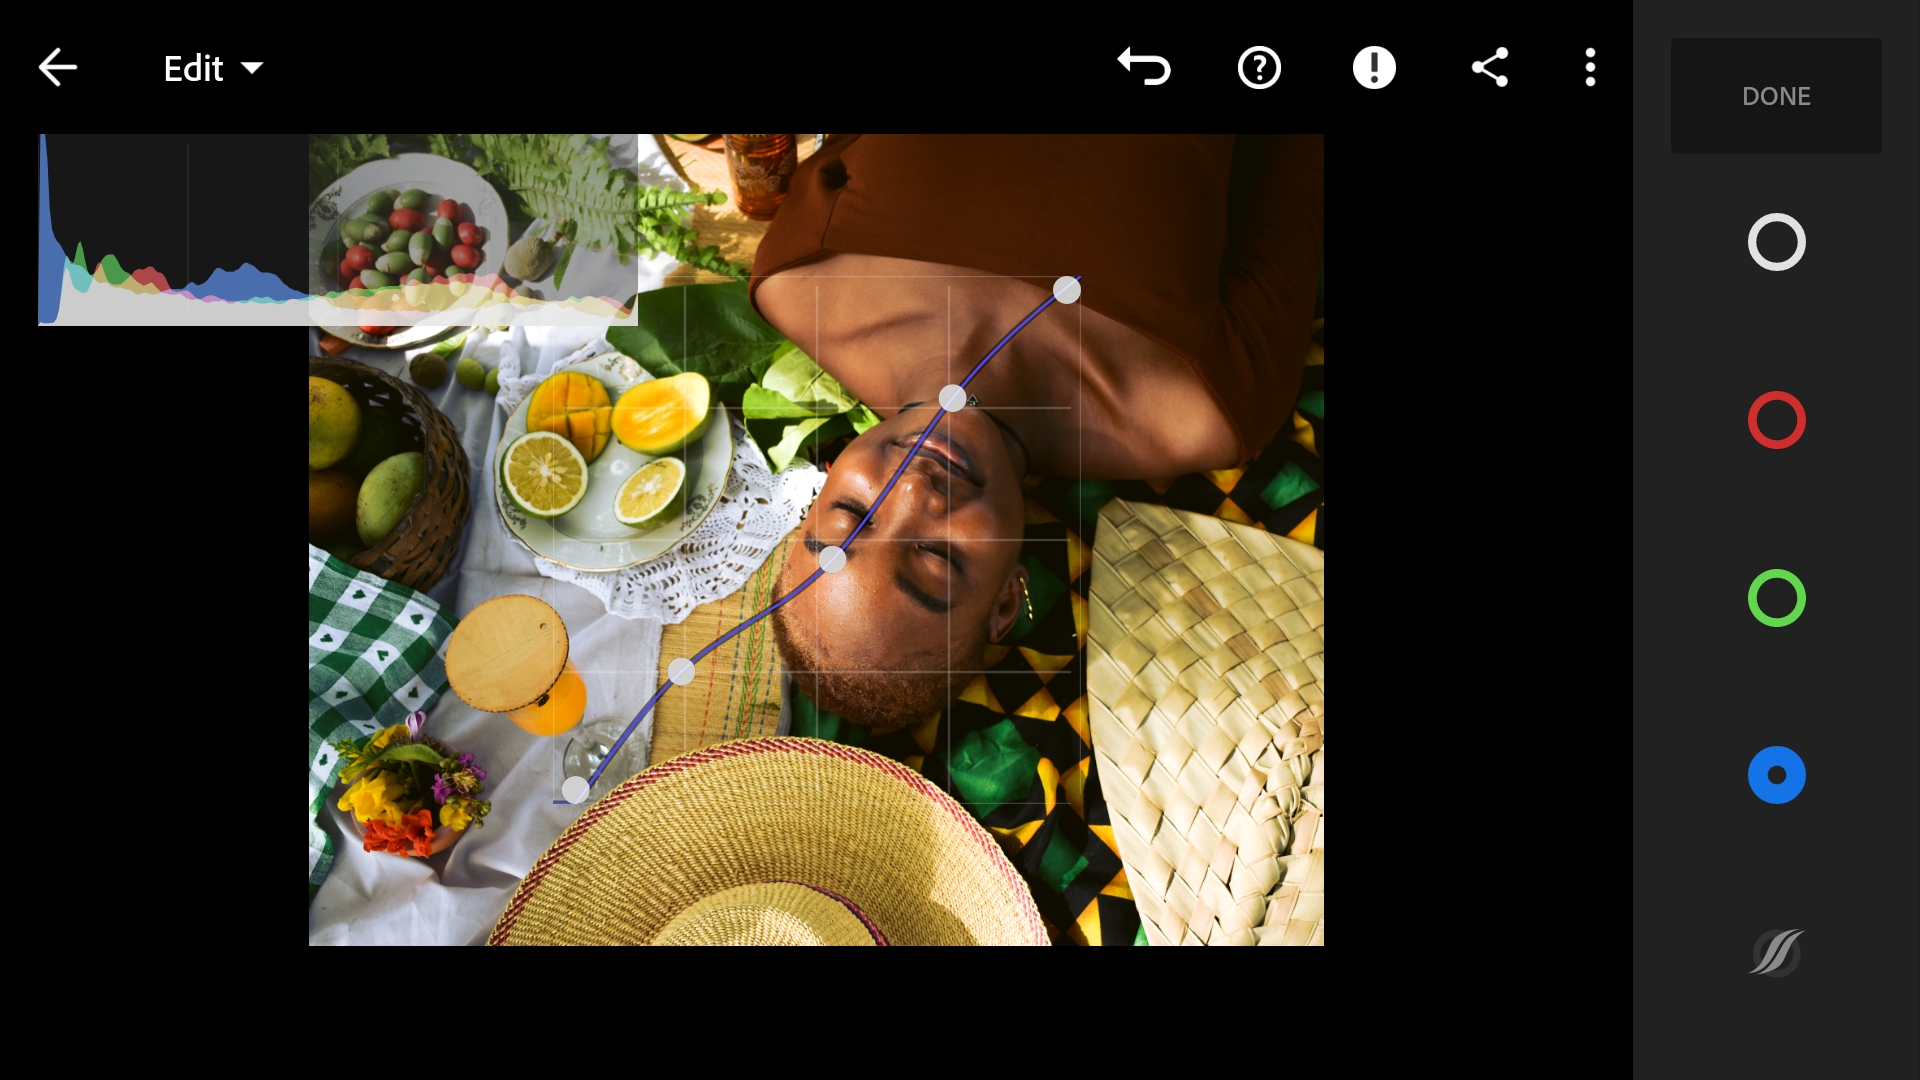
Off to the blue curve, I added a bit of blue to the highlights and shadows then a bit of yellow to the midtones mostly because I wanted to warm up the model's skin.
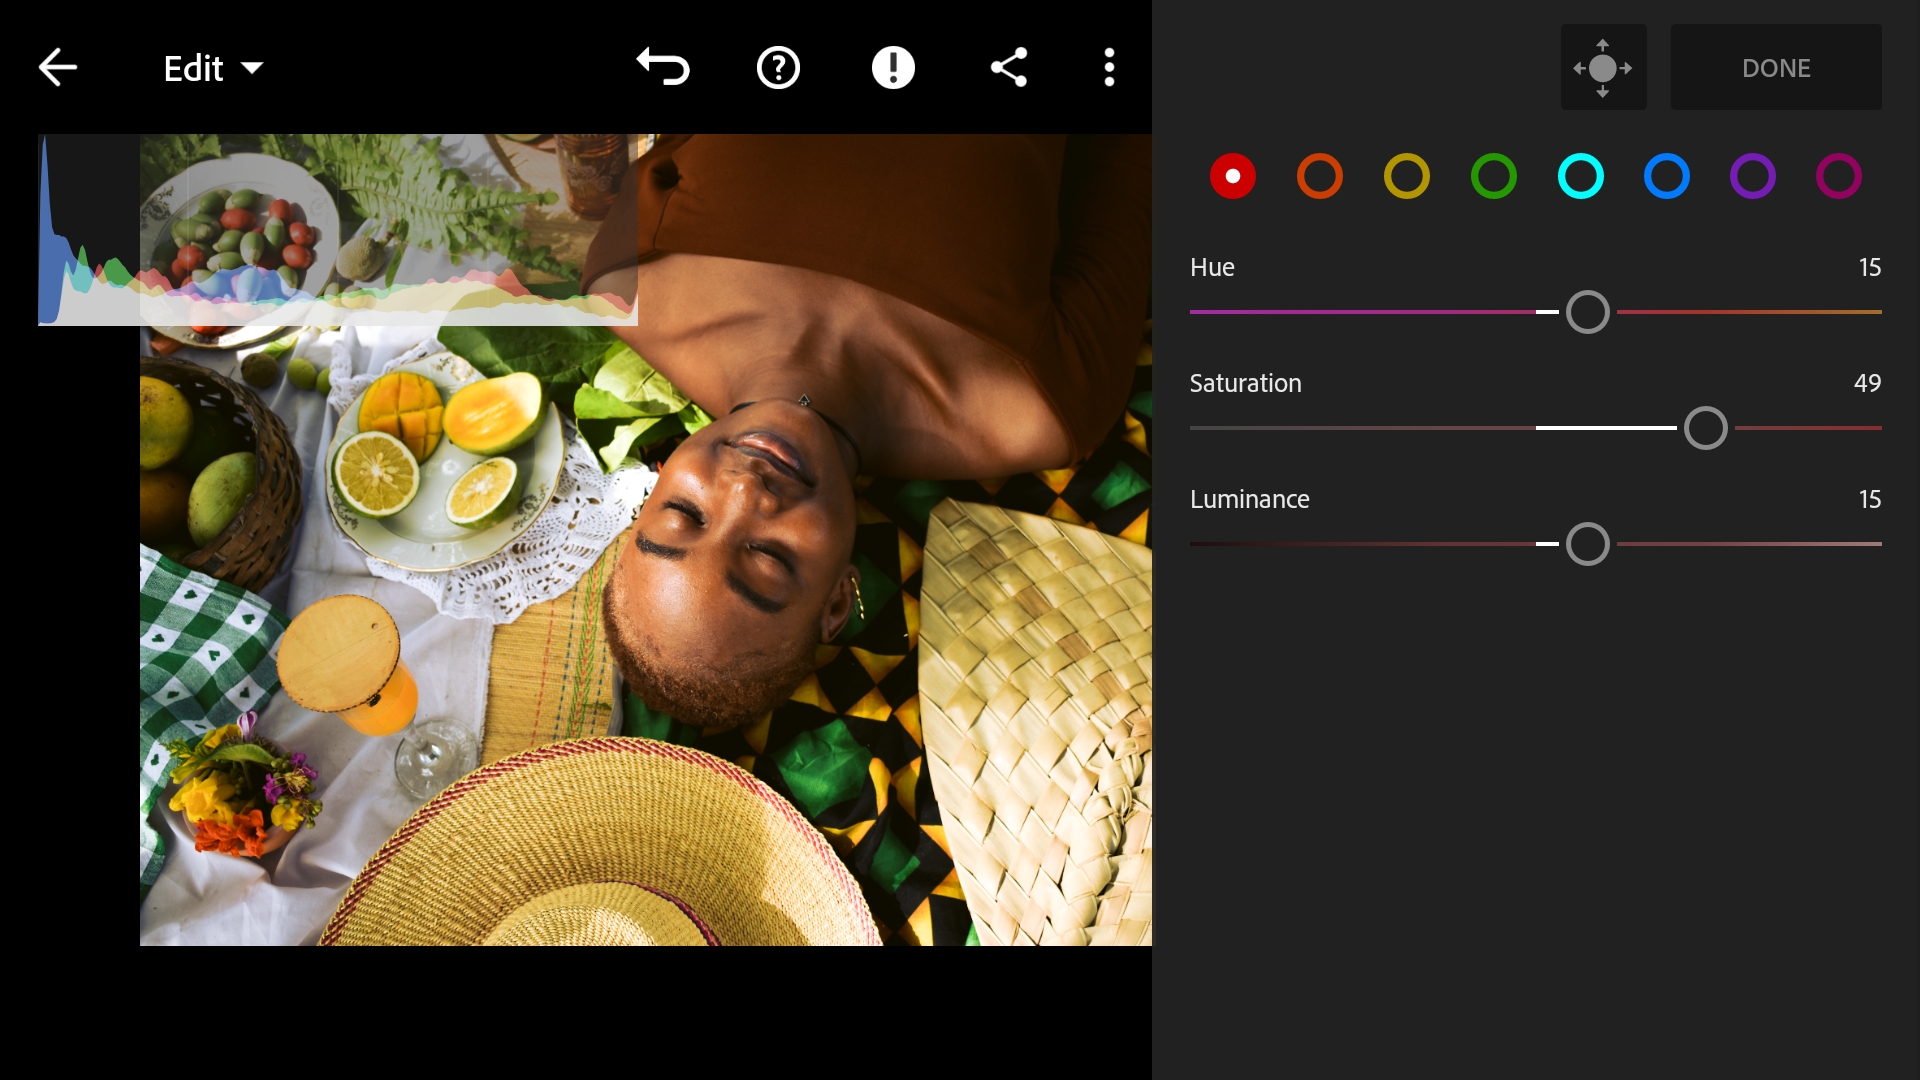
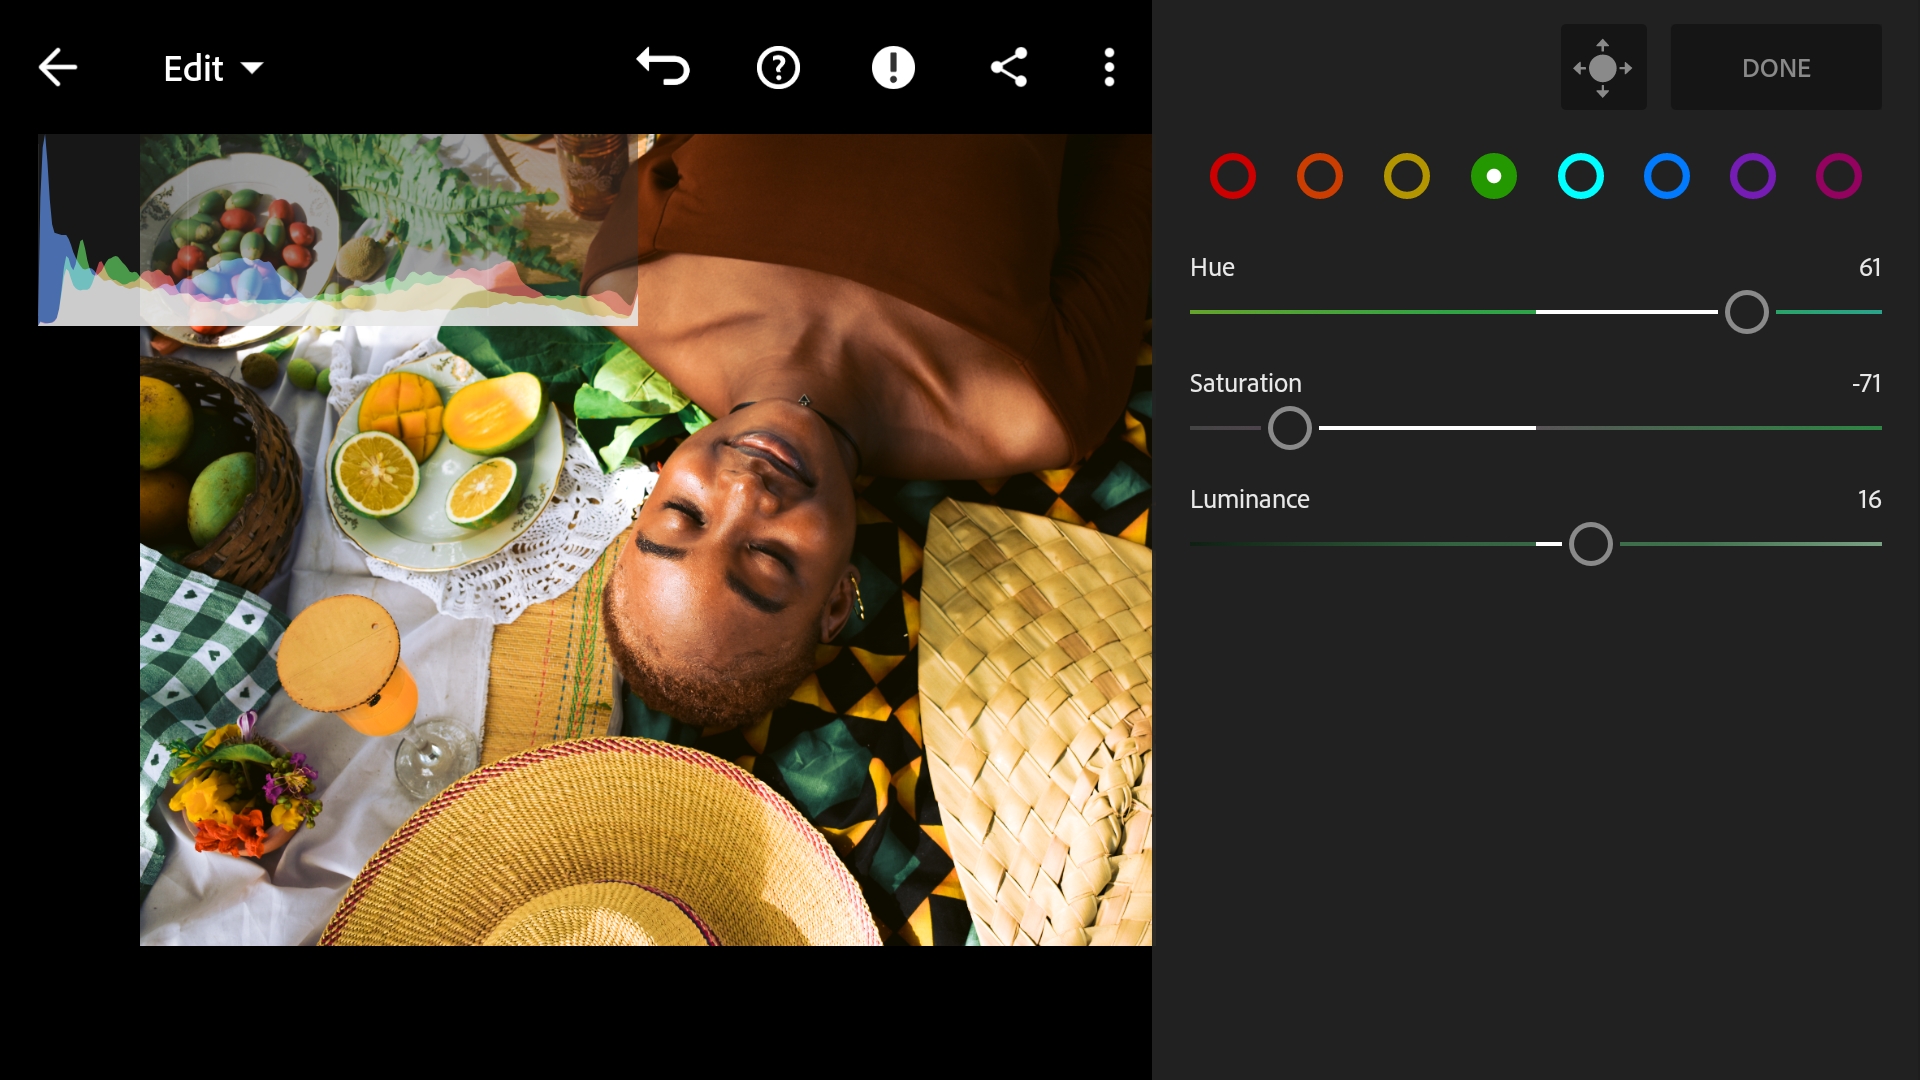
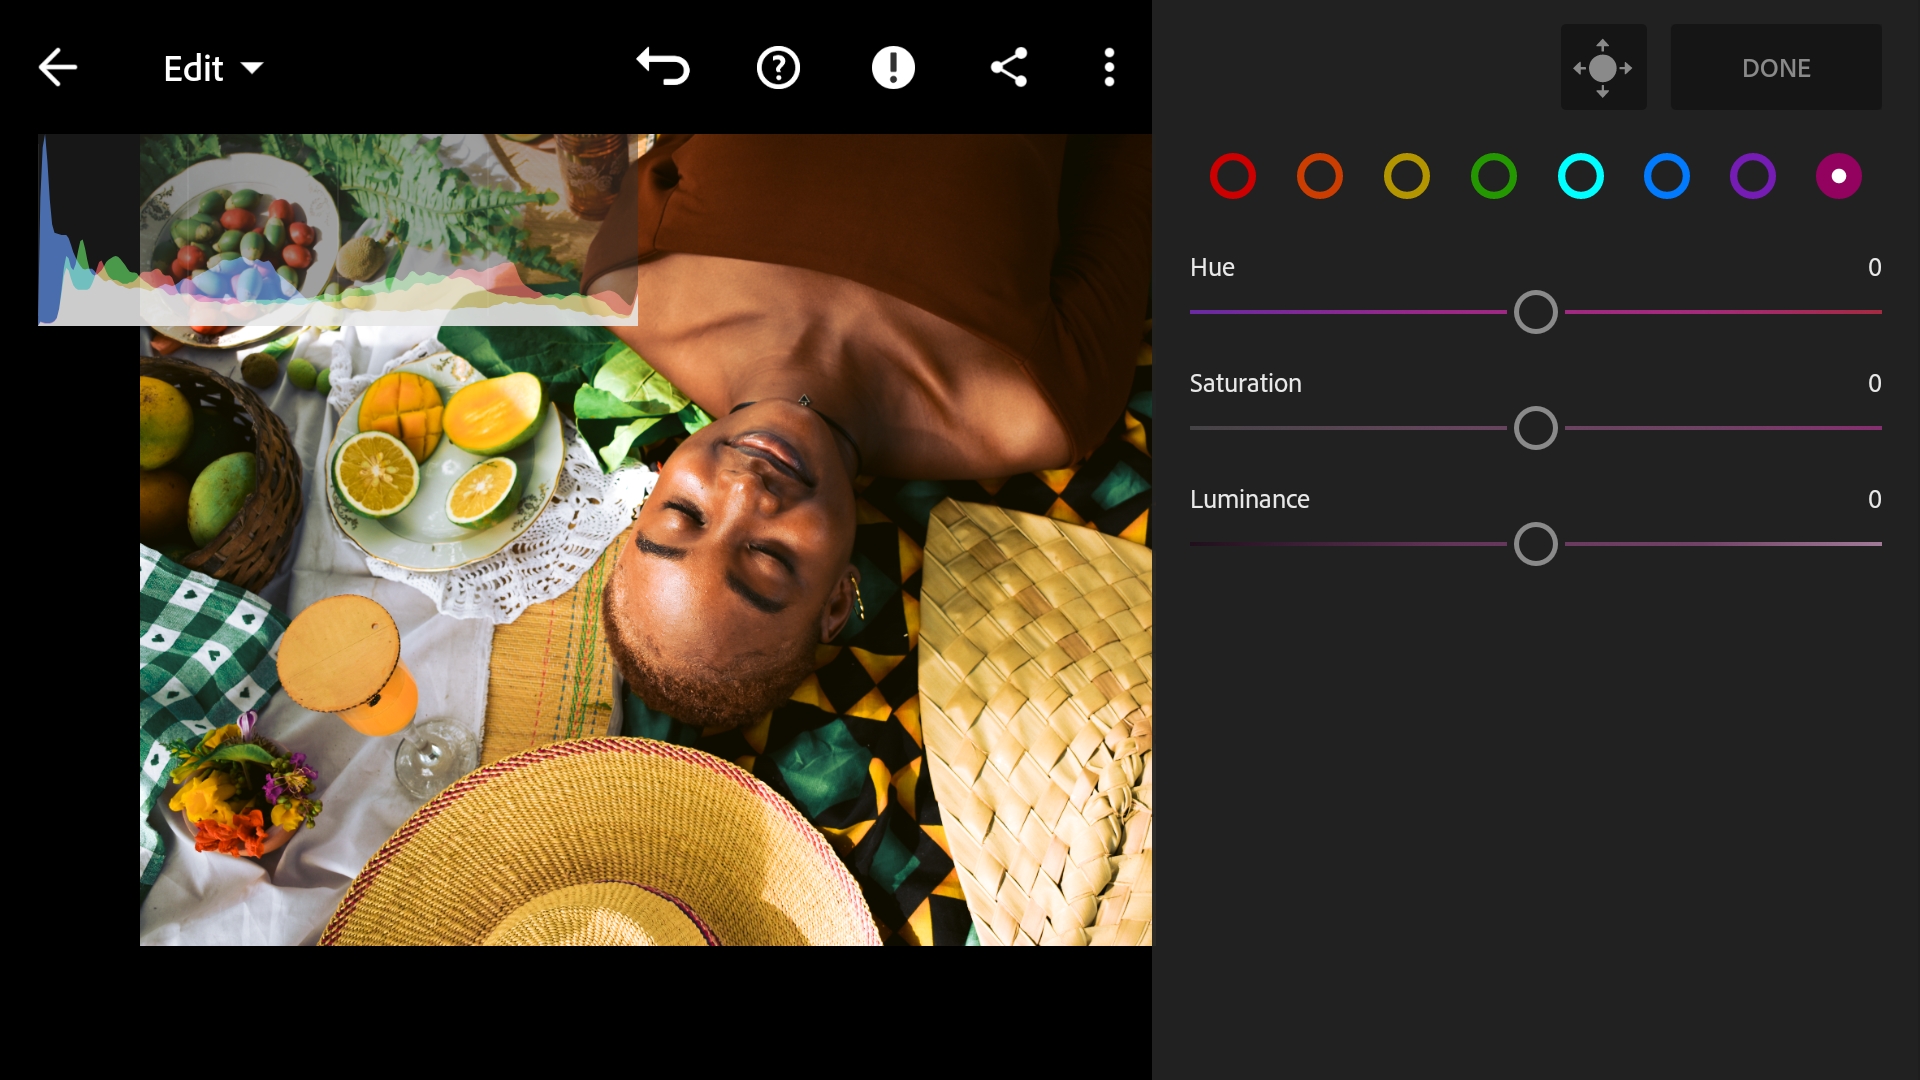
Then on the Hue-Saturation-Luminance sliders, I tweaked the colours ; Red, Orange, Yellow, Green, Cyan and Blue respectively. The most notable change can be spotted on the greens, they were desaturated and given a deeper hue. The orange colours were equally adjusted to fine tune the model's skin tone and the blues were desaturated so the whites would be whiter.


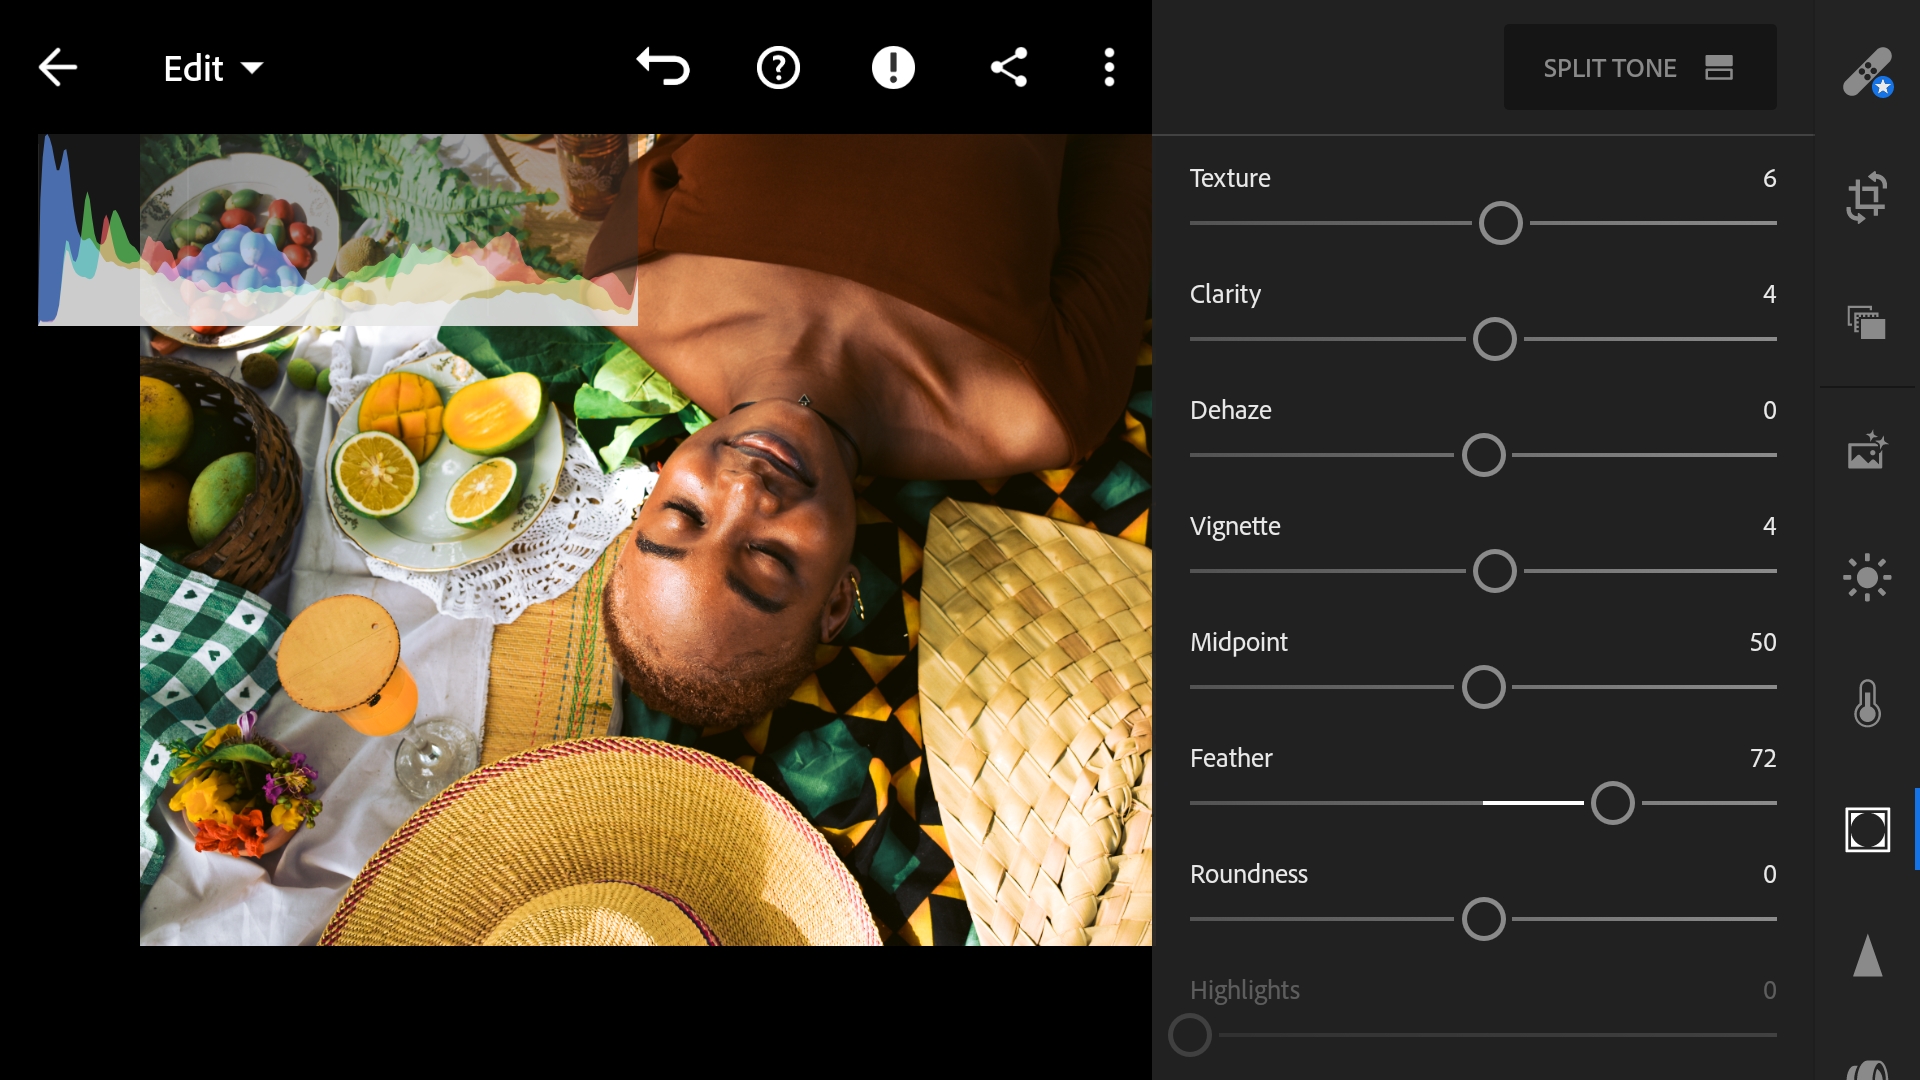
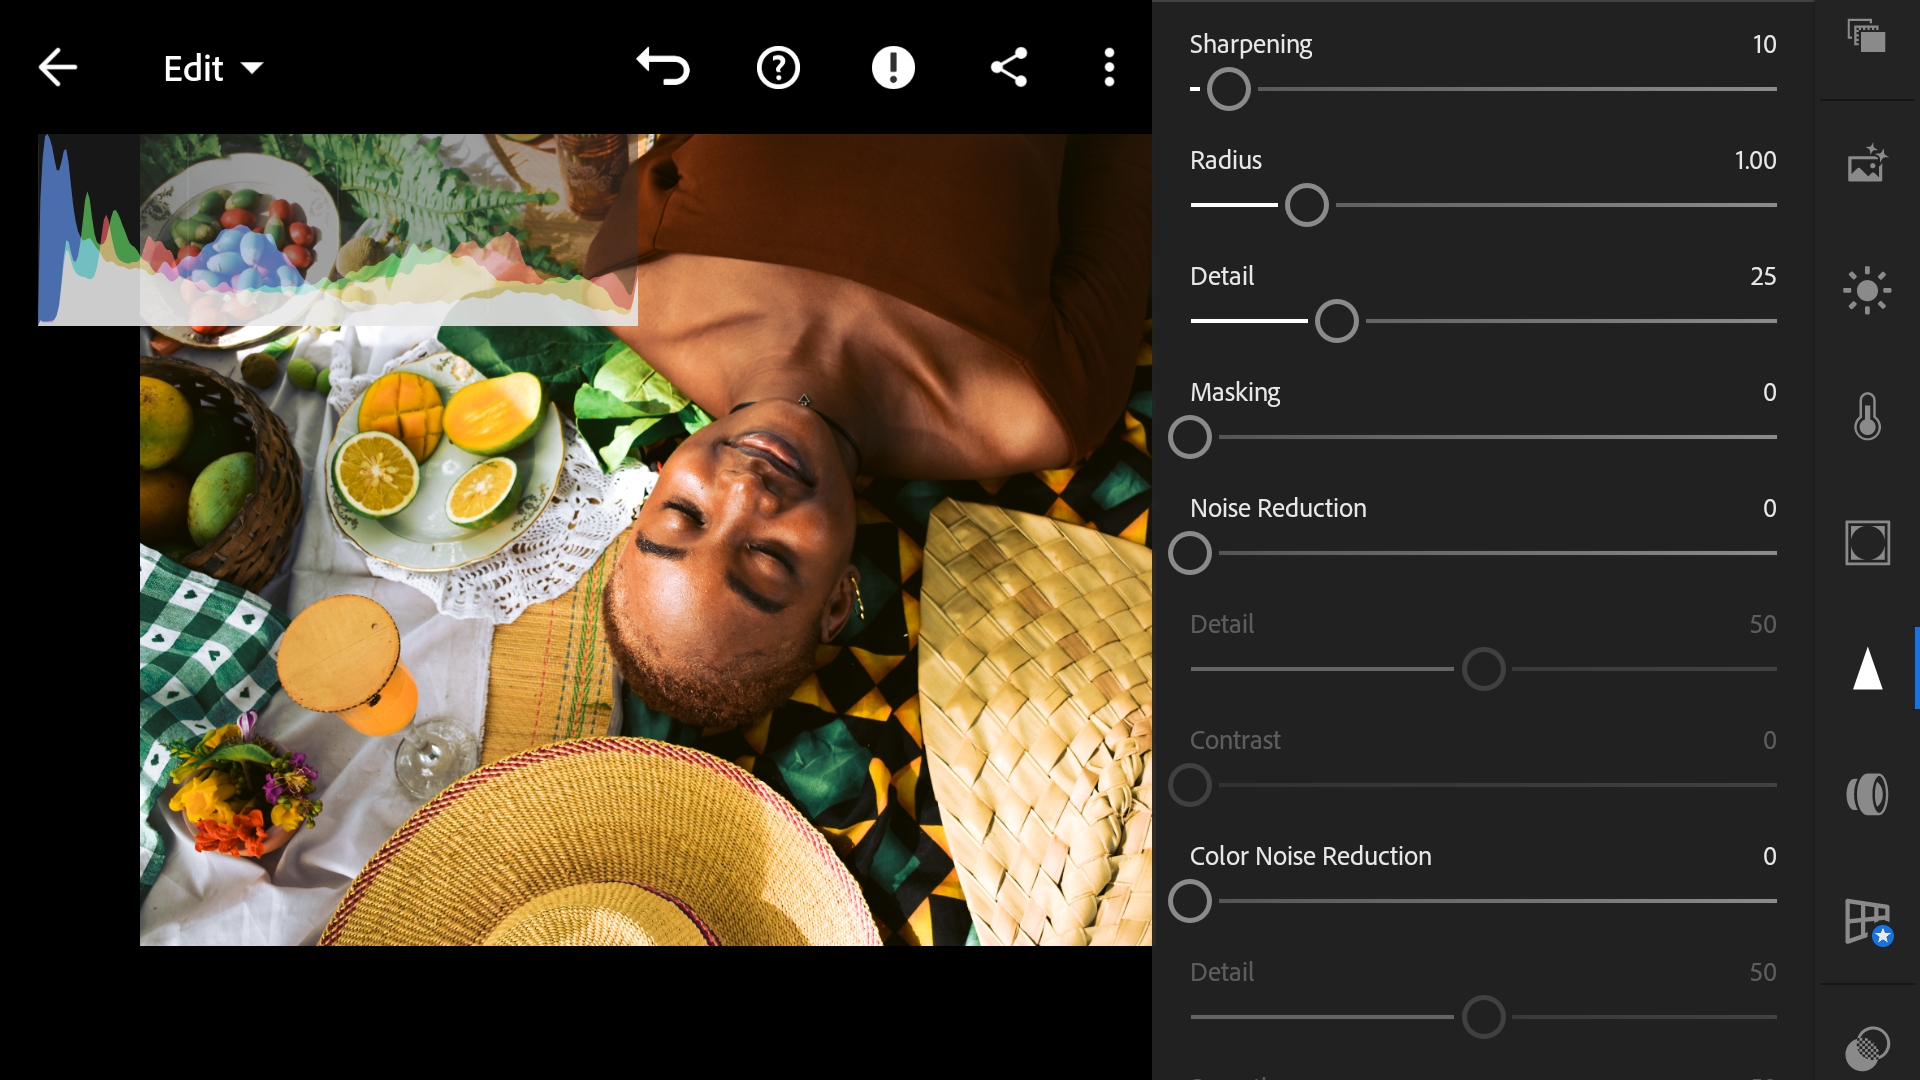
Then I added more texture to the photo follow led by a subtle vignette which was feathered out really well.
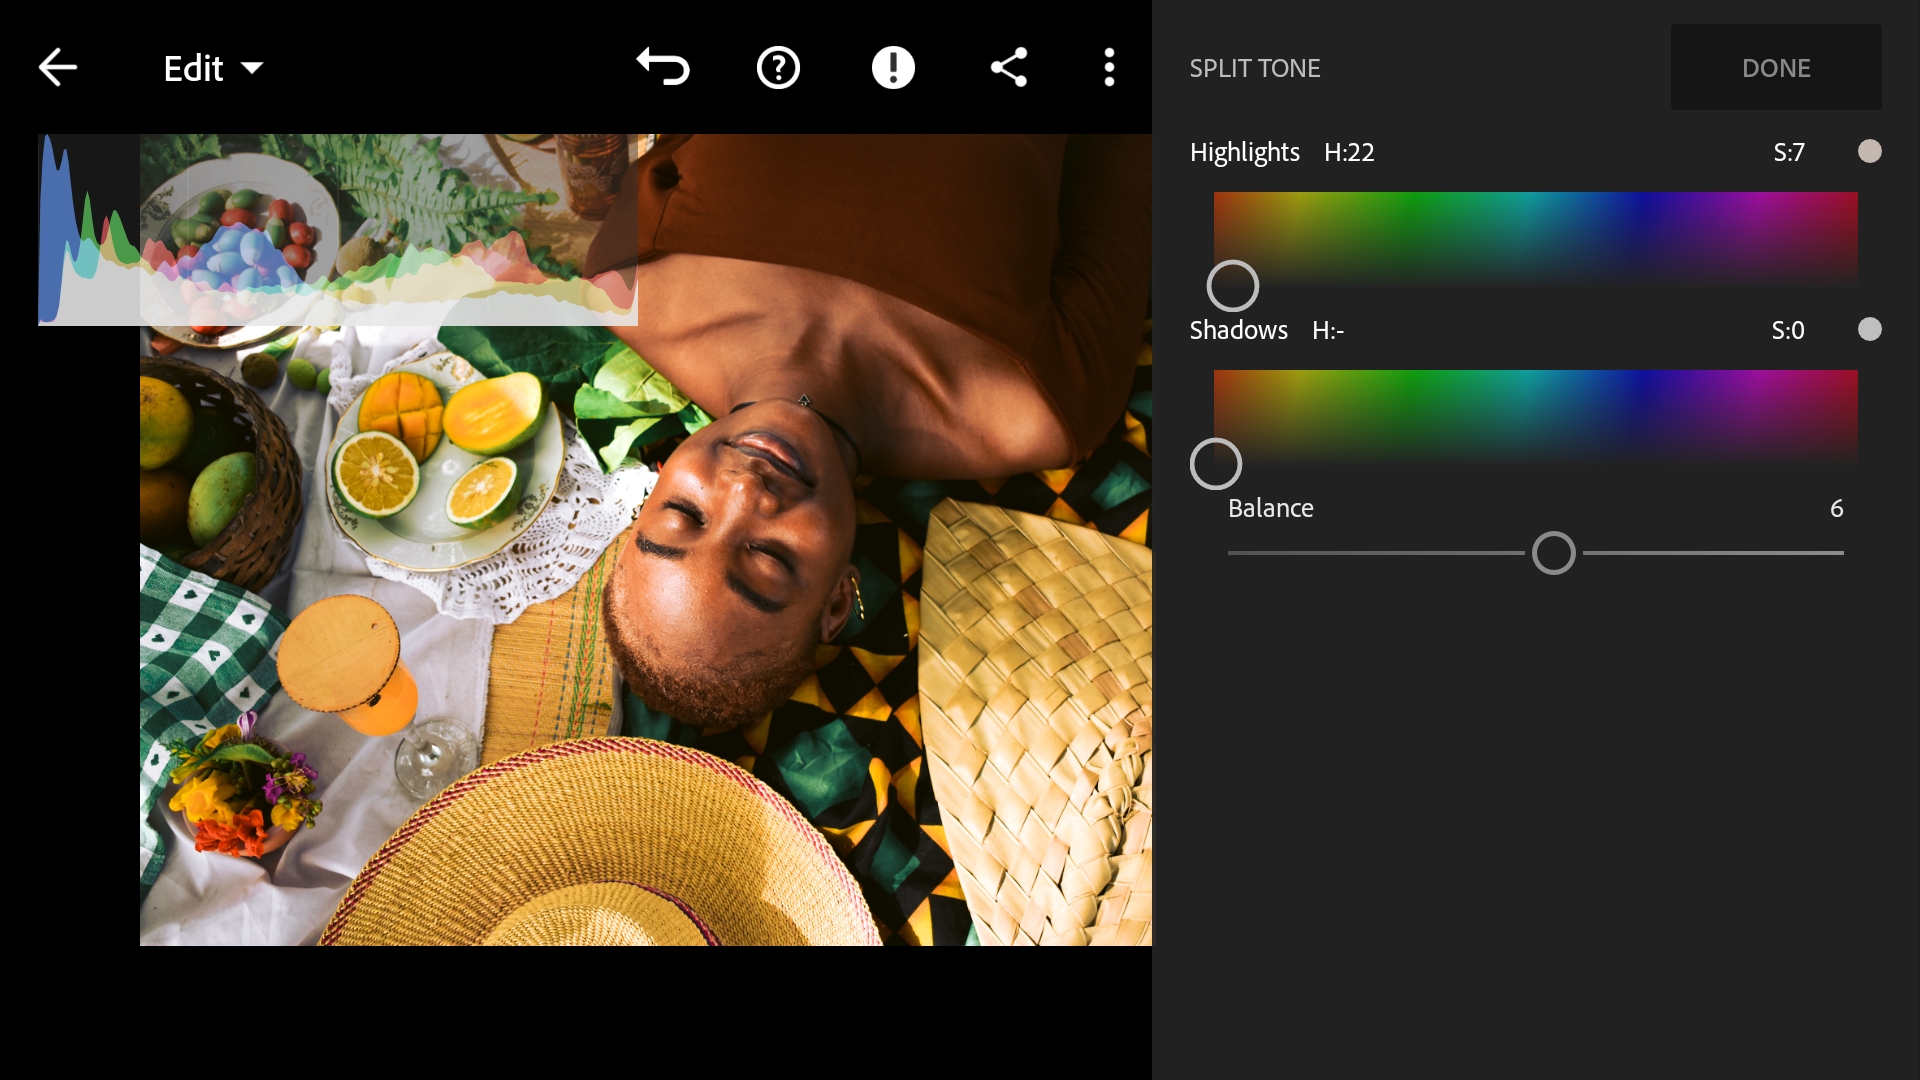
As for split toning, I added a bit of orange to the highlights to help with the photo's warm feel.
Then finally, I sharpened the photo a bit. I made sure not to over do it as it could ruin the photo. And that's it folks!
Here's a quick before and after so we can see the difference easily. I'd say this photo was fun to colourgrade as I had a good number of colours to work on.
We're at the end of this episode. Hope you enjoyed it and you learned a thing or two.
Thanks for coming around, hope to see you again!
Senior daddy
Astroman
Hahahahaha