Guide to creating a project in After Effects
Project goal.
Create a 30-second 4K video that:
- Contains a logo.
- Fits perfectly in the lower right corner.
- Loops, changing colors on impact.
Step-by-step instructions
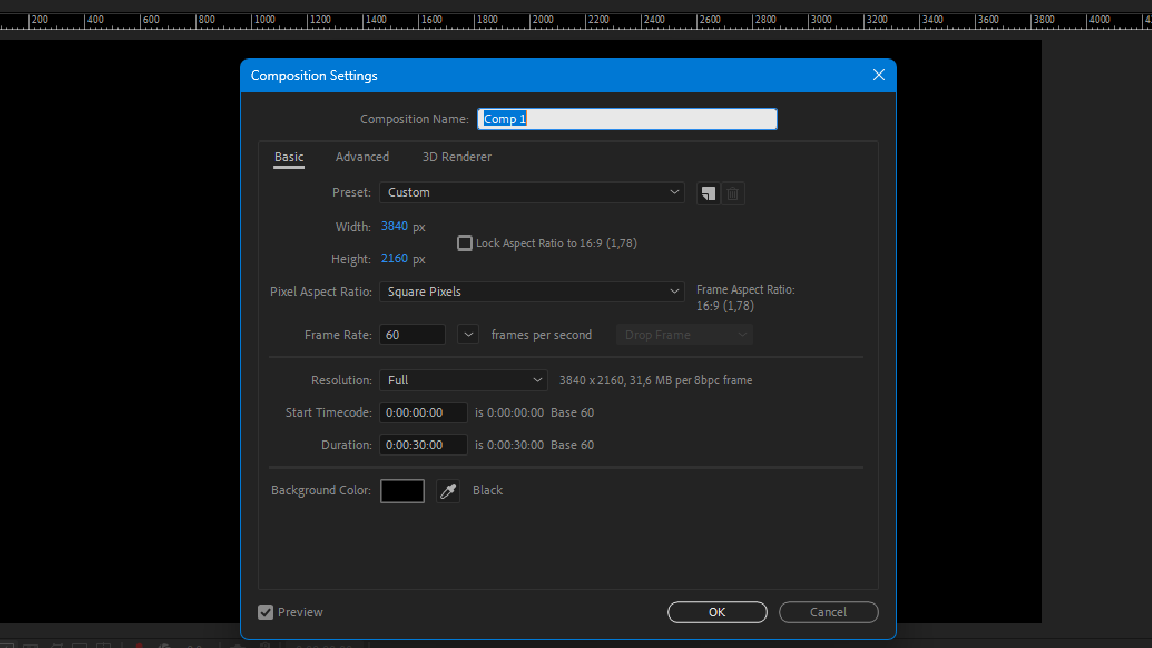
- Create a composition
- Open Adobe After Effects. Create a composition with the following settings: ---- Resolution: 3840x2160 (4K). ---- Frame rate: 60 frames per second. ---- Duration: 30 seconds. ---- Background: black.
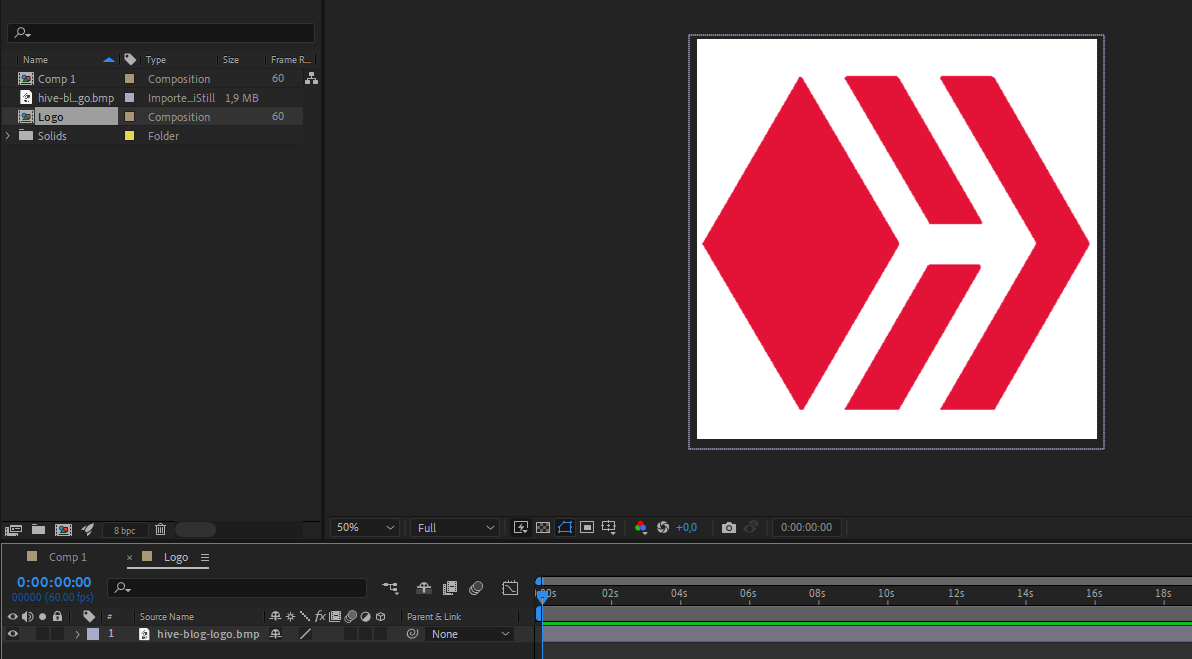
Prepare the logo
- Import the logo into the project.
- Mask out the unnecessary parts, leaving a square main part.
- Create a precomposition (Ctrl+Shift+C) and name it “Logo”.
- Crop the excess space of the composition (“Crop Comp to Region of Interest”).
Align the logo
- Reduce the size of the composition to 800x800 pixels.
- Align the logo in the lower right corner using the Align panel.
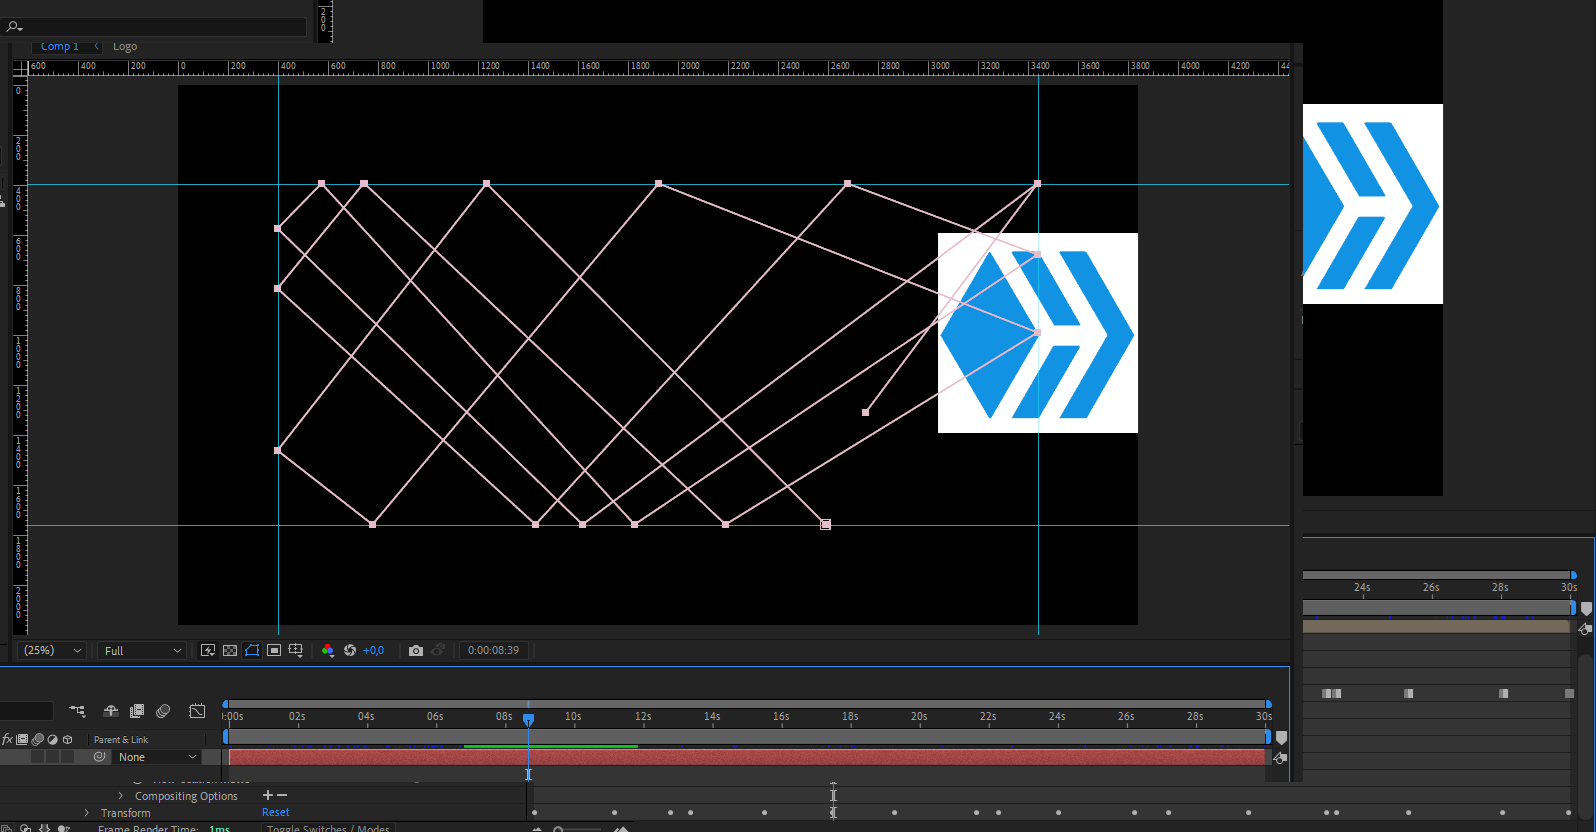
Create a trajectory
- Add a new Solid layer.
- Using the Pen Tool, create a mask for the logo path.
- Copy the path of the mask and paste it into the Logo Position parameter.
Animation. - Stretch the keyframes of the animation to the end of the composition while holding down the Alt key.
- Use Ctrl+Shift+H to hide the auxiliary lines.
Loop - Copy the opening keyframe of the animation.
- Paste it at the end so that the logo returns to the starting point.
- The video will be looped.
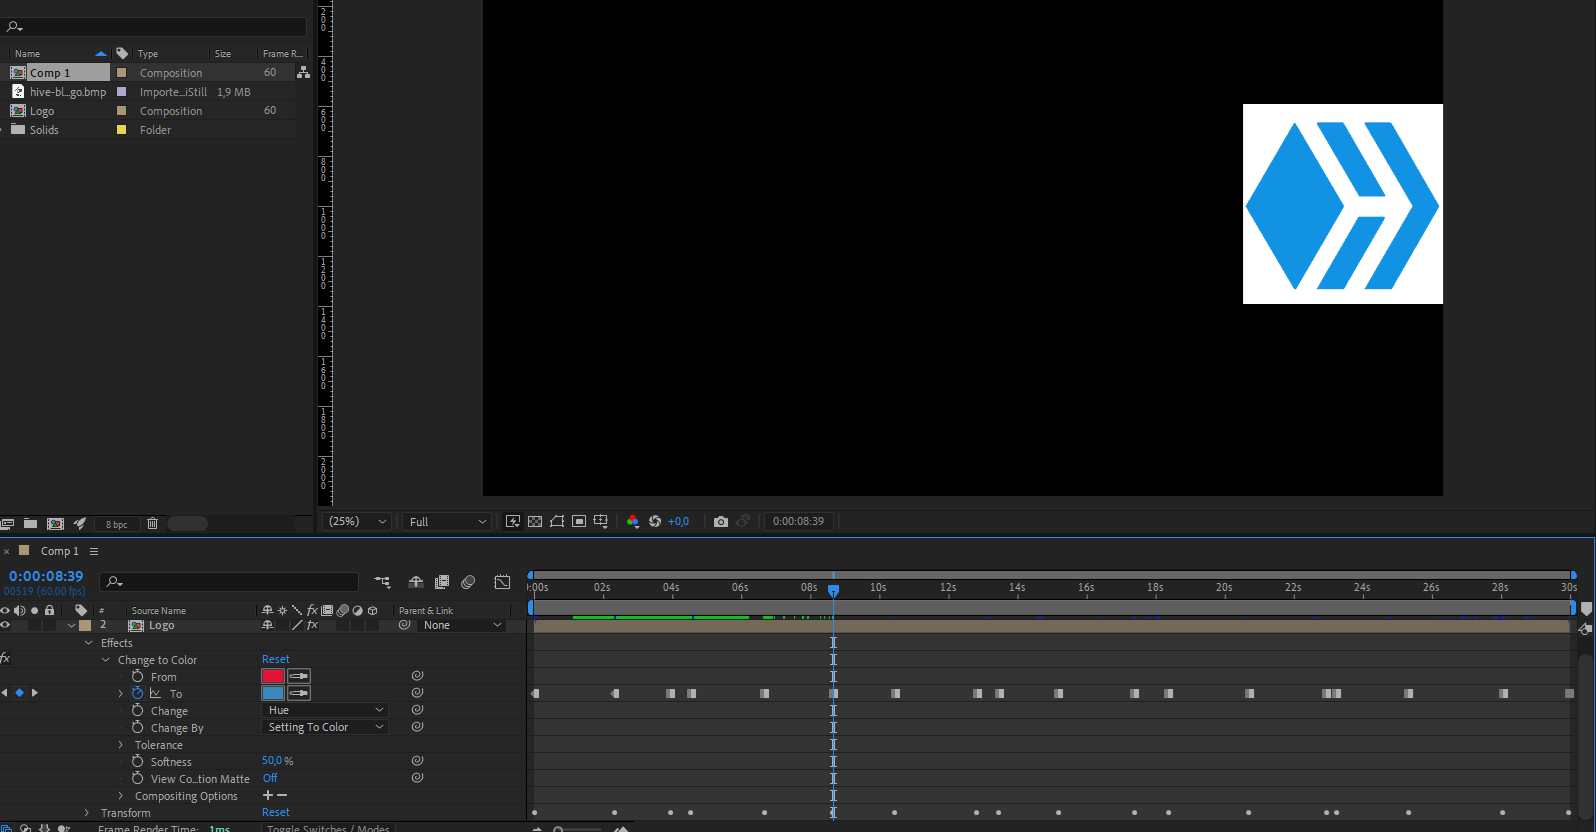
Change colors
- Apply the Change Color effect.
- Set keyframes at the moment of impact by changing colors (green, red, blue, etc.).
- Change the keyframe type to “Hold” to create an instant color transition.
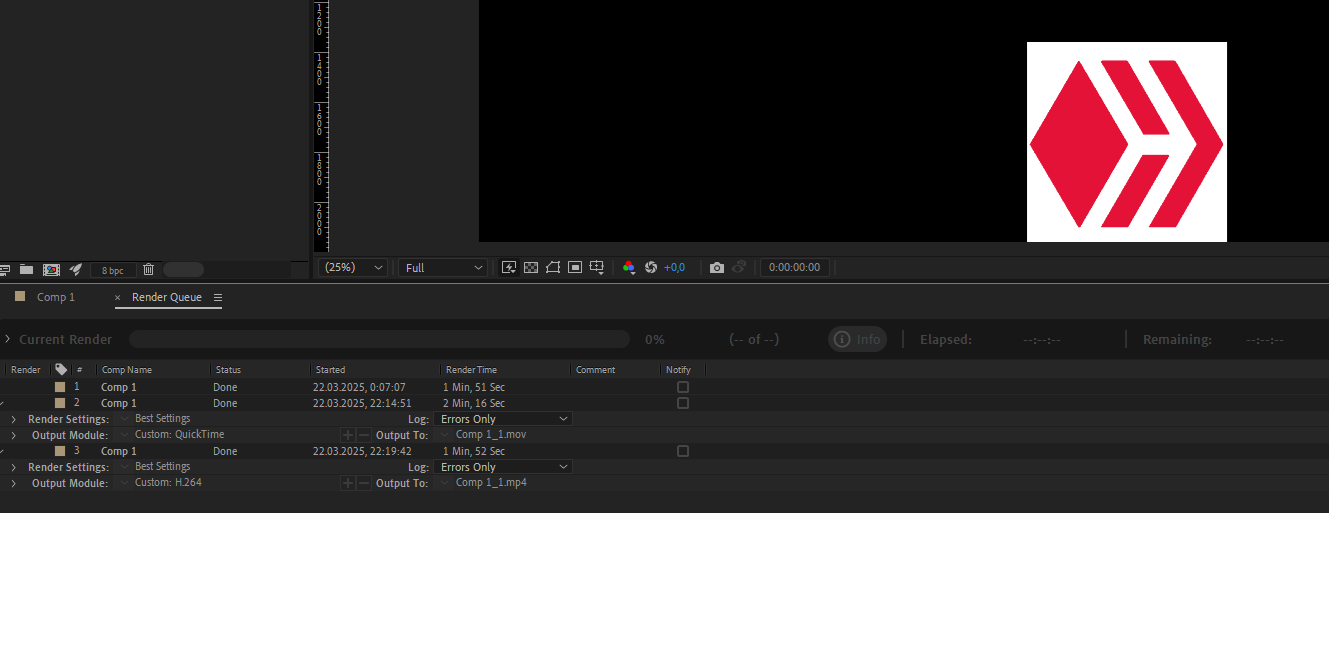
Export.
- Use the Render Queue menu to export your project in QuickTime (Apple ProRes 4444 or 422).
- Use Adobe Media Encoder for optional H.264 (MP4) rendering.
Now your project is ready to be handed over to the client! If you have any additional questions, write in the comments. 🚀🎥