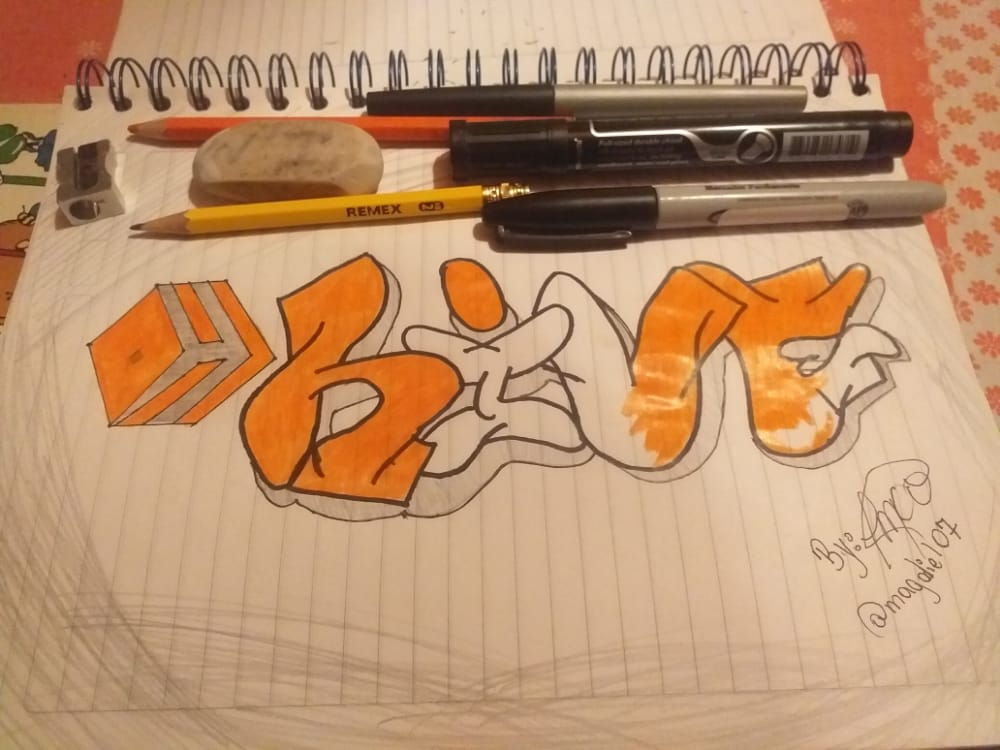
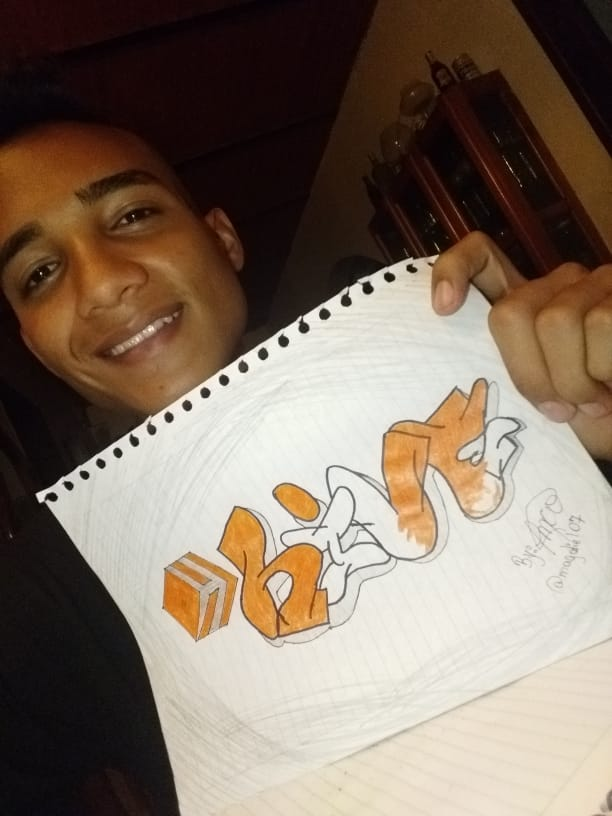
"Hive", later I will leave you the step by step and all the work it takes to make this art, although it looks difficult, it is really very simple.A warm greeting and a big hug dear readers, #IAmMag @magdiel7 and this time I want to share with you a bit of urban art of "Graffiti". Today I was inspired to make a graffiti in my notebook and I took as a model the name of the platform
Graffiti Hive
I was inspired by "Hive" because it seems to me a good example to show this beautiful street art that is the "Graffiti", and also because I am currently starting on this platform and I have seen a lot of potential here, in addition to the warm welcome I have received, the support, motivation and teachings that friends like @manuelramos and @daniel2001 have given me and day by day they continue to teach me to develop myself on the platform.
Step by step
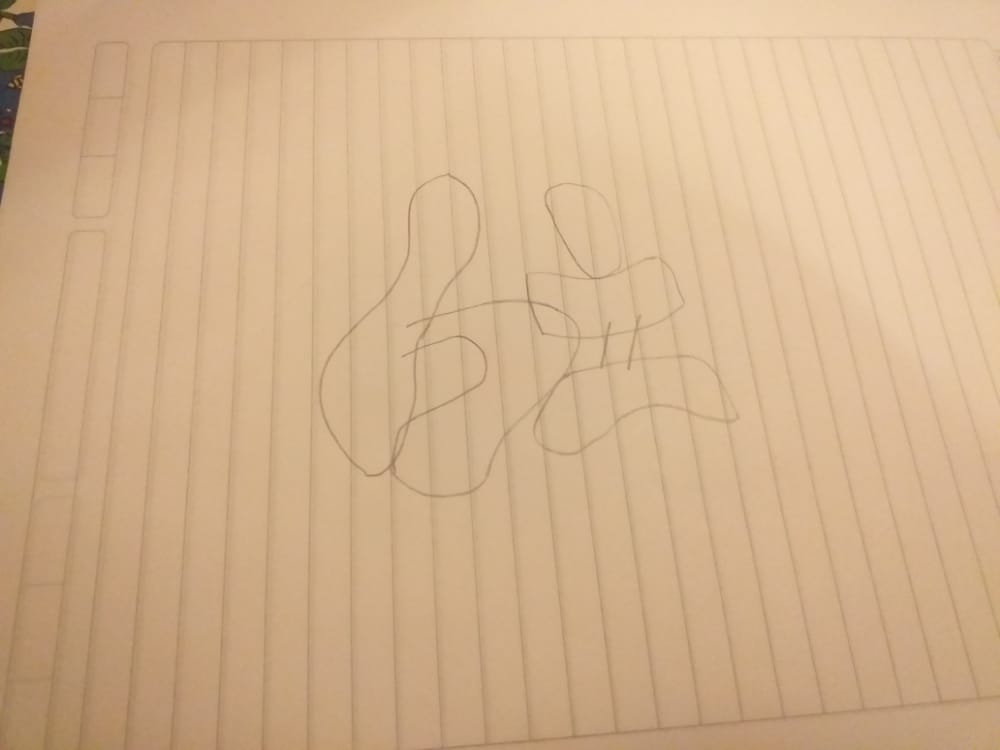
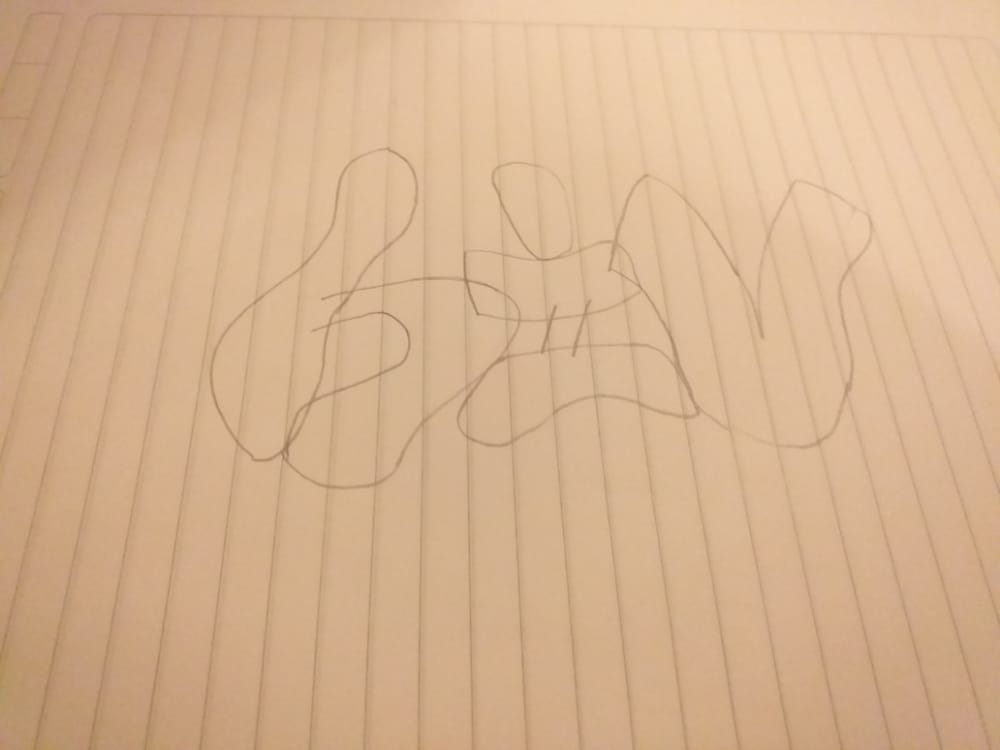
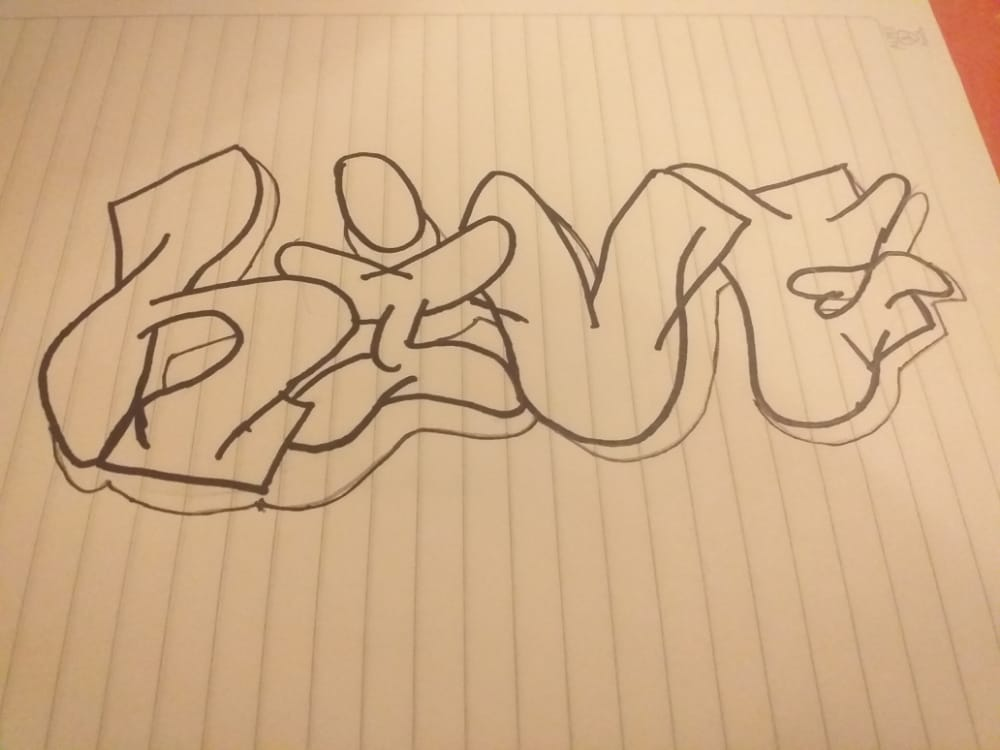
Step 1° - Letters
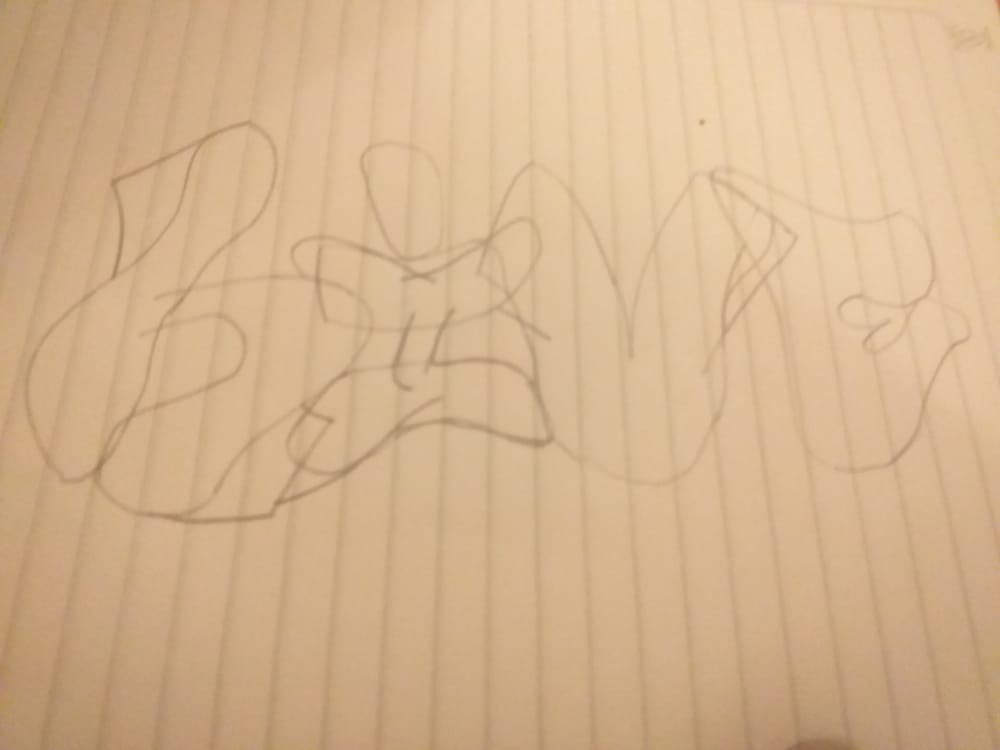
Step number one (1) is to make the letters, we are writing one by one and placing them almost the same size, it doesn't matter if you write one letter on top of another because later the excess will be erased and everything will be cleaner.
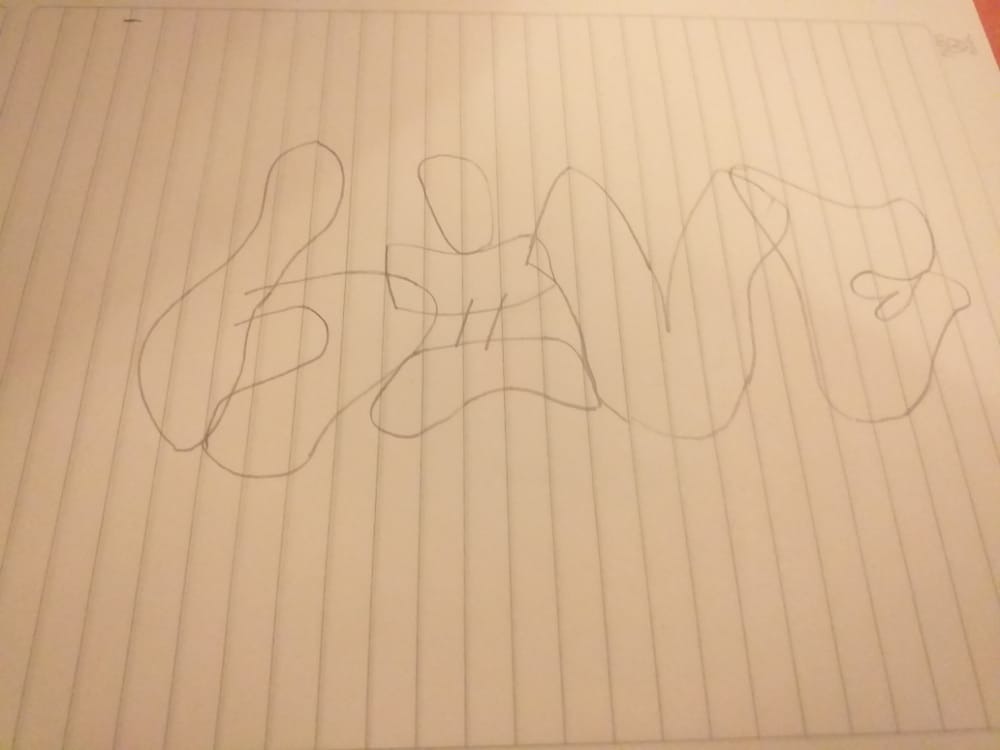
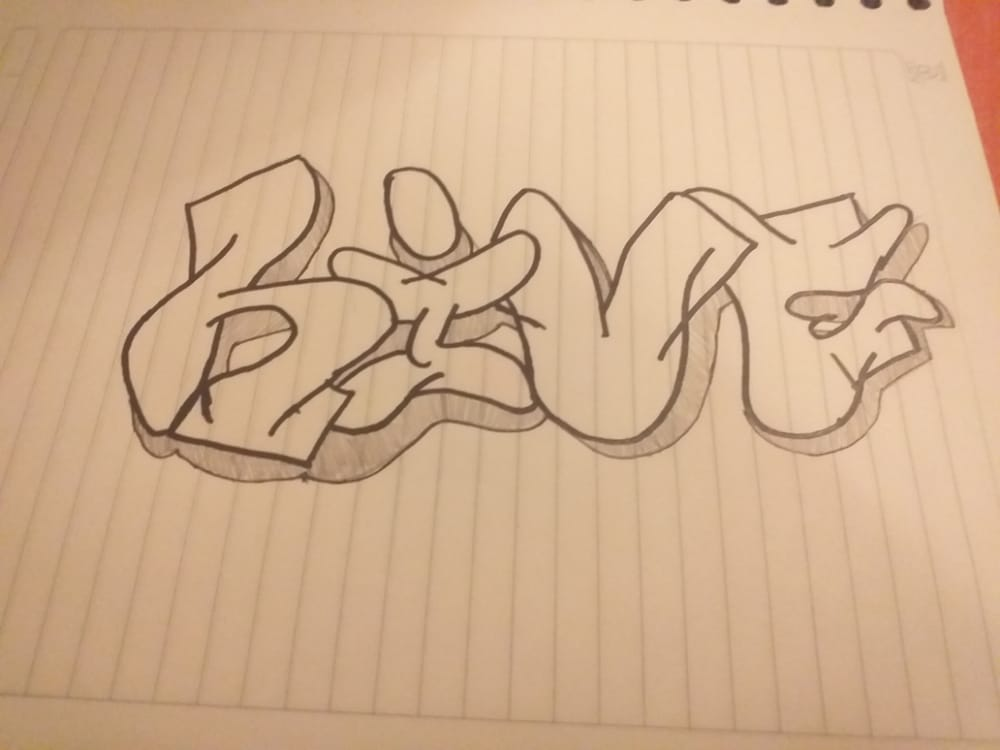
Step 2° - Decorations
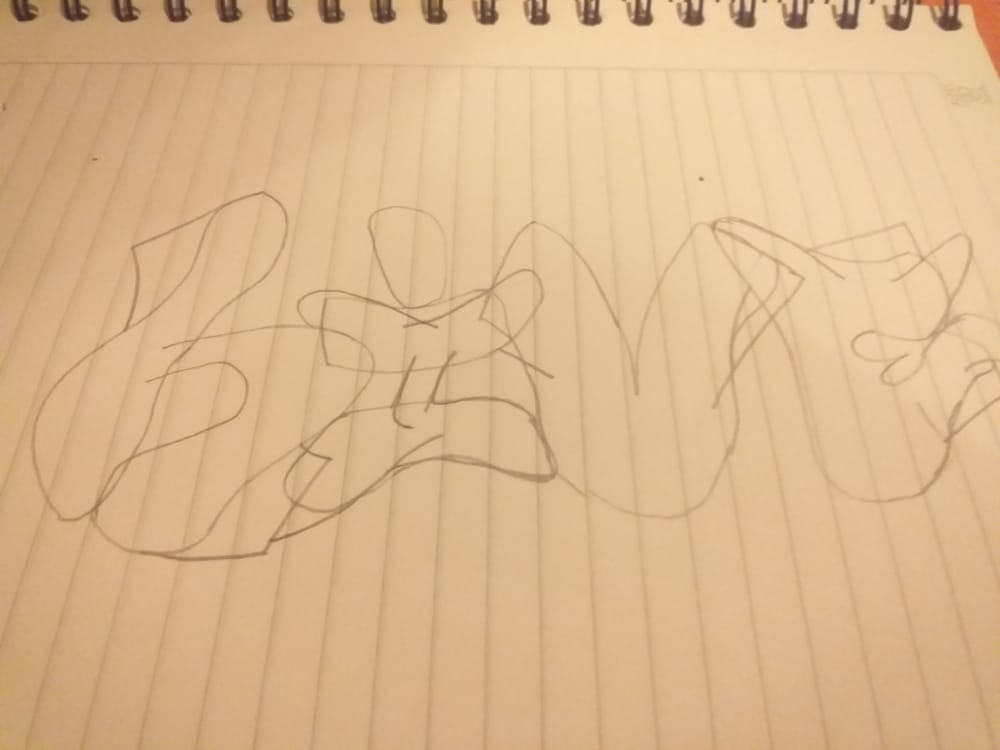
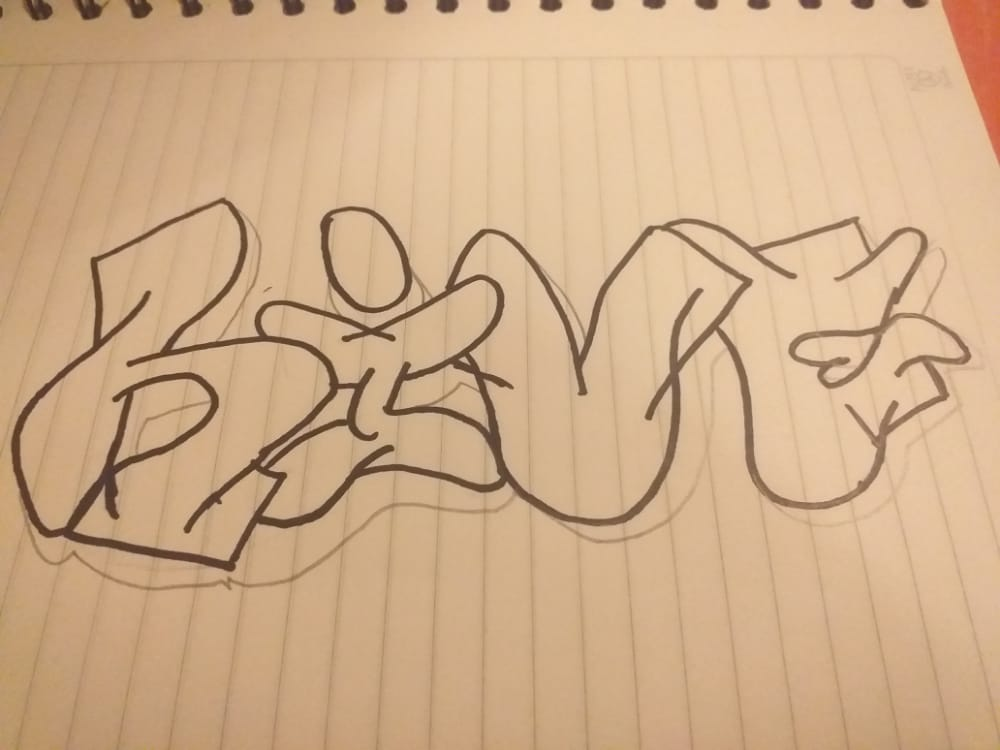
Step number two (2), consists of making the details, decorations or ornaments that go on the letters, we will see what would be the best areas of the letter to make the detail, once the details of the letters have been made, we highlight them with a dark colour (preferably "Black") to highlight the letters and proceed to step three (3).
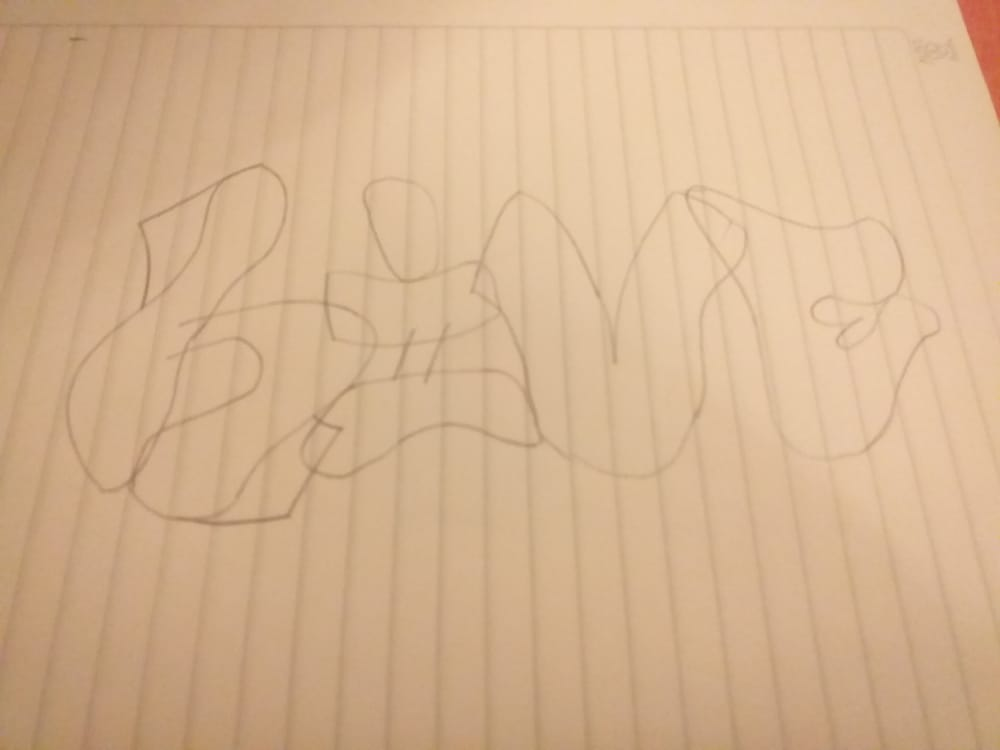
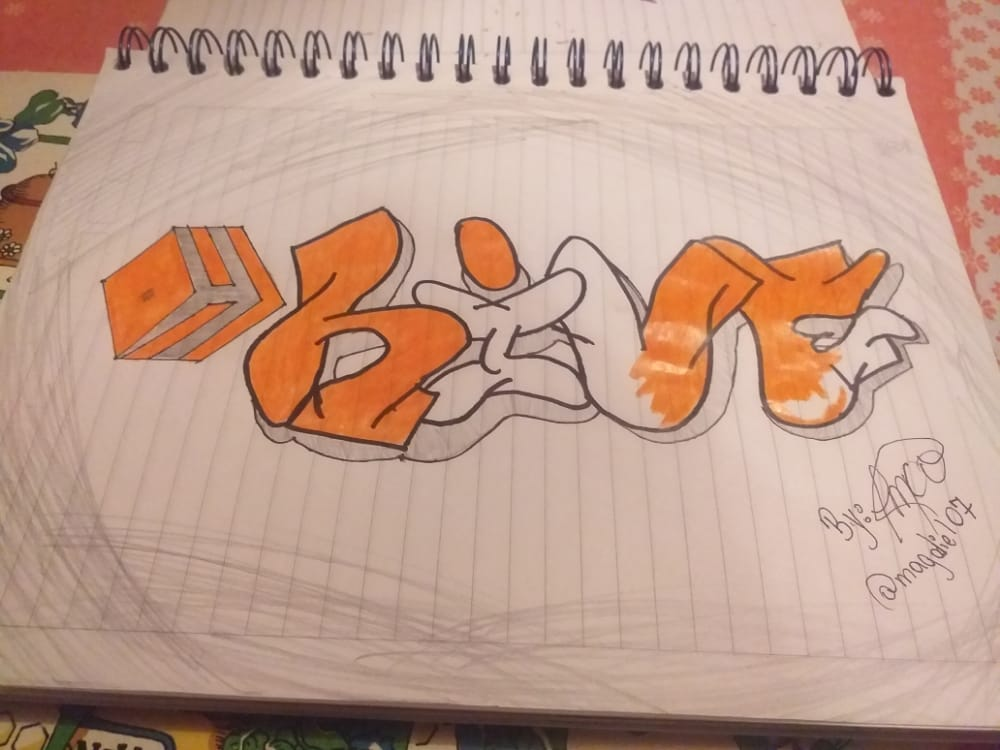
Step 3° - Shadows
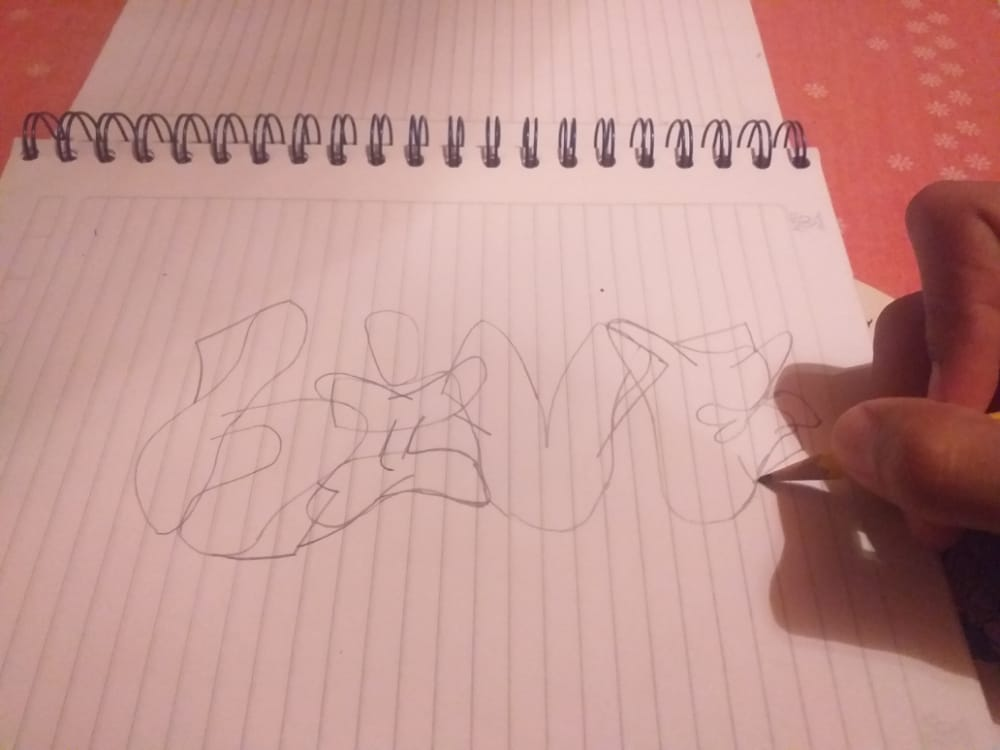
Step number three (3), is to make the effect of the "Shadows" we will take the external parts and some internal parts of the letters to make the effect, depending on how you want it to look in the graffiti you can make them, first we make them in pencil to correct the imperfections that are presented, and when everything is ready and you are sure of how it will be, you can proceed to highlight the shadows.
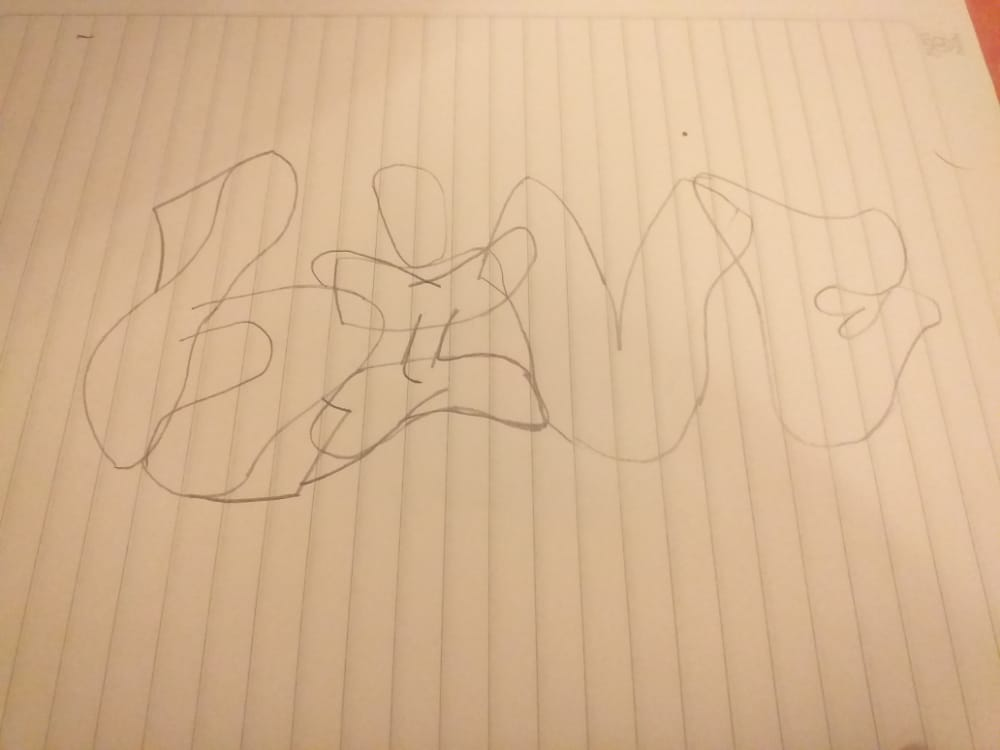
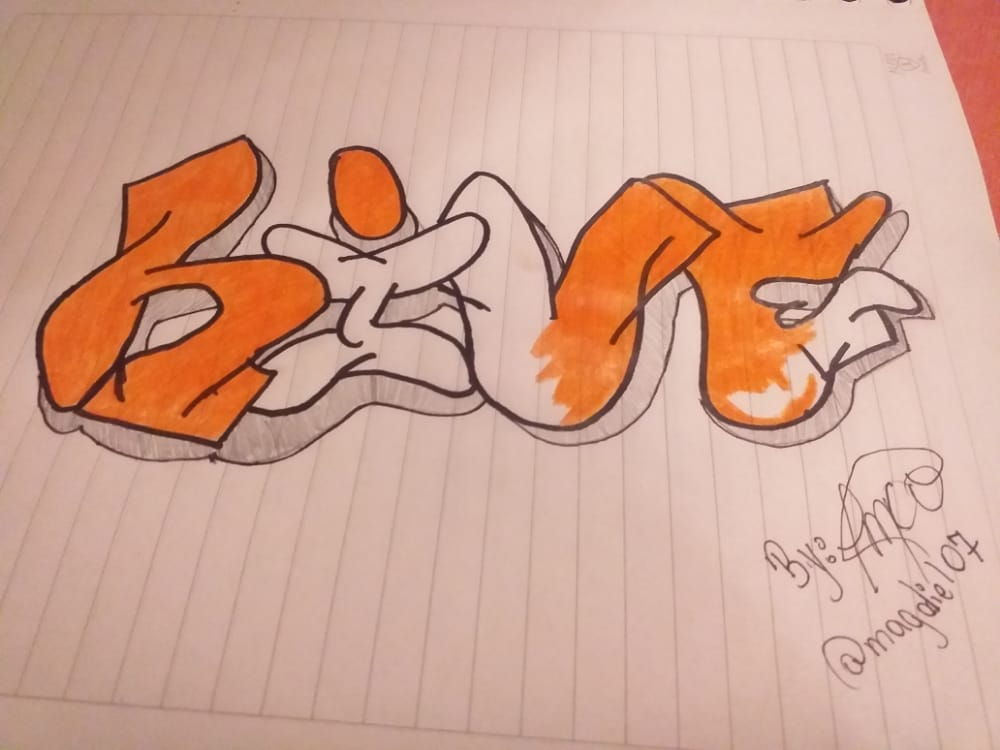
Step 4° - Colouring
In step number four (4), is the easiest of all, is to colour the graffiti that we have done, in my case I used blue, purple and red, I did not colour all the shadow but if you want you can do it, that is to the taste of the artist. A recommendation is to paint them in black or with a colour that contrasts with the letters.
Thank you so much for reading, I hope you liked it
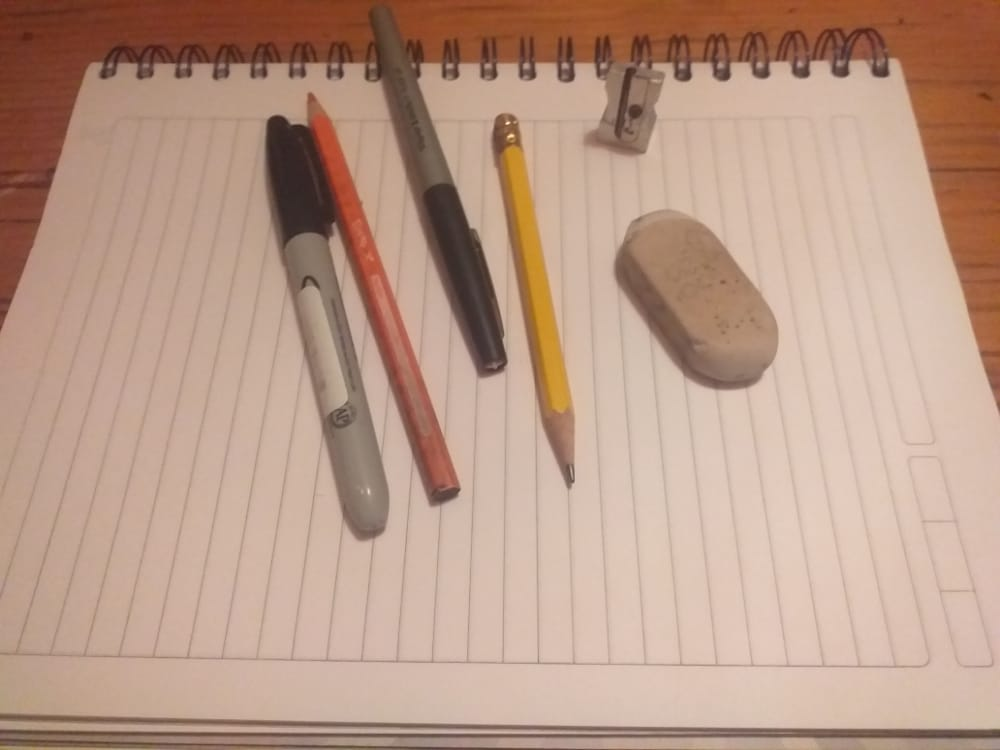
All photos and images shown and used in this publication are taken by me and are my own

I am making this post again because my previous account @magdiel07 has been stolen. I thank @guiltyparties, @acidyo and @manuelramos for helping me recover my identity on hive's Blockchain and create my new @magdiel7 user account.
@guiltyparties, @acidyo and @manuelramos
| See you in a future post! |
|---|
 |
Español
Arte Urbano - Graffiti
Un cordial saludo y un fuerte abrazo queridos lectores y lectoras, #YoSoyMag @magdiel7, y en esta oportunidad quiero compartir con ustedes un poco del arte urbano del “Graffiti”. El día de hoy me inspire a realizar un graffiti en mi cuaderno y tome como modelo el nombre de la plataforma “Hive”, más adelante les dejare el paso a paso y todo el trabajo que conlleva realizar este arte, que aunque se ve difícil, realmente es muy sencillo.
Graffiti Hive
Me inspire en “Hive” porque me parece un buen ejemplo para mostrar este hermoso arte callejero que es el “Graffiti”, y también porque actualmente estoy iniciando en esta plataforma y he visto mucho potencial aquí, además de la cálida bienvenida que he recibido, el apoyo, la motivación y las enseñanzas que muchos de los usuarios y curadores amigos me han impartido, y día a día me siguen enseñando a desenvolverme en la plataforma.
Paso a paso
Paso 1 ° - Letras
El paso número uno (1) es hacer las letras, vamos escribiendo una por una y colocándolas casi del mismo tamaño, no importa si escribes una letra encima de otra ya que más adelante se va a borrar el sobrante y quedará todo más limpio.
Paso 2 ° - Decoraciones
El paso número dos (2), consiste en hacer los detalles, decoraciones o adornos que van en las letras, vamos a ver los resultados las mejores zonas de la letra para realizar el detalle, unas vez que se hayan hechos los detalles de las letras, las remarcamos con un color oscuro (de preferencia “Negro”) para resaltar las letras y proseguir al paso tres (3°).
Paso 3 ° - Sombras
El paso número tres (3), es realizar el efecto de las “Sombras” vamos a tomar las partes externas y algunas internas de las letras para realizar el efecto, depende de cómo quieras que se vea en el graffiti las puedes hacerlas, primero las hacemos a lápiz para ir corrigiendo las imperfecciones que se vayan presentando, ya cuando esté todo listo y estén seguros de cómo va a quedar, pueden proseguir a remarcar las sombras.
Paso 4 ° - Colorear
En el paso número cuatro (4), es el más sencillo de todos, es colorear a gusto el graffiti que hemos realizado, en mi caso utilice colores azul, morado y rojo, yo no coloree toda la sombra pero si ustedes quieren pueden hacerlo, eso ya es al gusto del artista. Una recomendación es pintarlas en negro o con algún color que se haga contraste con los de las letras.
Muchas gracias por leerme, espero que les haya gustado
Todas las fotos e imágenes mostradas y usadas en esta publicación son hechas por mí y de mi autoría.
Nuevamente realizo esta publicación debido a que mi anterior cuenta @magdiel07 ha sido robada. Agradezco a @guiltyparties, @acidyo y a @manuelramos por ayudarme a recuperar mi identidad en la Blockchain de hive y a crear mi nueva cuenta de usuario @magdiel7.
@guiltyparties, @acidyo y @manuelramos
| ¡Nos vemos en una próxima publicación! |
|---|
|
▂▃▄▅▆▇█▓▒░۪ M۫۰ ۪a۫۰ ۪G۫۰.░▒▓█▇▆▅▄▃▂
| ///////////////////////////////\\\\\\\\\\\\\\\\\\\\\////////////////////////\\\\\\\\\\\\\\\\\\\\\\\\\\\\\\ |
|---|


Muy bueno tu arte amigo! yo no soy bueno dibujando pero me gusta admirar el trabajo de otros artistas dibujantes en sus diferentes estilos.
¡Saludos!
Gracias panita @daniel2001, saludos. Bendiciones.