Hey Guys
How are you all doing this moment, I hope you all are doing great.
This is my first time posting here in this community.
I am very happy to post here in this community to share with you my original talent here.
I am Moses Essien Etukudo by name I am a civil engineer, I deals on road construction work but because of the economy of my country where someone will com back from high school no work. People that have is best on connection but I get hope one day it shall be better.
So because of that I decided to learn and upholstery work and that is what I am managing for a living I am feel very happy with it.
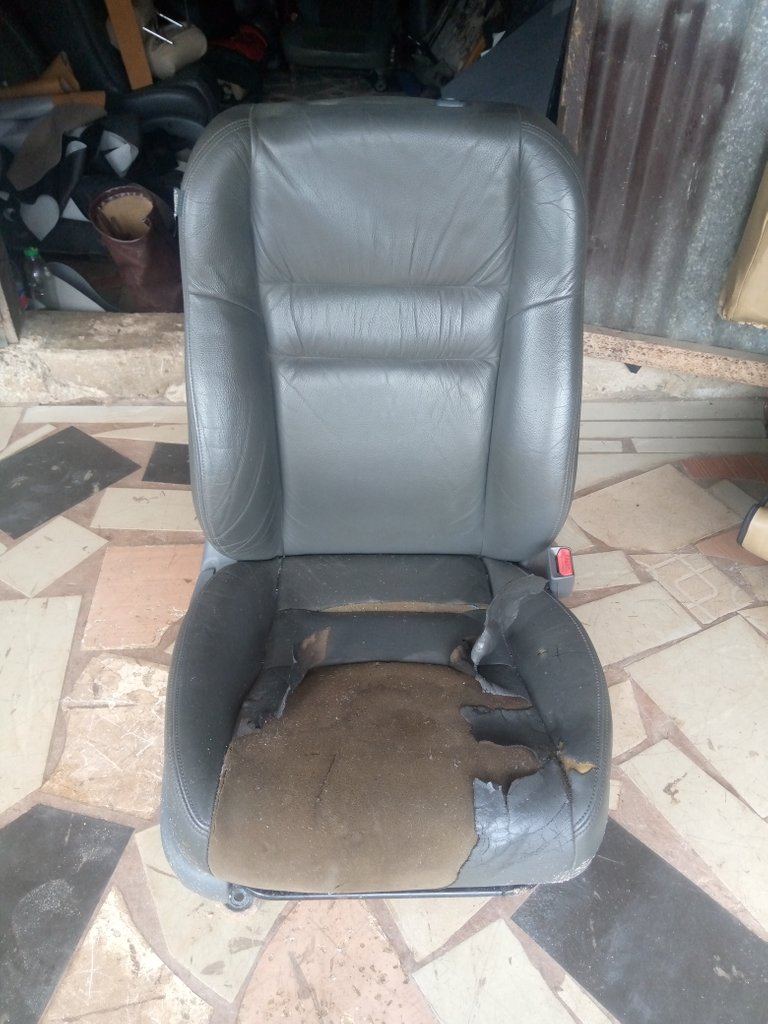
The is seat my customer bring for me to change the seat cover and I thank God it was successful and that is wat I want to share here with you people.
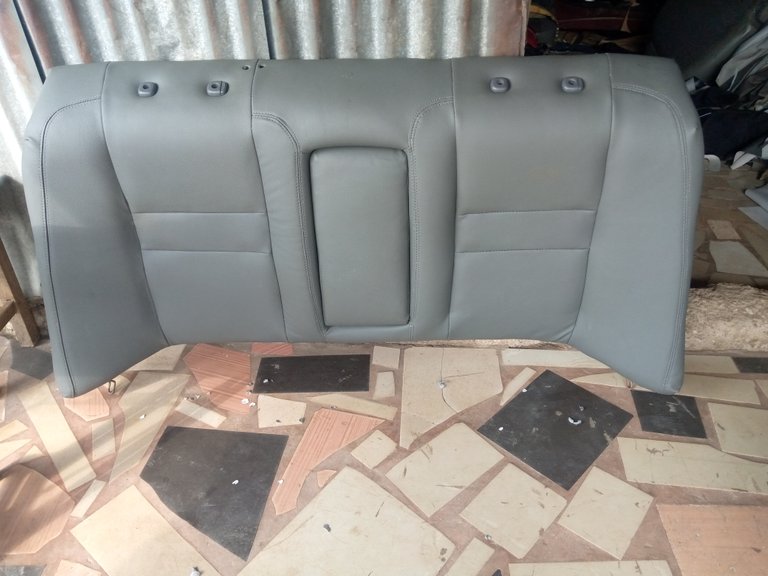
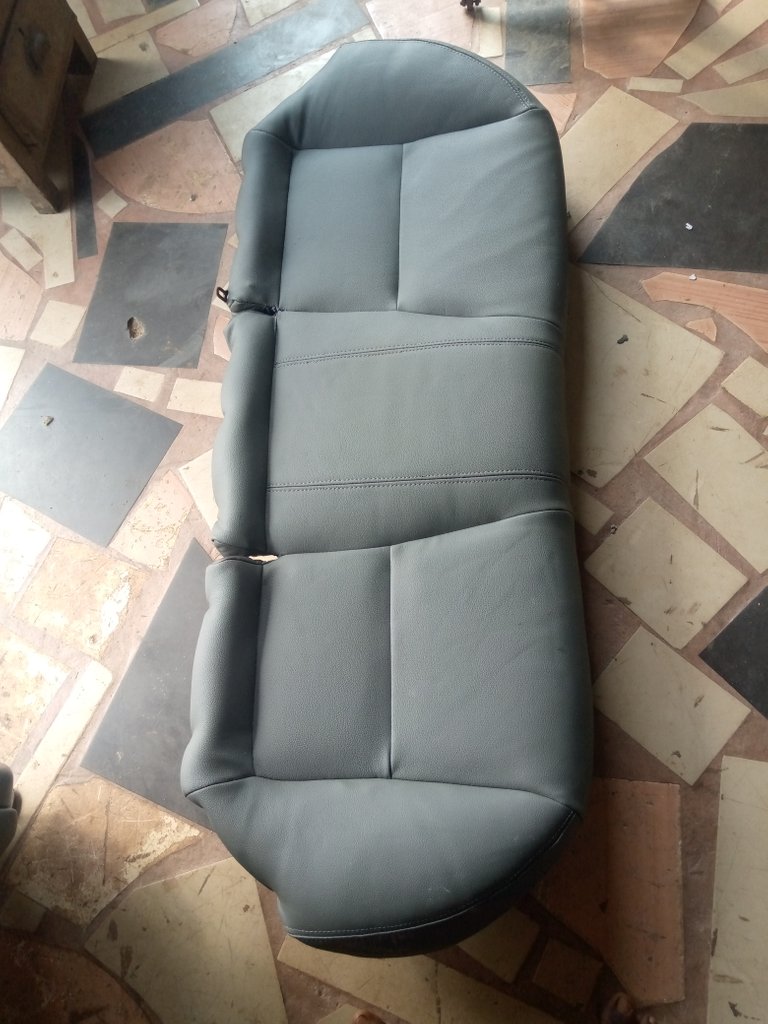
Here are the finished work
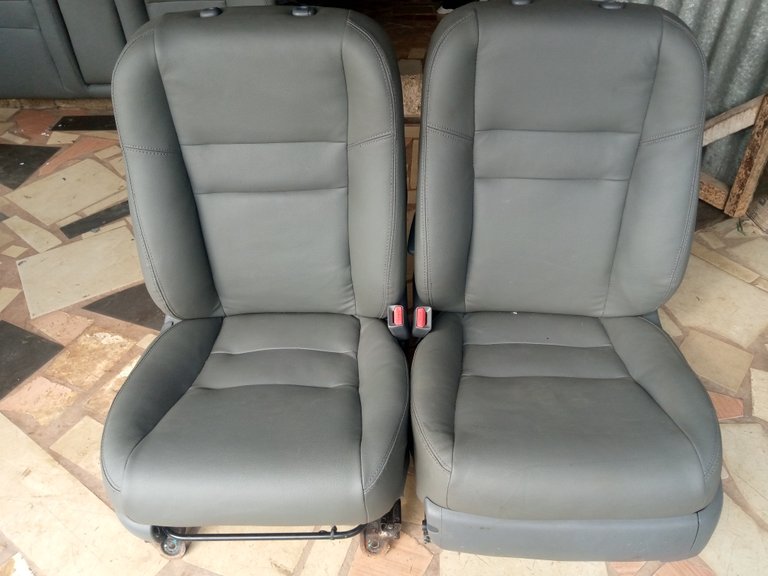
This are really beautiful. I will pick one of the front seat to illustrate some steps I follow to make the seat to real life. It took my 3 days to finish all of them
Here we go.

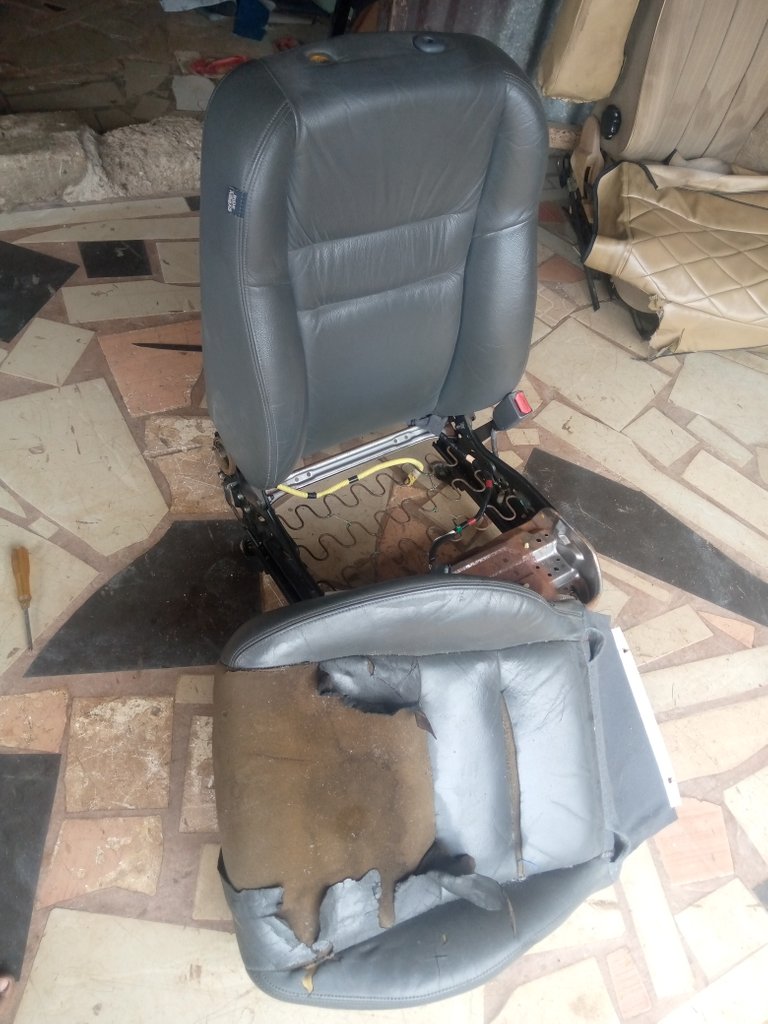
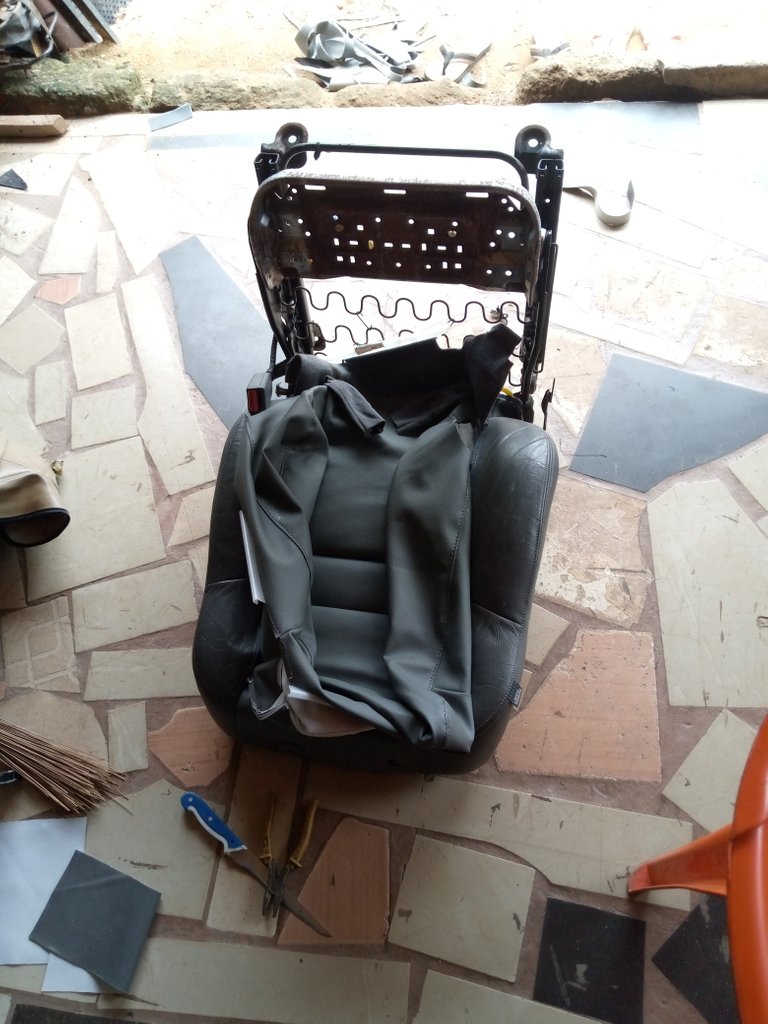
This was the seat before
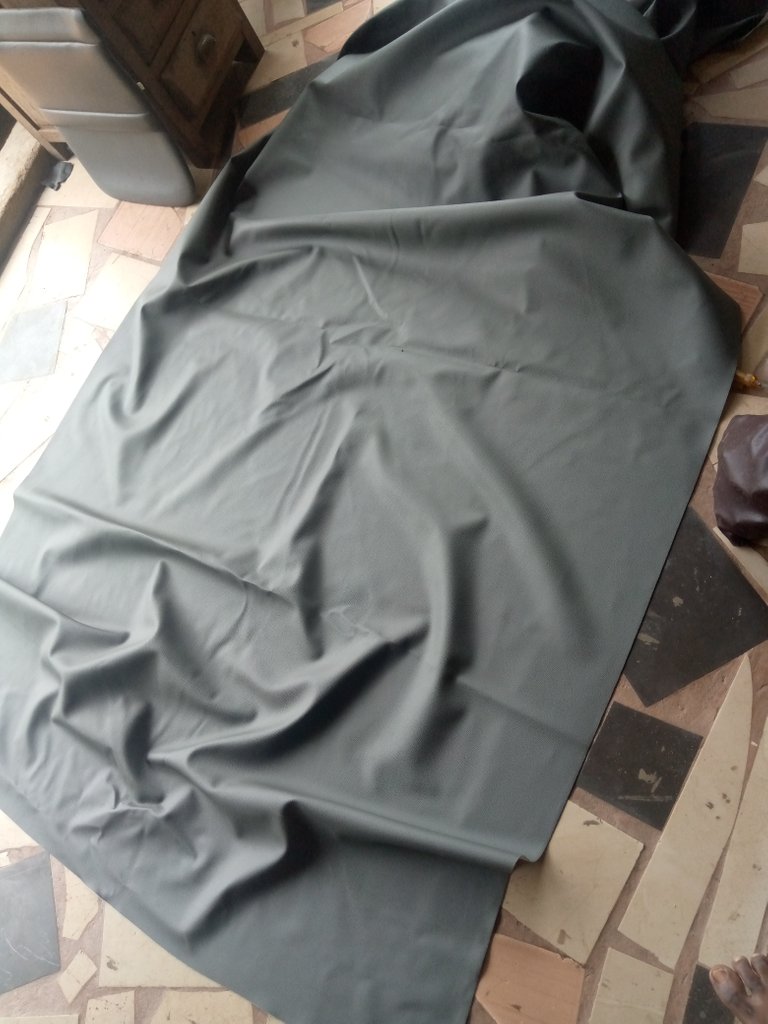
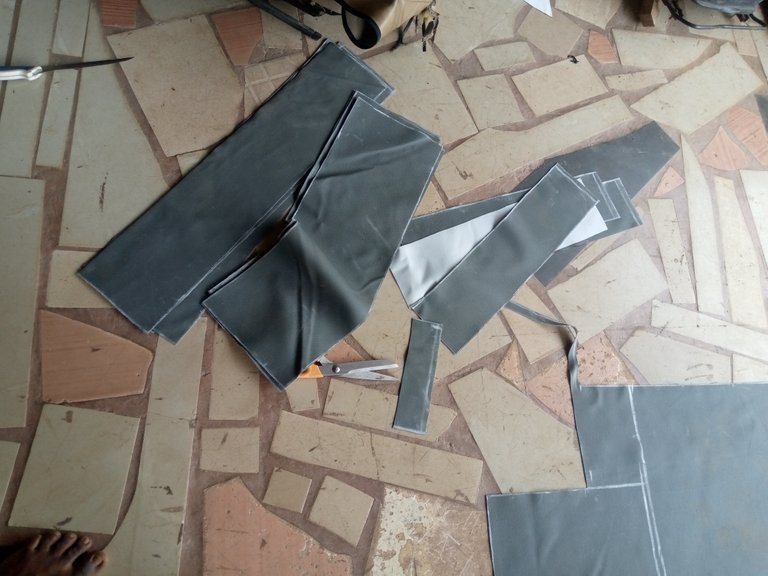
Before I proceed I first of all go to market to purchase a new leather that I am going to use for my seat with go with the original colour. Here is the leather I am going to use for this very work
After that i now move to steps I follow to make my work come real.
Step 1
I first of all look the seat separate ie the down seat from the up by removing the side cover and unclip the down seat from the iron frame.
Step 2
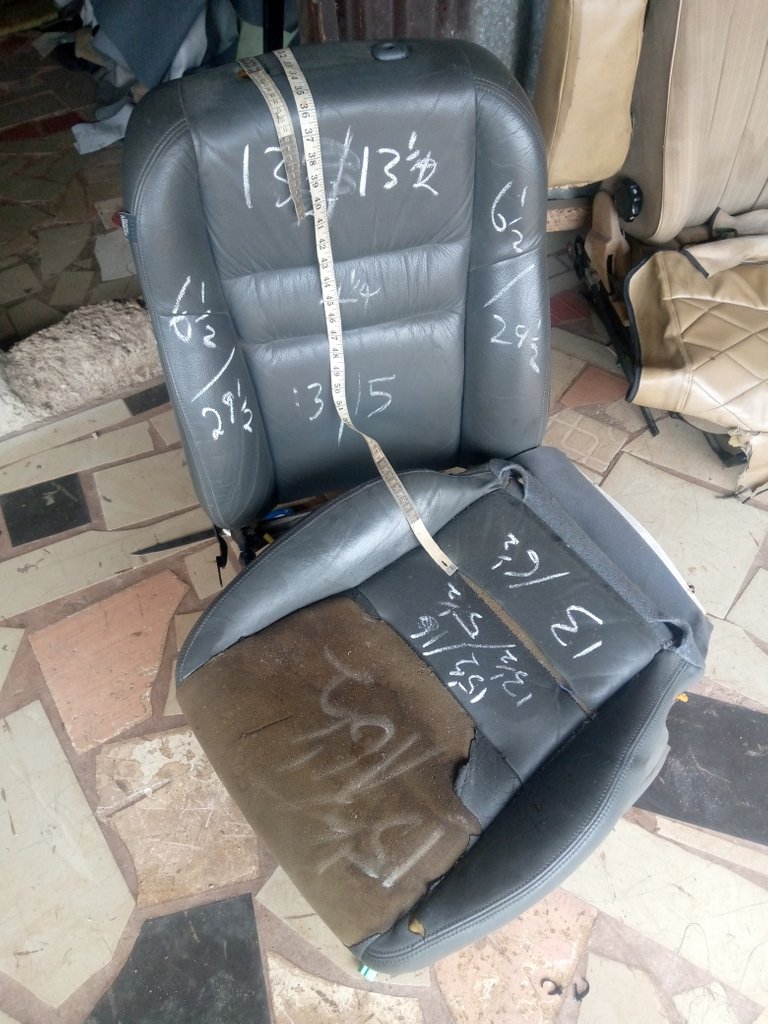
I use my measurement tape to take both the horizontal length and the vertical length of each joining on the old seat and the write it out on the seat.
Step 3
I now spread out my new leather, I now use my measurement tape to transfer the measurement that I write on the to my new leather and with the help of my tape and long range for making a straight line. On
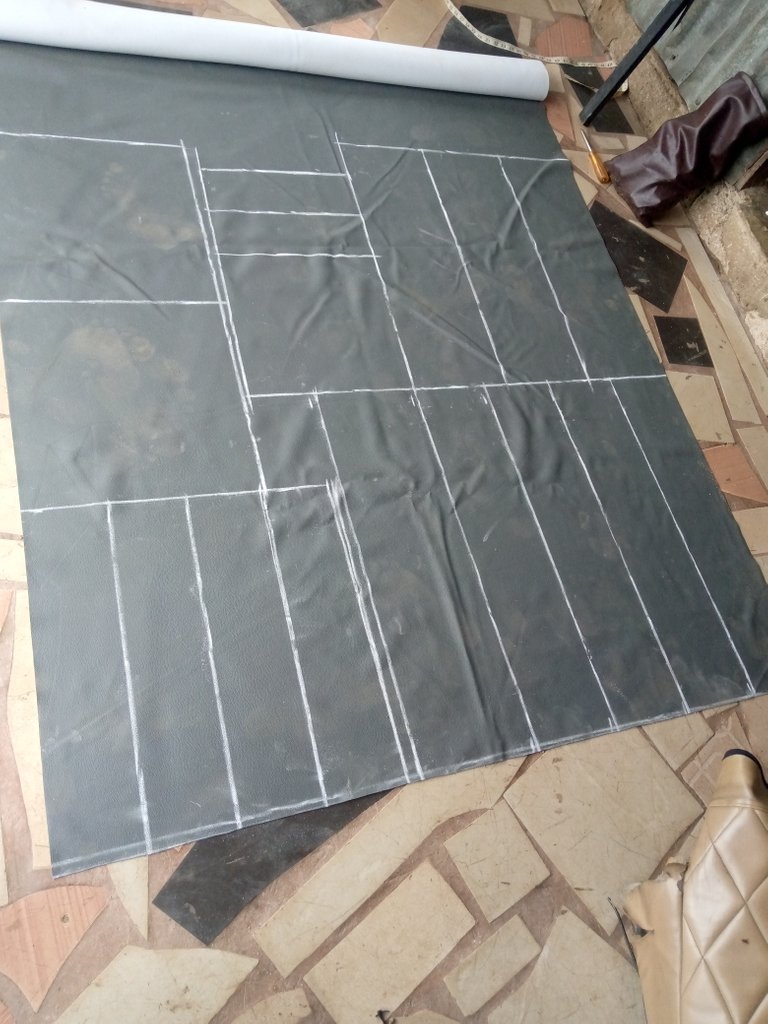
And then I use my scissors ✂️✂️ to cut it out following the line I draw
Step 4
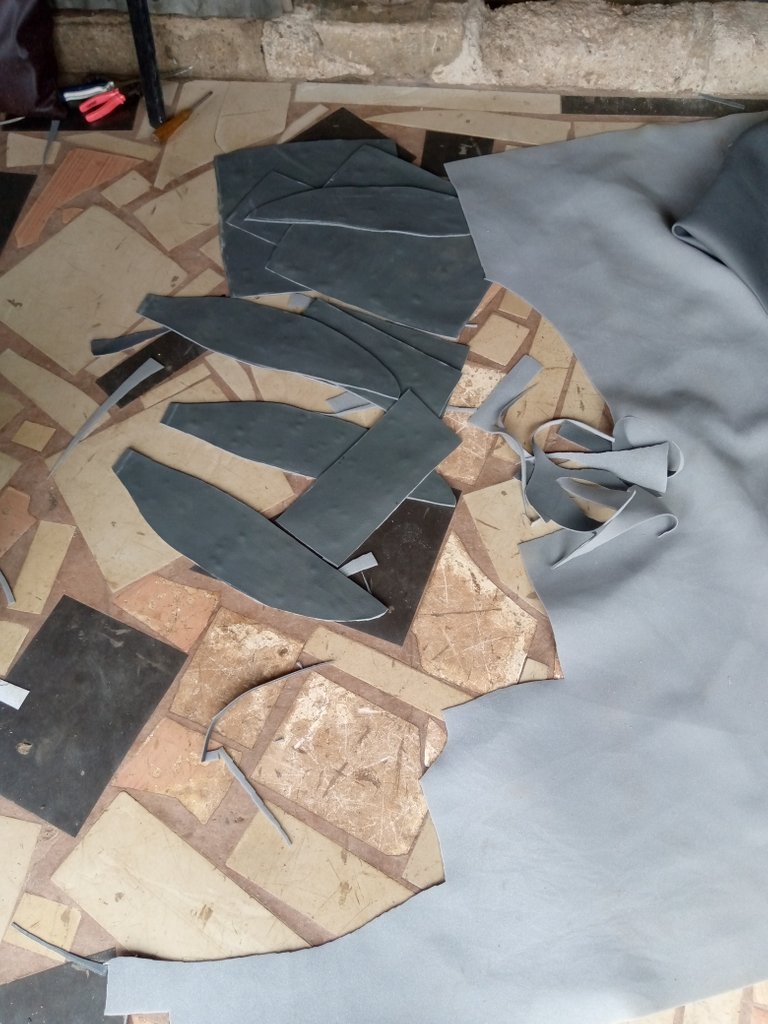
I now bring my new cut leather and place on my old seat and the trace out the pattern of it to get each shape of the seat. After that I now gum the pattern to my car roof material to make it stronger and smooth.
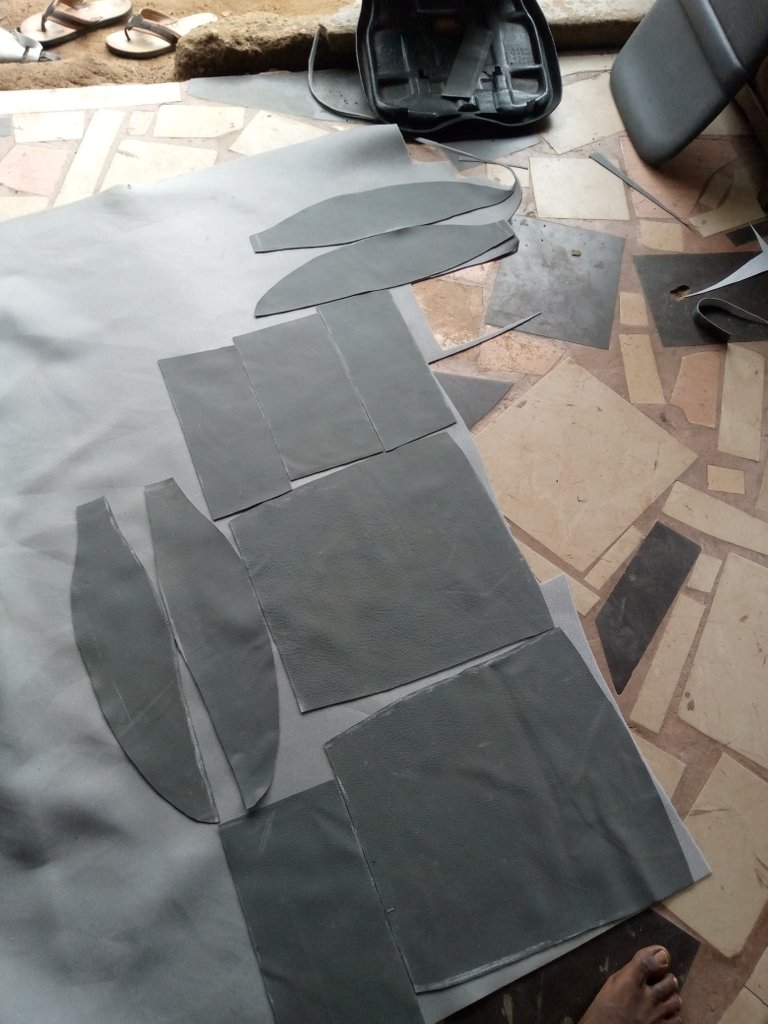
And then cut them out ready for sewing.
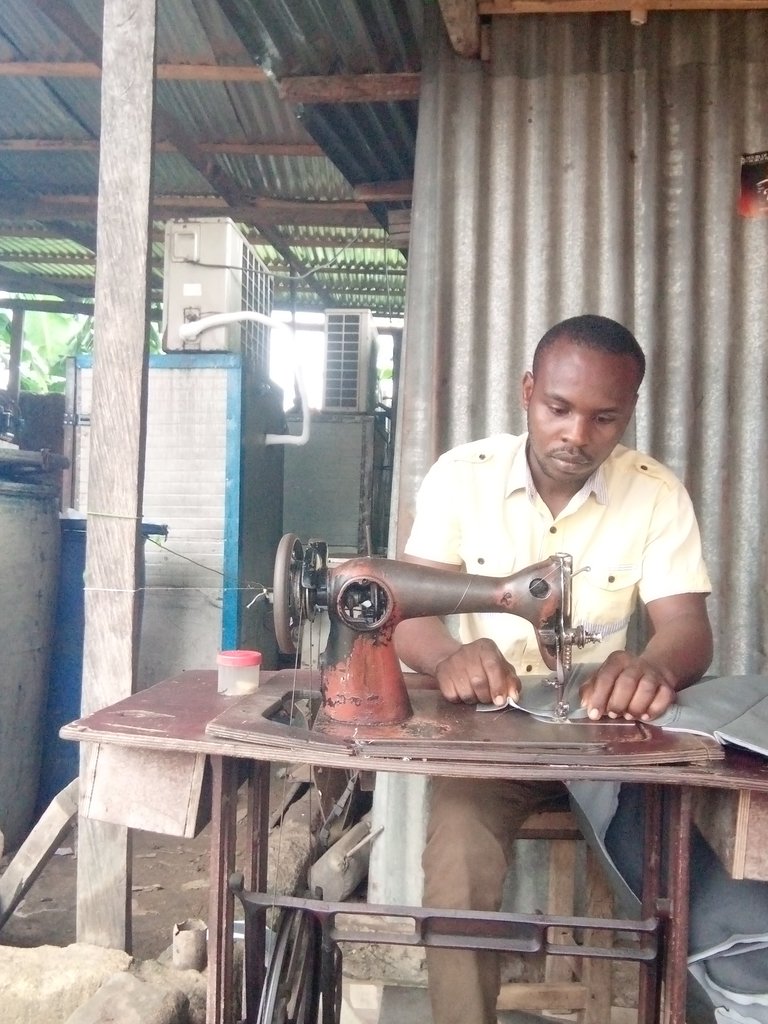
Step 5
I now use my sewing machine to join my pattern together to form my new seat cover. This is very technical and it needs fucus
Step 6
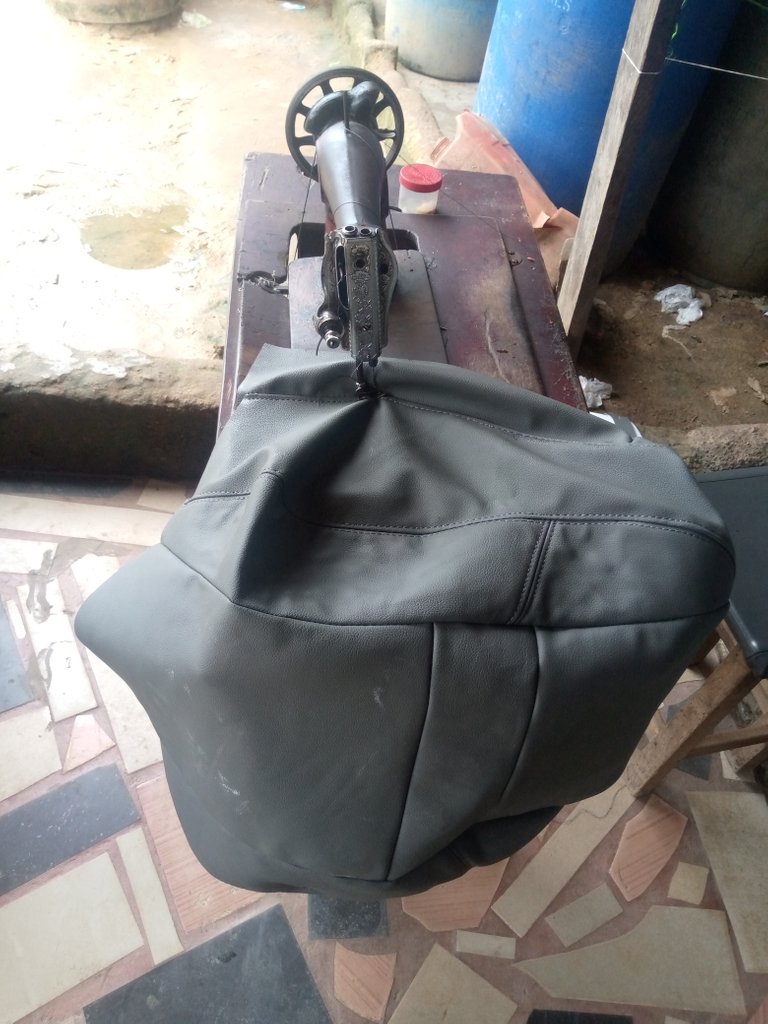
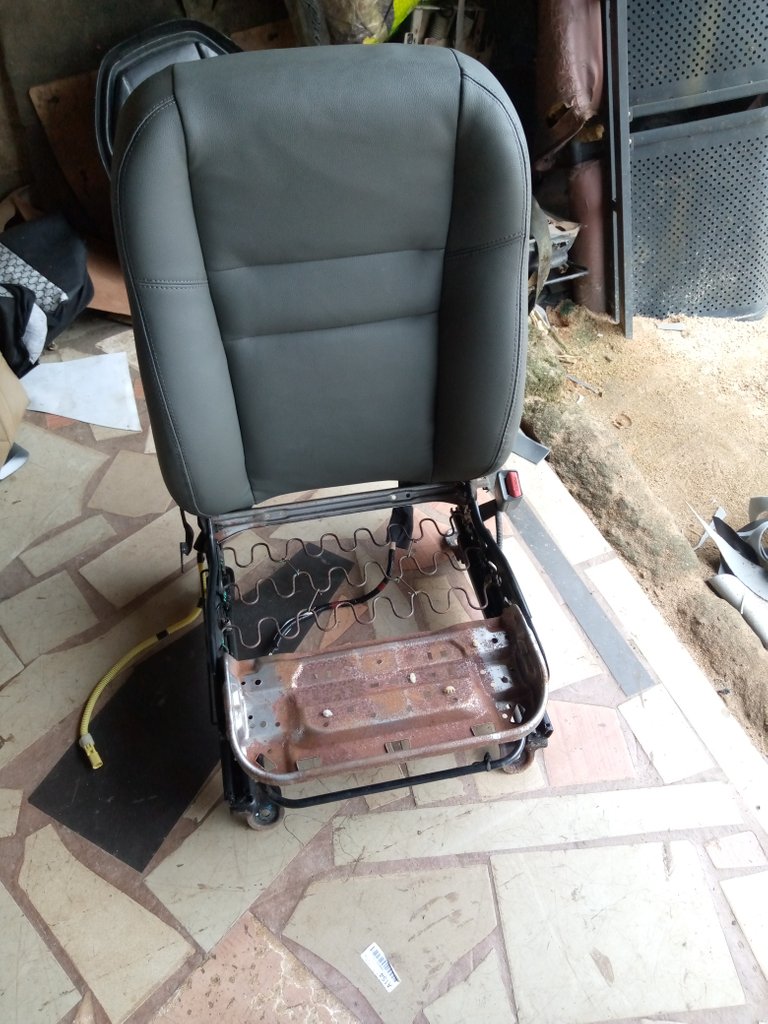
The cover of my seat process. With the help on this clip below
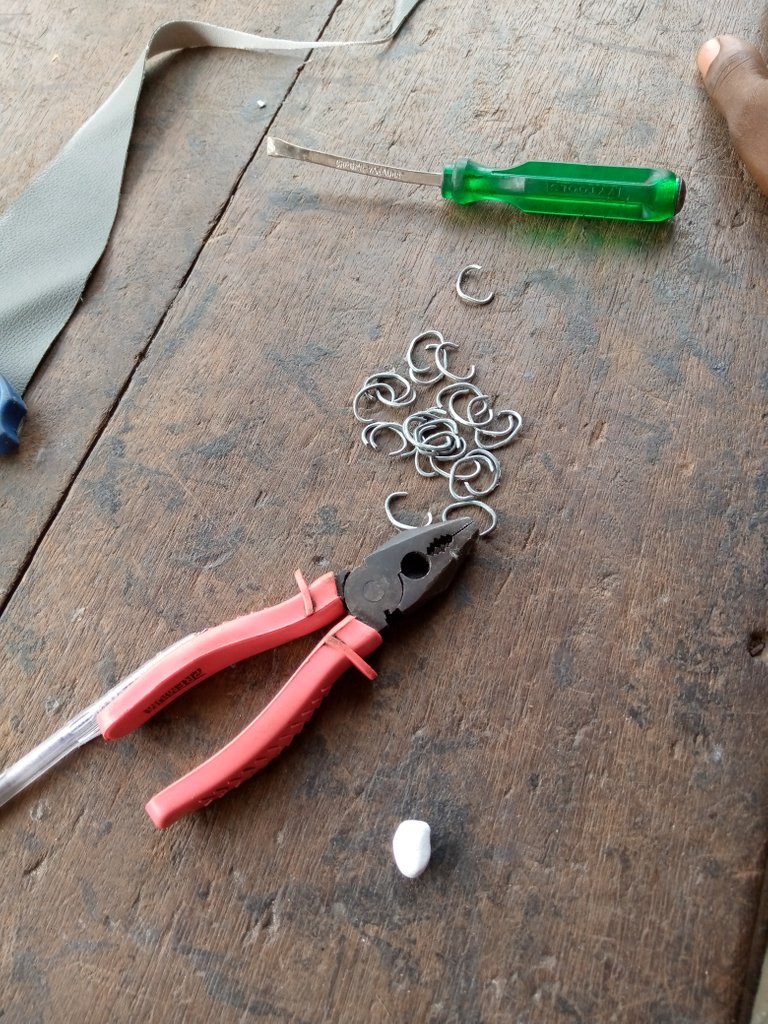
I clip my finished sew material to the old seat.
For the seat
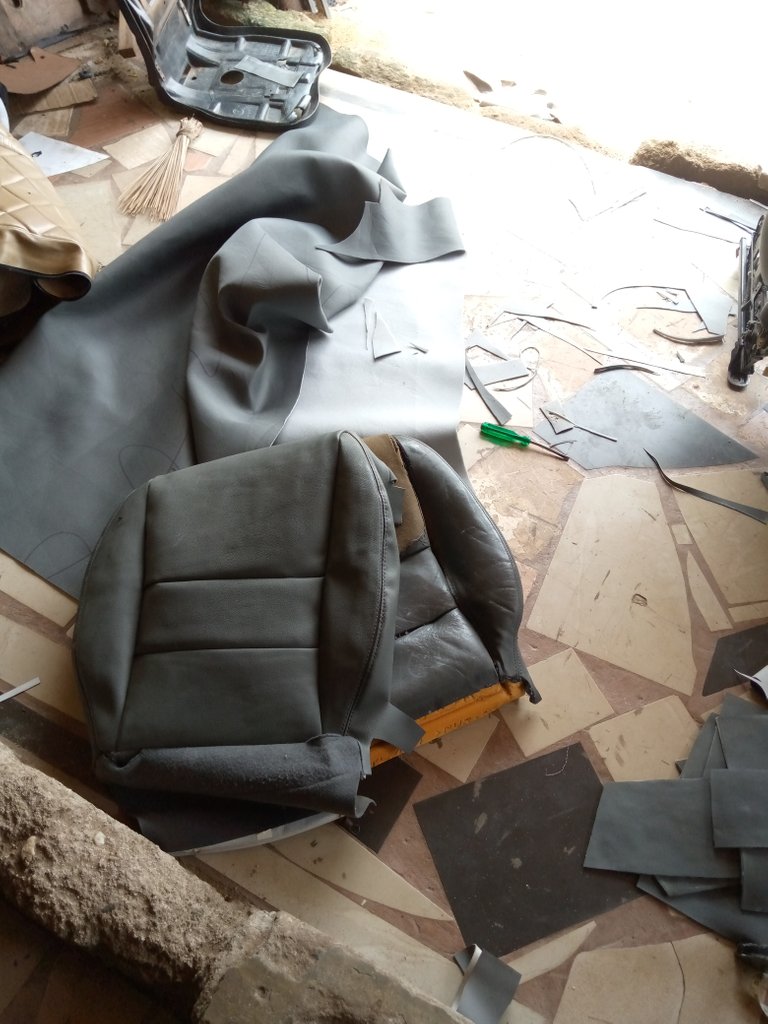
For the back
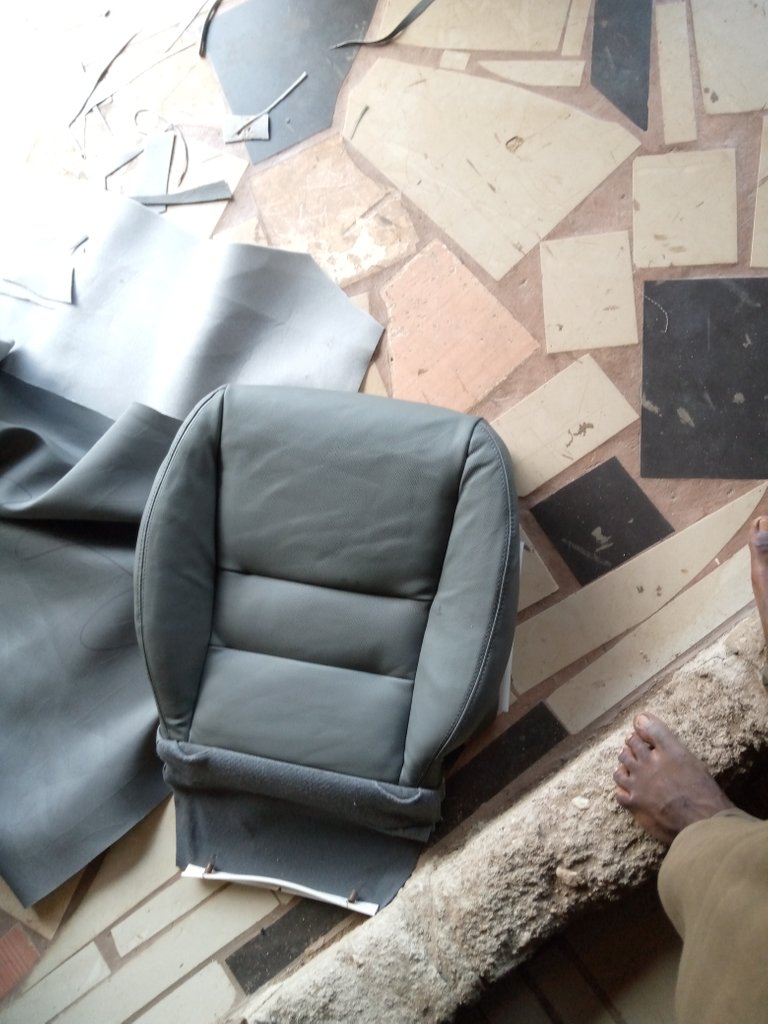
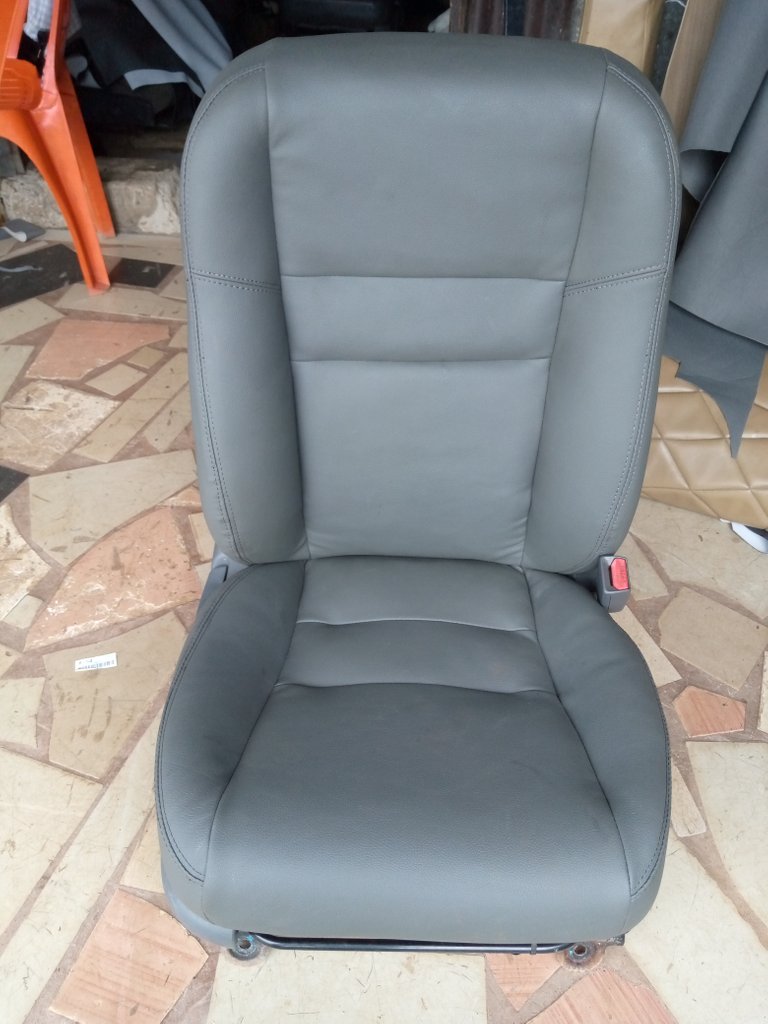
Finally tight the seat back and here is the out come of it.
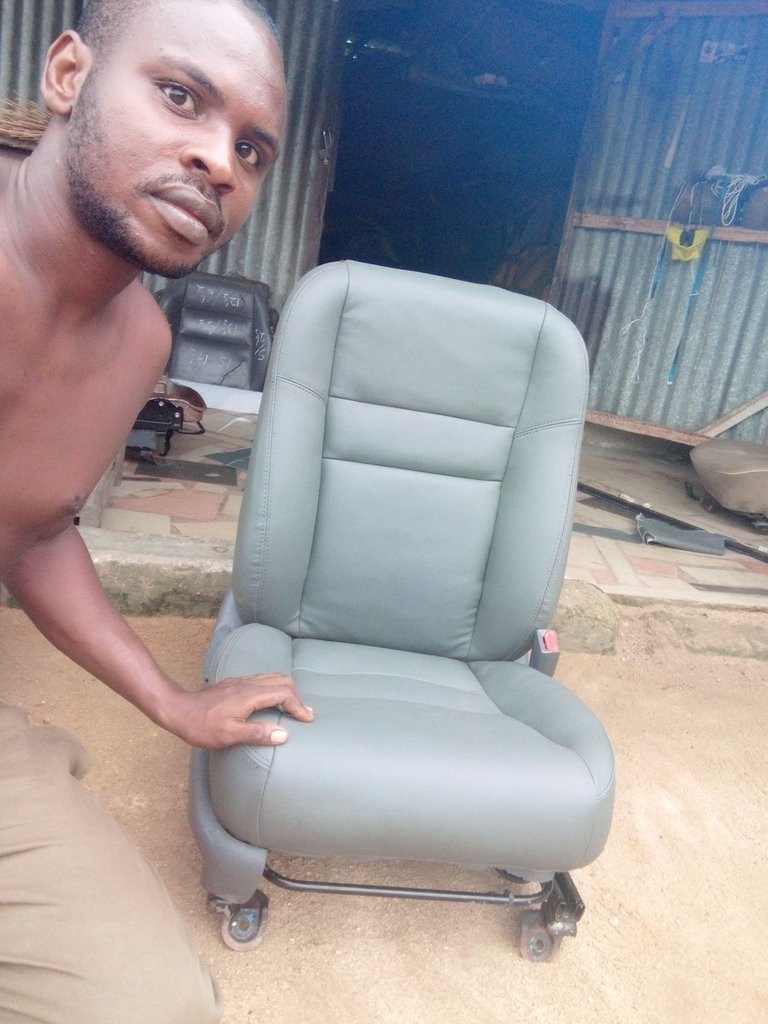
I finally take a picture with the seat.
That is all for now.
Thanks so much everyone for your time hope you love my work. The finishing work look beautiful than before. Wow.
Please do well to comment thanks once again
Congrats! You did a nice job salvaging an old piece, giving it a new life. Well done.
However, this post would fit better in the Needleworkmonday community and/or into Hive DIY, but you already know that as you've been posting in these communities. OCD is for topics that don't fit in any other community, so I'd suggest looking around the Hive communities to find the best one for your next post.
Happy blogging.
Thanks so much for your in my post. I have take note
Hey, this is some quality work! Amazing how that seat looks brand new now. My skills with scissors are lame.
Congratulations @mosesessien! You have completed the following achievement on the Hive blockchain and have been rewarded with new badge(s):
Your next target is to reach 300 upvotes.
You can view your badges on your board and compare yourself to others in the Ranking
If you no longer want to receive notifications, reply to this comment with the word
STOPCheck out the last post from @hivebuzz:
Support the HiveBuzz project. Vote for our proposal!