Hello creative minds! How are you doing today?
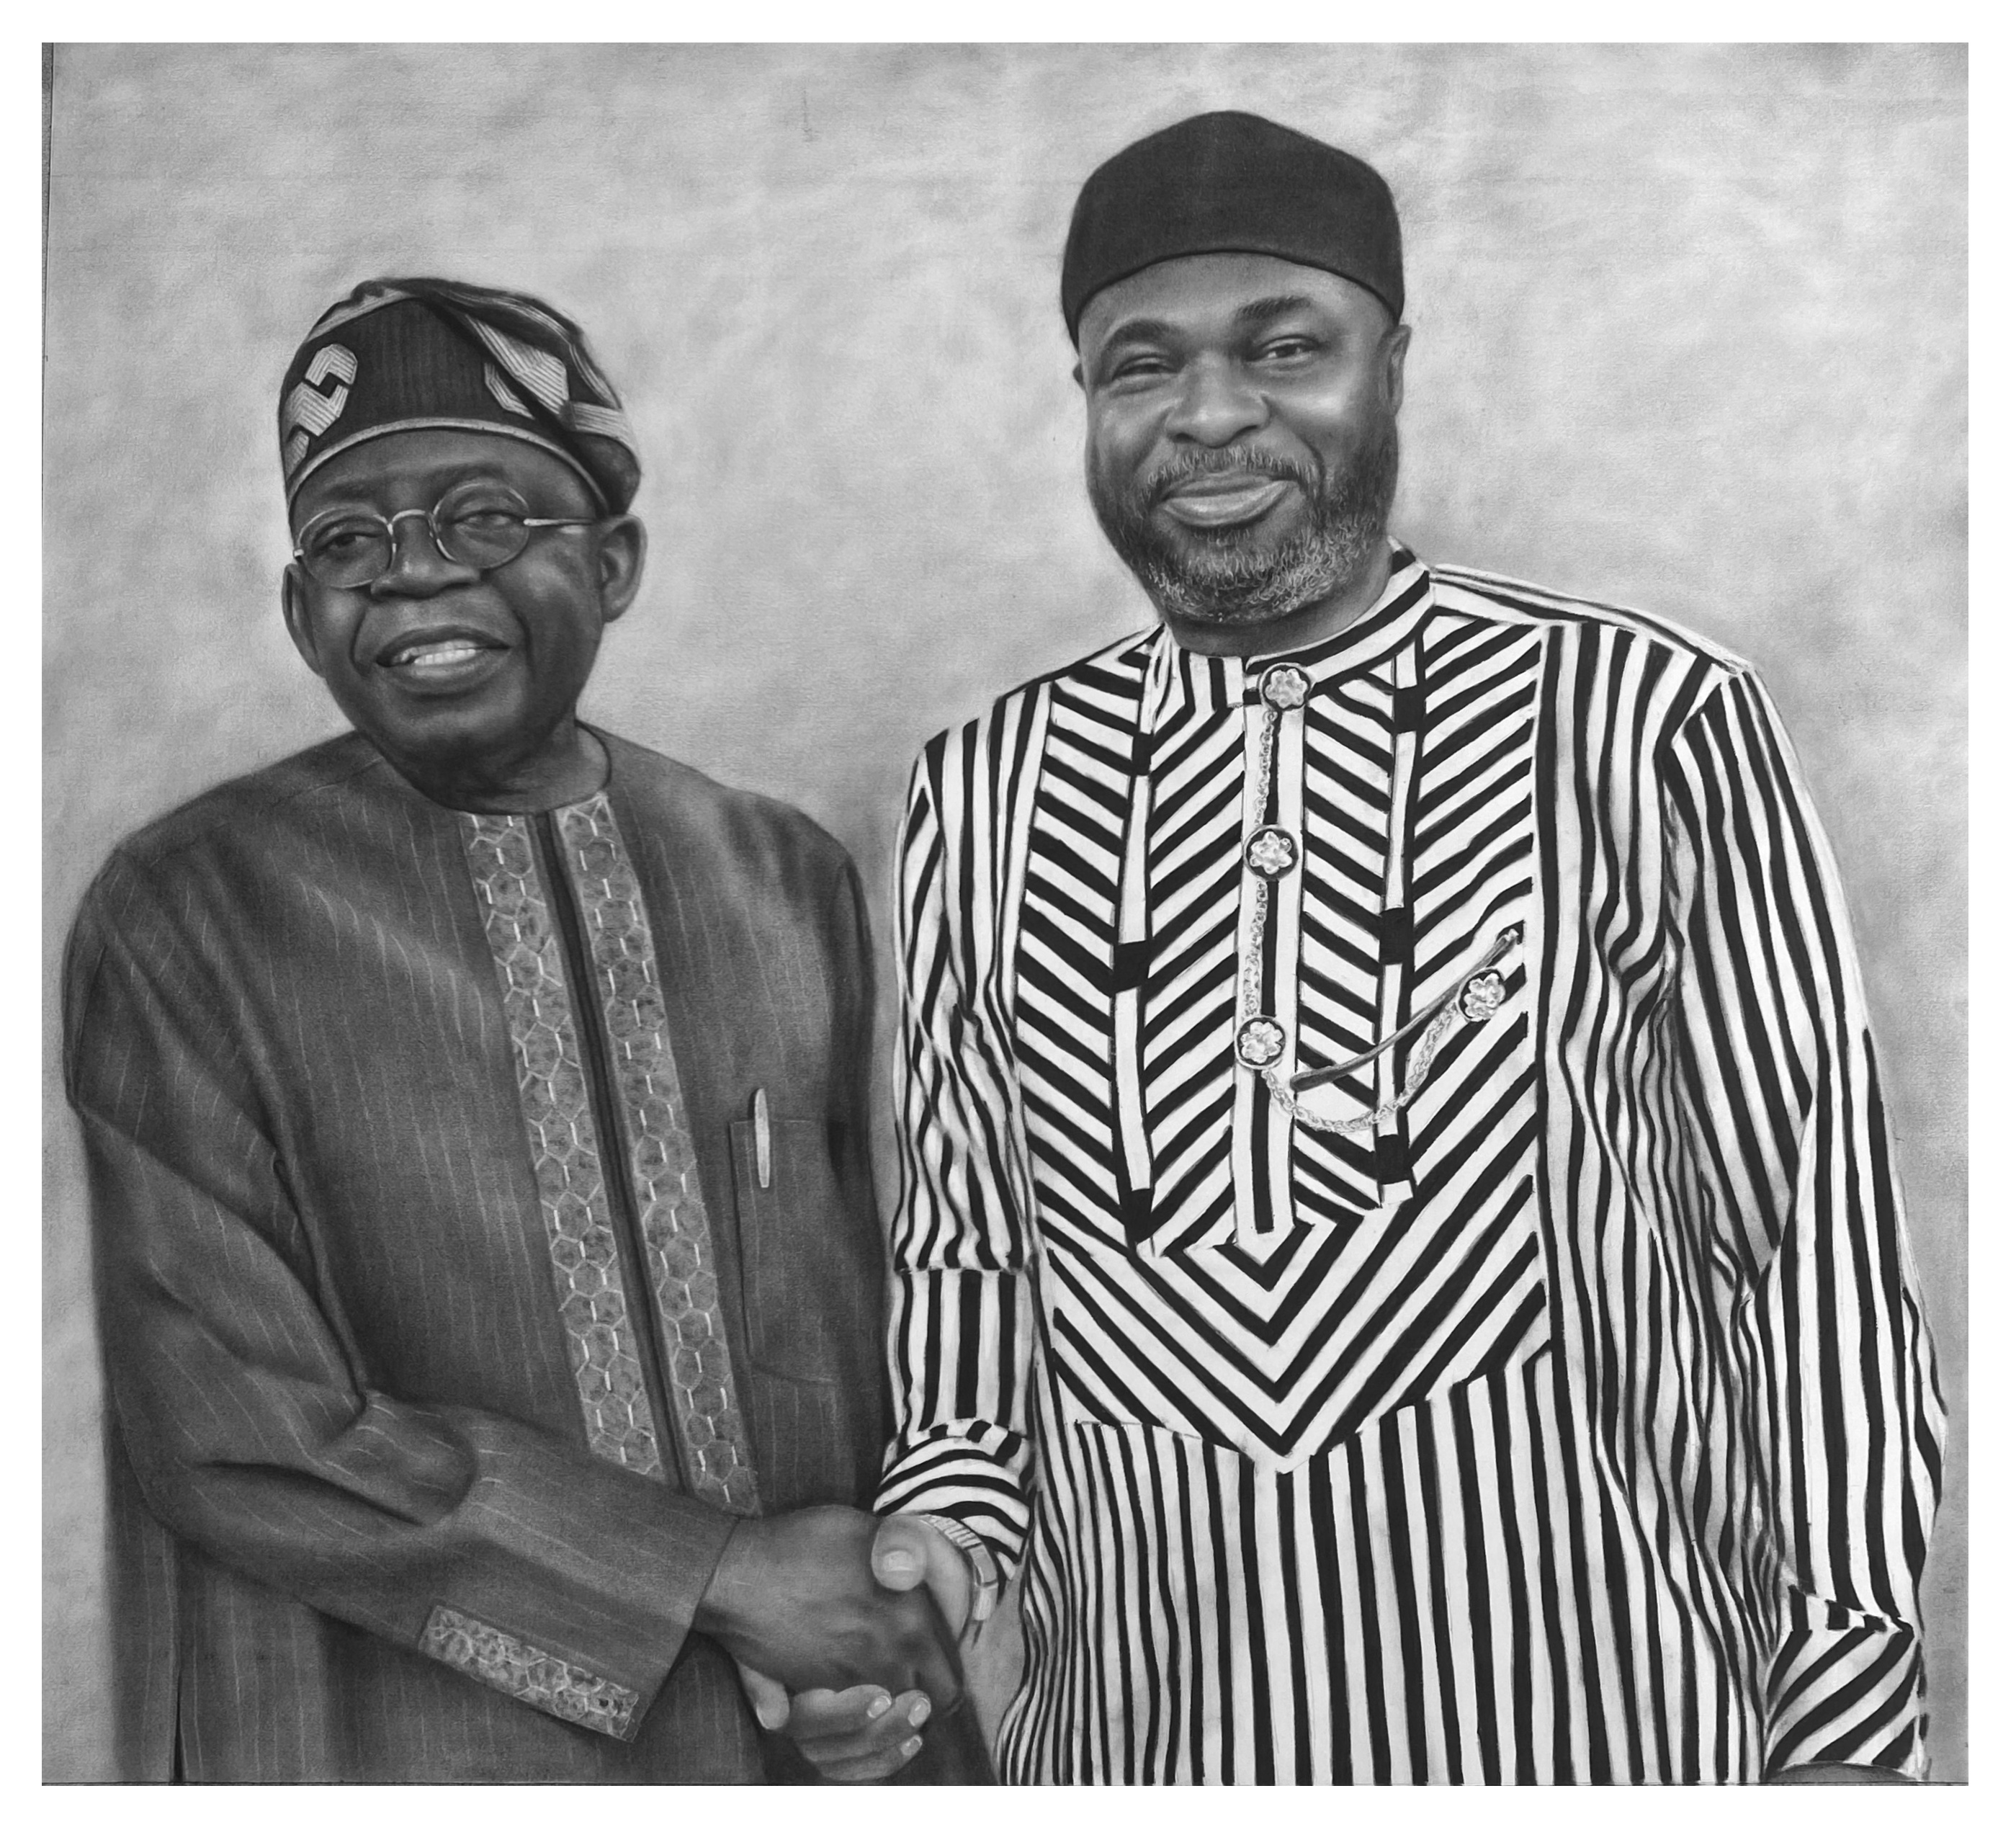
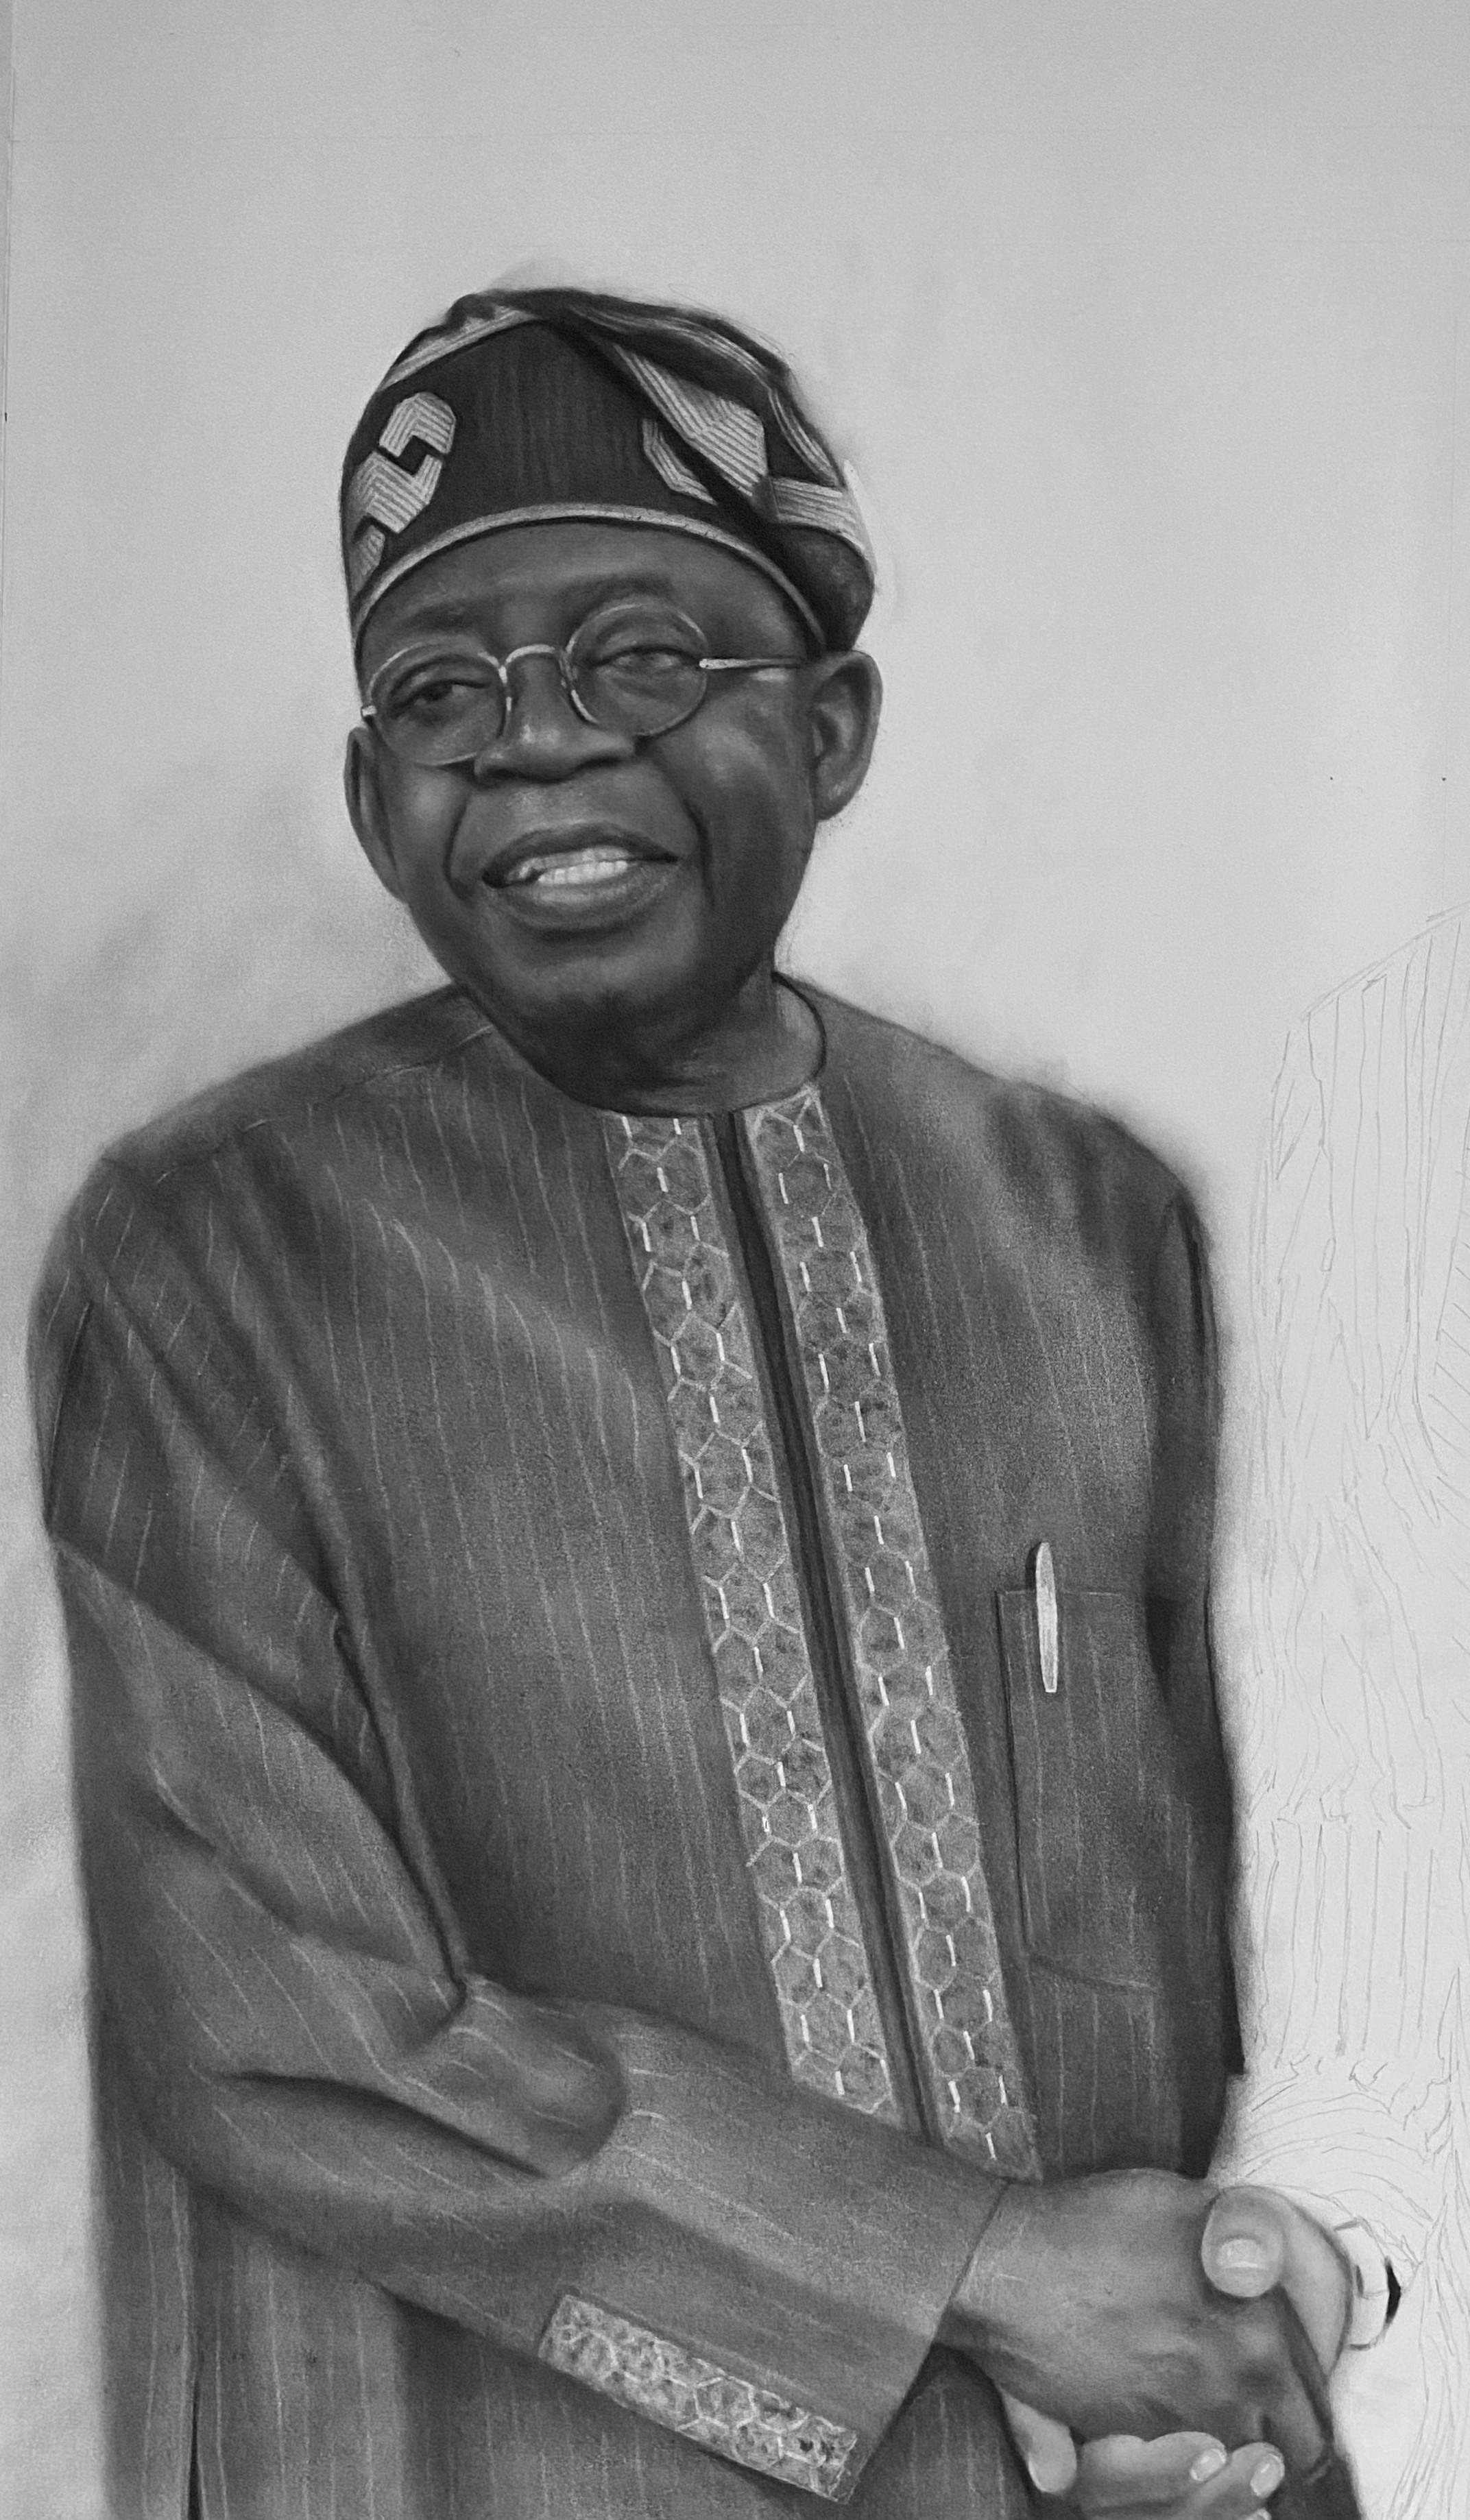
So today, I want to share with you my recent realistic drawing.
It took me about 45 hours to complete this piece.
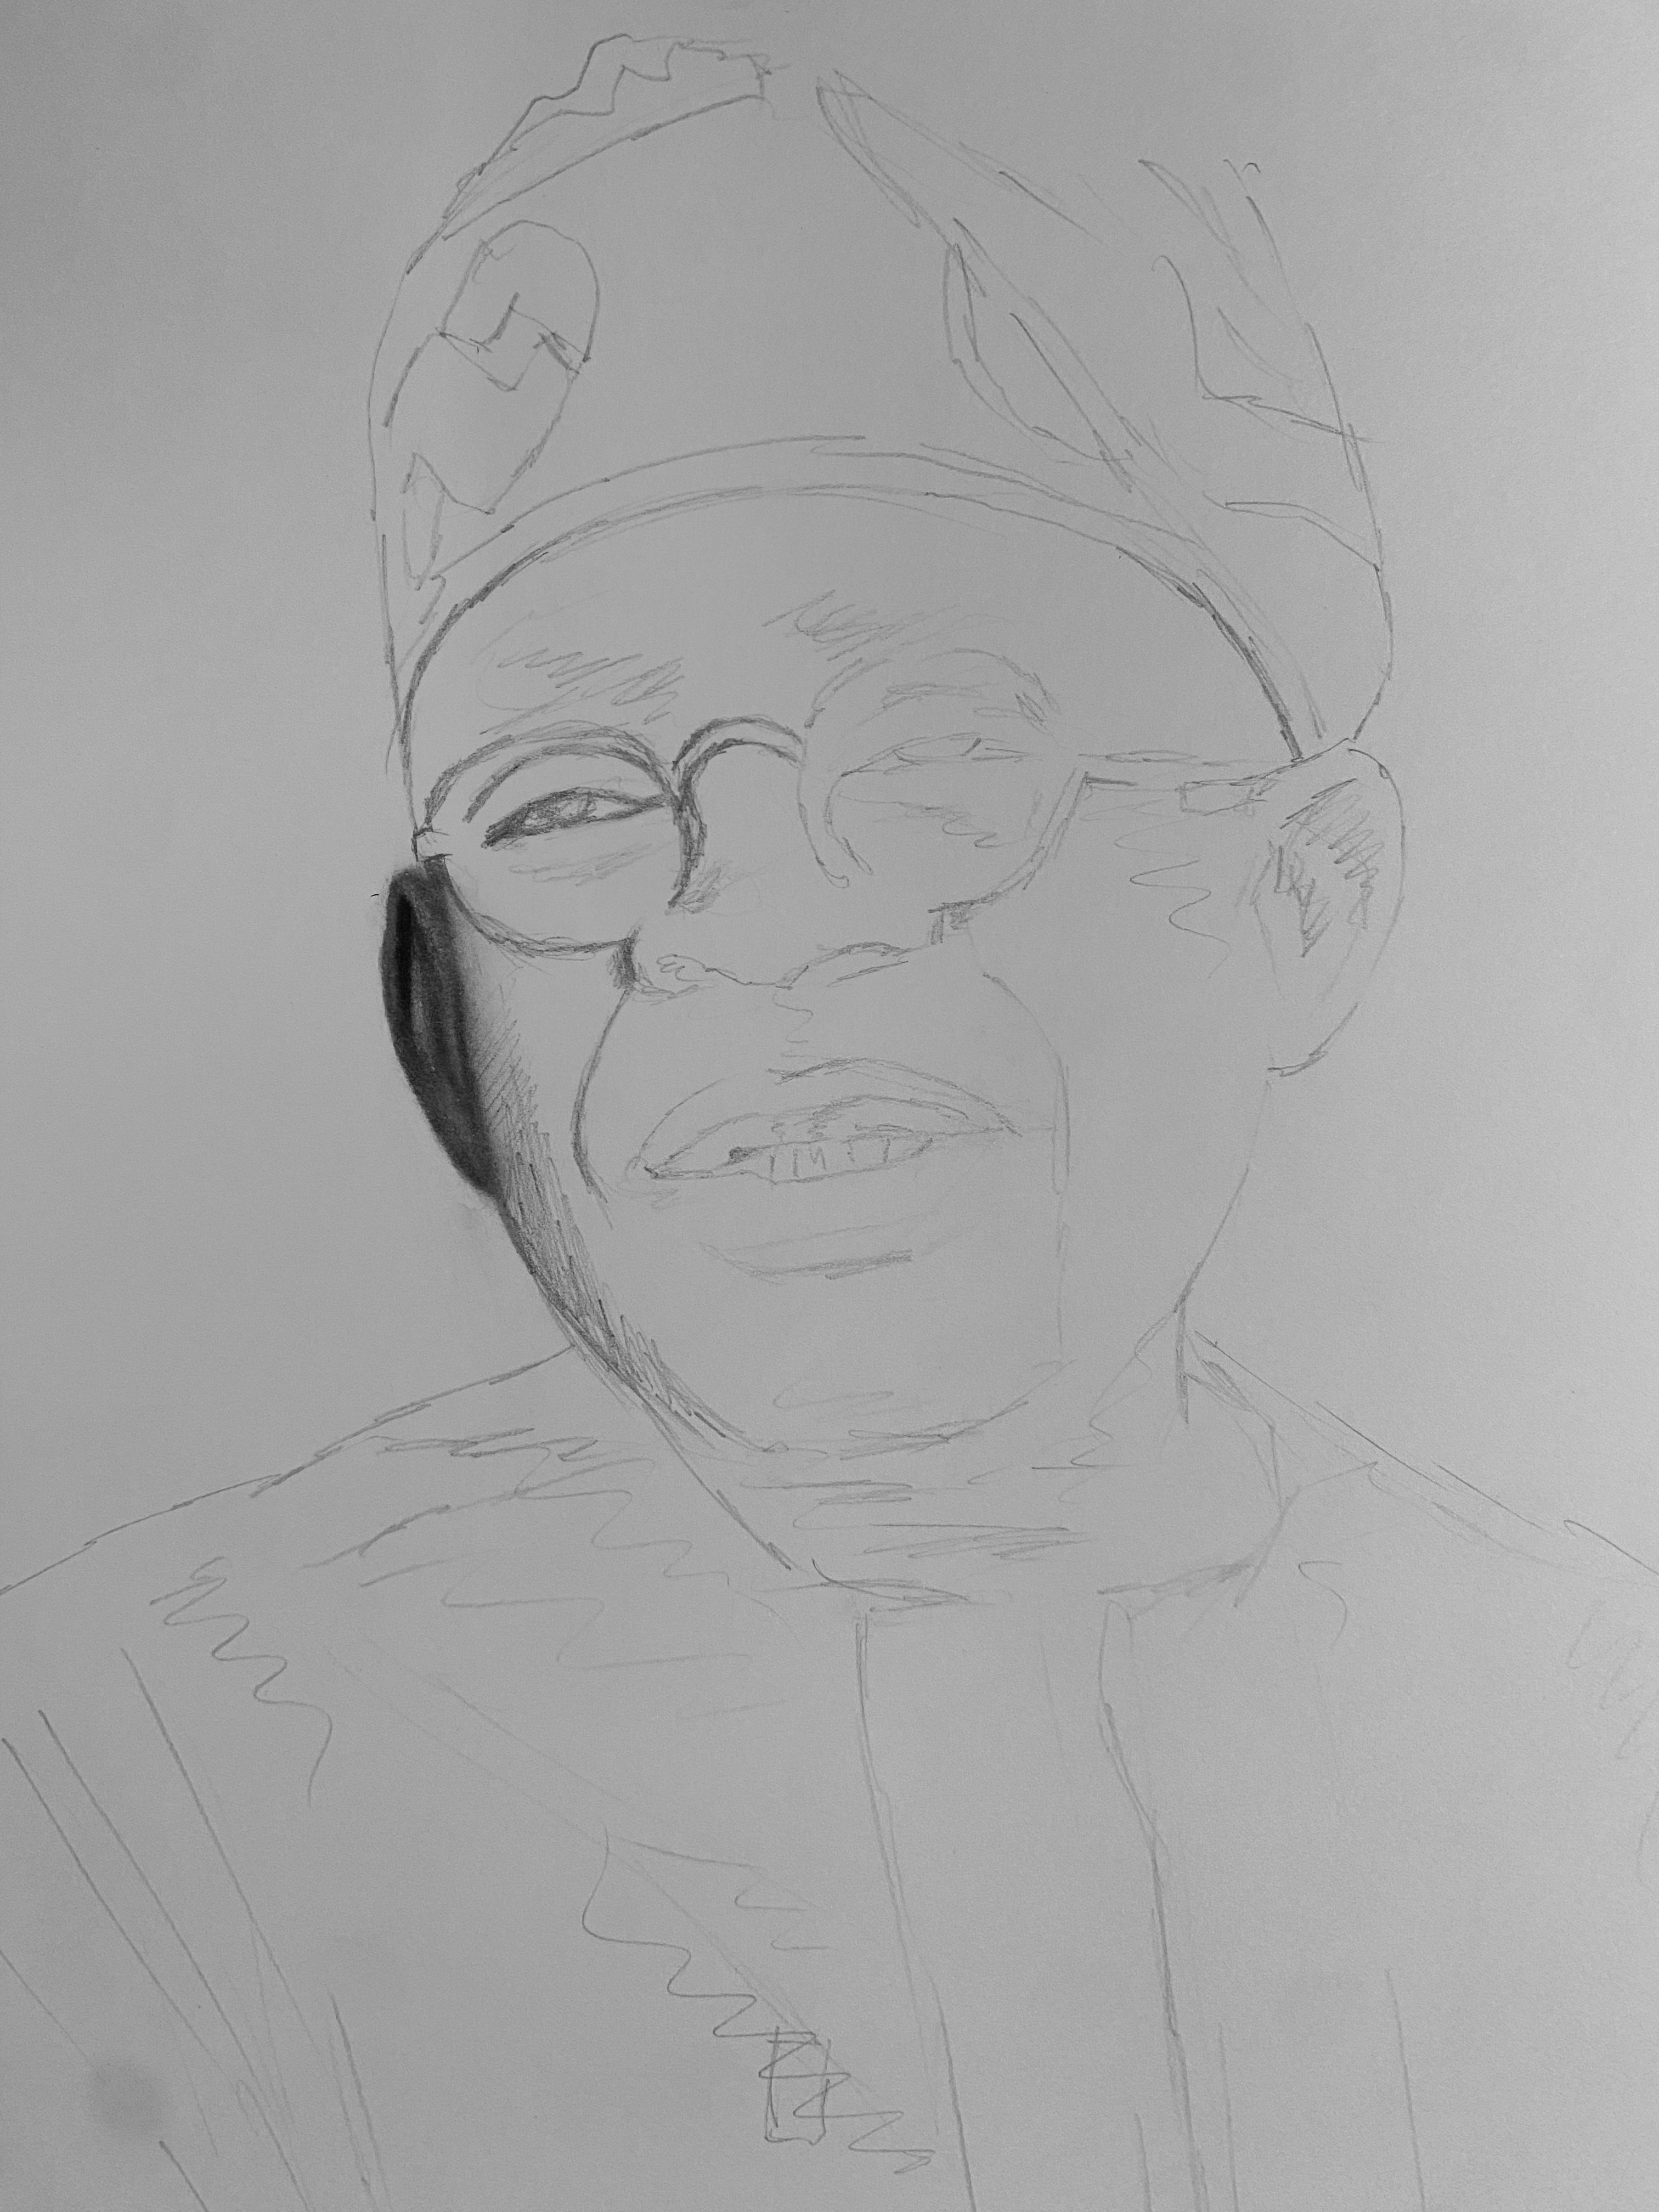
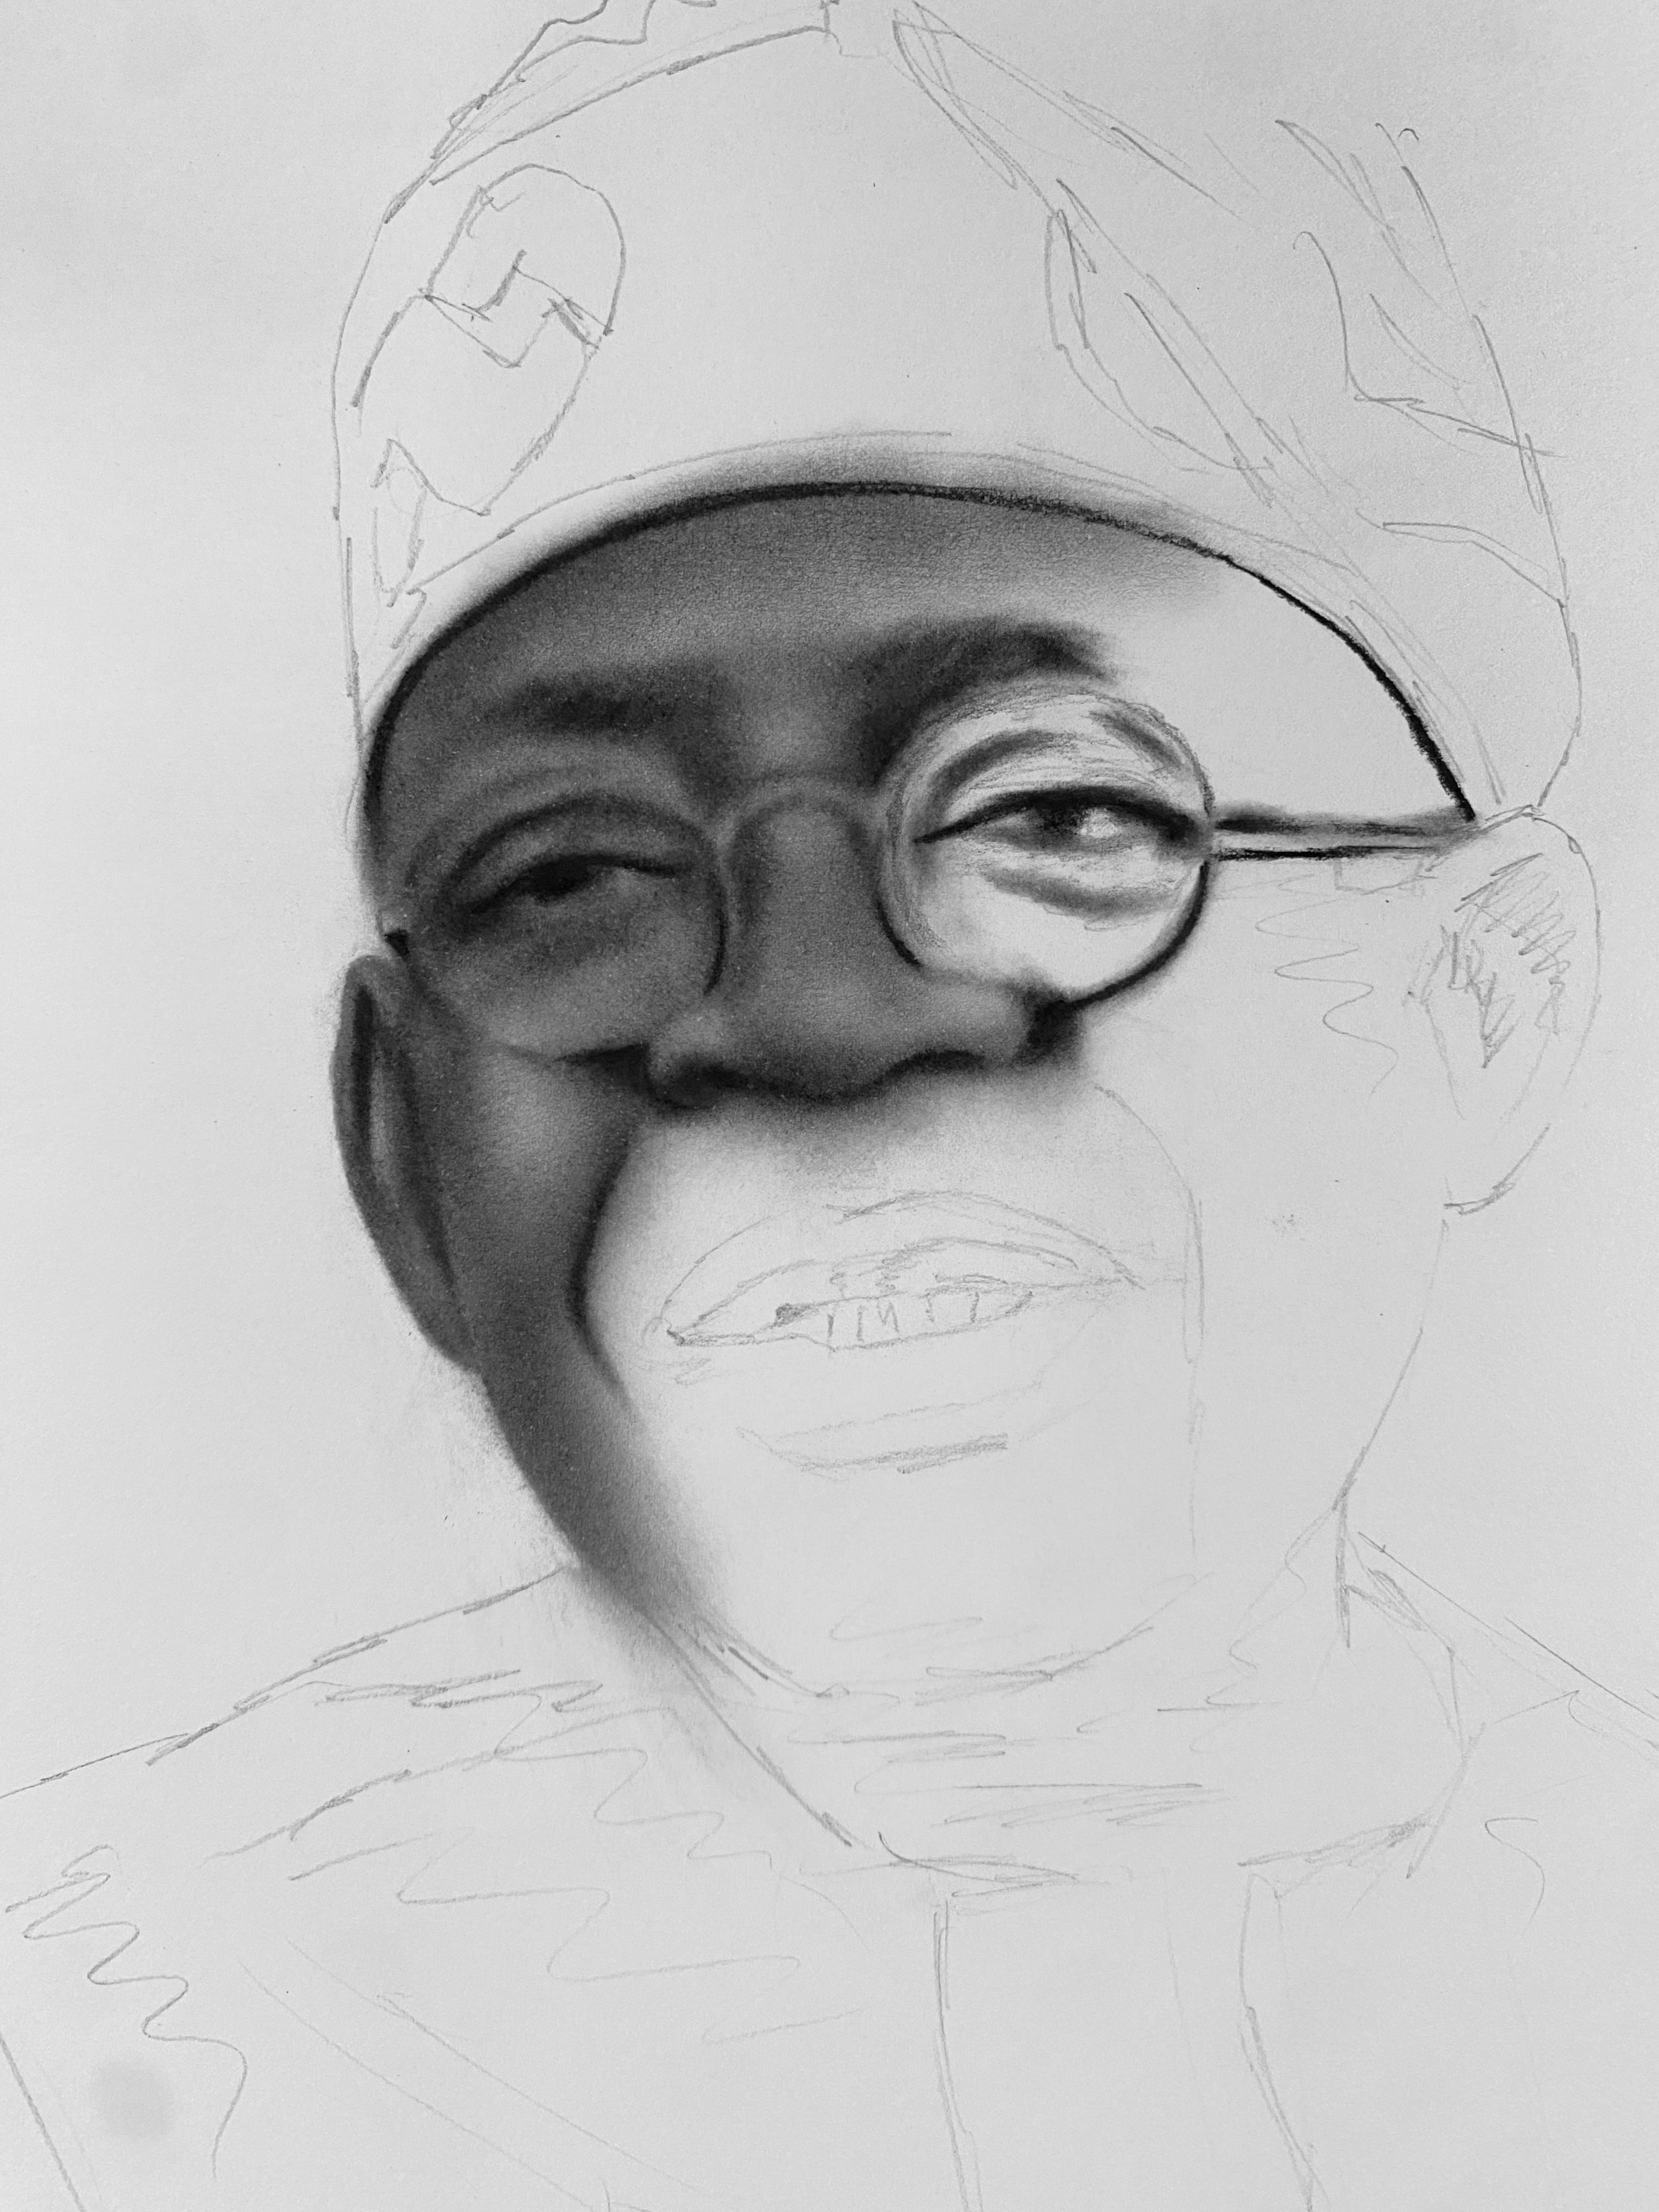
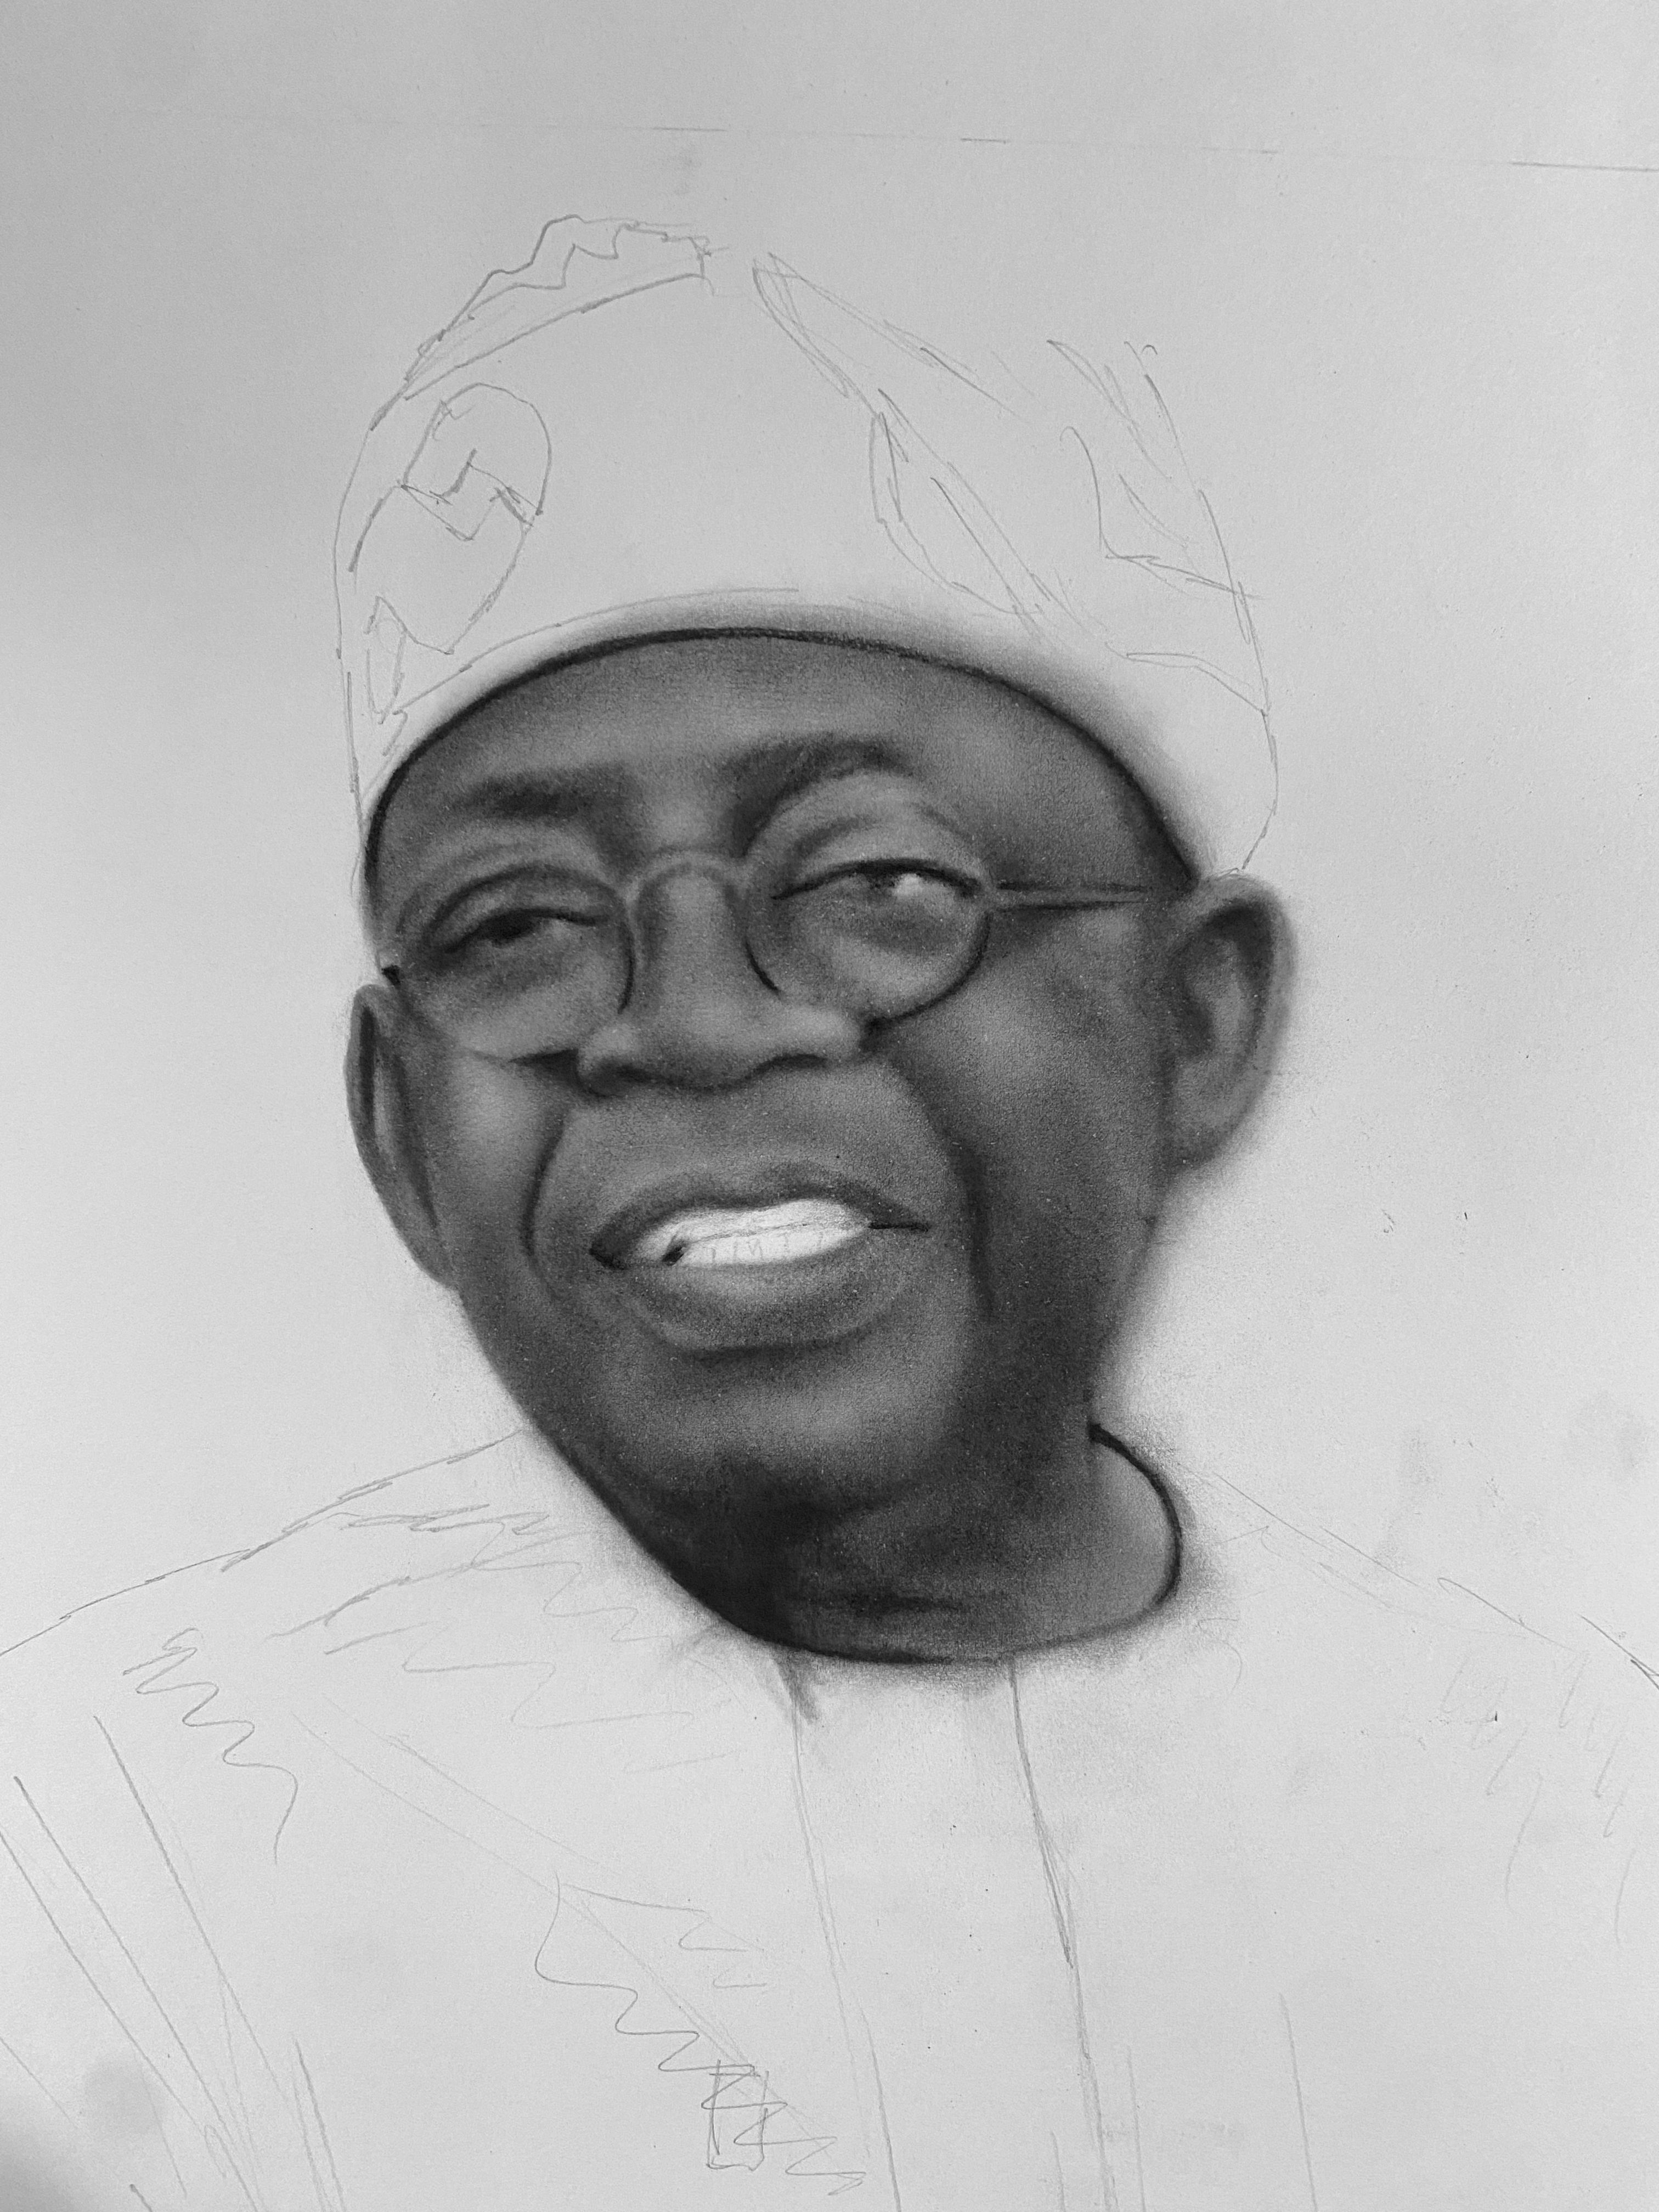
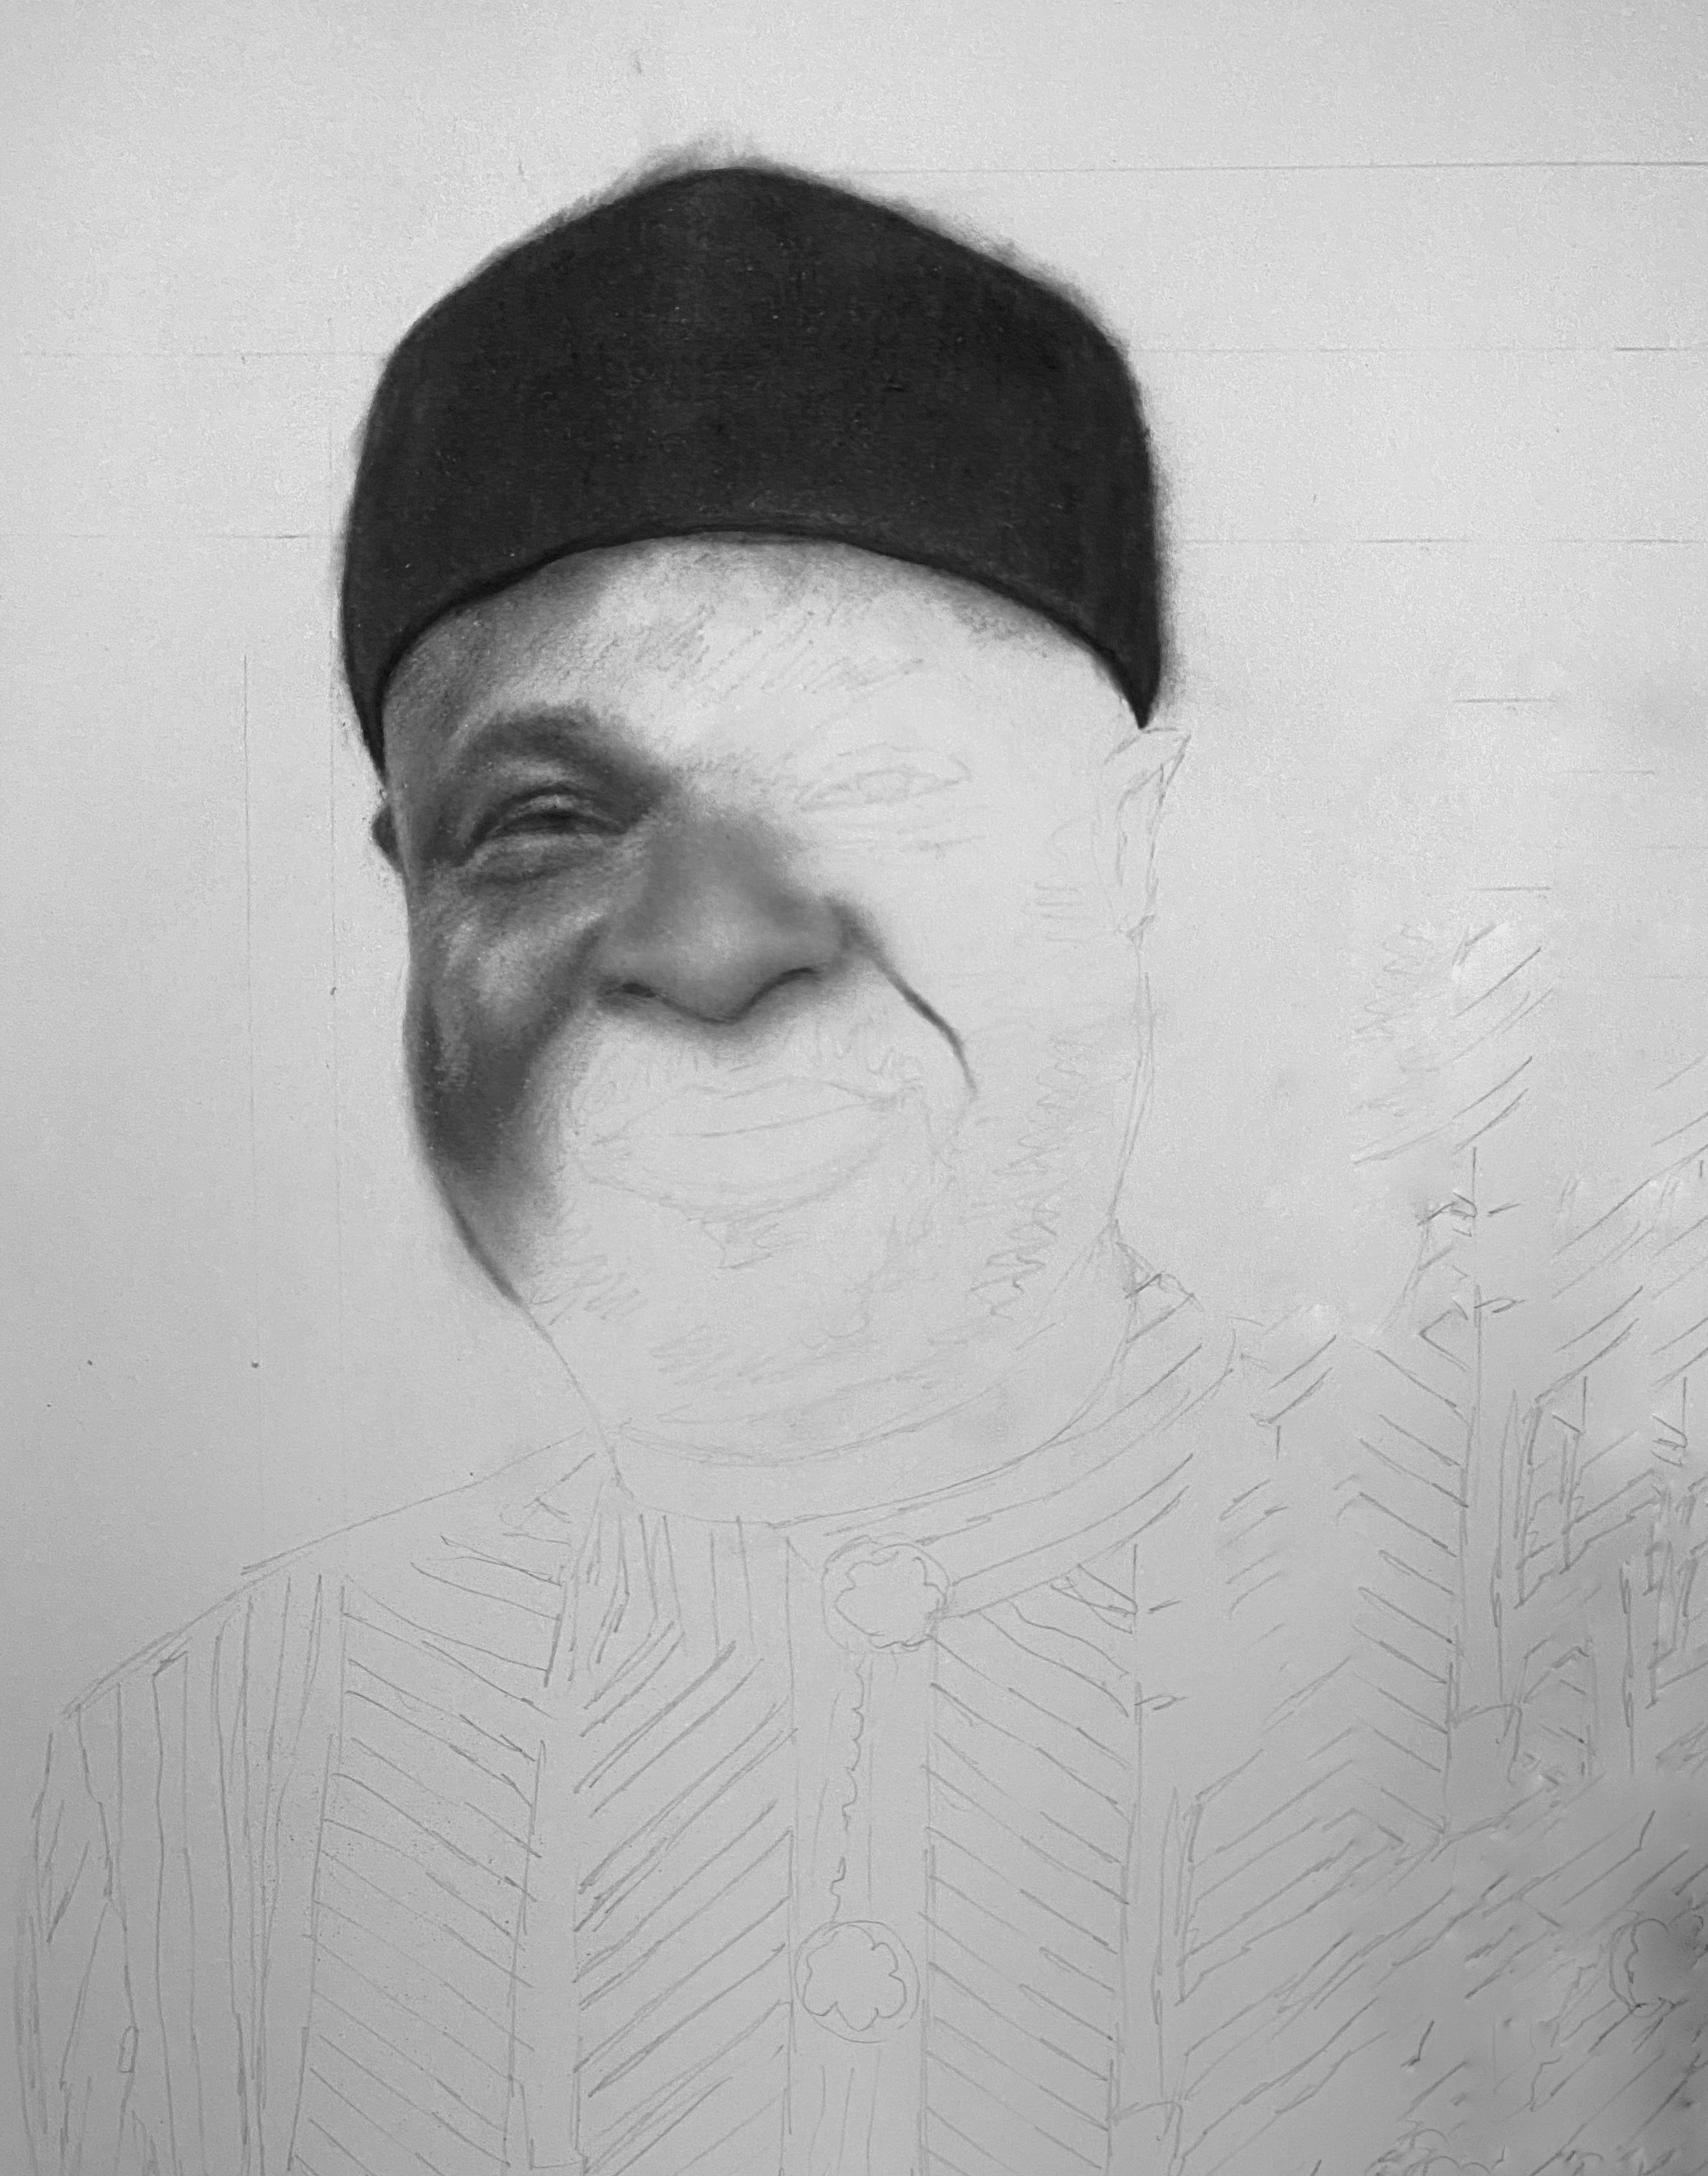
I usually start from the left to the right, or from the up to down. In that way I get to avoid the areas that I worked on (i.e. my hand will not rub over the areas that I have covered with charcoal).
Check out the progress shot and you will understand what I mean.
PROGRESS SHOTS BELOW:
THE MATERIALS I USE

Number 1 and 3 are different sizes of soft, flat paint brushes, used for applying charcoal powder. I utilize the small size for intricate areas and the large size for broader areas.
2 is a hard bristle brush, employed on dark areas where charcoal is applied to prevent smudging, unlike the softer bristle brushes.
4 is a large makeup brush, ideal for covering larger areas with charcoal powder.
5 is a General's charcoal pencil within a pencil holder, utilized for achieving dark tones and creating powder from it.
6 is a Meilanzhuju charcoal pencil, known for its intense darkness, reserved for the darkest areas of the artwork.
7 is a 5B Kimberly graphite pencil, primarily used for sketching and light shading.
8 is a small-tipped makeup brush, used for blending lines seamlessly.
9 is an electric eraser, employed for precise highlights.
10 is a Tombo mono zero eraser, perfect for highlights and adding intricate details.
11 is a Nataraj eraser, presumably for general erasing needs.
12 is a container for storing charcoal powder.
Thank you for stopping by.