Hi architecture lovers how are you all today? Have a nice day full of jokes and laughter....
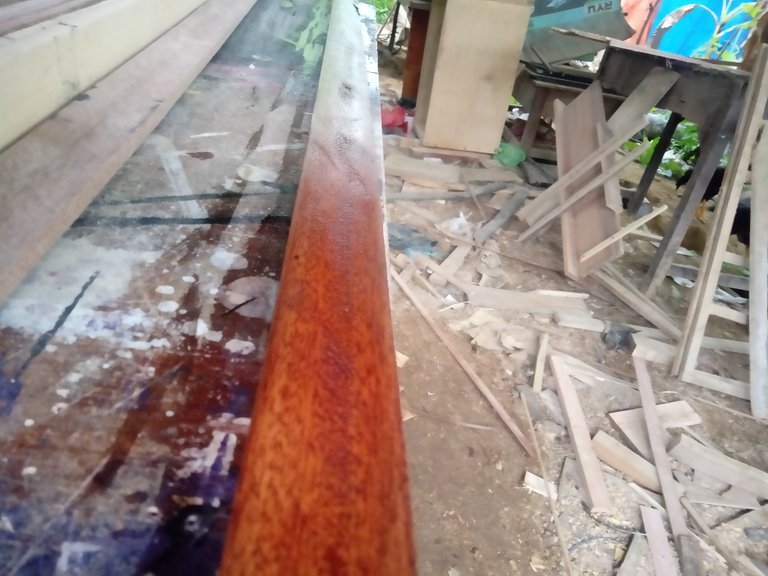
There are so many used goods around us that we can reprocess into useful items and of course it will be interesting, today I want to show you the results of my work that I finished yesterday afternoon in my workshop, all the materials I used in this project are used wood.
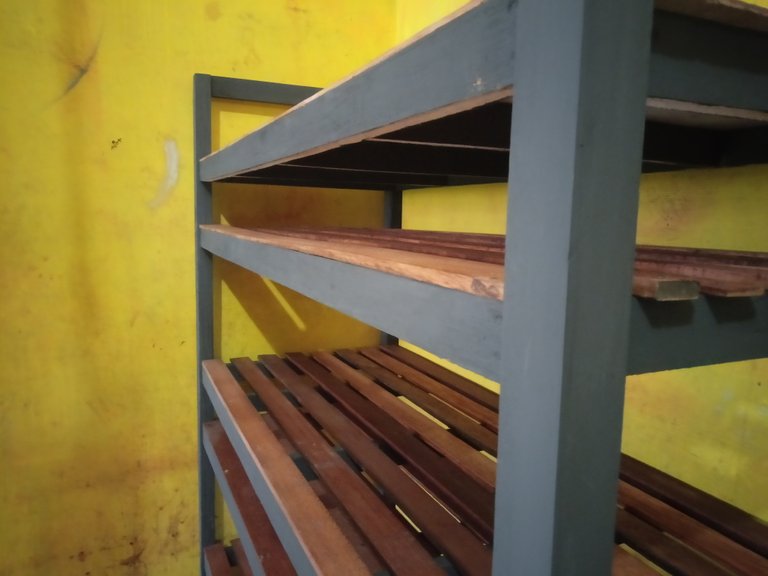
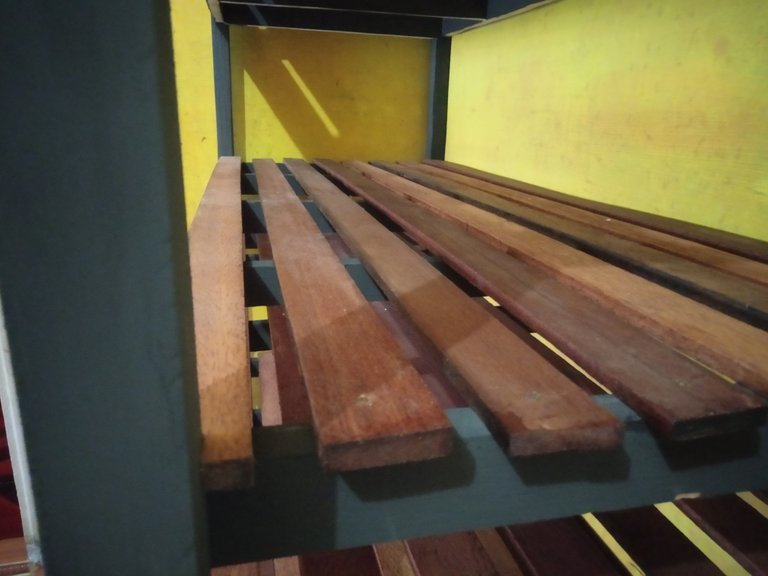
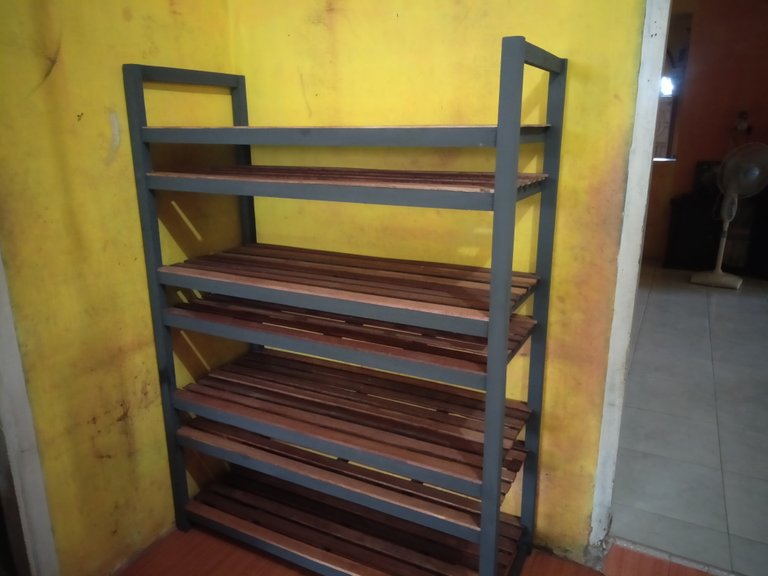
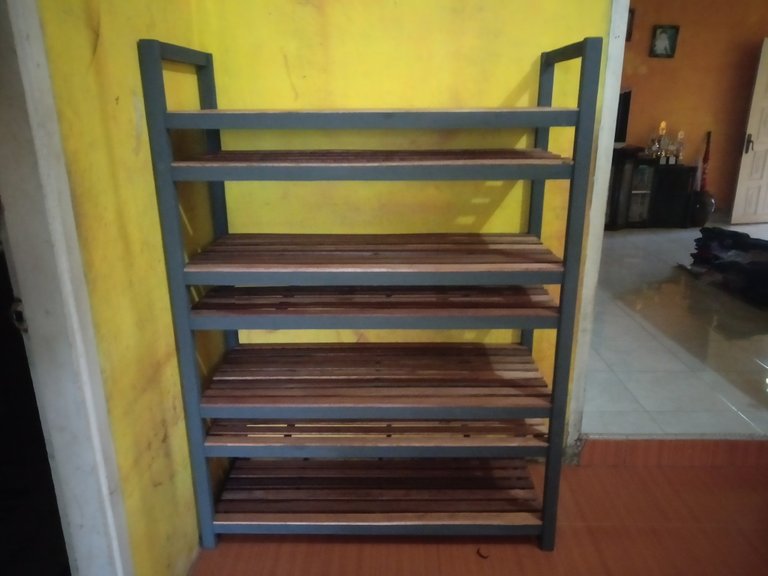
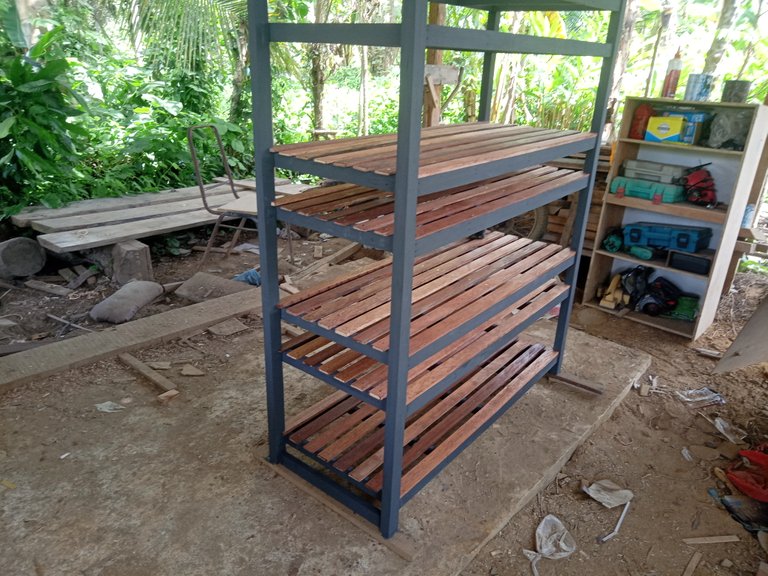
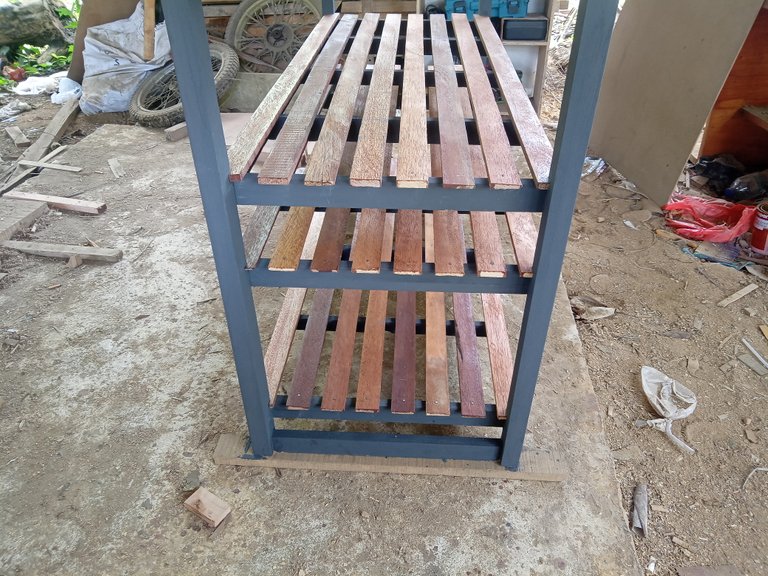
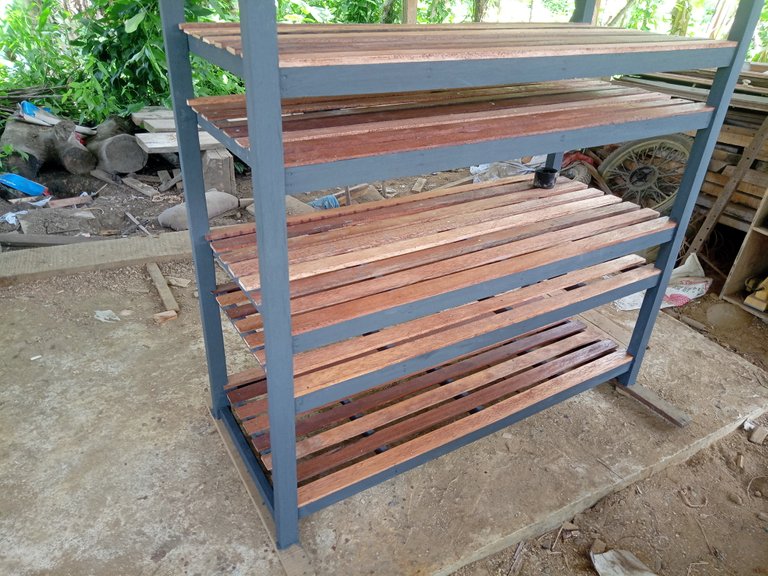
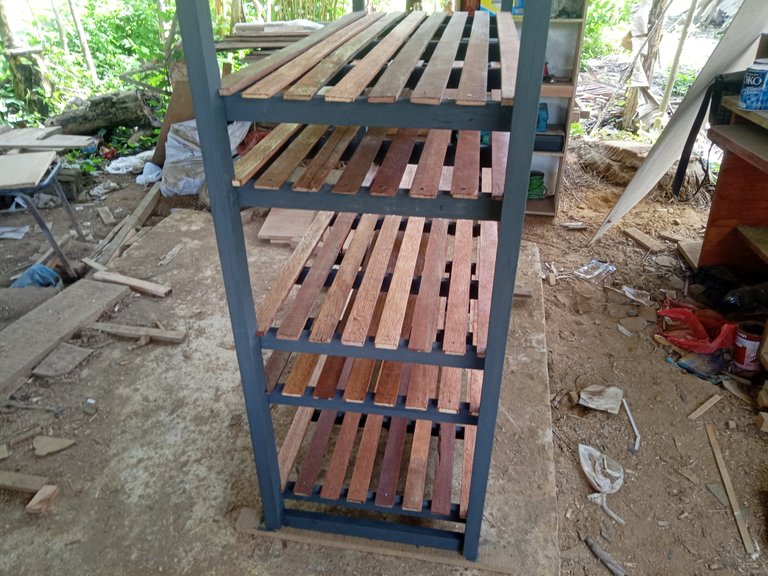
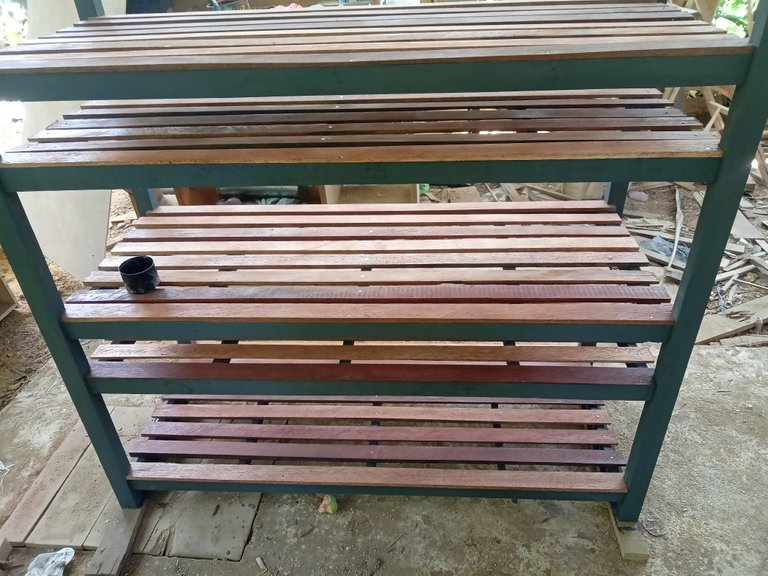
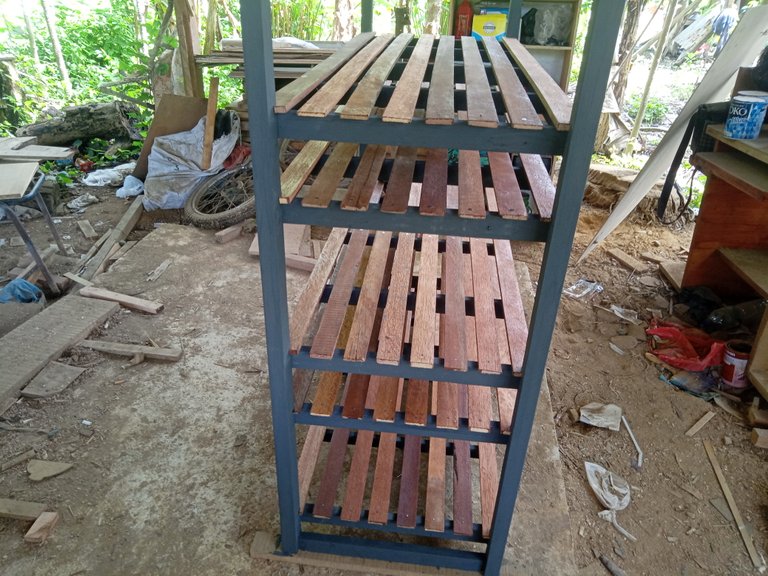
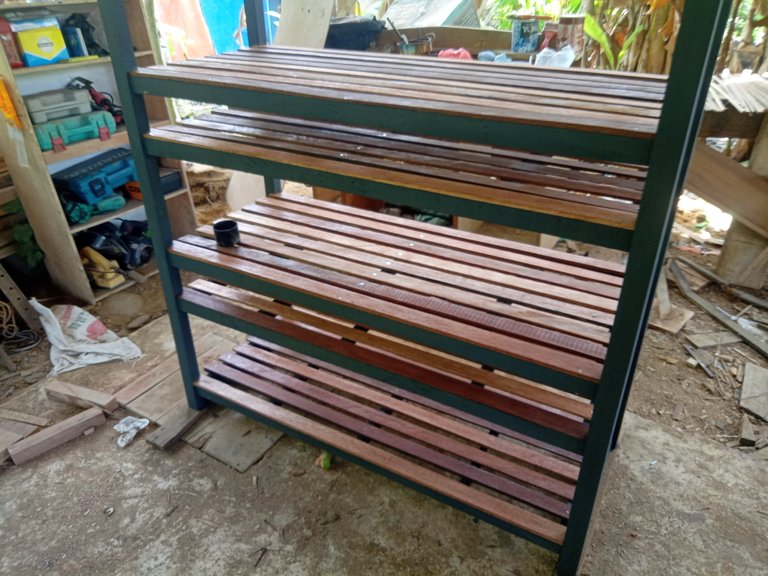
Four days ago my neighbor came to my workshop he said that there was a lot of used wood in his house which had been abandoned for quite a long time and he asked me to process it into a shelf that he could use in his kitchen as a place to put kitchen utensils, yesterday afternoon after I was ready to work on it I immediately delivered it to my neighbor's house and I saw that he was very happy with the results and he also said that he did not expect used wood to turn out like this.
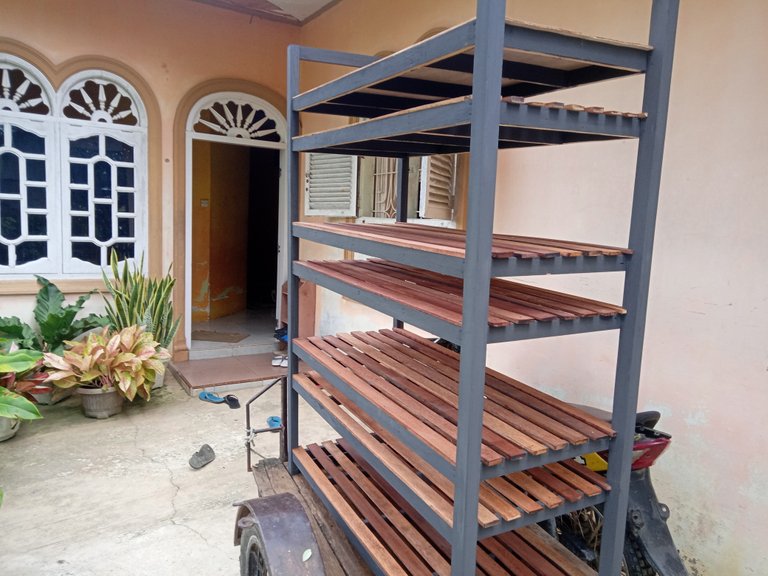
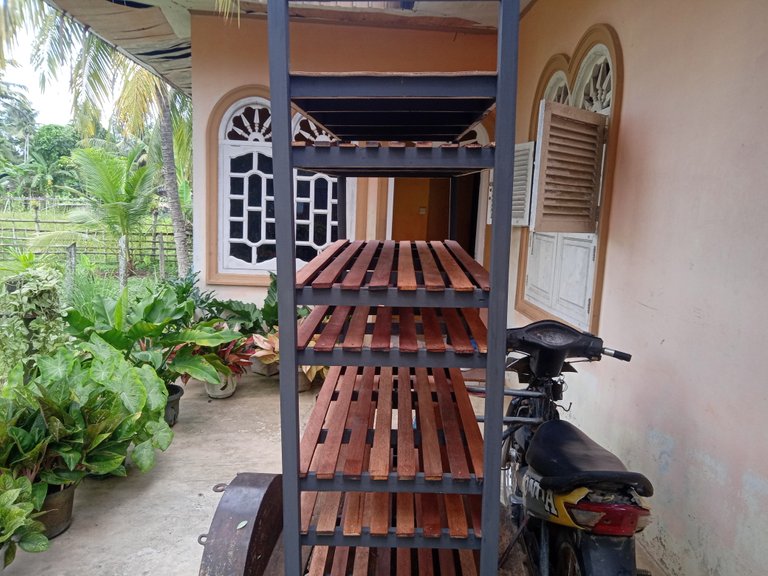
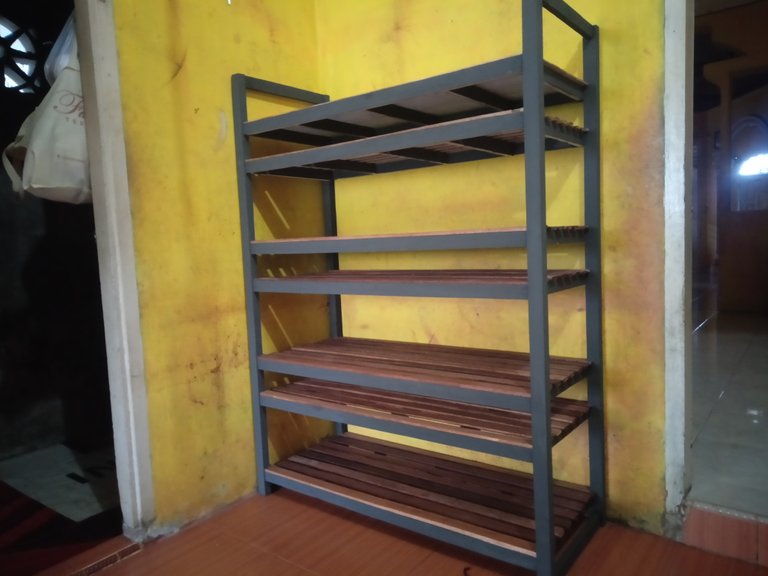
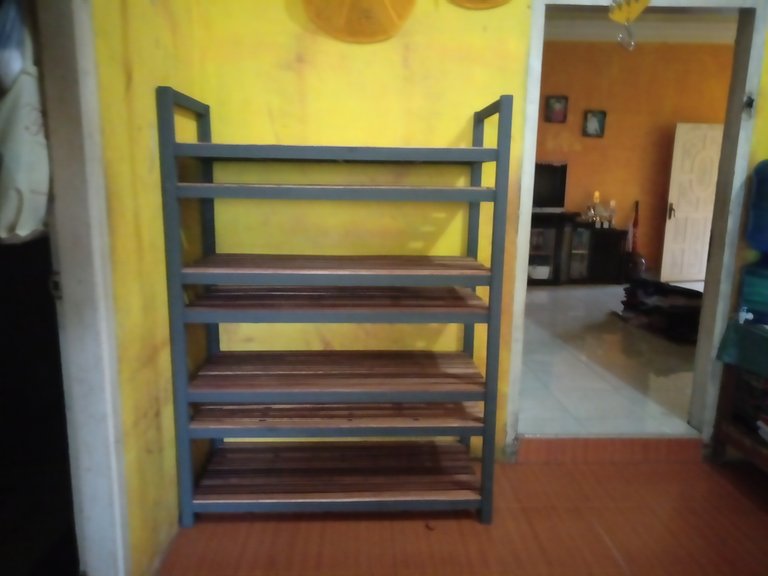
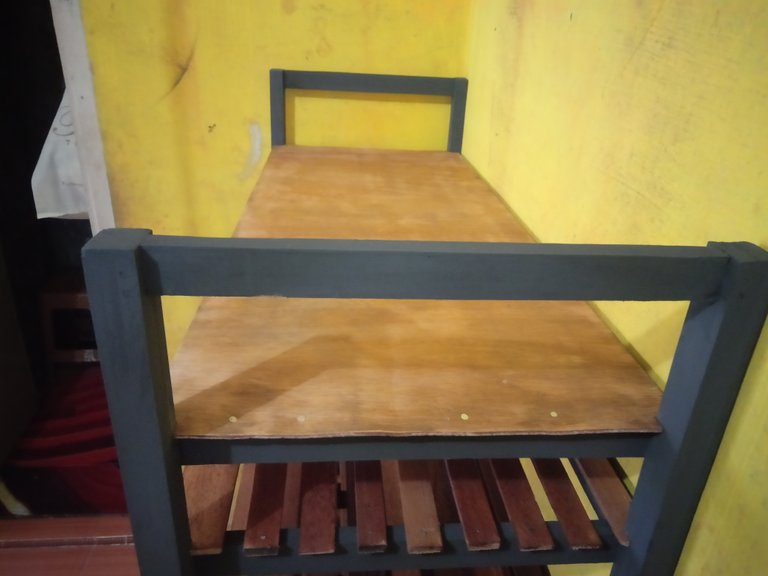
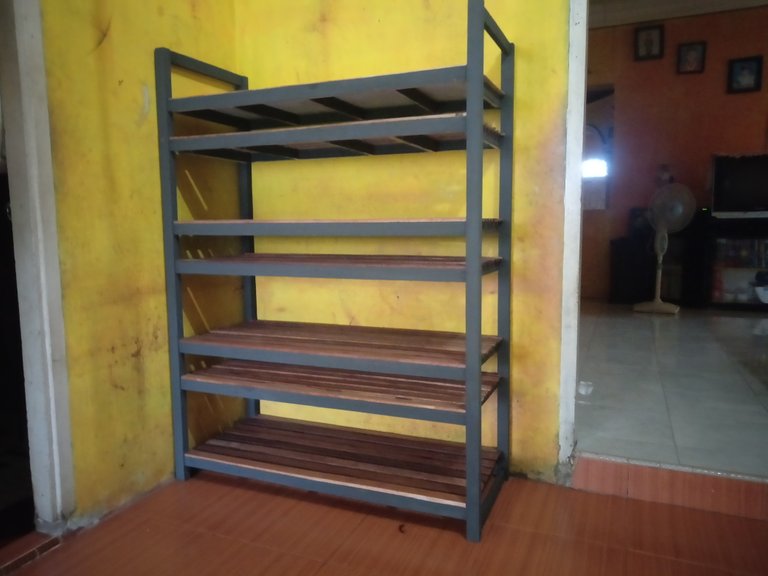
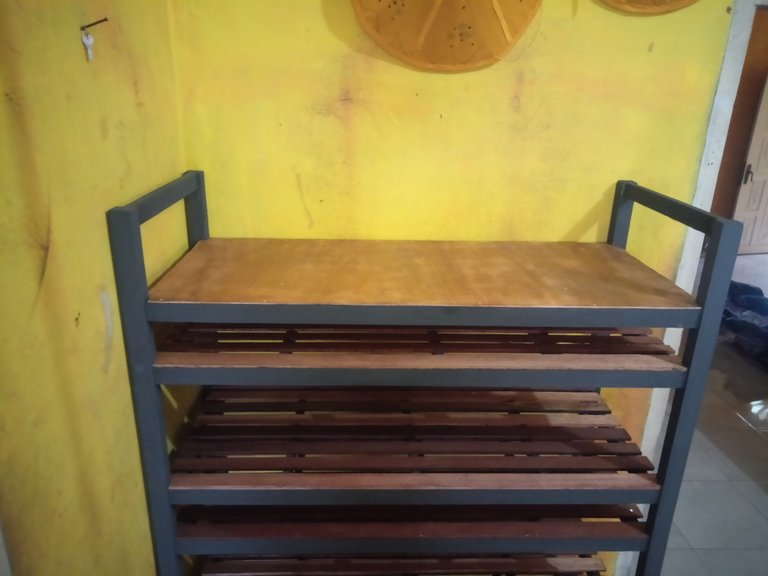
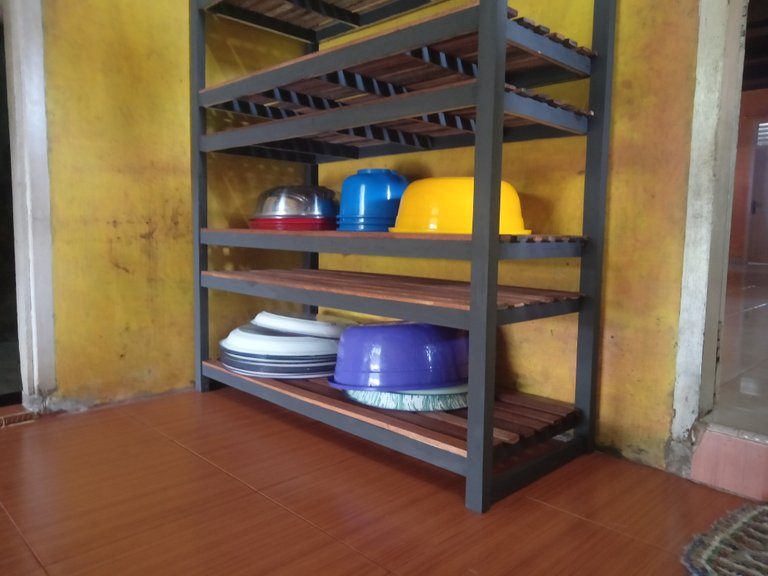
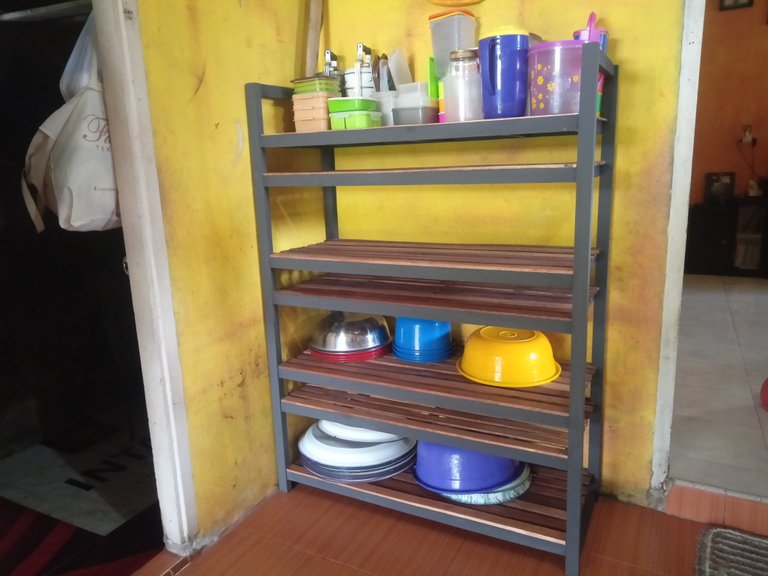
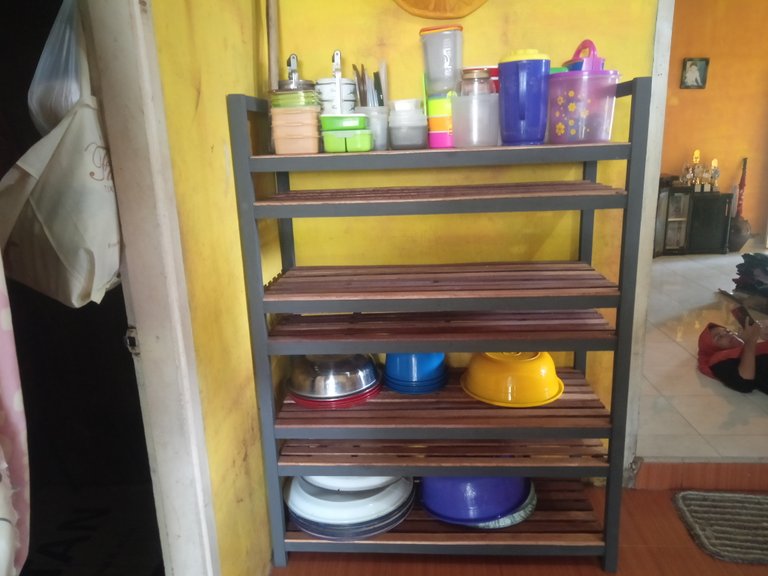
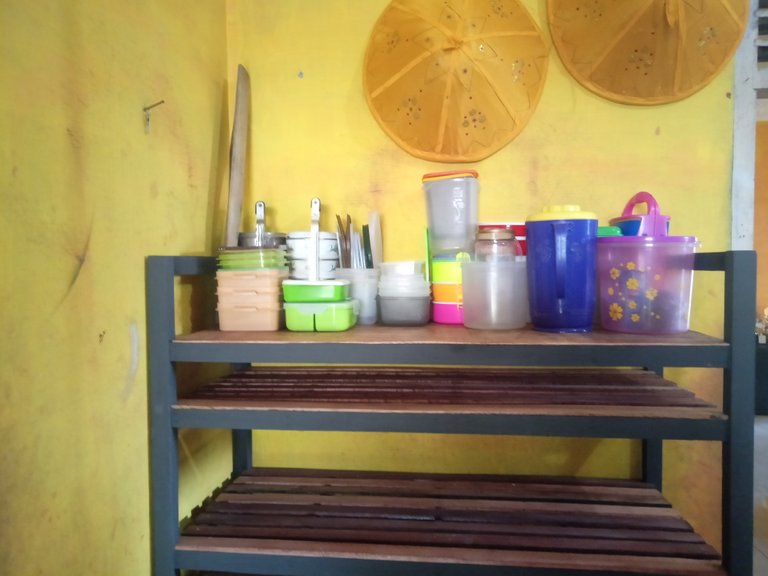
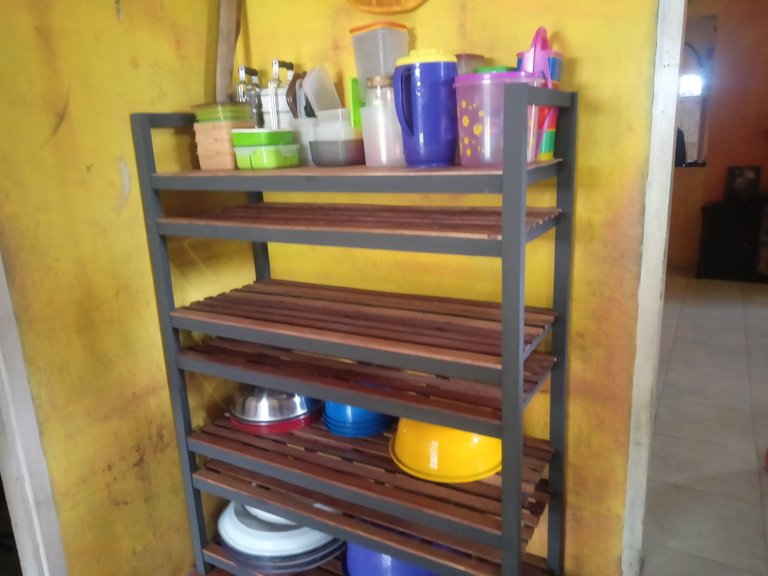
I think this is one of the challenges for me, because in processing used wood to become a product, I have to be really careful in checking all the used wood, maybe there will be a lot of nails or bolts that are still in the wood and I have to remove them first. first so that my machine is maintained, (such as for example) if the wood is not completely clean of nails then when I shave it with a hand planner the machine's blade will be blunt and it will take more time for me to sharpen the machine's blade and sometimes it is very annoying so I have to really make sure the wood is clean of nails or bolts.
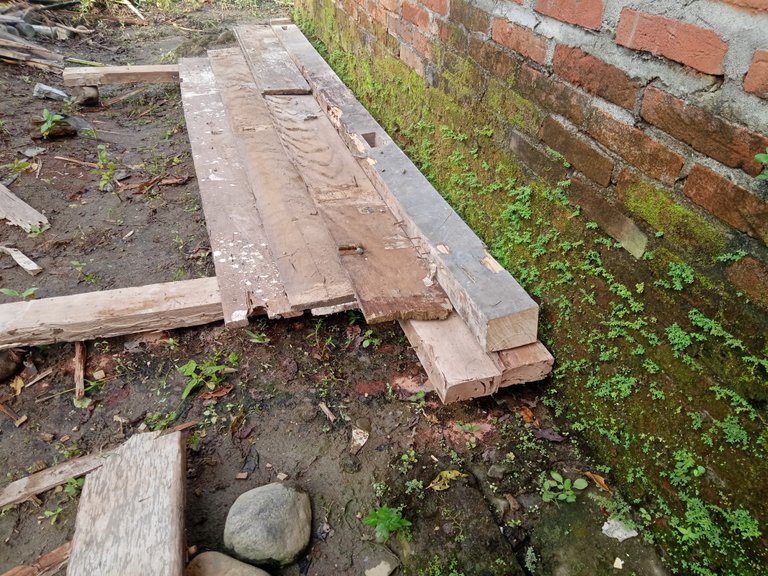
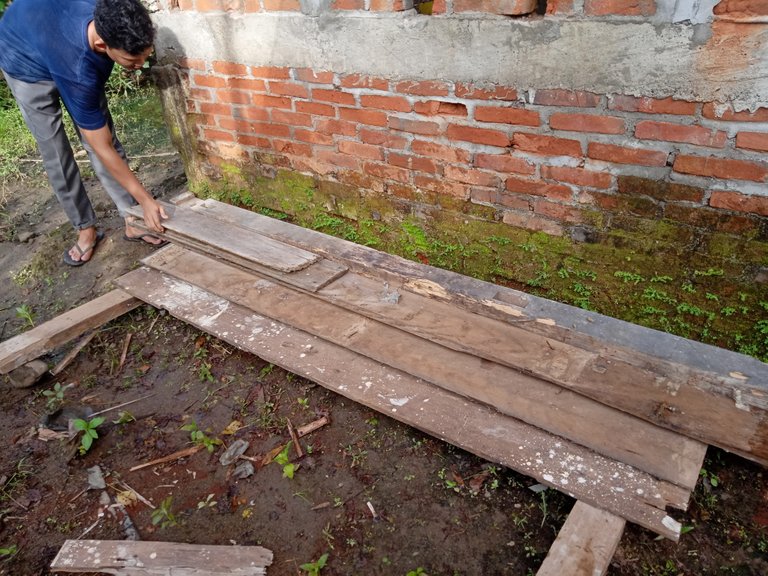
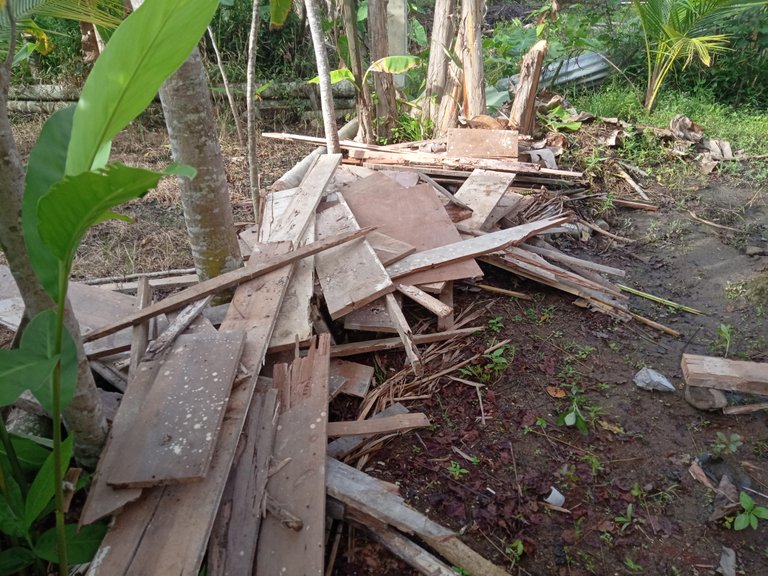
It took me almost half a day to pull the nails out of the wood, this was because of the many rusty nails and when I removed the nails they would break and the pieces would remain in the wood and I had to carve the wood a little so I could pull the nails out with a hammer. pliers and it's really very inconvenient, but that's what my job is to accept.
After all the wood is clean I start shaving and splitting all the wood into the size I need and I adjust that size to the existing wood, so let's get into the process.
First I prepared wood for the left and right poles as much as 4 parts with a size of 4 x 5 x 160 cm and wood with a size of 2 x 4 x 48 cm as a connector between the two legs as much as 4 parts,,
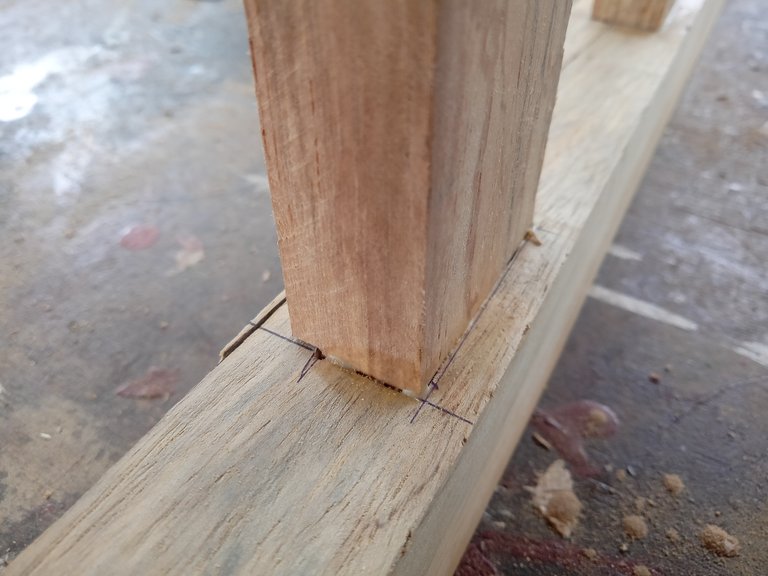
Then I started to outline and then carved it as a hole for the connecting wood panel, after the pole was finished I punched the hole I started assembling the four poles into 2 parts for the left and right.
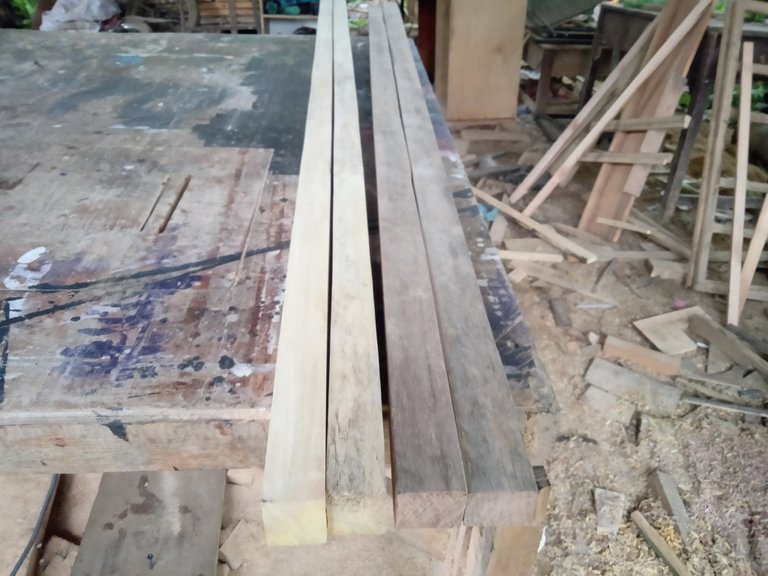
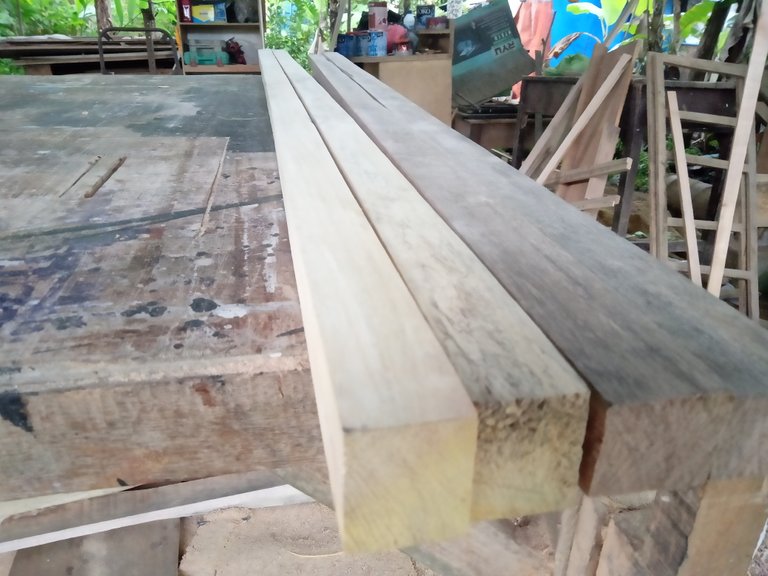
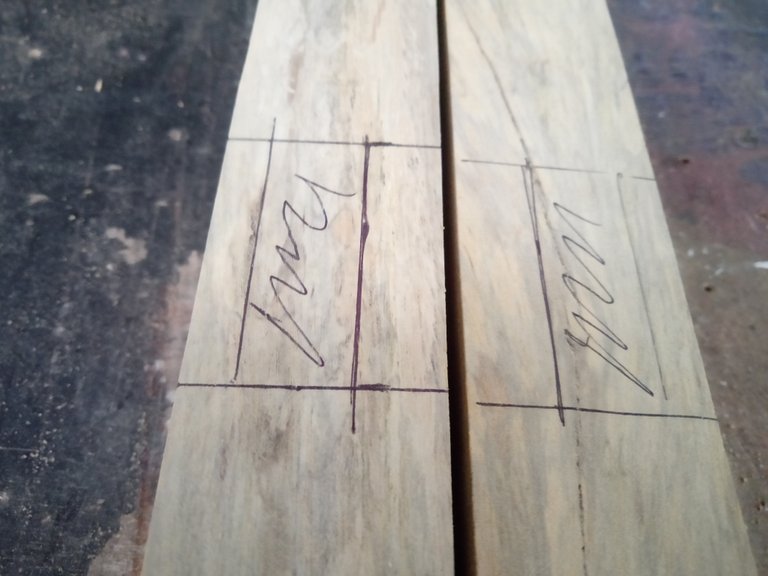
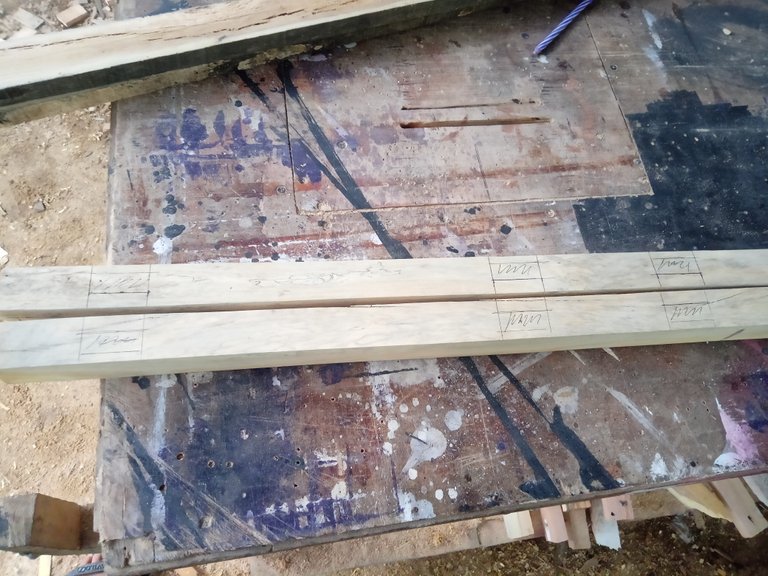
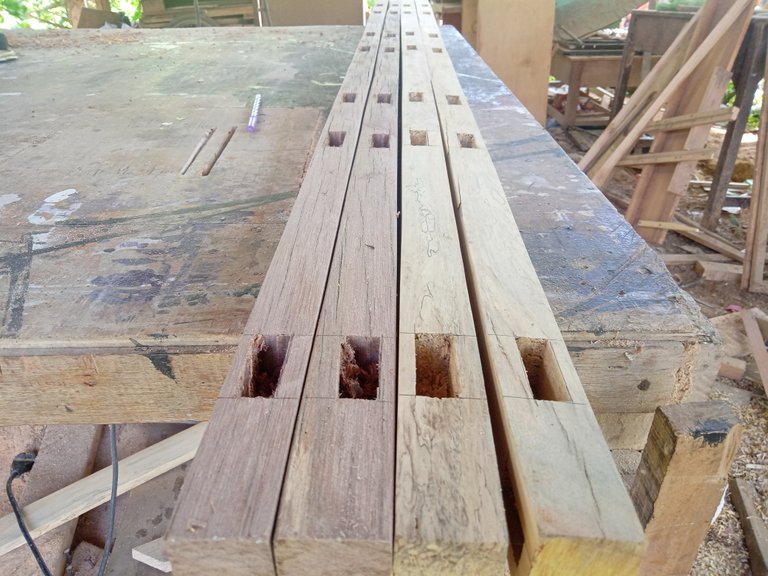
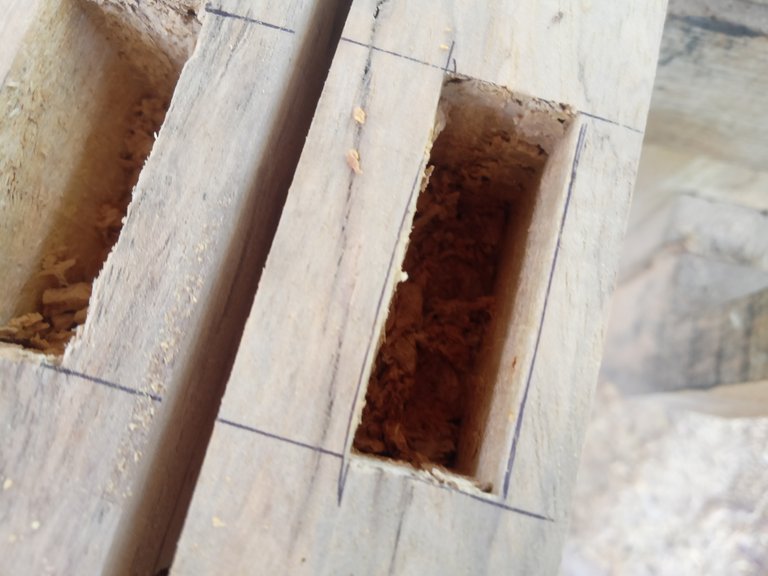
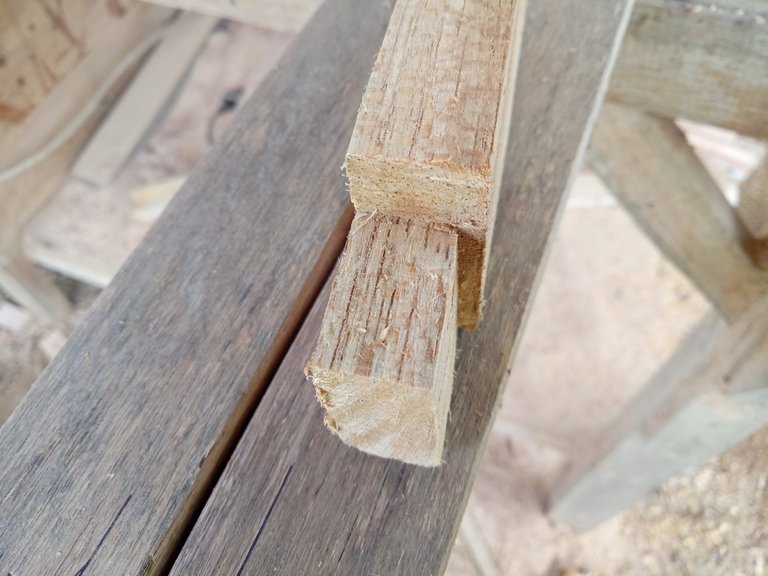
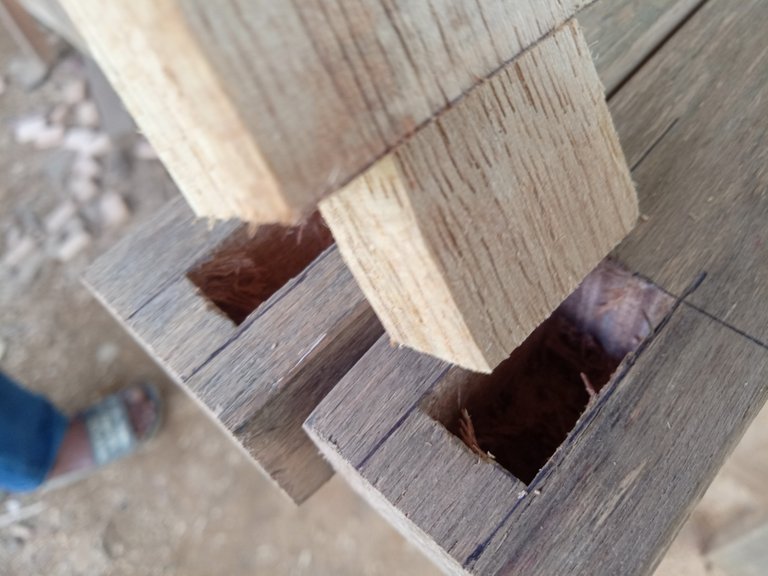
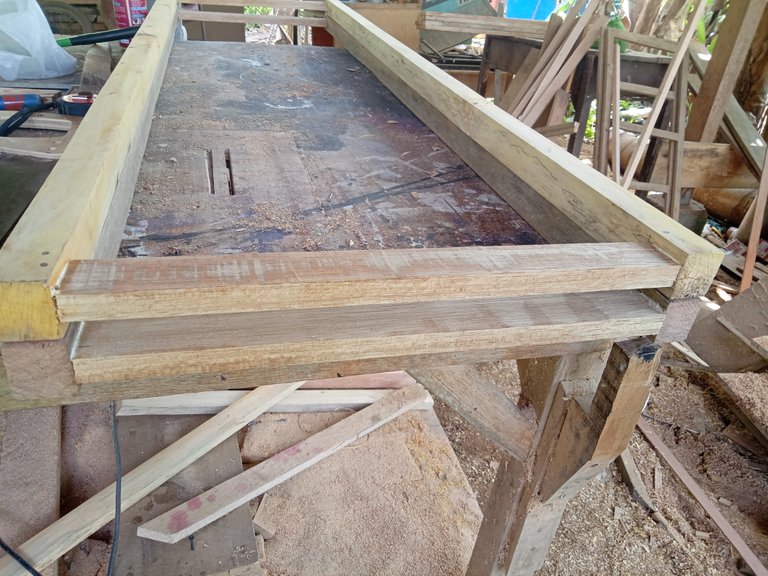
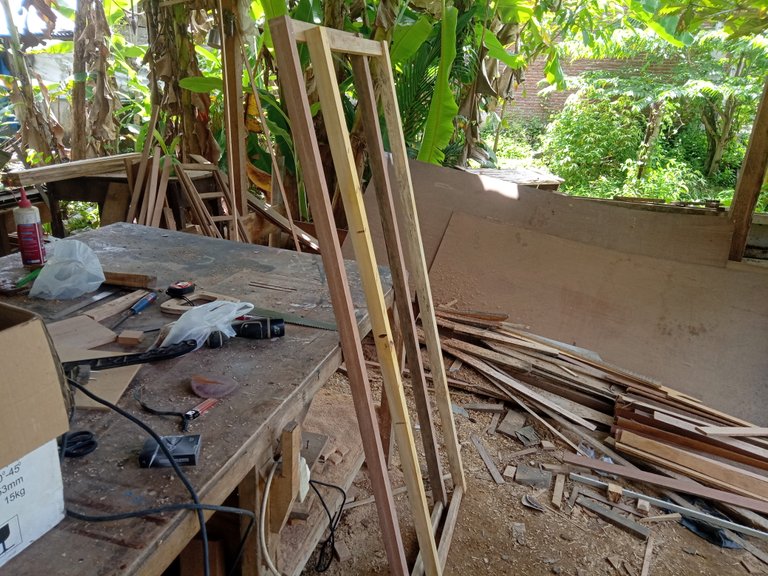
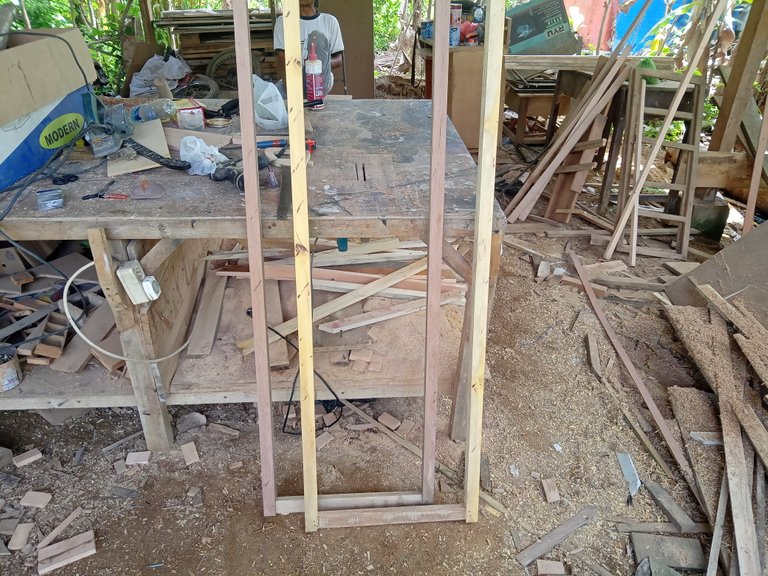
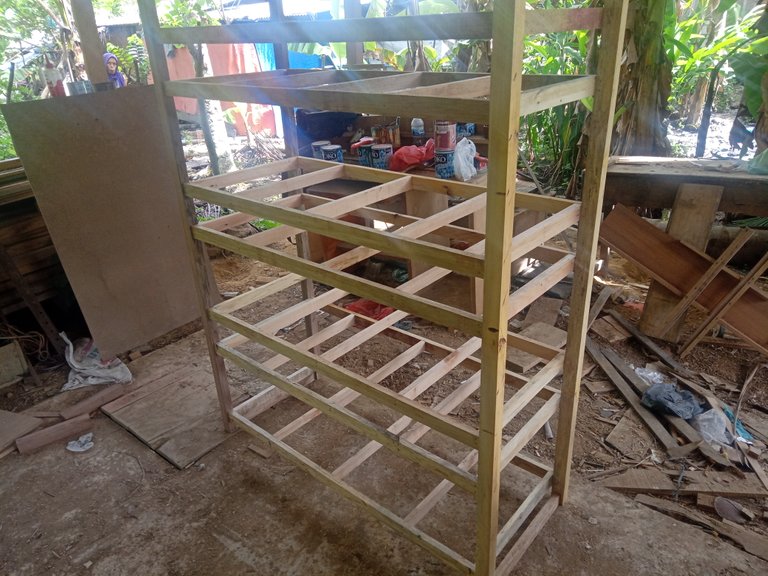
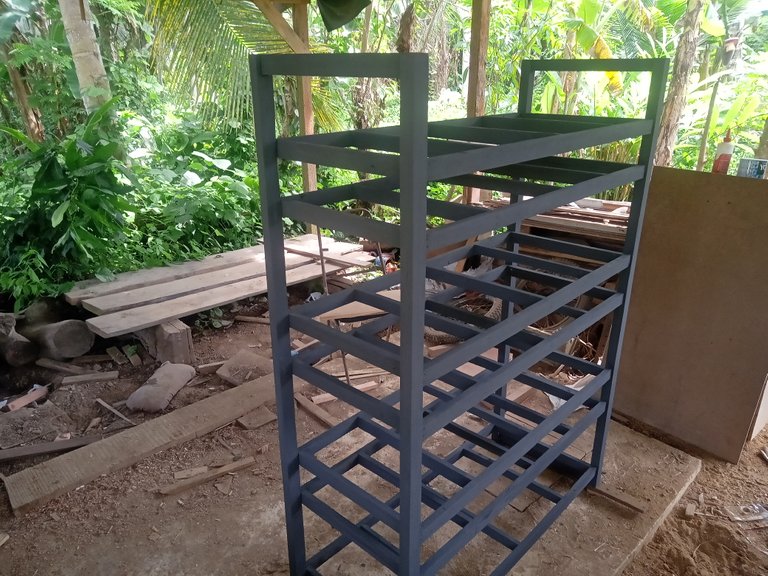
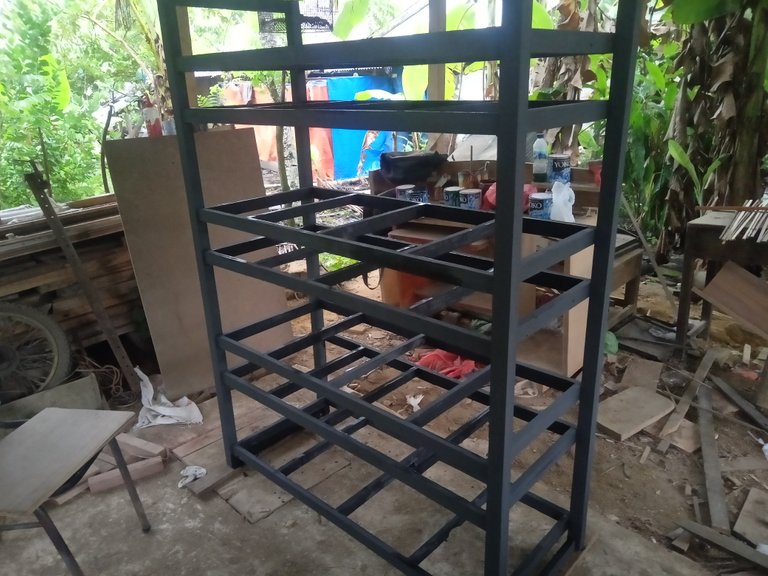
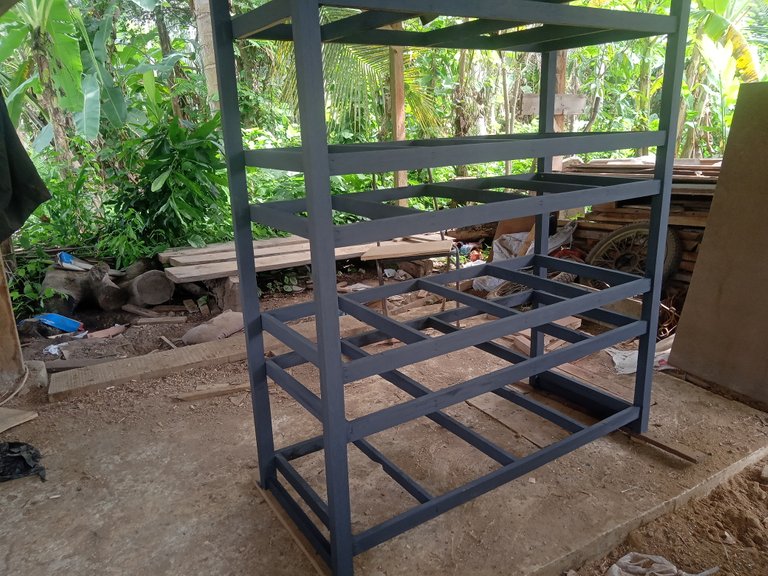
After the two parts of the legs are finished I assemble then I prepare the wood for the level of the shelf, I made this rack with 7 levels so I need 14 pieces of wood because each level I will install 2 wood on the front and behind this wood I split it with 2 sizes x 4 x 115 cm and later 5 cm of the length of the wood will go into the left and right side posts of 2.5 cm each as a panel.
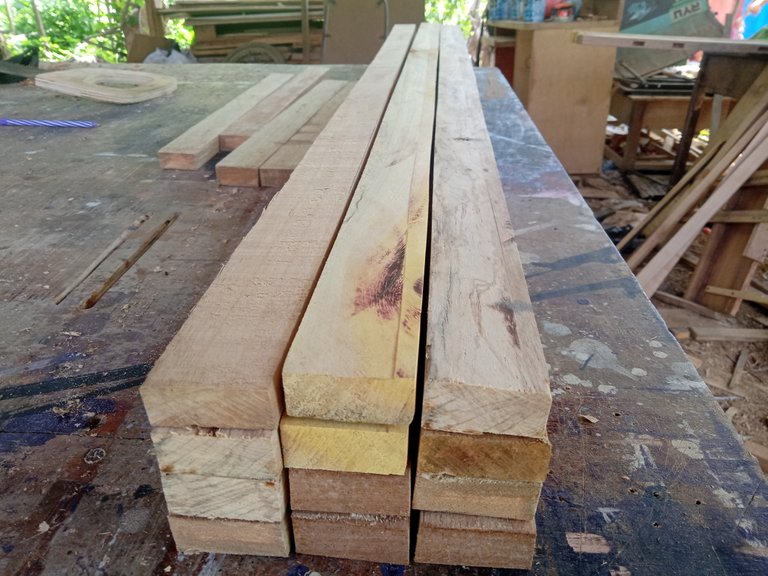
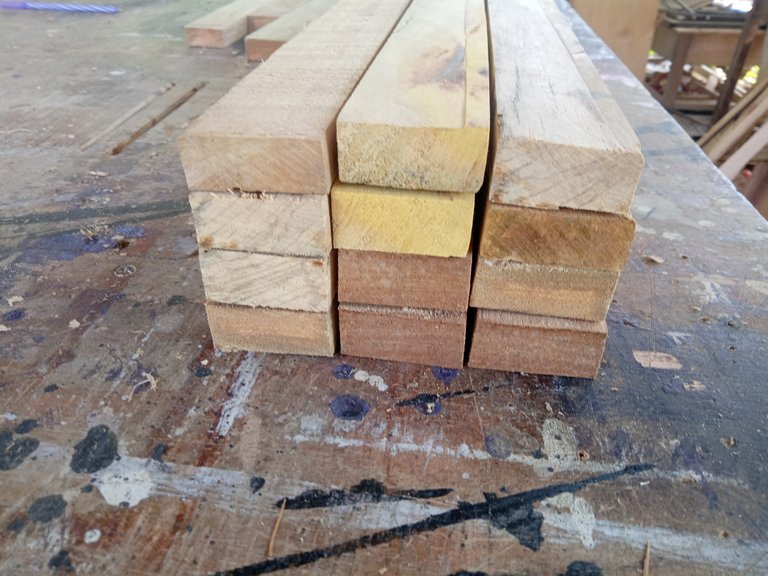
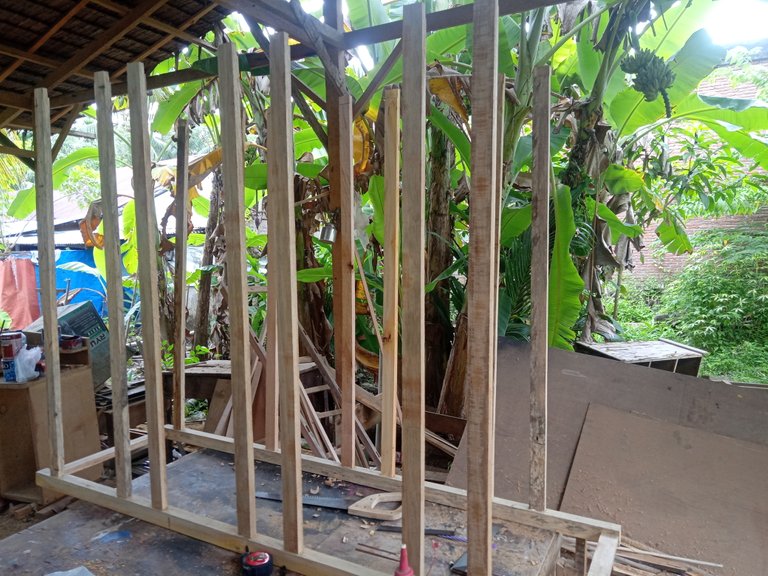
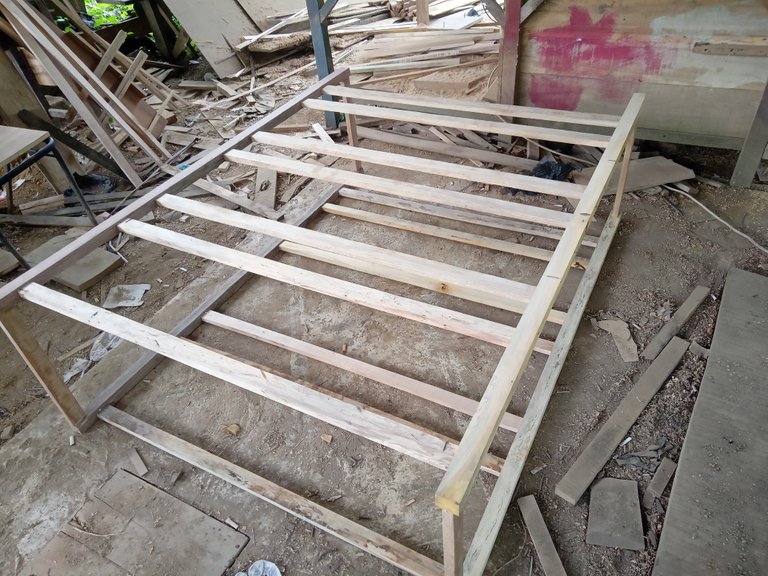
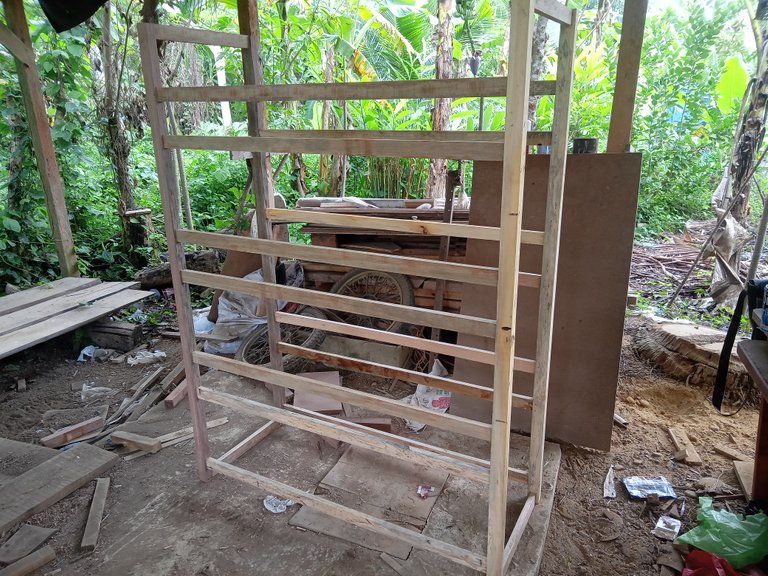
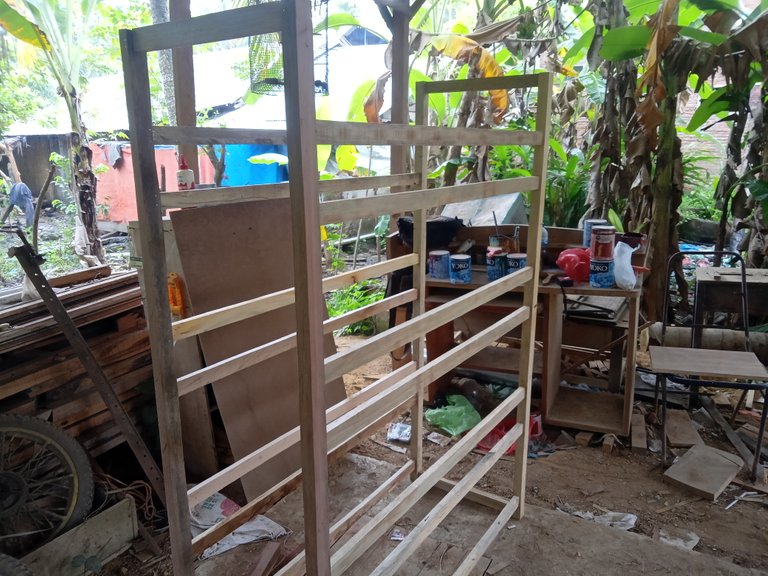
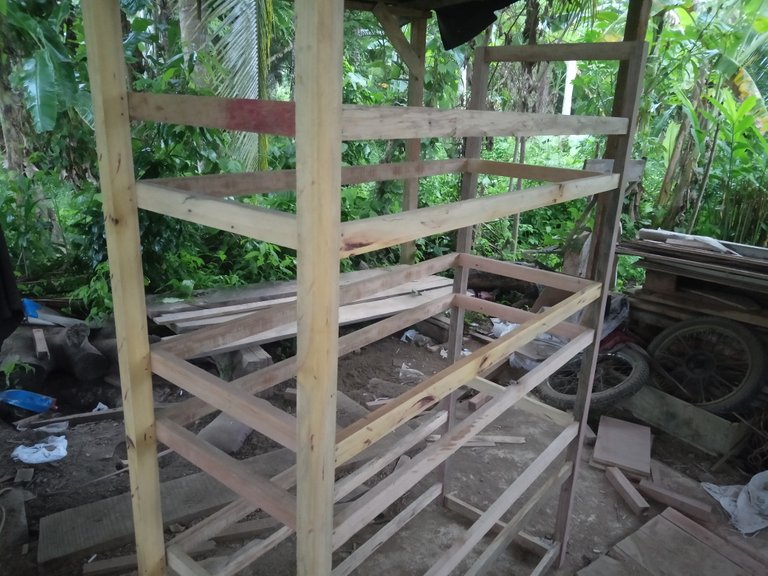
After I assembled it into a framework like in the picture, then I cut the wood with the same size but the length difference is 44 cm which I will attach to each level as a floor holder, each level needs 5 pieces, so I need 35 pieces of wood with that size .
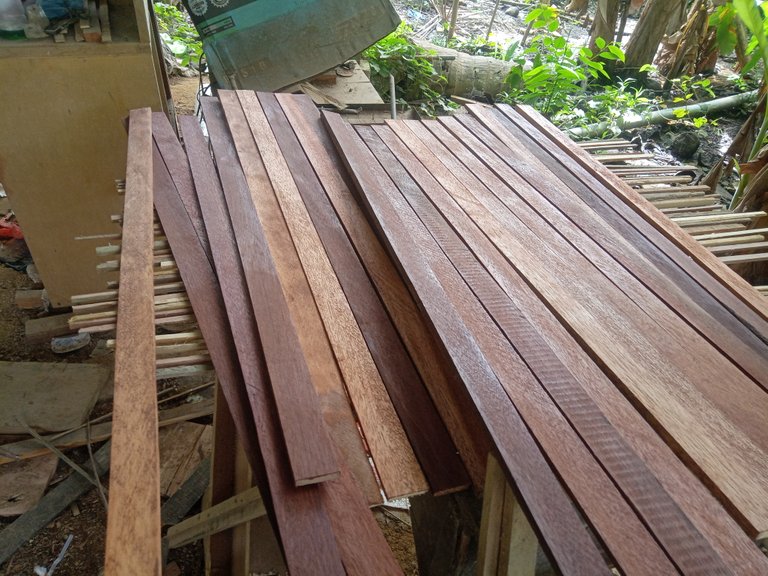
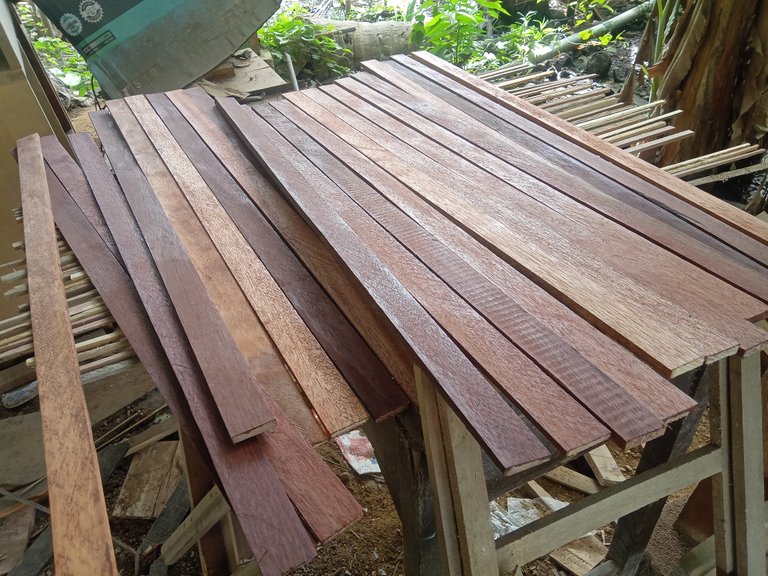
And then I prepared the wood for the floor for each level of the shelf with a size of 1 x 5 x 113 cm and at each level I needed 8 pieces of wood, so I needed 48 pieces of wood for 6 levels only because at the top level I used 6 mm plywood, because This is used wood, so the color of this wood is different, not just one type of wood, you can see it in the picture below.
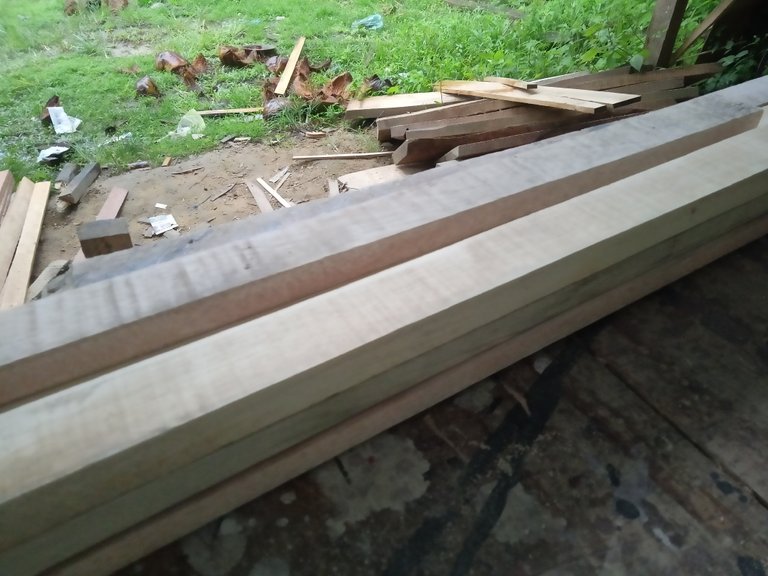
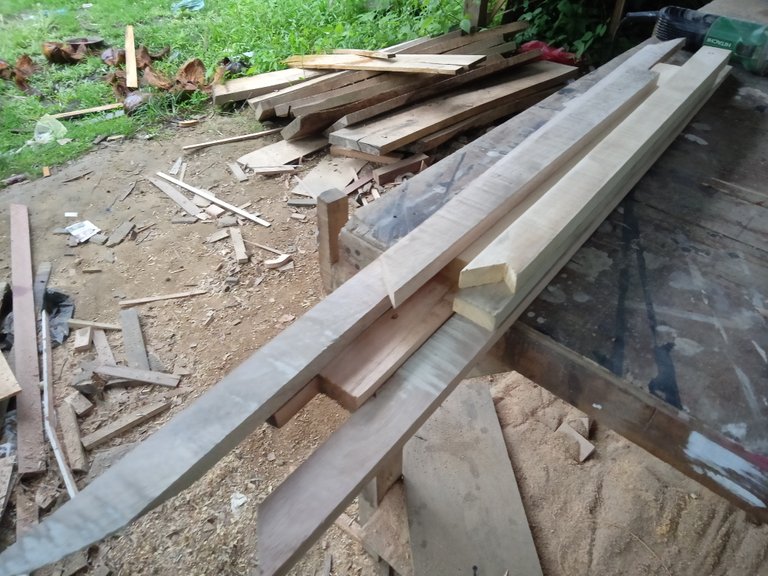
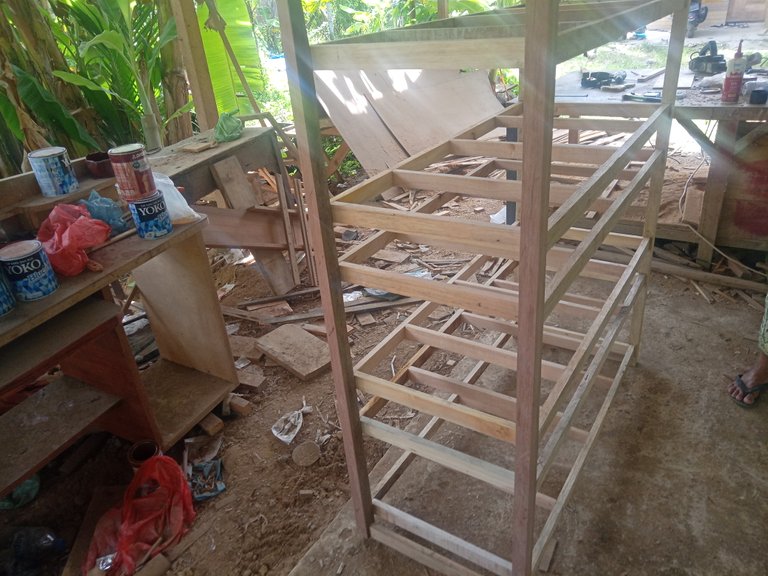
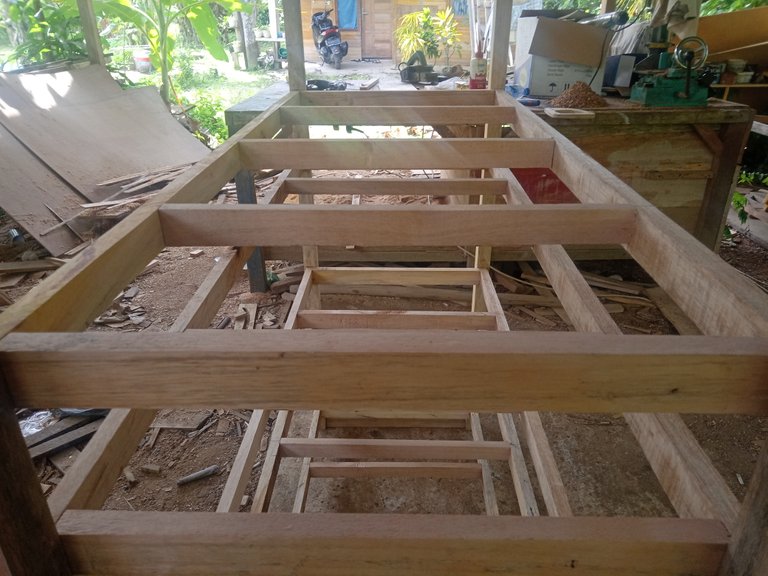
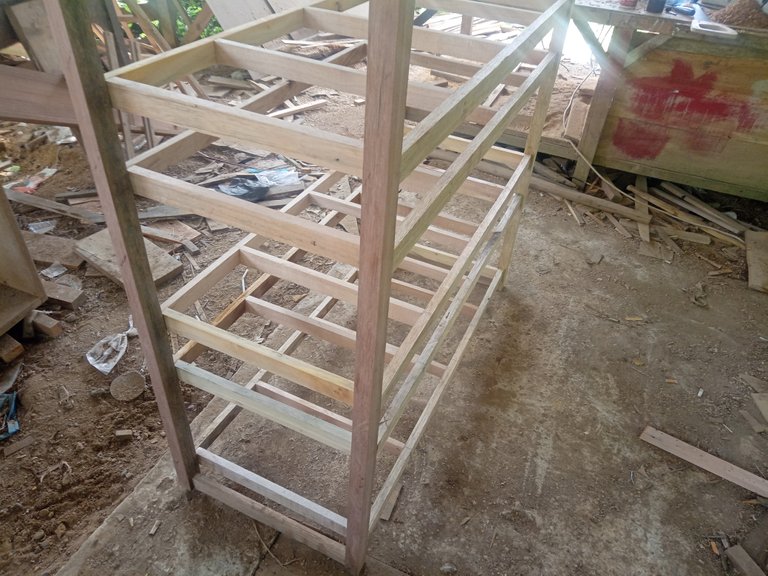
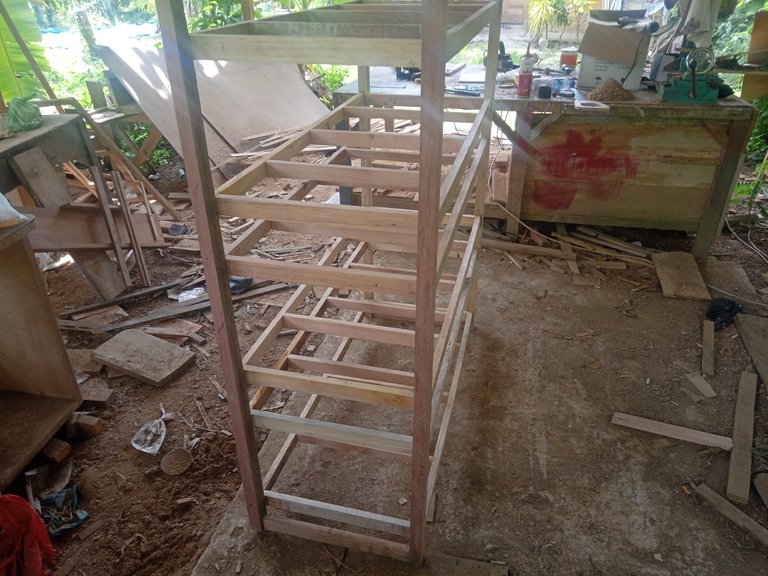
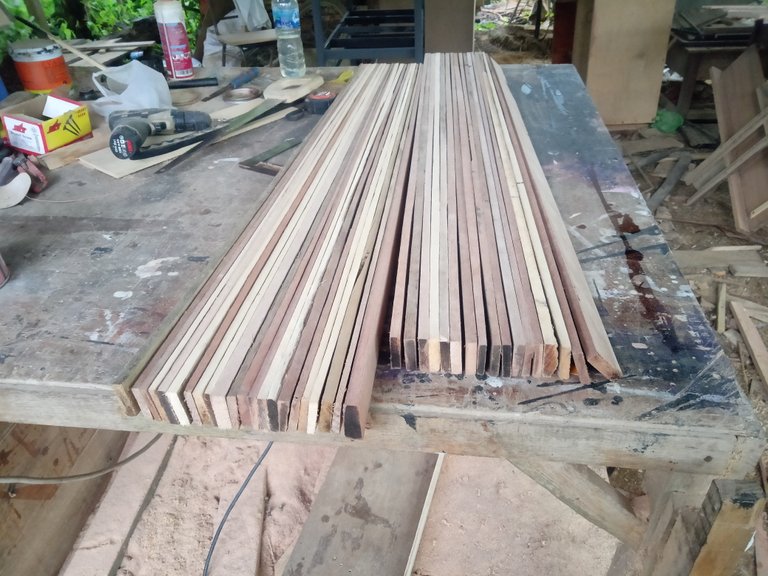
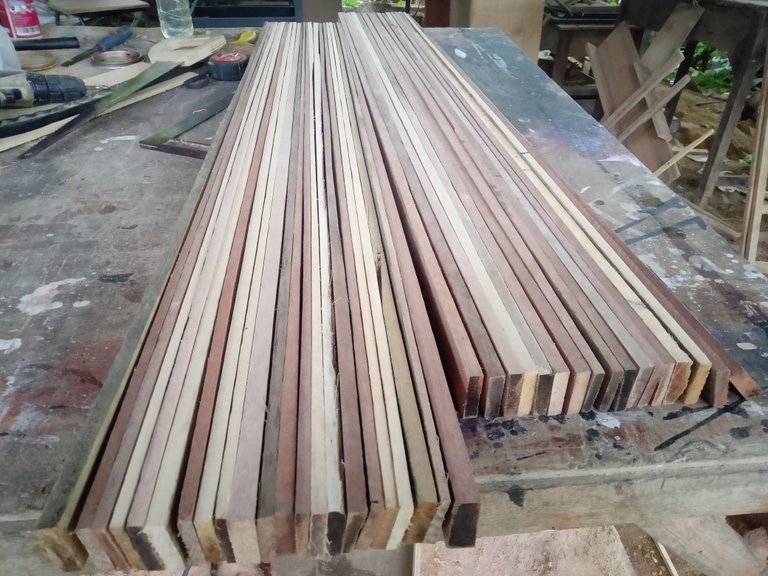
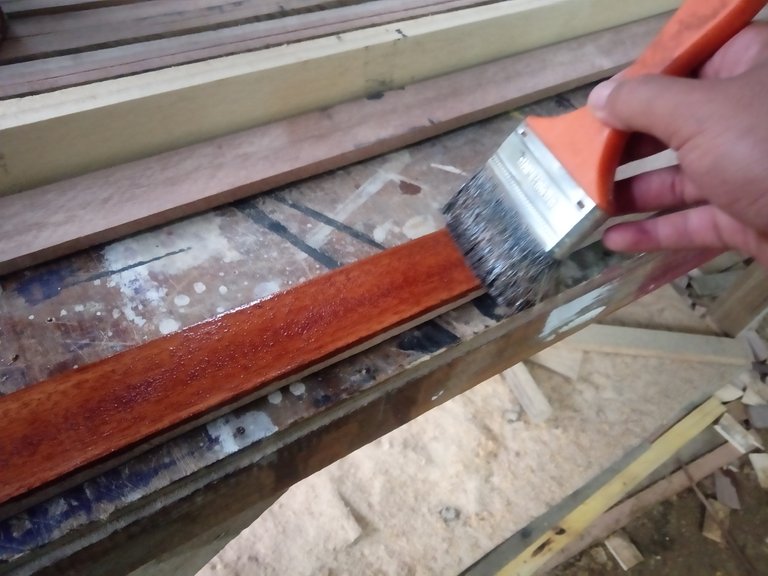
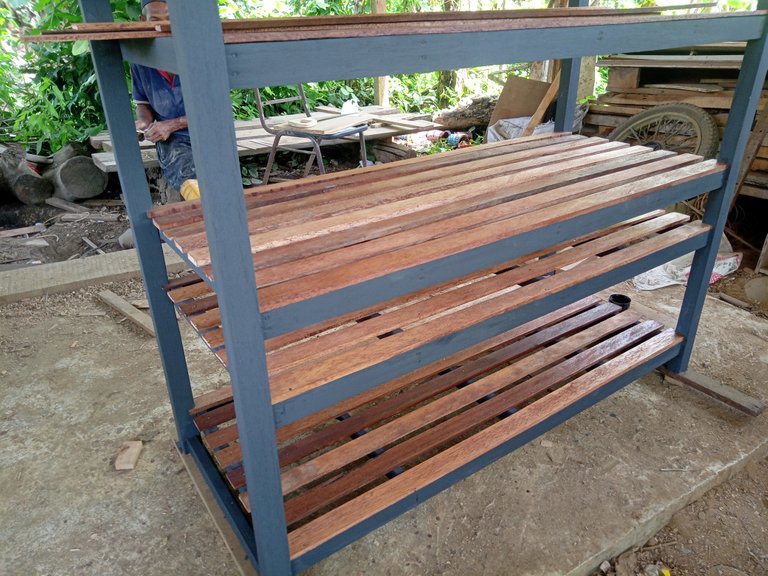
For the floor, I didn't put it on before I painted everything because I painted it in a different color for the frame of the shelf I painted it using black dove paint to make it look like an iron shelf and for the floor of the shelf I painted it using wood varnish paint, this time I was helped by my friend paints the frame and I paint the floor myself, he often visits my workshop and he also really likes woodworking but he's not very good at it.
After everything was finished in the paint I waited until the paint was completely dry then I started attaching the floor of the shelf by nailing it..
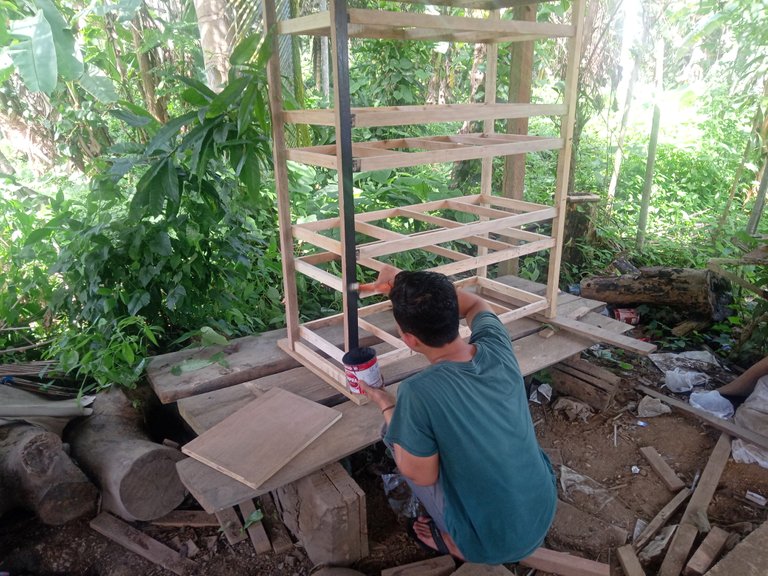
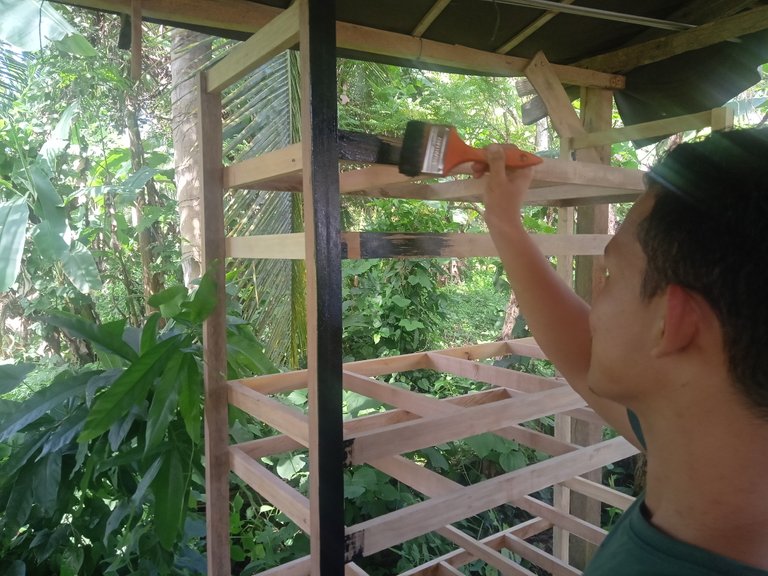
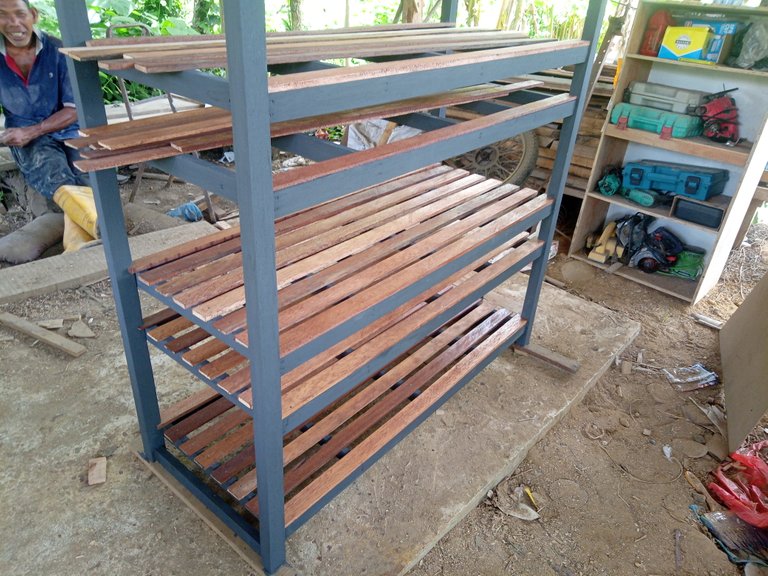
That's the process of processing used wood into useful results that I did in my workshop, I hope you like my post and greetings architectural design....
A half a day for make that items is too fast. You did well.. I looking forward your next work. It's nice to see you enjoy your job.
thank you very much for the support I appreciate it,,,
actually I did it 2 days and half a day what I said in my post is the time I use to pull the nails in all the wood that I will work on until the wood is completely clean of the nails. ...
I'm sorry if my writing above makes you not understand..🙏
Oh, It's like I didn't understand, sorry :D
but I will still praise you cause make a product is not easy tough.
Congratulations @lancang! You have completed the following achievement on the Hive blockchain and have been rewarded with new badge(s):
Your next target is to reach 800 upvotes.
You can view your badges on your board and compare yourself to others in the Ranking
If you no longer want to receive notifications, reply to this comment with the word
STOPTo support your work, I also upvoted your post!
Support the HiveBuzz project. Vote for our proposal!
Awesome work. Great end product.😃
Thanks so much ..
You’re welcome. 😃
Thank you for sharing this post on HIVE!
Your content got selected by our fellow curator priyanarc & you received a little thank you upvote from our non-profit curation initiative. Your post will be featured in one of our recurring curation compilations which is aiming to offer you a stage to widen your audience within the DIY scene of Hive.
Next time make sure to post / cross-post your creation within the DIYHub community on HIVE and you will receive a higher upvote!
Stay creative & hive on!
Thanks for the support...
simple but very useful
Thanks for stopping by....
Definitely @lancang. Reusable wooden materials must not be put to waste! It just takes some creativity to produce a piece of furniture that appears brand new! As the popular saying goes, "One man's garbage is another man's treasure", right? So this concept pretty much applies to your post story today. 😊
Black Dove Paint - I'll remember this specific finish. At first glance, I really thought that the shelving unit's framework was entirely made out of metal. You produced an excellent job with the final results. Well done! 👍
Are you using enamel paint for the black dove finish? Or is there another type of paint used to achieve the metal texture? I also wonder why the paint is called black dove but the outcome seems to be dark gray in color?
I use a paint that is almost similar to enamel paint, but enamel paint produces a glossy color, the paint I use is similar to acrylic paint and I choose a matte one.......
for this final color, I'm not really I understand colors and I think it's black dove but after I saw your comment, it's also true that it's more like dark gray, hahhaha☺️☺️,,,
and this paint is also not the paint I bought so I also don't really know the color, this paint is from my neighbor who ordered the shelf and on the tin there is only a number code for a certain color not writing for a certain color.
thank you for asking about that color...it's will make me know more about colors....
Amazing @lancang! Acrylic paint in matte finish would absolutely do the trick for mimicking a metal look on wooden surfaces. Otherwise, if a glossy paint texture is applied, the effect of a plastic feel is achieved - contrary to our initial purpose. 👍
Let's just ignore paint names for the time being as I also had some confusion with that in my projects, haha 😁 To solve this dilemma, I usually review the various selections on a color palette chart/brochure and request for actual paint samples. This way, I could be 100% certain of the desired results. 😊
Cool shelf. Making such a shelf from a bunch of different boards is a real skill.
Thanks very much....
You can support the new proposal (#240) on Peakd, Ecency, or using HiveSigner.
Thank you!Dear @lancang,May I ask you to review and support the new proposal (https://peakd.com/me/proposals/240) so I can continue to improve and maintain this service?
Of course i will
Very nice, I love the final product. I hope I can also make this, I think it is very useful.
Thanks so much for stopping by my friend,,,,
You're welcome (^_^)