ENG
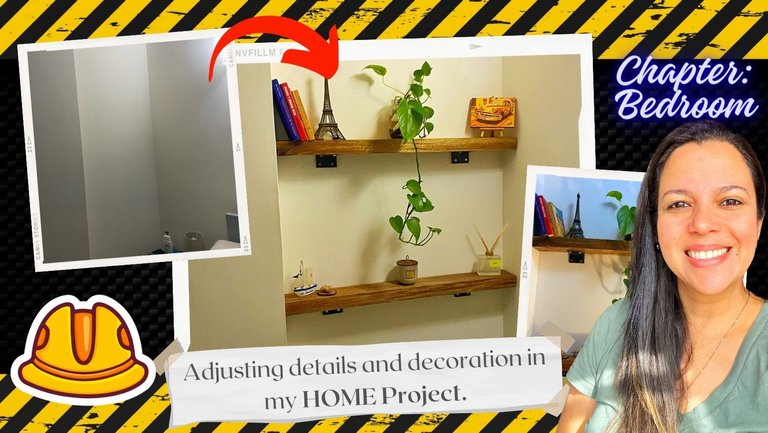
Hello friends, how are you? How is December starting for you? I am getting happier every day, because I have practically finished my pending projects, which I have been gradually uploading as my HOME Project. Today I will share with you a great and gratifying idea, besides, it is something that didn't cost me so much work to do, I don't know if sometimes it happens to you that some things cost you more than others or are very complicated? Well, it has happened to me throughout this ambitious project; basically because remember that I have done things mostly alone or with the help of my partner when he can, since he works a lot and almost all day long. So when he could help me, I really appreciated it and optimized my time better. So of the "chapters" I will show you, this was one of the simplest and the one that didn't give me any surprises, the beautiful REPISES OF MY ROOM.
ESP
Hola amigos, cómo están? Cómo está iniciando diciembre para ustedes? Yo voy cada día más contenta, porque ya prácticamente terminé mis proyectos pendientes, que fui subiendo paulatinamente como mi Proyecto HOGAR. Hoy les compartiré una idea genial y gratificante, además, es algo que no me costó tanto trabajo hacer, no sé si a veces les pasa que unas cosas les cuesta más que otra o se les complican muchísimo? Bueno, a mí me ha pasado a lo largo de todo este ambicioso proyecto; básicamente porque recuerden que he hecho las cosas mayormente sola o con ayuda de mi pareja cuando puede, ya que trabaja mucho y casi todo el día. Así que cuando podía ayudarme, lo agradecía mucho y optimizaba mejor mi tiempo. Así que de los “capítulos” que les mostraré, este fue uno de los más sencillos y el que no me dio ninguna sorpresa, las bellas REPISAS DE MI HABITACIÓN.
ENG
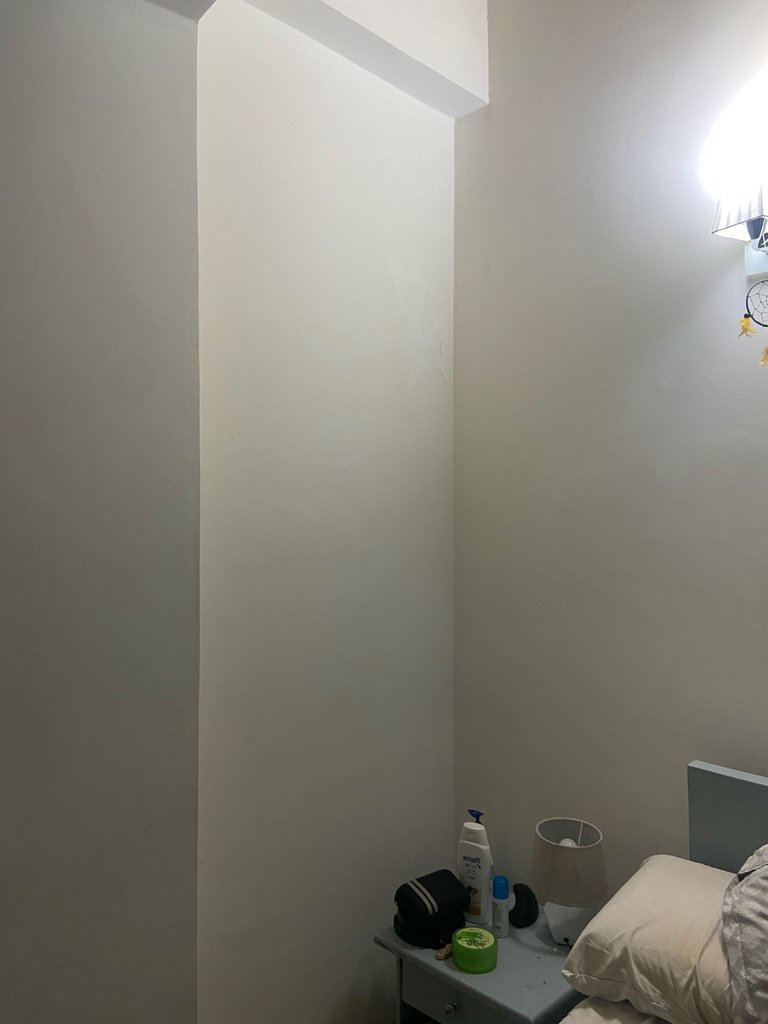
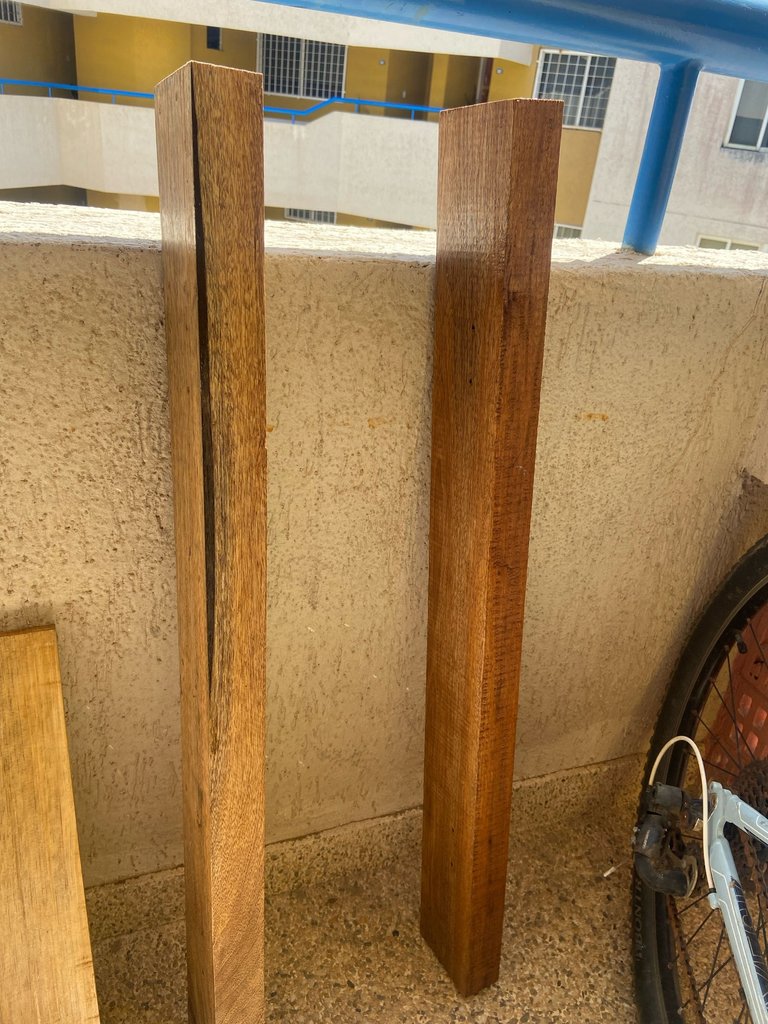
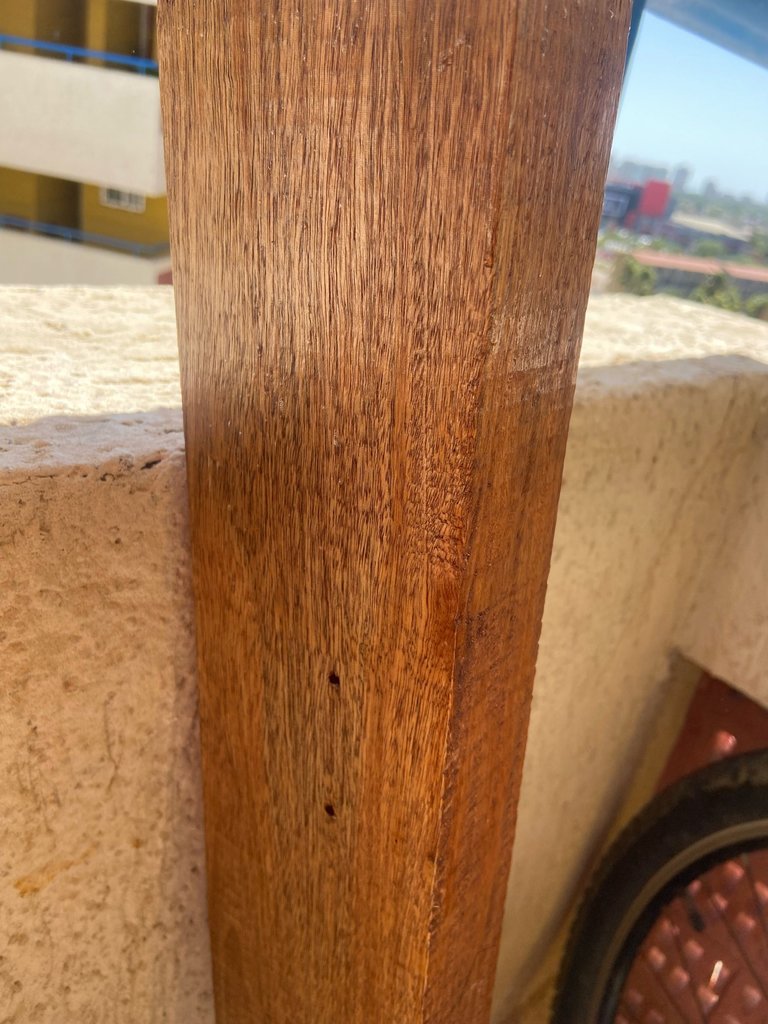
Now, the idea was born one day when I went to bed and saw that wall and felt it empty and with a lot of potential to give me work (as if I didn't have enough) and place a small feng shui or relaxing corner there. After thinking about it, we came to the conclusion to put a couple of shelves, since the space had a depth of 15 centimeters and I had pieces of boards 10 centimeters wide that I had left from the construction of my attic and the length was enough to put the 2 I wanted.
ESP
Ahora bien, la idea, nació un día cuando me acostaba y veía esa pared y la sentía vacía y con mucho potencial para darme trabajo (como si ya no tuviese suficiente) y colocar un pequeño rincón feng shui o relajante ahí. Luego de ponernos a pensar, llegamos a la conclusión de colocar una par de repisas, ya que el espacio tenía una profundidad de 15 centímetros y yo tenía trozos de tablas de 10 centímetros de ancho que me habían quedado de la construcción de mi ático y el largo era suficiente para poner las 2 que quería.
ENG
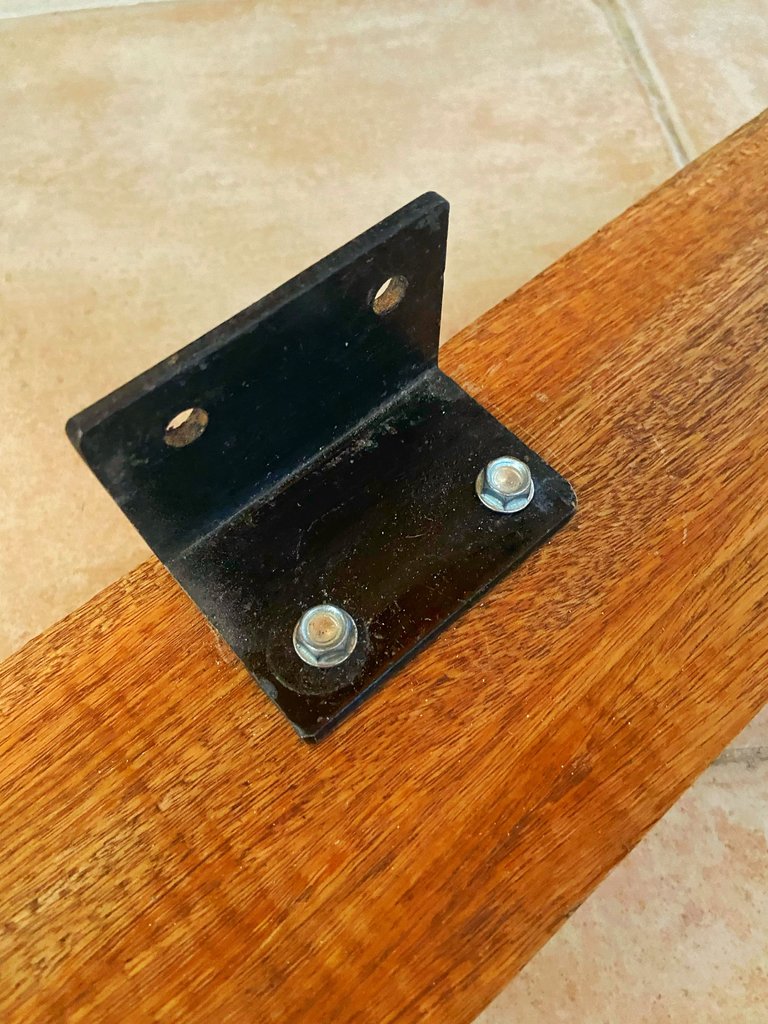
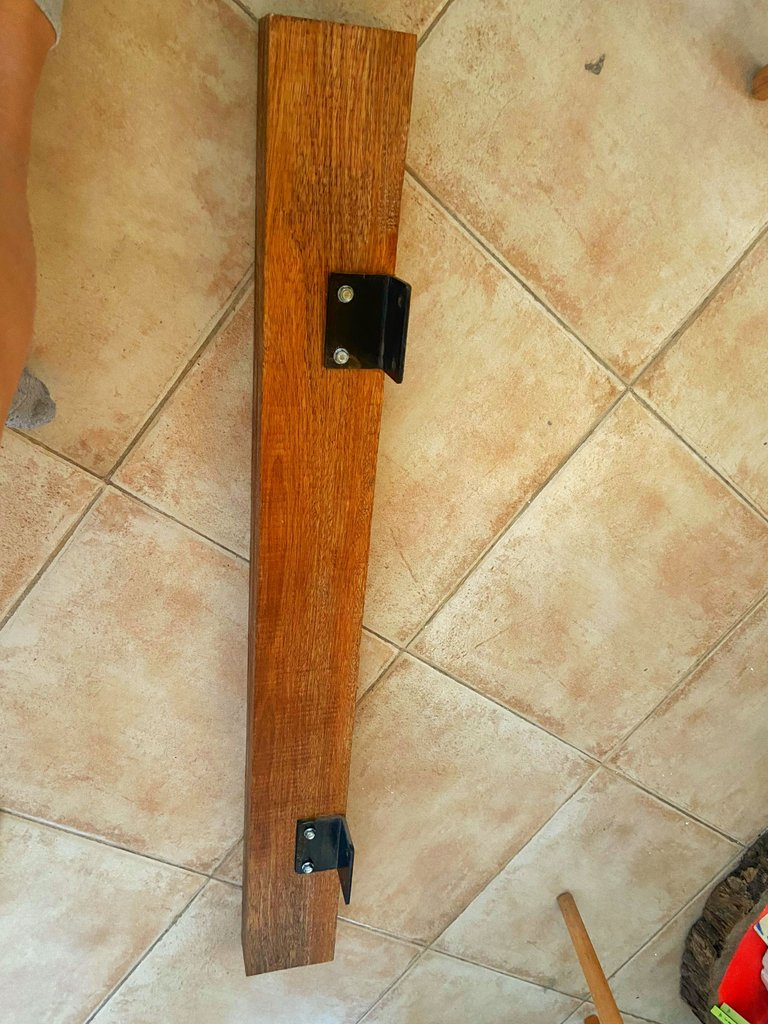
I took the measurements and with the saw that I have, I cut both strips to 1.10 centimeters long, after that, I had thought about putting normal angles of the small ones that they sell in hardware stores, but I had already used black iron angles that obviously I had left from the construction of the railing of the second floor, we decided to use them, and we definitely liked how they looked.
ESP
Tomé las medidas y con la Sierra que tengo, corté ambas tiras a 1,10 centímetros de largo, después de eso, había pensado en colocarle ángulos normales de los pequeños que venden él ferreterías, pero sí ya había usado ángulos negros de hierro que obviamente me habían quedado de la construcción de la baranda del segundo piso, decidimos usarlos, y definitivamente sí que nos gustaba mucho cómo se veían.
ENG
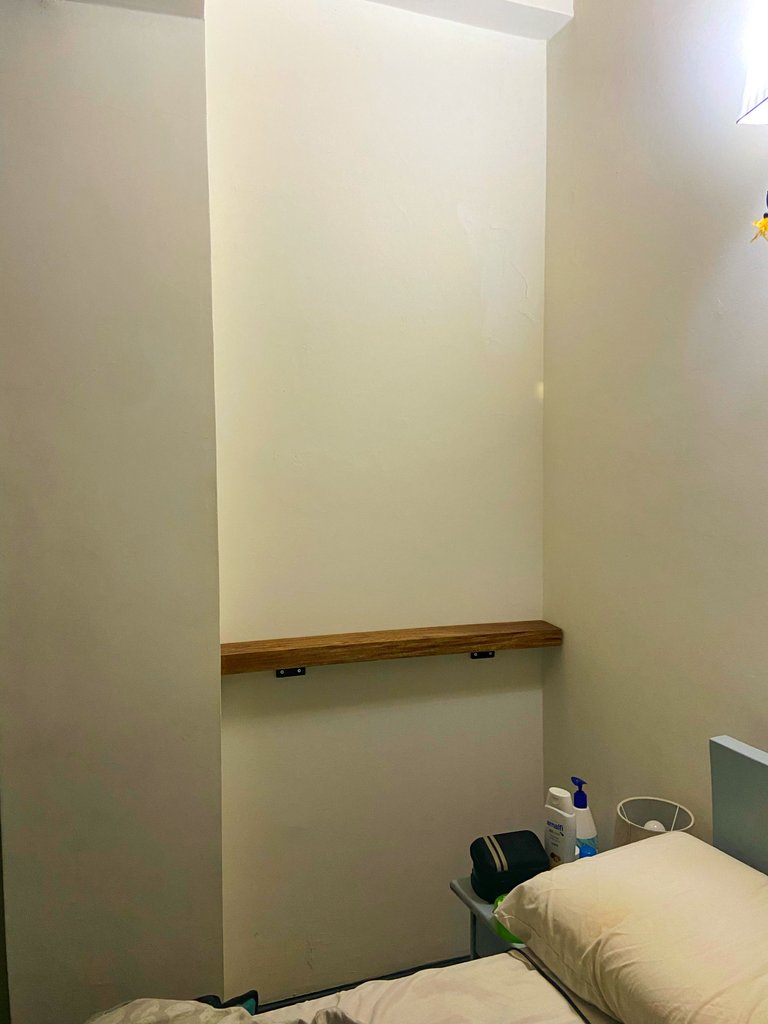
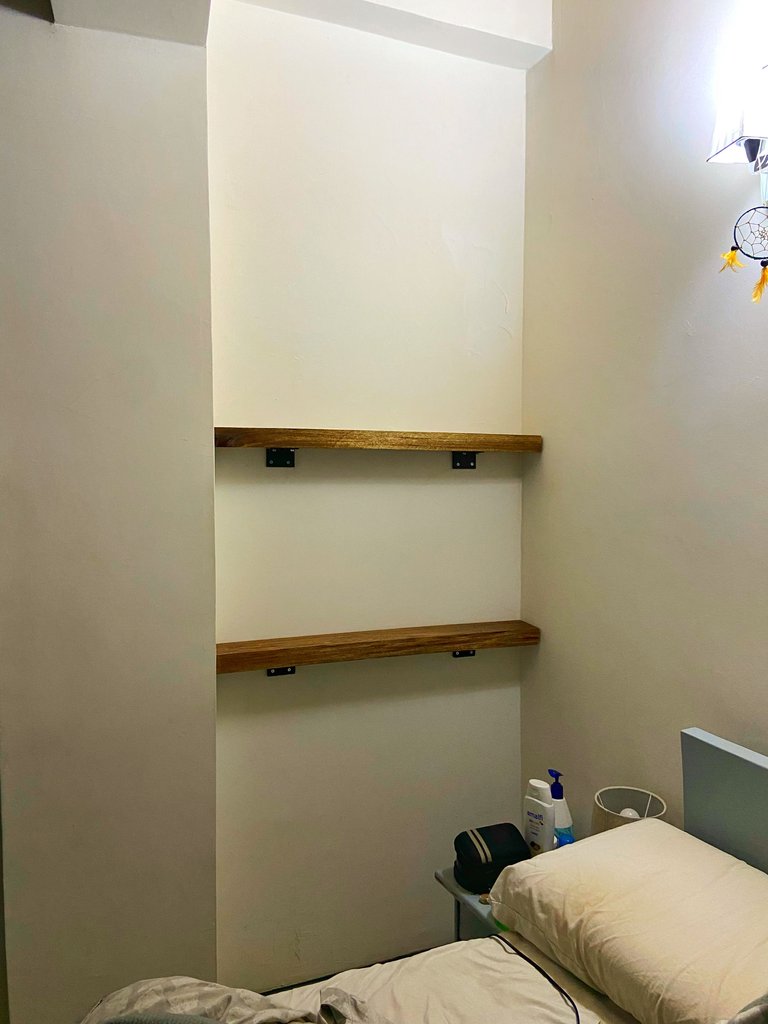
I placed the angle irons with the plank presenting them on the wall where the shelves would go so I would know what size to attach them to. When I finished, with my drill I opened the 1/4 inch holes with a concrete drill bit. Before that, I painted the boards with liquid plastic to protect them and the corners with a black anti-rust paint. I waited about 4 hours for it to dry well in the sun, and more for the smell to go away since it is very strong. To place them, I placed them 70 centimeters apart, so that they would be vertically in the center of the wall and with a level, I made sure they were horizontal.
ESP
Coloqué los ángulos de hierro con la tabla presentándolos en la pared donde irían las repisas y así podría saber a qué medida debía fijarlos. Al terminar, con mi taladro abrí los huecos de 1/4 de pulgada por broca para concreto. Previo a eso, pinté con plástico líquido las tablas para protegerlas y los ángulos con una pintura antioxidante negra. Esperé unas 4 horas a que secara bien al sol, y más para que el olor se le fuese ya que es muy fuerte. Para ubicarlas, las puse de separación entre ellas a 70 centímetros y que quedaran en el centro verticalmente de la pared y con un nivel, me cercioré que quedaran bien horizontales.
ENG
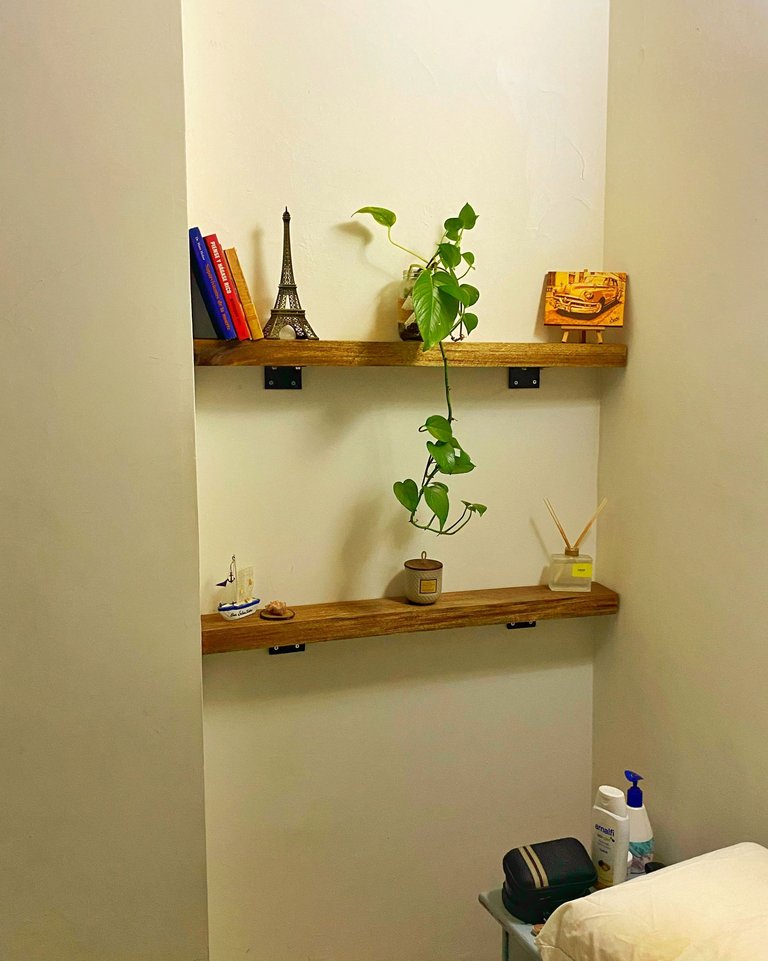
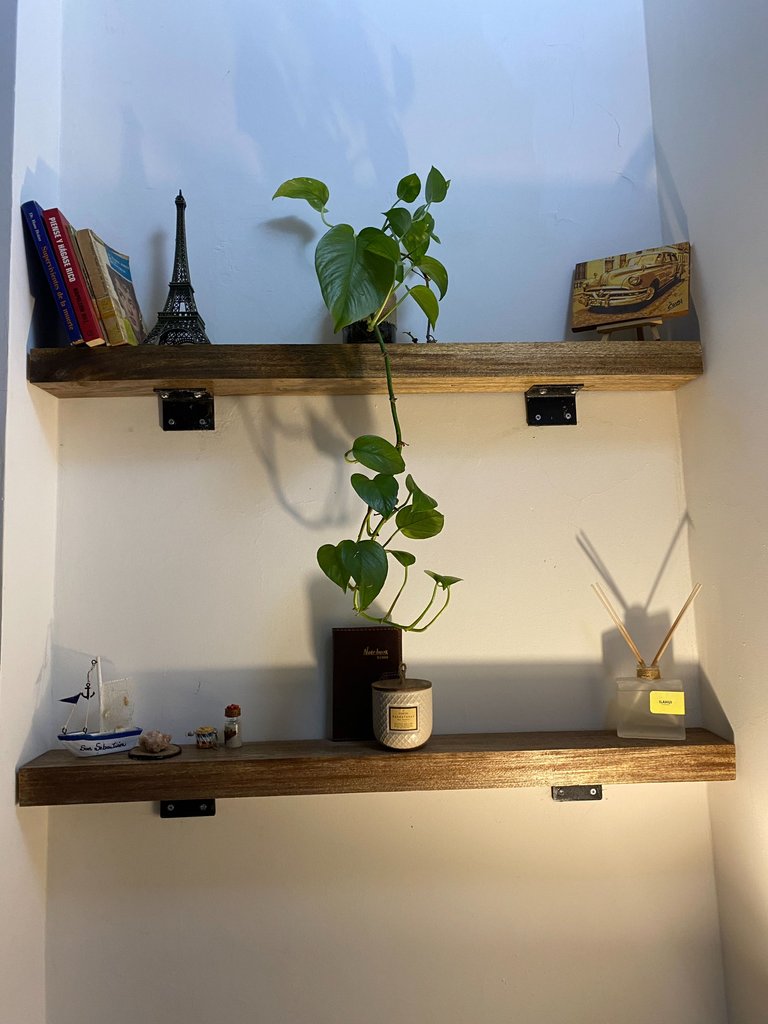
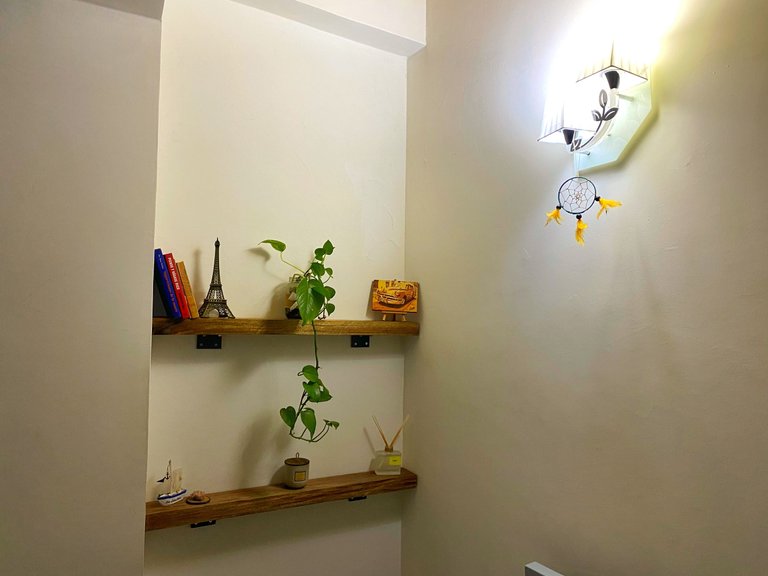
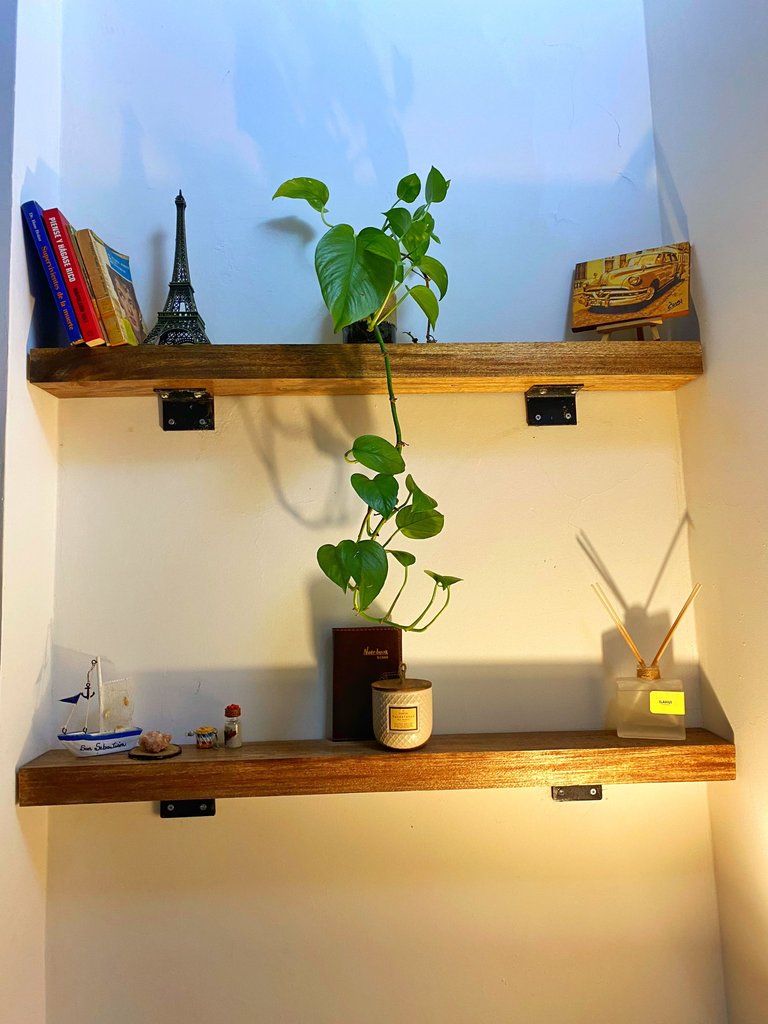
Once they were fixed on the wall, the most beautiful part began, the decoration: we placed some books, a plant, which they can never miss, a miniature of the Eiffel Tower, a miniature of a boat, a picture of an old vehicle and some other decorations that were perfect for them because they are small! Now the room is cozier and that space doesn't cause me any emptiness XD. What did you think of the final result? I hope you liked it and maybe you can use this idea to decorate some space! I always say that sometimes not having the money is not the main obstacle, it's the desire you have to do it. So I hope you are encouraged to invest in your HOME, because that is something that will stay with us for life.
ESP
Al tenerlas fijadas en la pared empezó la parte más linda, la decoración: colocamos unos libros, una planta, que ellas nunca pueden faltar, una miniatura de la torre Eiffel, una miniatura de un barquito, un cuadro de un vehículo antiguo y algunos otros adornos que le quedaban perfecto porque son pequeños! Ahora la habitación quedó más acogedora y ese espacio no me causa ningún vacío XD. Qué les pareció el resultado final? Espero les haya gustado y que quizás les sirva esta idea para decorar algún espacio! Siempre digo que a veces el no tener el dinero no es el principal obstáculo, es las ganas que tengas de hacerlo. Así que ojalá te animes a invertir en tu HOGAR, ya que eso es algo que nos quedará para toda la vida.
ENG
Greetings to all and I hope you have a great weekend!
ESP
Saludos a todos y espero tengan un gran Fin de Semana!
👍 ❤️ Upvoted ❤️ 👍
Thankssss
You are most welcome.
I'll keep up the good work.
Curated Content Catalog and was awarded RUNNER-UP in Architecture Anthology™ 50. More power!Congratulations dear @lifeblue! We are delighted to inform you that your outstanding publication was specially selected to be part of our
Thank you for subscribing to Architecture+Design, an OCD incubated community on the Hive Blockchain.
Hi @lifeblue, great idea to take advantage of the space and at the same time decorate, looks great the shelf, yes you know how to take advantage of the materials to the maximum.
Cheers!
Thank you for your comment! I've been wanting to do this project for weeks, I finally did it. I loved the result, it gave the room the special touch that was missing. Regards ☺️