Hello everyone! Today I was at Suvarnabhumi Airport and I’ve prepared a detailed guide for you on what to do after arrival, where to exchange your currency, where to eat and how to get around. I started from the place all tourists exit, so you're not going anywhere else. Your transfer will be waiting here. I recommend using a transfer service because it’s very practical and affordable. Recently, we arranged our transport through a local taxi service. The driver stopped the car somewhere and we spent around 10 minutes trying to find him. With a transfer, a person will greet you, holding a sign and guide you to the car, which is very advantageous since there are no extra charges. When we used Bolt last time, we were charged extra for the highway tolls, so transfers are much more reliable. You make a single payment and go directly to your destination.
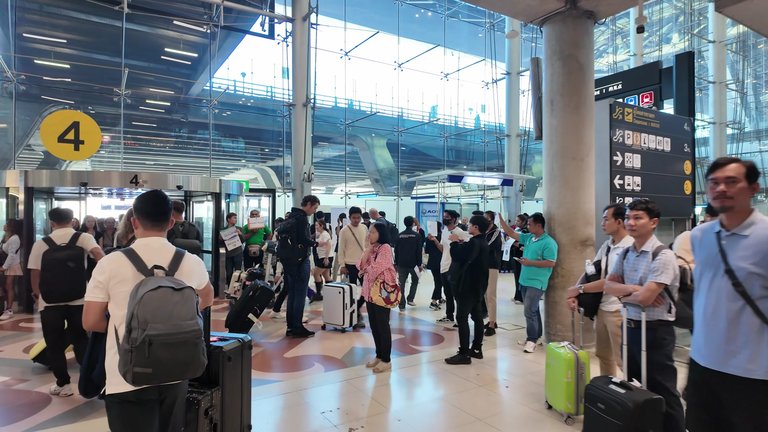
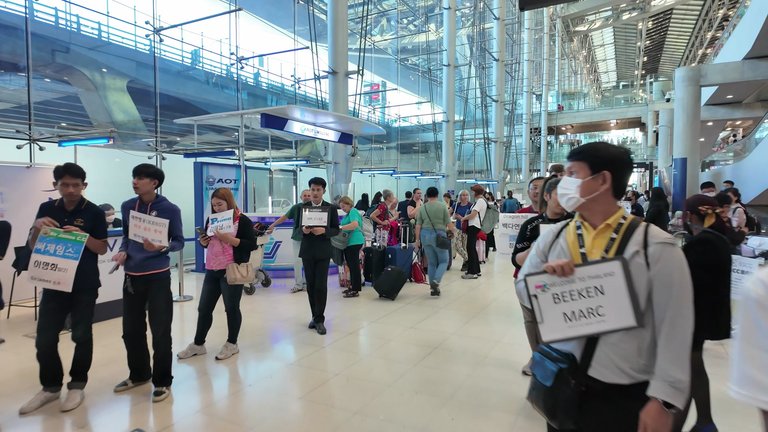
As a tourist the first thing I need to do is exchange for the local currency, Baht. For this, we head down to the ground floor. We’ll exchange our dollars or other currencies for Baht. This area is busy with people holding signs waiting for their transfers. We head to the first currency exchange we see. The exchange rate here is low, but a bit further ahead, we find a better rate. I loudly told my friend “this exchange isn’t good” and a few other tourists followed us to the better exchange offices. After walking a bit further, we find a better rate. If you continue, there are other currency exchange offices, but they all have the same rate.
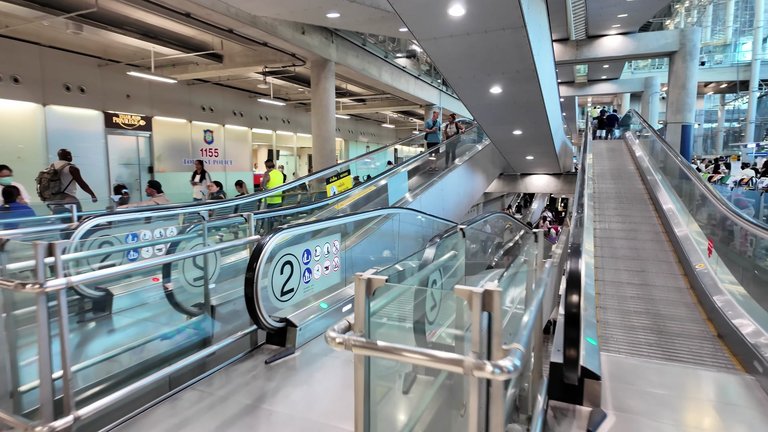
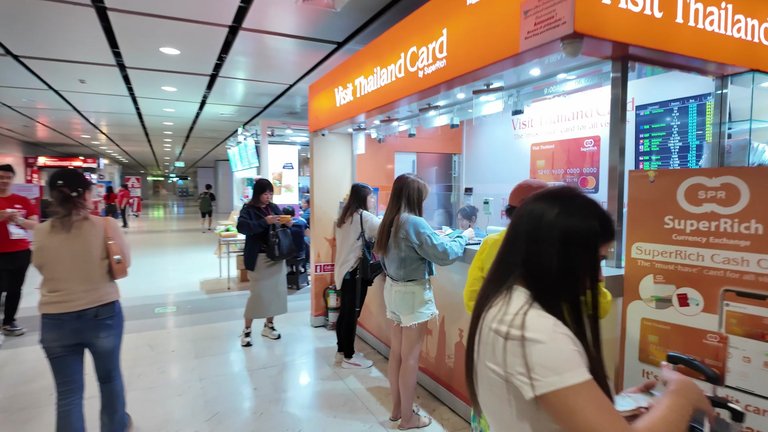
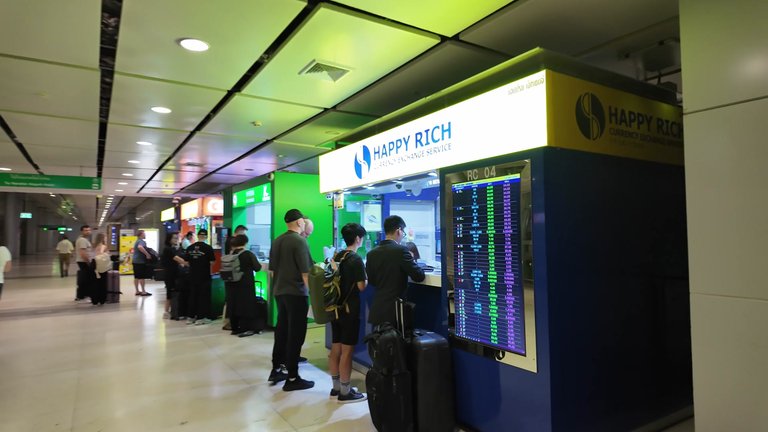
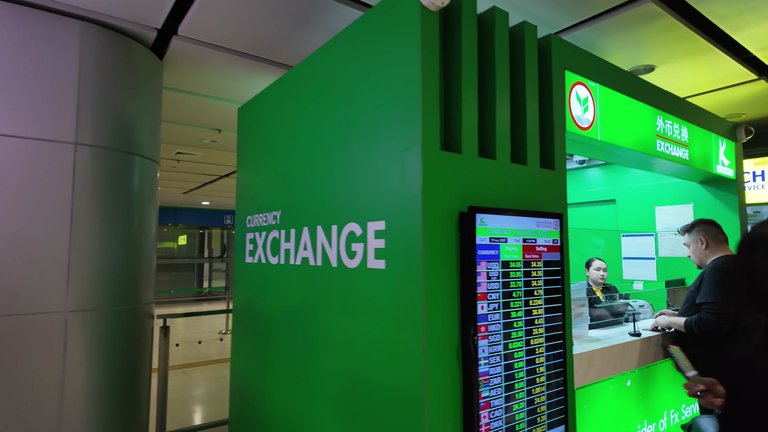
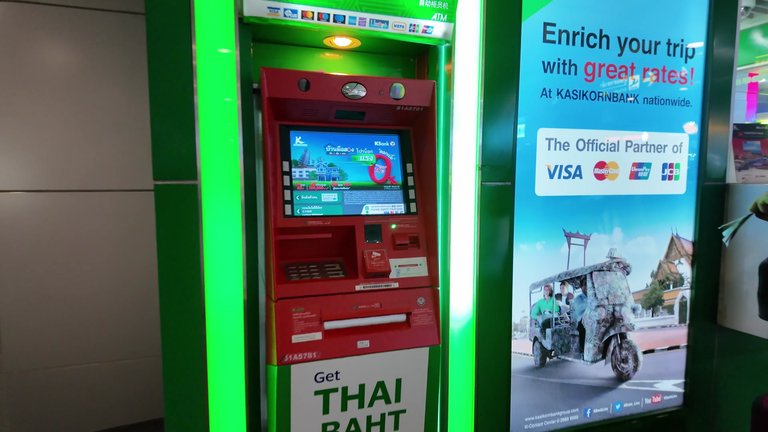
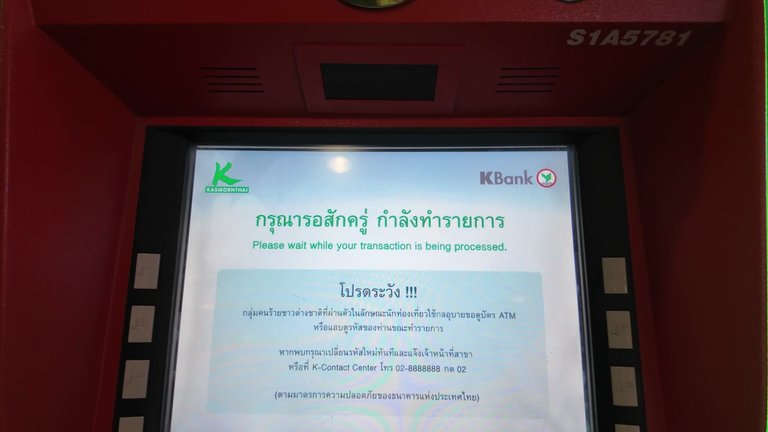
Currency exchange offices are open until midnight, with some closing at 12 pm and others open until 12 am. But if the exchange office is closed, you can use one of the ATMs here. The ATM is green and it will send your money to the bank, giving you the amount you need.
Now that we've exchanged our money, let's move to the next issue: the SIM card. There are places on the first and second floors where you can buy SIM cards. You'll need your passport for this. For example, a 15-day unlimited internet plan costs 499 Baht and a 7-day plan is 299 Baht. If you want a local plan, it’s a bit cheaper, around 100 Baht less. You just need your passport and the card will be activated right away.
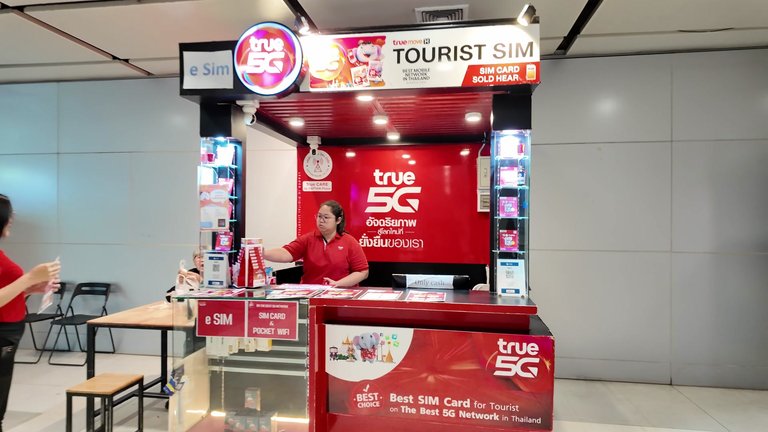
So we’ve got our SIM card, our internet is working, we’ve exchanged our money and now we need to decide how to get to our next destination. We have a few options: we can stay a few days in Bangkok, or we can head to Pattaya, Hua Hin or other places. If we decide to stay in Bangkok, near the currency exchange office, there are automatic ticket machines. Everything is written in Thai, but you can choose English as the language. We choose where we want to go, for example, a specific station and buy a 45 Baht ticket. We insert the money and the machine gives us a token. We take the token and head to the entry point. Don’t put the token in your wallet. Use it directly for entry.
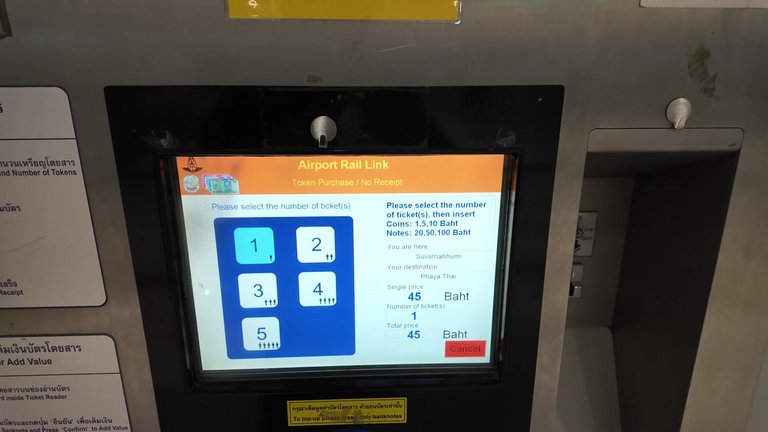
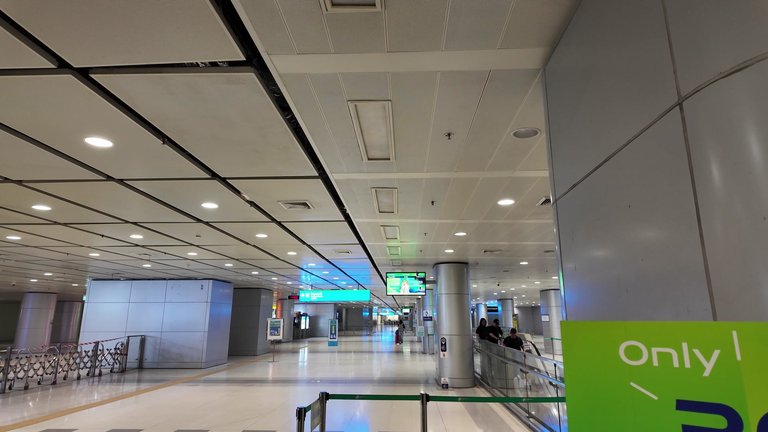
We use our token to go to the next station to board the metro. The screen shows that the next train will arrive in 8 minutes. If we want to go to another city, for example, Pattaya, there are places to buy tickets for that as well. You can also buy tickets in advance, but in that case, a foreign bank card is required for payment.
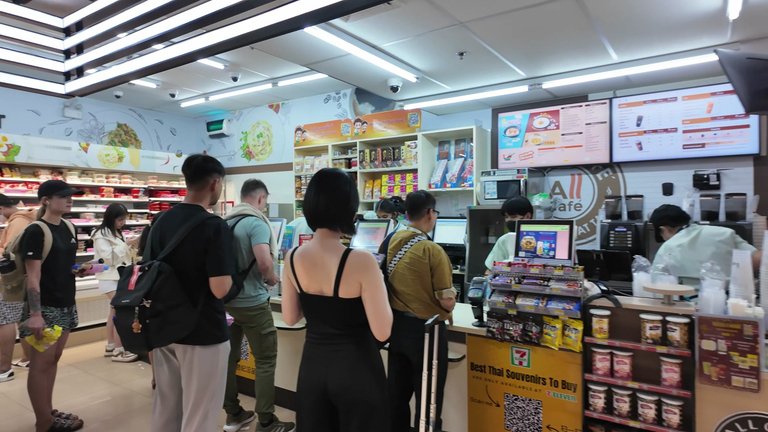
Near the metro station there’s a 7-Eleven store where you can buy drinks, coffee etc. though the prices here might be a little higher than those in Bangkok or Pattaya.
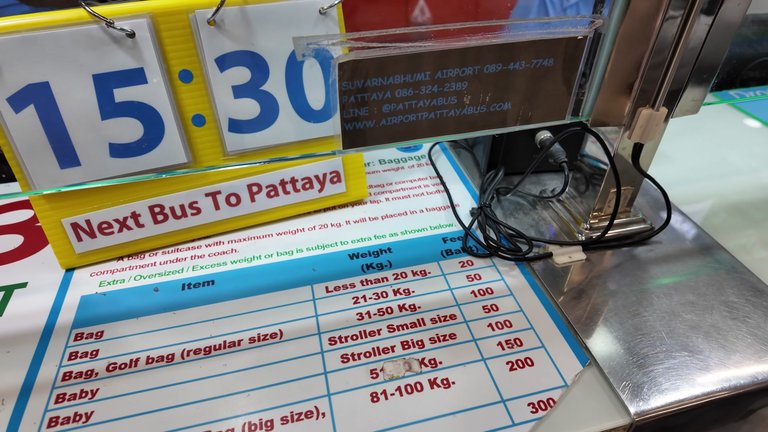
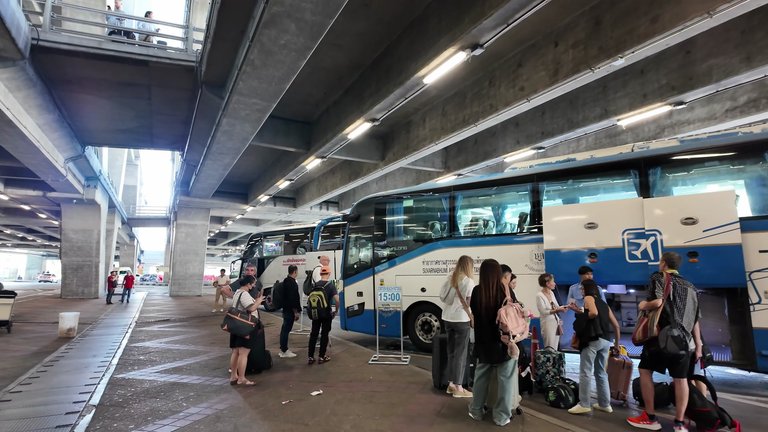
If you're heading to Pattaya, you'll need to go up to the second floor. We take the elevator up and head towards the far end of the building. Looking at the entrance/exit, we go to the far left. I bought a ticket to Pattaya. If you've already purchased your ticket, here's how it works. There are buses to Pattaya and Hua Hin. For example, a bus departs at 15:30, so make sure to check the times when buying your ticket. My bus is at 15:00, they checked my ticket and gave me a paper ticket.
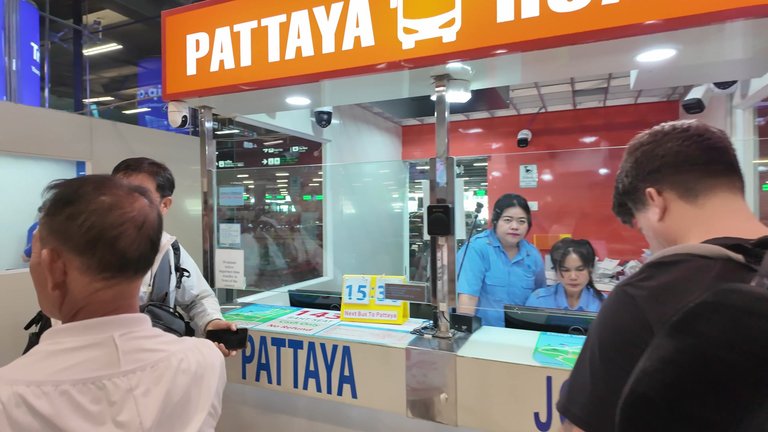
Your ticket will also have baggage information. I didn't pay extra for luggage and my ticket cost 143 Baht. I’ve got my ticket and I’m ready to go! I recommend arriving 10 minutes before departure. Once you have your ticket, everything becomes much easier and you can handle the rest later. The important part is getting your ticket and the other steps are easier once you’ve done that. For those who plan to rent a car, there are options available as well. You can rent a Toyota VI model for 700 Baht per day and even reserve a car from abroad. These cars have no mileage limit.
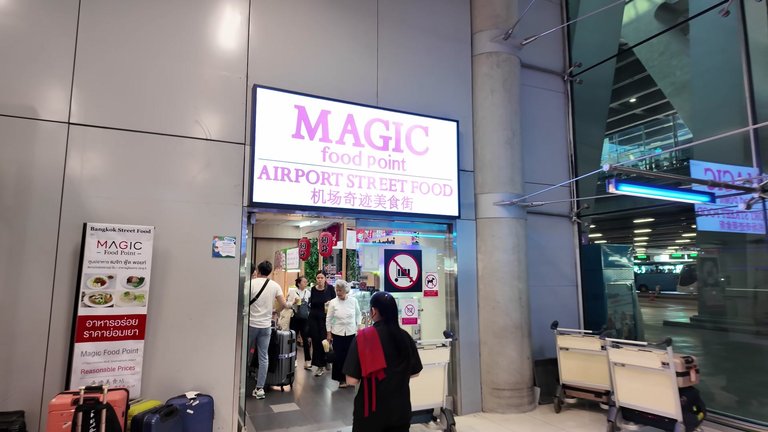
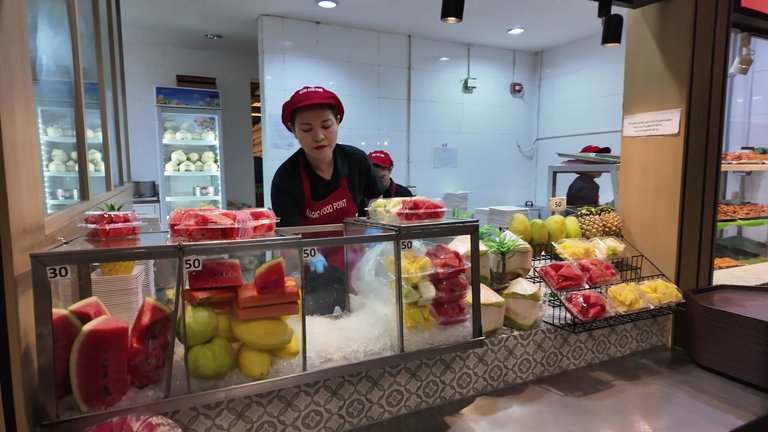
Now that we have our money, tickets, SIM card and internet, let’s make the most of our time and grab a bite to eat. After getting my ticket, we turned around and there’s a place to eat marked "Magic." Here you get a token to buy food. First, you decide what you want to eat, check the prices, then get the corresponding amount of tokens. After getting the tokens, you’re given a card and you pay the amount shown on the card.
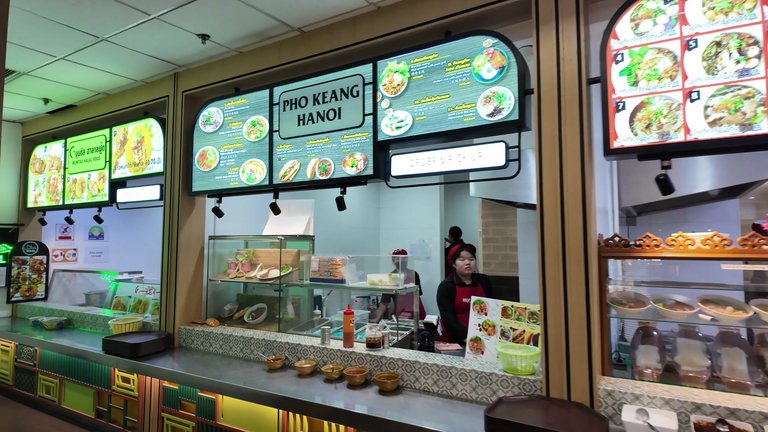
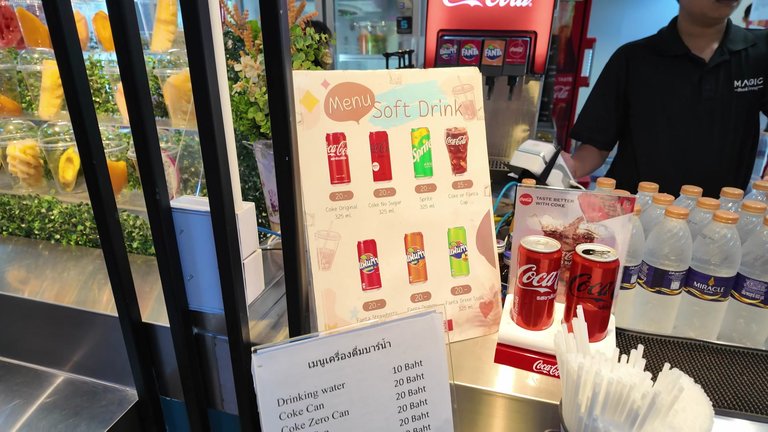
You’ll find Thai dishes, Vietnamese cuisine, halal food for Muslims, aromatic soups, garlic dishes, various noodle options and more. While prices at the night market or street vendors may be lower, the prices at the airport are a bit higher, but they’re still decent,around 65 Baht. For example, pork with rice costs 50 Baht, papaya salad costs 55 Baht, fried chicken is 50 Baht, water costs 10 Baht and cola is 20 Baht. You can also get smoothies here, priced at 60 Baht.
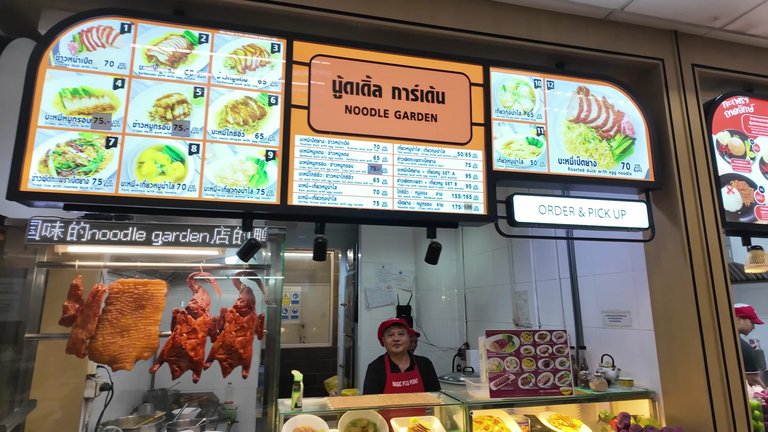
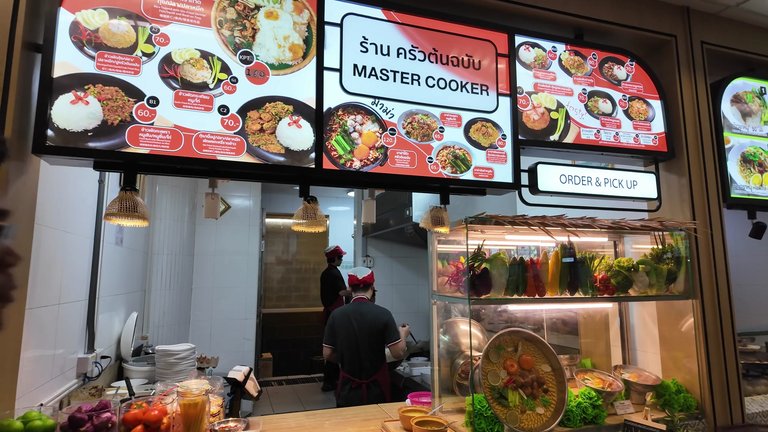
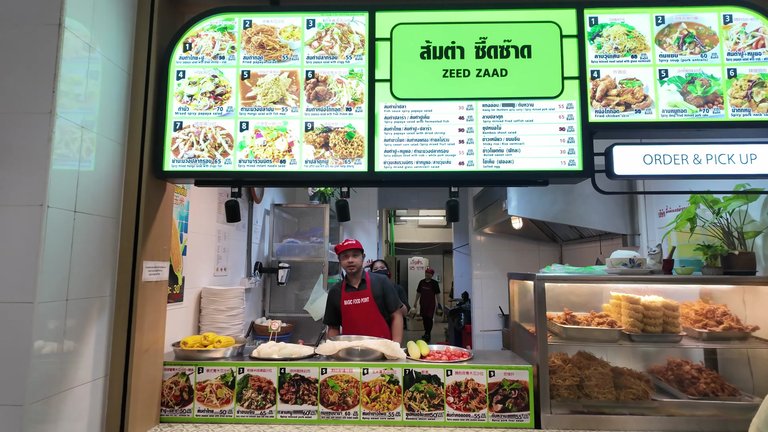
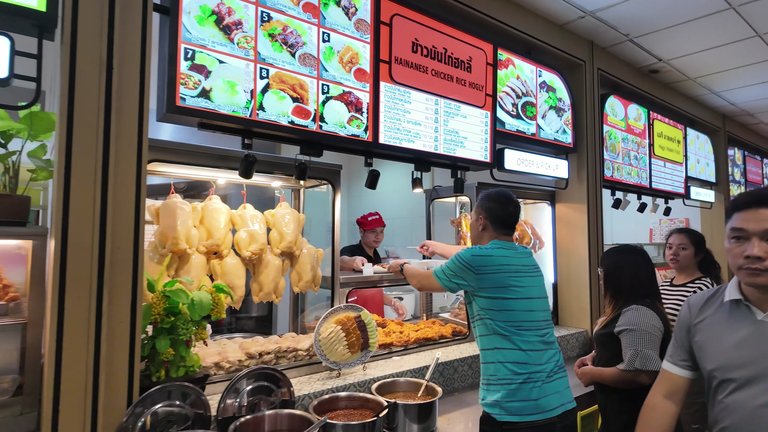
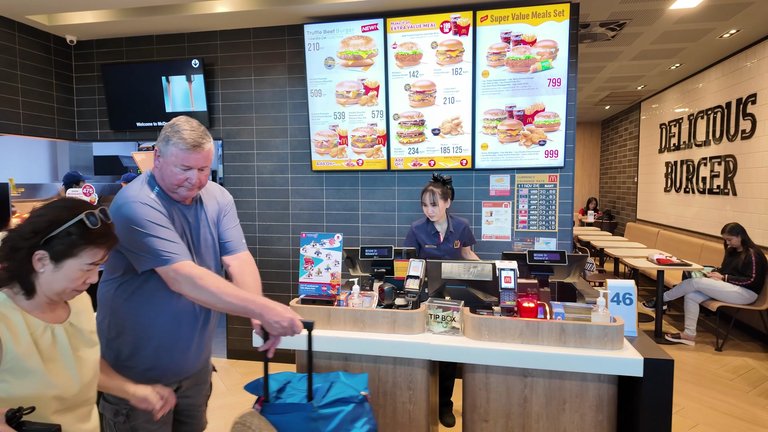
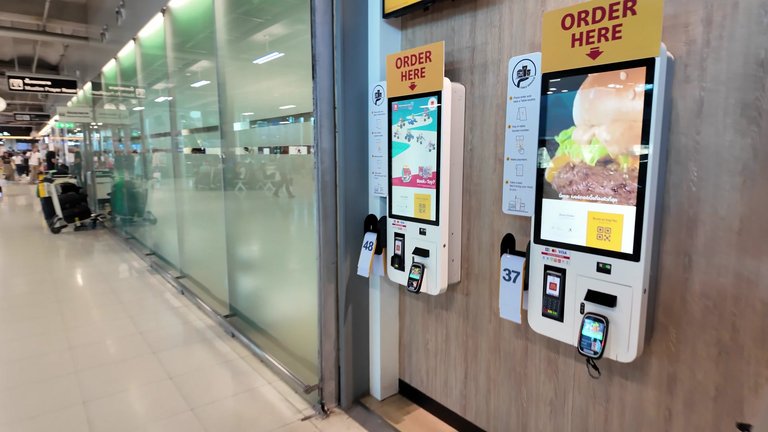
But if you’re not a fan of Thai food, don’t worry. There are also fast food options on the third floor. Prices here are a bit higher. For example, a burger set costs 539 Baht and just a burger costs 210 Baht. You can download the McDonald’s app and use coupons for better prices, but sometimes the coupons might not be valid here. A small life tip!
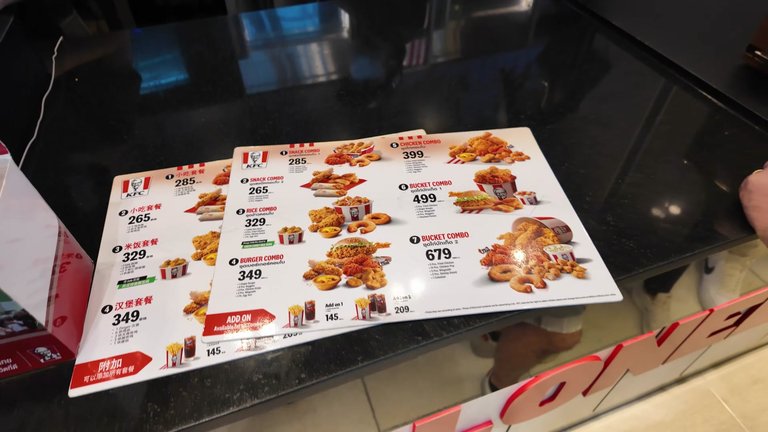
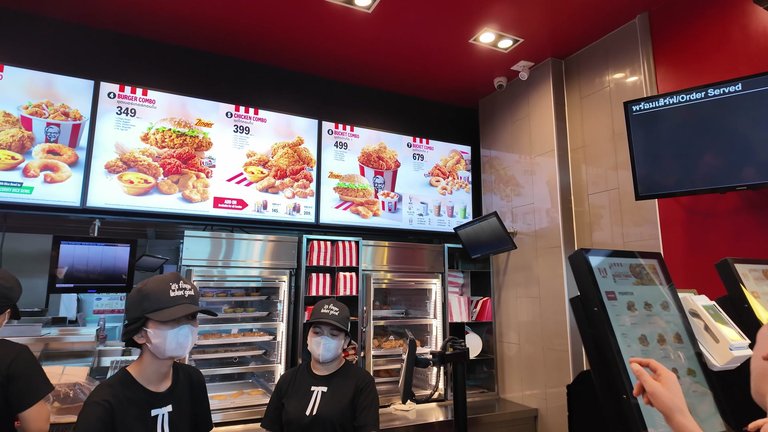
If you’re looking for something else, KFC is also available. The cheapest option at KFC starts at 265 Baht, but drinks like an Americano are reasonably priced at 52 Baht.
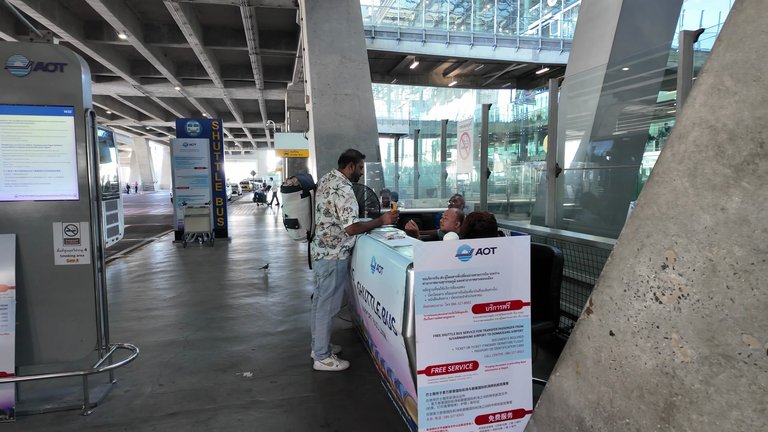
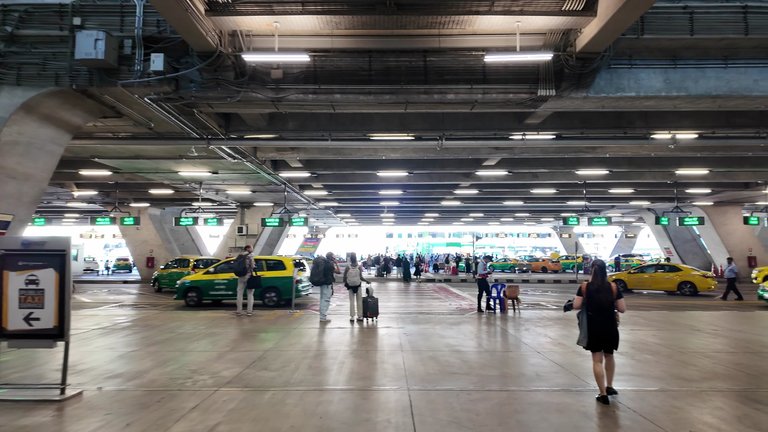
If you're heading to Don Muang, just head to the third exit to find transfers waiting for you. You can board the bus for free by showing your ticket. If you prefer a taxi, there are many available on the second floor, but keep in mind that there might be extra charges and tolls.
If your phone is running low on battery, there are many charging stations around. You can sit and charge your phone while waiting. If you have some time, you can also get a massage here, though the prices aren’t the cheapest. 300 Baht for a 30-minute massage.
It’s time to board the bus. After going through ticket control and handing over our luggage, we continue our journey. Finally when we arrive at the hotel, the bus drops us off on 2nd Street. There are tuk-tuks here, but if you want to go to a more central location, you can cross to the other side and head in that direction. Also if you want to order a vehicle for your hotel, you can do so via a mobile app.
That’s all for today. I hope this was helpful. I’ll be sharing more interesting content soon. See you!
I've never been to Suvarnabhumi but the other terminal. It looks like this airport is bigger and has more things inside 😆 I appreciate the tour around it, very helpful.
I'm glad you found it helpful.
Suvarnabhumi is definitely has so much to explore. Hopefully you'll get the chance to visit it sometime 😄
Congratulations @blaze8! You received the biggest smile and some love from TravelFeed! Keep up the amazing blog. 😍
Thanks for using TravelFeed!
@for91days (TravelFeed team)
PS: TravelFeed is in social media to reach more people, follow us on Facebook, Instagram, TikTok, and X.
Thank you
You can check out this post and your own profile on the map. Be part of the Worldmappin Community and join our Discord Channel to get in touch with other travelers, ask questions or just be updated on our latest features.
Congratulations, your post has been added to the TravelFeed Map! 🎉🥳🌴
Did you know you have your own profile map?
And every post has their own map too!
Want to have your post on the map too?
- Go to TravelFeed Map
- Click the create pin button
- Drag the marker to where your post should be. Zoom in if needed or use the search bar (top right).
- Copy and paste the generated code in your post (any Hive frontend)
- Or login with Hive Keychain or Hivesigner and click "create post" to post to Hive directly from TravelFeed
- Congrats, your post is now on the map!
PS: You can import your previous Pinmapple posts to the TravelFeed map.Opt Out