
✨Hello my dears✨
Hola querida comunidad! Espero que se encuentren muy bien. Hoy les quiero compartir una experiencia que recientemente tuve la cual es un curso de uñas que siempre quise hacer para poder aprender a hacer mis uñas, a saber cómo cuidarlas, y también porque quise emprender en este mundo. Siempre me pareció una actividad muy bonita de realizar. Así que acompáñenme para contarles cómo fue esta experiencia! 💅
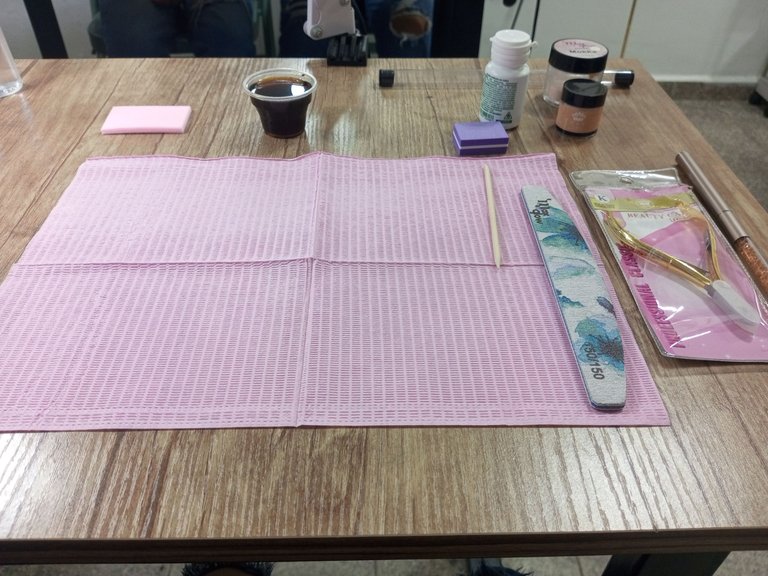
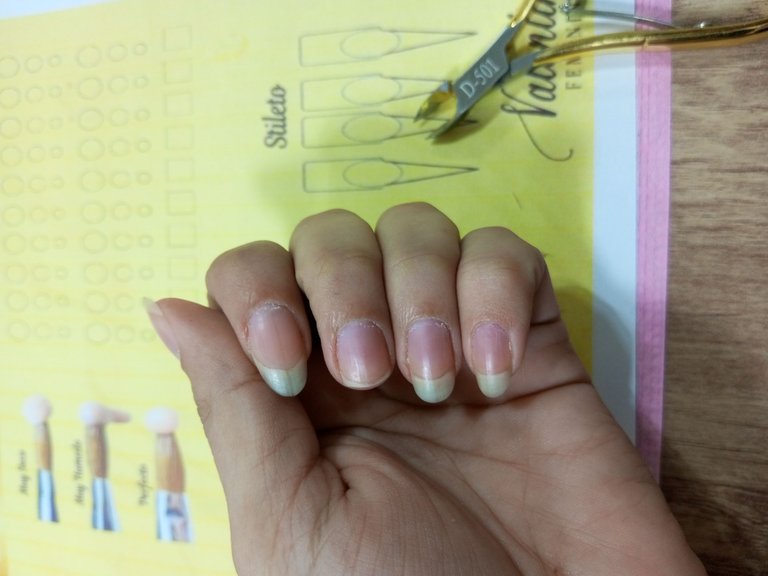
el curso trataba de la realización de las uñas acrílicas y de cómo hacer una manicura, por lo que aquí empezamos a conocer los tipos de uñas, según las explicaciones de la profesora, y el primer paso fue realizar la limpieza de cutícula. Hace muchos años yo ya había realizado un curso de estos pero no me enseñaron absolutamente nada de lo que aprendí en este, el cual fue 50 veces mejor y estoy emocionada. Bueno, no nos salgamos del paso a paso, prosigamos!
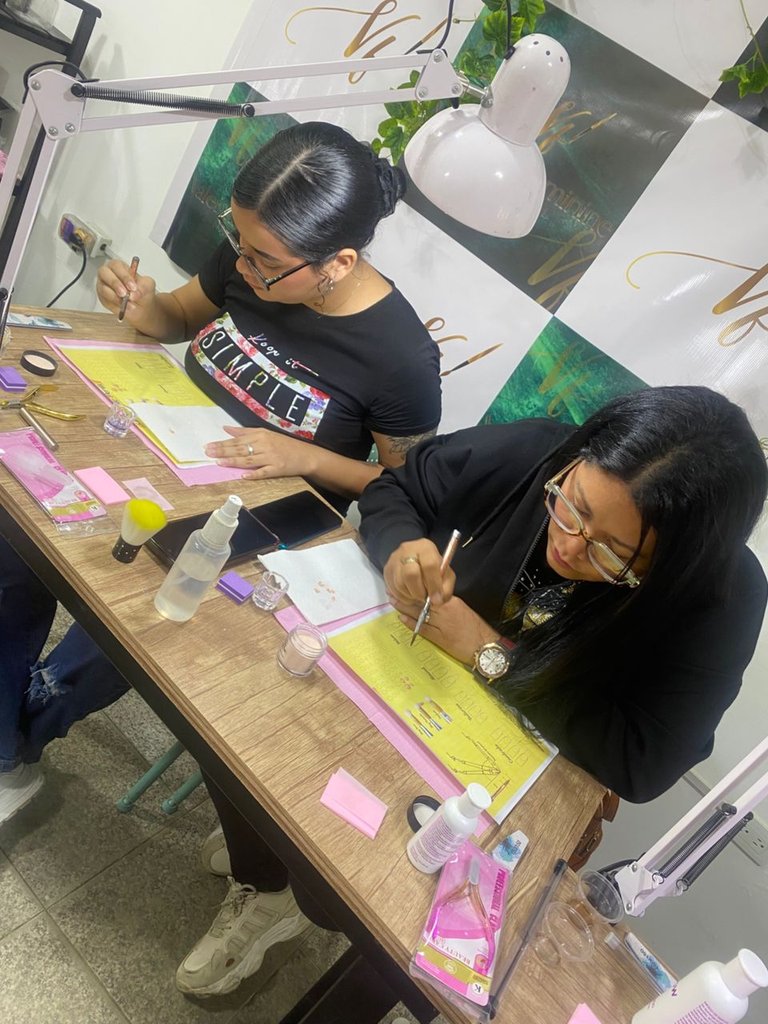
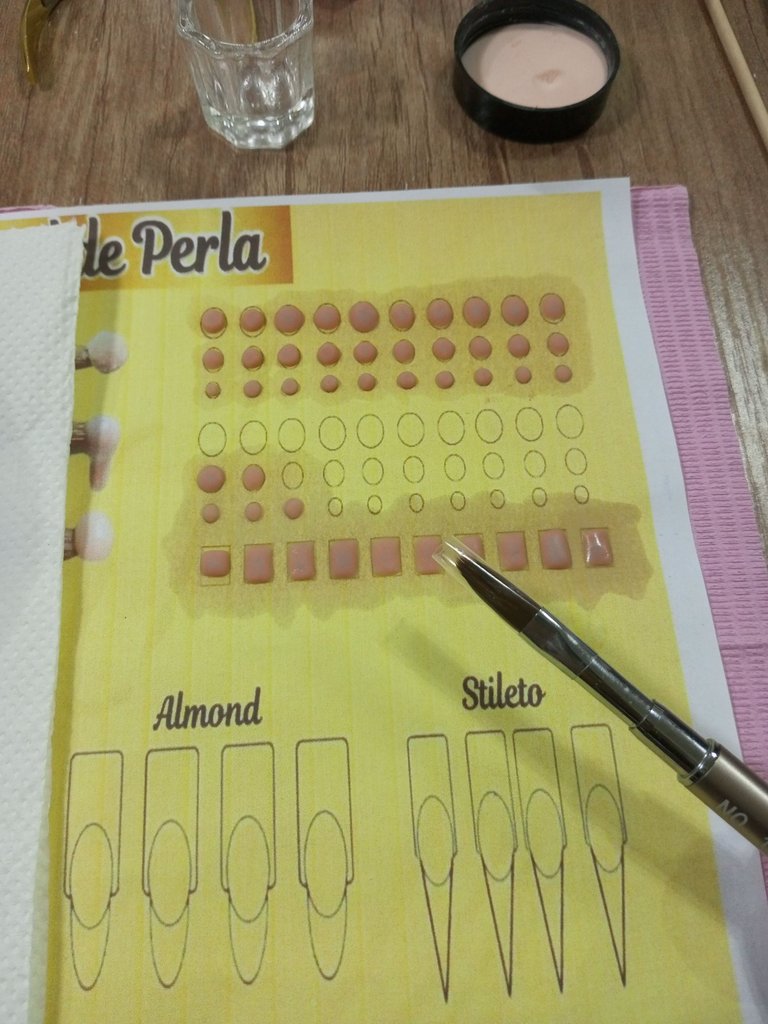
Luego de un poco más de teoría, tuvimos prácticas de cómo controlar las perlas de acrílico y nos explicaron cuál era la consistencia perfecta y el paso a paso para controlar y formar las perlas de acrílico. La profesora distribuyó una serie de hojas con diferentes ejercicios las cuales eran perlas grandes, perlas medianas y perlas pequeñas, incluyendo también los cuadrados. Admito que fue un poco difícil para mí realizar las perlas grandes y las cuadradas, pero las medianas y las pequeñas fueron perfectas, es cuestión de práctica!
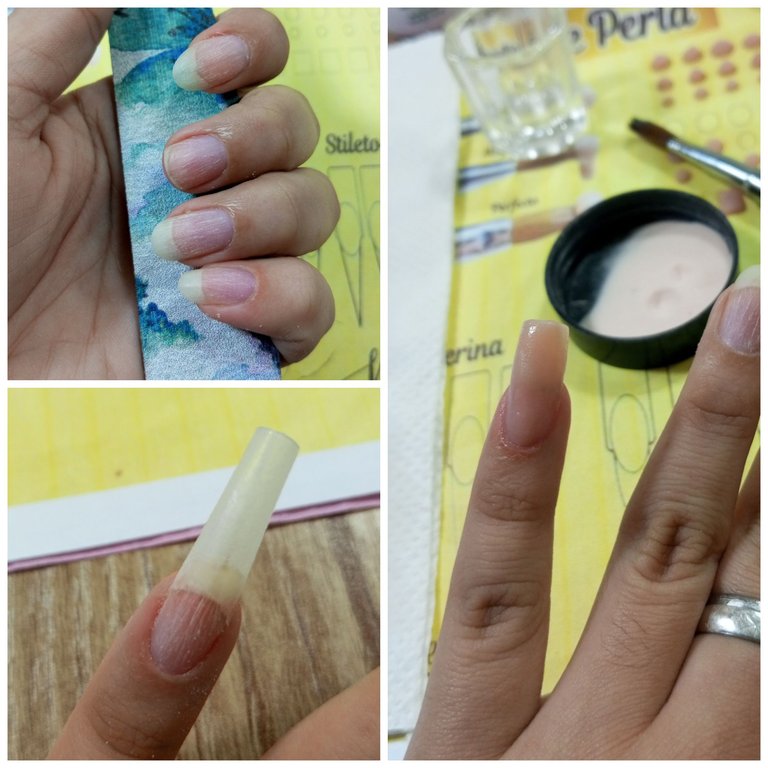
luego de la práctica aprendimos cuál era la porosidad correcta que se le debía hacer a la uña antes de colocar los tips y luego de ello aprendimos cómo pegar los tips, para luego realizarle la porosidad y nivelación para que quedara parejo, y la primera punta comercial que aprendimos a realizar fue la cuadrada, y a poner en práctica en ella las perlas de acrílico para aplicarlas encima e ir moldeando el acrílico
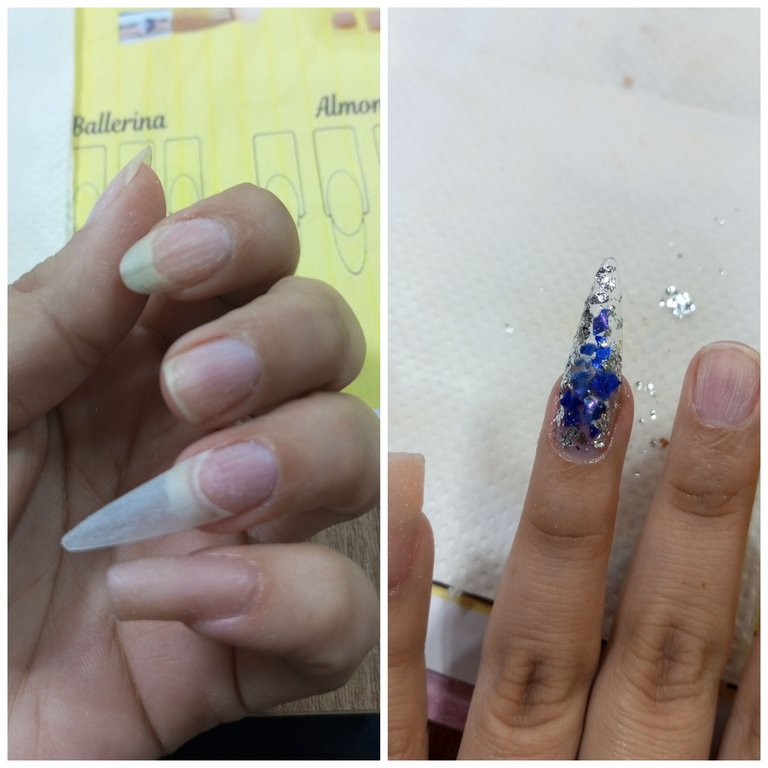
La siguiente punta comercial que aprendimos a realizar y la manera de cortar el tip, fue la punta Stiletto. Por lo general aquí donde vivo no es una de las más populares ya que las más populares son la Coffin y las Cuadradas, pero eso no le quita lo preciosa que queda en las manos con el largo correcto. En esta uña aprendimos cómo encapsular productos, que en este caso fueron papeles de plata y trocitos de nácar.
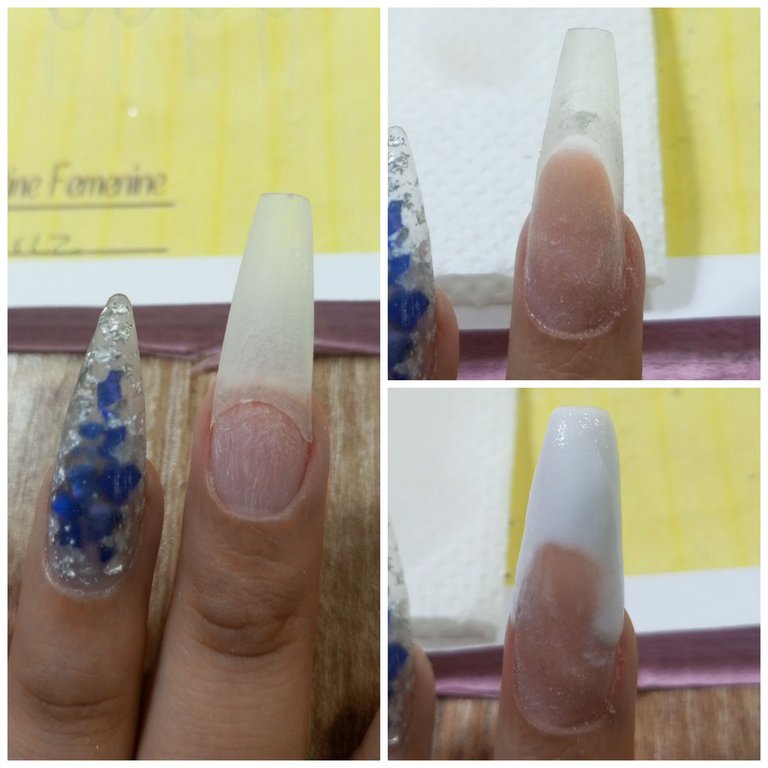
la tercera punta comercial que aprendimos a realizar es la Coffin o también conocida como Bailarina, encima de ella nos enseñaron a realizar el sistema de acrílico en forma de francesa. Personalmente este había sido años anteriores uno de los sistemas más difíciles de realizar para mí pero en el curso y en la manera en que la profesora explicó cómo realizarlo y con su guía fue muchísimo más sencillo y más fácil de lo que esperaba. Para realizar este tipo de sistema, primero se realiza la cutícula falsa con cover y luego de moldearla y de limarla para que quede bien perfecta se le coloca en el espacio vacío del tip el acrílico blanco
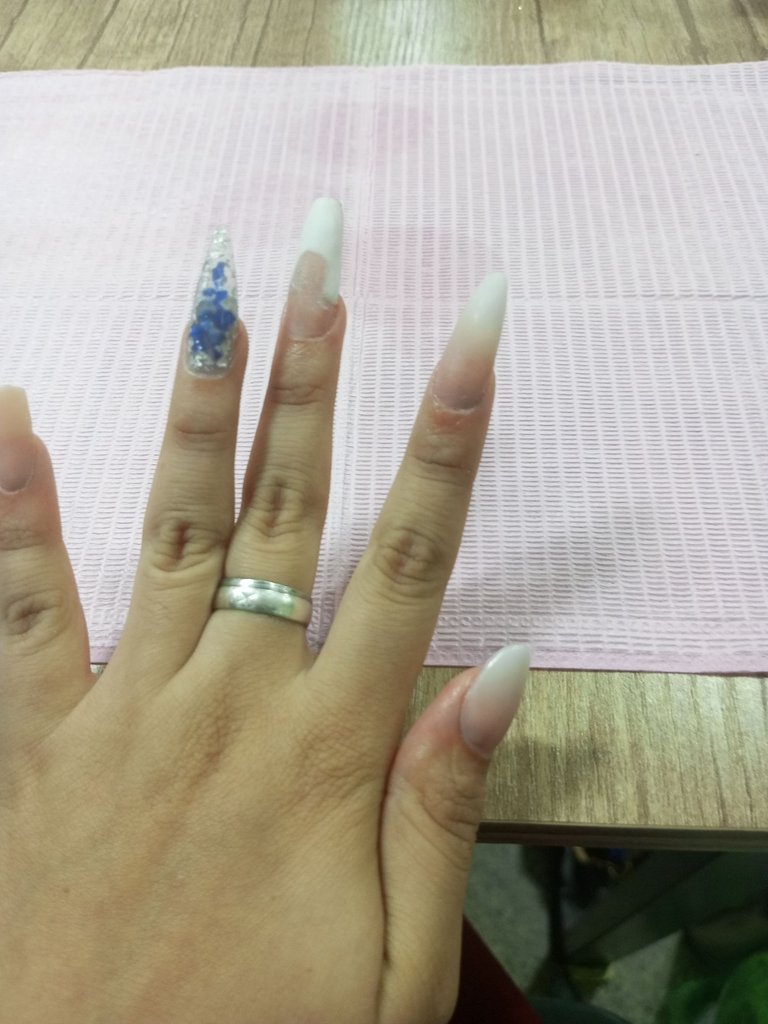
ahora con el cuarto sistema que nos enseñaron a realizar es el llamado Baby Boomer y la uña en forma de almendra . Este sistema desde que tengo memoria ha sido uno de los más difíciles, y que me ha costado hacer 😭. En este no tomé fotos porque admito que estaba demasiado concentrada para que me quedara bien y además que luego de hacerla tuvimos un examen, el cual era en mi dedo pulgar. El examen fue de todo lo que se vio en el curso con la excepción de realizar la uña como quisiéramos pero con el sistema que aprendimos ahí. Aquí les dejo la fotito del dedo índice con el Baby Boomer en forma de almendra y mi pulgar que fue el examen la cual también le hice un baby Boomer pero en forma de almendra.
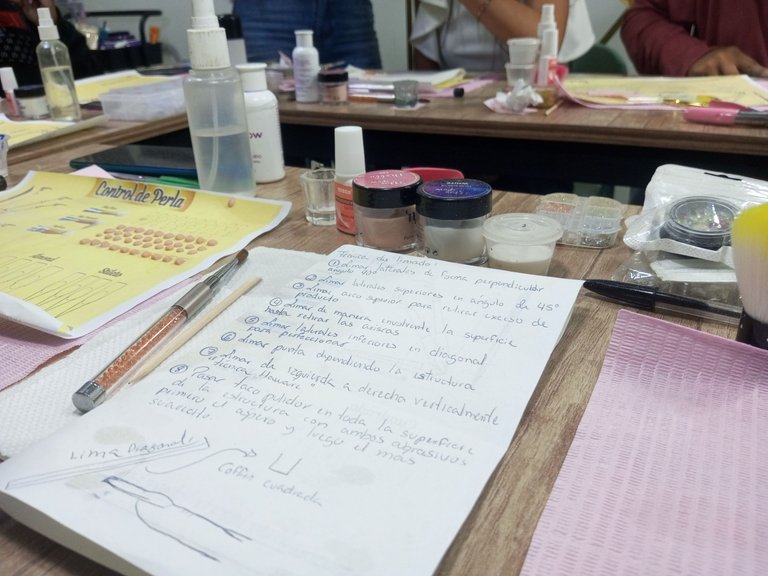
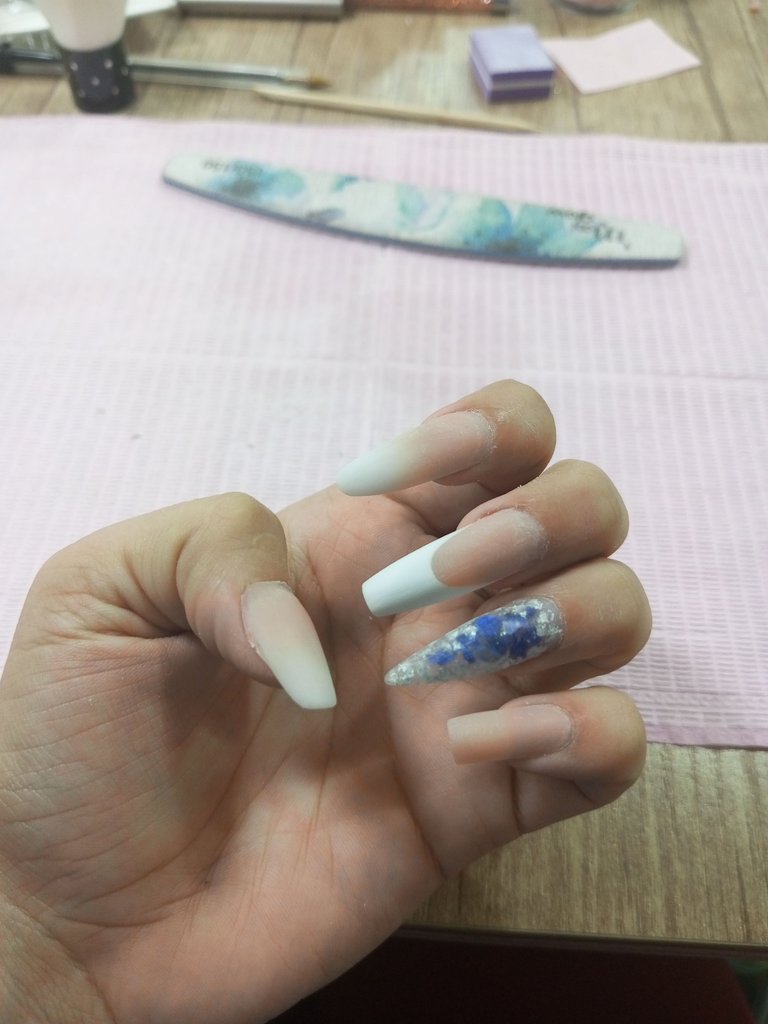
El siguiente paso que aprendimos fue el limado y las técnicas de limado y pulido, la profesora nos dio una serie de pasos que pueden funcionar para limar cualquiera de estos tipos de uñas, con la excepción de que en uno de esos pasos tiene que ser que se lime dependiendo del tipo de punta comercial que se vaya a realizar. Ya aquí luego de haber limado se puede ver mucho mejor los resultados de la aplicación del acrílico.
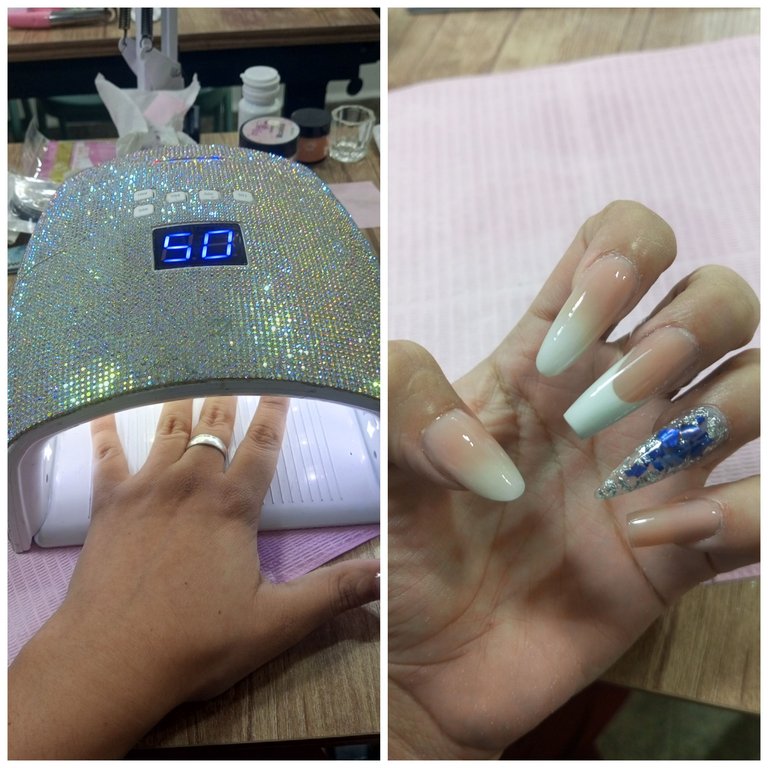
Para finalizar, la profesora nos llevó a la mesa de evaluación para darnos nuestras correcciones y brindarnos unas palabras de aliento y decirnos lo orgullosa que se sentía de nosotras, luego nos indicó el paso final el cual era colocar el Finish en la uña y meter la mano en la lámpara para que se secara. Aquí les enseño el resultado final!! 🌸🌸
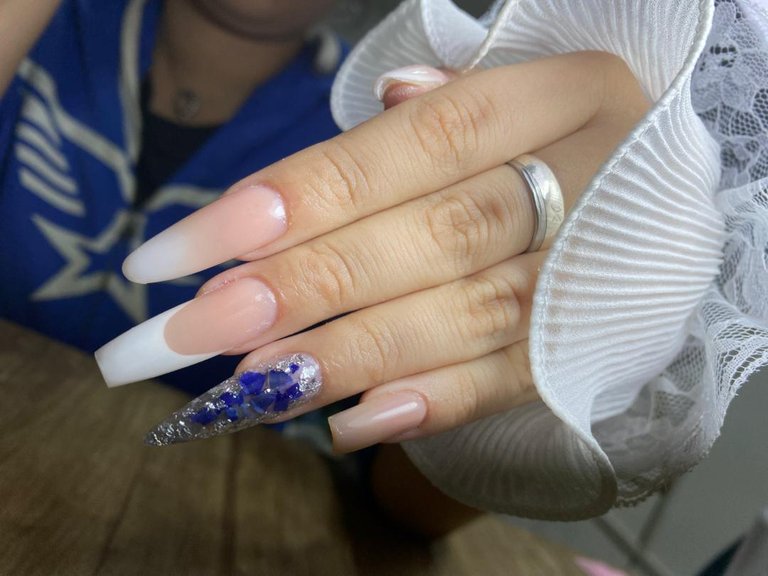
Muchas gracias por acompañarme a ver esta experiencia, fue muy bonita y espero próximamente emprender con ella y realizar más arte, nos vemos la próxima! ✨
Photos are my property
Header made in Picsart
Congratulations @apple.black02! You have completed the following achievement on the Hive blockchain And have been rewarded with New badge(s)
Your next target is to reach 30 posts.
You can view your badges on your board and compare yourself to others in the Ranking
If you no longer want to receive notifications, reply to this comment with the word
STOP