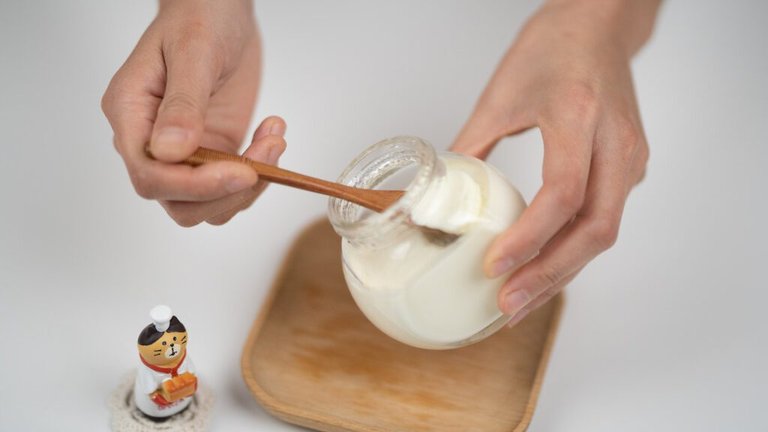
Yogurt seems simple - grab a cup and go. But in the aisles, options are limited. Have you considered making your own? Homemade yogurt lets you take total control. With just a few easy steps, you can craft nutritious yogurt packed with ingredients and flavors you love. In this post, I'll share the benefits of homemade yogurt and my simple process for making it yourself.
Why Make Your Own?
Here are some of my favorite reasons to get into the homemade yogurt game:
Save Money - Once you have supplies, homemade yogurt costs a fraction of what you'd pay for fancy store-bought brands. The ingredients are basic and budget-friendly.
Pick Your Ingredients - With store-bought yogurt, you don’t know what’s in there. Make it yourself and choose what goes in, like milk type, sweeteners and more.
Creative Flavorings - No more boring vanilla or strawberry. With homemade yogurt, mix in fresh fruits, extracts, cocoa, spices and anything your taste buds desire!
Nutrition Control - When you choose the ingredients, it’s easy to pump up the nutritional value with antioxidant-rich fruits, healthy fats, probiotics and more.
Creamy Texture - Ever notice how watery some commercial yogurts can be? They often thin it with additives. Real homemade yogurt is luxuriously thick and creamy.
Simple Process
If you’re ready to start crafting your own yogurt masterpieces, the process is actually pretty straightforward. You just need milk, starter culture, and a warm space.

- Heat Milk – Start by heating 1⁄2 gallon of milk to 180°F on the stovetop. This changes the proteins and primes the milk for culturing.
- Cool Milk – Next, cool the milk down to 110-115°F. This temperature allows the yogurt cultures to thrive and produce lactic acid.
- Add Starter – Stir in 2-3 Tbsps of plain unsweetened yogurt with active cultures. This yogurt introduces the cultures needed to ferment the milk.
- Incubate – Keep the mixture at 110°F for 8-12 hours. Inside an oven with just the light on works perfectly. This gives time for the milk to ferment.
- Chill – Finally, chill in the fridge. This stops fermentation and lets the yogurt continue to thicken.
Jazz up Your Yogurt
Now for the fun part - time to stir in flavors! Try additions like:
- Fresh fruit – Berries, stone fruits, tropical fruits
- Nuts and seeds – Chopped almonds, walnuts, sunflower seeds
- Granola or muesli
- Extracts – Almond, vanilla, lemon, coconut
- Warm spices – Cinnamon, cardamom, ginger, nutmeg
- Natural sweeteners – Honey, maple syrup
You can even strain the yogurt to produce thicker Greek-style yogurt. Simply line a sieve with cheesecloth, spoon in yogurt, and let drain.
The Joys of Homemade
As you can see, homemade yogurt lets you take total control. You can save money, boost nutrition, and craft creative flavors. Once you master the simple process, you’ll never miss the bland store-bought stuff again. Ditch the limiting cups and unlock the possibilities with homemade yogurt! Your taste buds will thank you.
Posted from my blog with Exxp : https://holisticcaretips.com/the-delights-of-diy-yogurt/