Hello hello, my people from the Jewelry community. Today I come to show you my latest creation, it is a macrame bracelet with a spiral knot and beads, it looks very pretty and is easy to make.
Hola hola, mi gente de la comunidad de Jewelry. El día de hoy vengo a mostrarles mi última creación, es una pulsera en macrame con nudo espiral y mostacillas, queda muy bonita y es sencilla de hacer.

Materials:
- 2.70cm of golden Chinese thread.
- Scissors.
- Meter.
- Lighter.
- Mostacillas.
Materiales:
- 2,70cm de hilo chino dorado.
- Tijera.
- Metro.
- Encendedor.
- Mostacillas.
Procedure:
Procedimiento:


1.- To start, we will need to cut three sizes of Chinese thread, we will cut two strips of 50 cm, one of 1.50 cm and one of 20 cm, we will also be using scissors.
1.- Para iniciar, necesitaremos cortar tres tamaños de hilo chino, cortaremos dos tiras de 50 cm, una de 1,50cm y una de 20cm también estaremos utilizando tijera.

2.- We will take our two 50 cm strips and we will leave a space of approximately 10 cm and we will make a simple knot.
2.- Tomaremos nuestras dos tiras de 50 cm y vamos a dejar un espacio de aproximadamente 10 cm y vamos a realizar un nudito simple.

3.- We are going to fix it to our workplace, either in a folder like the one I use to fix the bases of my bracelets, you can also hold it with a piece of tape.
3.- Vamos a fijarlo a nuestro sitio de trabajo, ya sea en una carpeta como la que yo utilizo para fijar las base de mis pulseras, también pueden sujetarla con un trozo de cinta.

4.- I am also going to hold the thread from the bottom. And we are going to reserve our thread on the left by holding it on top.
4.- También voy a sujetar el hilo por la parte de abajo. Y nuestro hilo de la izquierda lo vamos a reservar sujetándolo por encima.

5.- I am going to take a lighter and place it under the thread to lift our base and knit more comfortably.
5.- Voy a tomar un encendedor y colocarlo por debajo del hilo para levantar nuestra base y tejer con mayor comodidad.

6.-We are going to take our 1 50 cm thread and bring the ends together to level it to locate the center. Once I have the center, I am going to raise it and place it below the base thread.
6.-Vamos a tomar nuestro hilo de 1 50 cm y juntaremos las puntas para nivelarlo para ubicar el centro. Ya teniendo el centro voy a subirlo colocarlo por debajo del hilo base.


7.- I am going to make a flat knot to fix the thread at the base, passing the end of the thread on the right side through the ear on the left side, going up until we are below the simple knot that we made previously and tightening.
7.- Voy a realizar un nudo plano para fijar el hilo en la base, pasando el extremo del hilo del lado derecho por la orejita del lado izquierdo, subimos hasta dejar por debajo del nudo simple que hicimos anteriormente y apretamos.


8.- To start the spiral knot we will take the thread on the right and pass it over our base thread, and our thread on the right will be above the left thread, making a type 4. We take the end of the left thread and we pass it under the base thread and through the center of the ear on the left side.
8.- Para iniciar el nudo espiral tomaremos el hilo de la derecha y lo pasaremos por encima de nuestro hilo base, y nuestro hilo de la derecha va a quedar por encima del hilo izquierdo, realizando un tipo 4. Tomamos el extremo el hilo izquierdo y lo pasamos por debajo del hilo base y por el centro de la orejita del lado izquierdo.


9.- We are going to carry out the same procedure. We are only going to do it on the left side, unlike the flat knot that is on both sides, this will only be knitted on one side, which will be on our left side. We are going to make the figure four and introducing the right thread below and through the center of the right thread.
9.- Vamos a realizar el mismo procedimiento. Solo lo vamos a realizar del lado izquierdo a diferencia del nudo plano que es de ambos lados, este solo será tejido de un solo lado que será de nuestro lado izquierdo. Vamos a realizar el cuatro e introduciendo el hilo de la derecha por debajo y por el centro del hilo de la derecha.


10.- As we weave the knots it goes around in a spiral, although we can turn our thread around to make it more comfortable to weave. Remember that our right thread passes above the center thread but below the thread on the left side, and our thread on the left side passes underneath, exiting through the circle, and so we are going to repeat this step until our bracelet has the desired size. .
10.- A medida que vamos tejiendo los nudos él va dando la vuelta en espiral, aunque podemos ir dando las vueltas a nuestro hilo para que sea más cómodo tejer. Recuerden que pasa nuestro hilo derecho por encima del hilo del centro pero por debajo del hilo del lado izquierdo, y nuestro hilo del lado izquierdo pasa por debajo saliendo por el círculo y así vamos a ir repitiendo este paso hasta que nuestra pulsera tenga el tamaño deseado.

11.- The bracelet that I am going to make is approximately 14 cm.
11.- La pulsera que yo voy a elaborar es de 14 cm aproximadamente.


12.- Once ready we are going to take off the thread from the base to cut those excess threads, leaving a little to be able to seal with our lighter.
12.- Una vez listo vamos a despegar el hilo de la base para cortar esos hilos excedentes dejando un poquito para poder sellar con nuestro encendedor.


13.- We are going to use the thread that we reserved initially and we are going to burn its tip and sharpen it with
help of the fingertips to insert the beads easier.
13.- Vamos a utilizar el hilo que reservamos inicialmente y vamos a quemar su punta y afilarla con
ayuda de la yema de los dedos para meter las mostacillas más fácil.


14.- We are going to proceed to fill our thread that we had reserved one bead at a time, without any type of order in the colors.
14.- Vamos a proceder a llenar nuestro hilo que habíamos reservado de a una mostacillas, sin ningún tipo de orden en los colores.
.jpg)
15.- We are going to fill it about 2 cm more to where we finished our fabric since we are going to turn around and it will decrease. It is not necessary to tie a knot since the beads, being just the right size to fit snugly on the thread, do not come off.
15.- Vamos a llenarlo unos 2 cm más hasta donde terminamos nuestro tejido ya que vamos a dar vuelticas y se va a ir disminuyendo. No es necesario hacer un nudo ya que las mostacillas al ser del tamaño justo para quedar ajustadas en el hilo no se salen.

16.- We are going to turn our spiral with the beads.
We are going to turn it over and make sure that it stays firmly there, that it fits just right.
16.- Vamos a ir dando vuelta a nuestro espiral con las mostacillas. Vamos a darle vuelta y asegurandonos que quede bien fijo allí, que nos quede bien justito.


17.- When we reach the end, what we are going to do is a simple knot that fits very close to where we finished.
17.- Cuando lleguemos al final lo que vamos a realizar es un nudito simple que nos quede muy pegadito a donde terminamos.


18.- We are going to match both threads with the scissors and I will tie a knot at the tip of both ends.
18.- Vamos a emparejar ambos hilos con la tijera y le haré un nudo en la punta de ambos extremos.


19.- I cut the excess threads from the knots and burn to seal.
19.- Corto los hilos excedentes de los nudos y quemo para sellar.


20.-We are going to close our bracelet with a sliding knot, we are going to take our 20cm thread and make a flat knot.
20.-Vamos a cerrar nuestra pulsera con un nudo corredizo, vamos a tomar nuestro hilo de 20cm y realizar un nudo plano.


21.- We are going to repeat the same knot, we are going to make a knot on the right and a knot on the left in this way
21.- Vamos a repetir el mismo nudo, vamos a hacer un nudito por la derecha y un nudito por la izquierda de esta manera


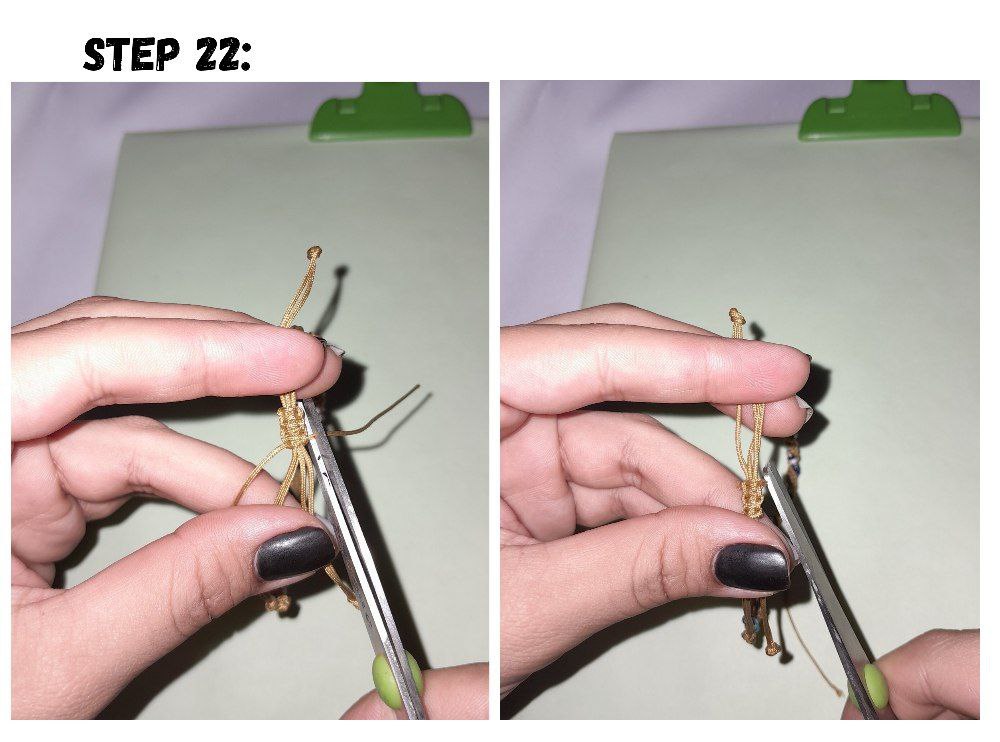
22.- We cut our excess threads and seal .
22.- Cortamos nuestros hilos excedentes y sellamos.

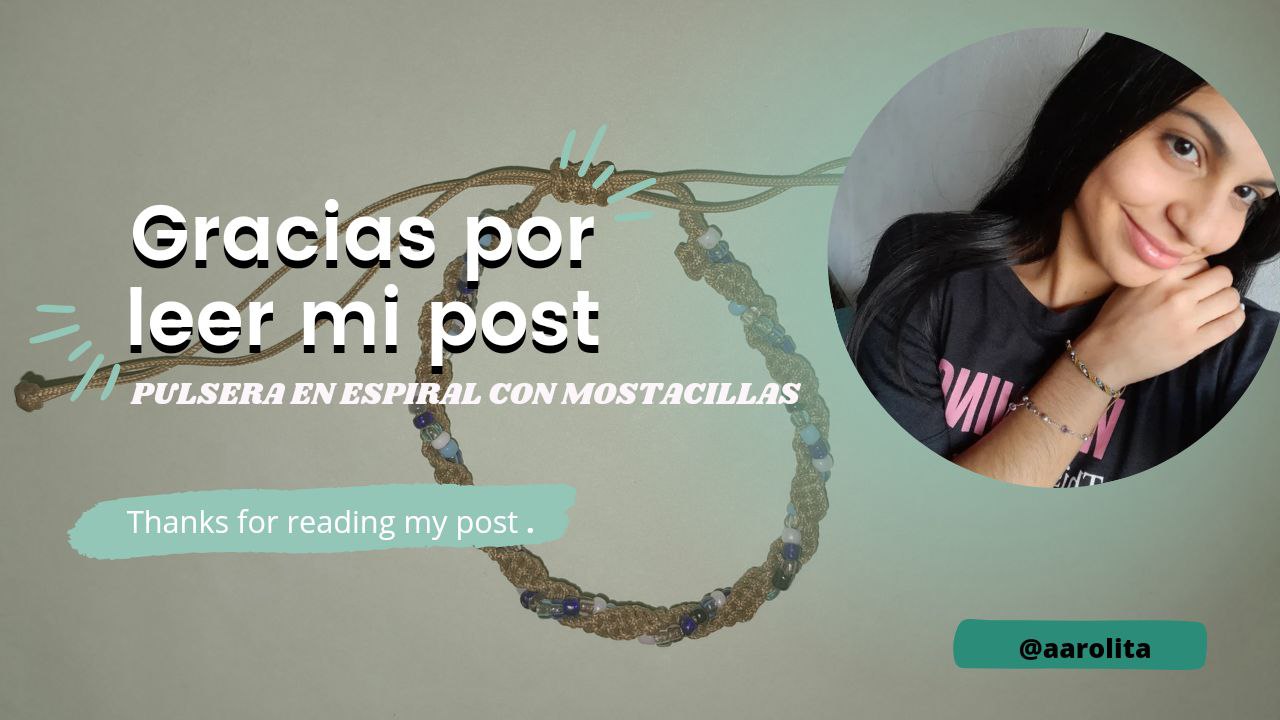
And that's how beautiful this bracelet turned out, I hope you liked it and understood the step by step.
Y así de hermosa quedo esta pulsera, espero que les haya gustado y hayan entendido el paso a paso.

The spiral bracelet looks amazing. Love its design. It is stylish and elegant. Nice work!
Congratulations @aarolita! You have completed the following achievement on the Hive blockchain And have been rewarded with New badge(s)
Your next target is to reach 9000 upvotes.
You can view your badges on your board and compare yourself to others in the Ranking
If you no longer want to receive notifications, reply to this comment with the word
STOPCheck out our last posts:
Este nudo es muy bonito y además es sencillo de realizar como lo explicas . Le da un aspecto genial a las pulseras.
Gracias por compartir