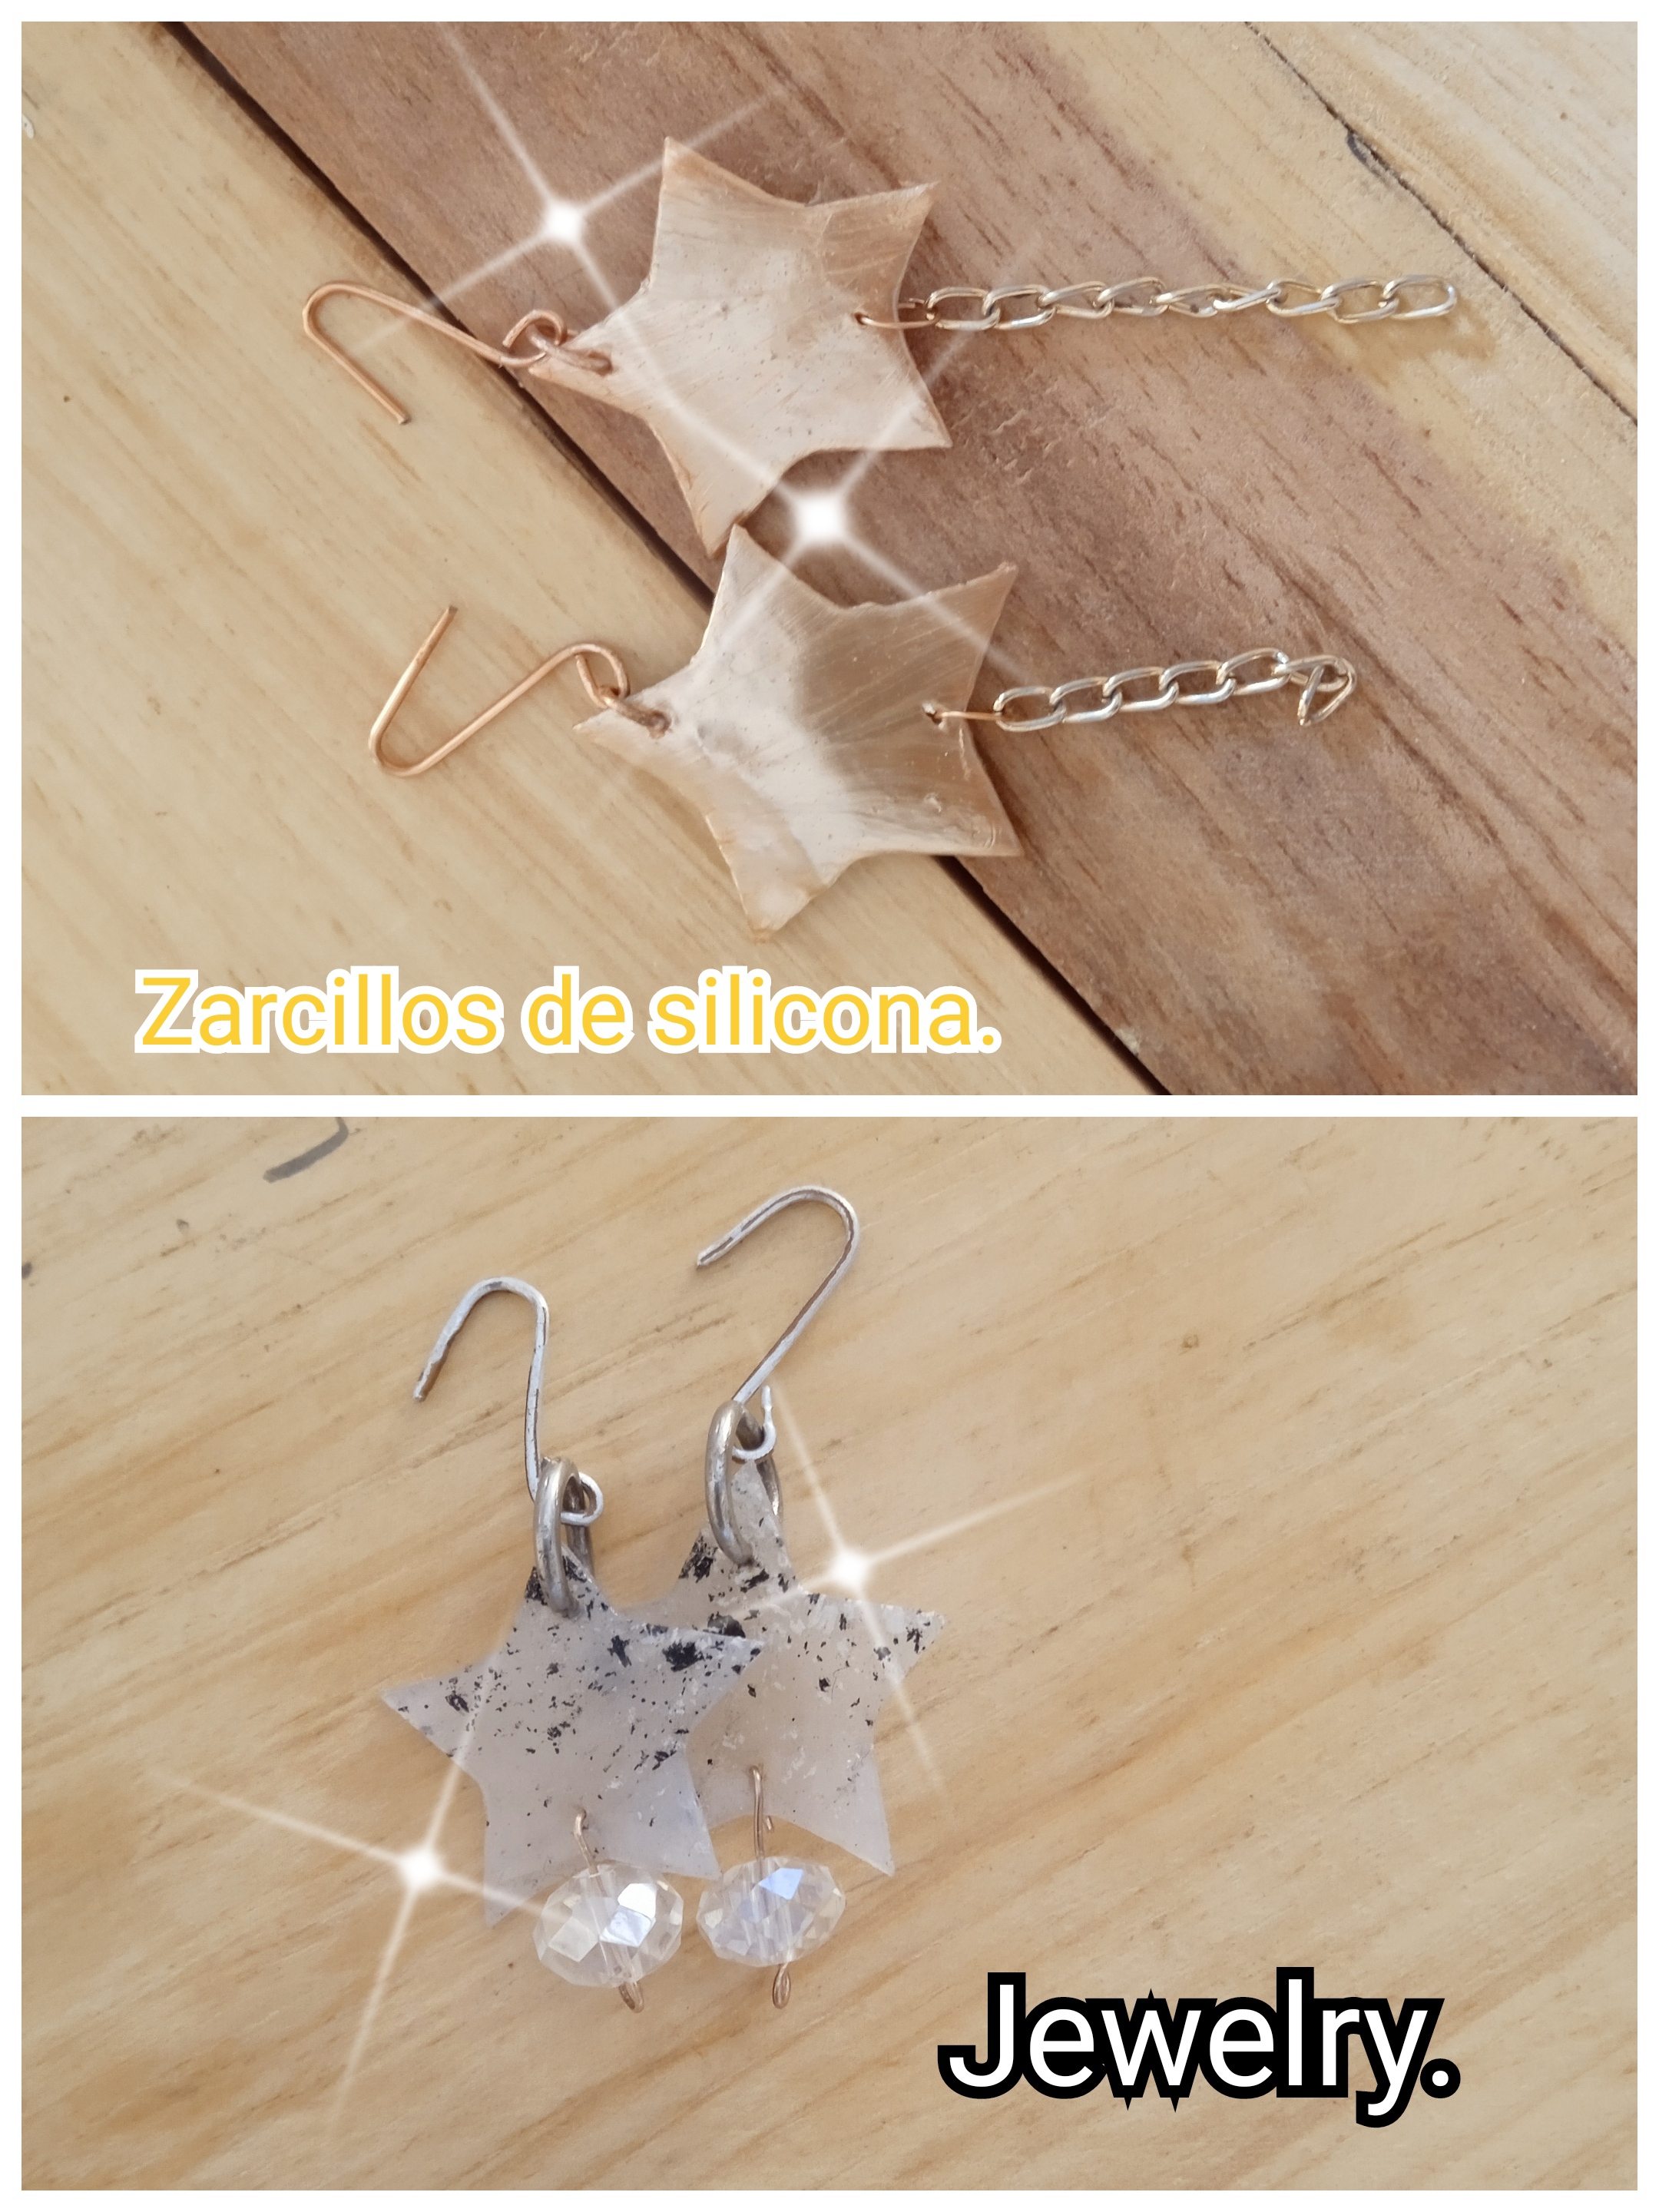
Hola mis preciosos amigos de las joyas, es un gusto saludarles en esta hermosa tarde. Les envío un fortísimo abrazo 🤗 y muchas bendiciones de Dios.
Hello my beautiful jewelry friends, it is a pleasure to greet you on this beautiful afternoon. I send you a very strong hug 🤗 and many blessings from God.
En esta oportunidad me complace mostrarles un trabajó muy lindo, económico y muy fácil de hacer, se trata de la elaboración de unos lindos zarcillos de silicona. A estos zarcillos puedes agregarle escarcha o pintarlos con esmalte de uñas, todo depende de nuestro gusto. Si les gusta este tutorial quédense conmigo hasta el final y te mostraré como hacerlos.
On this occasion I am pleased to show you a very nice, economical and very easy job to do, it is the making of some pretty silicone tendrils. You can add glitter to these tendrils or paint them with nail polish, it all depends on our taste. If you like this tutorial, stay with me until the end, let's go.
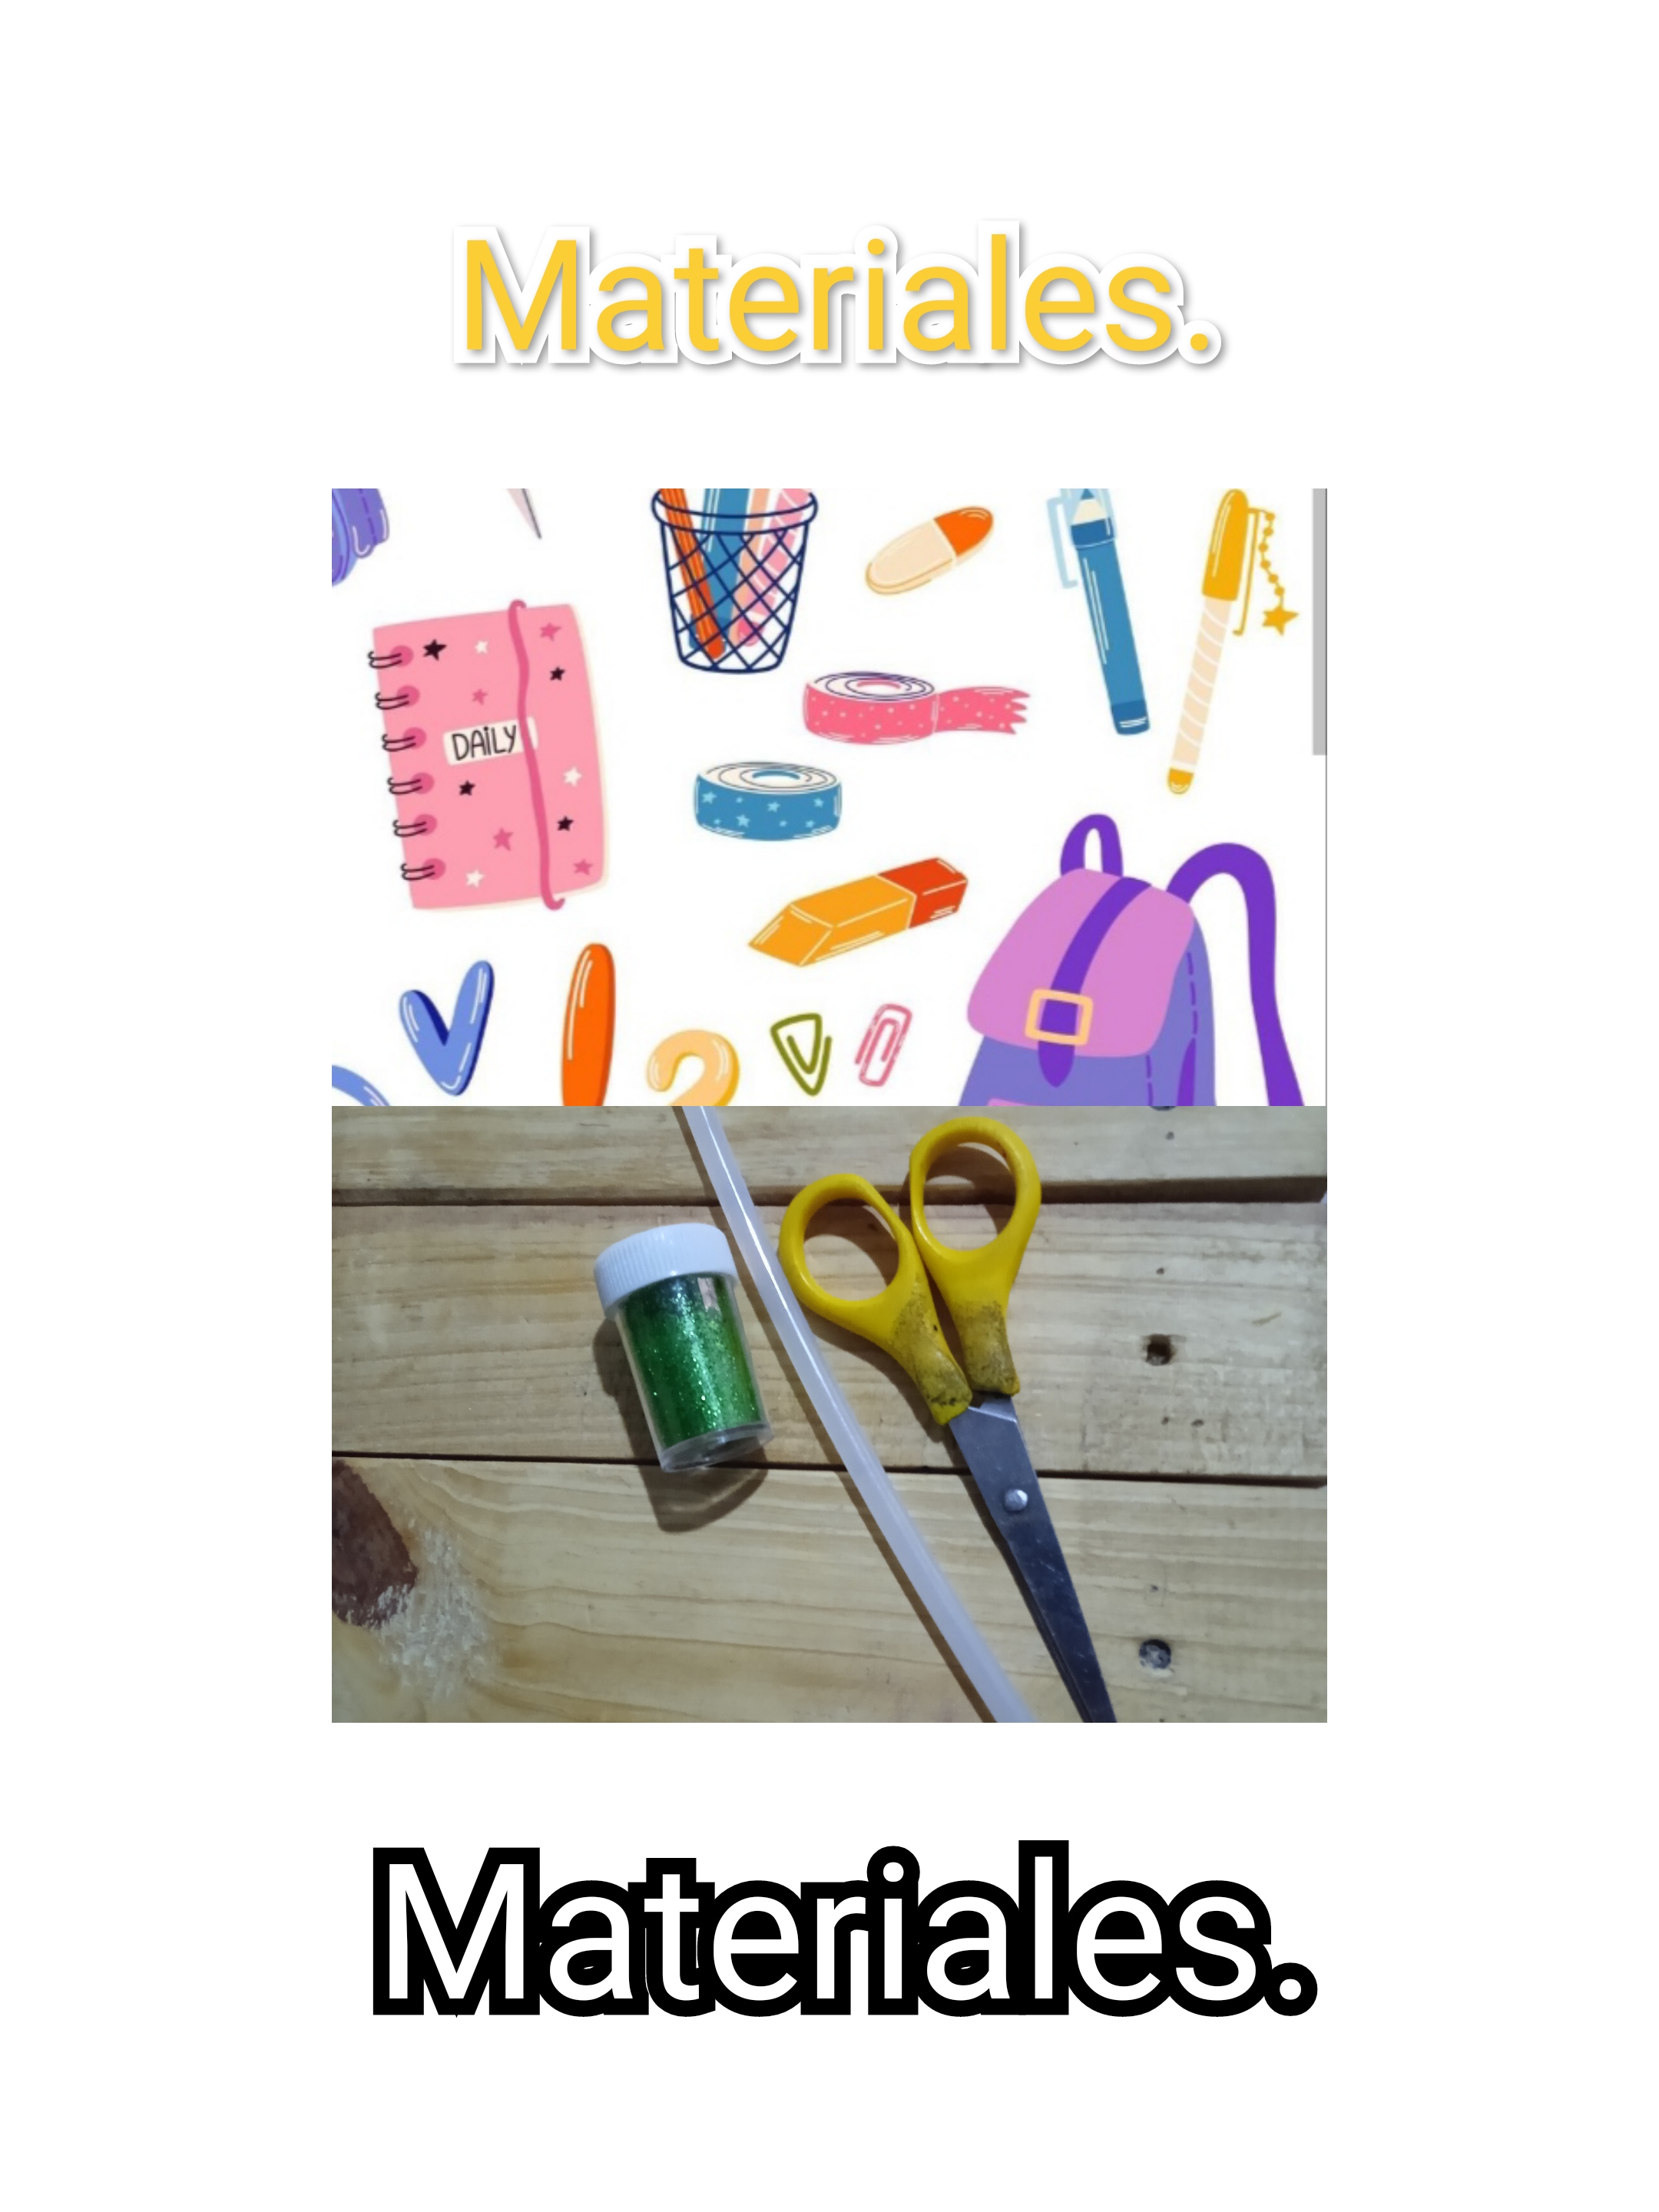
Materiales.
- Tijera.
- Silicona en barra.
- Pistola de silicona.
- Escarchas, pinturas o pedrería.
- Papel encerado.
Materials.
- Scissors.
- Silicone stick.
- Silicone gun.
- Frost, paint or rhinestones.
- Wax paper.
Paso 1.
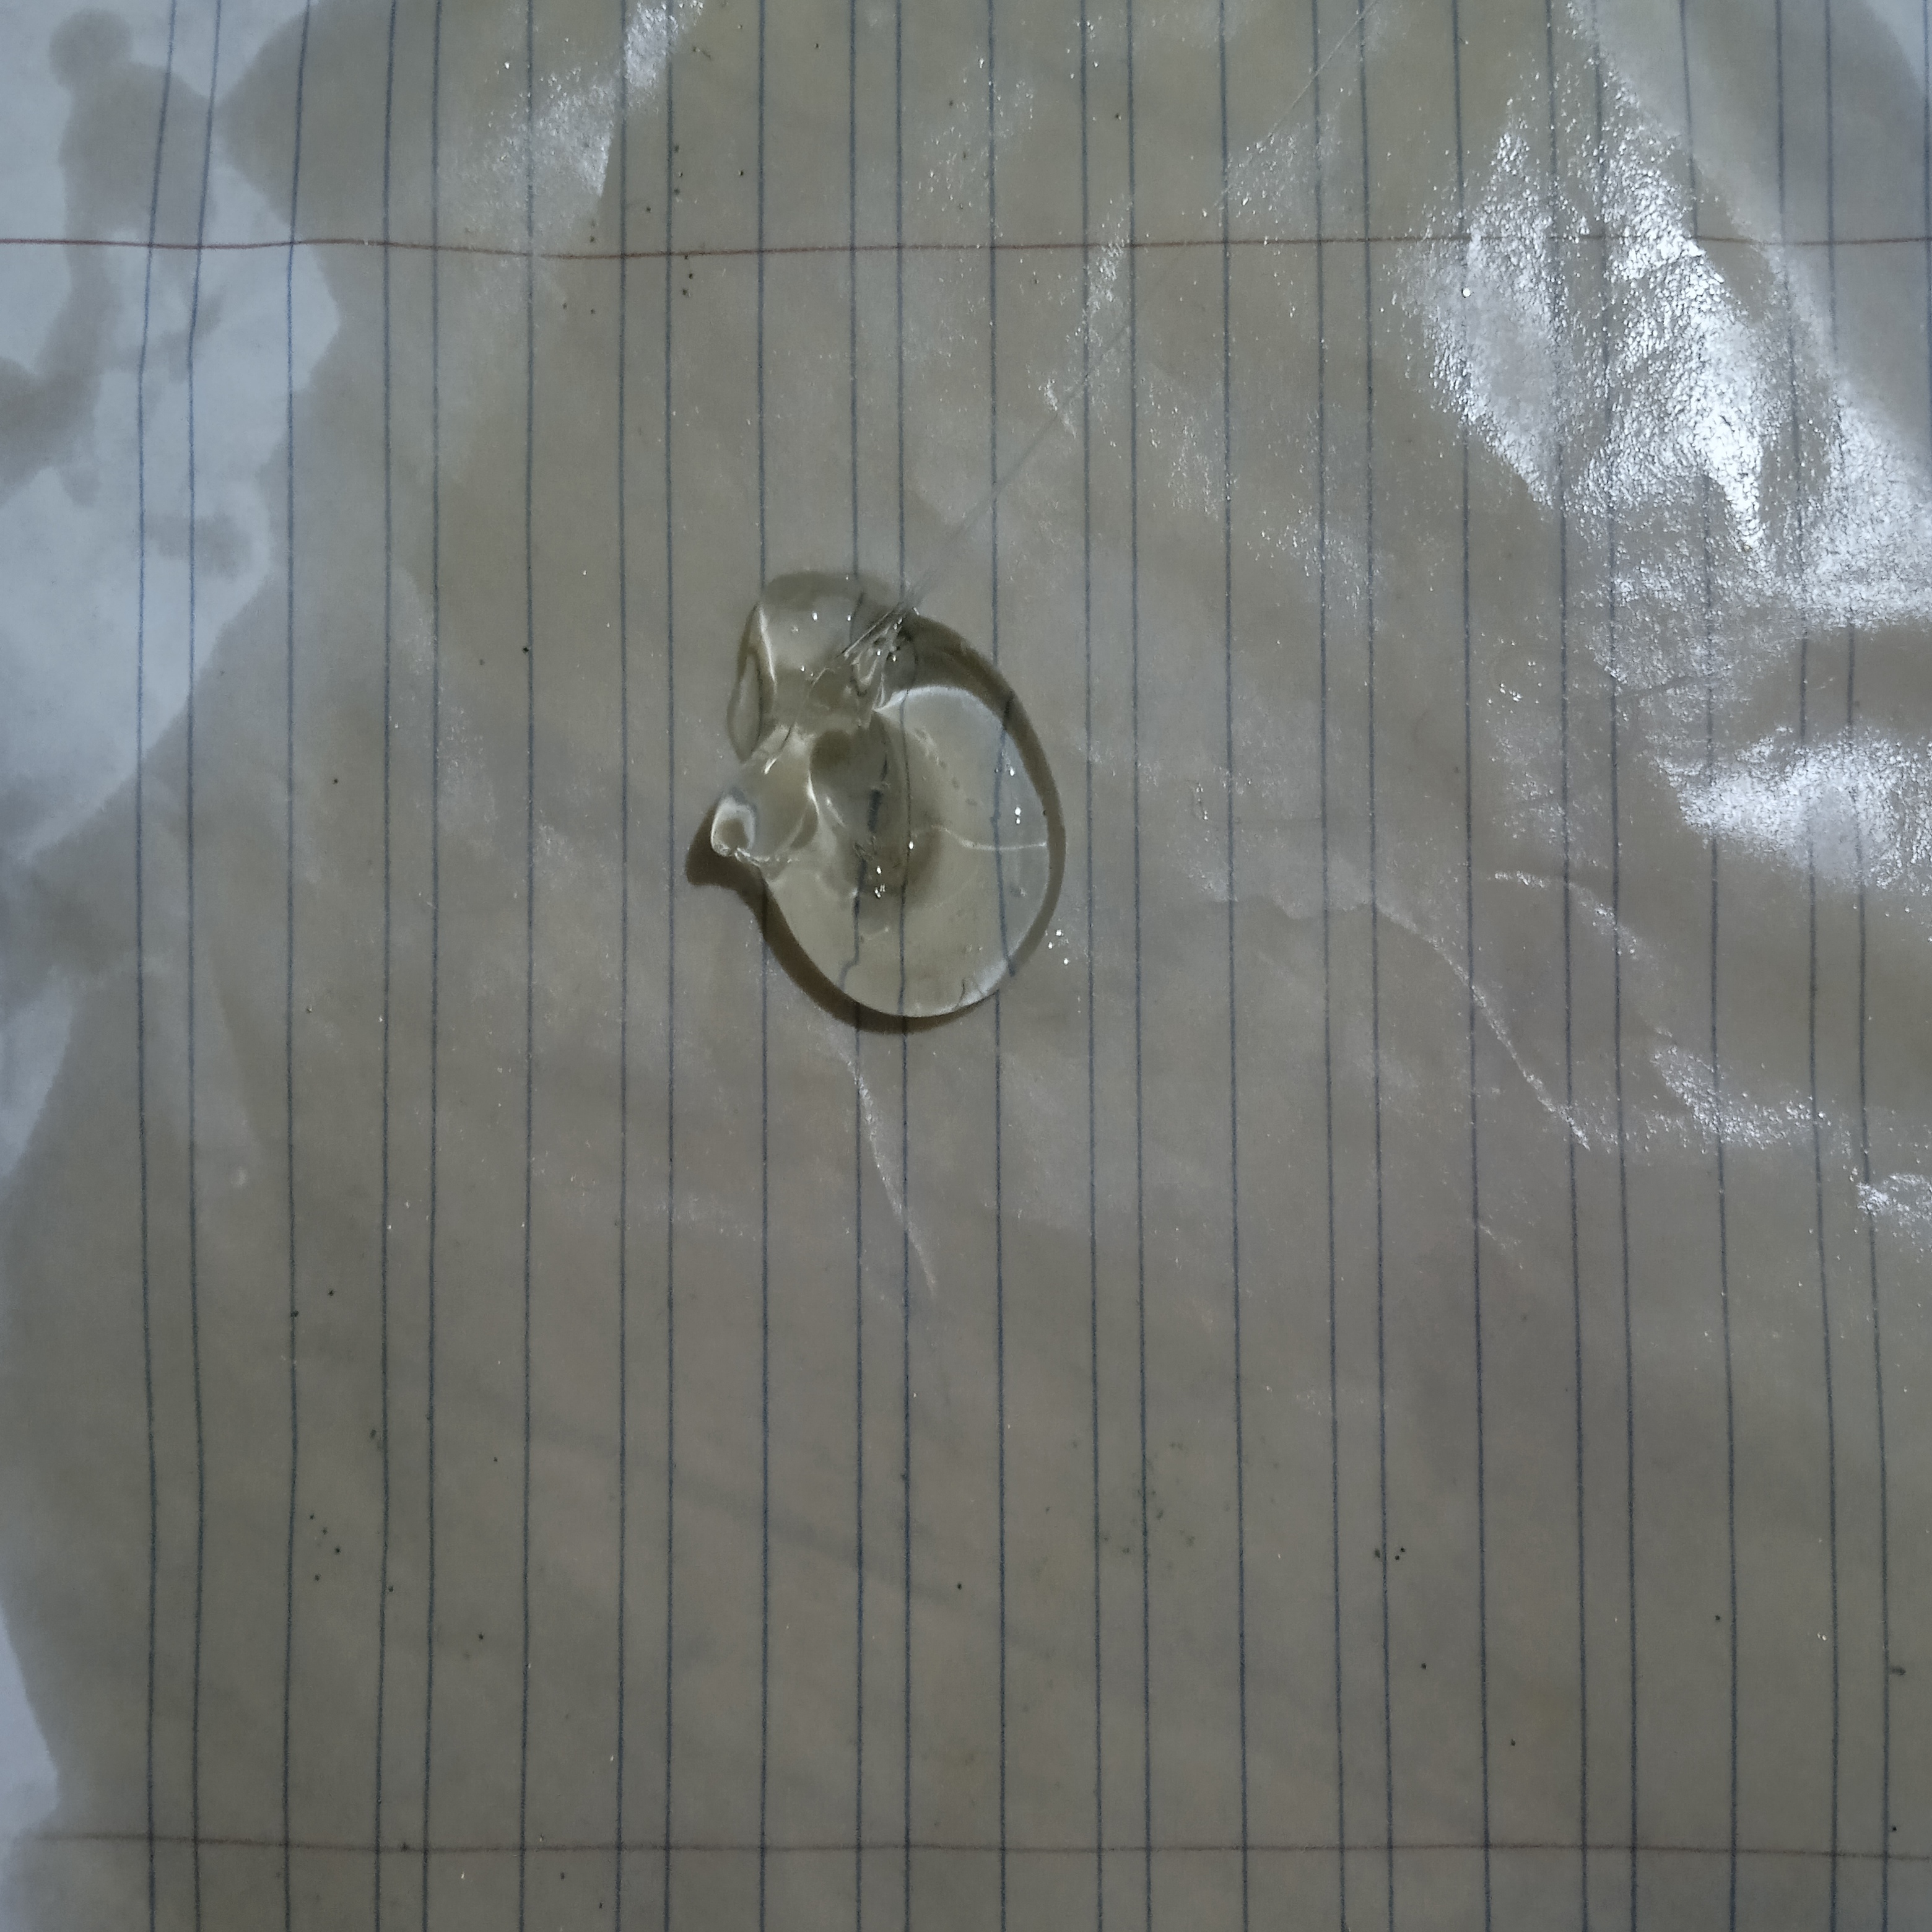
En un papel encerado vamos agregar silicona caliente, sino tenemos papel encerado, vamos a tomar un papel y agregarle un poco de aceite de coco hasta cubrirlo todo. Esto evitará que la silicona pegue y además le dejará un rico olor.
Step 1.
On wax paper we are going to add hot silicone, if we don't have wax paper we are going to take a piece of paper and add a little coconut oil to cover everything. This will prevent the silicone from sticking and will also leave a delicious smell.
Paso 2.
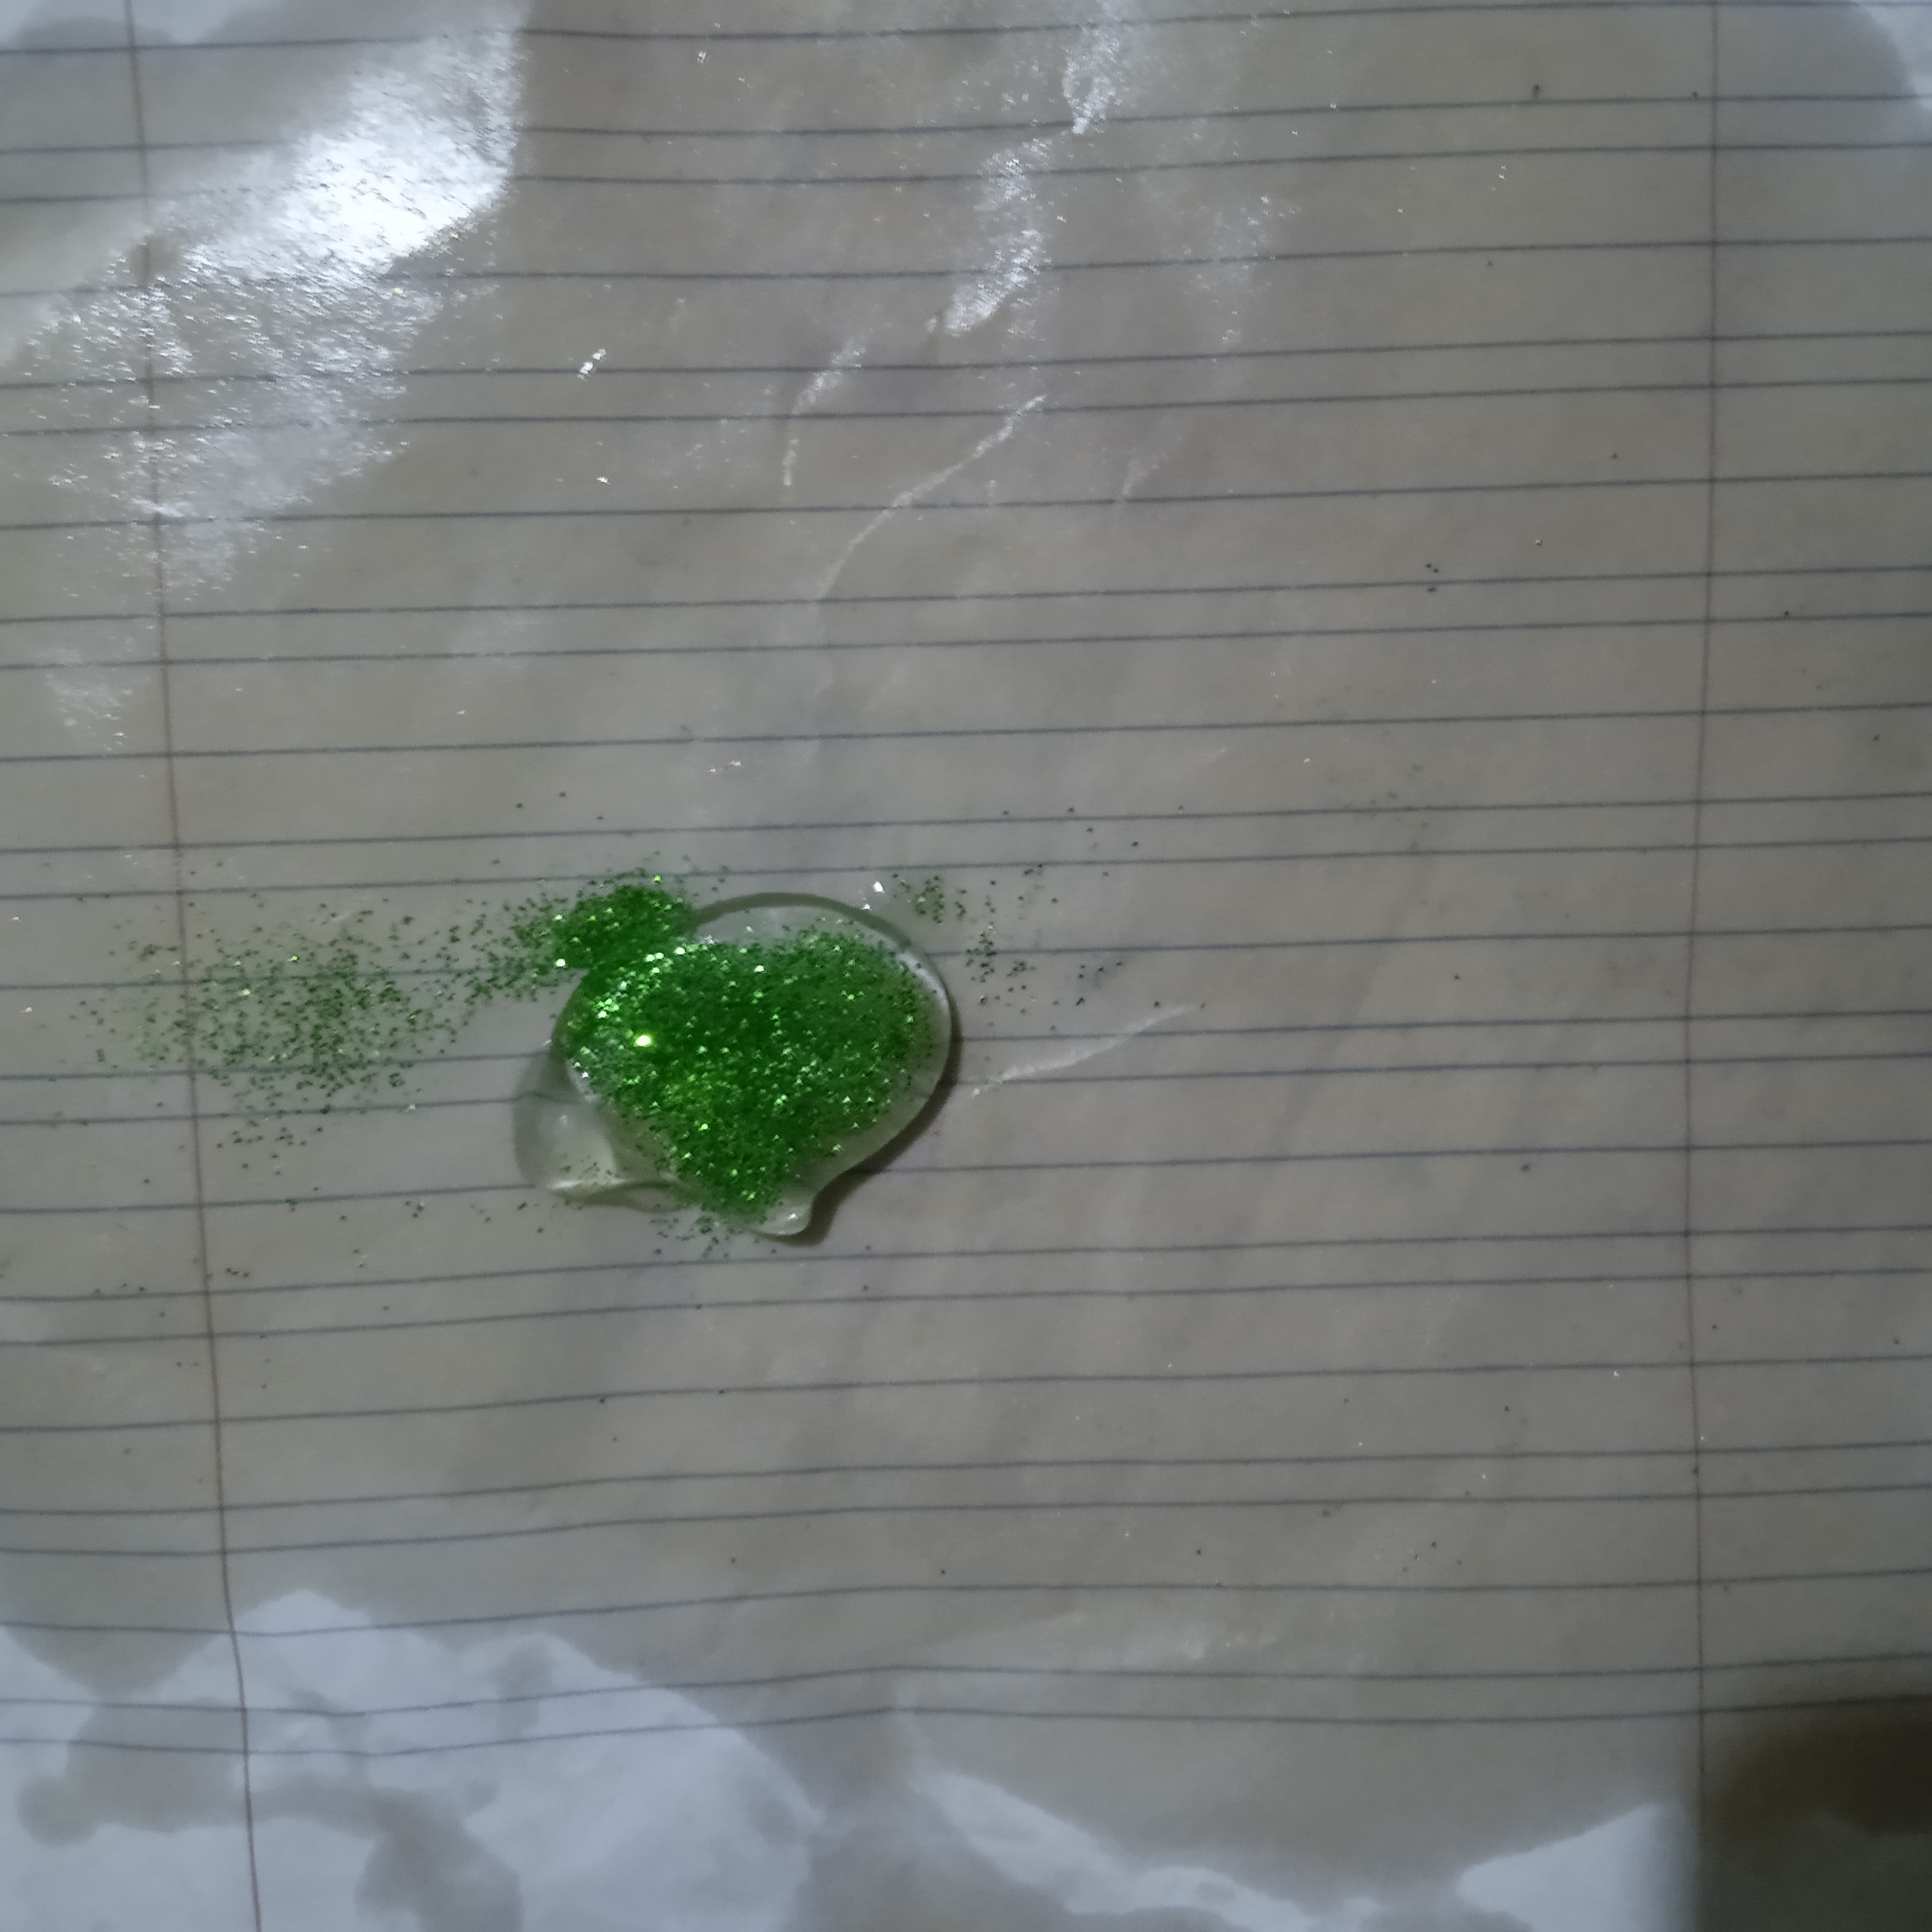
Si usas escarcha, debes agregar un poco de esta, del color que más te guste. Puedes hacerla de. varios colores o dejarlos sin color para pintar luego.
Step 2.
If you use glitter, you should add a little of this, in the color you like the most. You can make it from. several colors or leave them without color to paint later.
Paso 3.
Ahora vamos a doblar el papel sobre la silicona caliente y con una tapa lisa o un rodillo aplanamos para que al momento de hacer las figuras queden todas prolijas.
Step 3.
Now we are going to fold the paper over the silicone and with a smooth lid or a rolling pin we flatten it so that when we make the figures they are all neat.
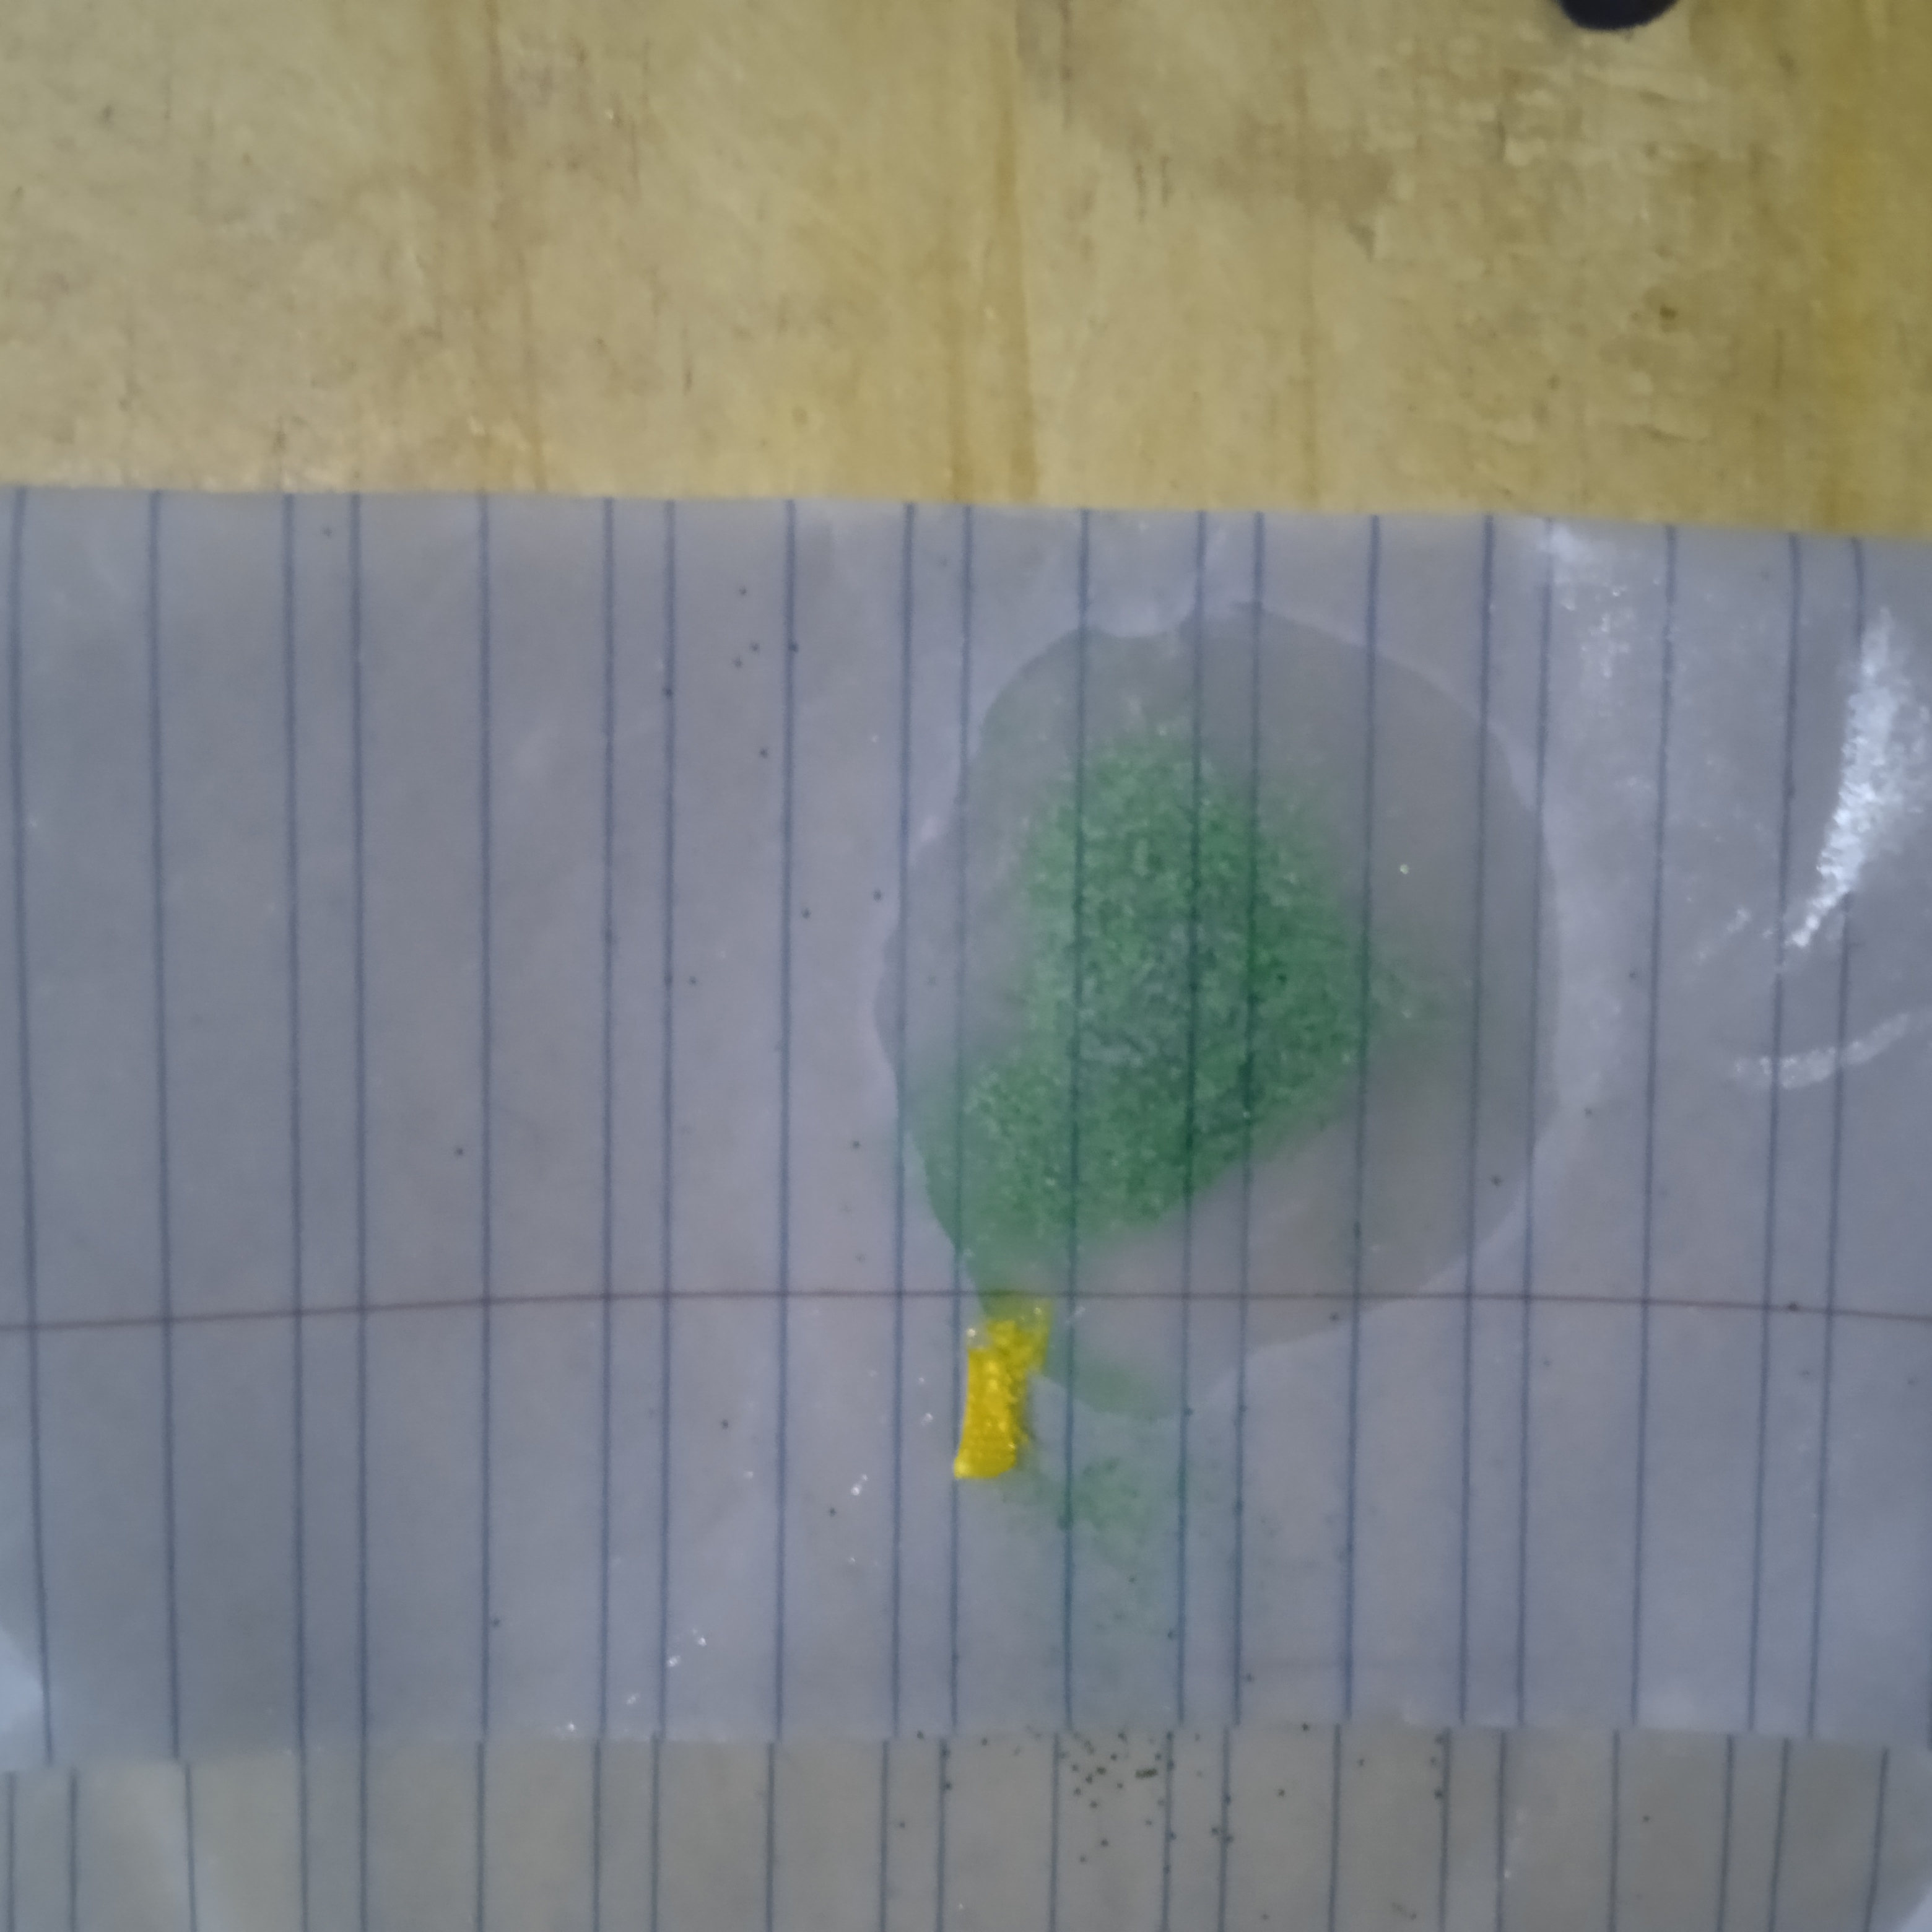
Paso 4.
Una vez que hayamos esperado que la silicona enfríe, retiramos del papel encerado, la cual dale muy bien y procedemos a marcar la figura de nuestra preferencia.
Step 4.
Once we have waited for the silicone to cool, we proceed to mark the figure of our preference.
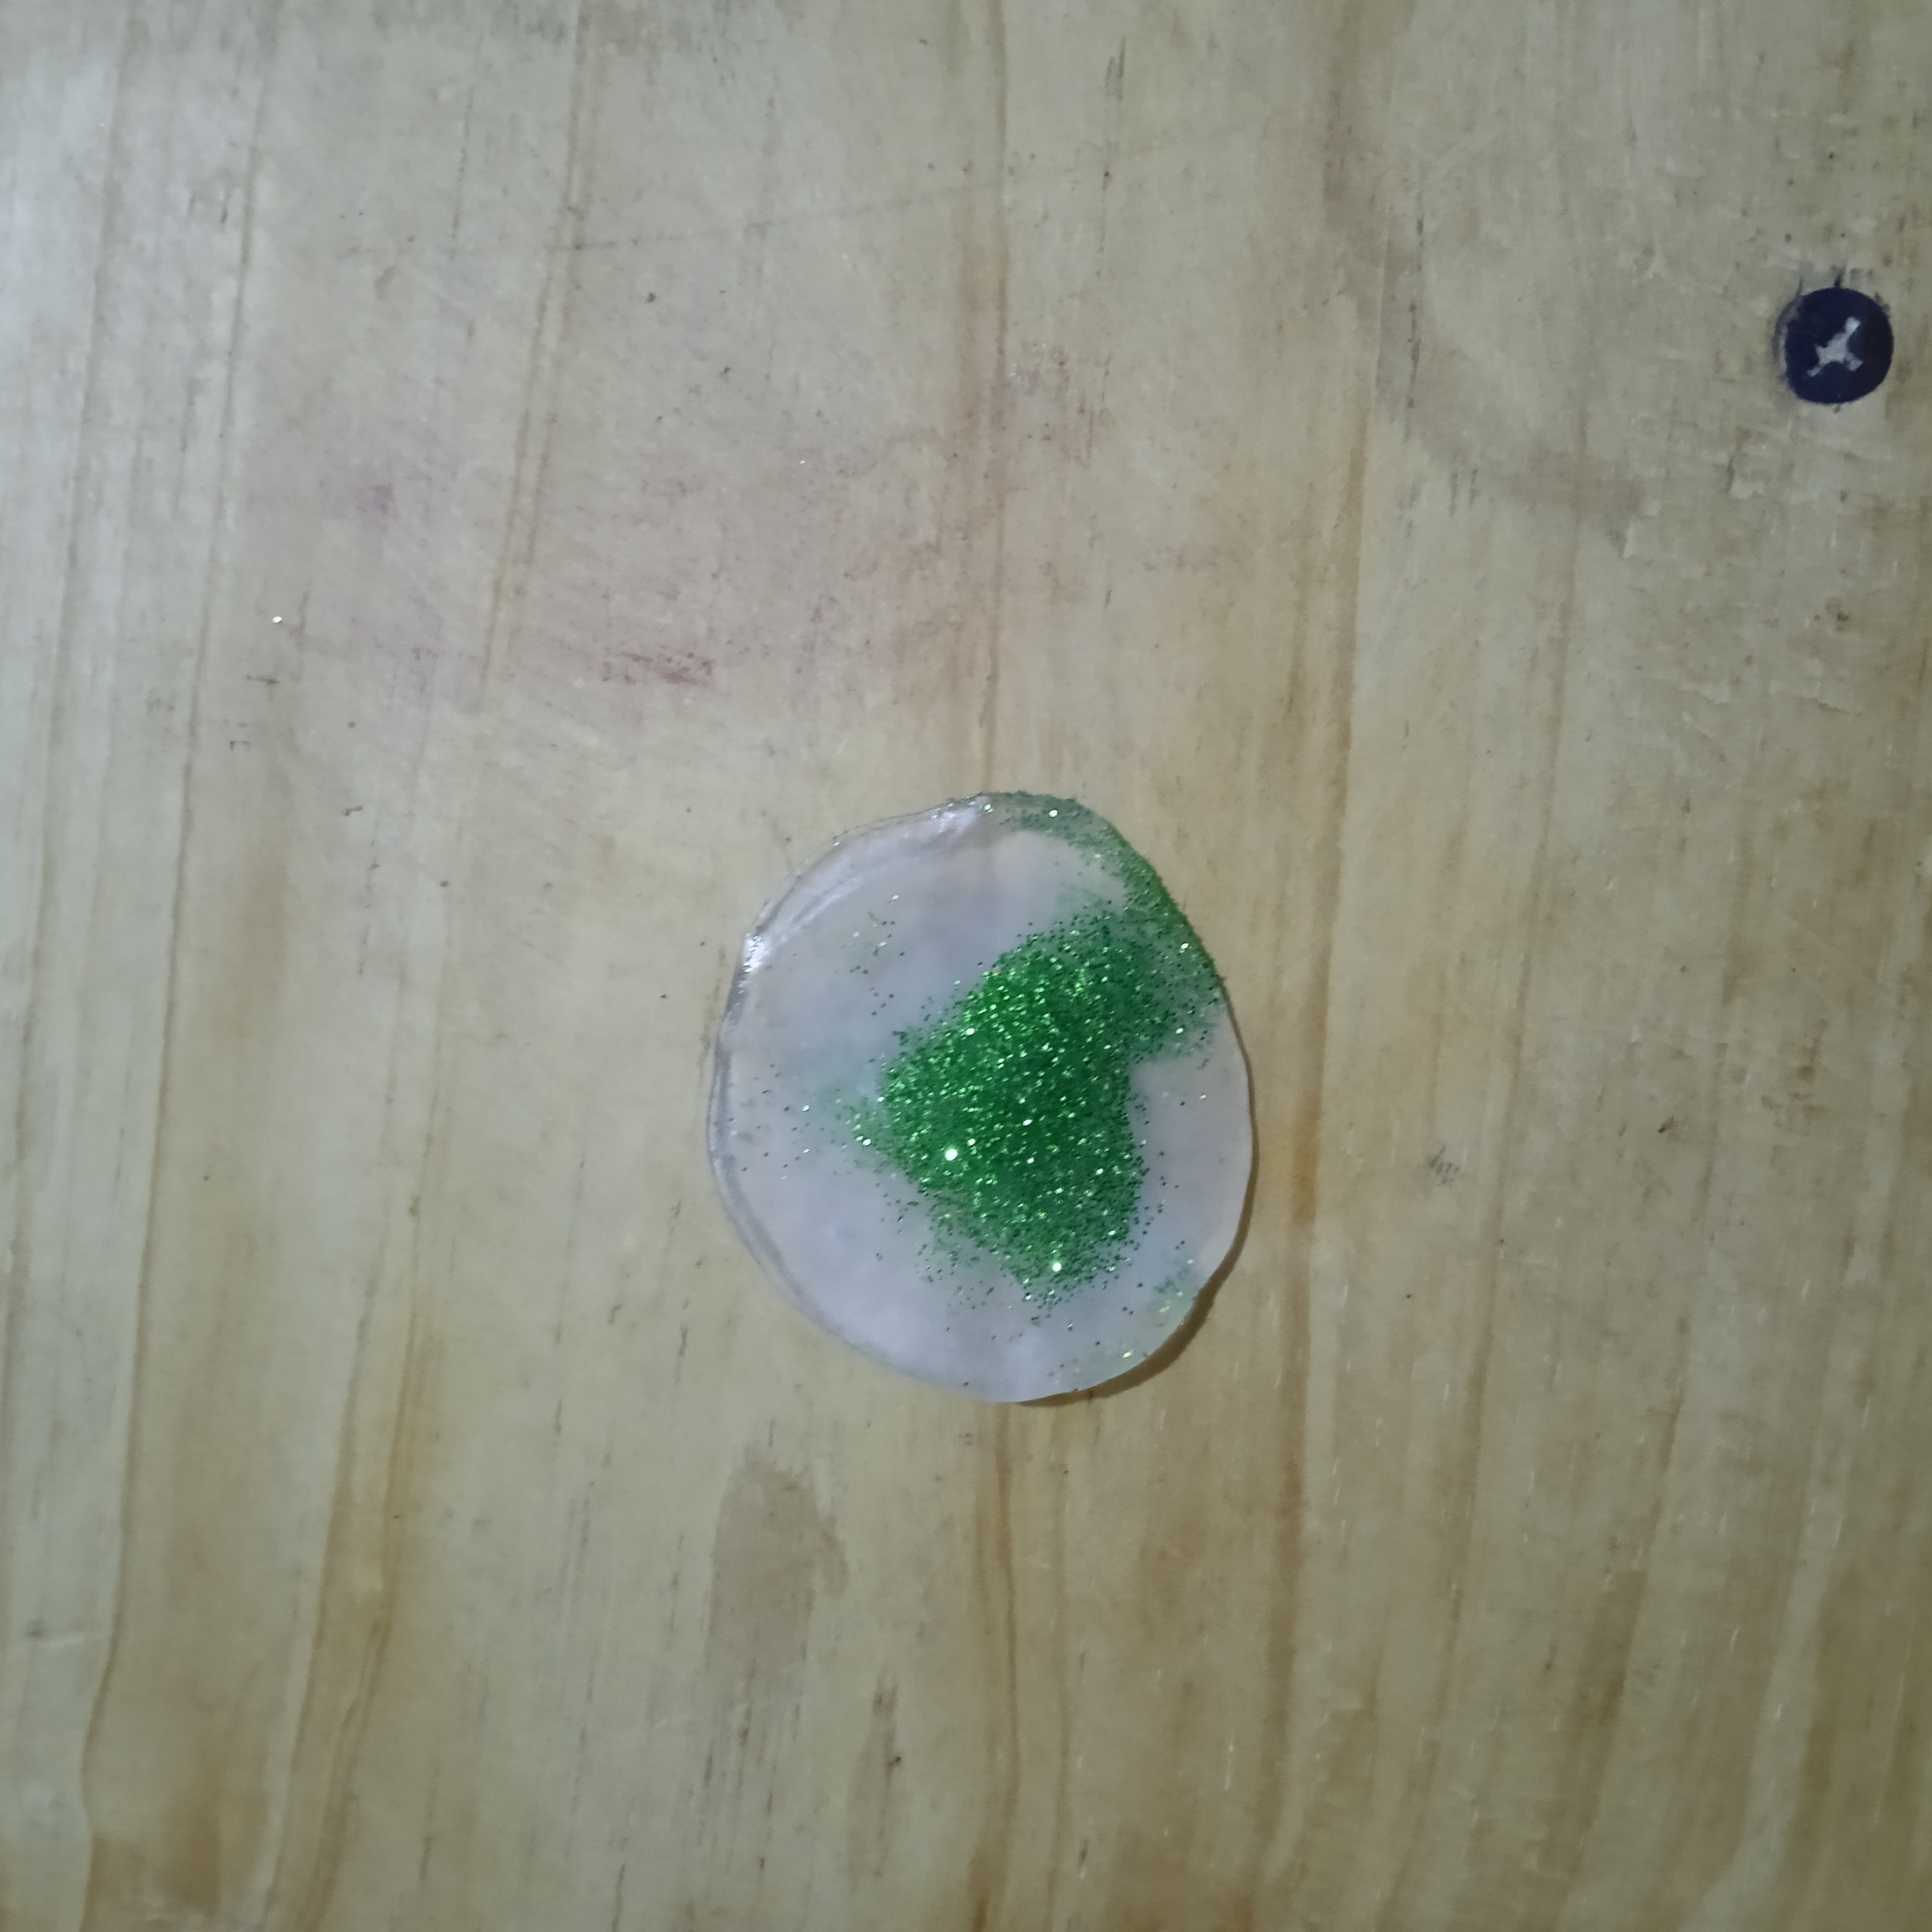
Paso 5.
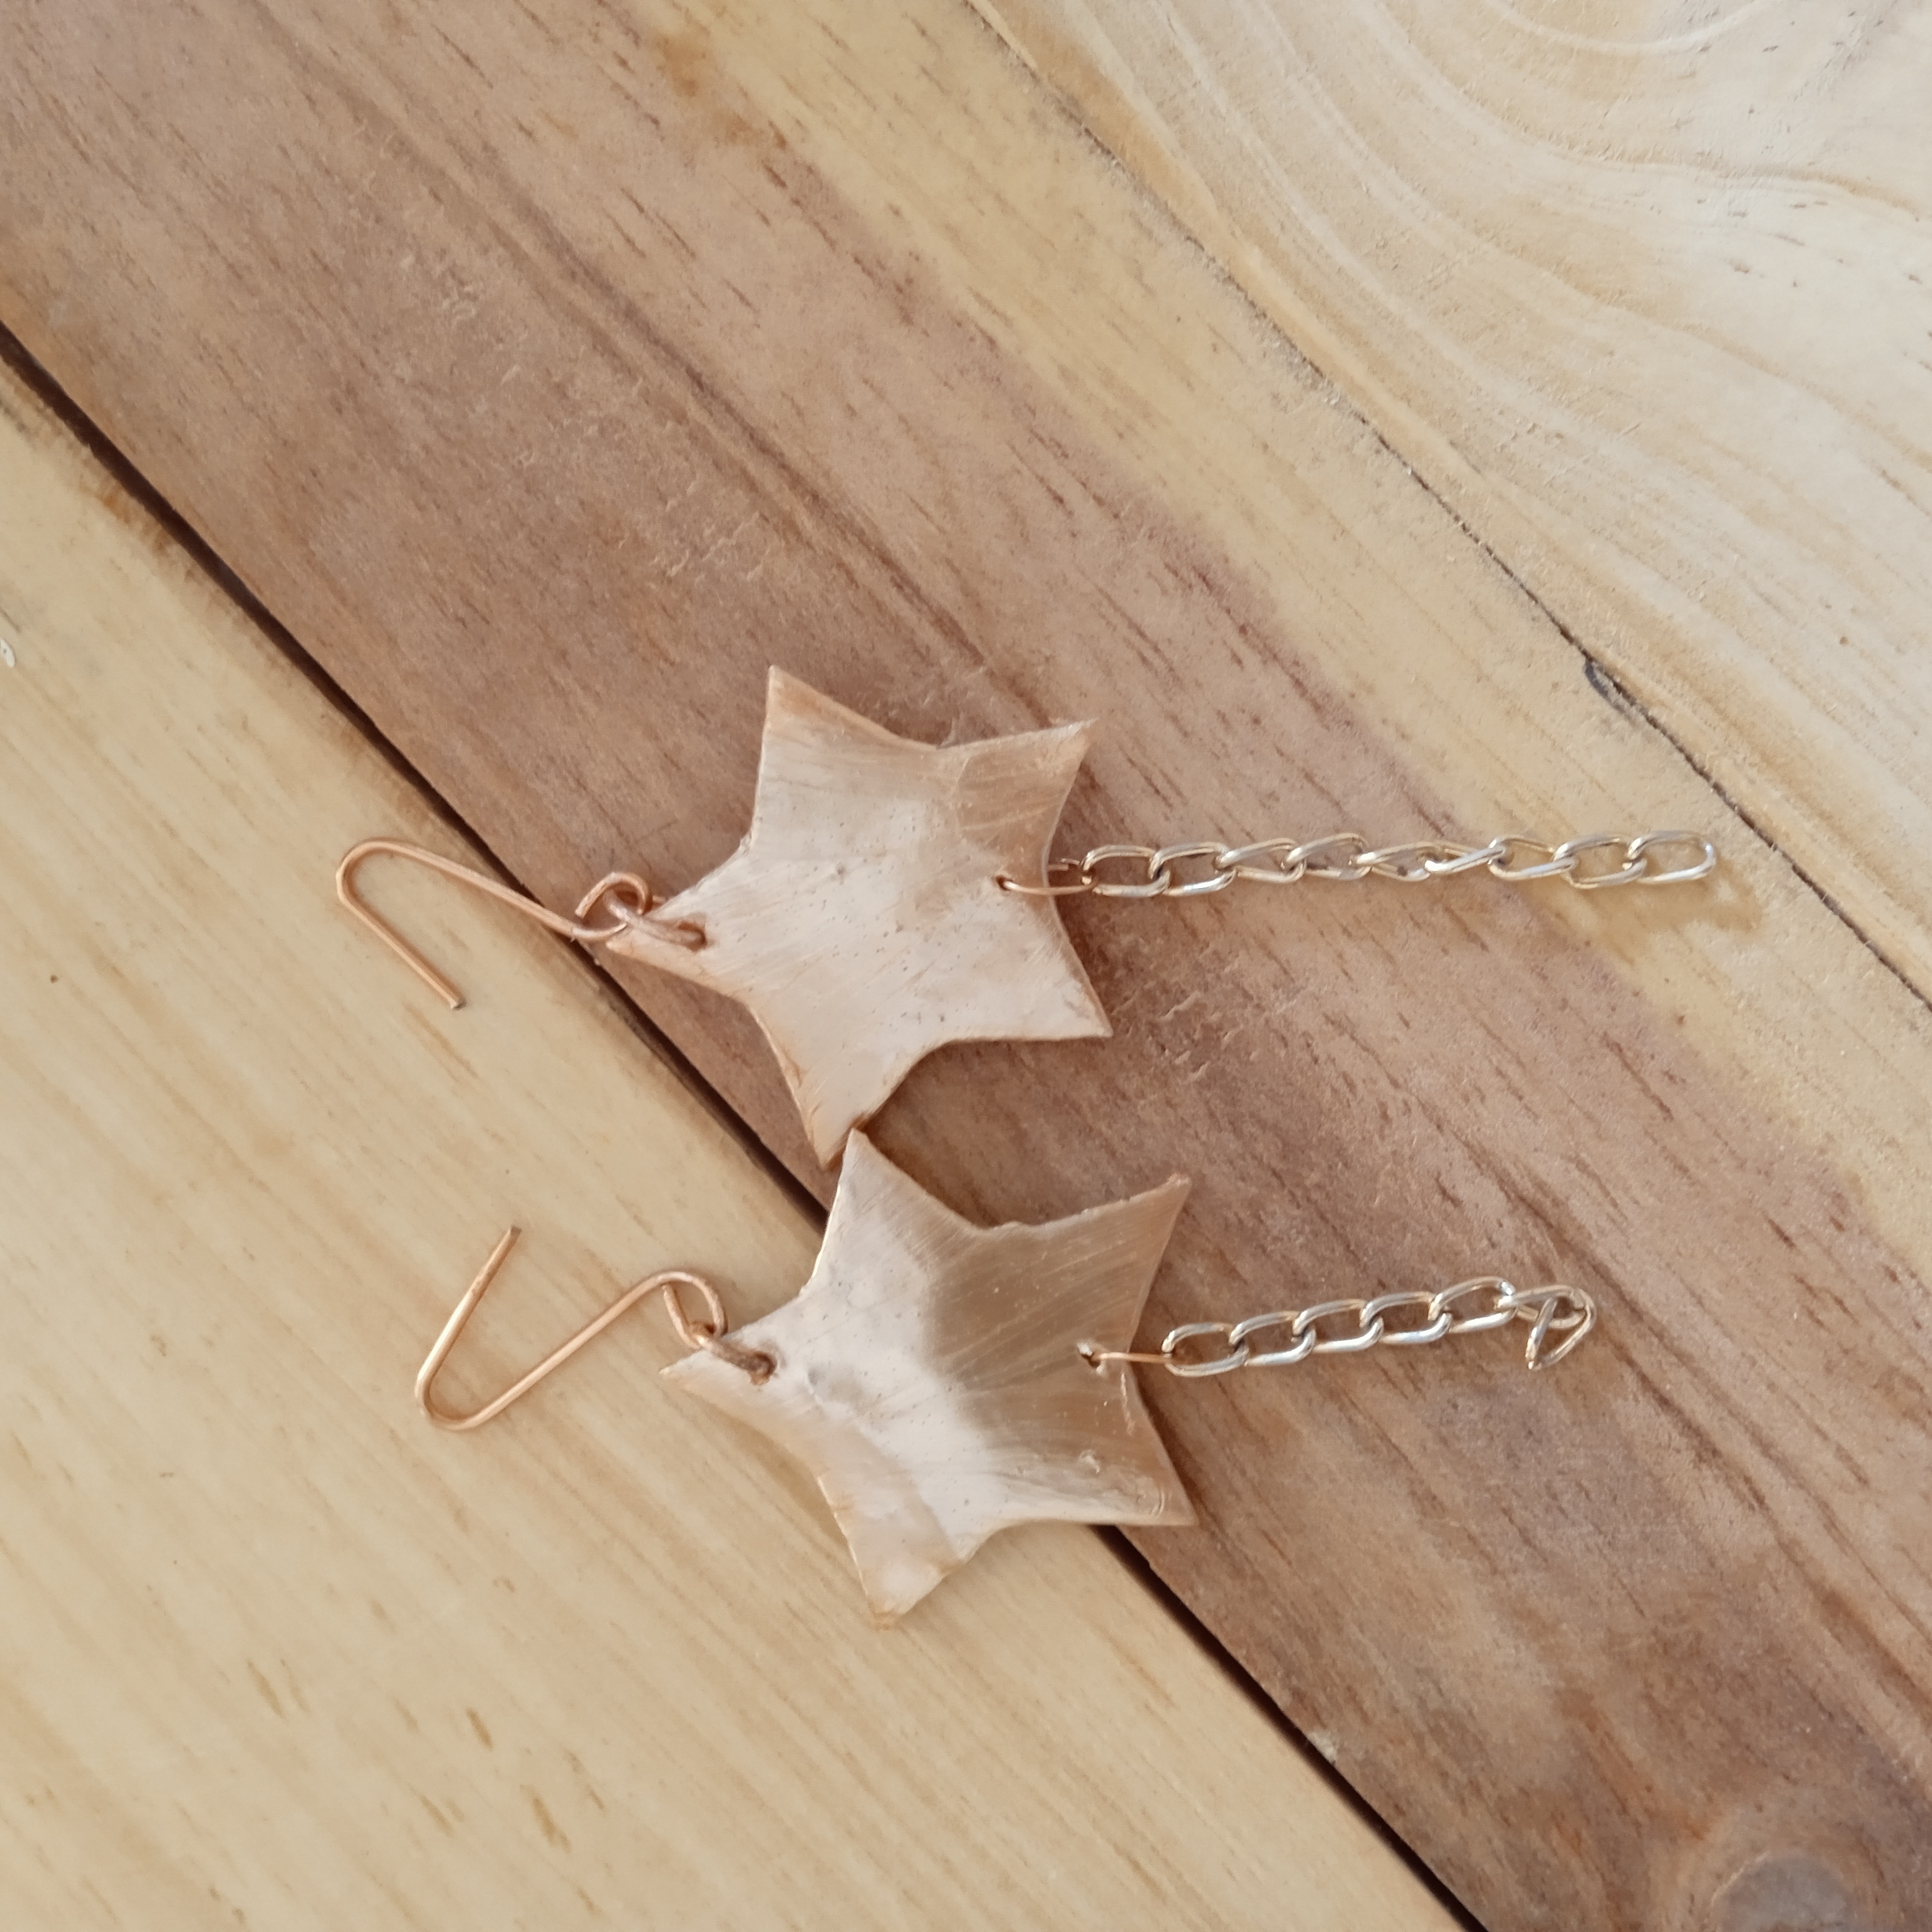
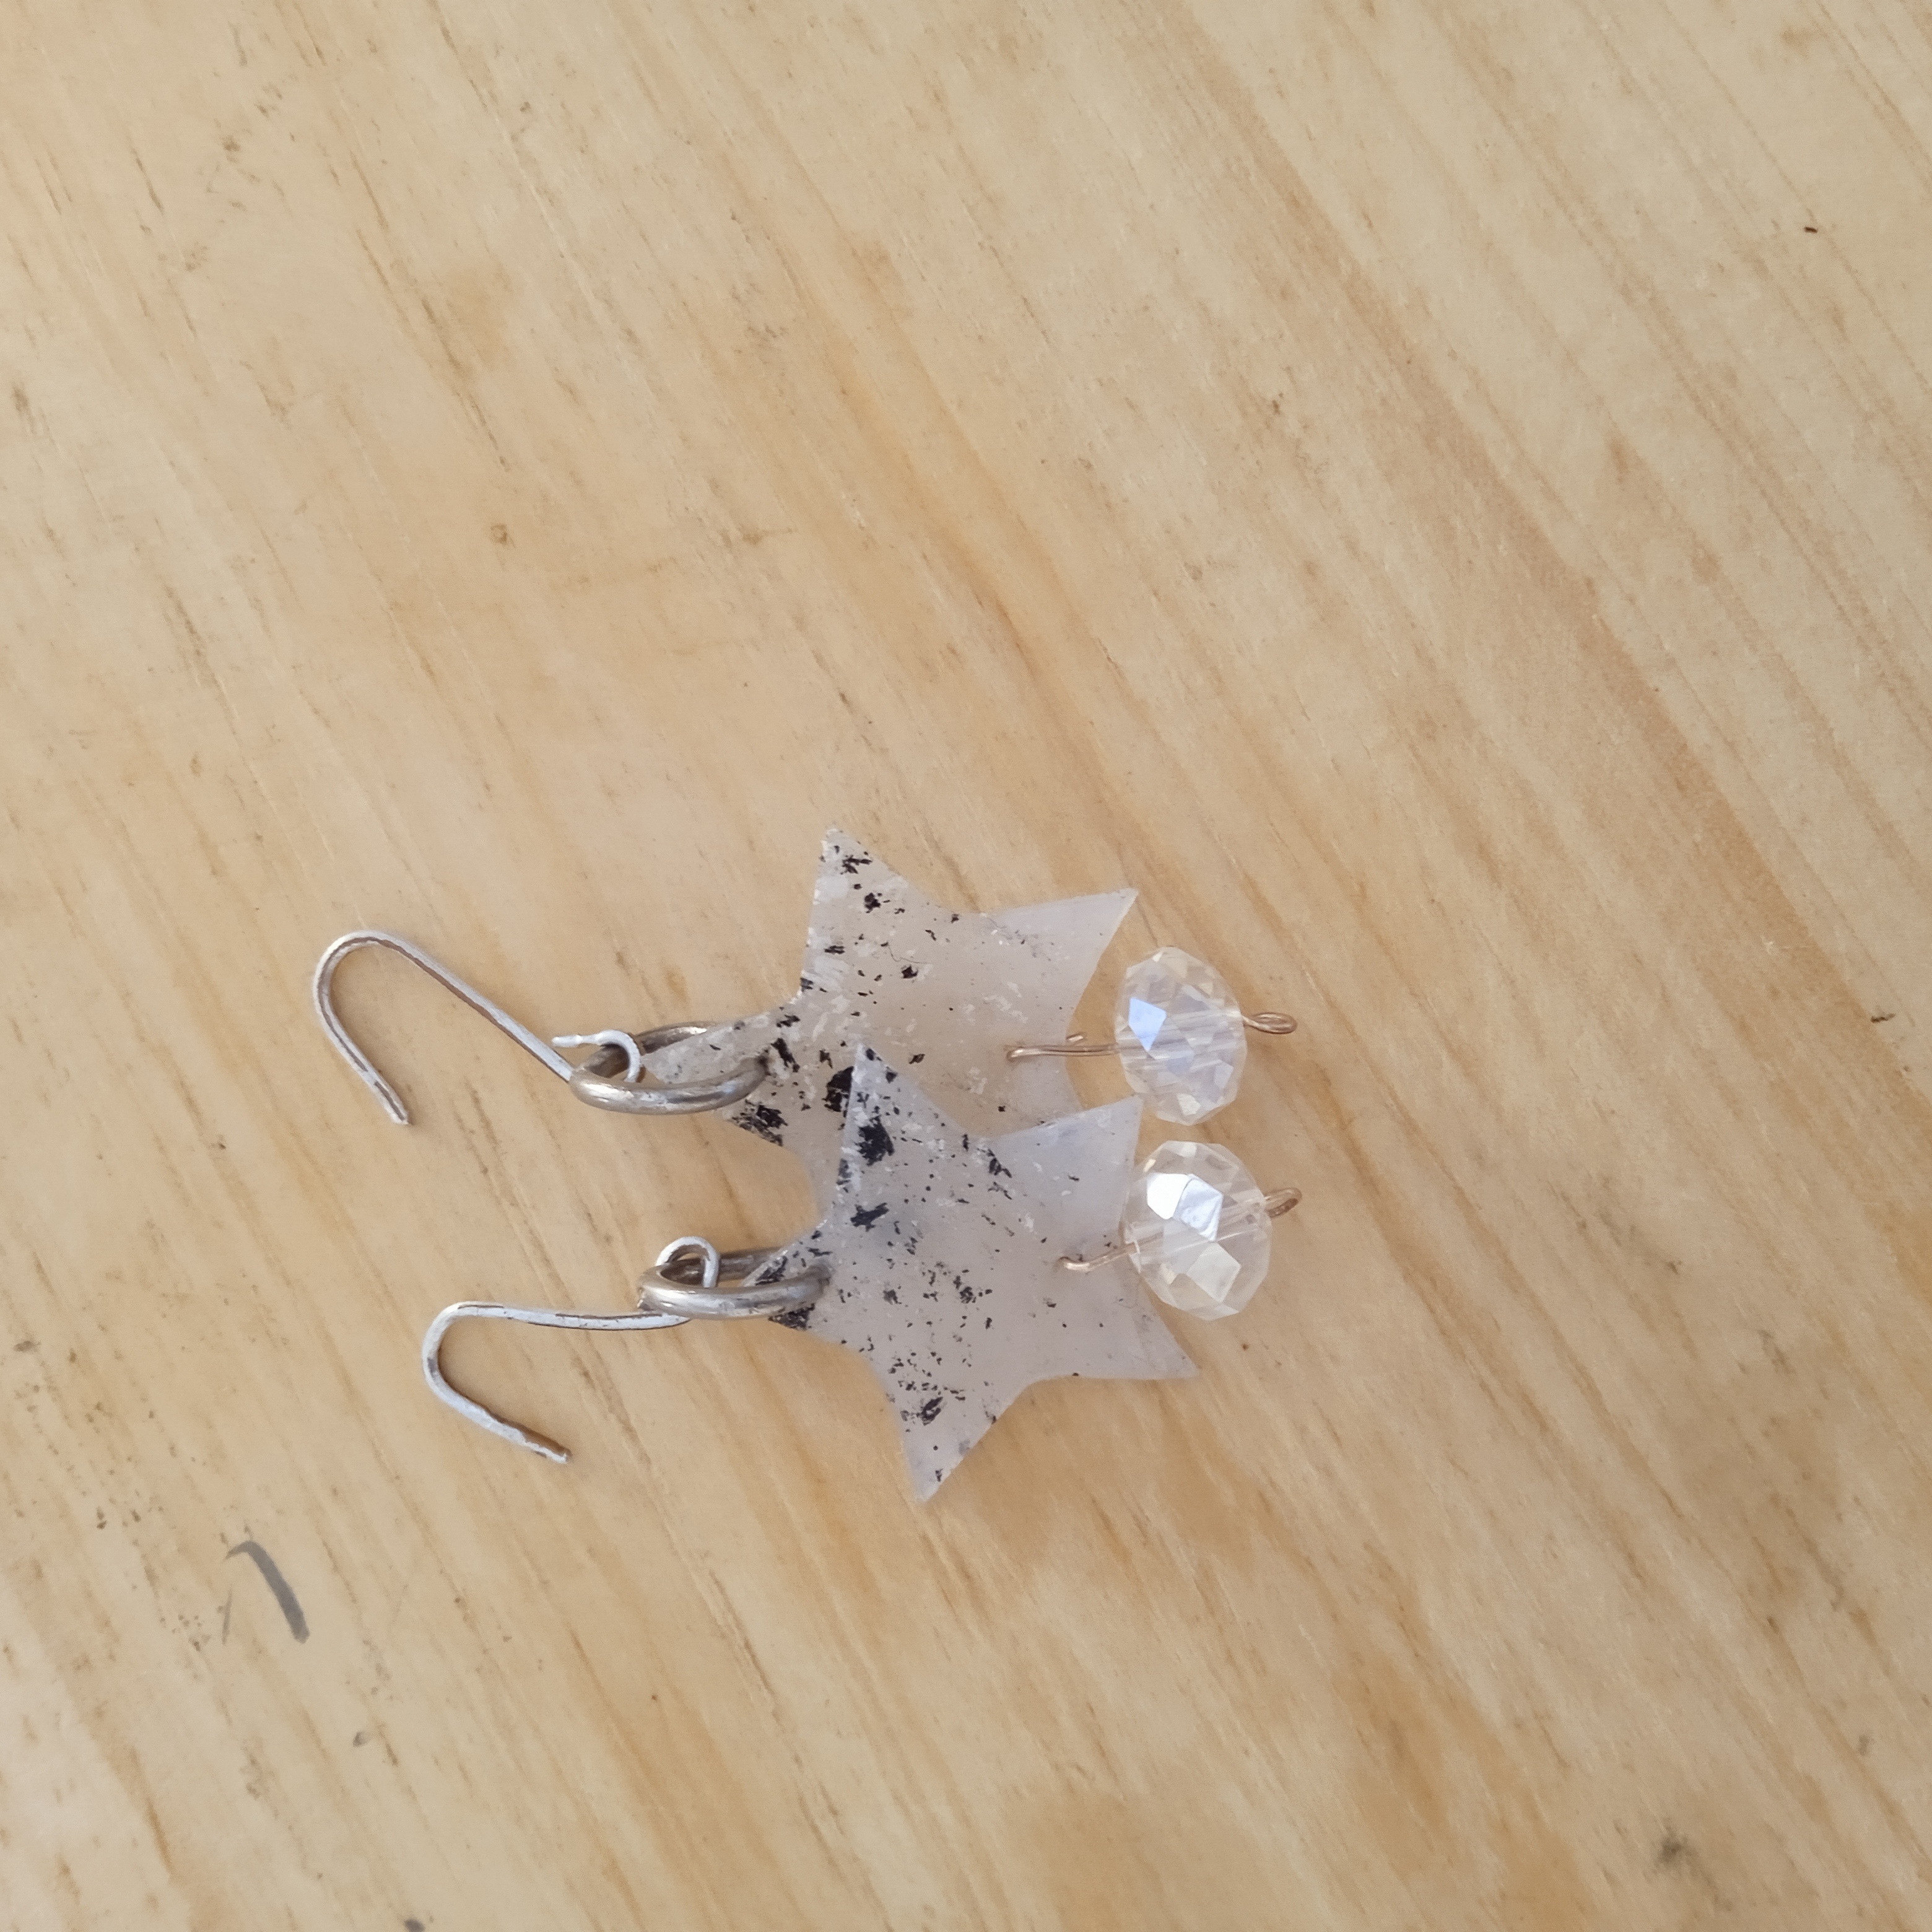
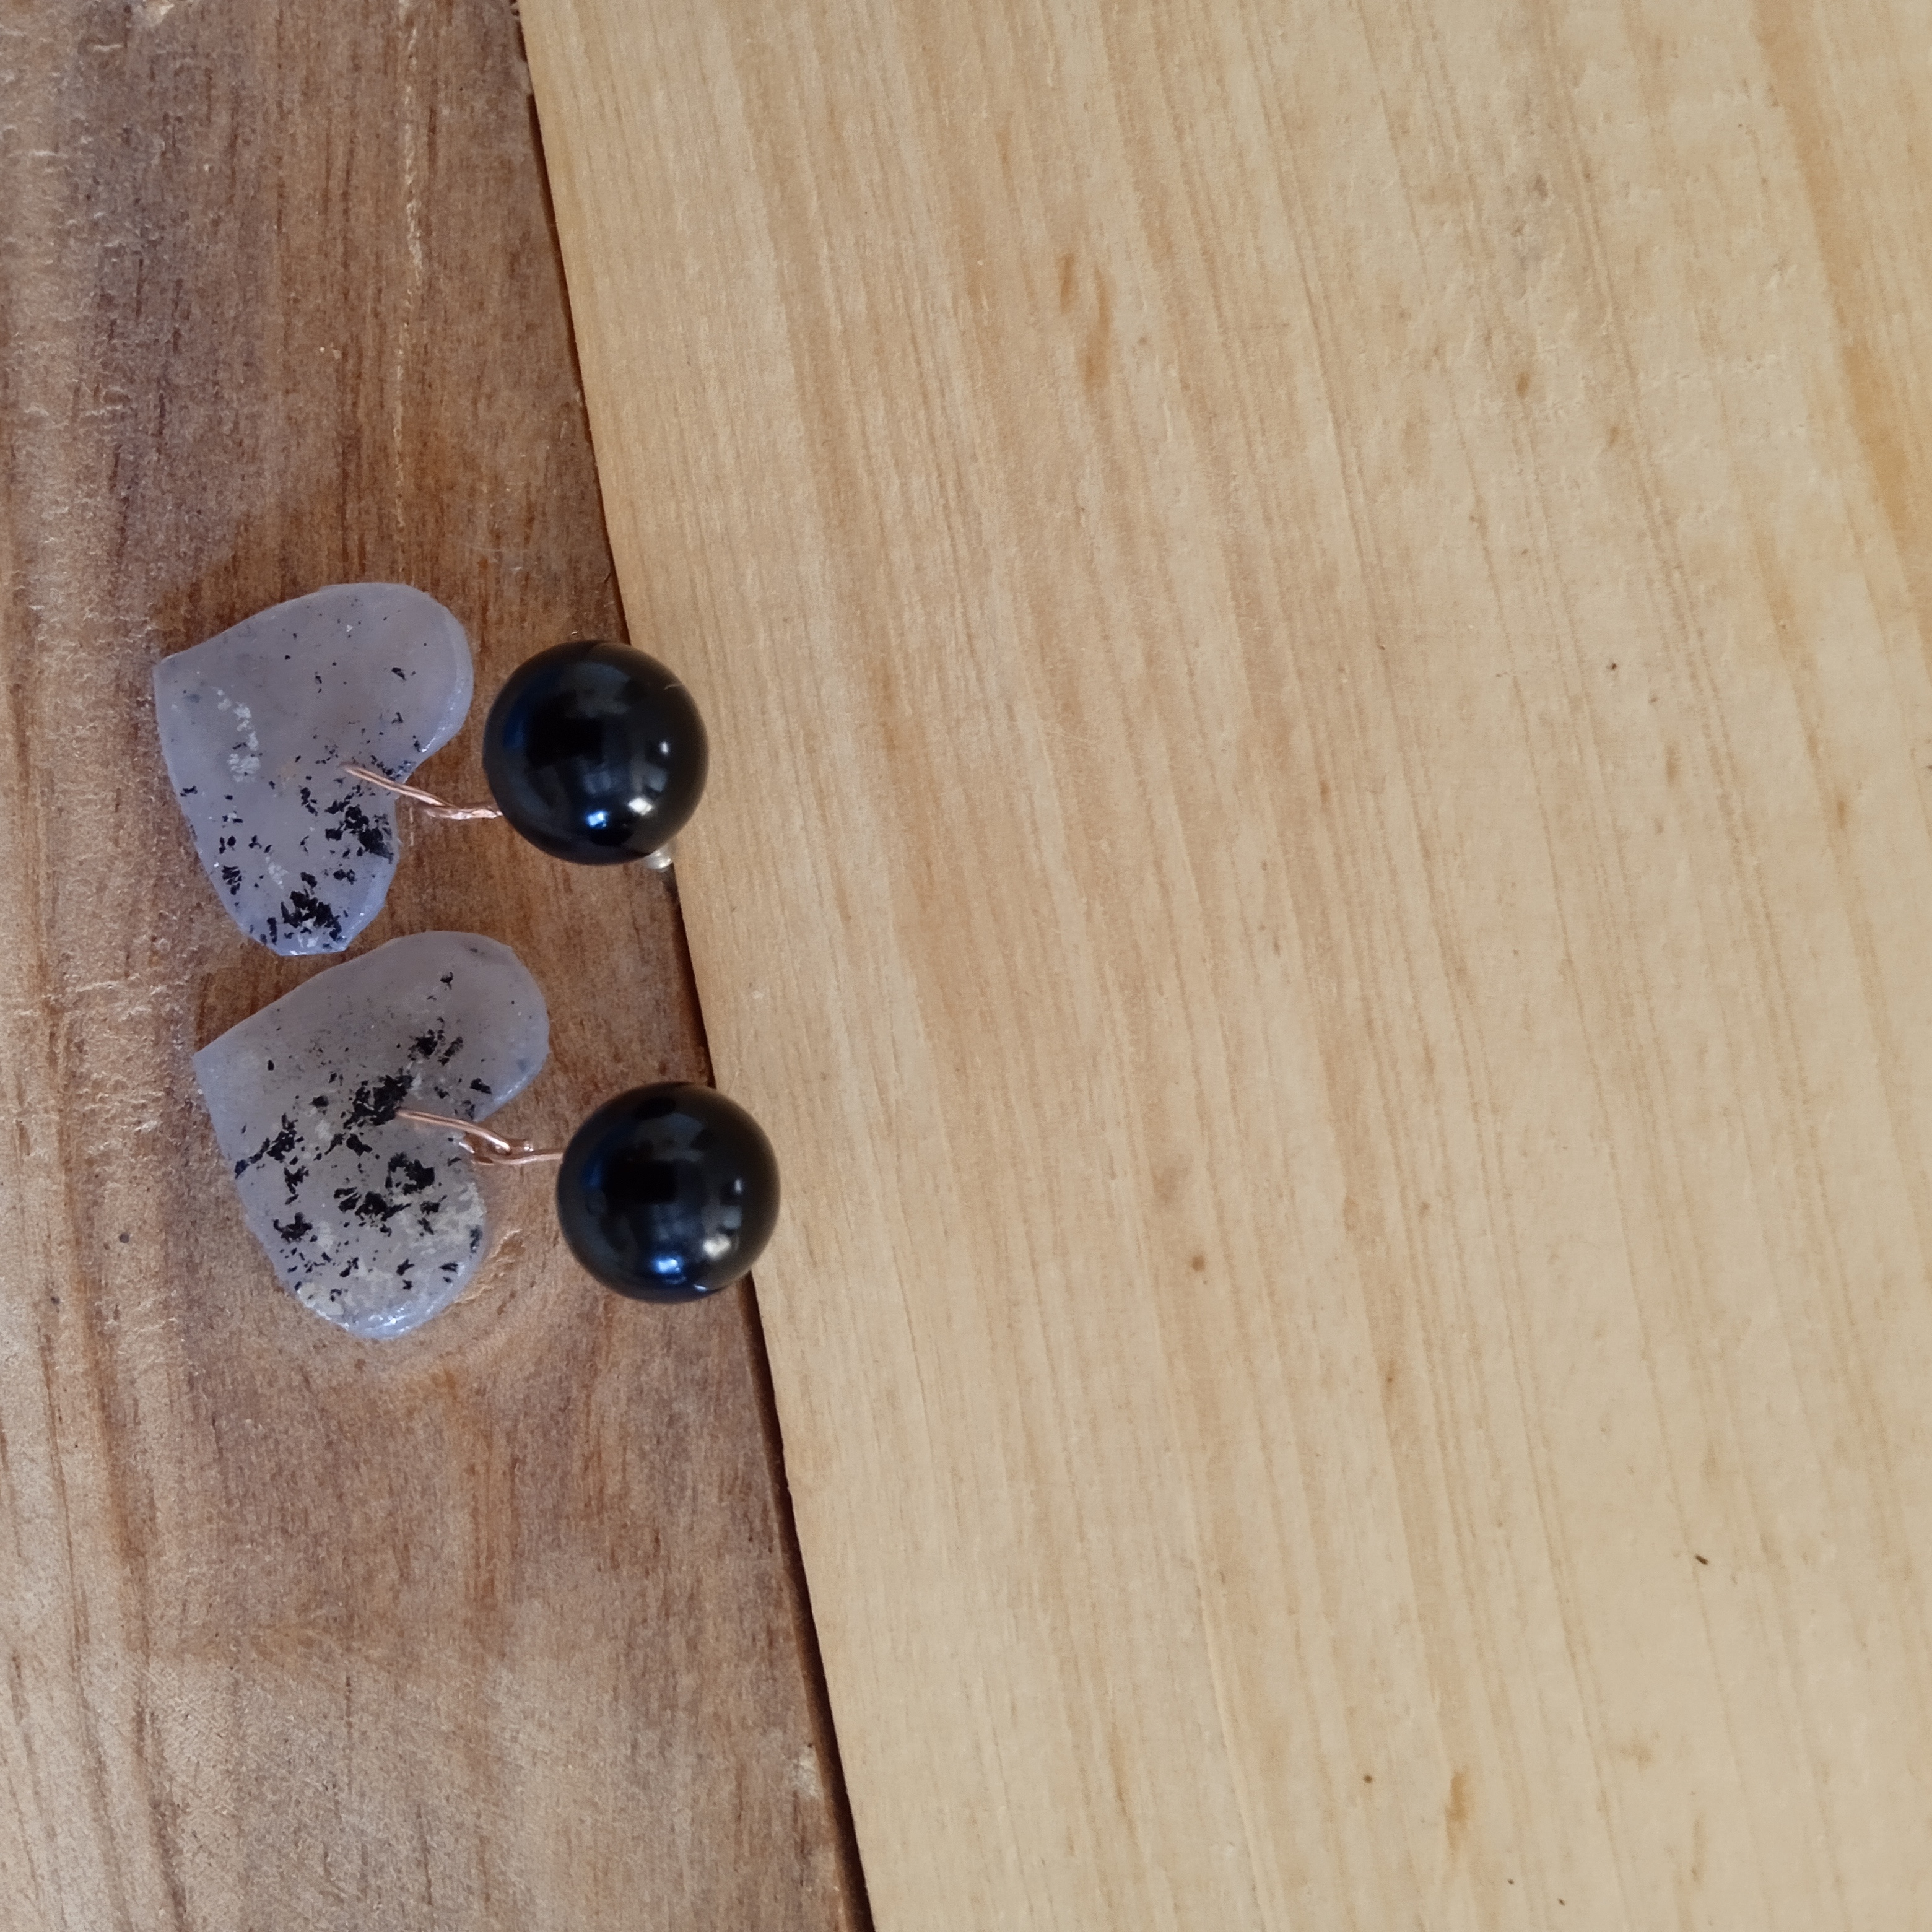
Ahora recortamos, yo he hecho unas pequeñas estrellas y unos corazones. Cómo les dije antes, pueden agregar lo que deseen y si no les gusta que queden simples, pueden pintarlas.
Step 5.
Now we cut out, I have made some small stars. I also made some hearts. As I told you before, you can add whatever you want and if you don't like them being that simple, you can paint them.
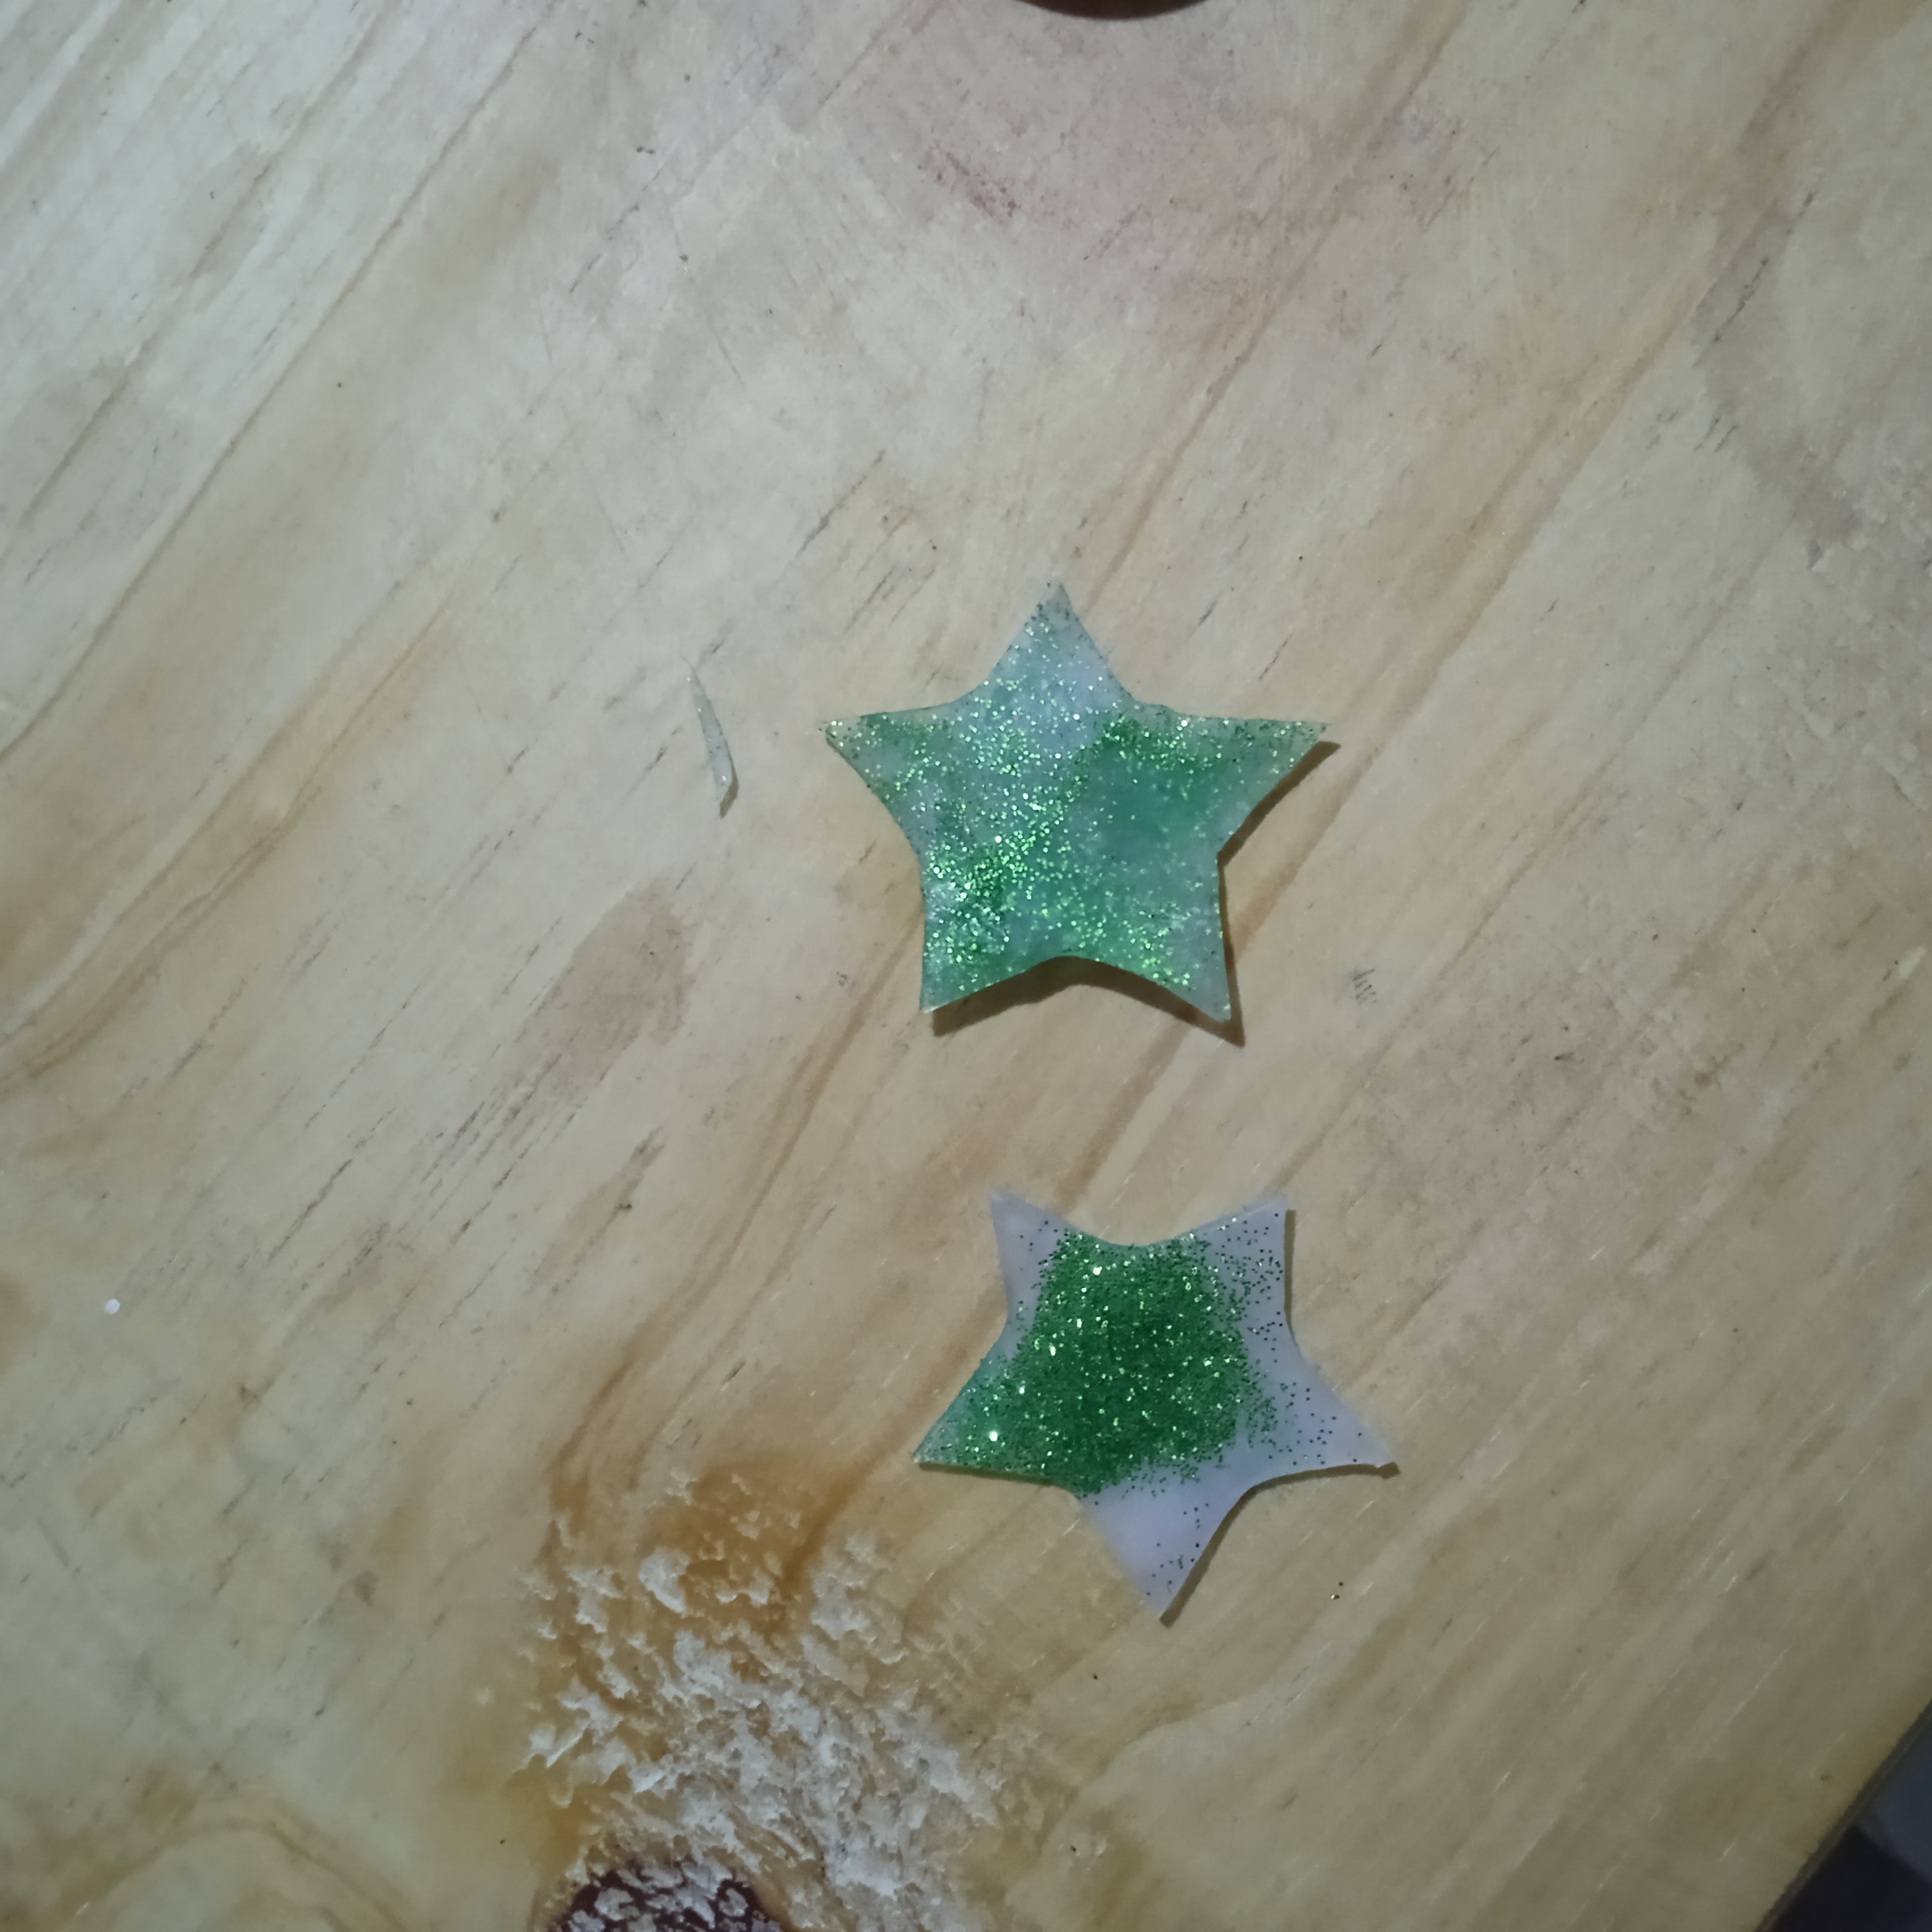
Paso 6.
Cómo pueden observar aquí he hecho vários, pinte unos y otros no, perfore y coloque accesorios, cristales, anzuelos entre otros. Pueden decorar a su gusto, y quedarán lindos estos zarcillos.
Step 6.
As you can see here I have made several, I painted some and not others, drilled and placed accessories, crystals, hooks among others. You can decorate as you like, and these tendrils will look pretty.
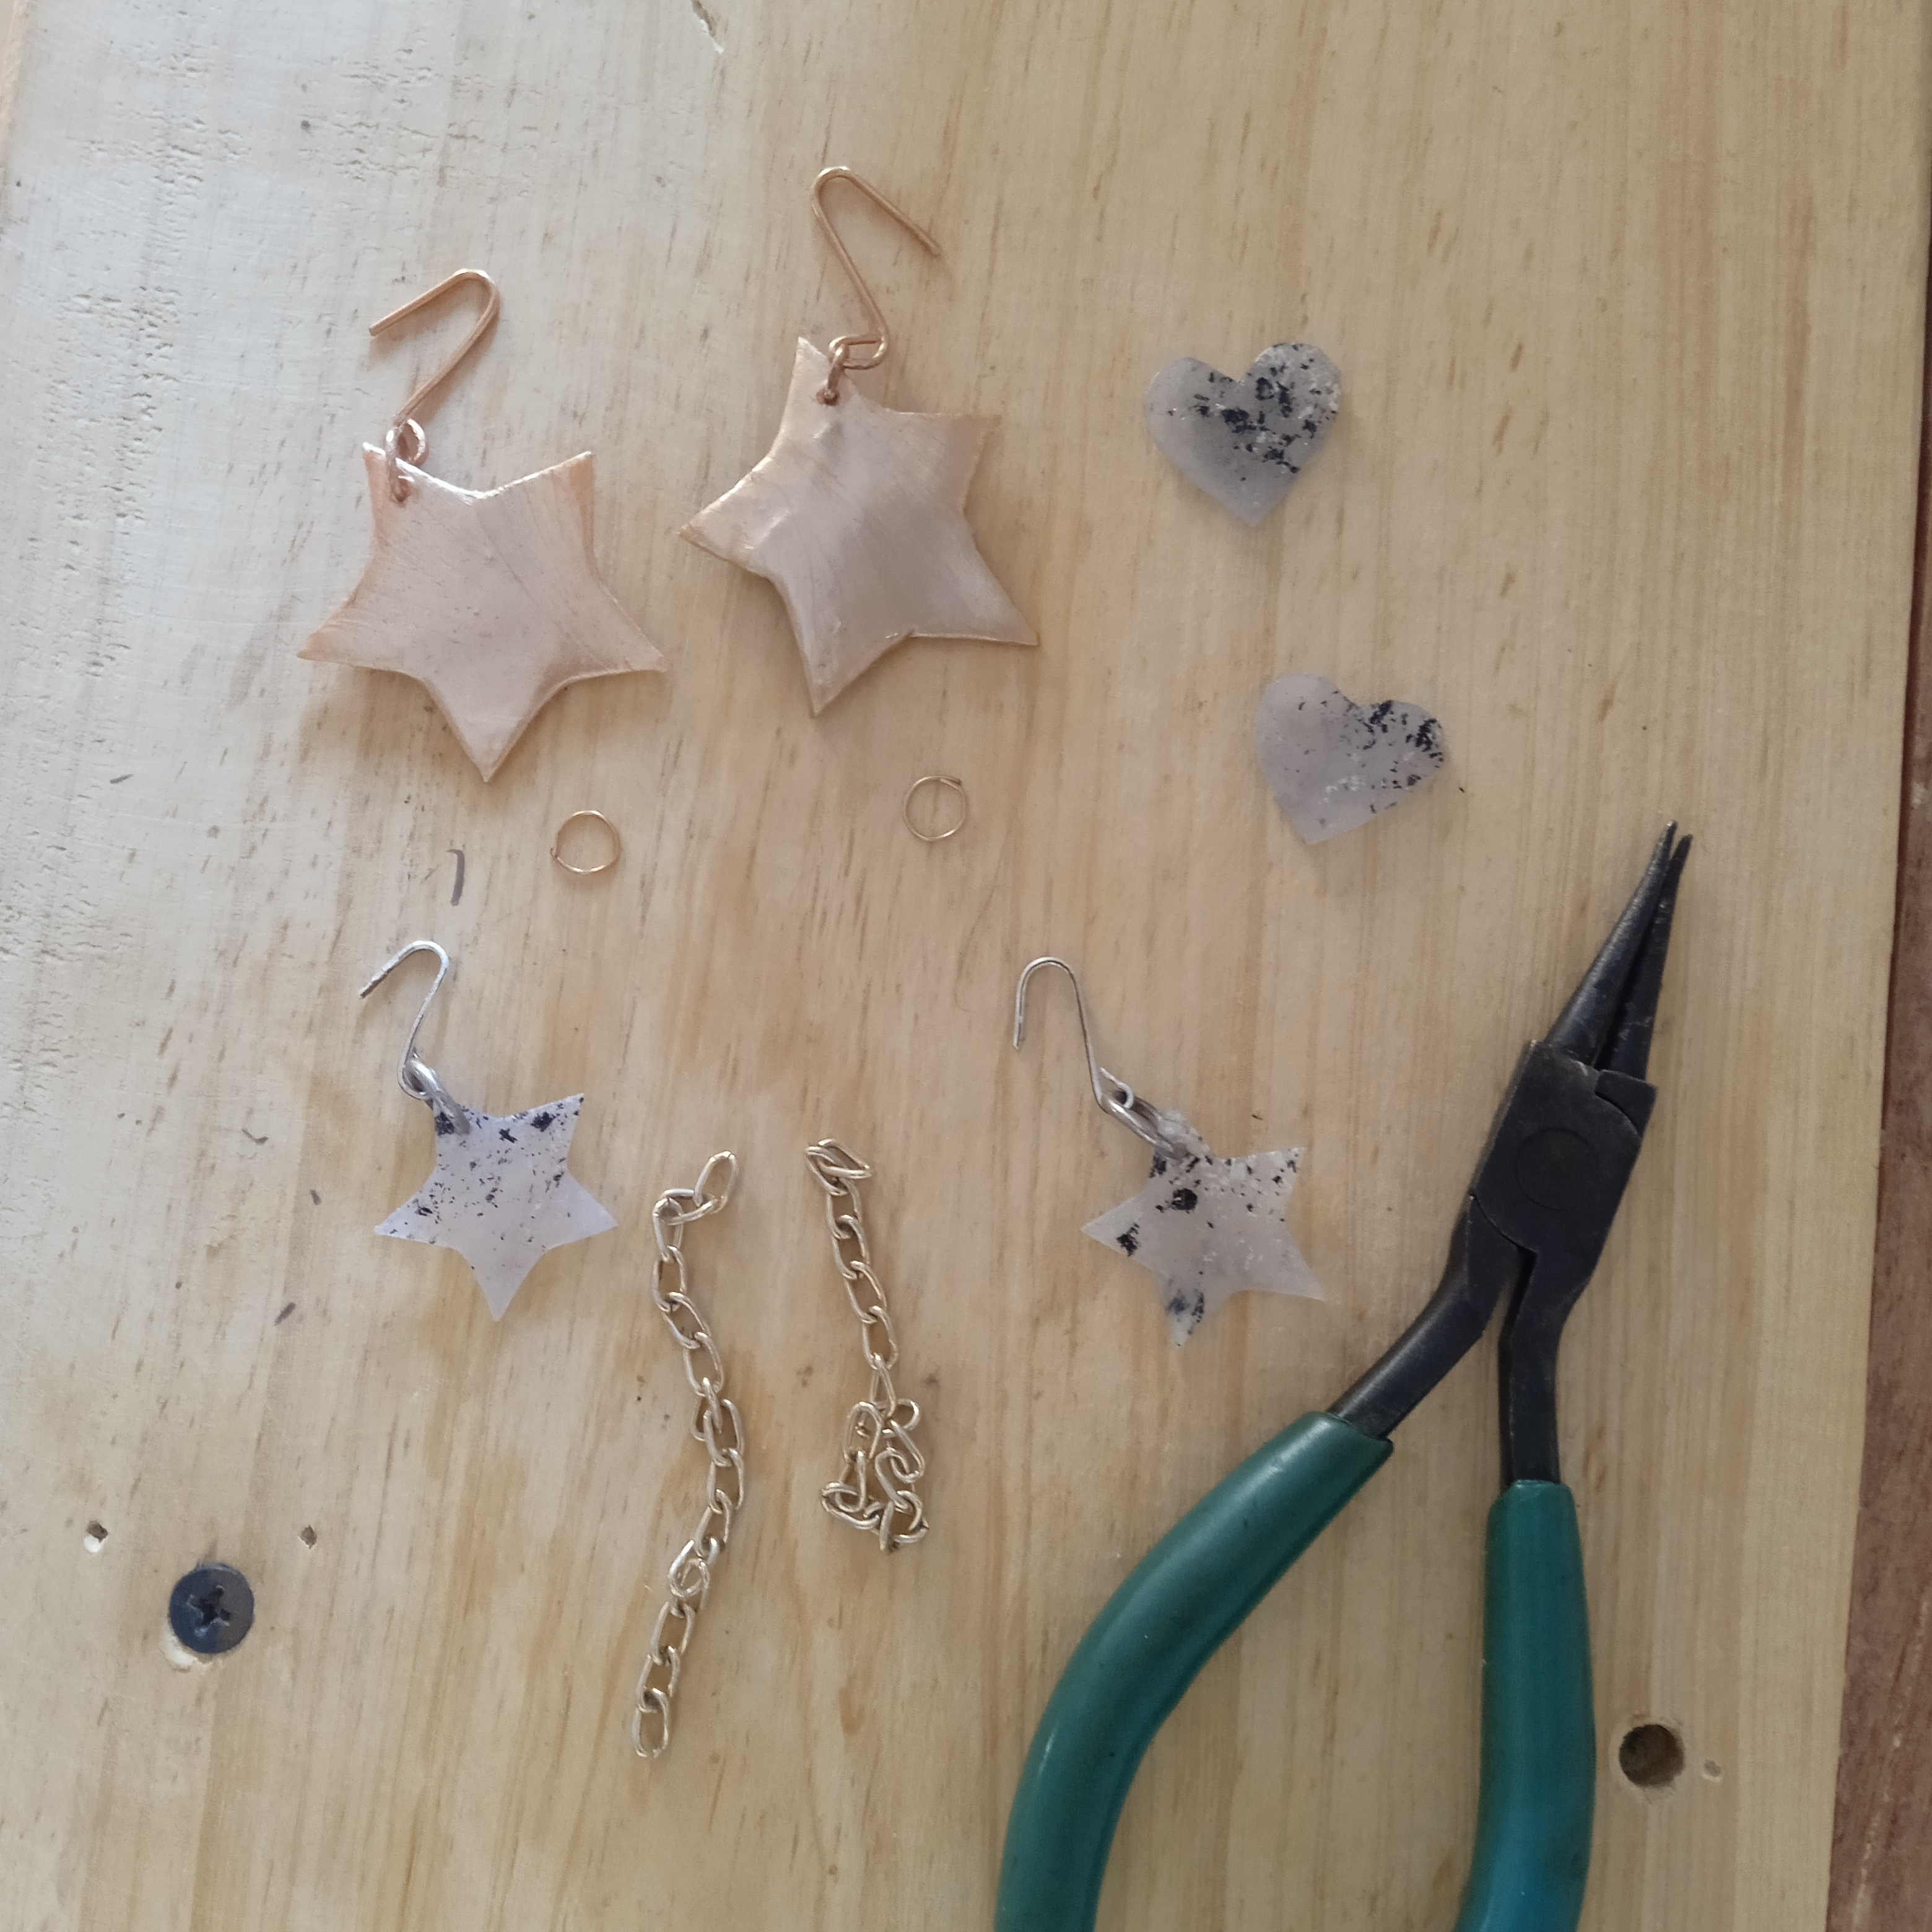
Este es el resultado final, así es como han quedado estos lindos y fáciles zarcillos hechos en casa con silicona de barra. Espero les guste y se animen a elaborarlos utilizando materiales que tenemos al alcance de nuestras manos.
This is the final result, this is how these cute and easy homemade tendrils with a silicone bar turned out. I hope you like it and are encouraged to make them using materials that we have at our disposal.
Amigos, complacida de poder compartir este lindo tutorial con todos, espero que les haya gustado, nos vemos pronto con un nuevo proyecto. Se les quiere, hasta la próxima! cuidense mucho y besos 😘.
Friends, pleased to be able to share this nice tutorial with everyone, I hope you liked it, see you soon with a new project. We love you, until next time! Take care of yourselves and kisses 😘.
Contenido de mi autoría.
Fotos capturadas por mi teléfono Redmi9 y editadas por Griart.
Traductor utilizado Google.com
Content of my authorship.
Photos captured by my Redmi9 phone and edited by Griart.
Translator used Google.com
It is stylish, elegant, and charming. It looks awesome. Good to see how you made it. Great work!
Muchas gracias por apoyar.
Esta muy bueno el proyecto que nos presentas, con un fácil proceso creativo en el que podemos obtener unos bonitos aretes en la forma que deseemos y decorados al gusto personal.
!discovery 35
Muchas gracias.
🙋☺️
This post was shared and voted inside the discord by the curators team of discovery-it
Join our Community and follow our Curation Trail
Discovery-it is also a Witness, vote for us here
Delegate to us for passive income. Check our 80% fee-back Program
Congratulations @anaarevalo01! You have completed the following achievement on the Hive blockchain And have been rewarded with New badge(s)
Your next target is to reach 40000 upvotes.
You can view your badges on your board and compare yourself to others in the Ranking
If you no longer want to receive notifications, reply to this comment with the word
STOPMe encantan, son muy creativos.
Muchas gracias amiga, saludos☺️