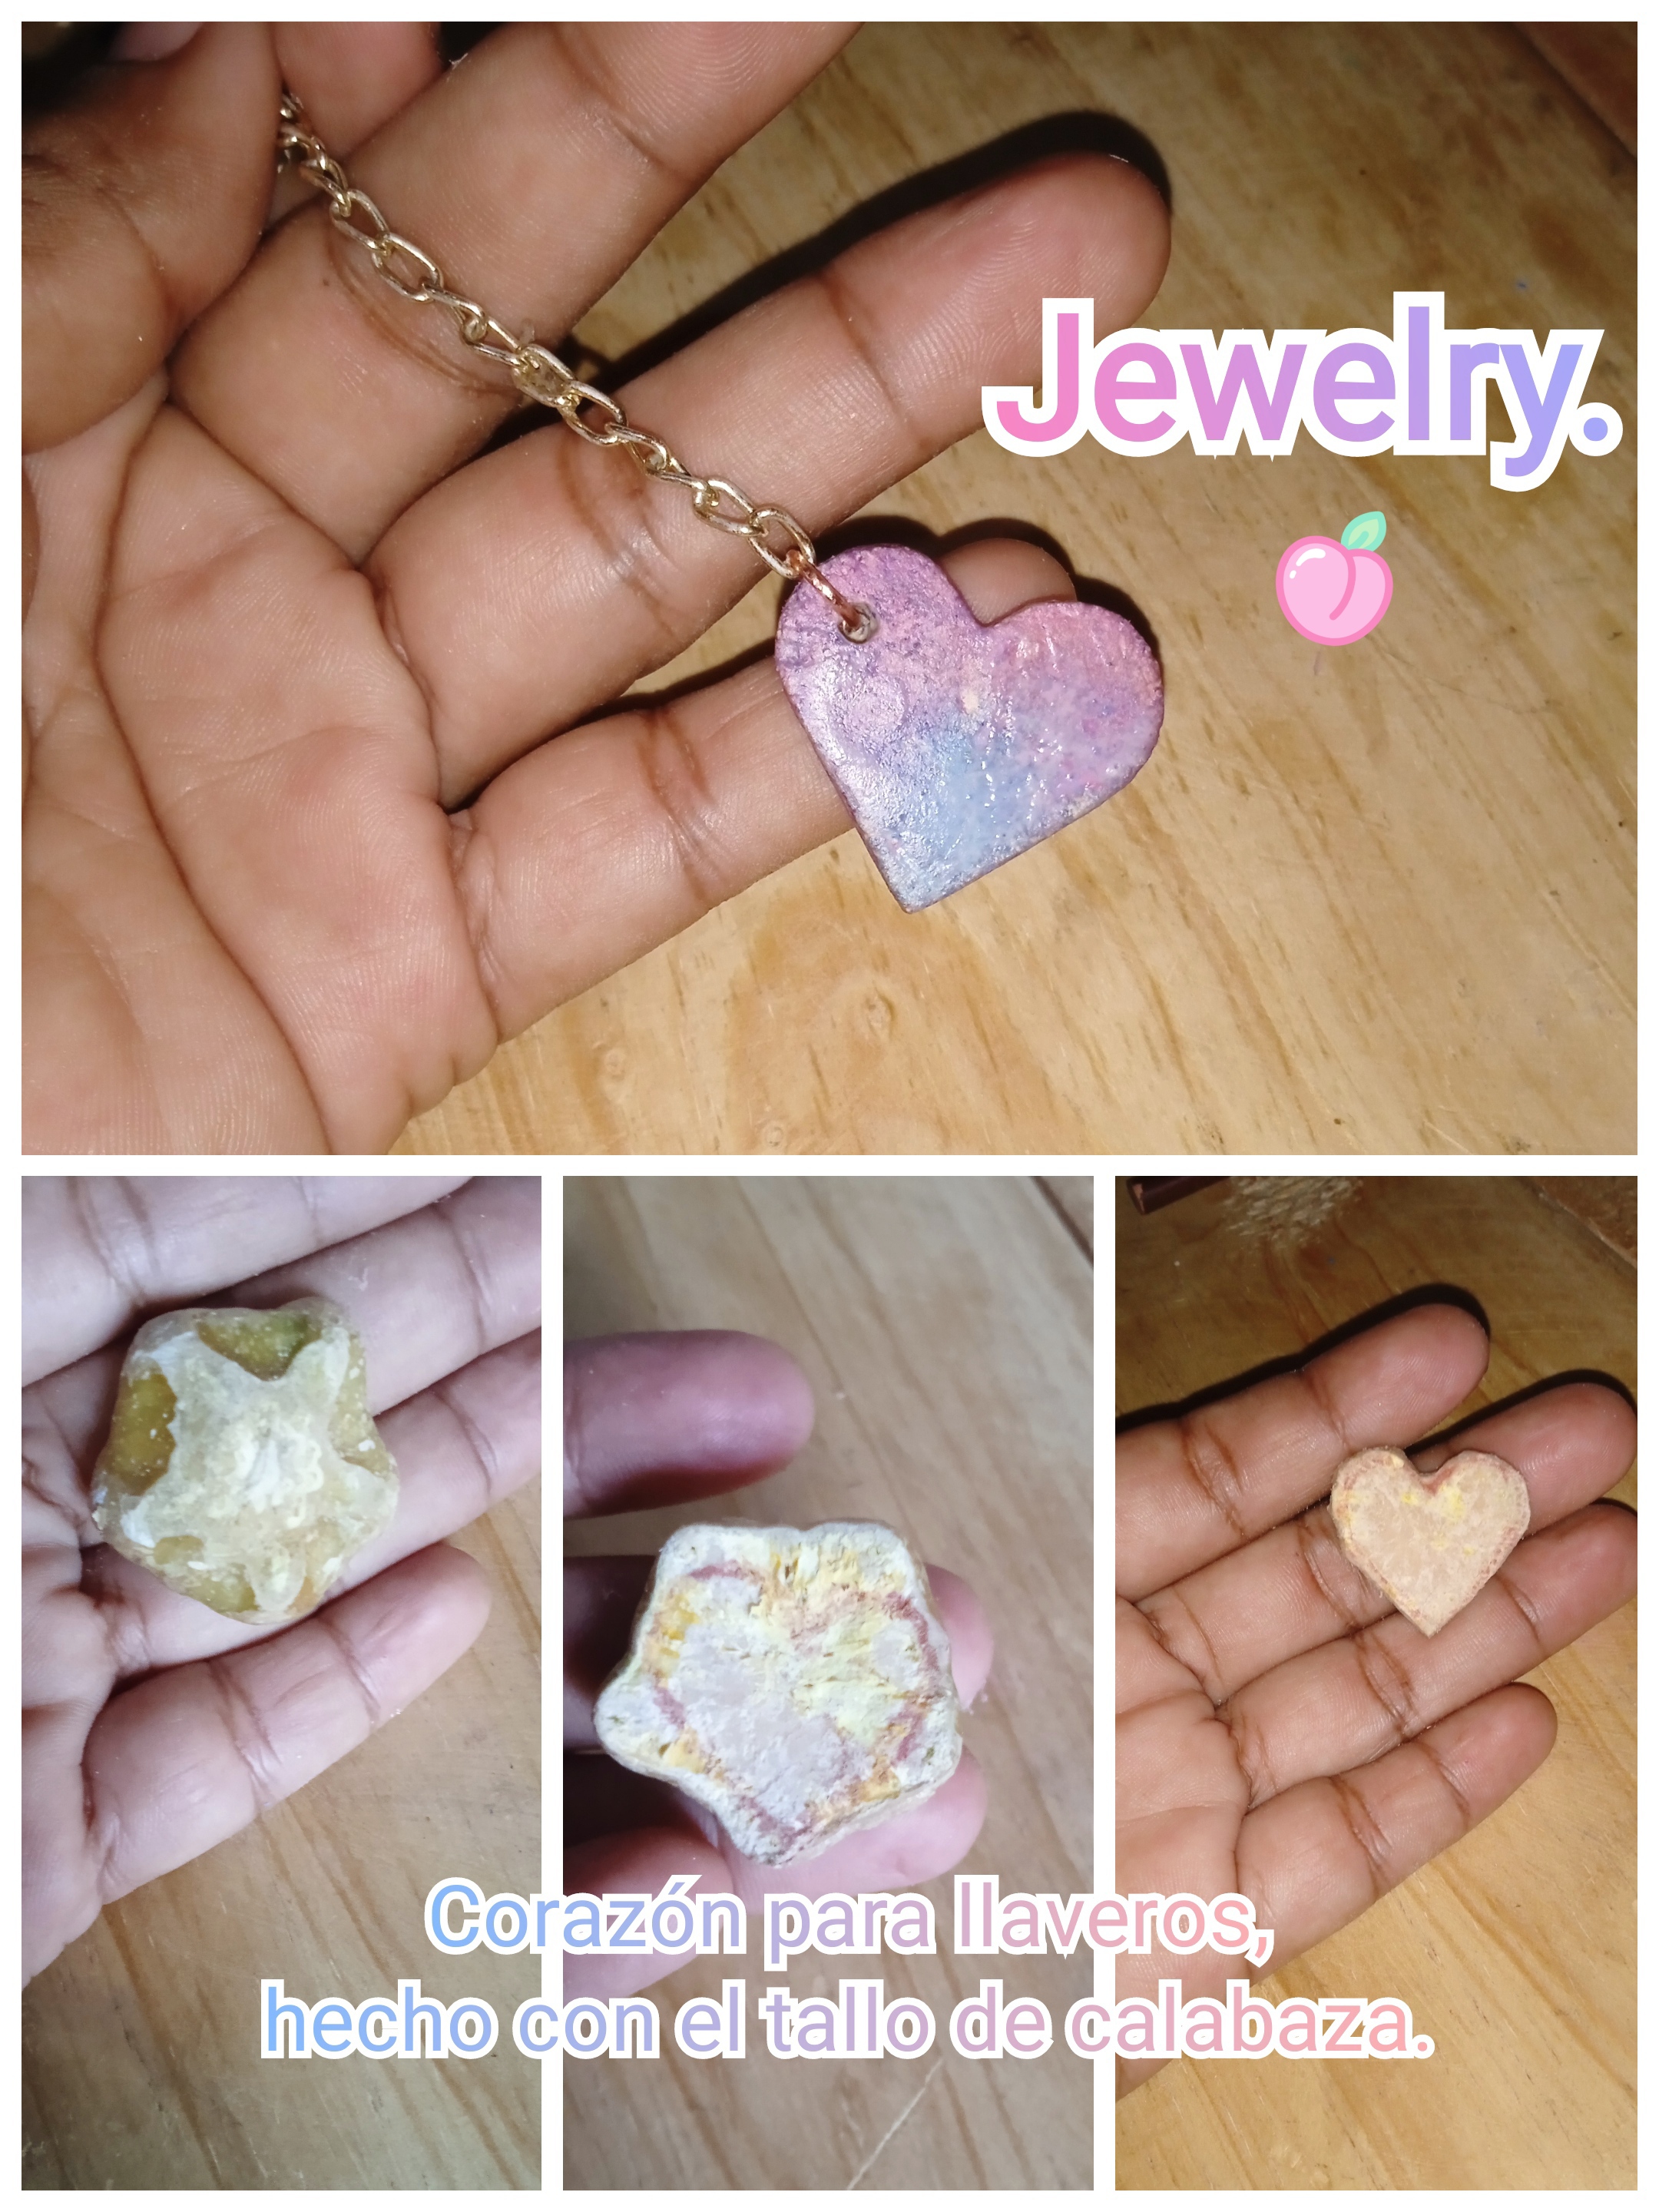
Hola mis queridos amigos de las joyas! Es un gran placer saludarles y desearles muchas bendiciones en esta noche. Estoy muy contenta y agradecida con Dios por permitirme compartir con todos a través de esta hermosa comunidad.
Hello my dear jewelry friends! It is a great pleasure to greet you and wish you many blessings tonight. I am very happy and grateful to God for allowing me to share with everyone through this beautiful community.
Ayer hice un bonito llavero, derritiendo plástico. Hoy les mostraré un nuevo proyecto para hacer lindos llaveros pero usando nada más y nada menos que tallos de calabaza. ¡Sí, tal como lees! Vamos a aprovechar esas colas de calabaza para hacer figuras y colocarlas en llaveros o también podemos usarlas como dijes para collares. Mi suegra me enseñó esto hace mucho tiempo, ya que lo usaban para calmar las encías de los bebés cuando les salen los primeros dientes. Para entonces hice unos con forma redonda y se los puse en la mano de mi hija. Hace unos días me acordé de esos complementos y no quise perder el tiempo y hacer unos llaveros de corazones. Es un procedimiento sencillo así que, si te gusta la idea, sígueme hasta el final.
Yesterday I made a nice keychain, melting plastic. Today I will show you a new project to make cute keychains but using nothing more and nothing less than pumpkin stems. Yes, just as you read! We are going to take advantage of those pumpkin tails to make figures and place them on keychains or we can also use them as charms for necklaces. My mother-in-law taught me this a long time ago, as they used it to soothe babies' gums when they get their first teeth. By then I made some round shaped ones and put them in my daughter's hand. A few days ago I remembered those accessories and I didn't want to waste time and make some heart keychains. It is a simple procedure so, if you like the idea, follow me until the end.
Los materiales que necesitaremos.
- Crayones.
- Un cuchillo o alguna caladora.
- Pega blanca, pero puedes usar esmalte de uñas o silicona liquida.
- Algunas lijas.
The materials we will need.
- Crayons.
- A knife or jigsaw.
- White glue, but you can use nail polish or liquid silicone.
- Some sandpaper.
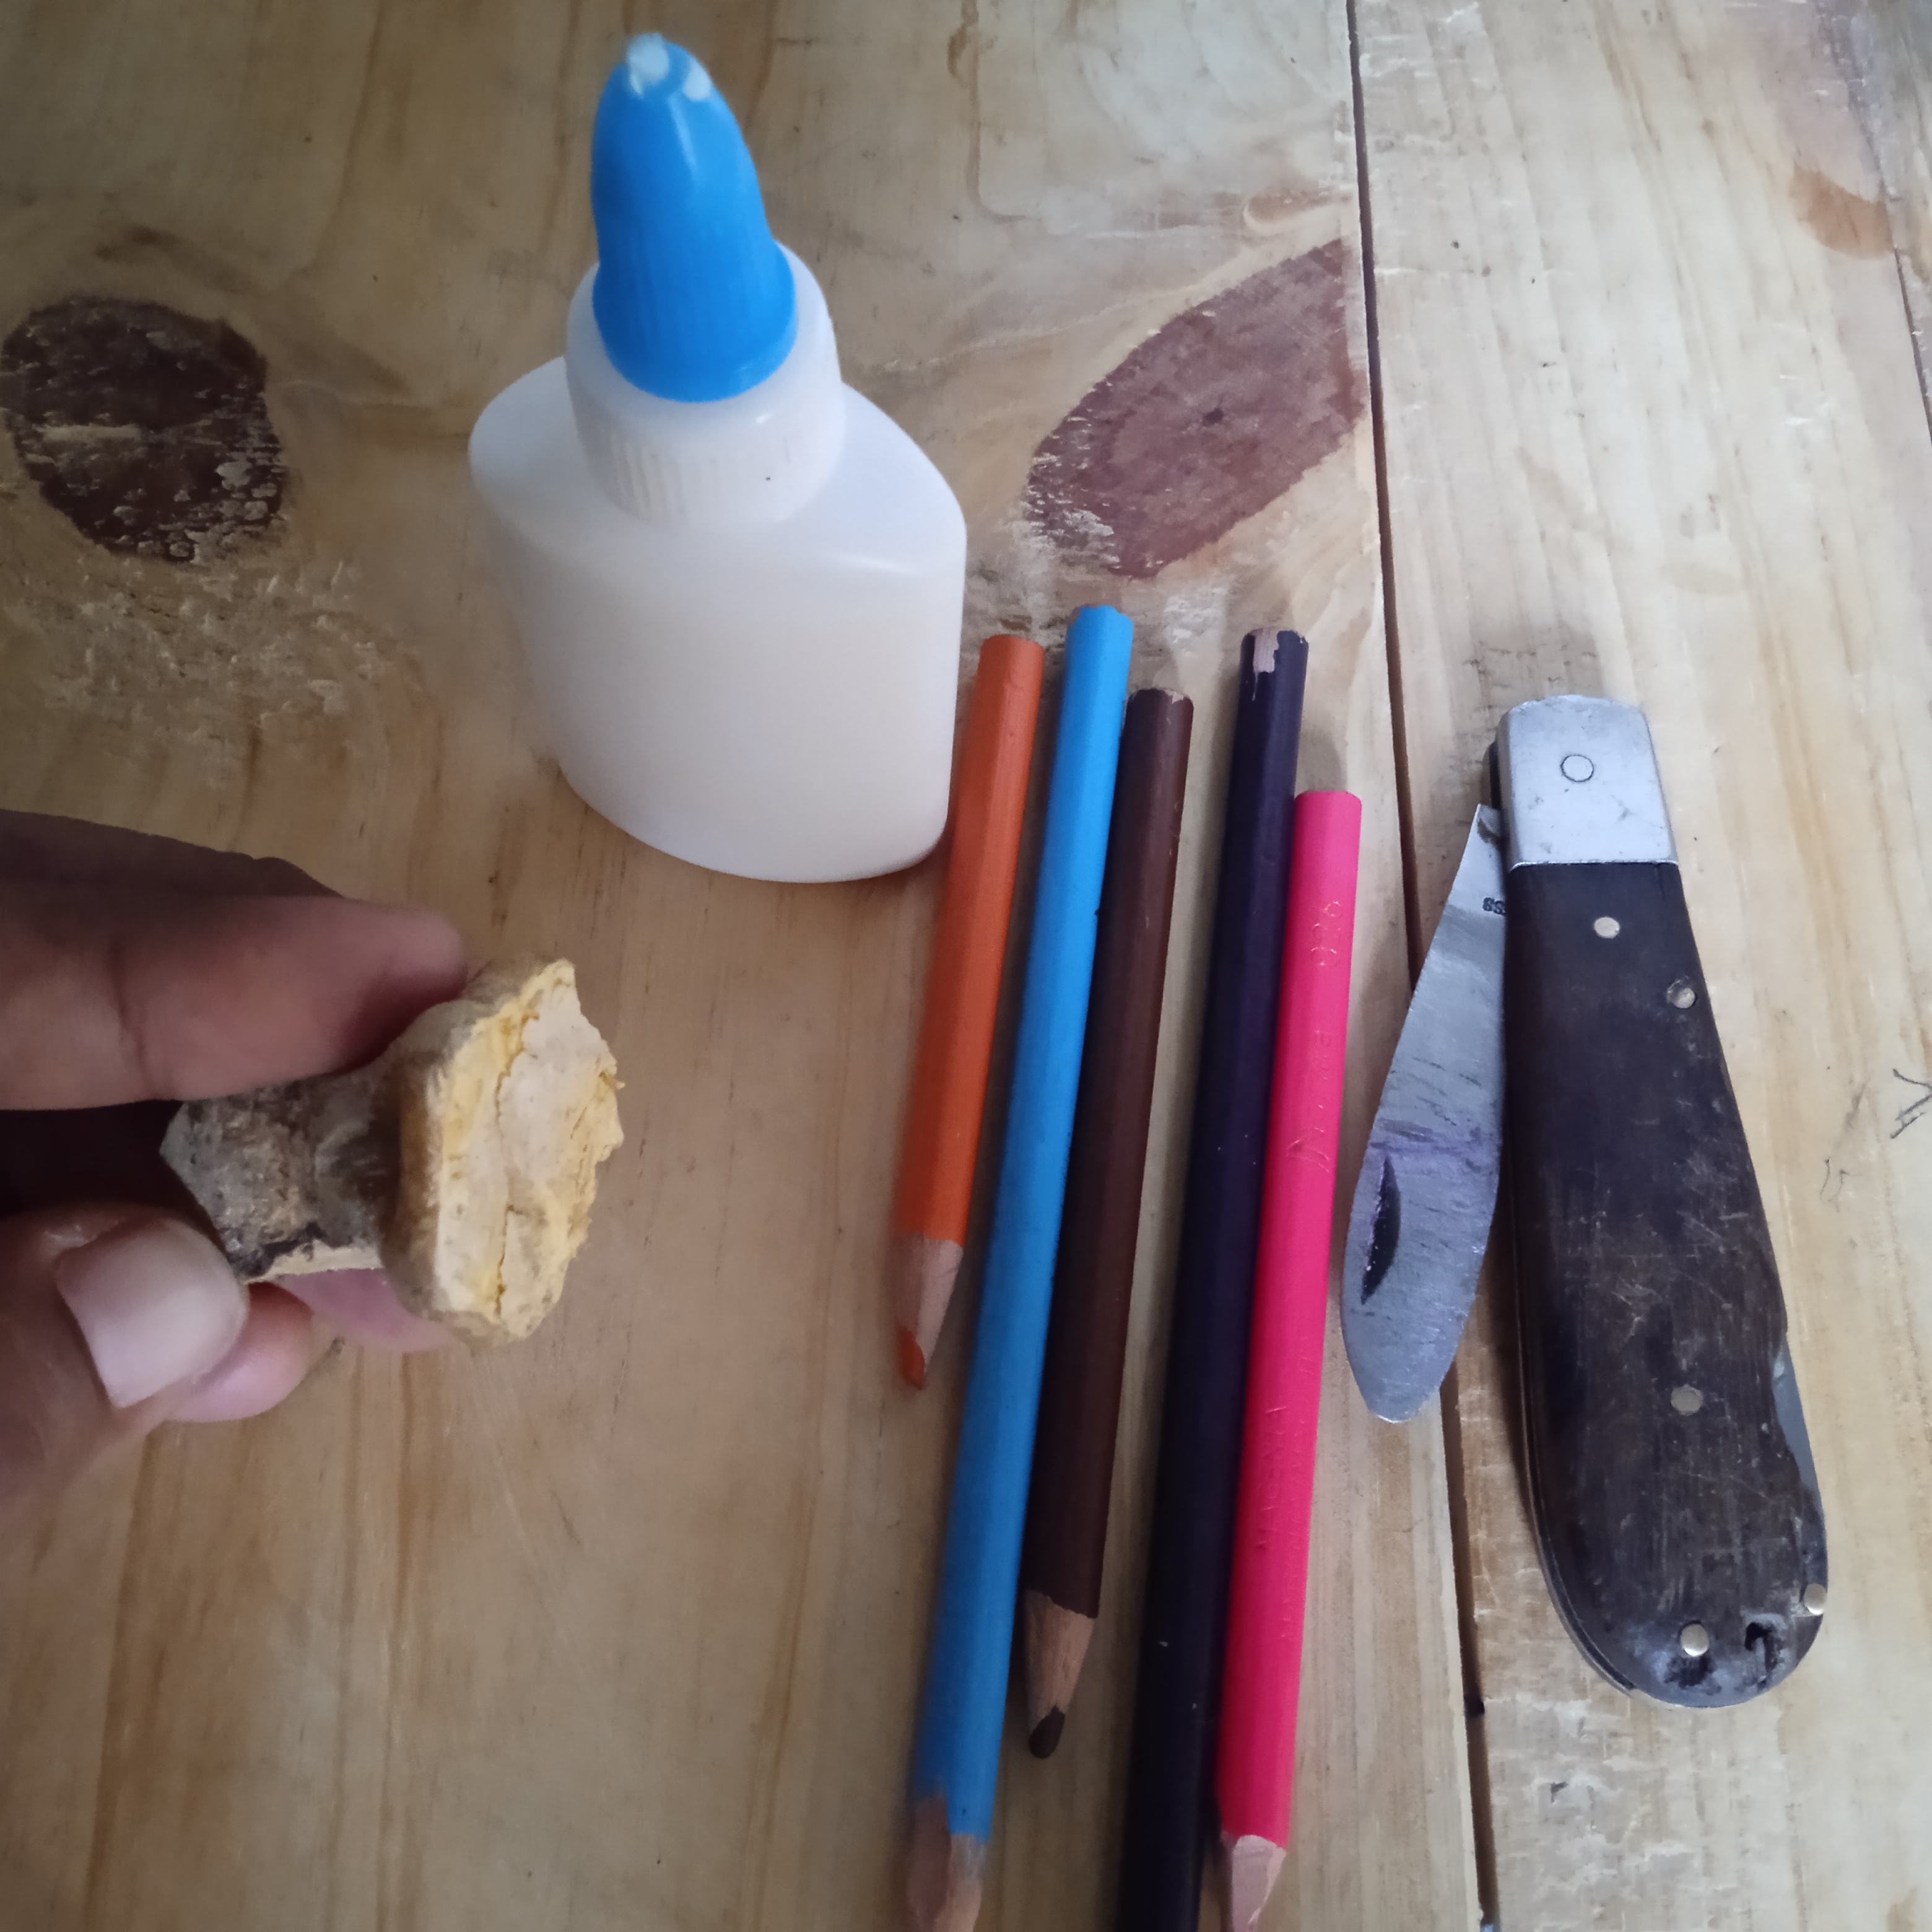
Paso 1.
En este paso vamos a tomar esos pequeños tallos y con ayuda de una sierra de calar o alguna herramienta que podamos usar para cortar, retiramos esa colita dejando la parte más ancha.
Step 1.
In this step we are going to take those small stems and with the help of a jigsaw or some tool that we can use to cut, we remove that little tail, leaving the widest part.
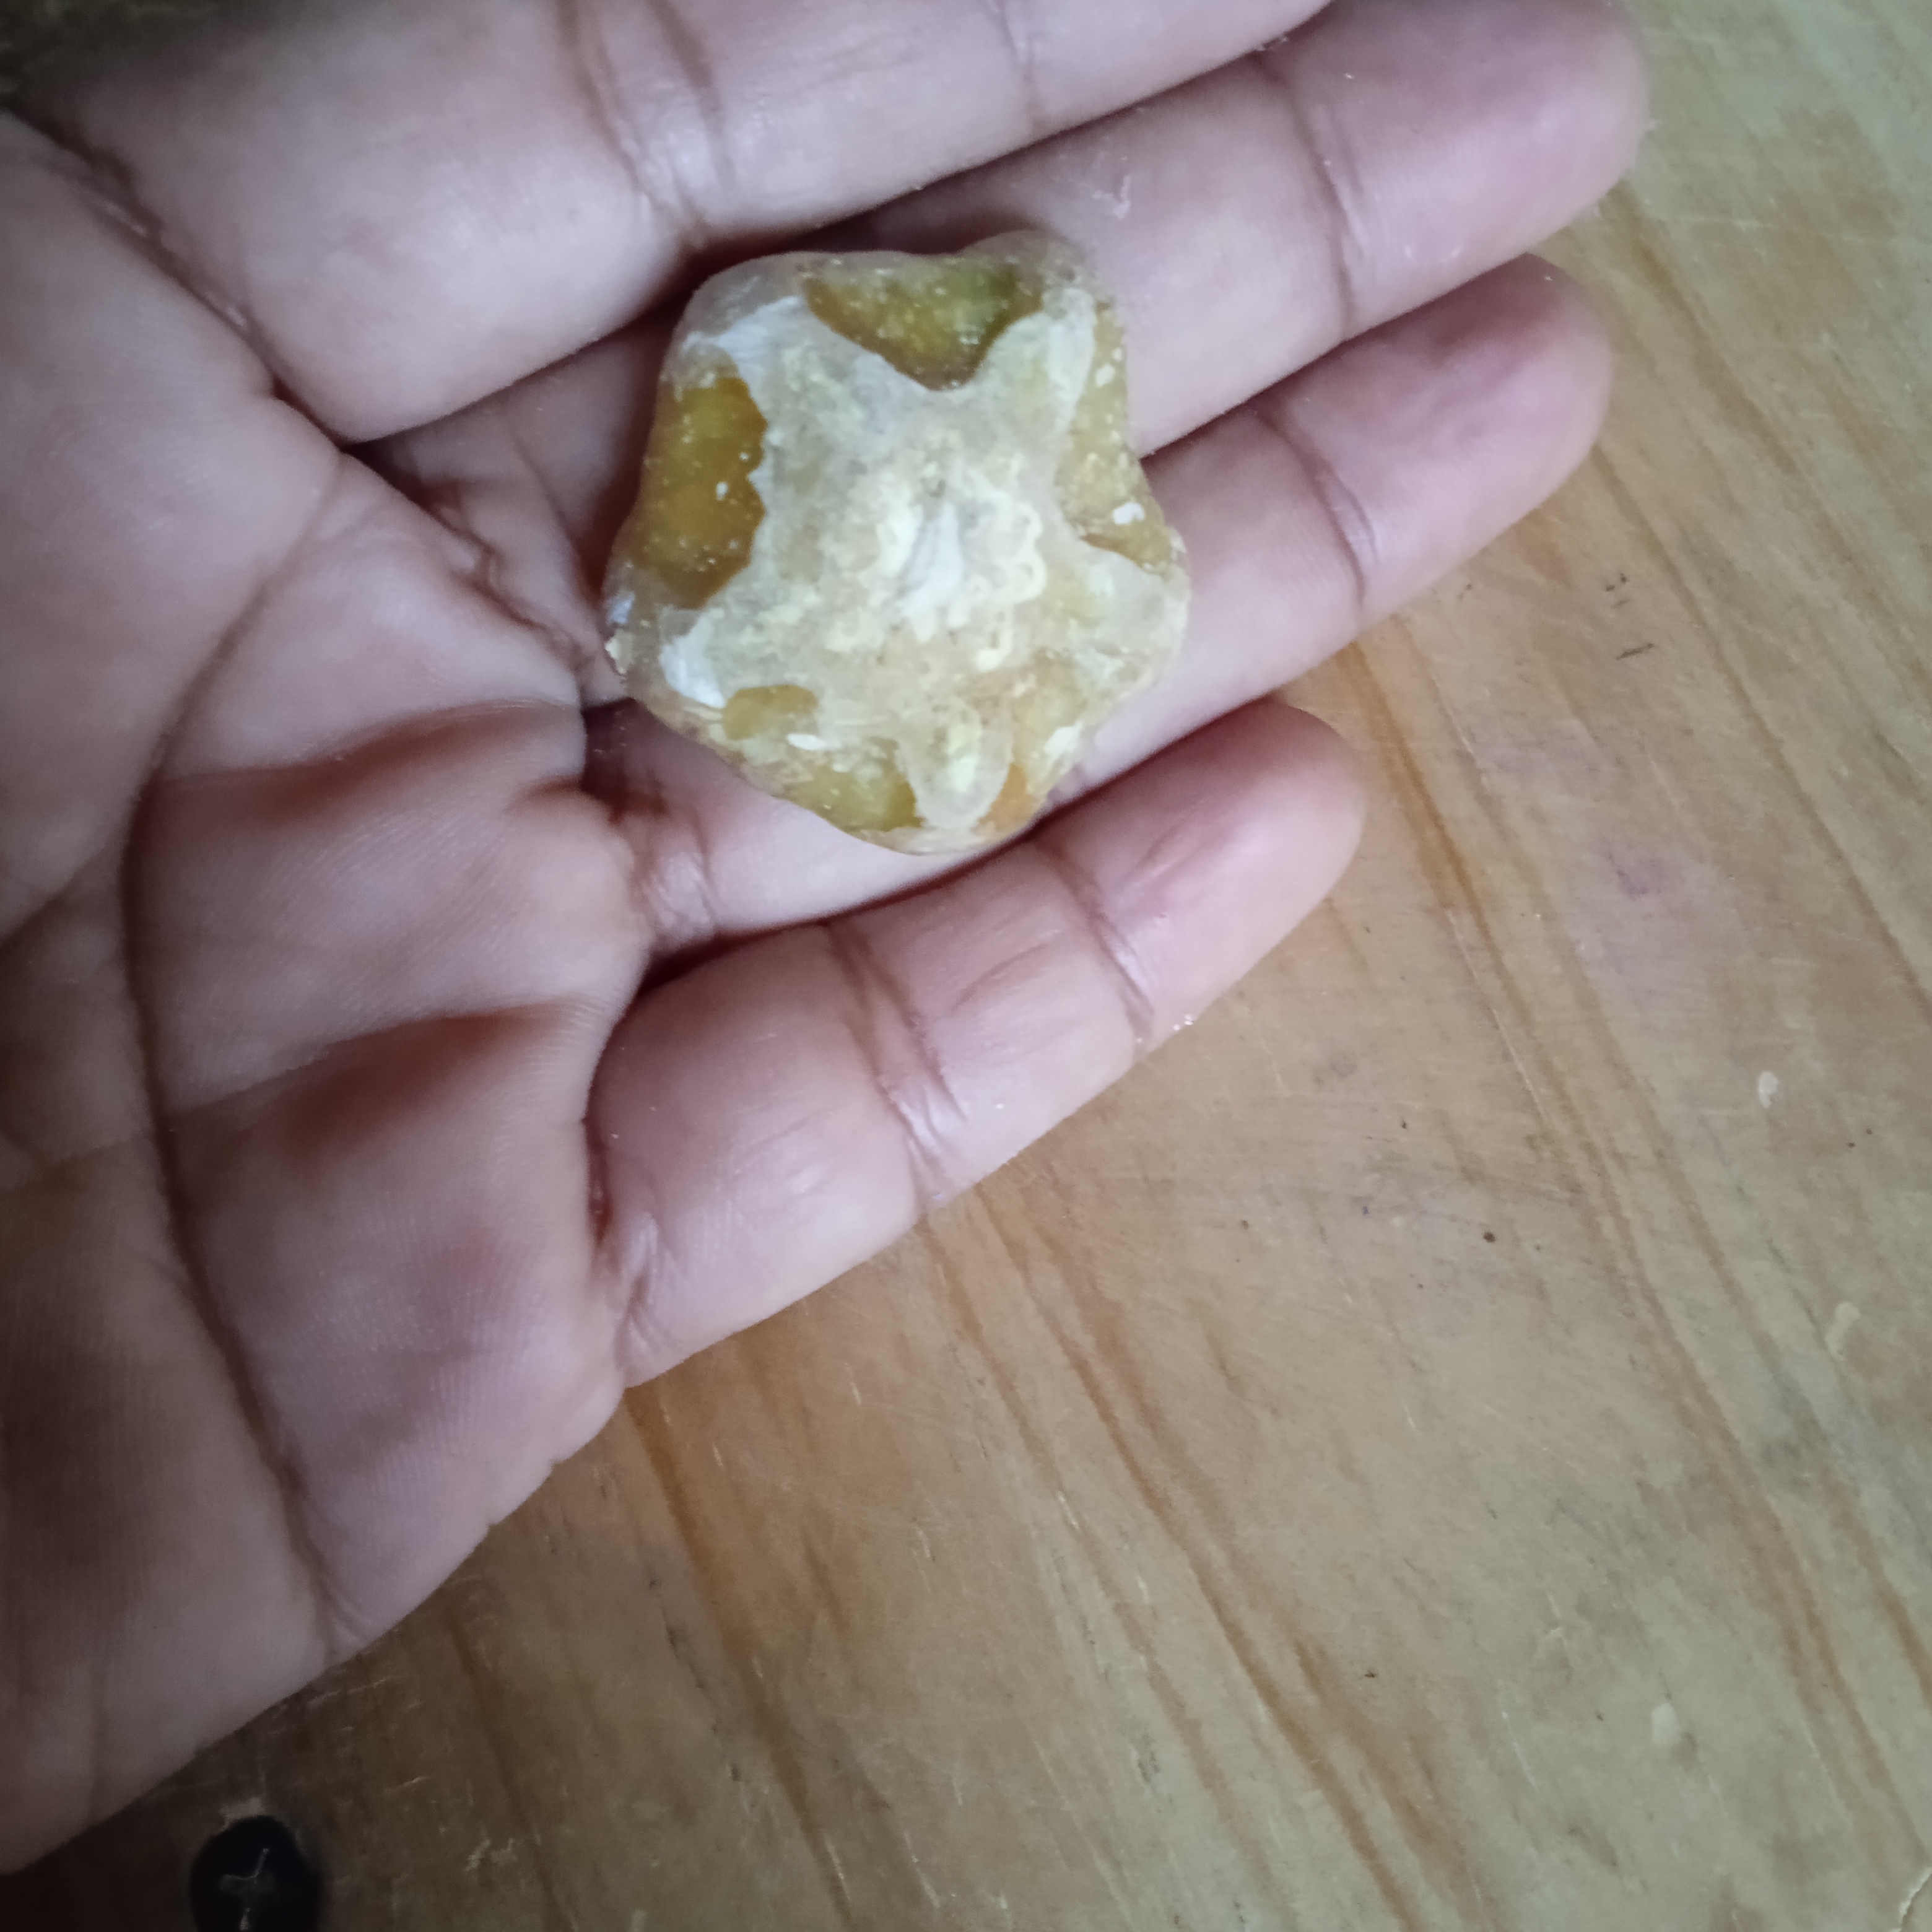
Paso 2.
Marcamos con un lápiz la forma que más nos guste. En este caso un corazón.
Step 2.
We mark with a pencil the shape that we like the most. In this case a heart.
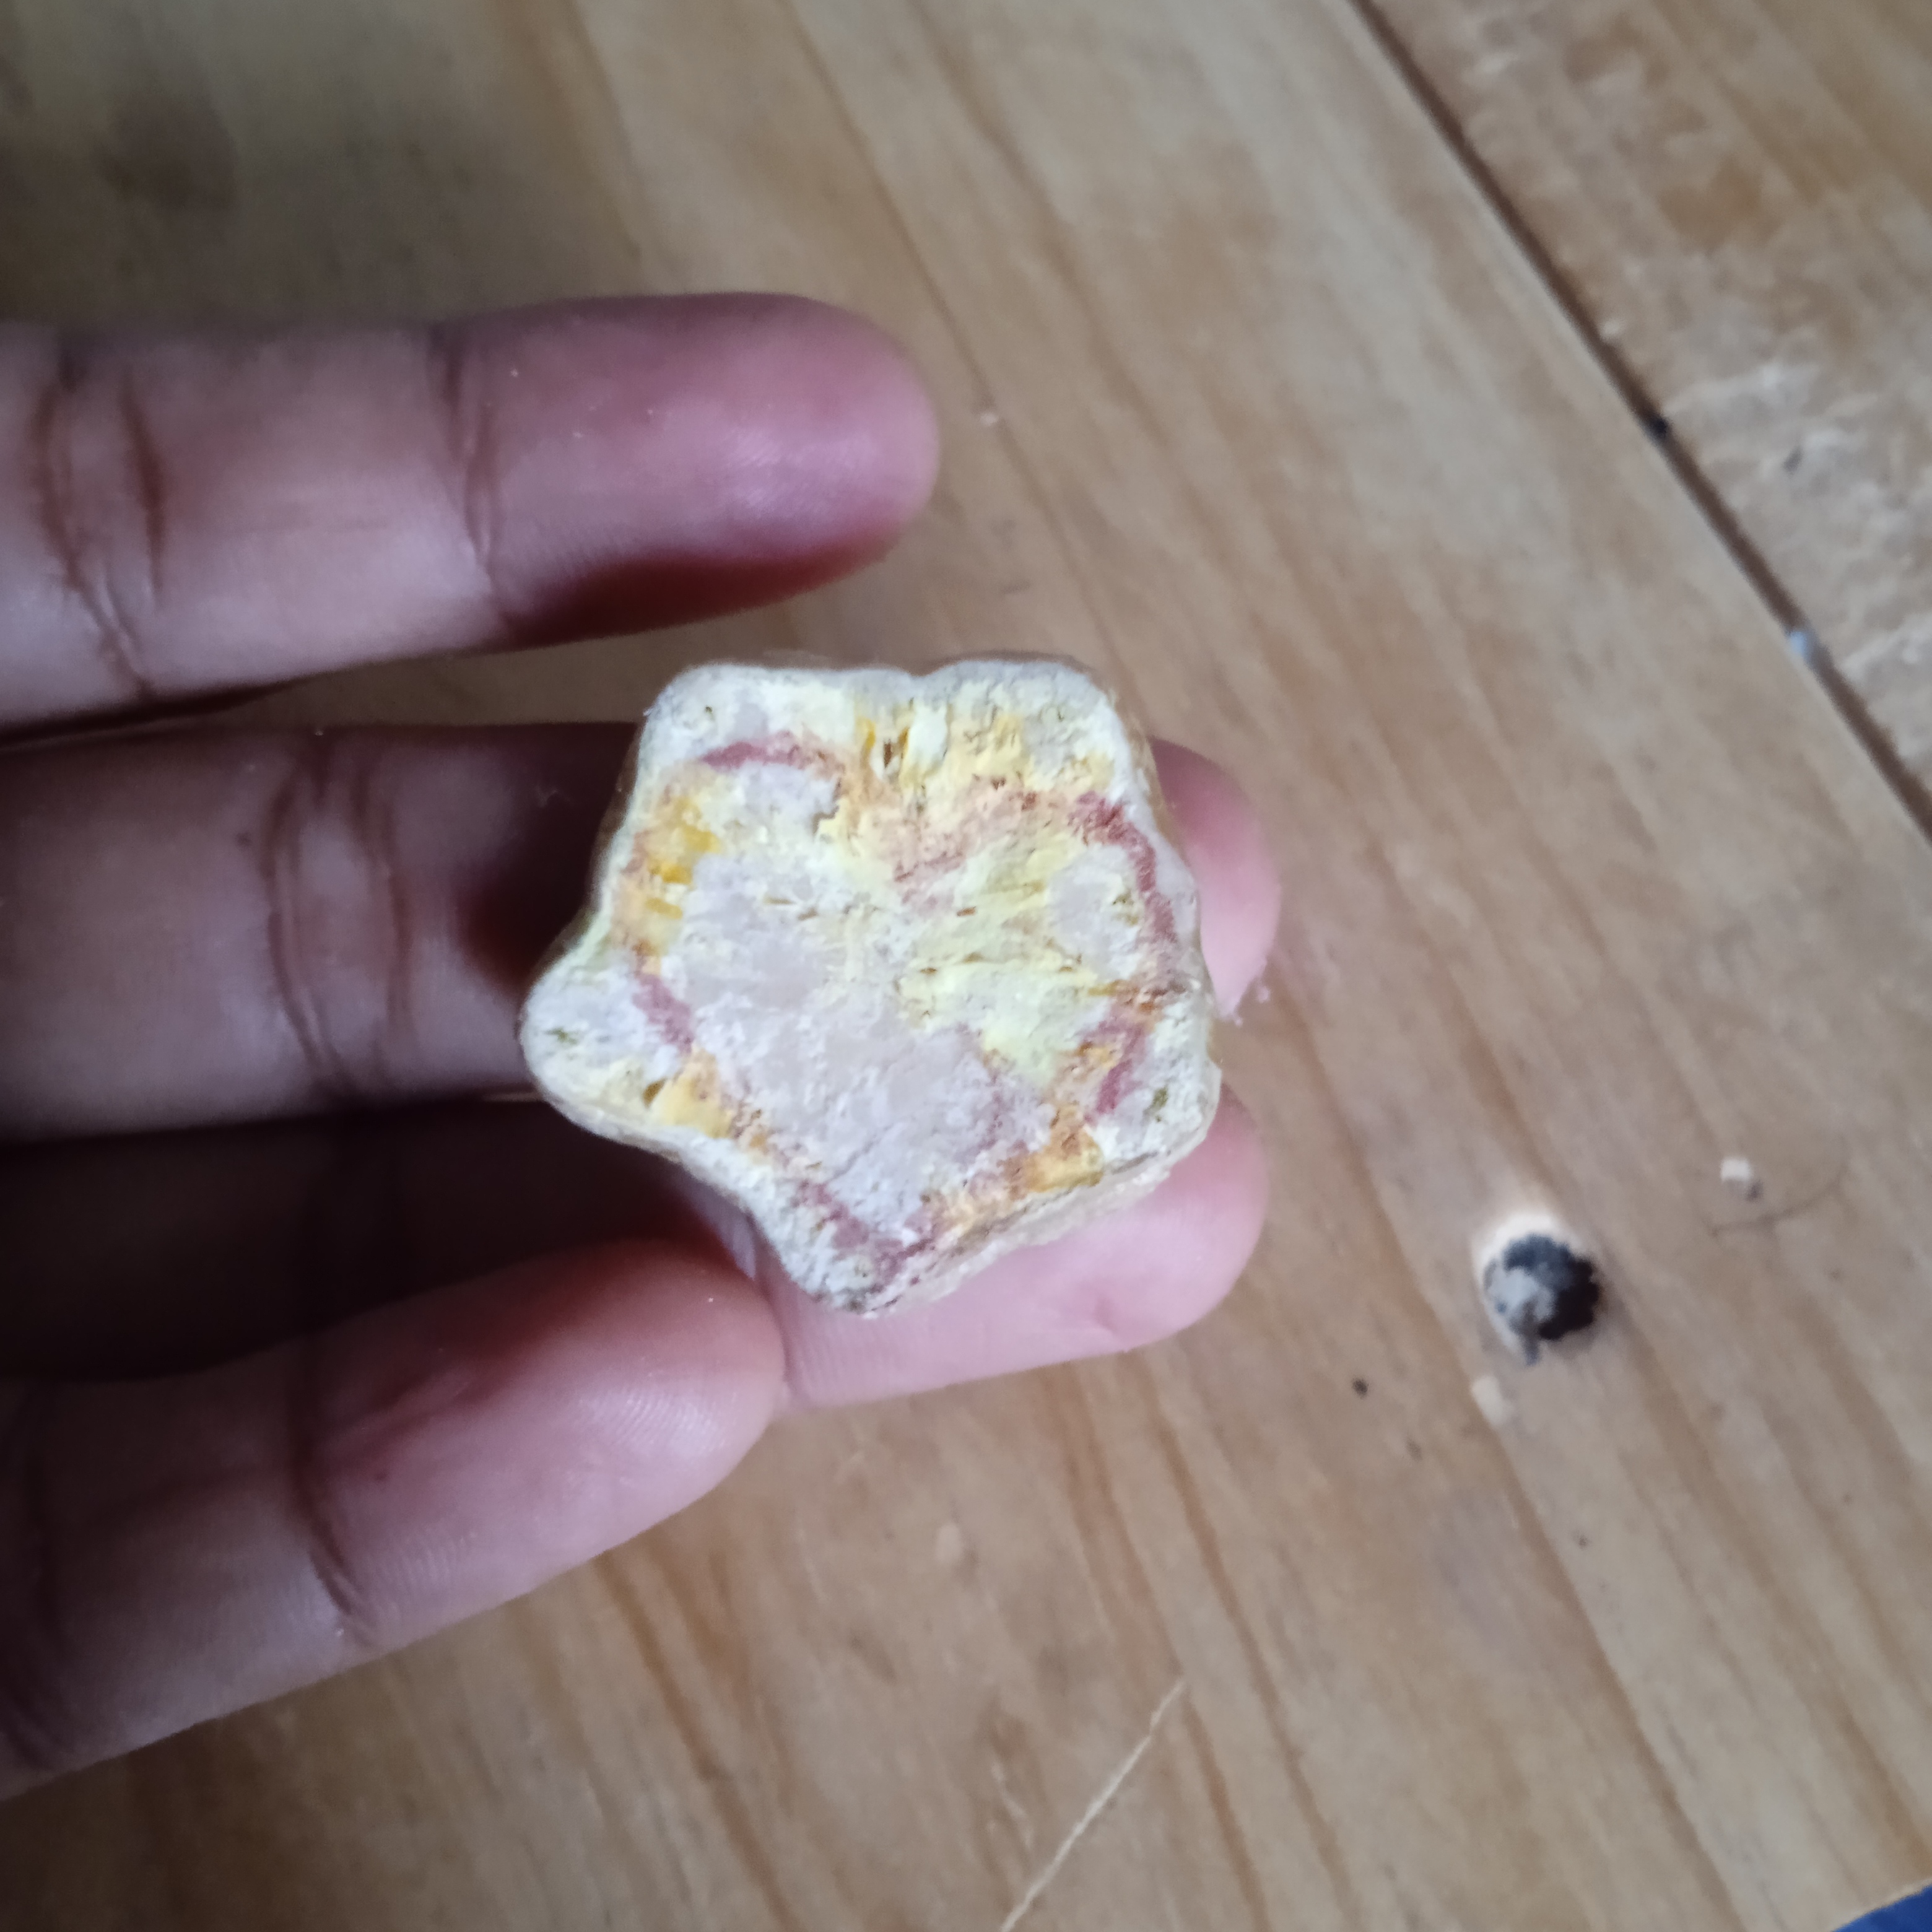
Paso 3.
Cortamos por el contorno de la figura y lijamos muy bien de manera que nos quede lisa sin quitarle del todo la porocidad y dejamos al sol un día aproximadamente para quitar la humedad.
Step 3.
We cut along the contour of the figure and sand very well so that it is smooth without completely removing the porosity and we leave it in the sun for approximately a day to remove moisture.
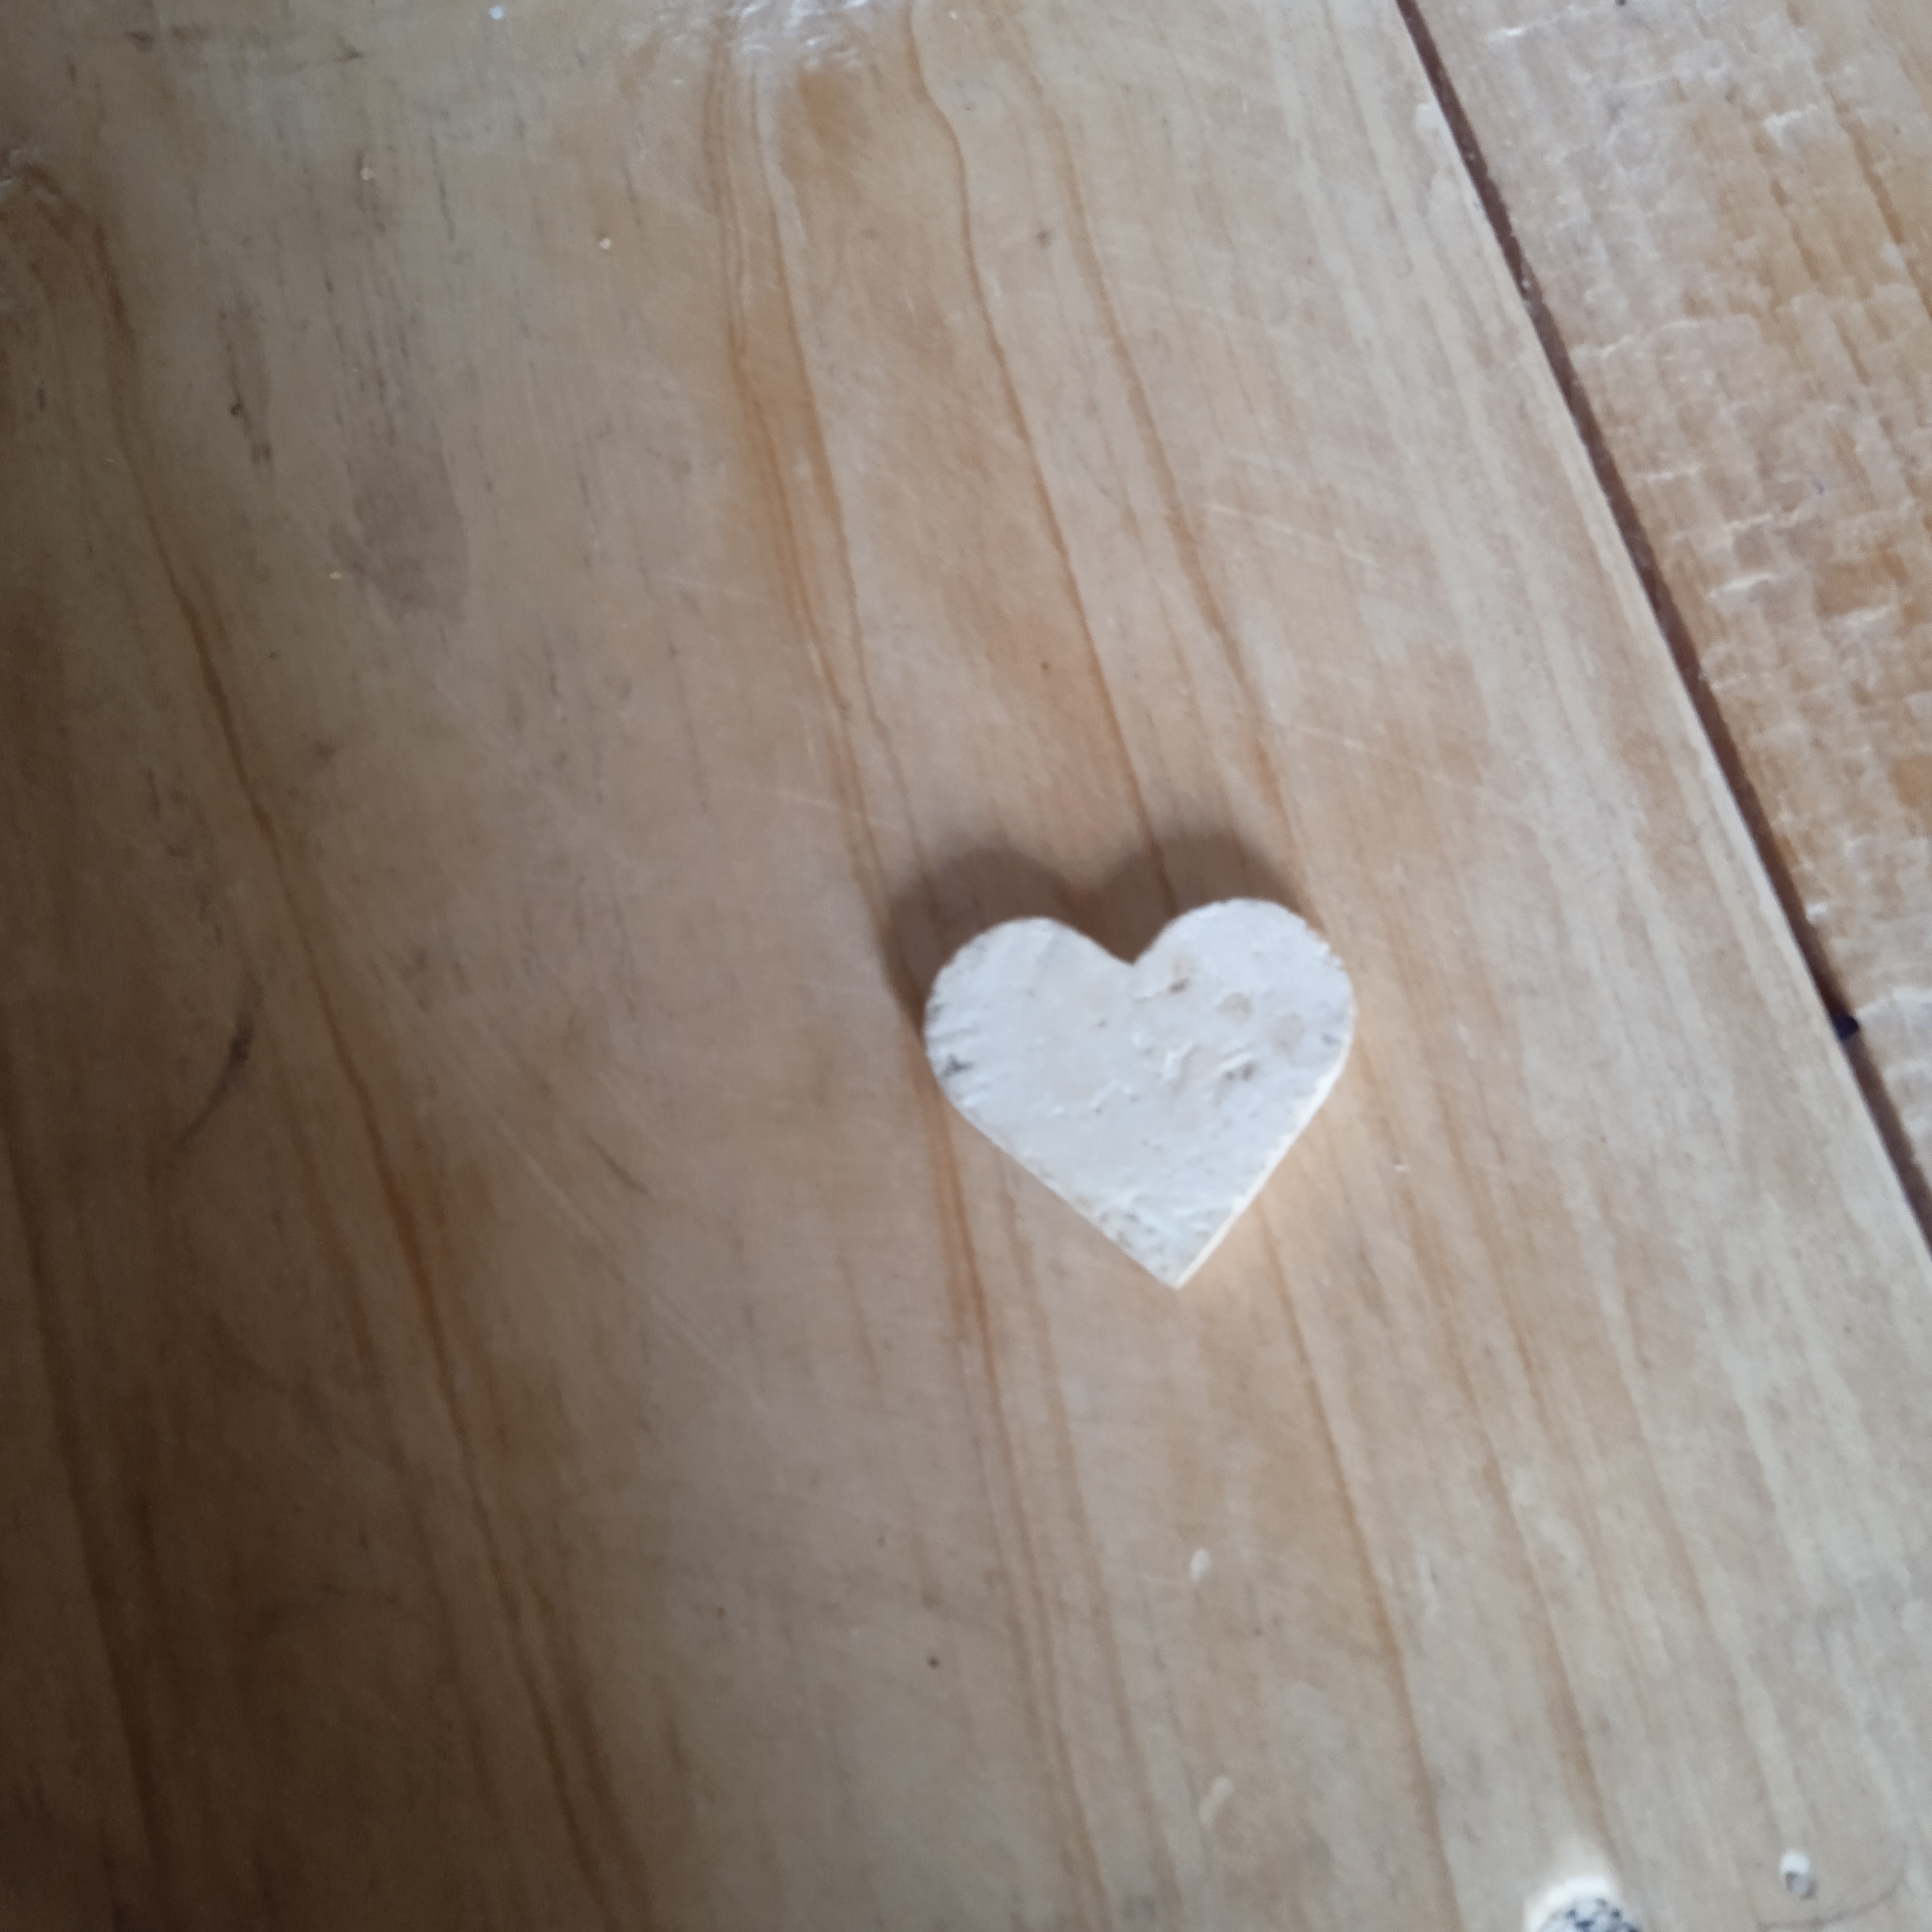
Paso 4.
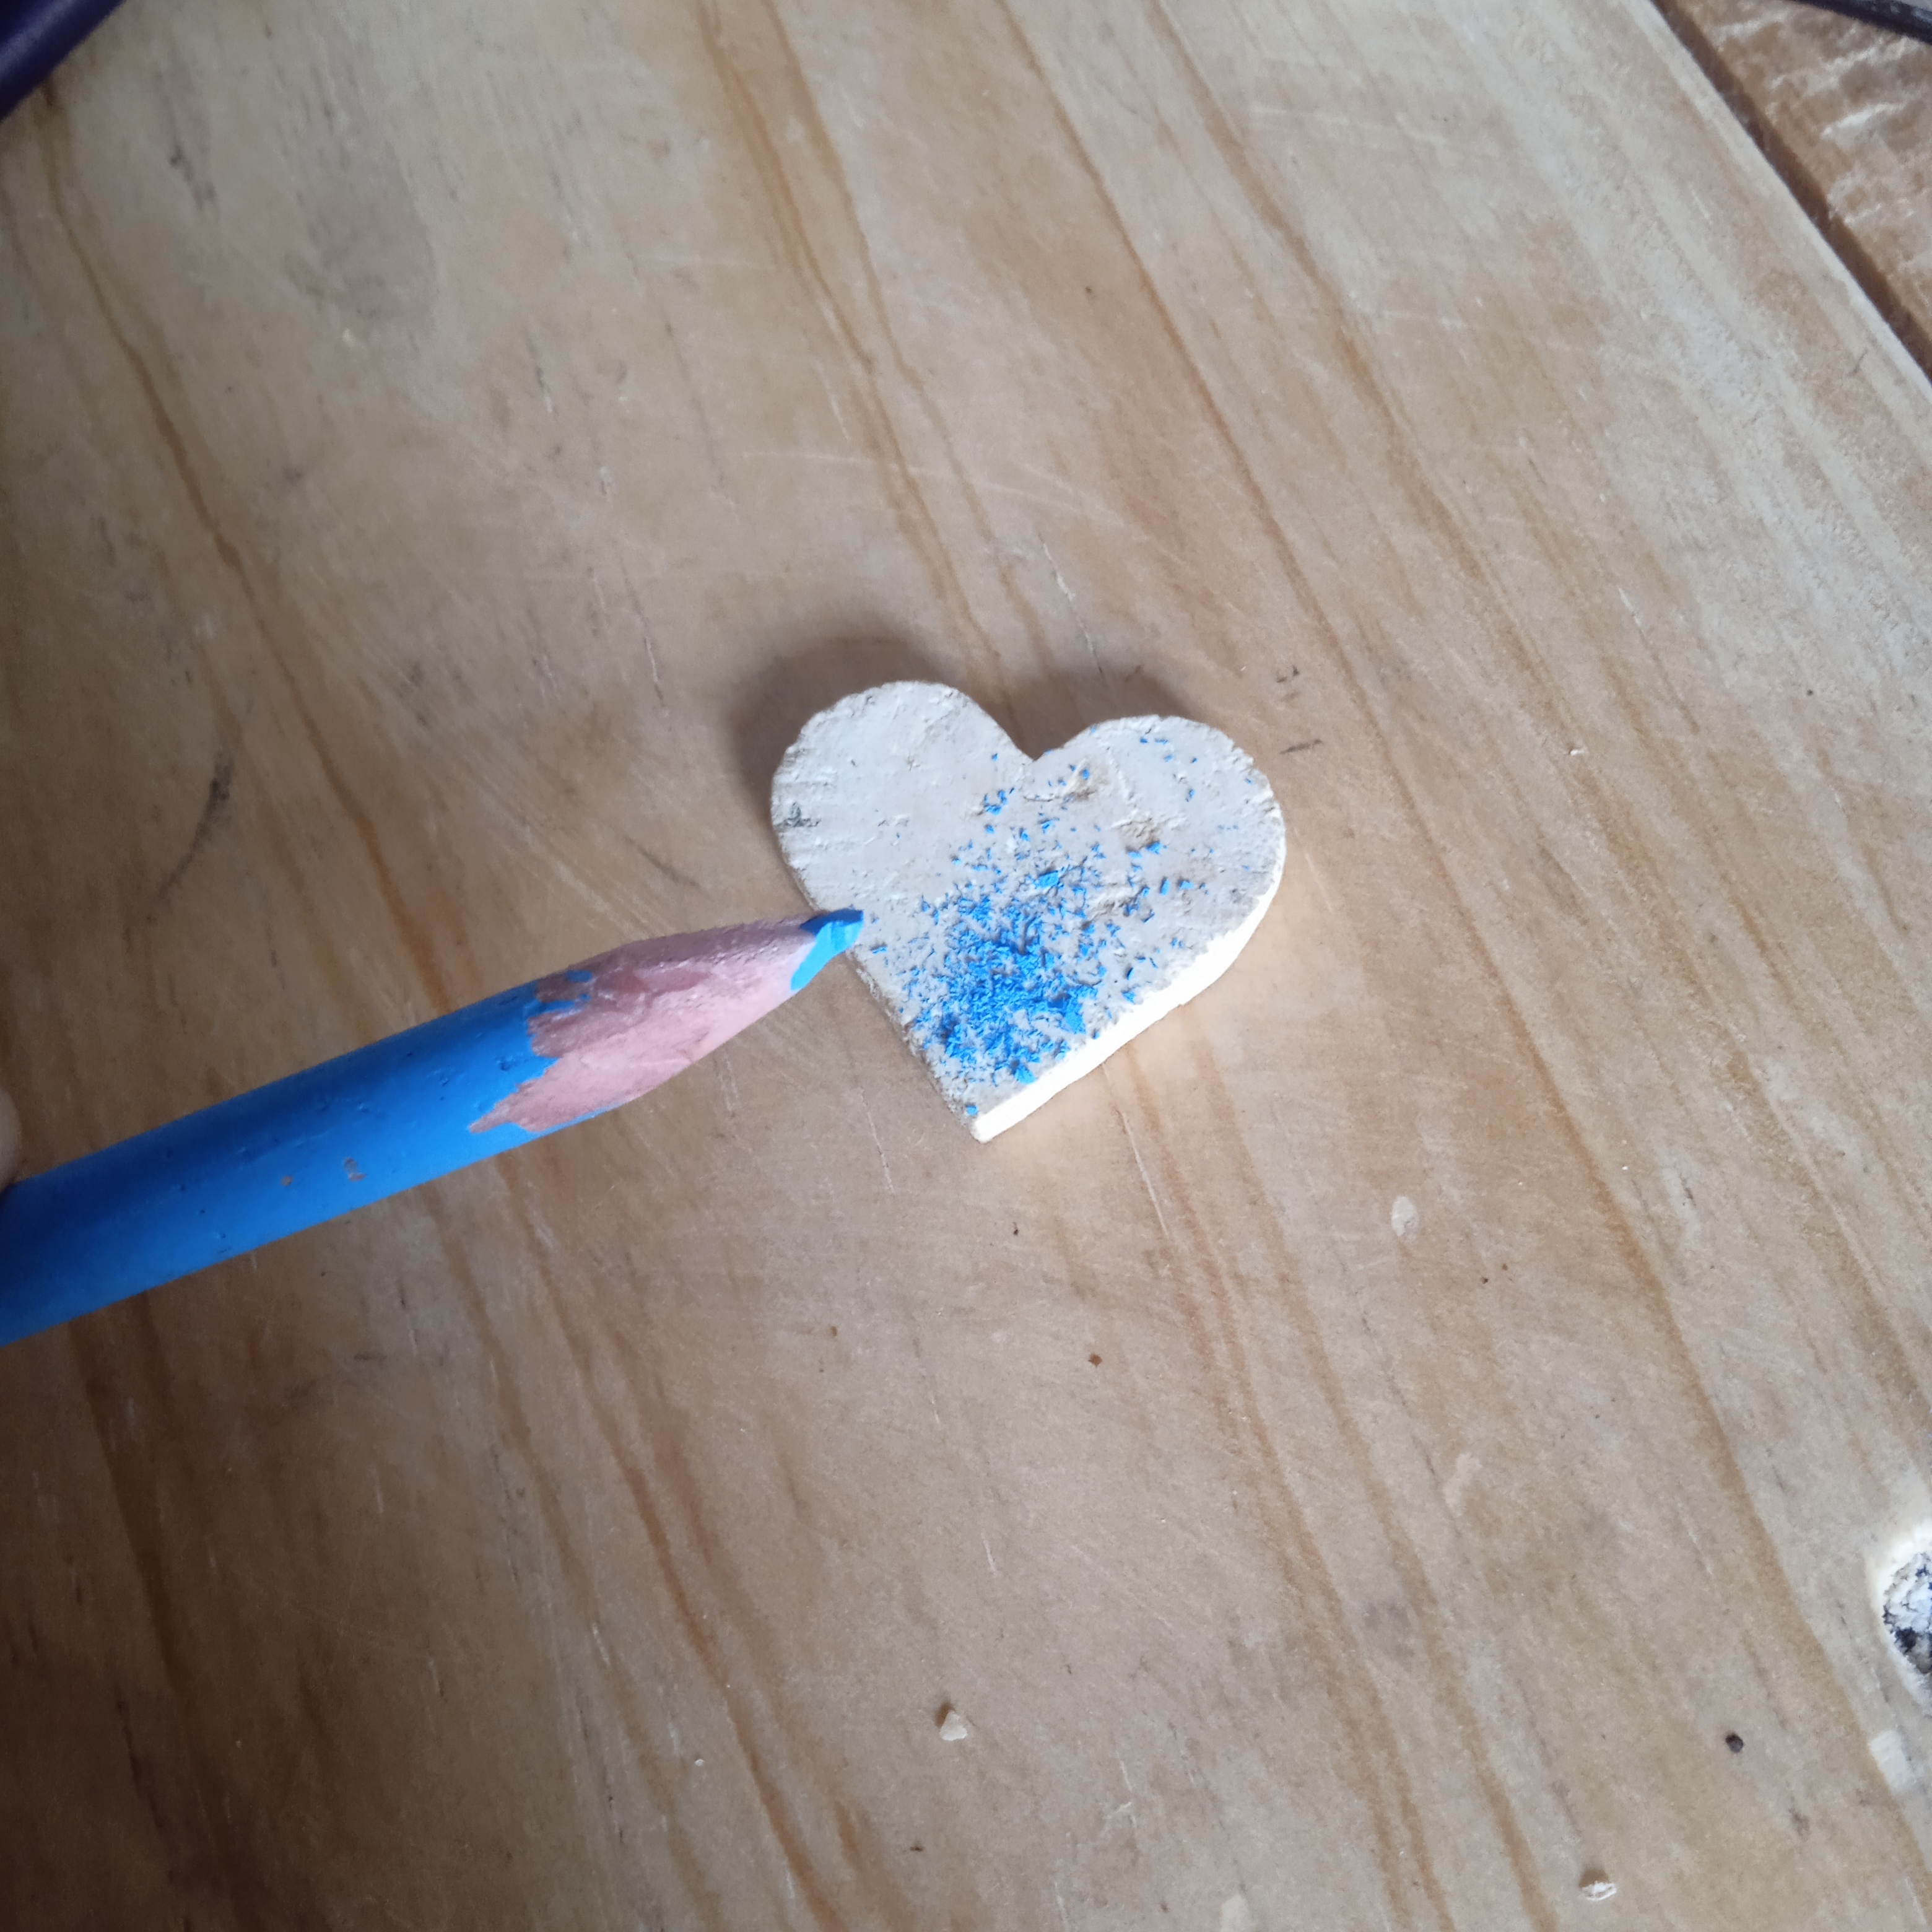
Es momento de darle color, así qué, con unos crayones y un cuchillo frotamos la punta del crayón para obtener este polvo. Agregamos sobre esta figura y difuminamos con el dedo.
Step 4.
It's time to give it color, so, with some crayons and a knife, we rub the tip of the crayon to obtain this powder. We add to this figure and blur with our finger.
Paso 5.
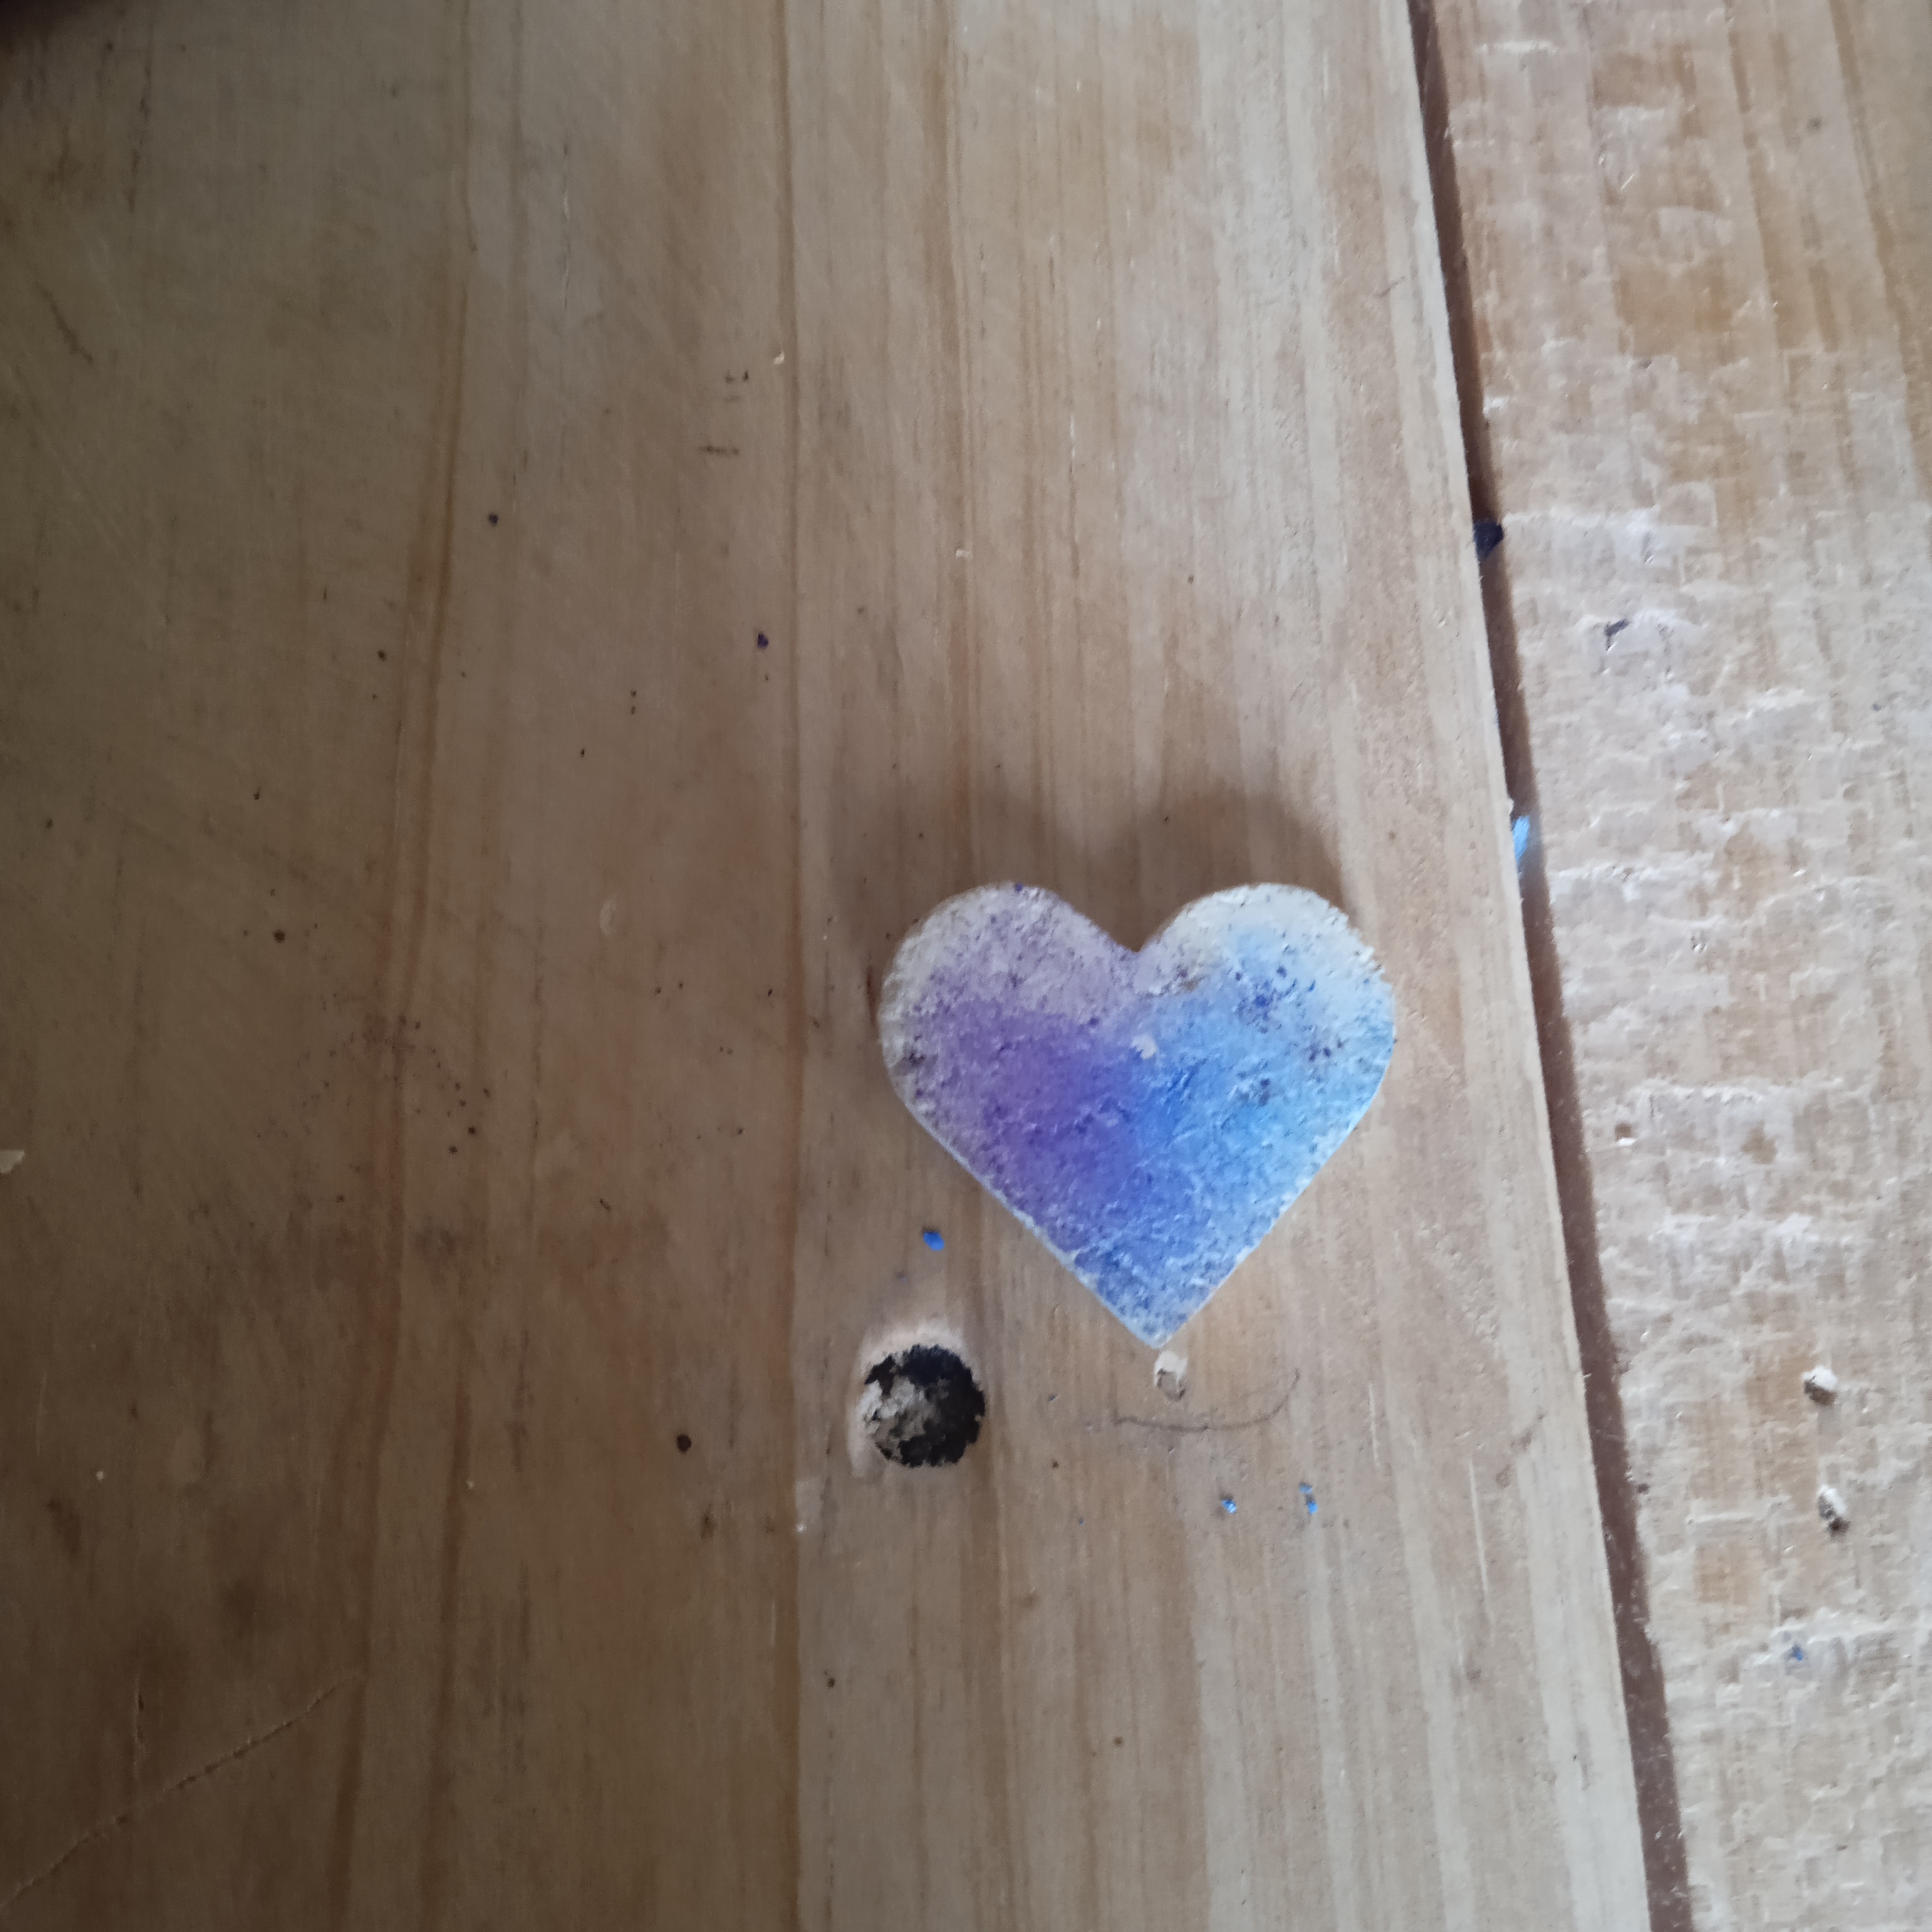
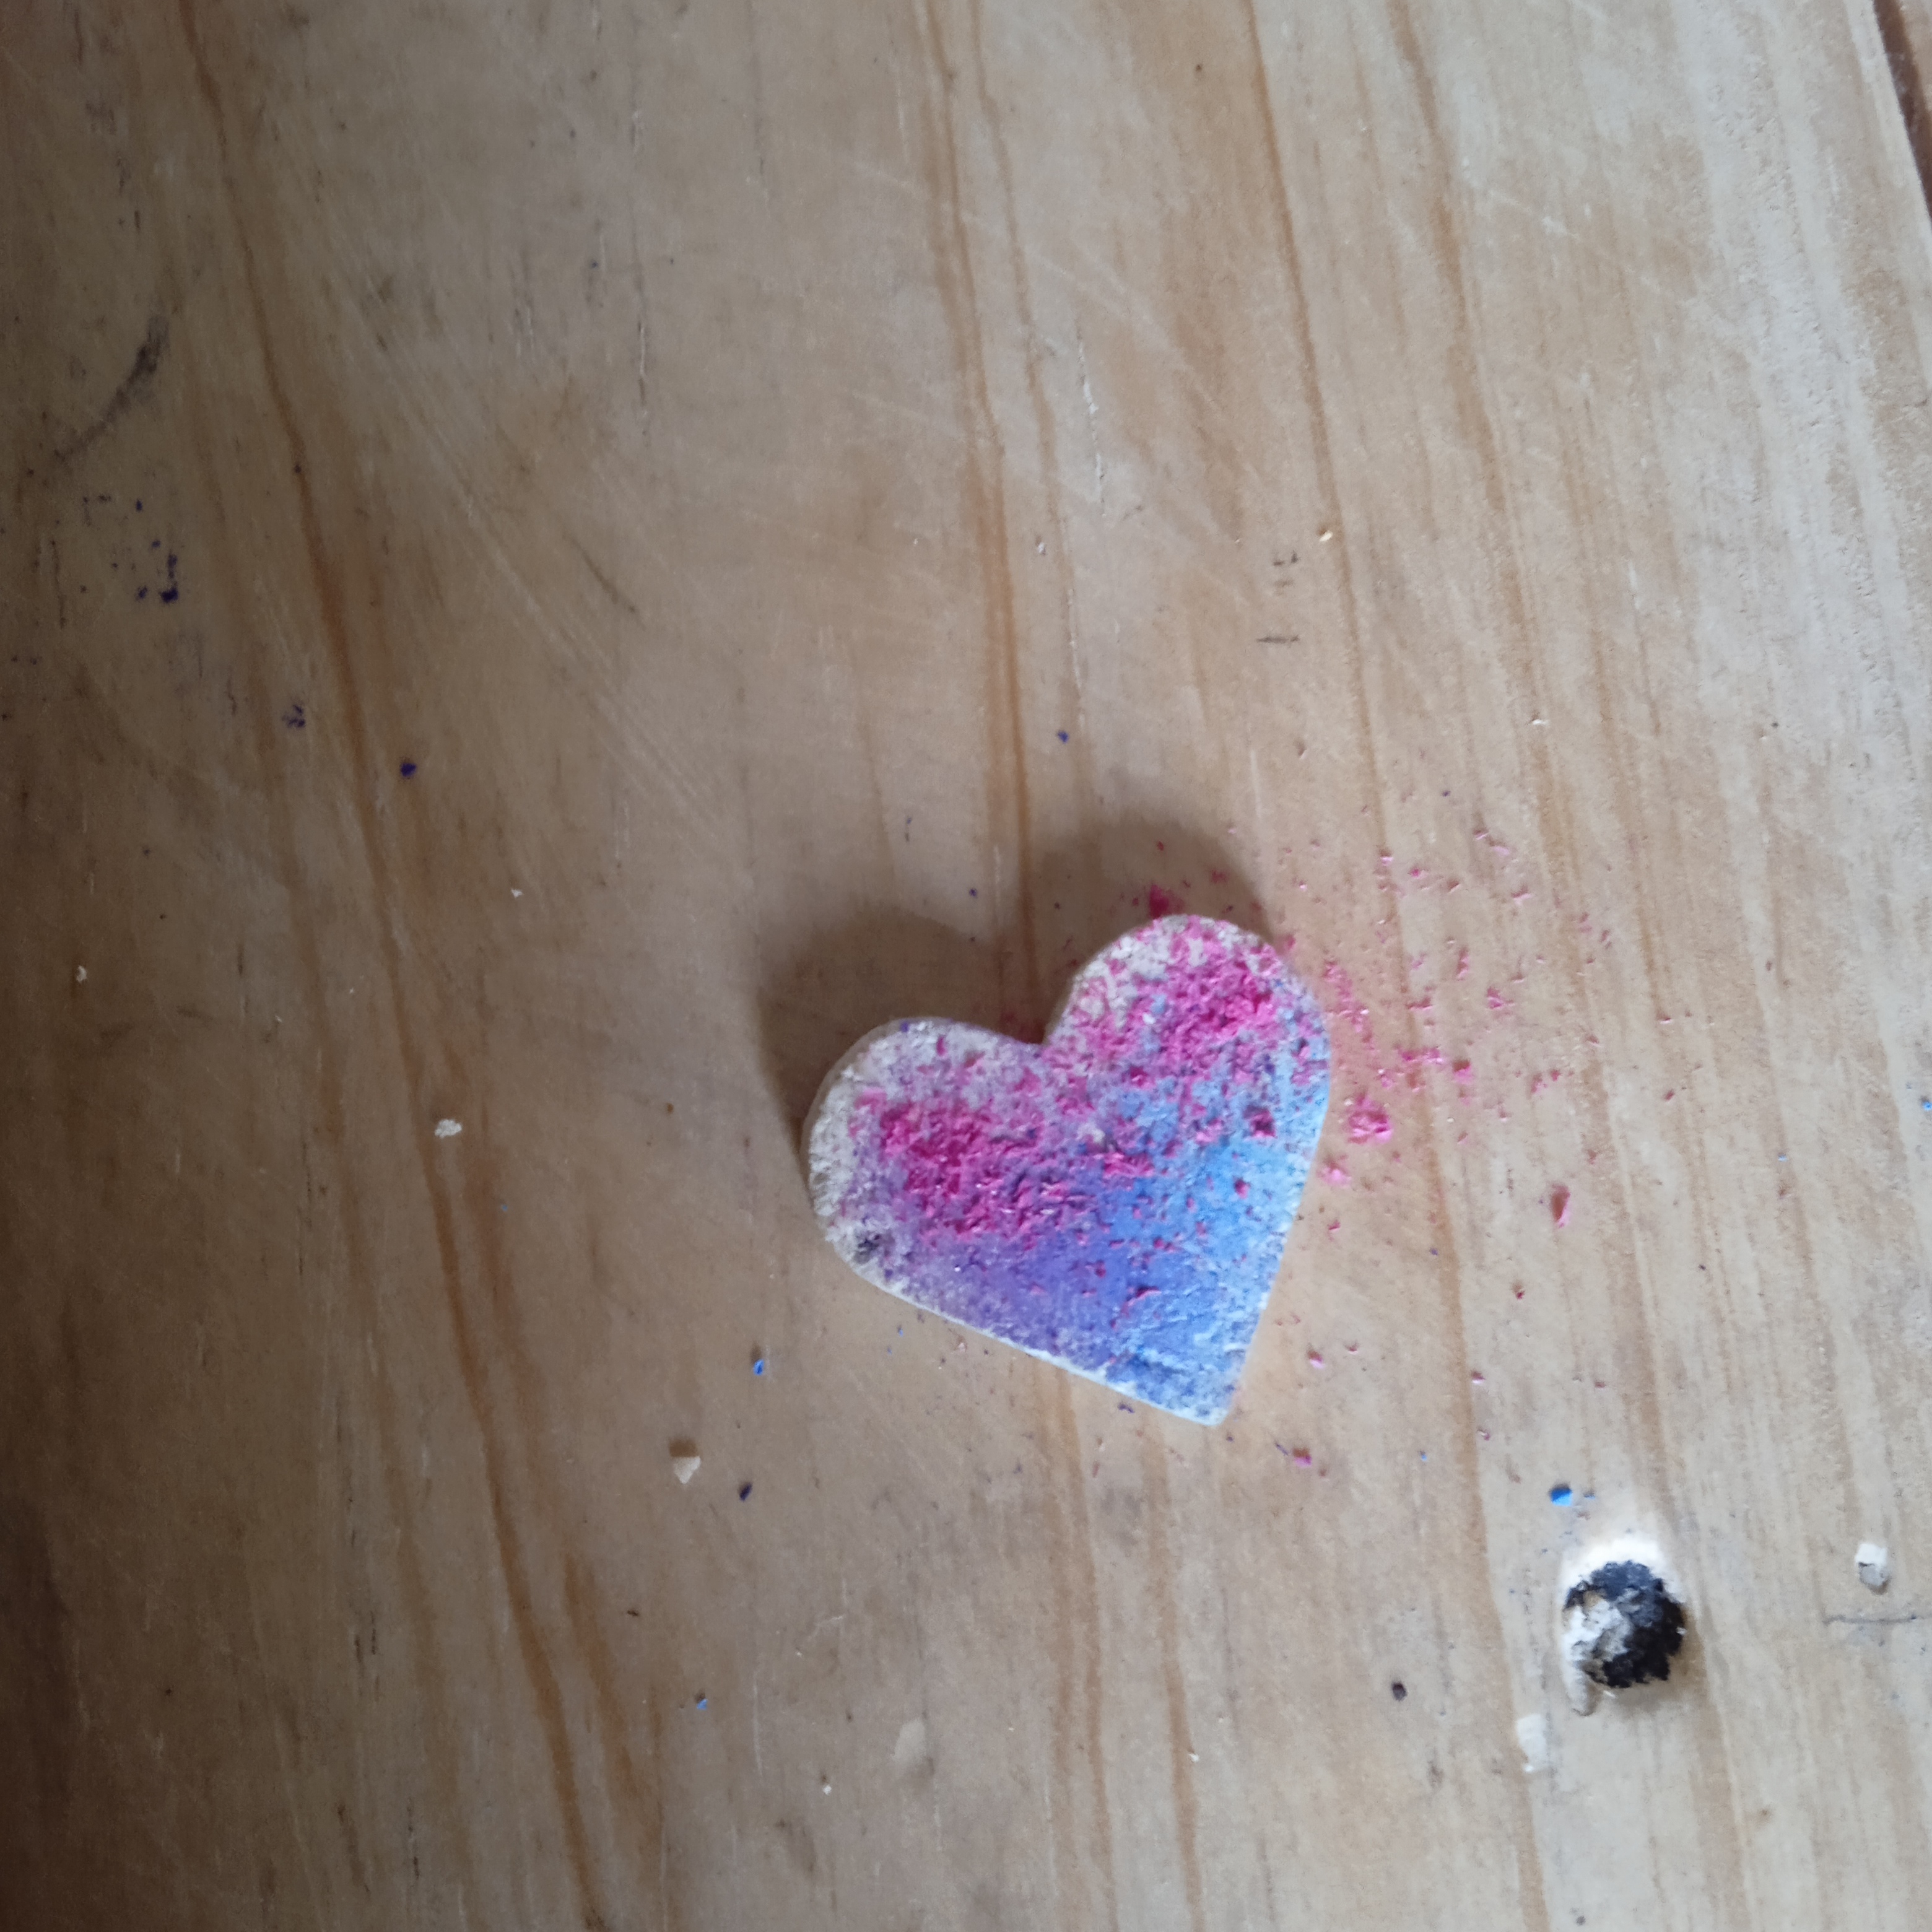
También agregue morado y rosado para darle una mezcla de colores y se vea muy suave. También puedes pintar de marrón para seguir con el tema amaderado.
Step 5.
Also add purple and pink to give it a mix of colors and look very soft. You can also paint brown to continue with the woody theme.
Paso 6.
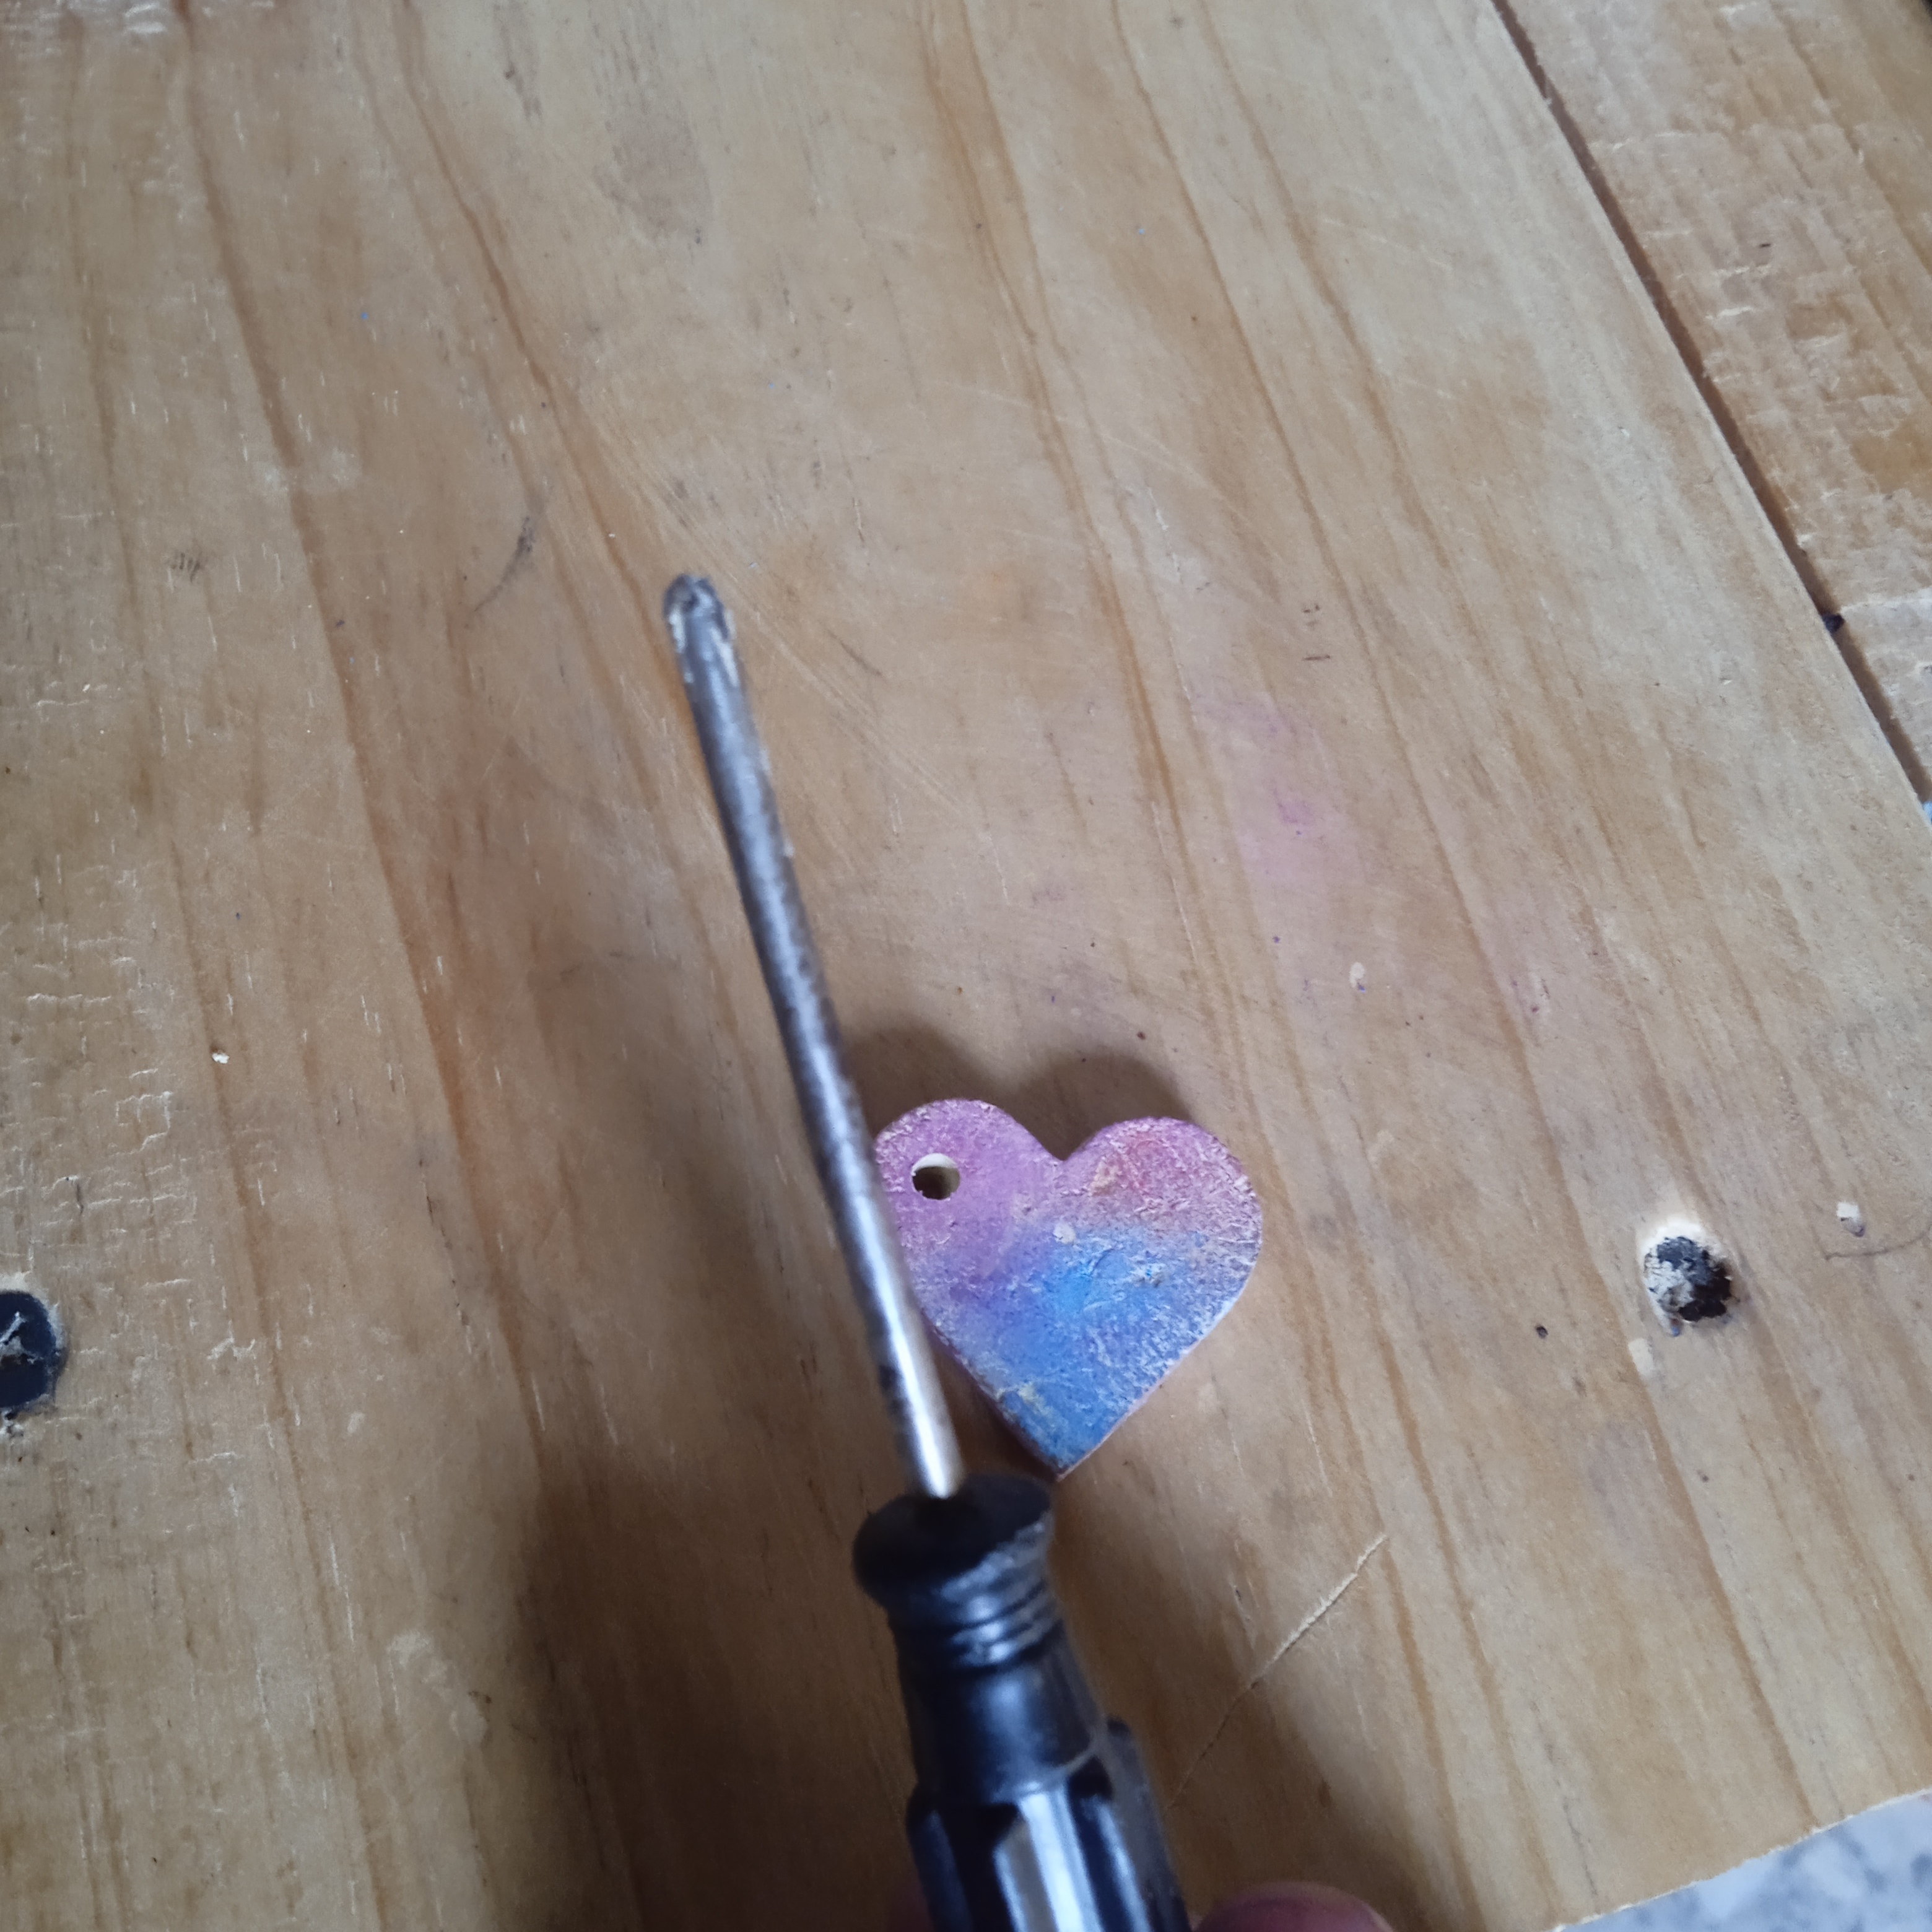
Una vez que lo hemos difuminado todo, delante y detrás, procedemos a perforar con ayuda de esta pequeña herramienta que nos ayudará mucho. Lo bueno es que este material es blando al perforar.
Step 6.
Once we have blurred everything, front and back, we proceed to drill with the help of this small tool that will help you a lot. The good thing is that this material is soft when drilling.
Paso 7.
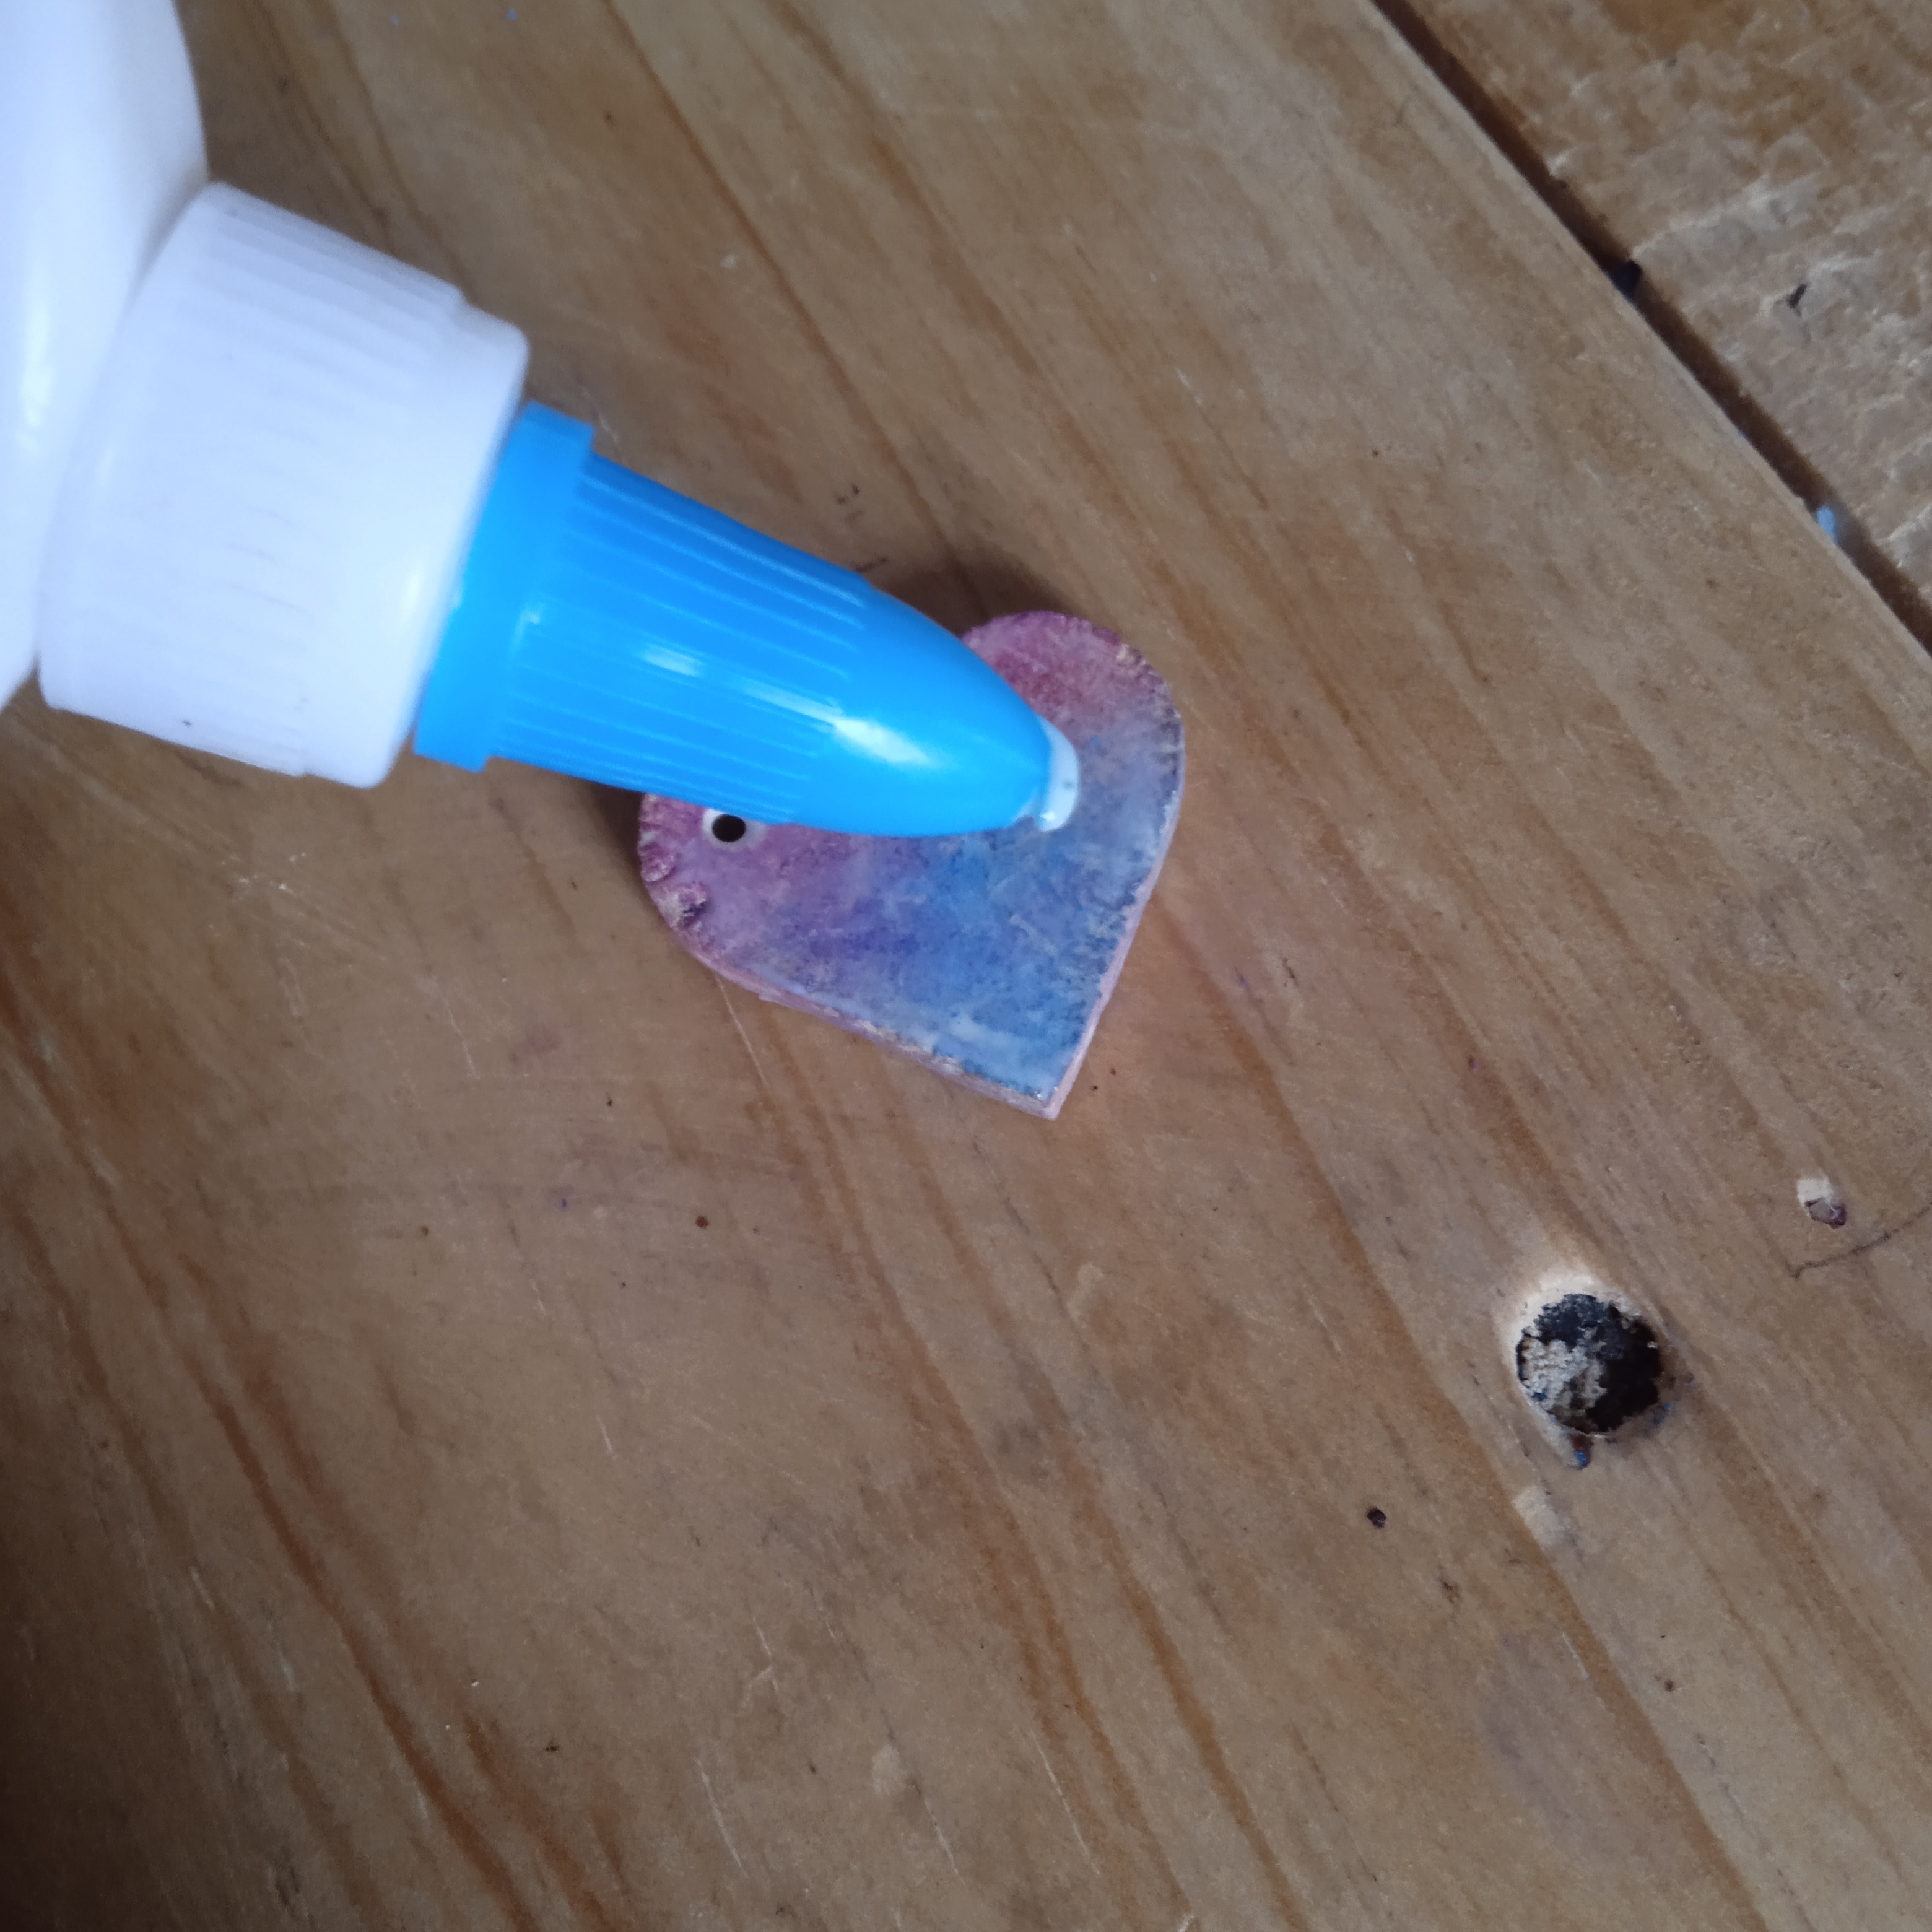
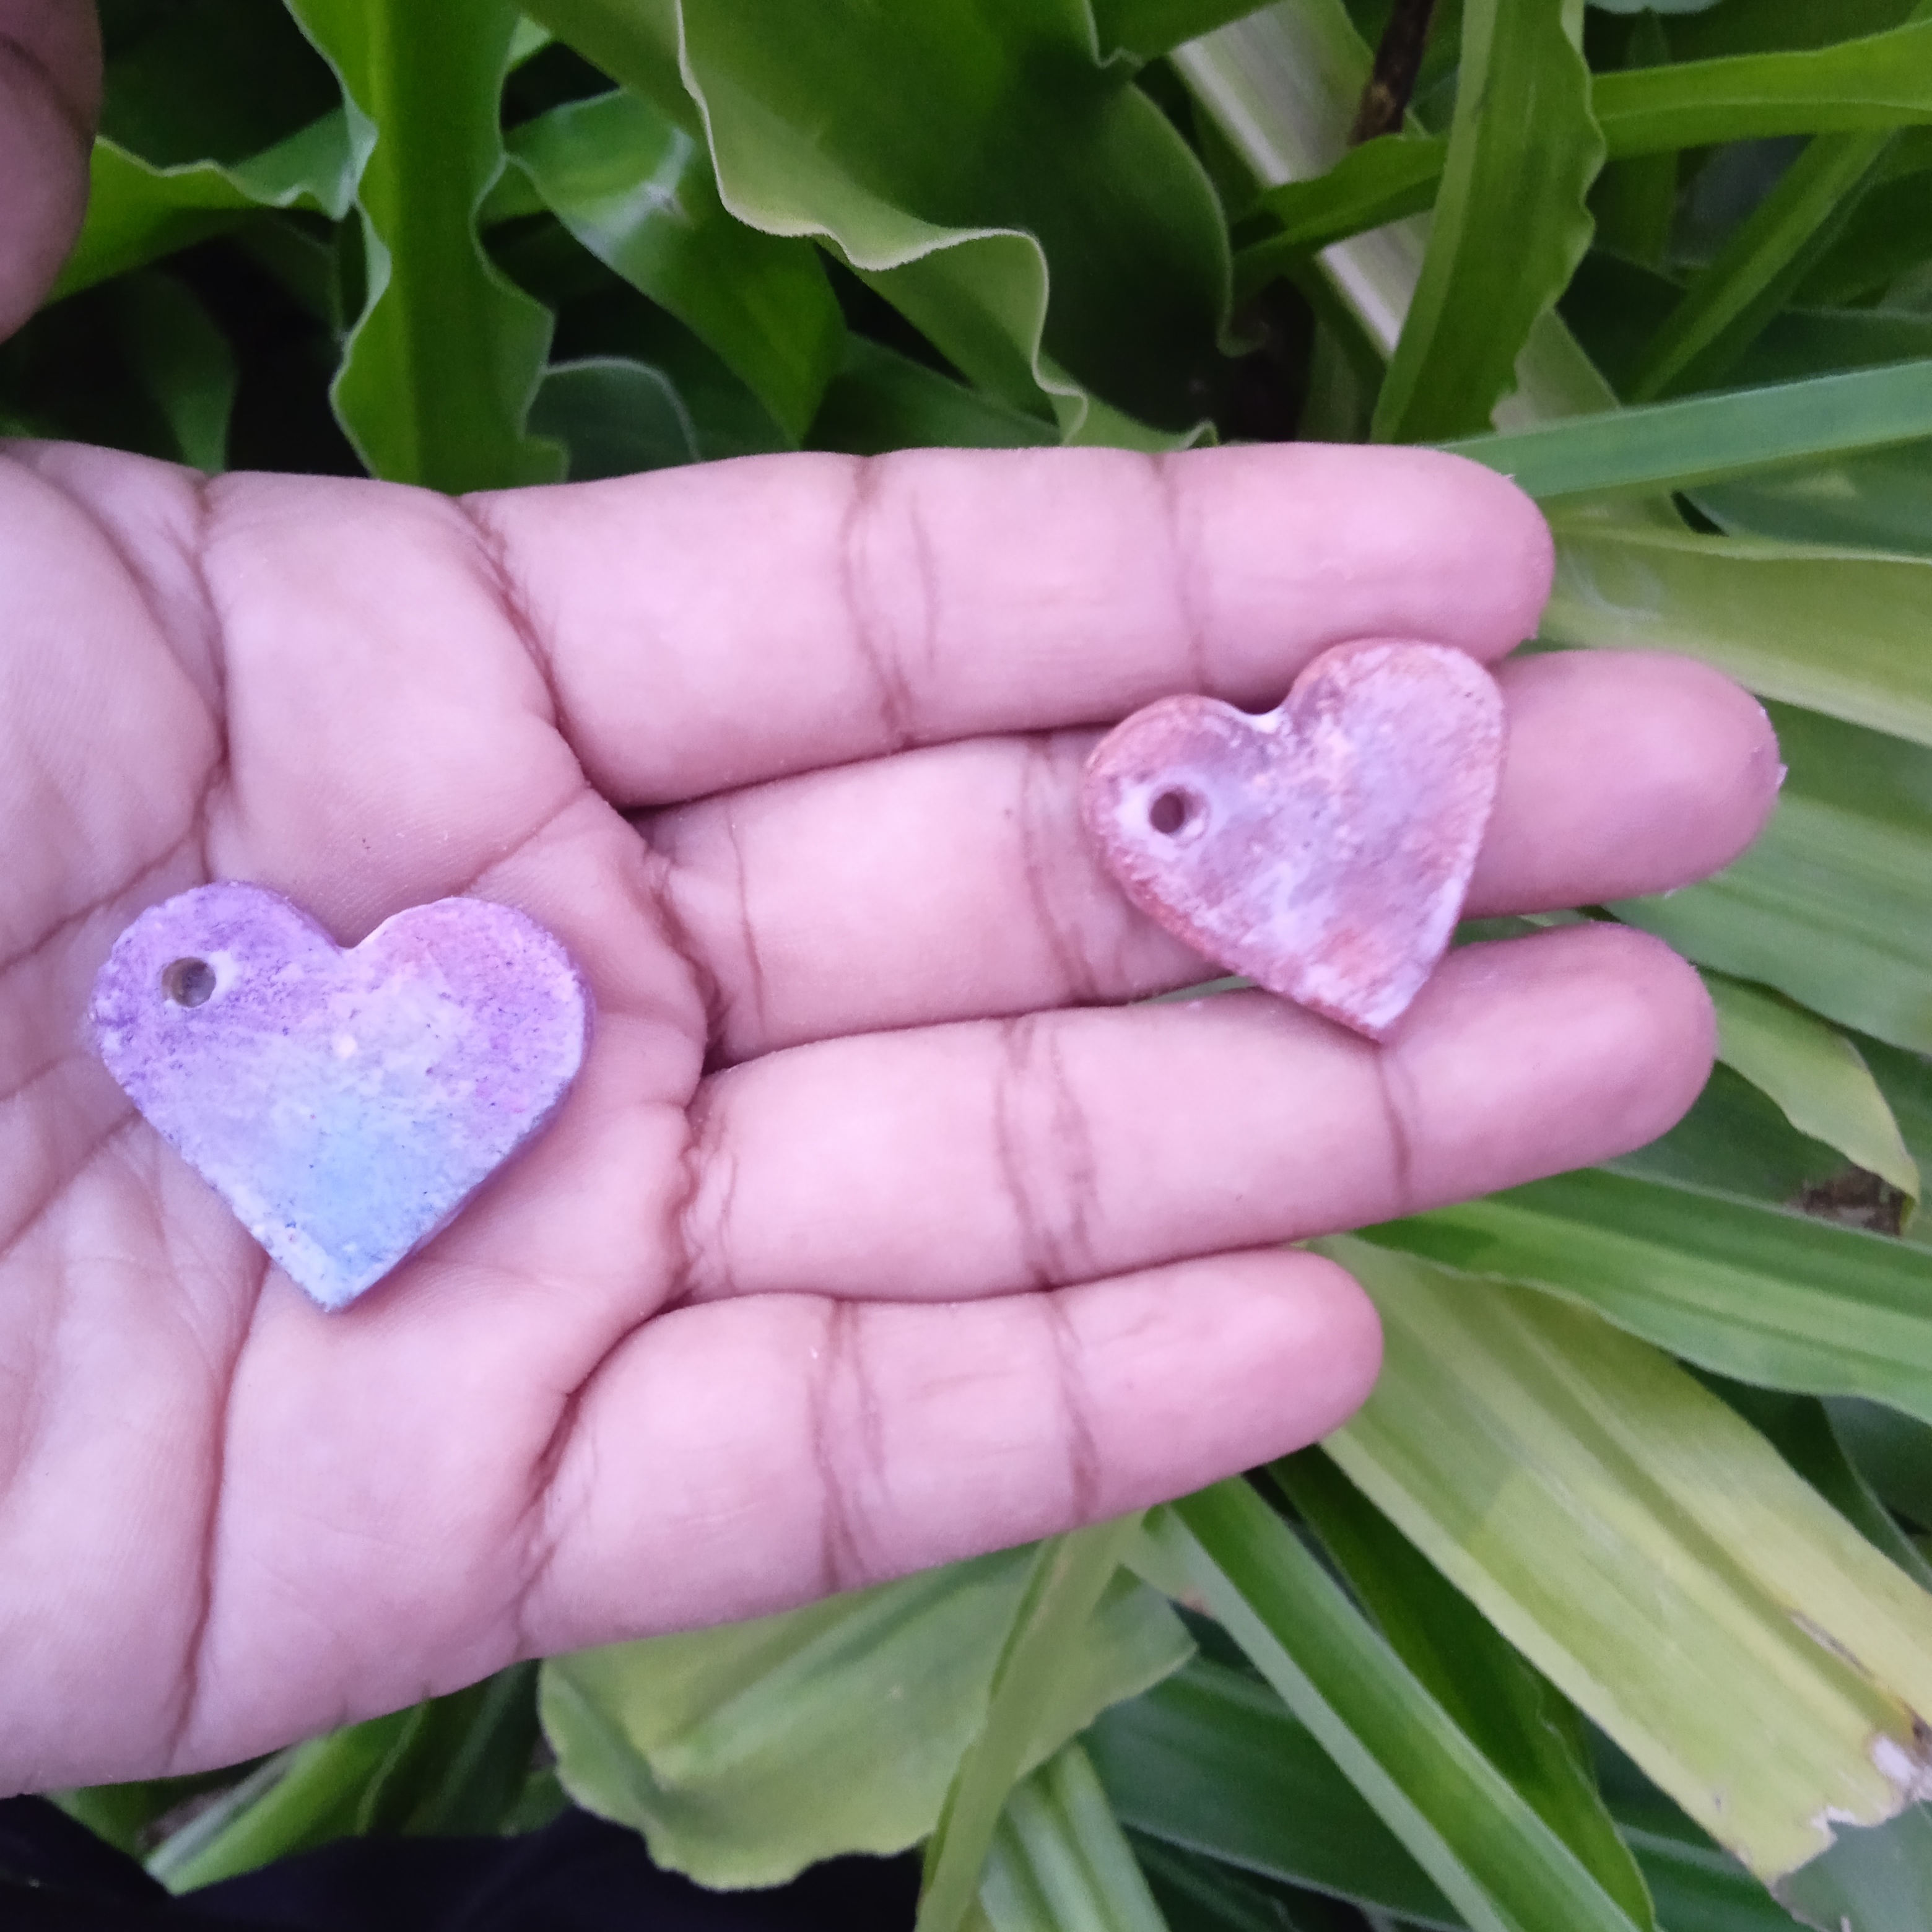
Seguidamente agregamos pega blanca para sellar y dejamos secar. También puedes barnizar con esmalte de uñas para darle un efecto vidrio.
Step 7.
Next we added white glue to seal and let it dry. You can also varnish with nail polish to give it a glass effect.
Paso 8.
Es el momento de colocar aritos y demás para colgar nuestro llavero. Son muy lindos y puedes pintar del color que quieras y agregar escarcha para darle mucho brillo.
Step 8.
The time has come to place earrings and more to hang our keychain. They are very pretty and you can paint them any color you want and add glitter to give them a lot of shine.
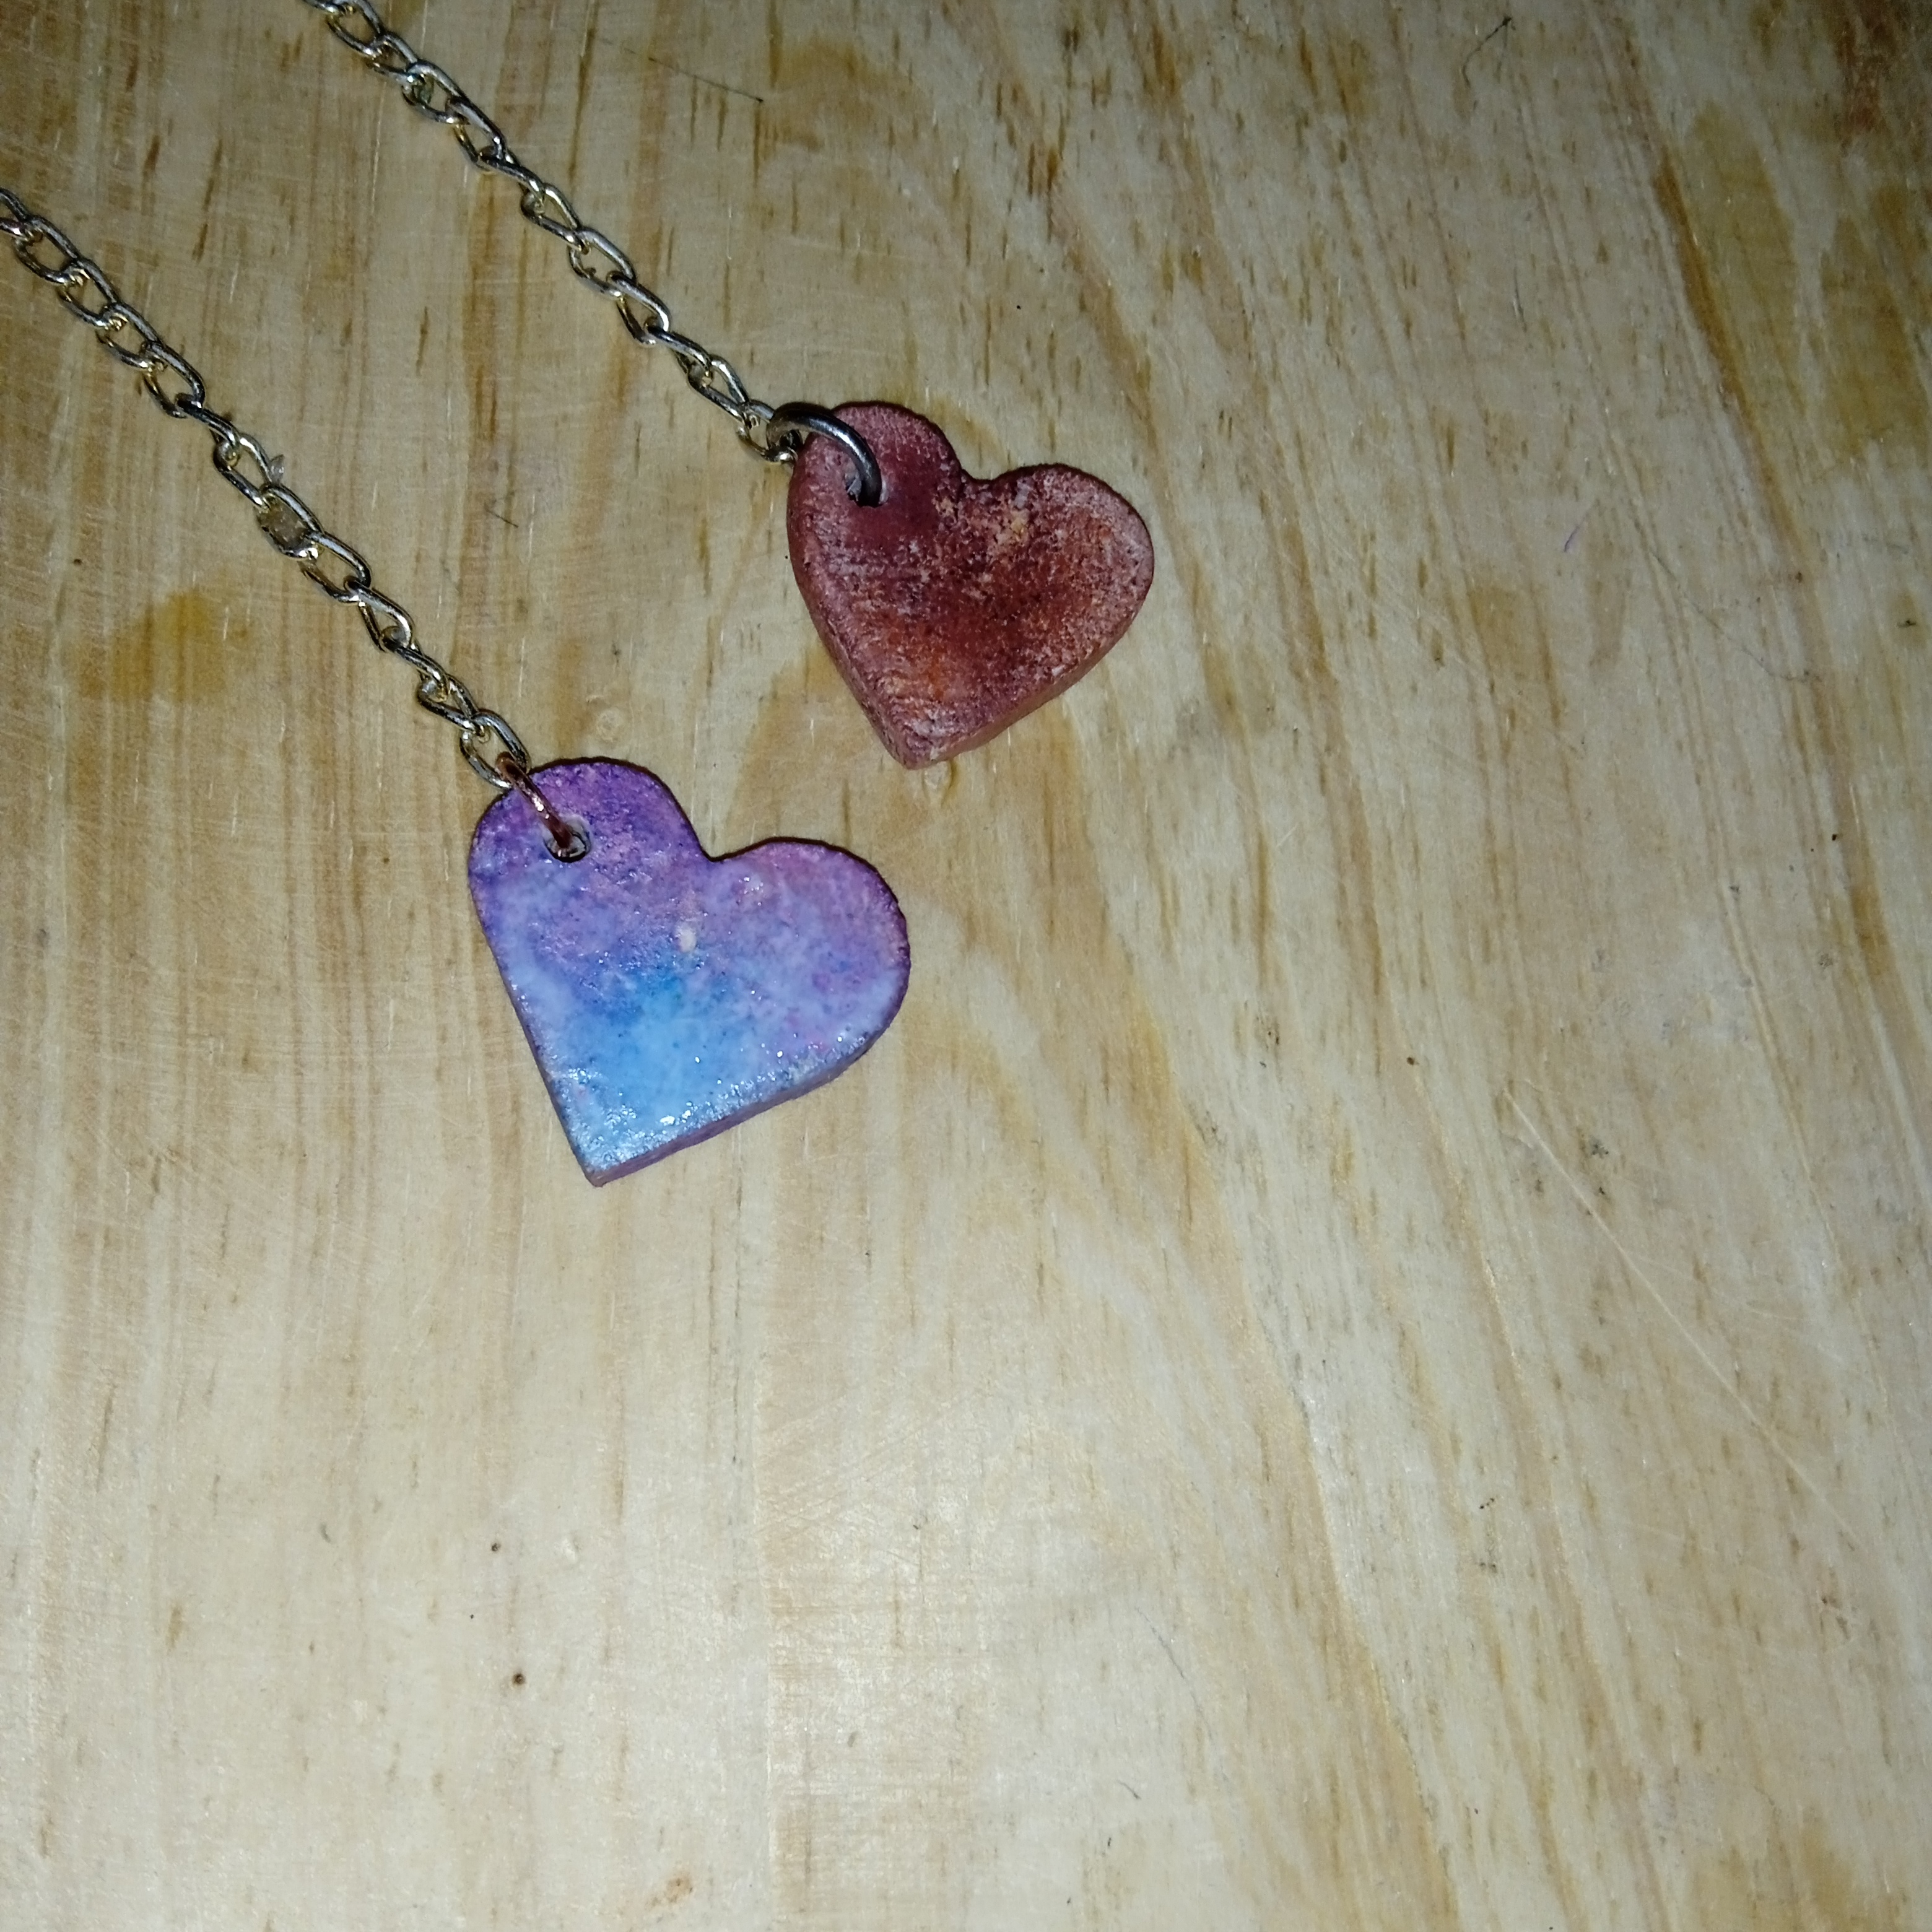
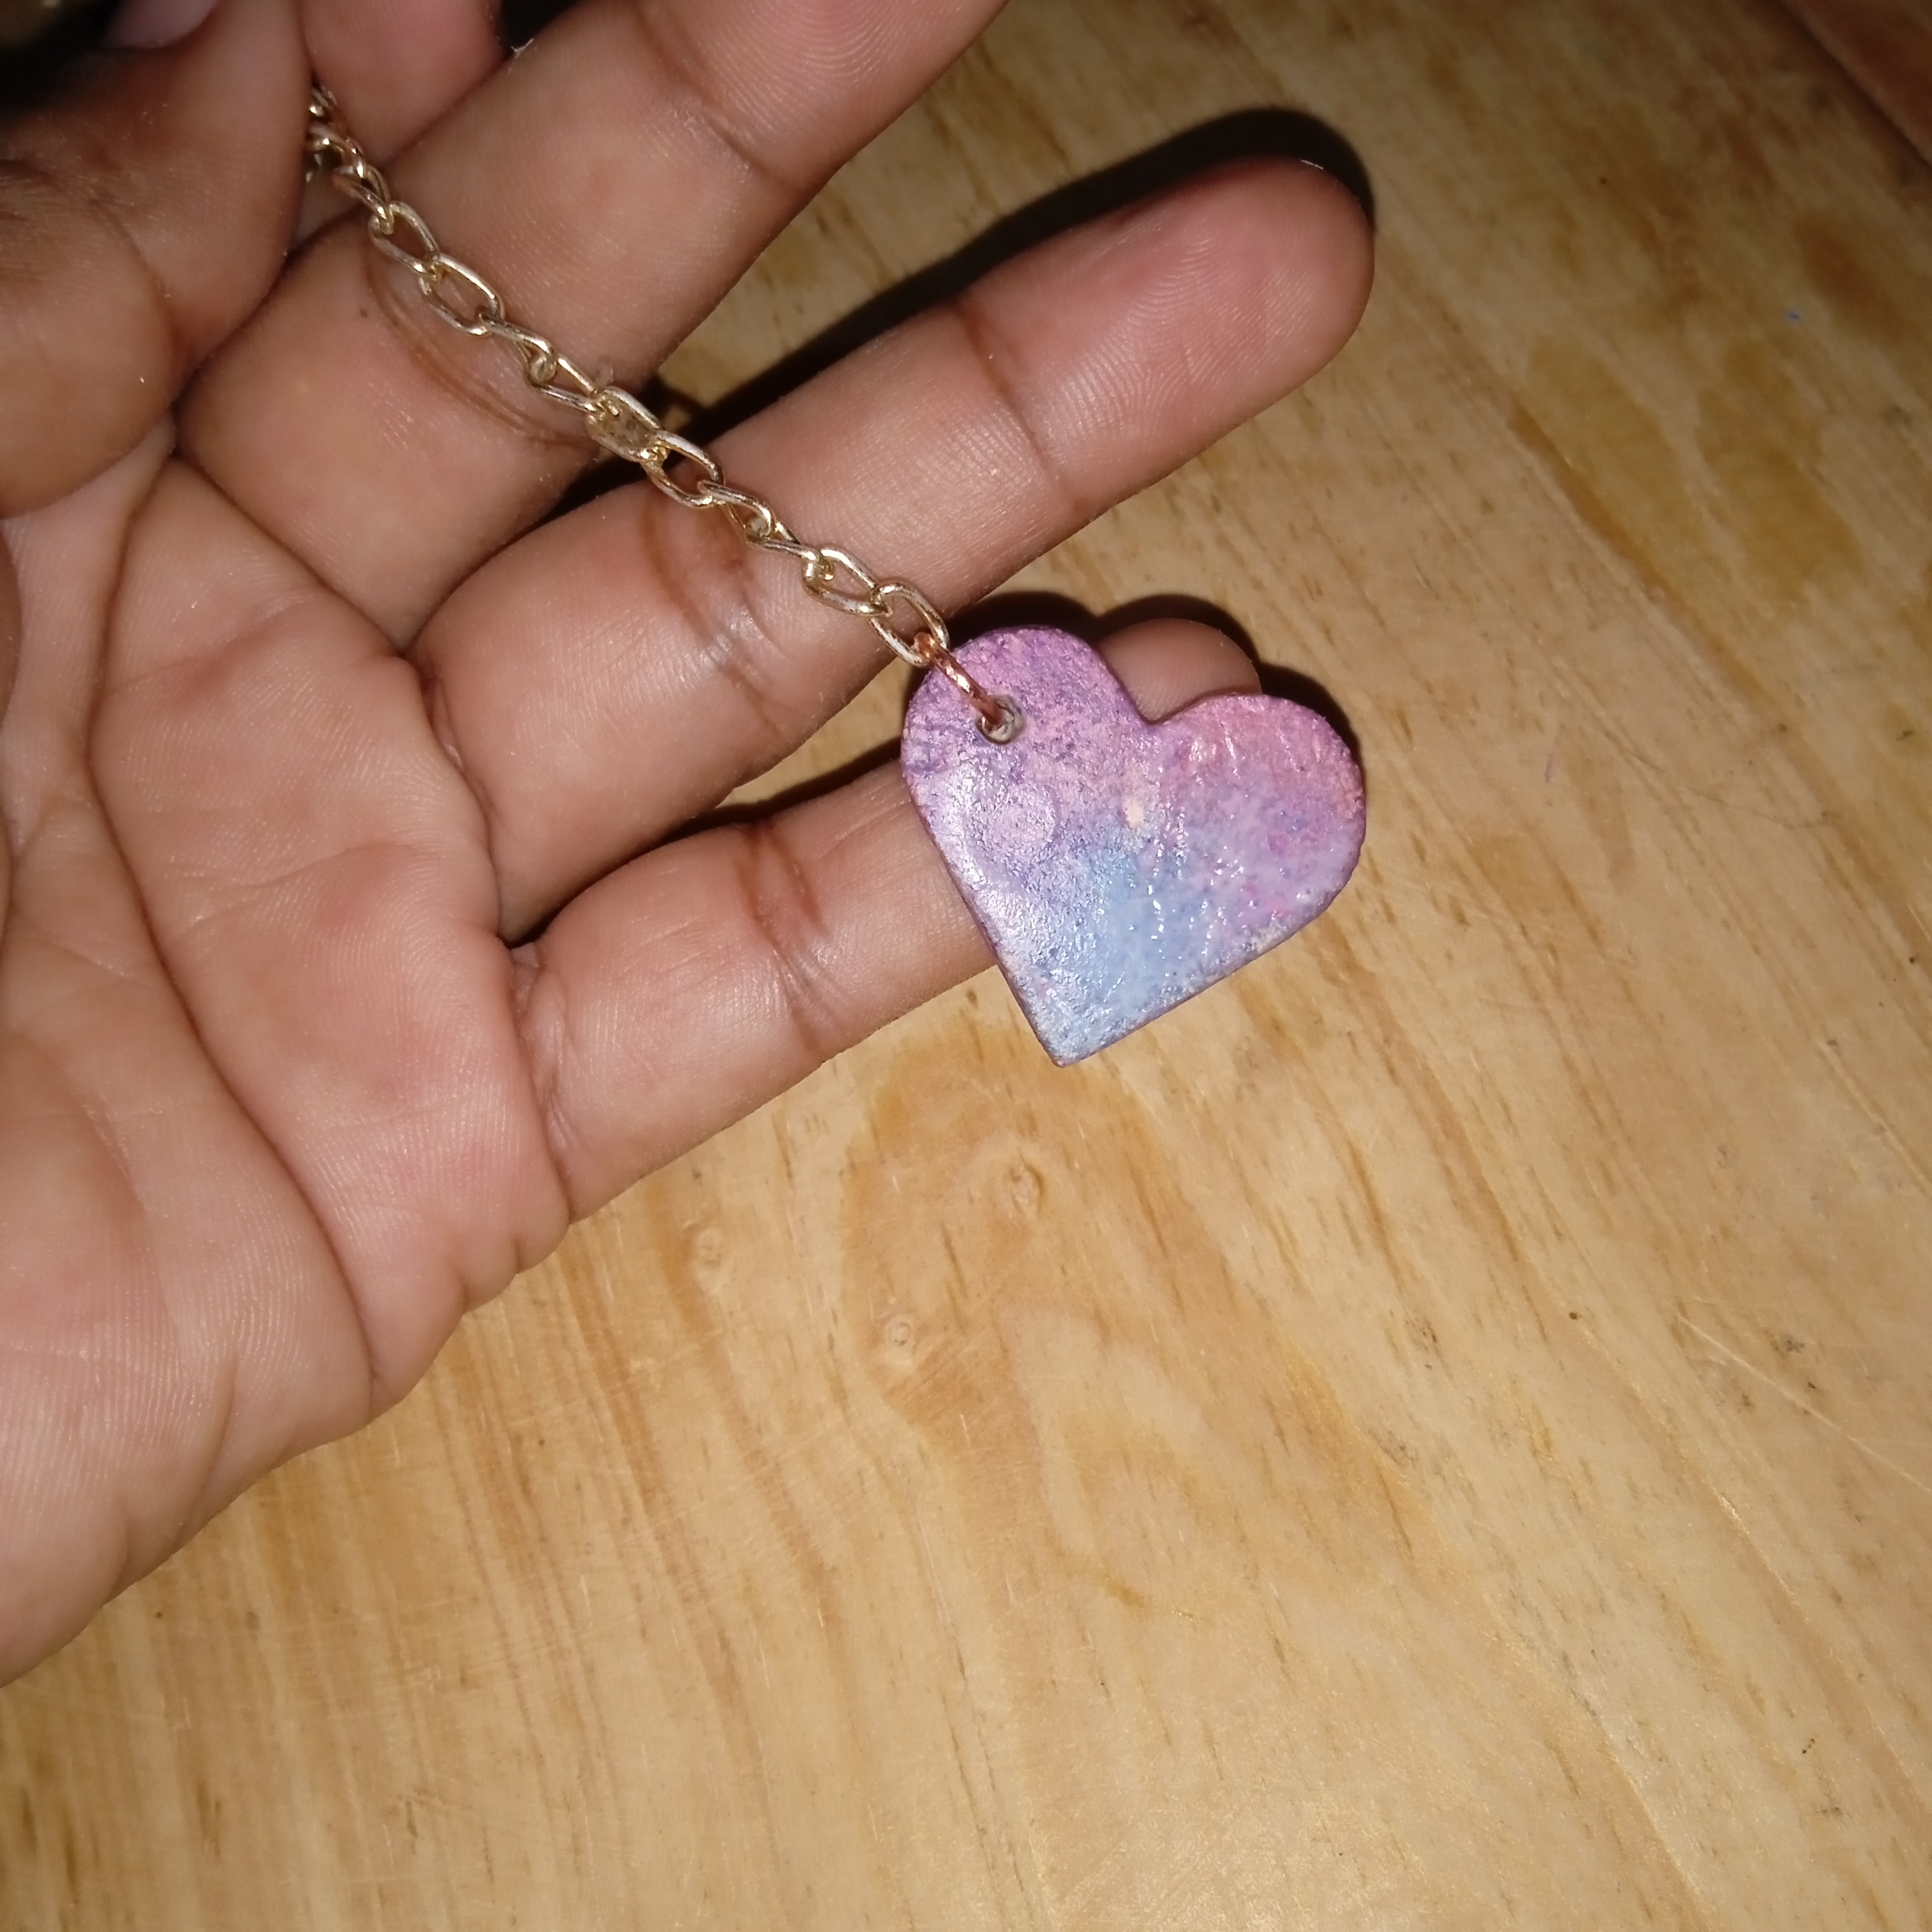
Amigos este es el resultado final, espero les haya gustado esta nueva manera de hacer llaveros lindos y muy económicos. Anímense a realizar esta hermosa artesanía con material natural.
Friends, this is the final result, I hope you liked this new way of making cute and very economical keychains. Dare to make this beautiful craft with natural material.
Ha Sido un placer haber compartido este proyecto con todos ustedes, sin más, me despido deseándole una feliz noche en bendición, les deseo felices sueños!
It has been a pleasure to have shared this project with all of you, without further ado, I say goodbye wishing you a happy night in blessing, I wish you happy dreams!
Contenido de mi autoría.
Fotos capturas por teléfono Remi9
Editadas por Griart.
Traductor Google.com.
Content from my author.
Photos captured by Remi9 phone
Edited by Griart.
Google.com Translator.
A keychain from pumpkin stems? this is one genius piece and you did an excellent job, well done.
Gracias por el apoyo.
You have done well in melting those plastics to create a nice keychain. You also added a chain to it to add more attractions.
Muchas gracias!