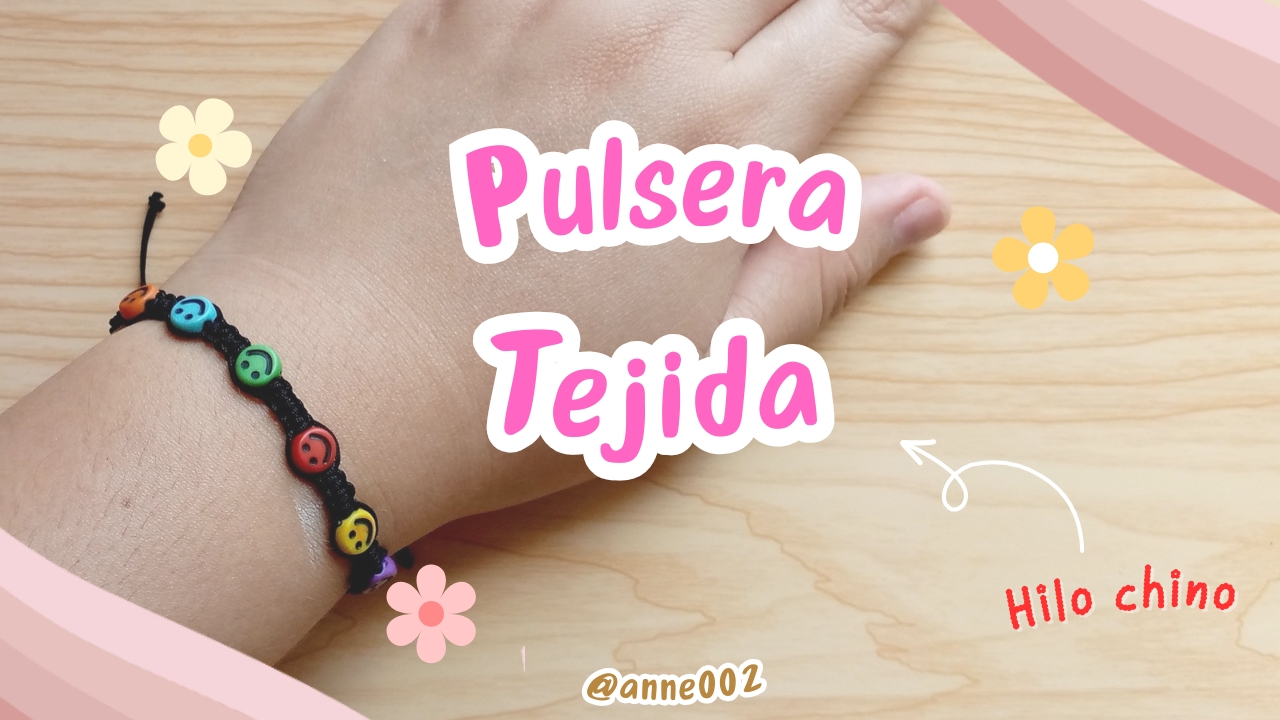
Hello, beautiful day! It's a pleasure to greet you. I hope you are all doing very well, dear and appreciated friends. I warmly welcome you to a new blog where I will be sharing with you the creative process of what we will do here step by step. Feel comfortable and thank you for being here reading this blog.
.jpg)
I did not want to wait friends to show you how I made this pretty bracelet in the comfort of my home, is that I have a small business of making these types of bracelets with a very simple aesthetic style for any occasion. I have made them in different colors and with any type of these little stones in the shape of faces that I have been liking a lot, in the store where I always go to buy they sell a greater variety and there are some that are white in the shape of a heart with the color inside of different colors that give our bracelets a unique and beautiful detail, the materials that I have used are actually not many and it is something that you can acquire for a low price, the meter of this Chinese thread with which I make these bracelets costs around $ 0.4 and the stones around $ 0.3 super cheap.
So I want to show you how they are made in case you still don't know how and how to place the stones on your bracelets super easy and simple, join me in this tutorial friends you will like the results, from here we will go directly to our materials.
.jpg)
.jpg)
Materiales:// Materials:
- ❤️2 metros de hilo chino del color que gustes
- 💚Cortador de hilos
- 💛Caritas decorativas para hacer pulseras
- 💙Encendedor
- 💜Trozo de cinta adhesiva la de tu preferencia
- ❤️2 meters of Chinese thread of the color you like
- 💚Thread cutter
- 💛Decorative faces to make bracelets
- 💙Lighter
- 💜Piece of adhesive tape of your choice
.jpg)
Pasos a seguir://Steps to follow:
.jpg)
.jpg)
Paso 01
Step 01
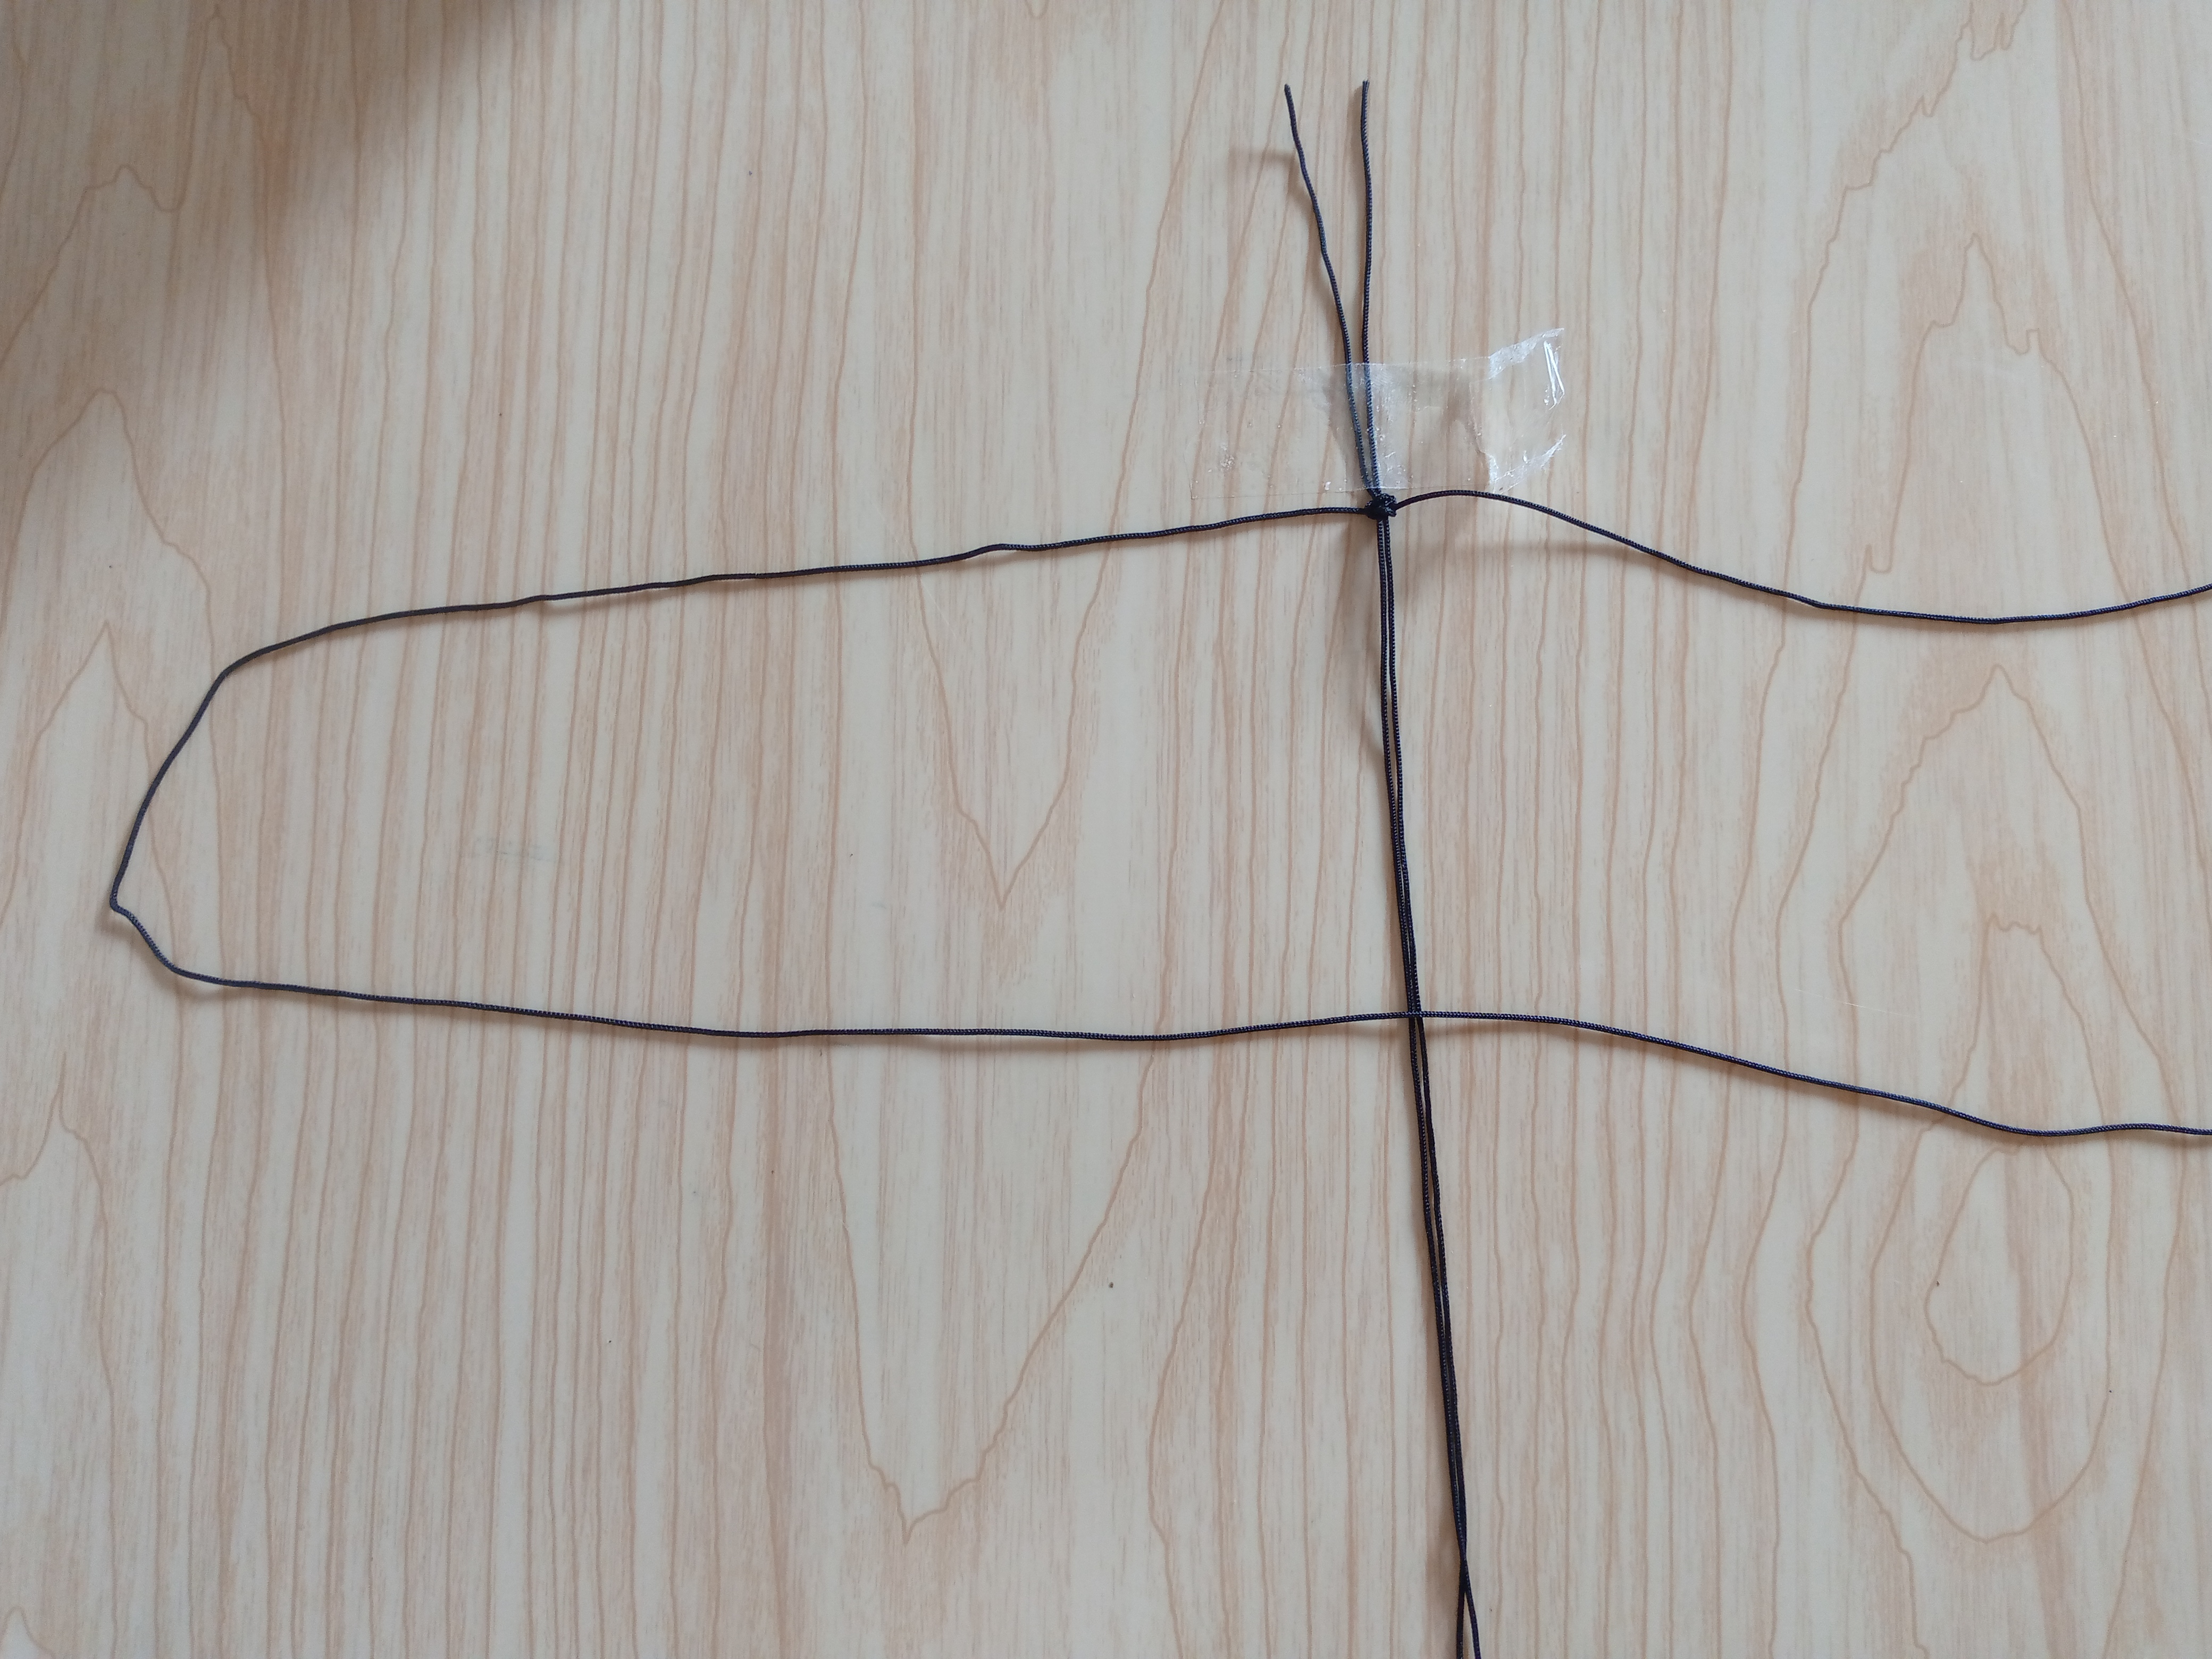
The first step is to cut 30 cm of double-stranded Chinese thread and with our adhesive tape
we are going to stick it leaving a space of thread of about 4 cm and we place the tape to hold the thread so it does not roll when we start to have it, then we cut 1.20 cm of Chinese thread and we are going to place it under the threads that we glued with tape to the surface, the idea is to pass it and leave it right in the middle so that the threads are the same cm long on the sides, this should not fail there friends so that we do not have too much or too little on one side of the threads, you can mark it with white or colored chalk so that you know where you should place it exactly in the center.
.jpg)
.jpg)
.jpg)
Paso 02
Step 02
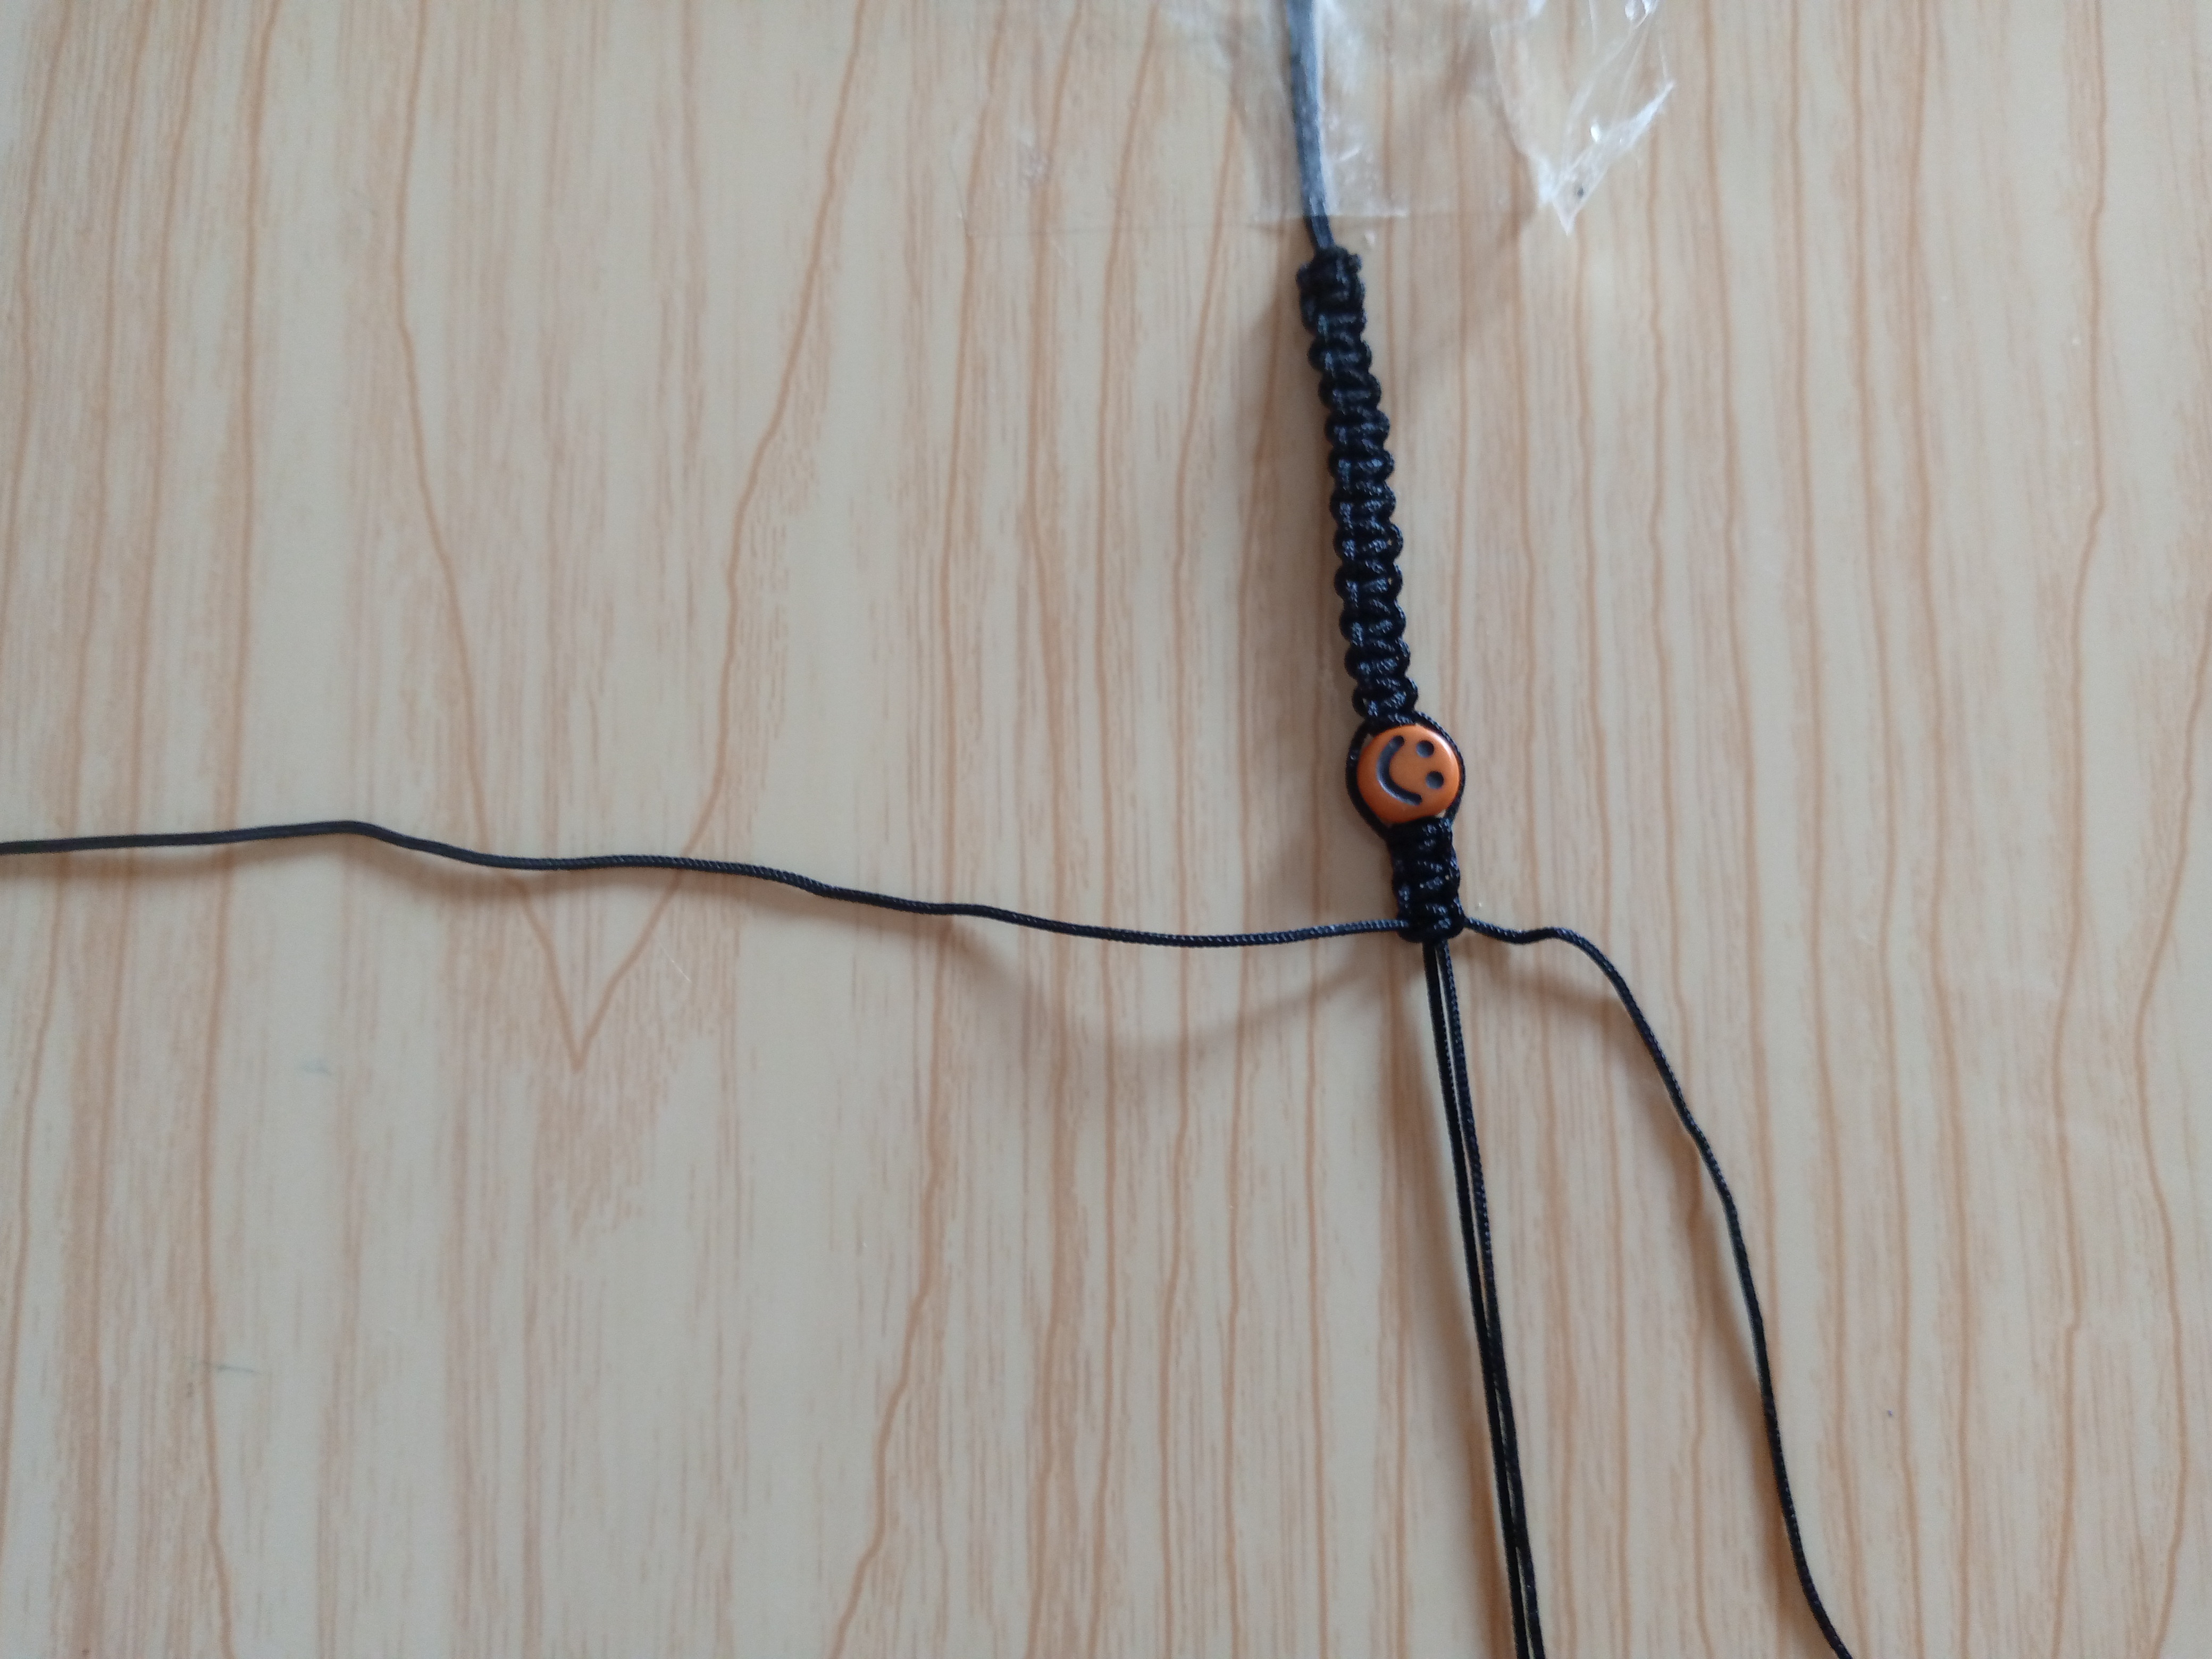
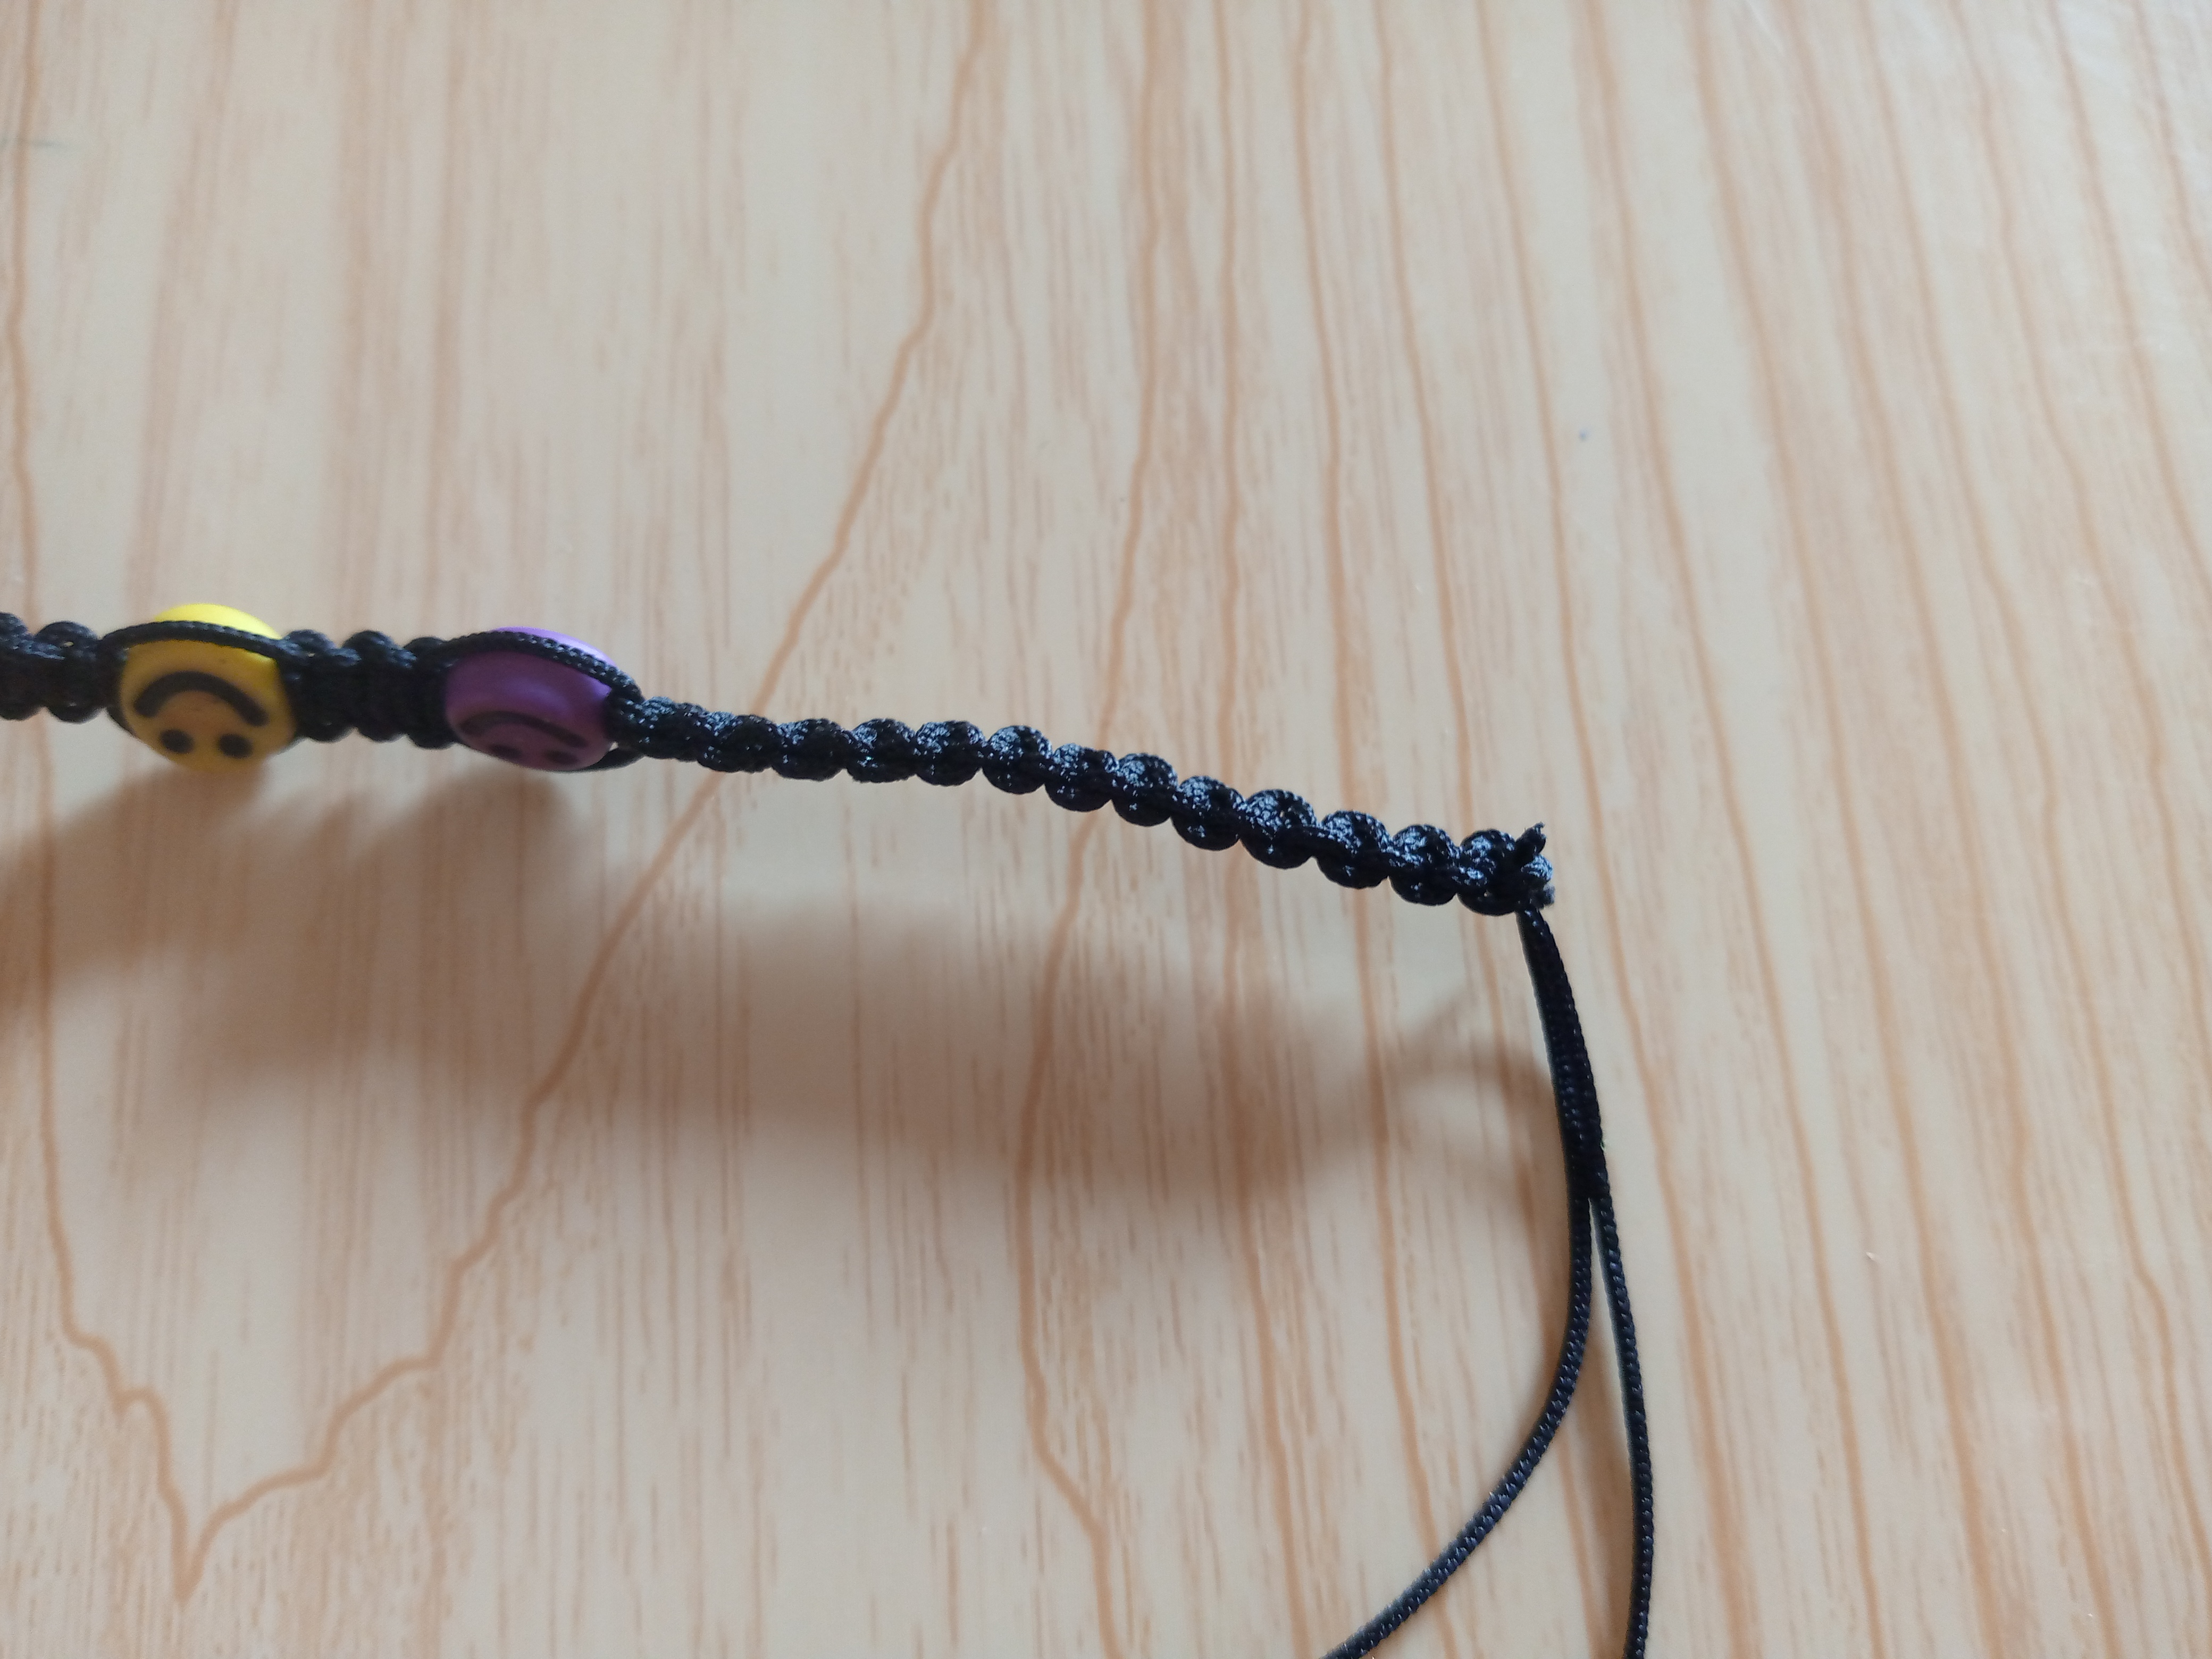
So we move on to weave our bracelet, this step is very simple, you see, we are going to place the thread to the left side and we pass it or place it on top of the two double threads in the middle and we take it to the right, then the thread that we have on the right we pass it but this time underneath the three threads including the one that we had passed to the right side underneath friends remember the left thread goes over to the right and the right thread goes under to the left and we pull both threads to form a single crochet, we repeat the same step but now with the thread on the left side and so we repeat this step from left to right until we complete the stitches of the length that we want to make.
.jpg)
Paso 03
Step 03
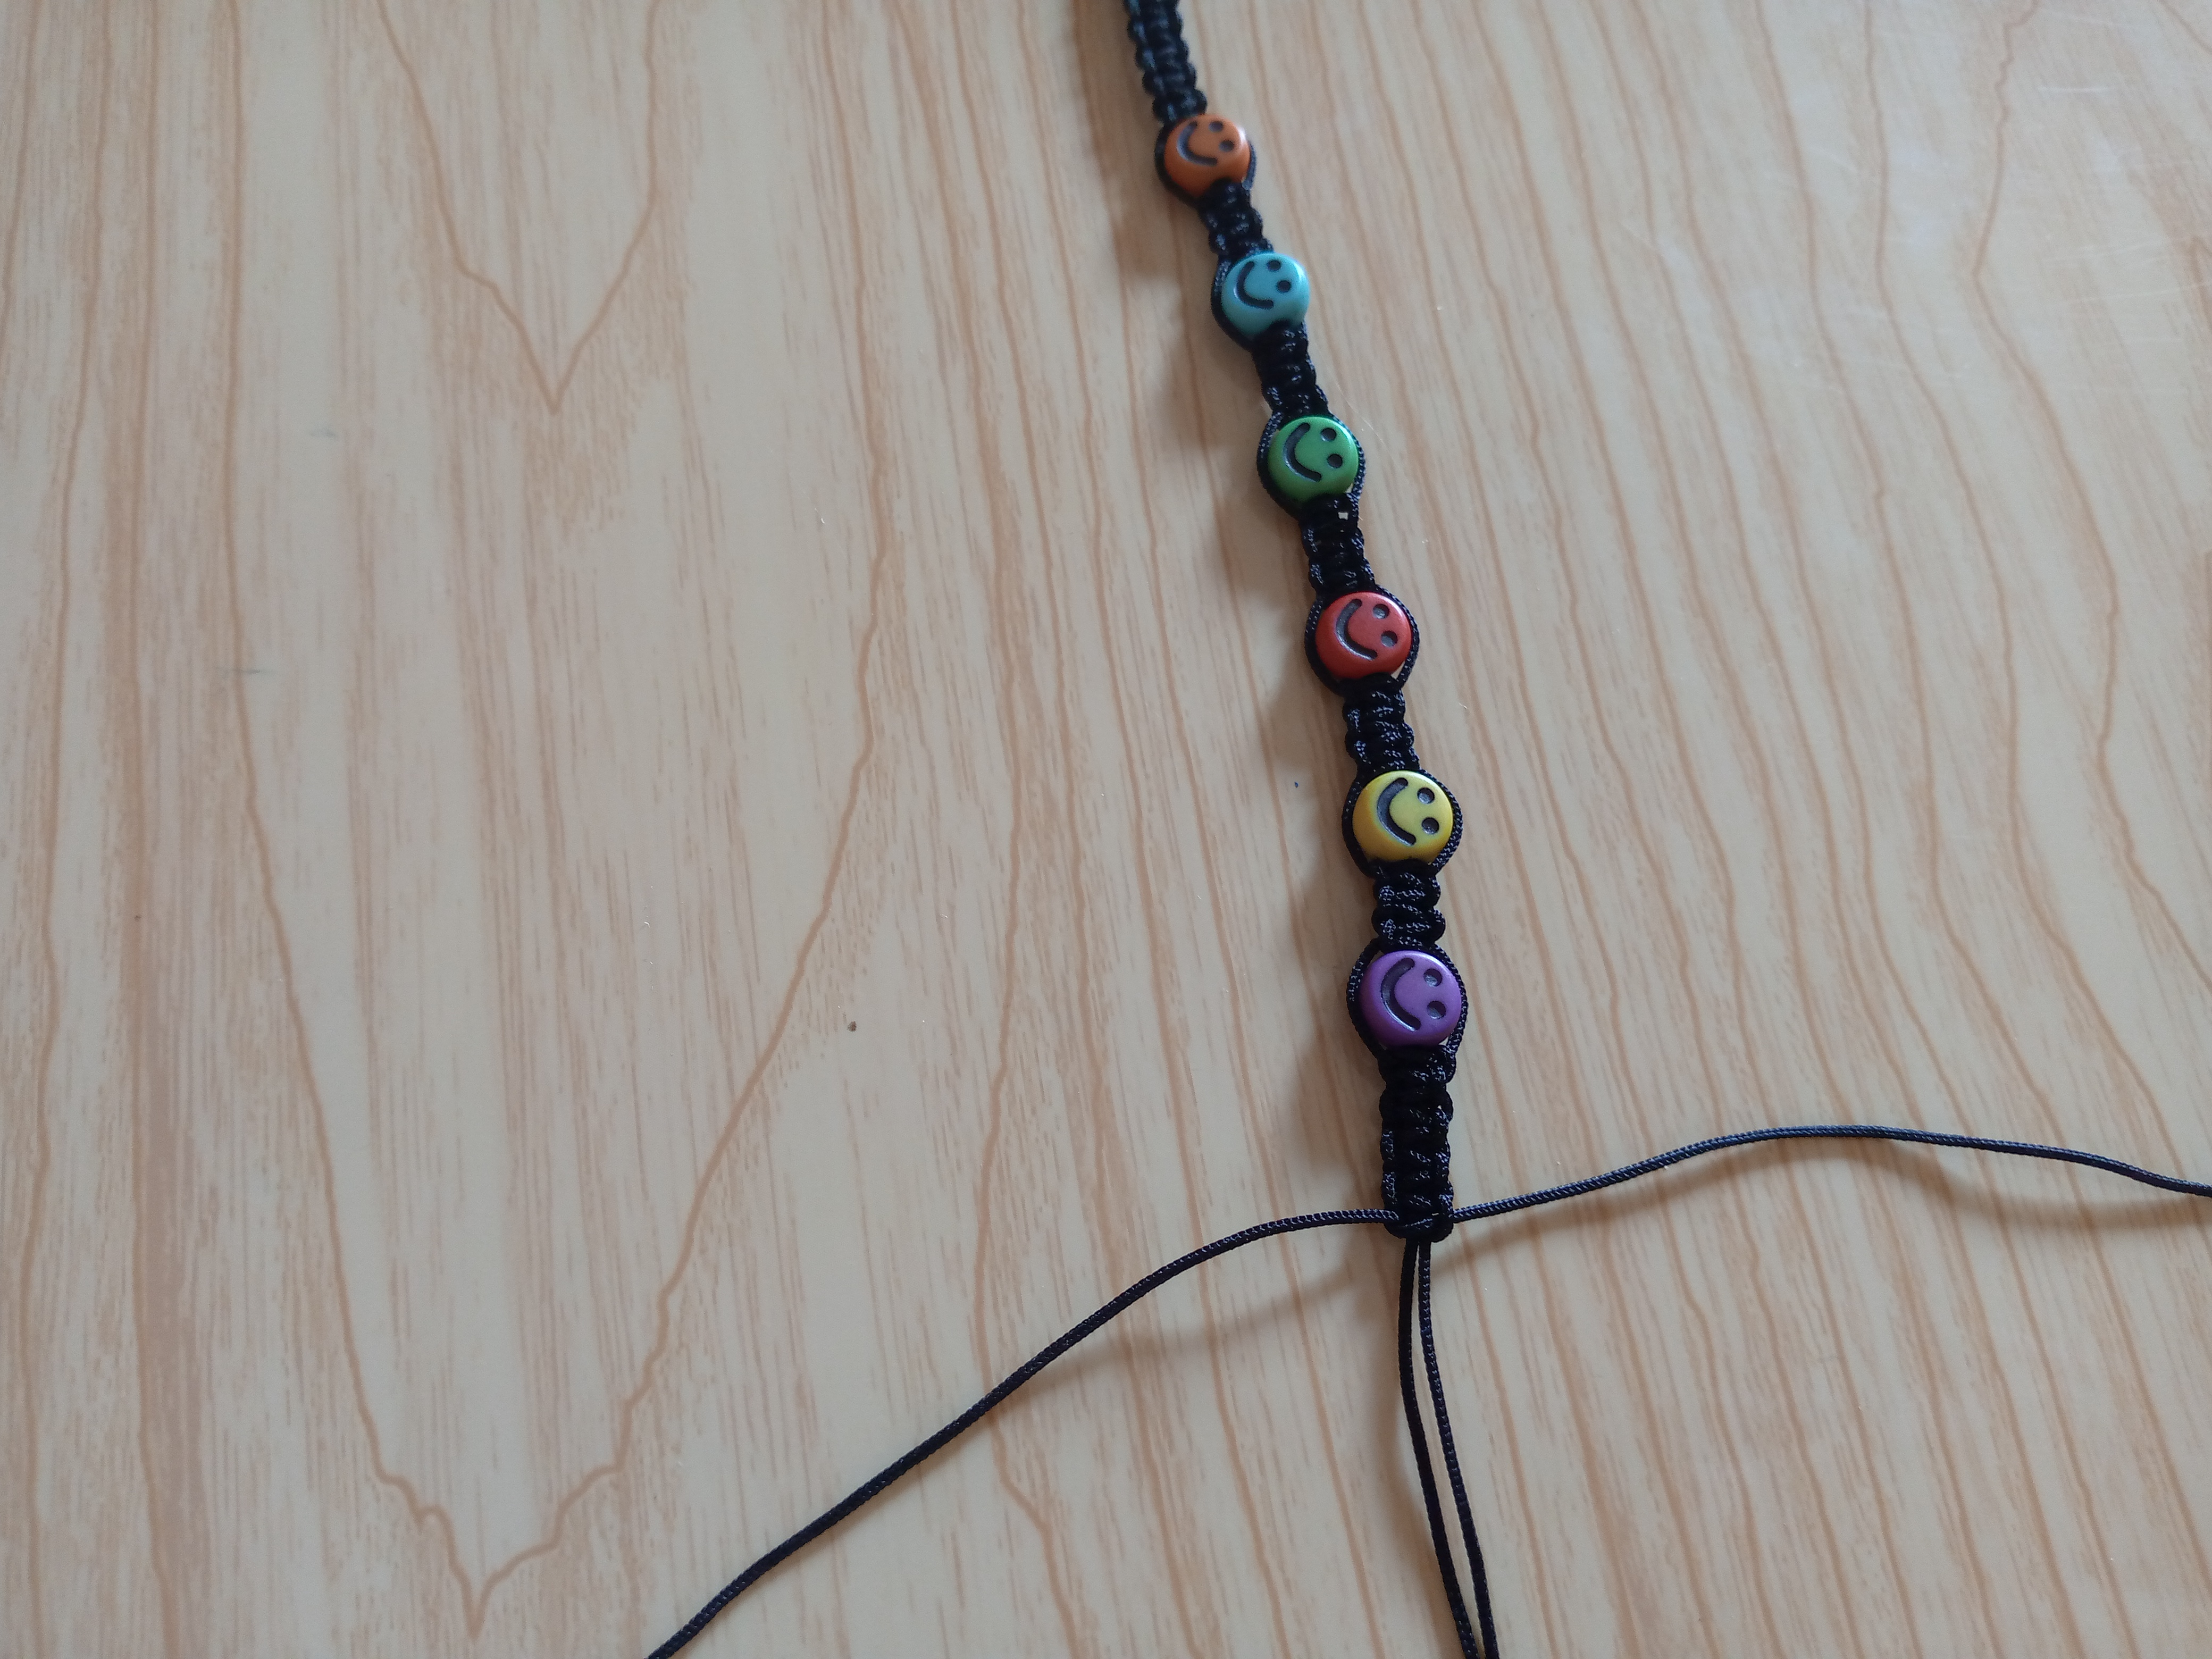
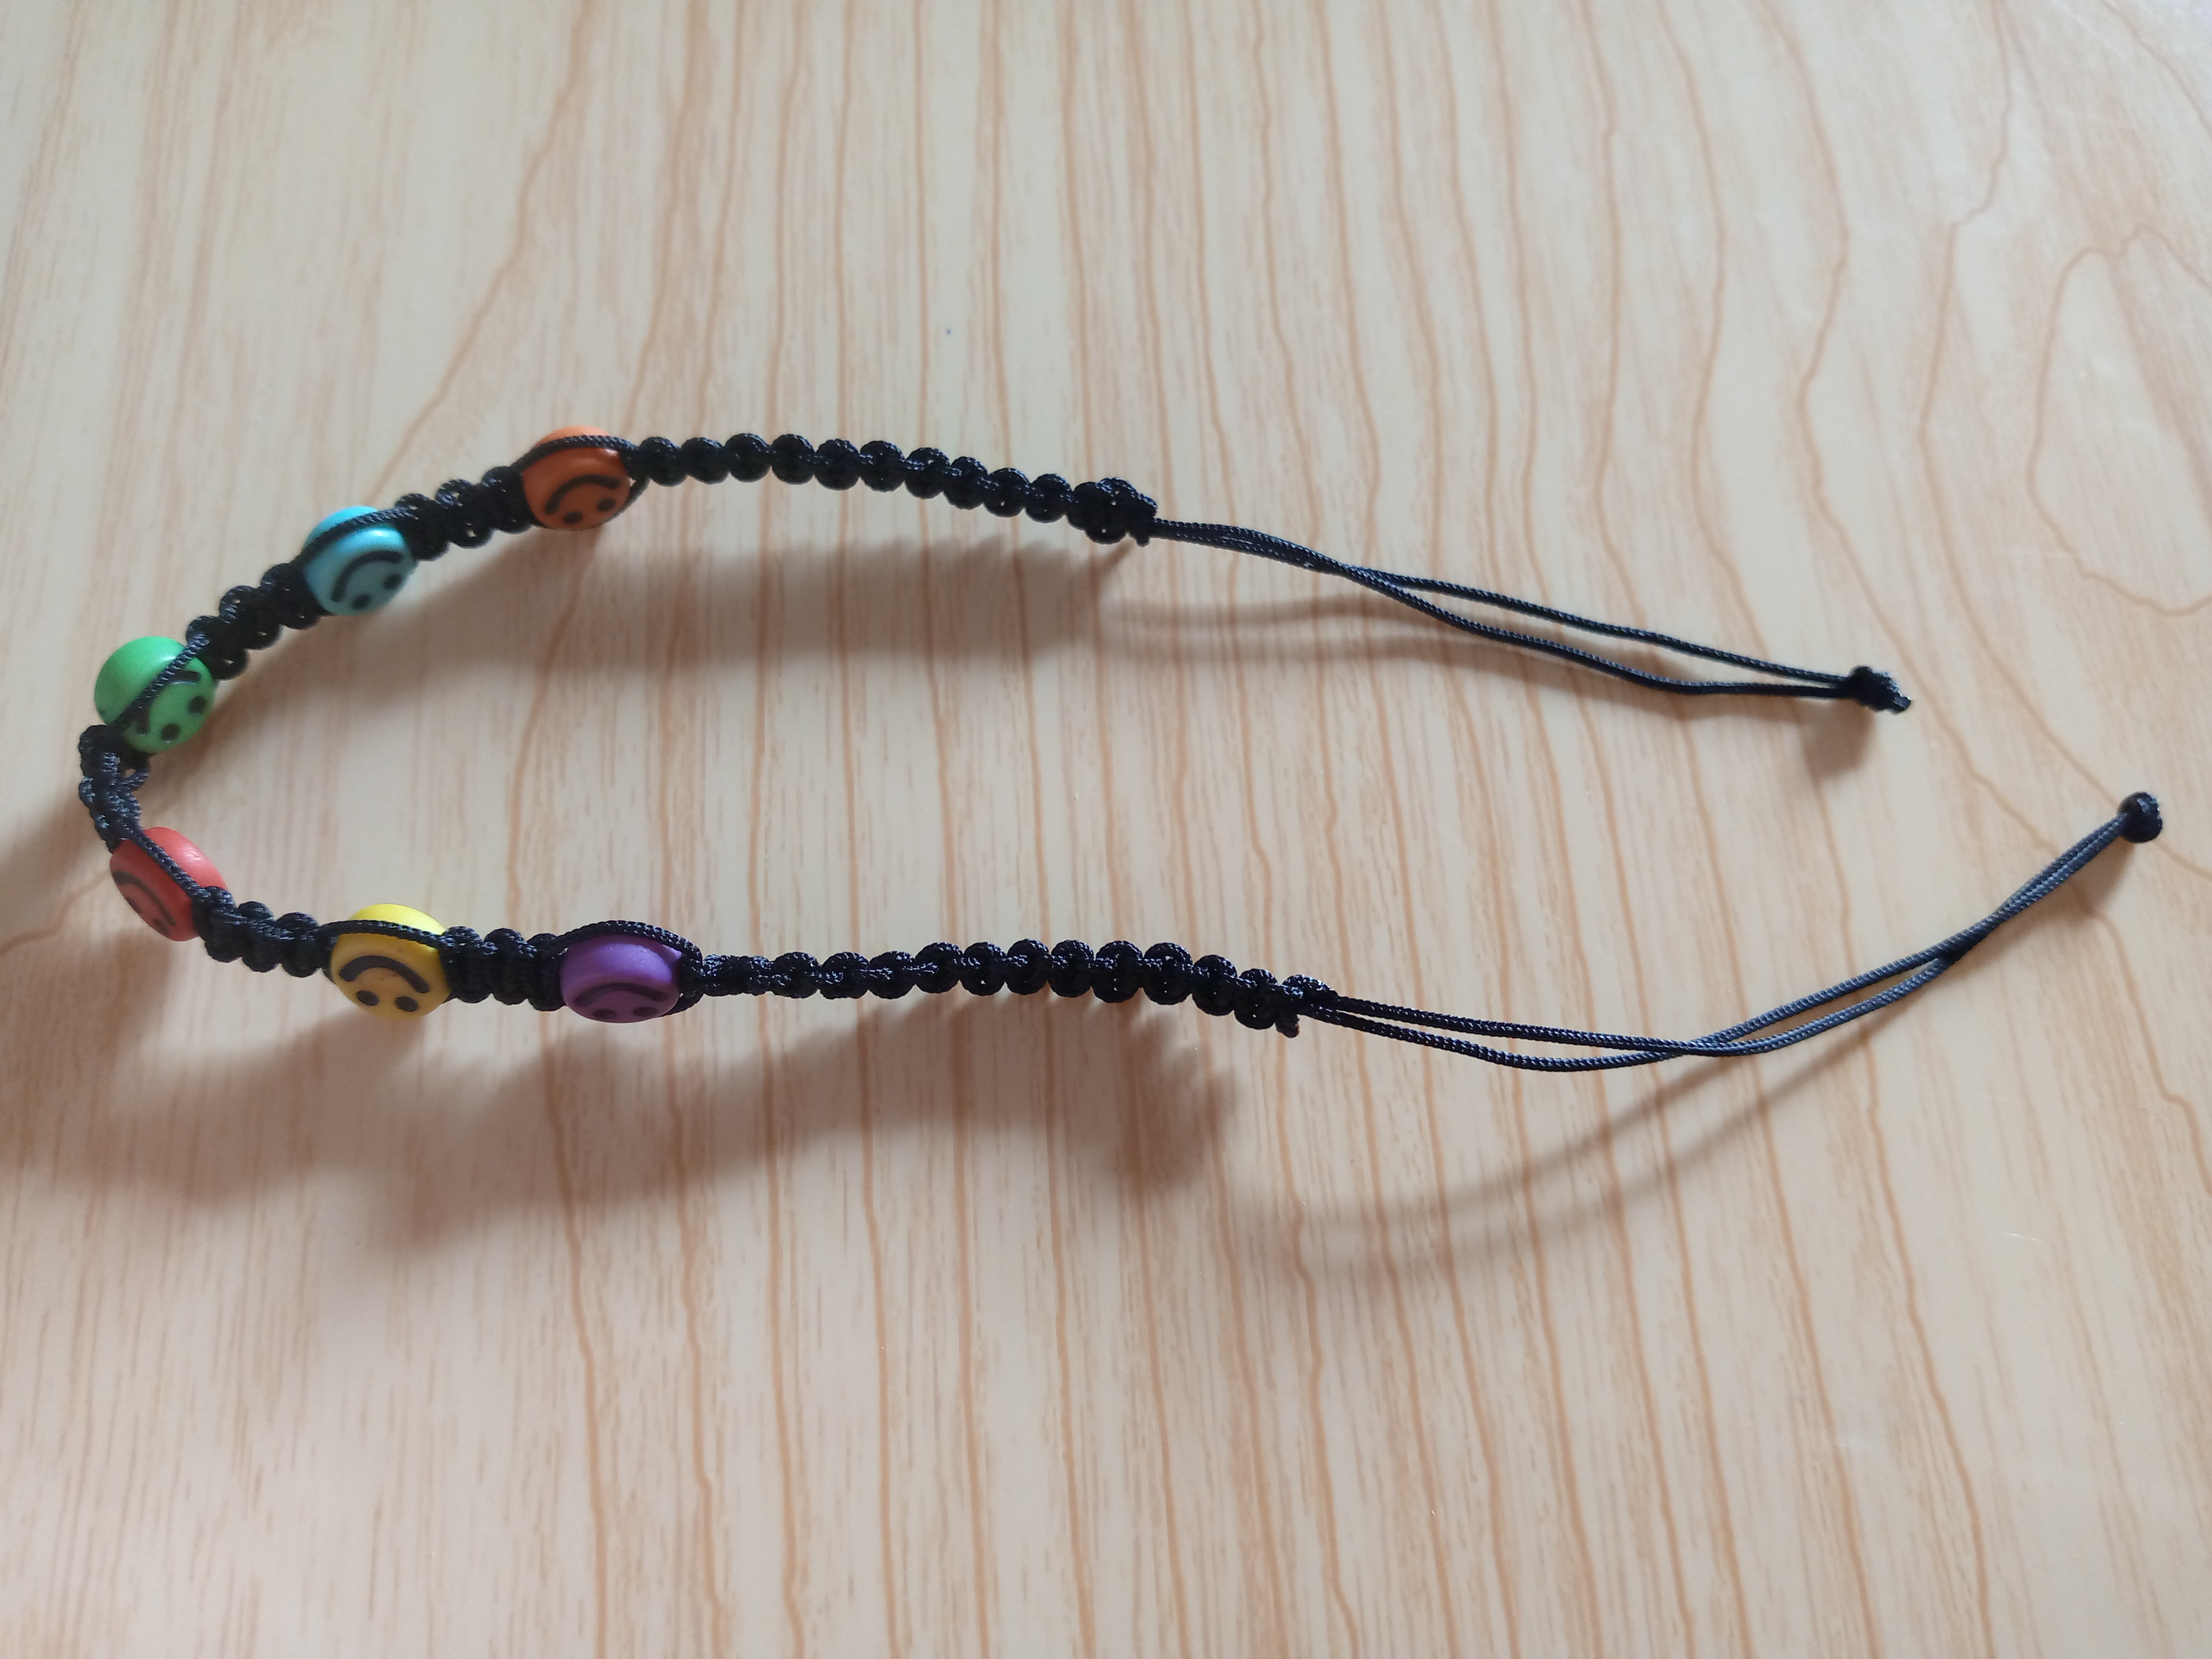
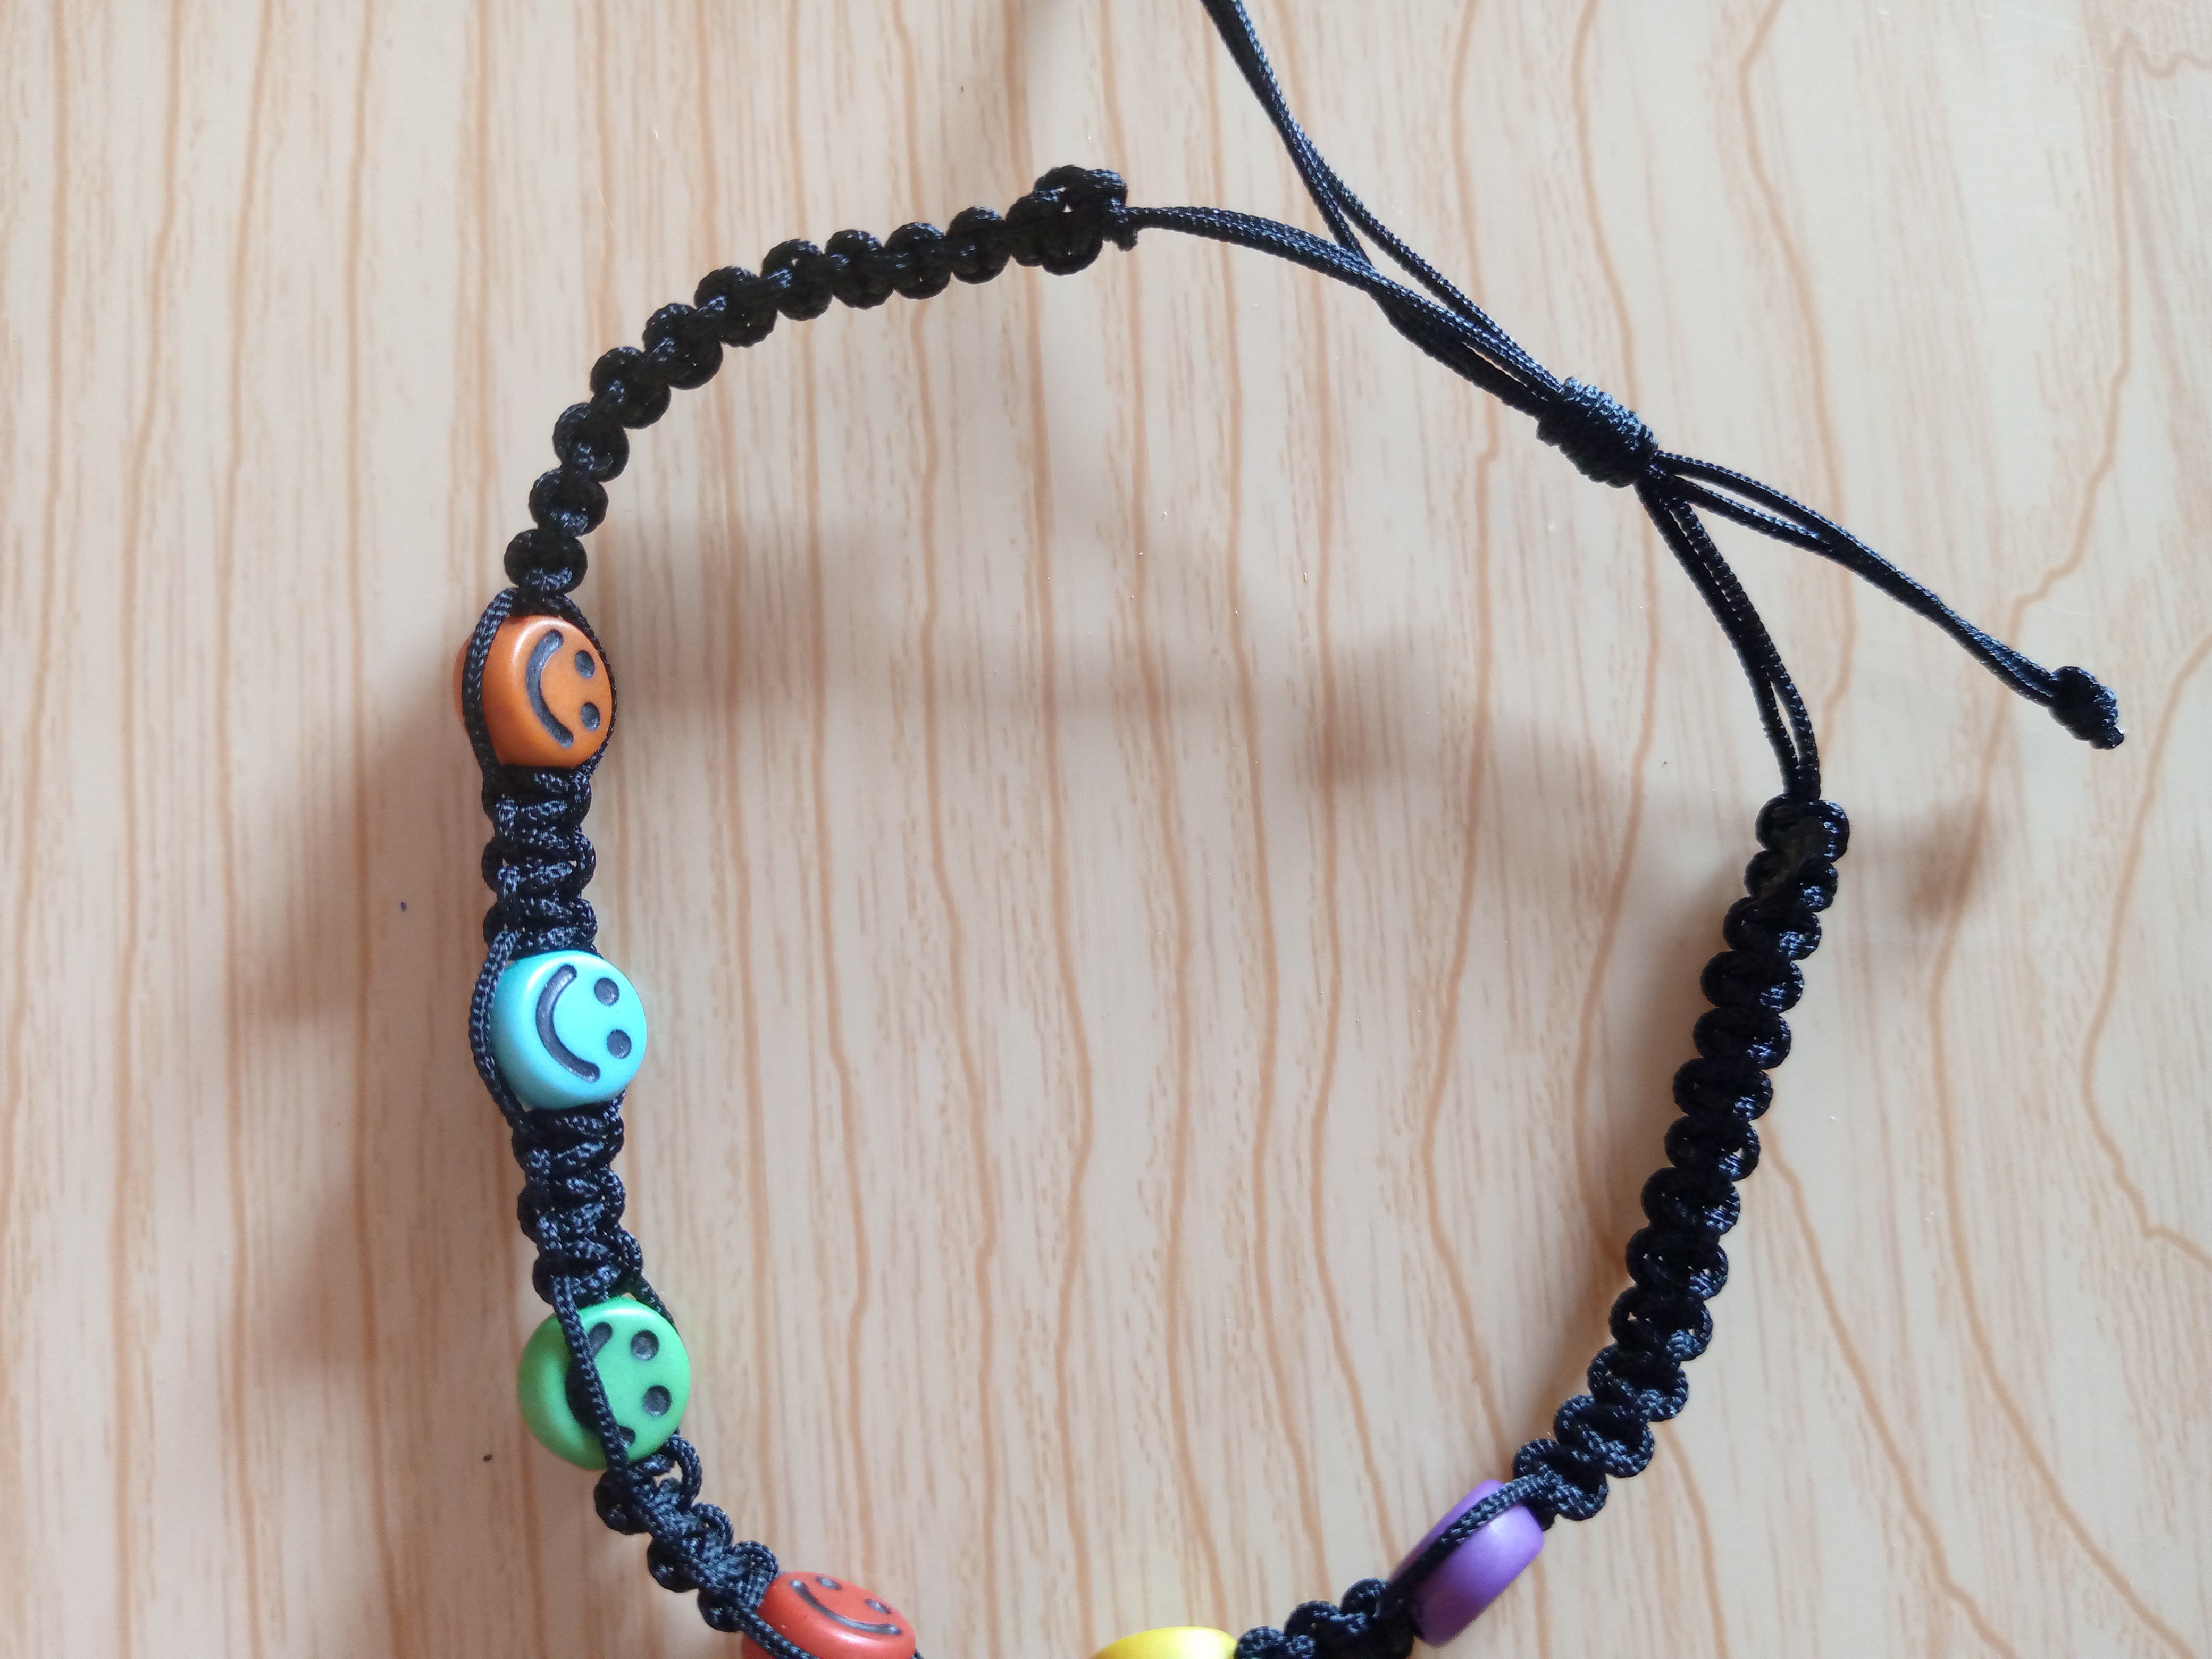
The next thing we will do is insert the stones and we make the same stitch to join them and continue weaving then we make four low stitches two left right and two right left and we insert the next stone like this with all the stones that we want to place, we seal our bracelet by making several low stitches just as we have done from the beginning and we count the stitches of the first one we will weave it here to finish, we make a normal knot, cut and burn the tips with a lighter.
Paso 04
Step 04
To finish, I finish my bracelet by measuring the length of the excess thread at the ends. We can leave it at four or five if we have any left over, of course. We tie a knot at each end, which we will also burn with a lighter. Finally, we will tie a knot in the bracelet to tighten it so it doesn't come loose, and that's it. We're done.
.jpg)
Resultado:// Result:

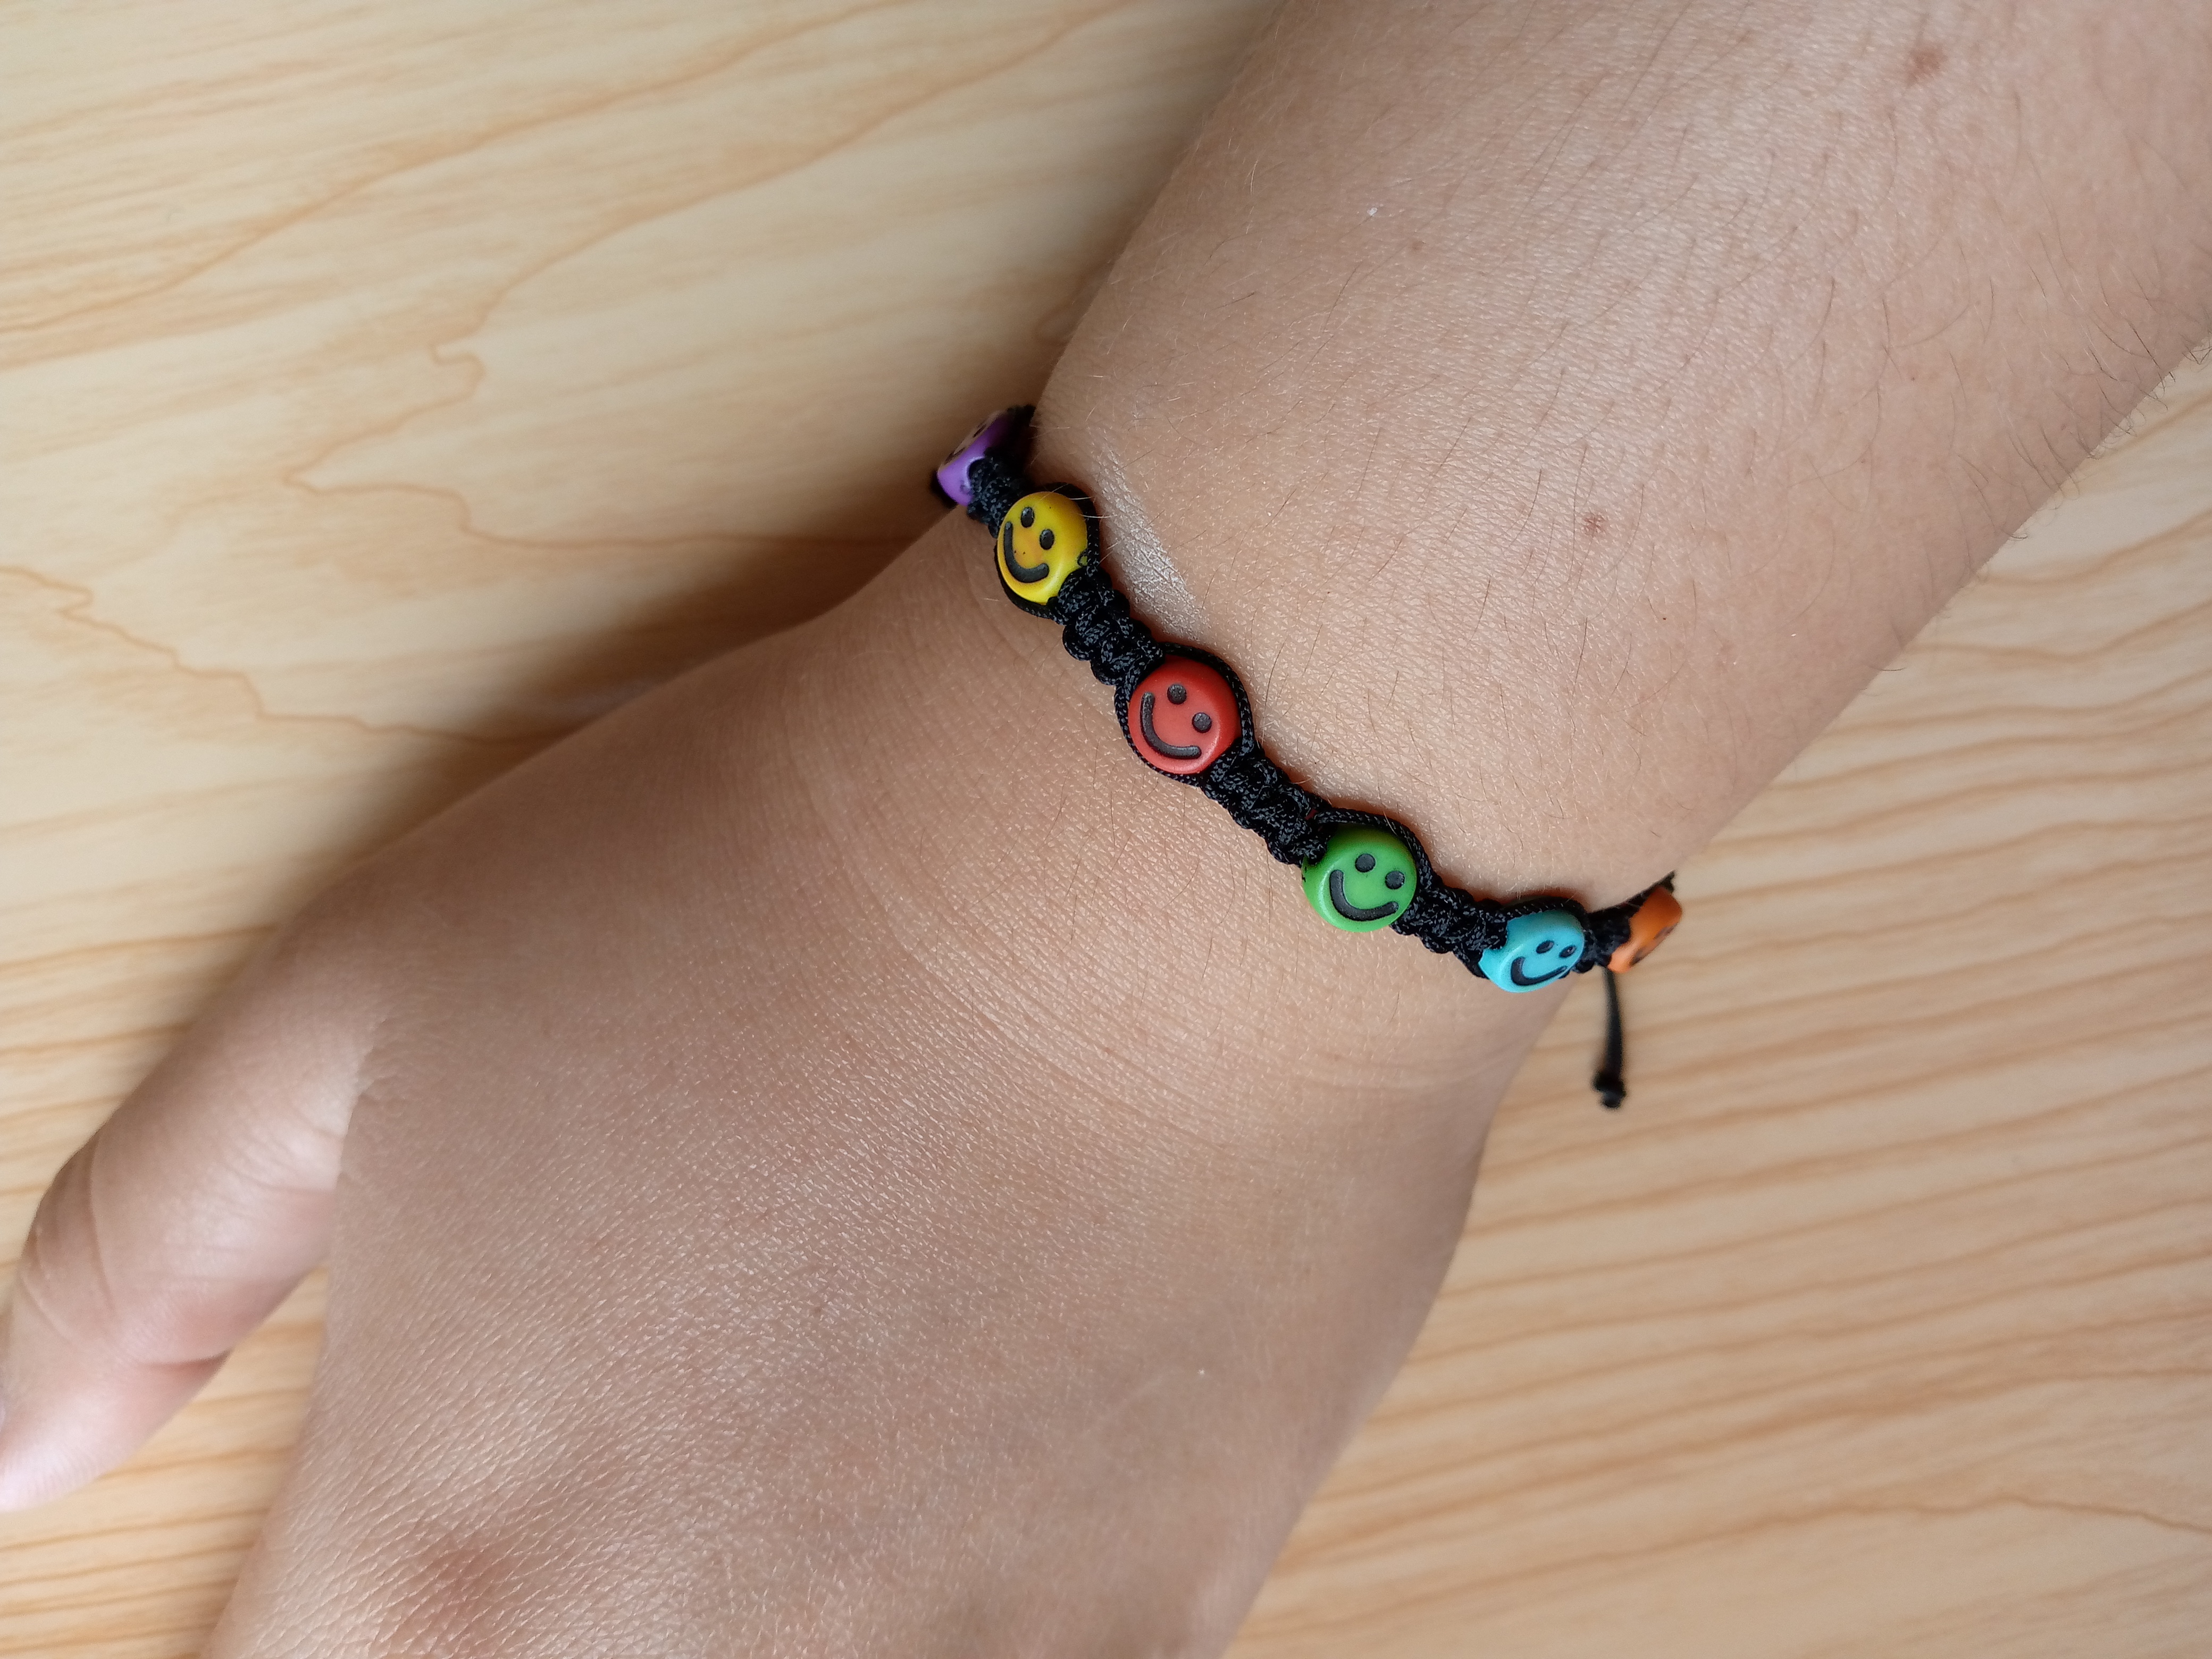
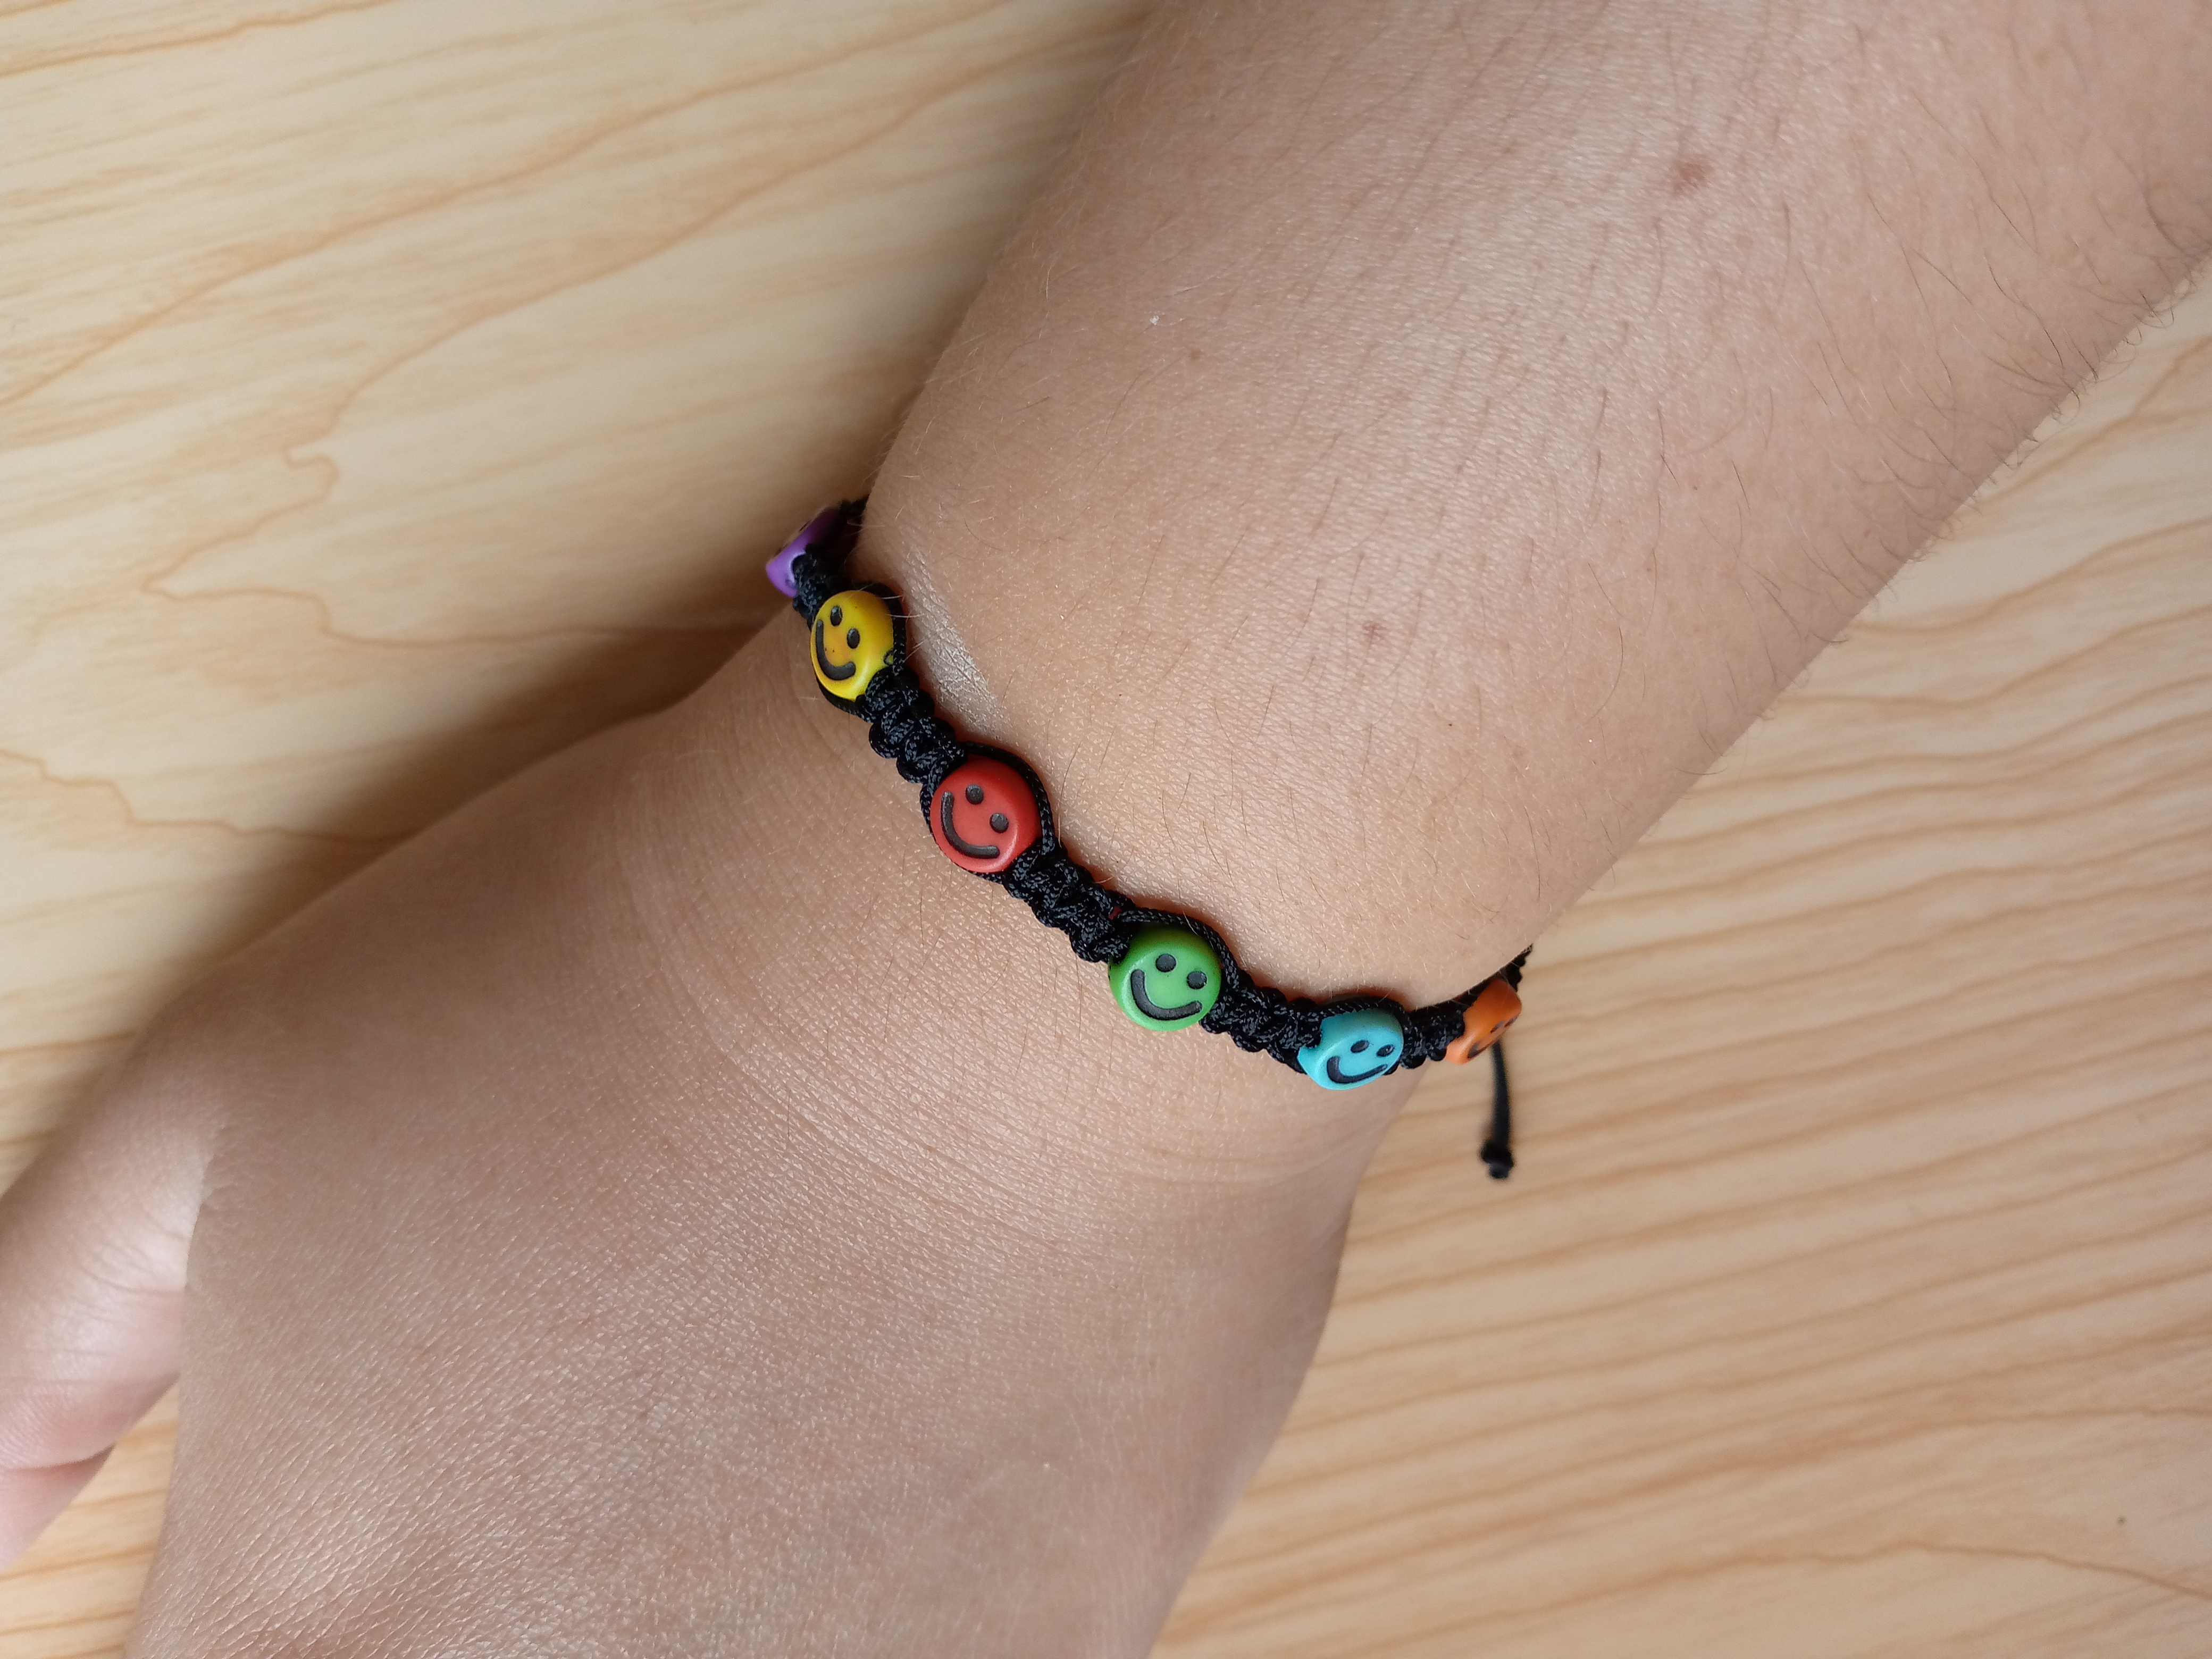
In this way we are closer to finishing the bracelet and if you liked it do not forget to share your ideas with me and what you think, you can make it friends with different colors of threads and stones, you can use your imagination here and this idea can serve you for a business, I would be happy to know that you liked it and thank you for staying to the end, with this I show you photos of the final result and I hope it was to your liking, greetings and have a great day, see you friends from @jewelry I love you, happy and blessed afternoon. ✨💎
.jpg)
Creating things with love 🌷❤️
🦋✨ All the images in this publication are my author ,📱taken with my TecnoSpark8C cell phone |📸Photos edited in PicsArt and Canva. Text translated in Google Translate.
¿ᴺᵉᶜᵉˢᶦᵗᵃˢ ᴴᴮᴰ? ᵀᵉ ˡᵒ ᵖʳᵉˢᵗᵃᵐᵒˢ ᶜᵒⁿ @ruta.loans
Your bracelet looks absolutely gorgeous and adding the smiley faces stones to it was a game changer. Nice work.
Greetings, thank you very much for appreciating and for such an encouraging comment, have a nice night ✨❤️
¡Felicitaciones!
1. Invierte en el PROYECTO ENTROPÍA y recibe ganancias semanalmente. Entra aquí para más información.
3. Suscríbete a nuestra COMUNIDAD, apoya al trail de @Entropia y así podrás ganar recompensas de curación de forma automática. Entra aquí para más información sobre nuestro trail.
4. Creación de cuentas nuevas de Hive aquí.
5. Visita nuestro canal de Youtube.
Atentamente
El equipo de curación del PROYECTO ENTROPÍA