Welcome to my Blog.
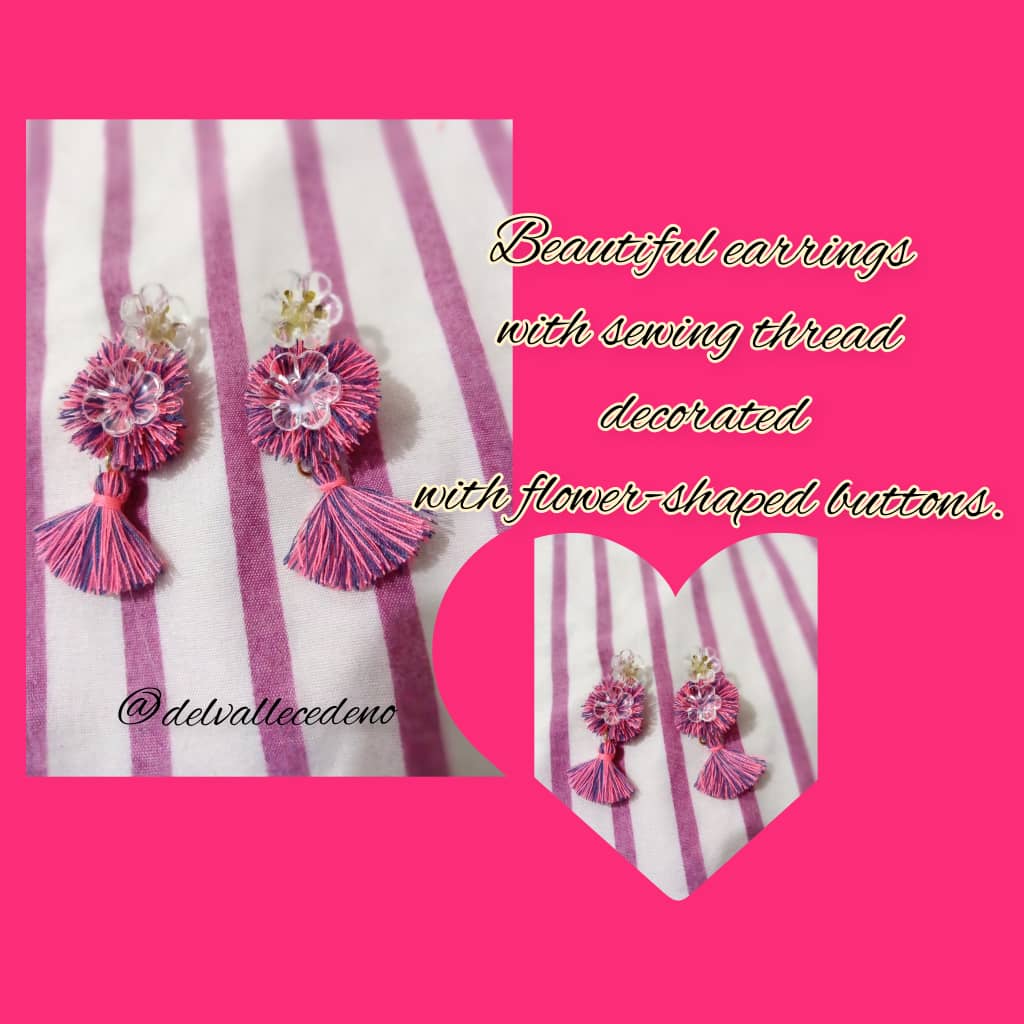
Buenas tarde mis queridos y apreciados amigos feliz sábado para todos mis creativos que hacen vida en está colmena de hivers, un fuerte abrazo virtual deseo que su Día de hoy haya sido bendecido.Una vez más en este bello espacio creativo donde es agradable para mi compartir mis trabajos, por eso el Día de hoy les traigo una linda idea se trata de unos aretes con hilo de coser con borlas y decorados con botones en forma de flor, espero les guste el resultado ❤️ y se animen a elaborarlo son muy fáciles de hacer. A continuación les voy a indicar los pasos a tomar en cuenta para este proyecto:
Good afternoon my dear and appreciated friends, happy Saturday to all my creatives who make life in this hive of hivers, a big virtual hug, I wish that your day today has been blessed. Once again in this beautiful creative space where it is pleasant for me to share my work, that's why today I bring you a nice idea, it's about earrings with sewing thread with tassels and decorated with flower-shaped buttons, I hope you like the result ❤️ and are encouraged to make it, they are very easy to do . Next I will indicate the steps to take into account for this project:

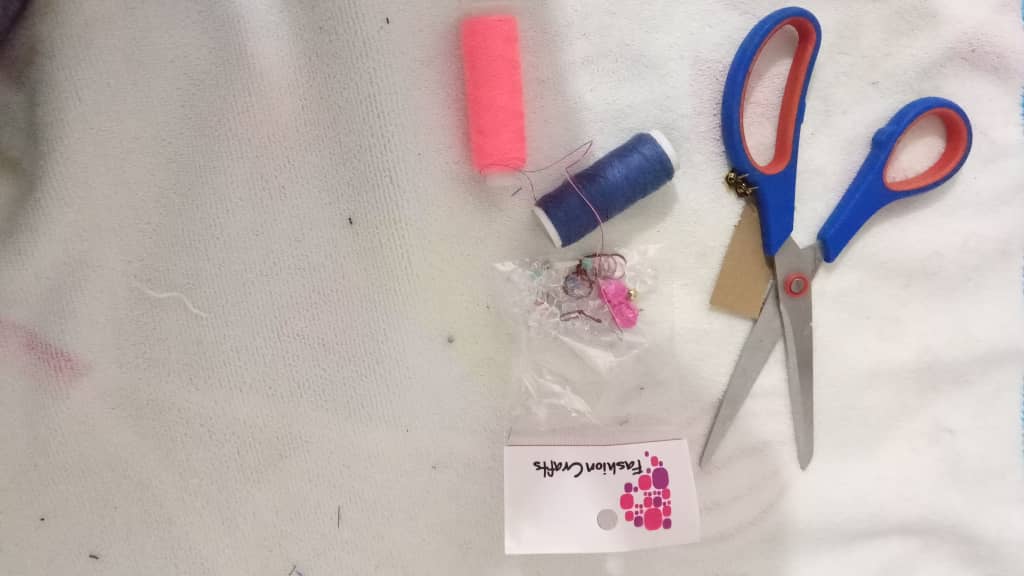
Materiales:
💐Hilo de coser rosado y azul.
💐Tijera.
💐4 botones en forma de flor.
💐Alfileres.
💐Topitos.
💐Aritos.
💐Silicón caliente.
💐Retazo de cartón.
💐Regla.
Materials:
💐Fuchsia and blue sewing thread.
💐Scissors.
💐4 flower-shaped buttons.
💐 Pins.
💐Topitos.
💐 earrings.
💐Hot silicone.
💐 Scrap of cardboard.
💐 Ruler.
Step by Step || Pasó a paso:
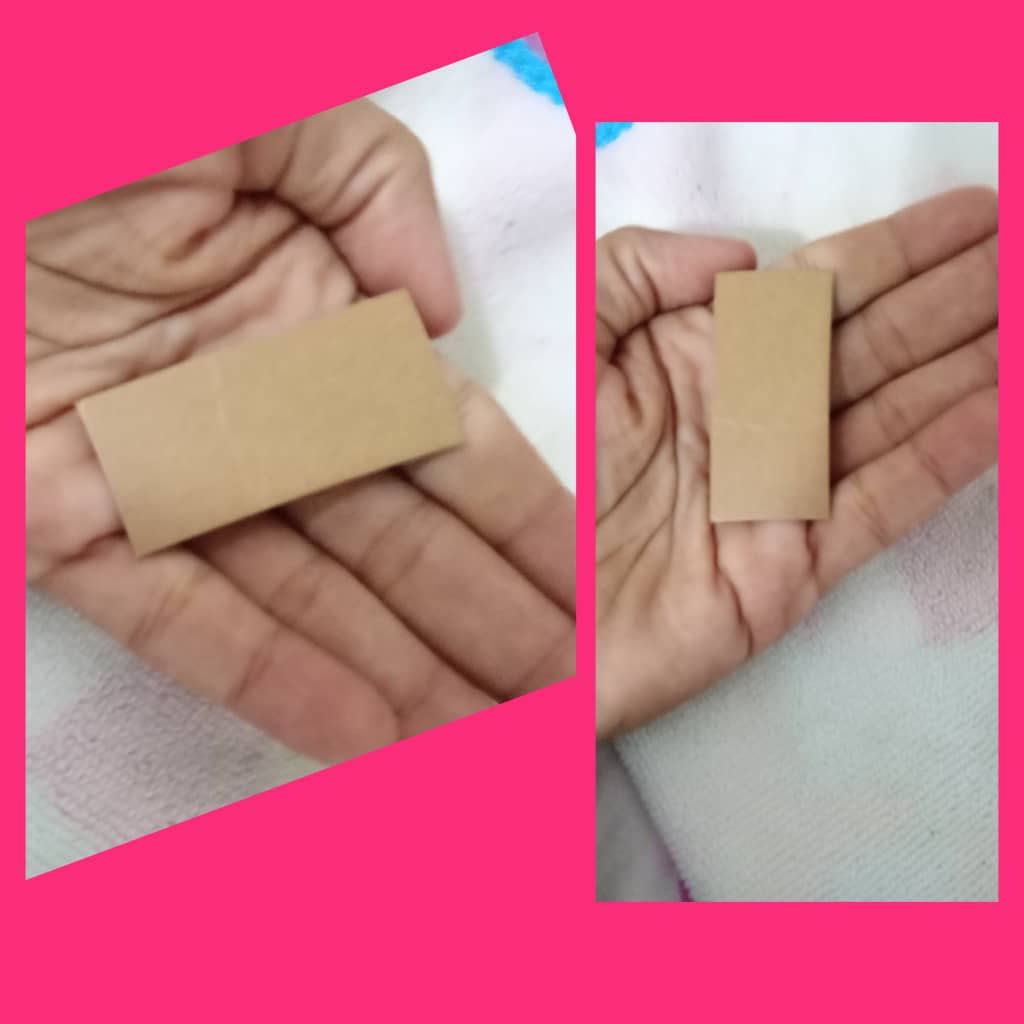
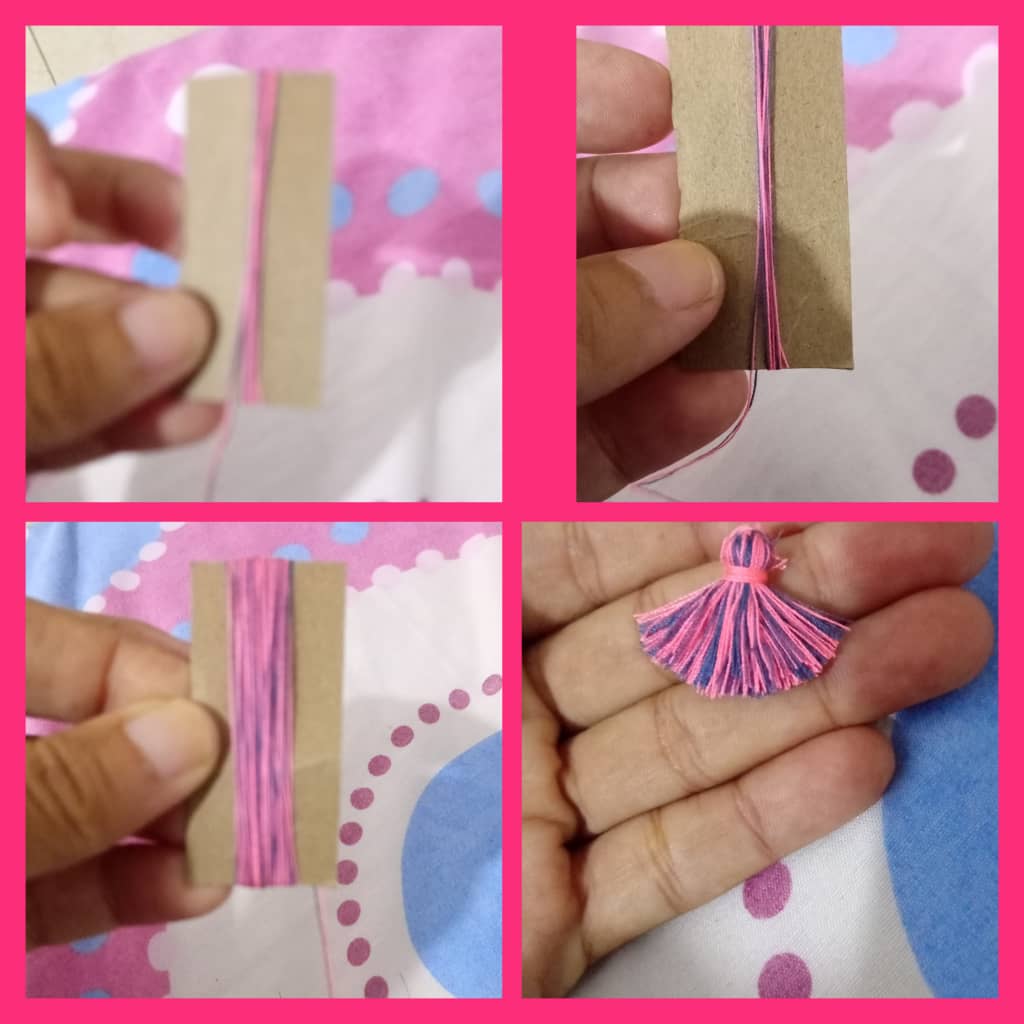
1er paso: Mis apreciados amigos para iniciar este trabajo vamos a necesitar hilos de coser de acuerdo a su preferencia de colores, para ese proyecto tome el color rosado con azul me gusto ese contraste y decidí hacerlo de esos colores, tomando en cuenta que necesitaremos un cortar con las medidas de 4 cm de largo por 2 cm de ancho cómo guía para hacer las bolas y borlas de hilo de coser.
1st step: My dear friends, to start this work we are going to need sewing threads according to your preference of colors, for this project I took the pink color with blue, I liked that contrast and I decided to do it in those colors, taking into account that we will need a cut with the measurements of 4 cm long by 2 cm wide as a guide to make the balls and tassels of sewing thread.
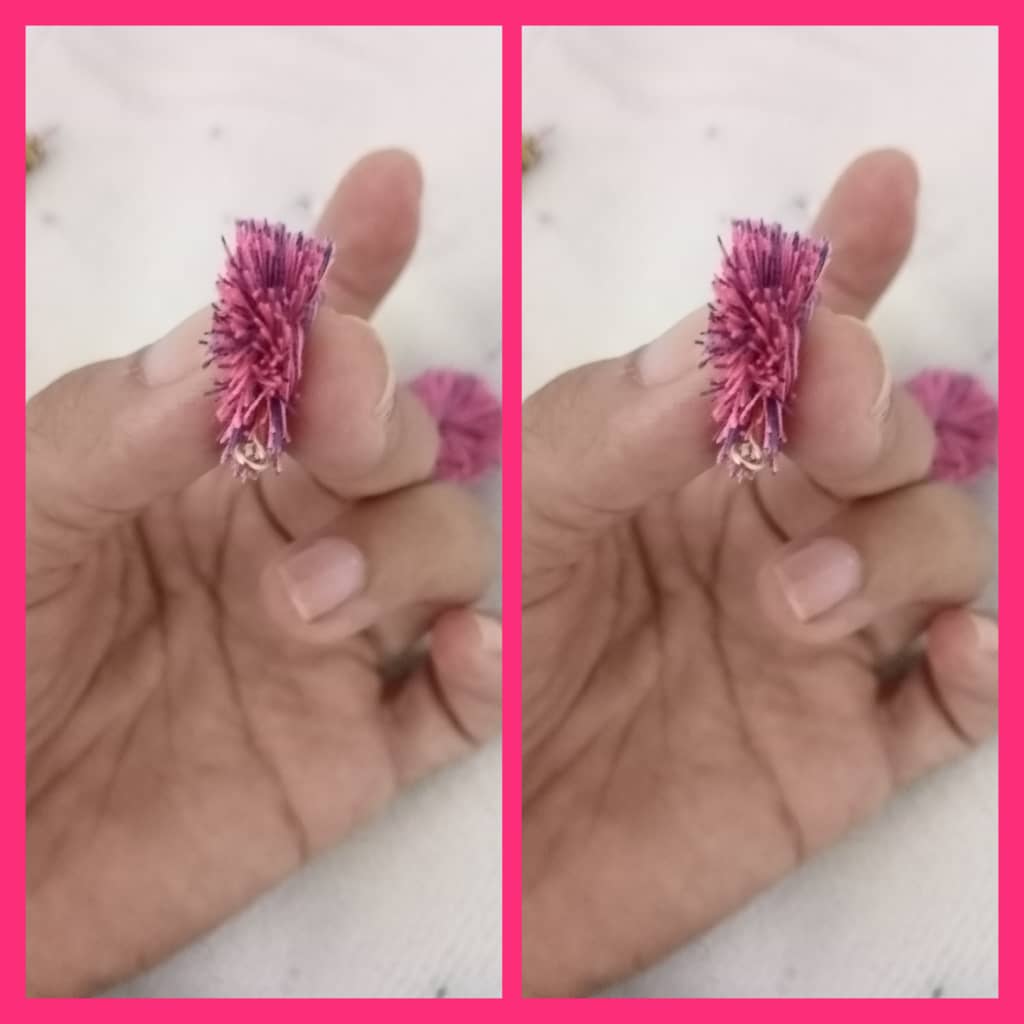
2do paso: Luego vamos a enrollar en el cartón de las medidas de 2 cm de ancho para la parte superior de nuestro aretes tomando ambas puntas de los hilos de coser y uniendo las mismas dando aproximadamente 60 vueltas en el cartón desmontar hacer un pequeño nudo en el centro peinar un poco cortar en forma de circulo o bola.
2nd step: Then we are going to roll up the cardboard with the measurements of 2 cm wide for the upper part of our earrings, taking both ends of the sewing threads and joining them, giving approximately 60 turns in the cardboard, disassemble and tie a small knot in the center comb a little cut in the shape of a circle or ball.
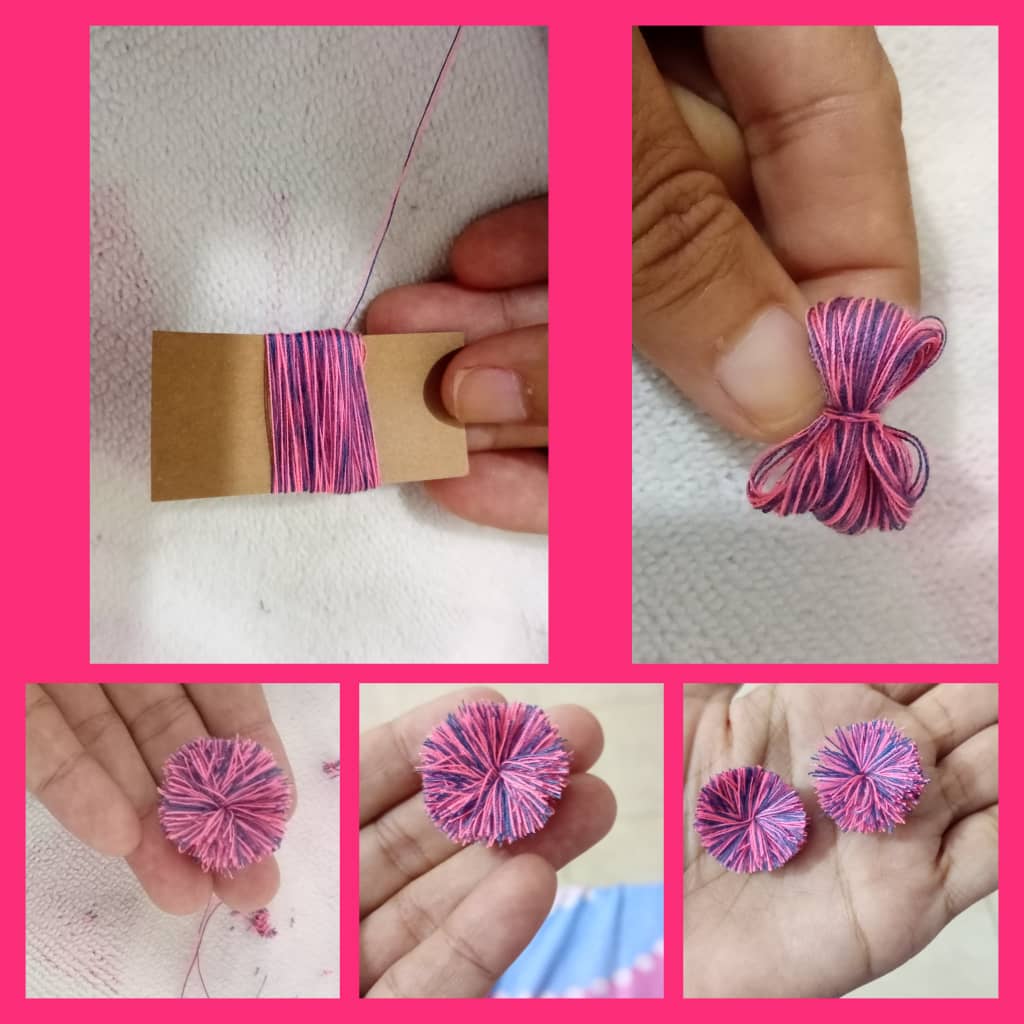
3er paso: Seguidamente vamos a necesitar un alfiler y atravesamos en el centro de la pieza cómo lo aprecian en las imágenes.
3rd step: Next we are going to need a pin and we cross it in the center of the piece as seen in the images.
4to paso: Luego vamos a tomar nuevamente el carton pero está vez vamos a trabajar con las medidas de 4 cm de largo enrollando el hilo unas 60 veces para hacer la Borla desmontando del carton y hacer un nudo en el centro doblar la pieza cortar en los extremos los excedentes y en la parte superior hacer un pequeño amarre con el hilo anexando un arito en la parte superior para colgar cómo lo pueden notar en las imágenes.
4th step: Then we are going to take the cardboard again but this time we are going to work with the measurements of 4 cm long, winding the thread about 60 times to make the Tassel, disassembling the cardboard and making a knot in the center fold the piece cut in the ends the excesses and at the top make a small tie with the thread, attaching a ring at the top to hang as you can see in the images.
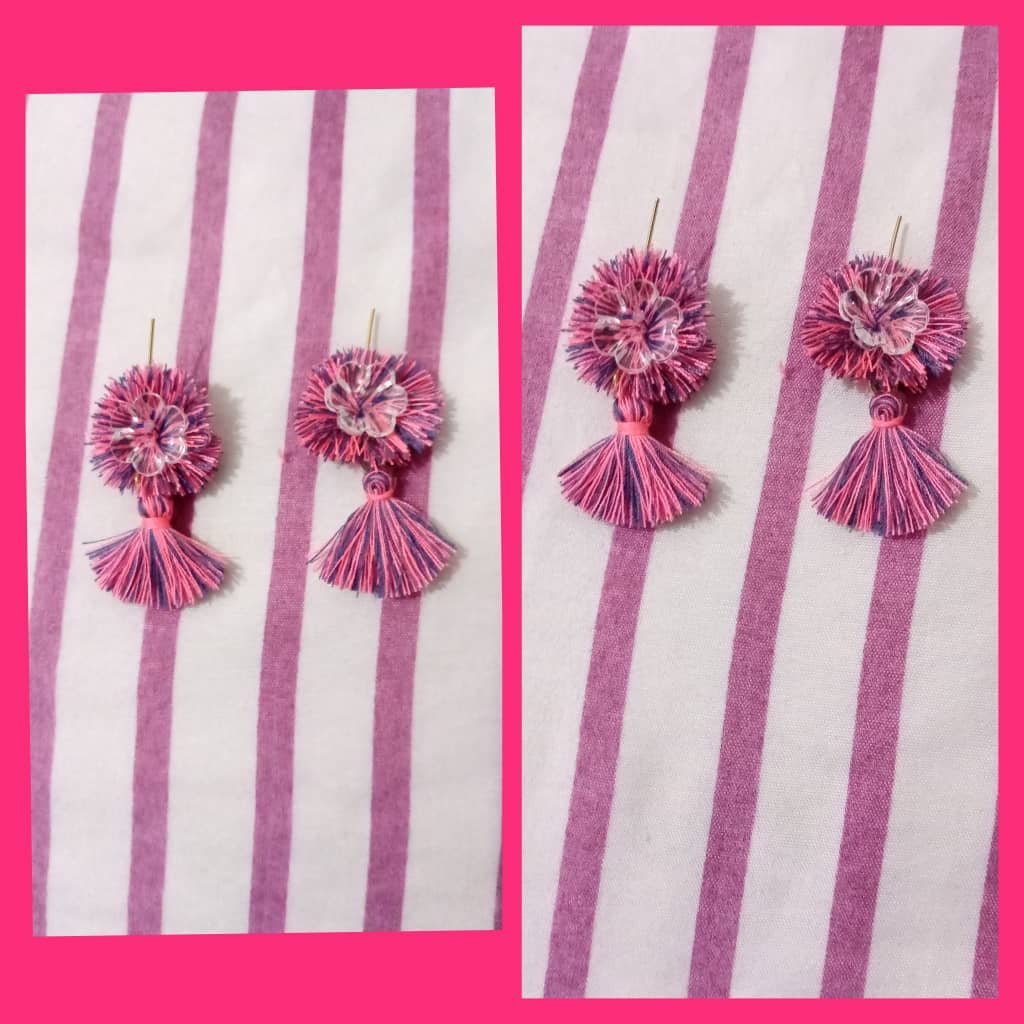
5to paso: A continuación vamos a pegar en el centro de nuestro arete en la parte superior un botón transparente en forma de flor con silicón.
5th step: Next we are going to glue a transparent button in the shape of a flower with silicone in the center of our earring at the top.
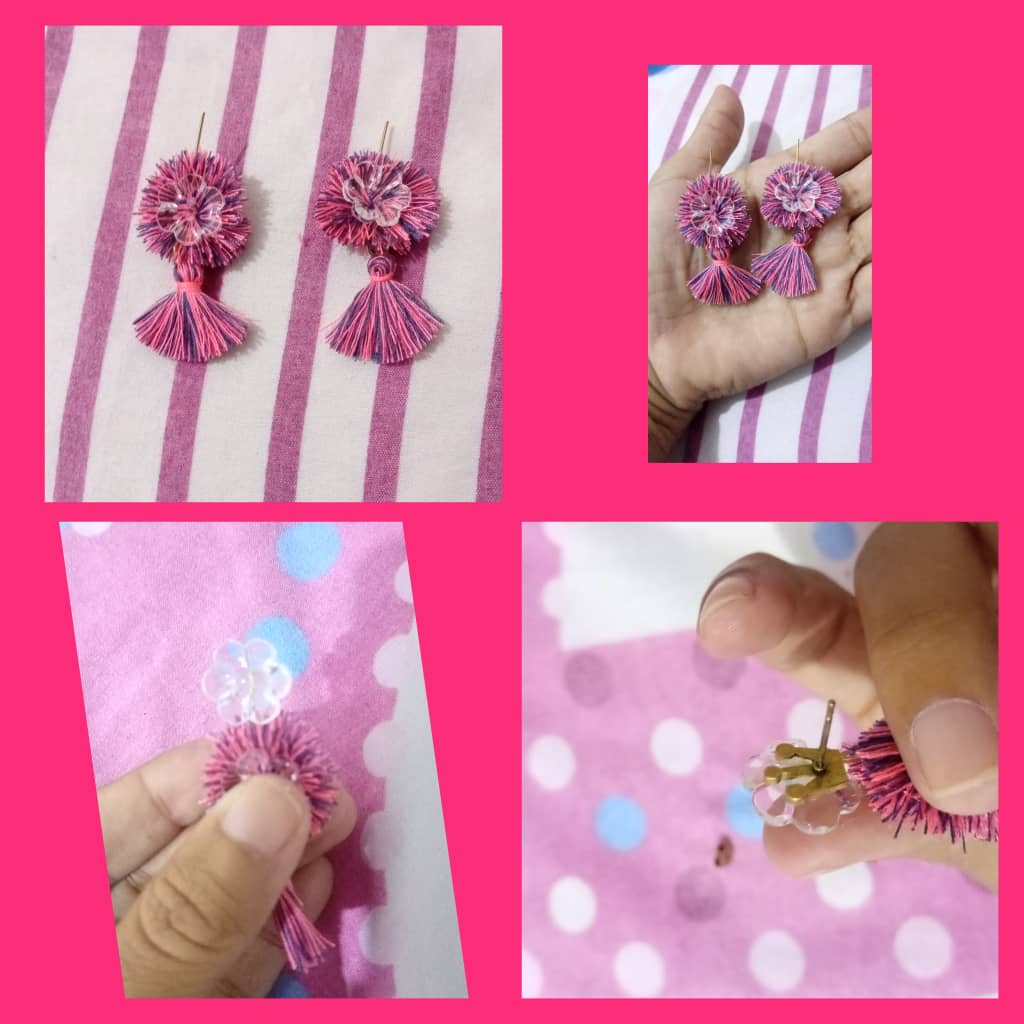
6to paso: Para finalizar vamos en la parte superior de nuestro arete, es decir, en la punta del alfiler sobrante otro boton transparente y en la parte de atrás un topito que pegaremos con el silicón caliente, ya listos para colgar nuestro bello accesorio.
6th step: To finish we go to the top of our earring, that is, at the tip of the remaining pin another transparent button and on the back a little dot that we will glue with hot silicone, ready to hang our beautiful accessory.
Como pudieron apreciar mis hivers creativos esté es un trabajo muy fácil de elaborar y lo mejor de todo sin grandes gastos económicos así que desde la comodidad de sus hogares anímate a crear estos bellos aretes para Lucir hermosa en cualquiera ocasión especial que ya tengas por realizar..Pude revisar mi parte de costuras en mi hogar y encontrar estos botones e hilos, así que son materiales que tenemos a mano en nuestro s hogares, no te quedes sin crear un accesorio anímate!! Cómo siempre disfruto mucho de compartir con ustedes mis proyectos en está magnífica comunidad. Saludos 🙏 y múltiples bendiciones.
As my creative hivers could appreciate, this is a very easy job to make and best of all without great economic expenses, so from the comfort of your homes, go ahead and create these beautiful earrings to look beautiful on any special occasion that you already have to do. .I was able to review my part of sewing in my home and find these buttons and threads, so they are materials that we have on hand in our homes, don't miss out on creating an accessory, go for it!! How always I really enjoy sharing with you my projects in this magnificent community. Greetings 🙏 and multiple blessings.
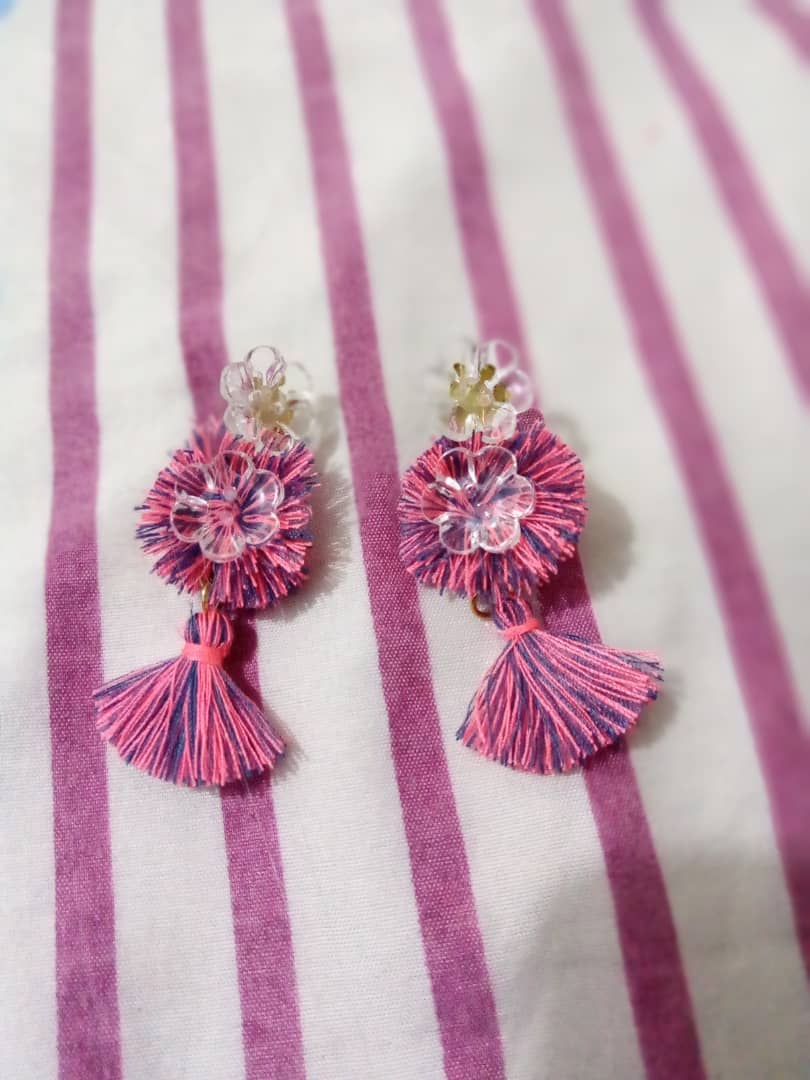
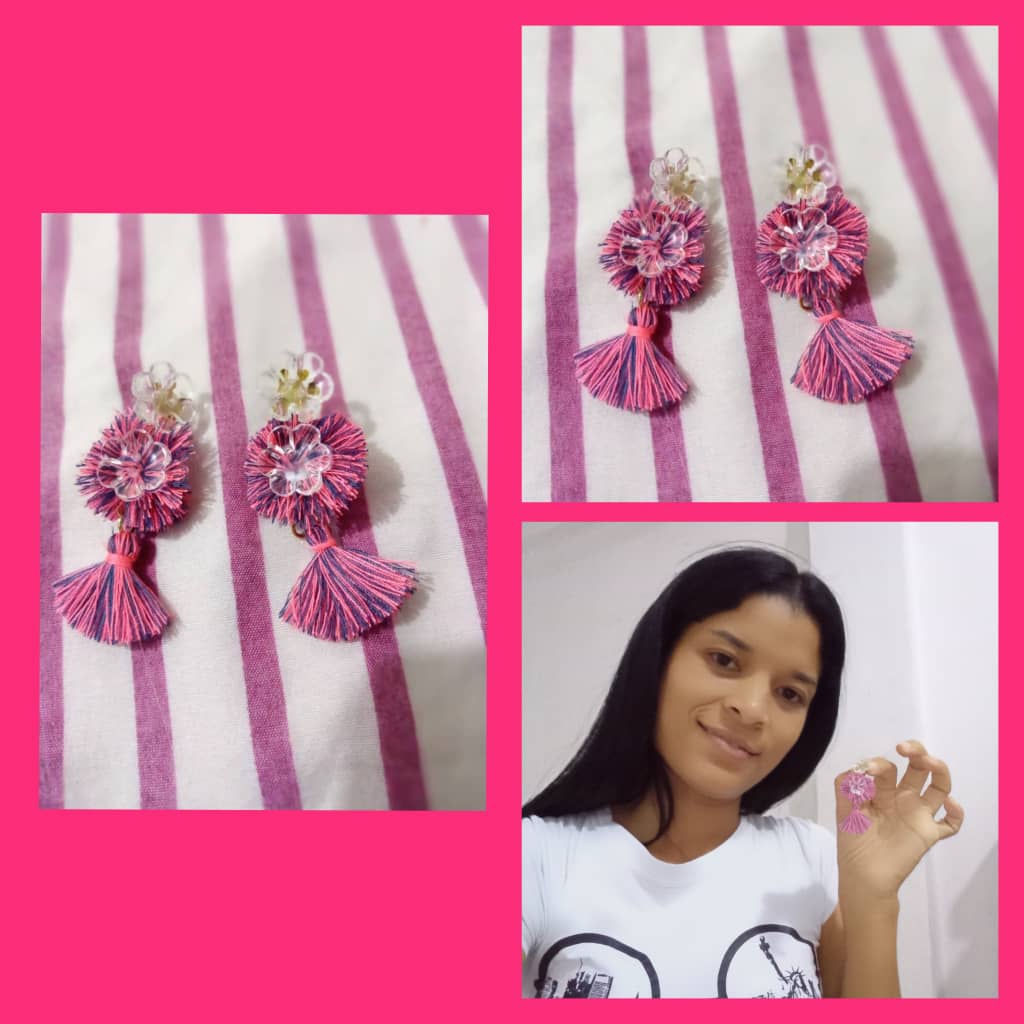
Las fotos son de mi propiedad tomadas de mi teléfono Alcatel 1s
Las fotos son editadas por la aplicación GridArt
Muchas gracias por visitar mi Blog
Thank you very much for visiting my Blog.

Que hermoso aretes @delvallecedeno❤️
Muchas gracias ☺️💞💖@aglaide💞💞
¡Wuao que lindos! amiga @delvallecedeno
Muchas gracias amiga por la visita, Que bueno que te hayan gustado 😘.. Saludos 🤗💞
Muy lindos.! Me gustaron son fáciles de realizar
Muchas gracias amiga ☺️.. Saludos 🤗💞❤️
Amiiga te quedó hermoso te felicito feliz día bendiciones.
Muchísimas gracias amiga @tibisayq23, Saludos 🤗💞
Feliz tarde bendiciones.