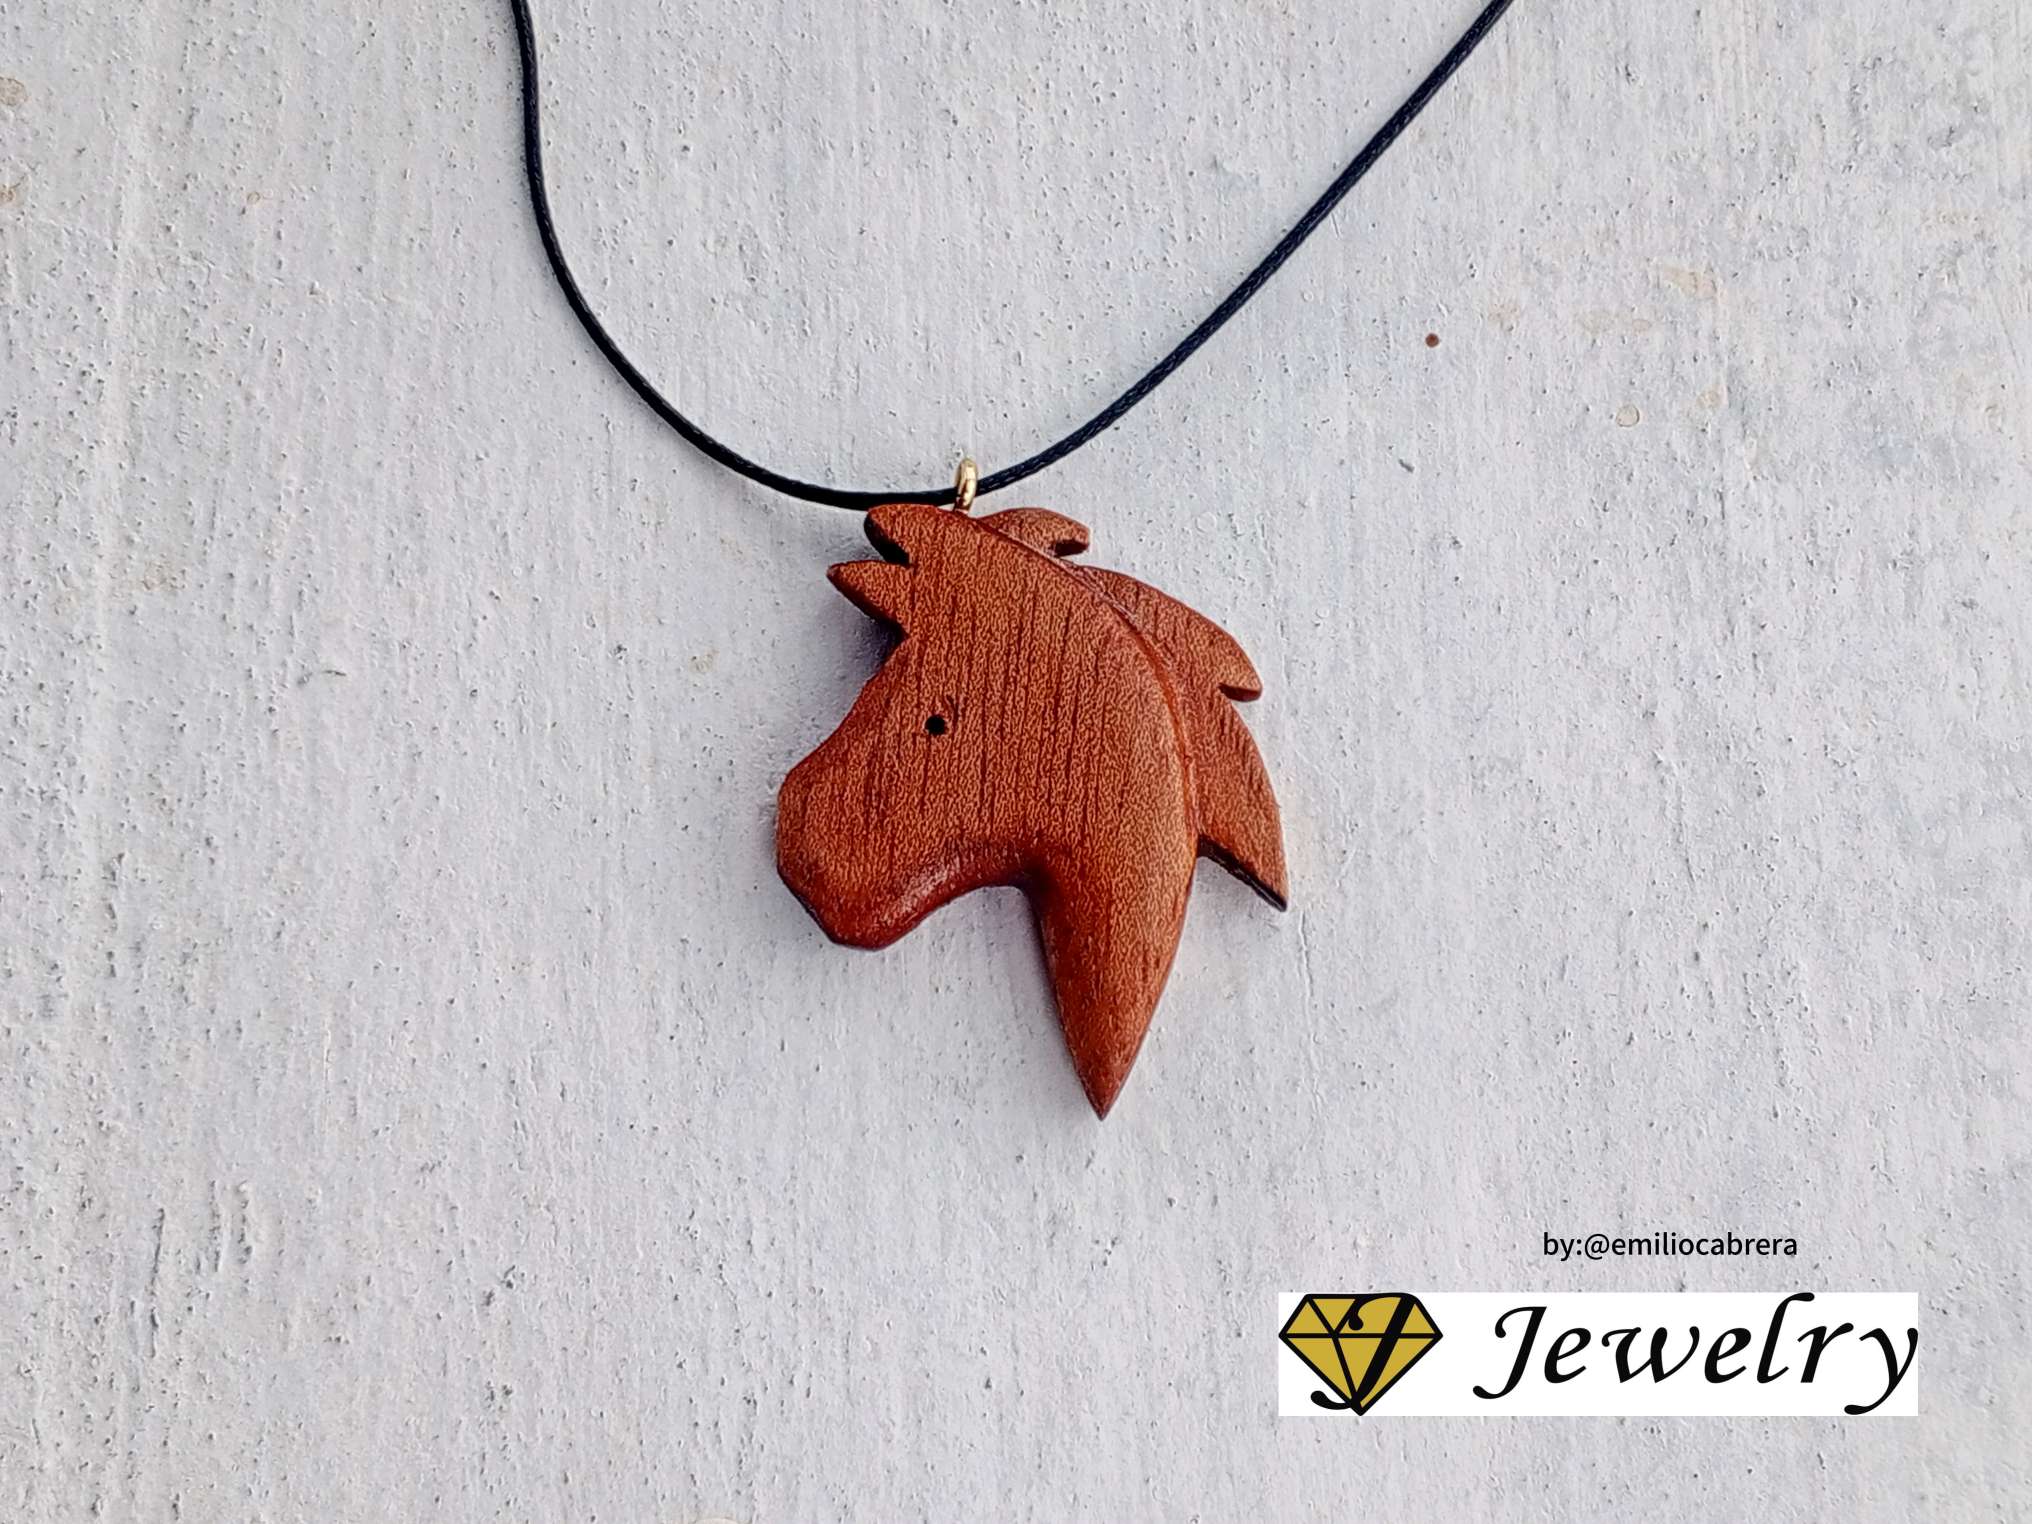
¡Hola estimados hivers! ¡Espero la estén pasando bien! Deseo mostrarles como hice un colgante de caballo en madera, tenía tiempo por elaborar uno pero lo veía necesitaba algo de tiempo para materializar la idea. Los caballos siempre han llamado mi atención, representan fuerza y son animales muy nobles.
Buscando entre retazos de madera conseguí un recorte que es algo facil de esculpir porque en cierto sentido es blanda. Siempre que inicio un proyecto o manualidad me gusta hacer un boceto del diseño para tener una idea del tamaño y forma que voy a grabar en la madera. Es muy fácil recortar en un papel un dibujo pero en madera se debe tener mucha paciencia y algunas habilidades que ayudan a llevar a feliz términos el diseño.
Hello dear hivers! I hope you're having a good time! I want to show you how I made a wooden horse pendant, I had time to make one but I saw that I needed some time to materialize the idea. Horses have always caught my attention, they represent strength and are very noble animals.
Searching through scraps of wood I found a cutout that is somewhat easy to sculpt because in a sense it is soft. Whenever I start a project or craft I like to make a sketch of the design to have an idea of the size and shape that I am going to engrave on the wood. It is very easy to cut out a drawing on paper, but in wood you must have a lot of patience and some skills that help bring the design to fruition.
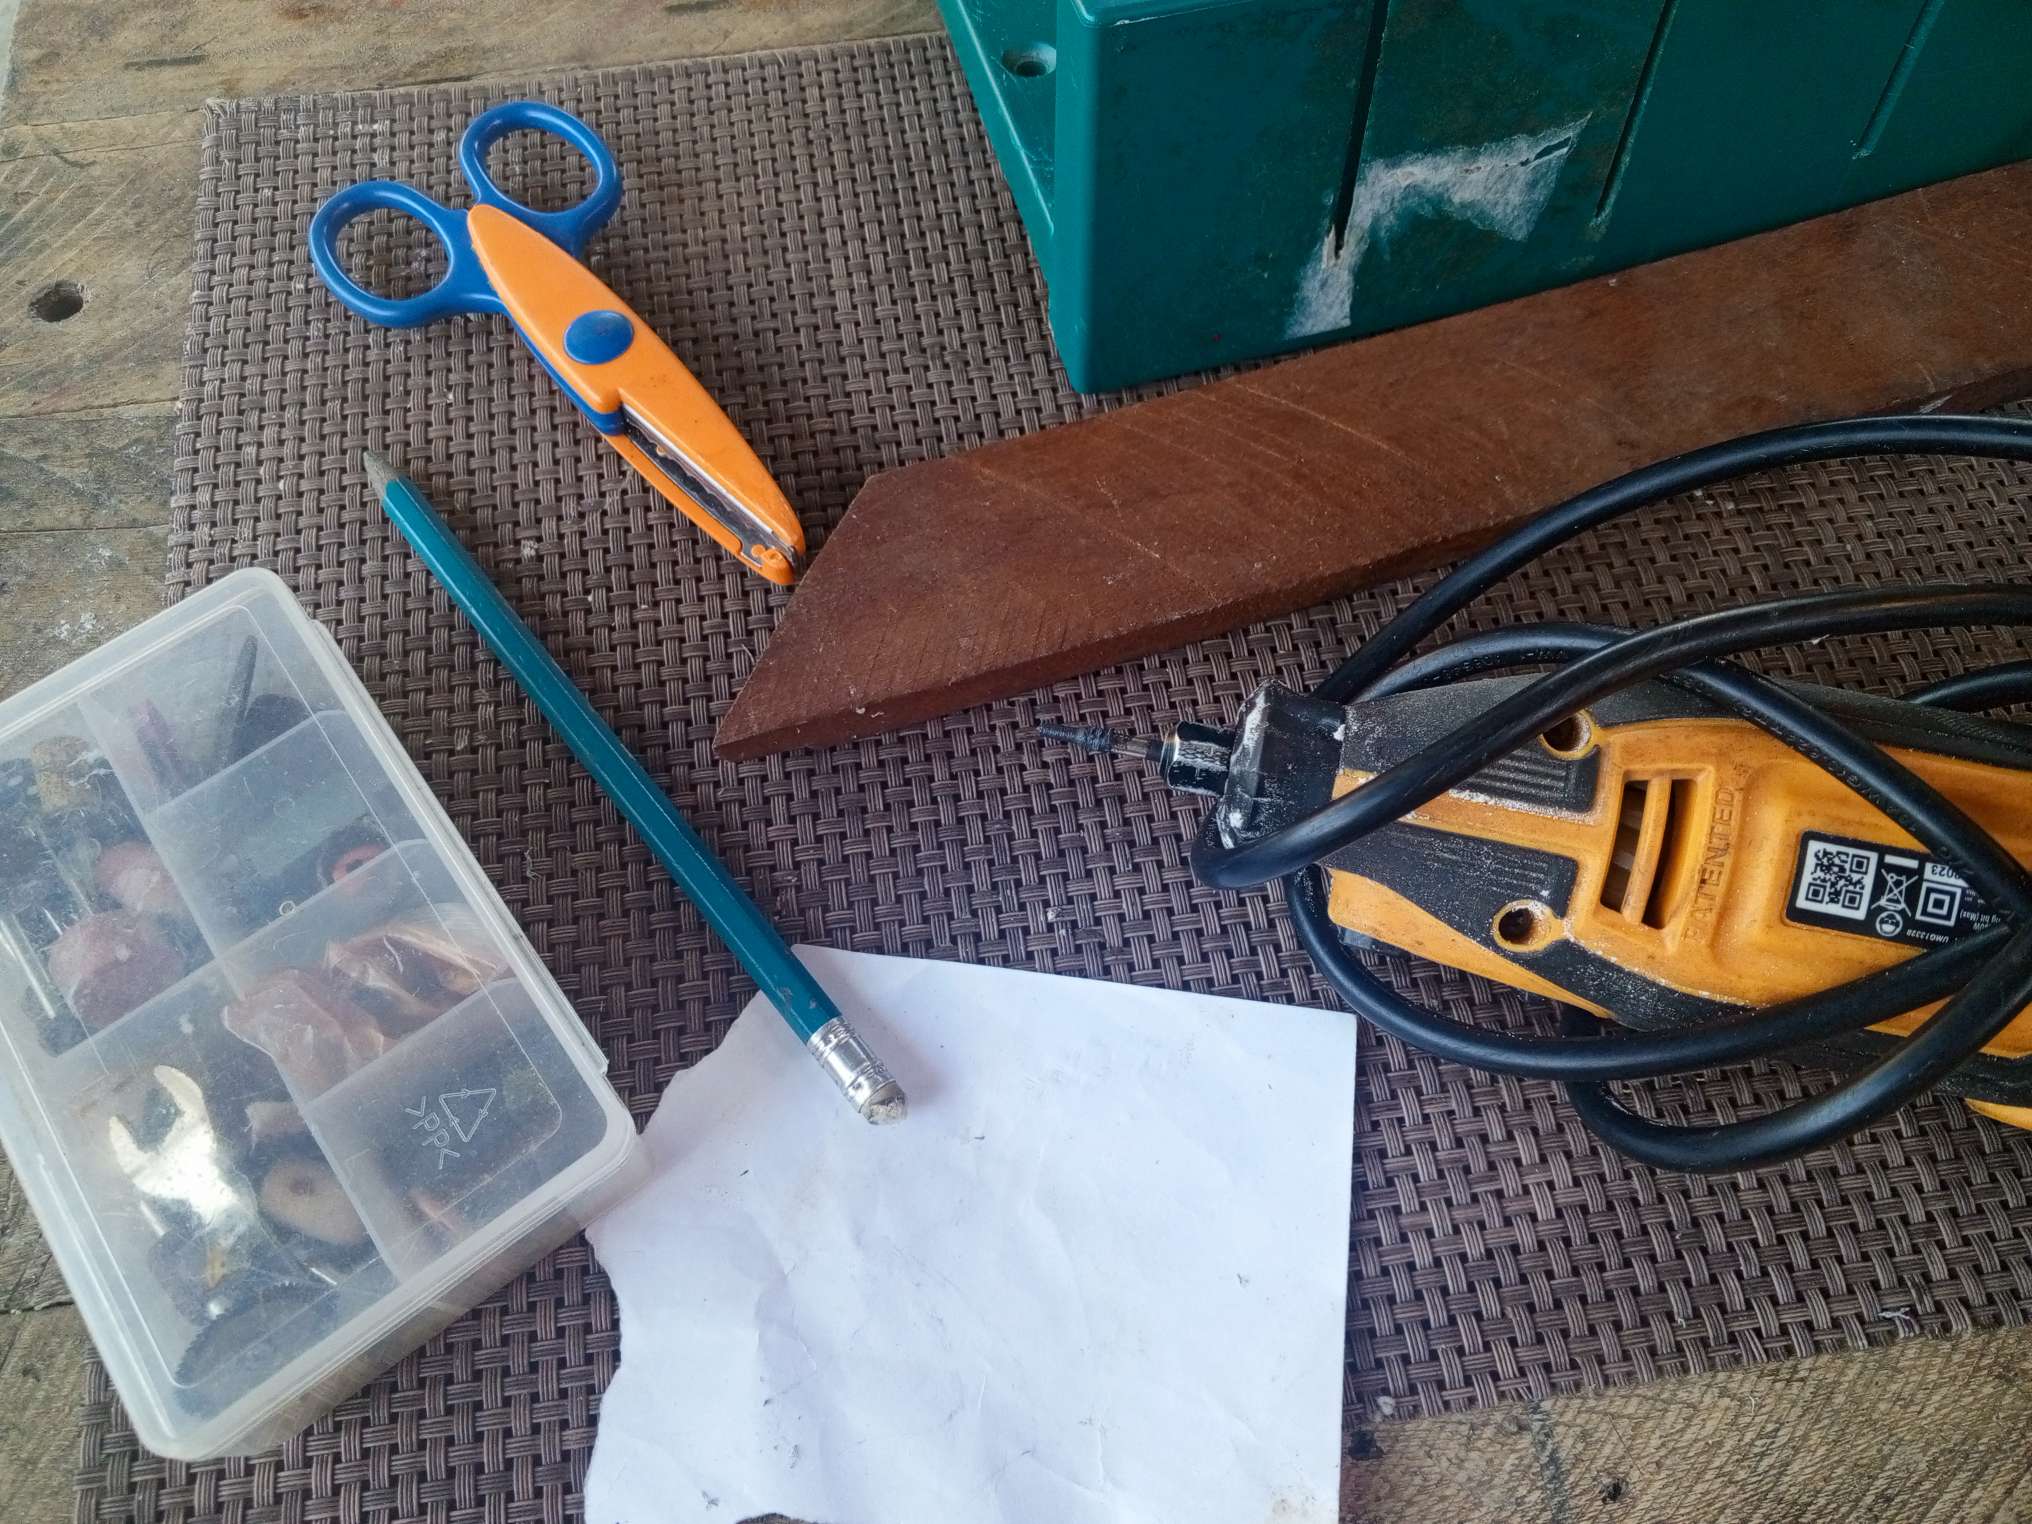
Materiales / materials
Madera de cedro
Dremel
Lija n° mil
Barniz
Cordón y aros de bisutería
Lápiz
Formón de carpintería
Cúter
Mechas diamantadas
cedar wood
Dremel
Sandpaper number one thousand
Varnish
Cord and jewelry rings
Pencil
carpentry chisel
Cutter
diamond wicks
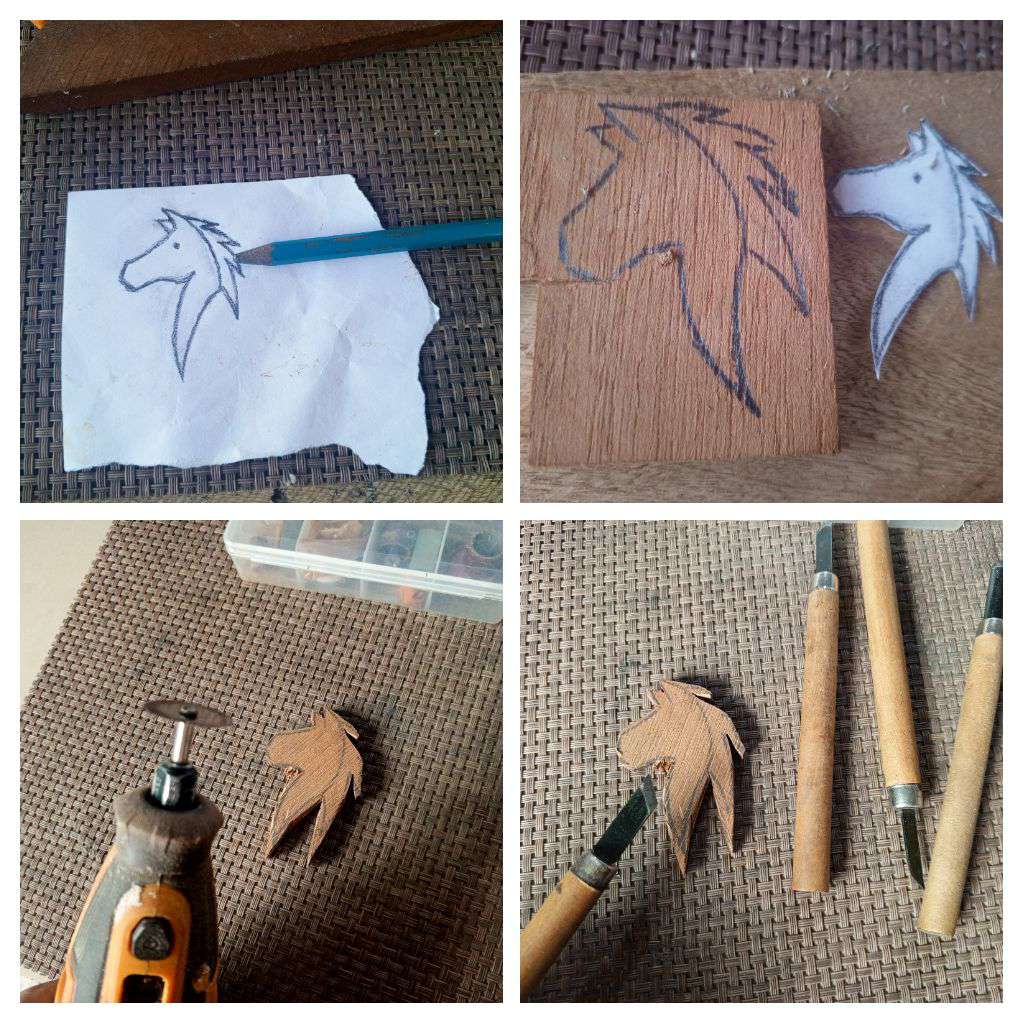
Cómo lo dije anteriormente, inicié haciendo un boceto del diseño en papel blanco y recorte con la tijera para comenzar a esculpir o cortar con el Dremel.
Este diseño tiene una medida aproximadamente de 3.5 centímetros de alto por 2.5 centímetros de ancho, su espesor es menos de medio centímetro, como es para colgar en el cuello, no creo que sea buena idea hacerlo muy grande.
Para cortar y esculpir utilice el dremel y un disco de corte dentado para madera, inicié haciendo cortes en el trazado en forma de V" para conseguir descubrír los cabellos y formas del caballo.
Luego con formón de carpintería y el cúter saqué esos detalles donde el dremel no puede llegar. Es importante saber que se debe manejar con delicadeza cada herramientas para no dañar el diseño. Un error nos puede llevar a comenzar otra vez.
As I said before, I started by sketching the design on white paper and cutting it out with scissors to start sculpting or cutting with the Dremel.
This design measures approximately 3.5 centimeters high by 2.5 centimeters wide, its thickness is less than half a centimeter, since it is intended to hang around the neck, I don't think it would be a good idea to make it very large.
To cut and sculpt, use the dremel and a serrated cutting disc for wood. I started by making cuts in a V" shape to reveal the hair and shapes of the horse.
Then with a carpentry chisel and the cutter I removed those details where the dremel cannot reach. It is important to know that each tool must be handled delicately so as not to damage the design. A mistake can lead us to start again.
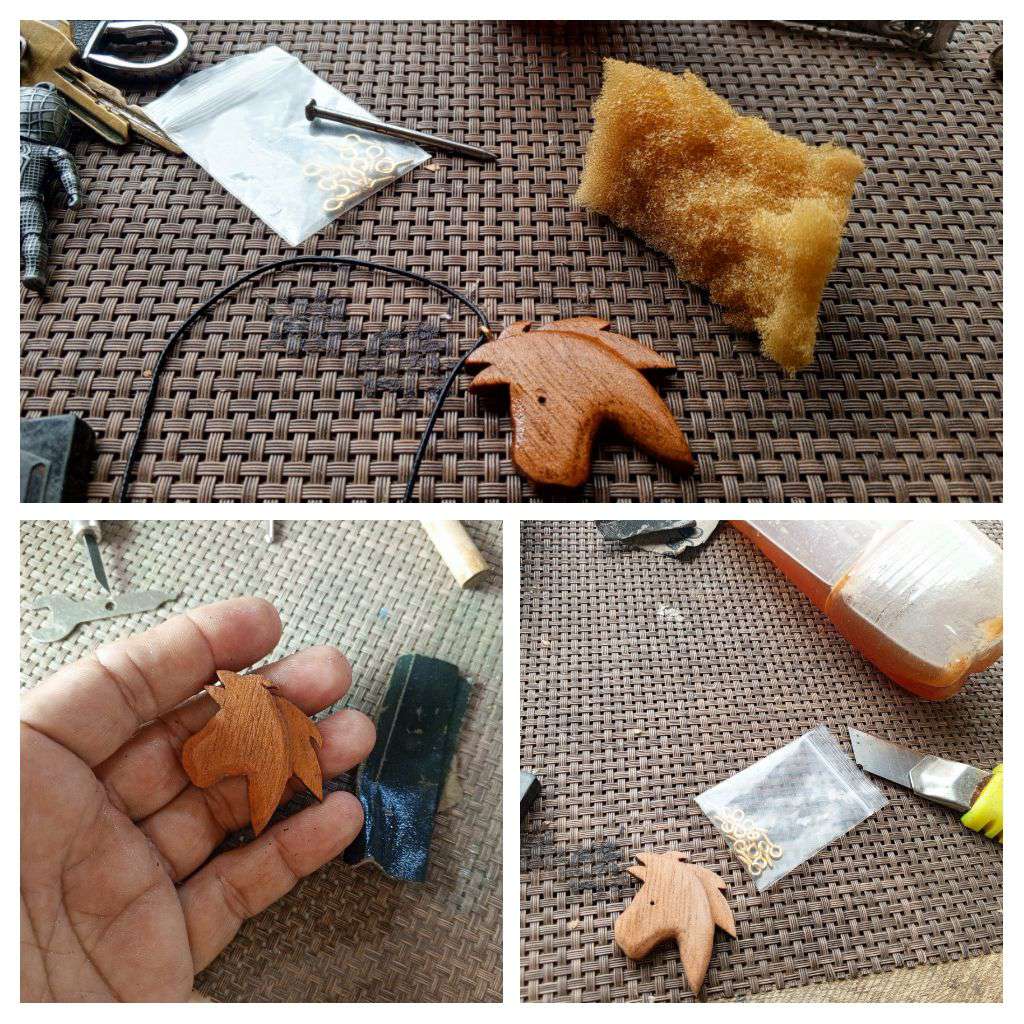
Una de las partes más importante es dar detalles del diseño, en mi caso utilicé una lija número mil al agua para conseguir una mejor acabado, inicié por los bordes y luego la parte del frente.
Es necesario lijar de dos a tres veces para eliminar toda porosidad y que el barniz o sellador contribuya a una mejor estética de nuestro proyecto. Recubrir con barniz por ambos lados garantiza durabilidad.
Por último se le coloca un tornillo con aro en la cabeza para colgar con cordón piel de serpiente color negro .
One of the most important parts is to give details of the design, in my case I used a number one thousand water-based sandpaper to get a better finish, I started with the edges and then the front part.
It is necessary to sand two to three times to eliminate all porosity and for the varnish or sealant to contribute to a better aesthetic of our project. Coating with varnish on both sides guarantees durability.
Finally, a screw with a ring is placed in the head to hang with a black snakeskin cord.
Cómo podrás notar, en la cara del caballo hice un pequeño orificio que viene siendo el ojo del caballo.
As you can see, in the horse's face I made a small hole that is the horse's eye.
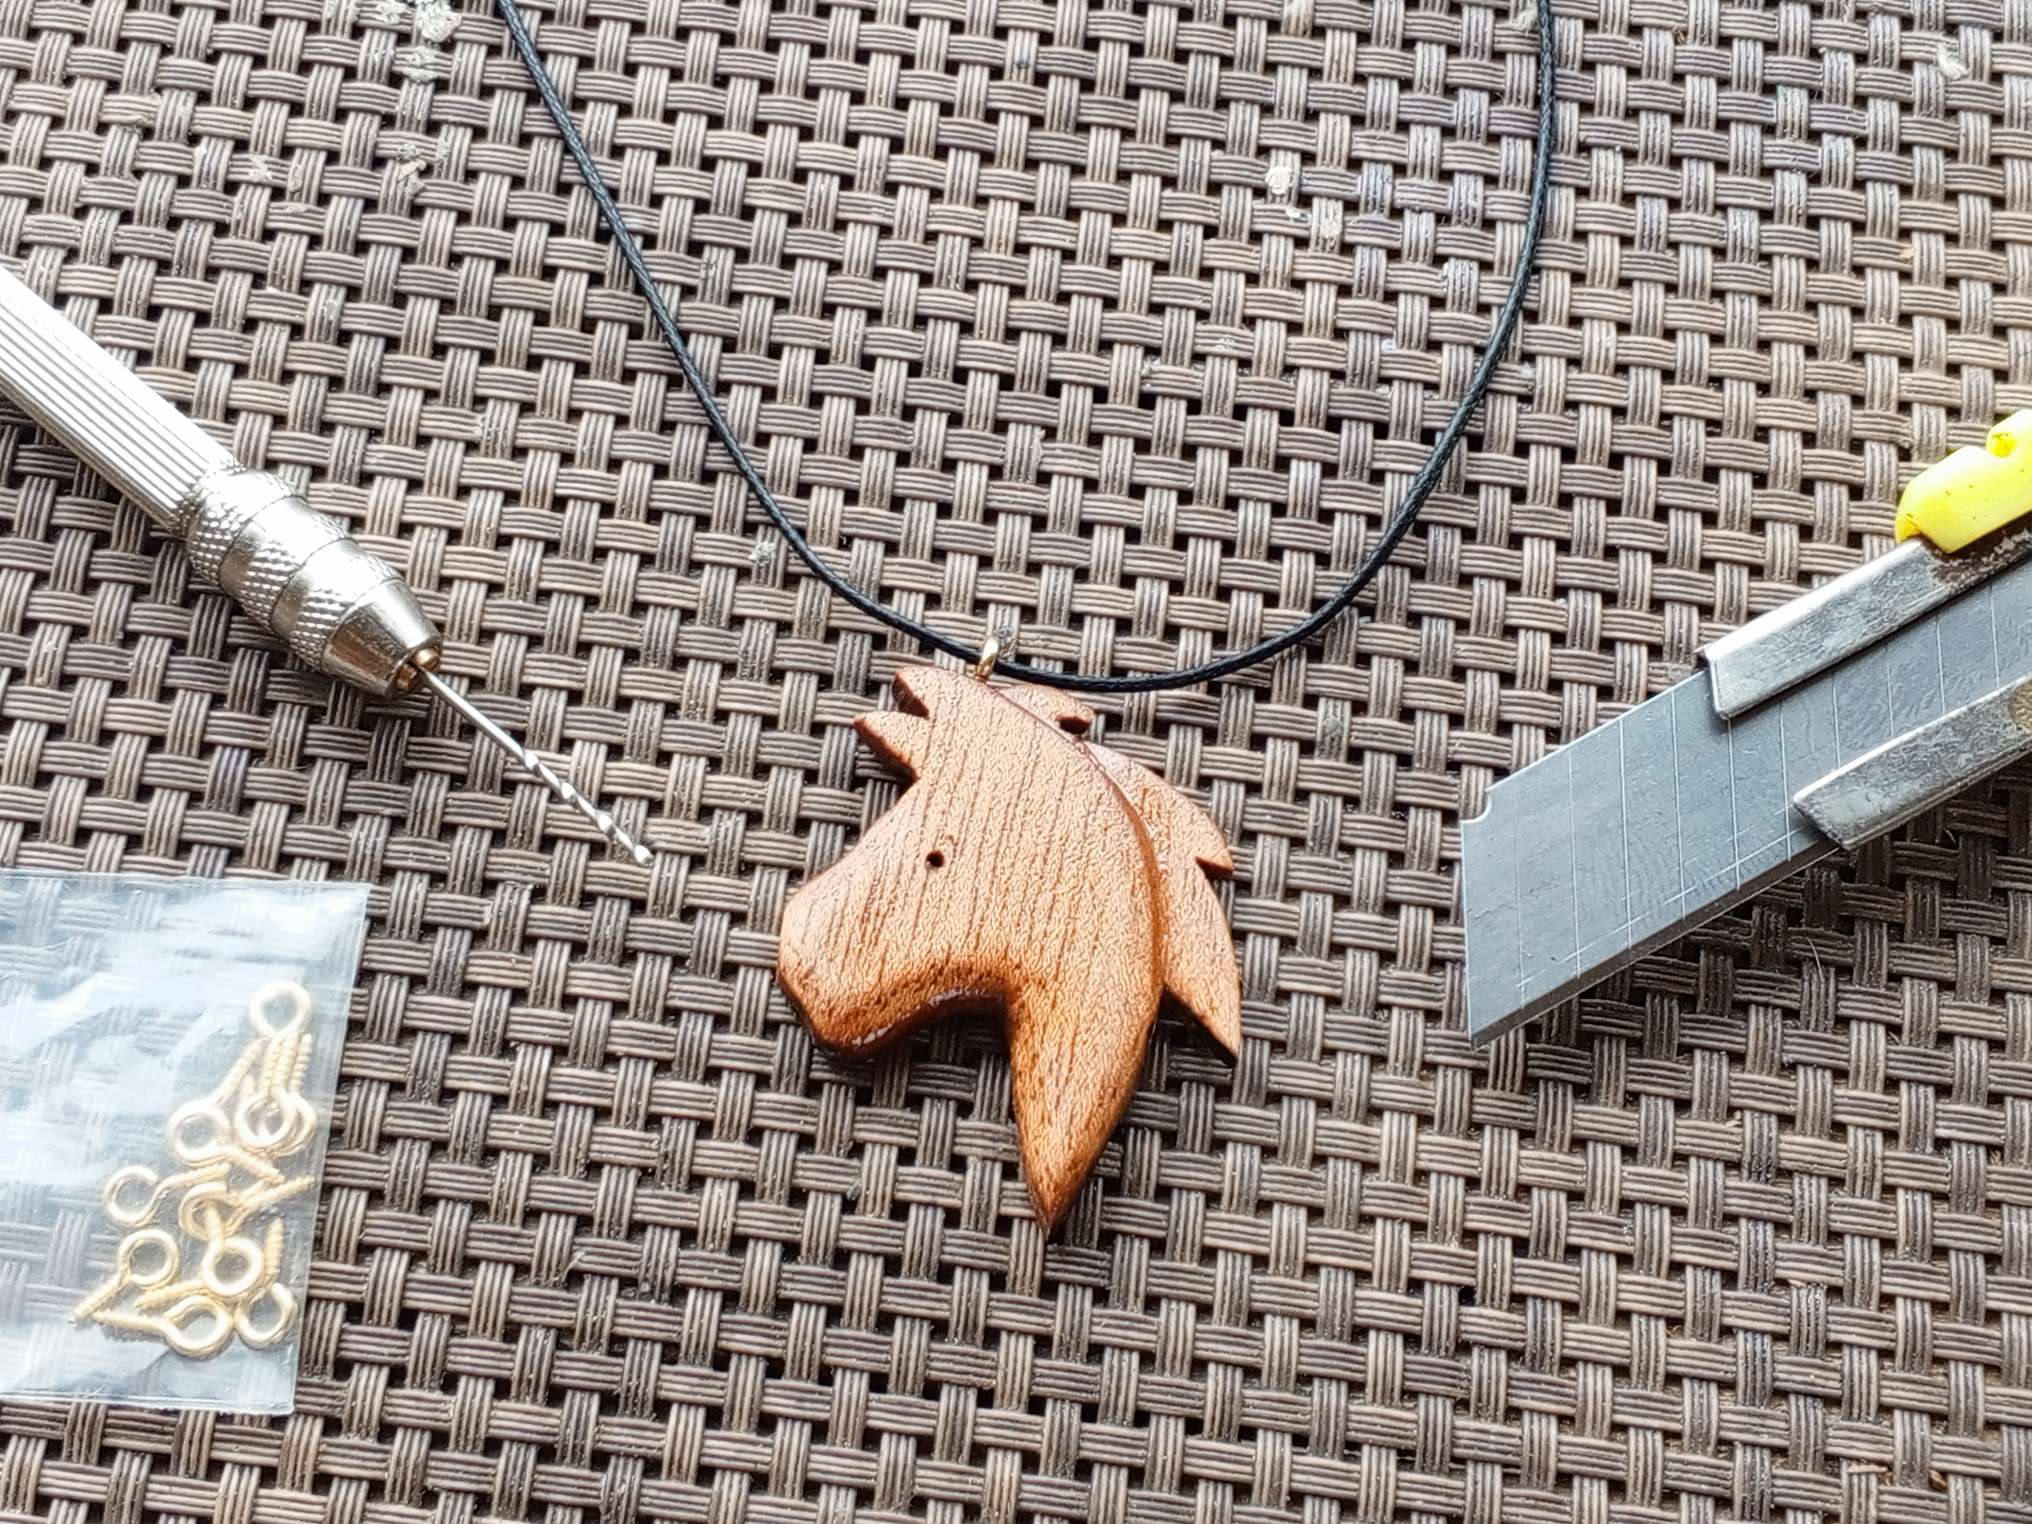
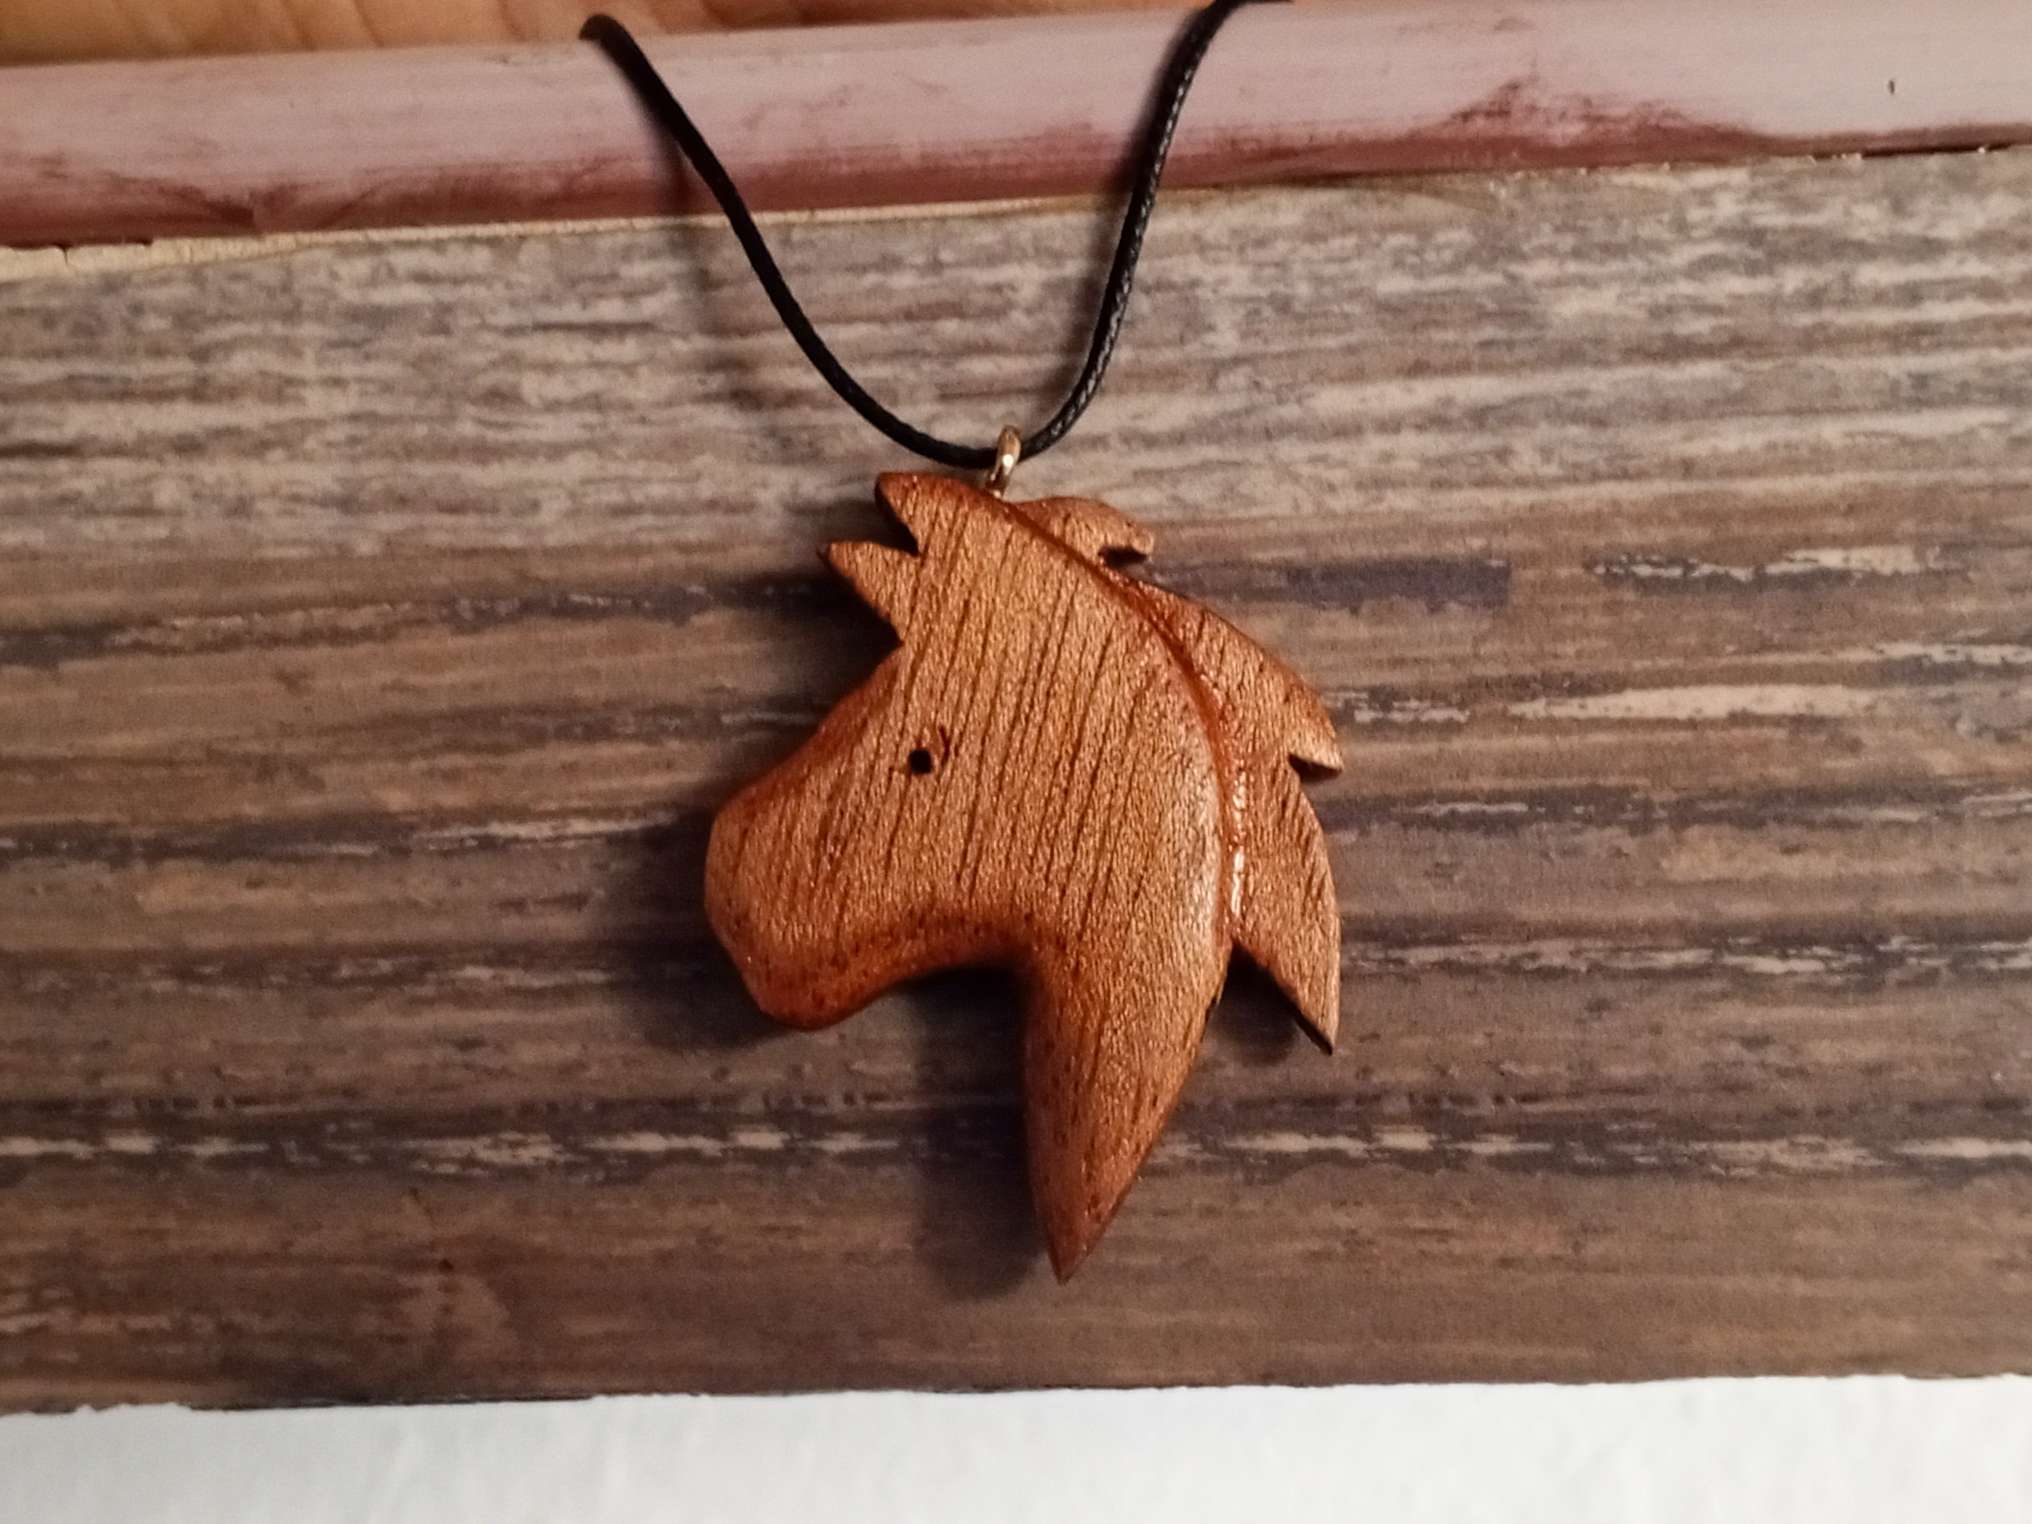
En realidad es un proyecto muy sencillo, la silueta del caballo podrá lucirse como un pequeño recuerdo de la fortaleza que tiene este animal . Muchas gracias de antemano por su atención. Aún conservo las espectativas de mejorar en mis tiempos libres el hermoso arte de trabajar la madera . Jeje
Exitos y bendiciones a todos!
It is actually a very simple project, the silhouette of the horse can be shown off as a small reminder of the strength that this animal has. Thank you very much in advance for your attention. I still have hopes of improving the beautiful art of woodworking in my free time. He he
Success and blessings to all
Thanks so much 😊
Waoo This is amazing
Thanks so much
Woa this is fantastic
Thanks so much
Thanks for taking us on this creative journey. The pendant is so lovely and you are indeed talented. Well done.
Thanks so much, hugs !!
Wonderful
Thanks You
Es maravilloso la forma como transformaste la materia prima de la madera en este hermoso accesorio, el acabado suavizó muchísimo el diseño. Un espectáculo y además puede usarse en dijes o accesorios pero también en llaveros. Le felicito para este diseño tan prolijo y bello
Hola @yennysferm71 , muchas gracias por tu valioso y motivador comentario. Bendiciones