English Version
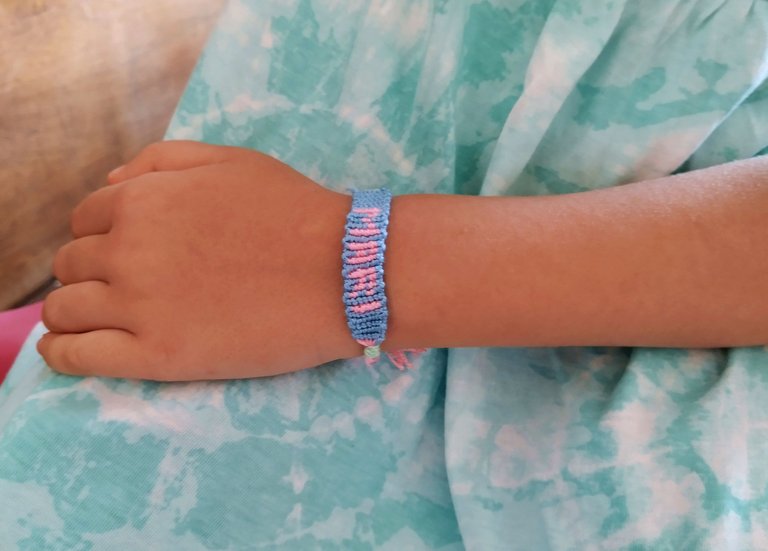
Ever since I started making bracelets with yarn, my little girl has always asked me to make one with her name on it. My first bracelet was a gift for her, but it was a quite simple design and without her name, so she still insists that she wants her name woven in, so today I have dedicated myself to fulfil this pending debt with her.
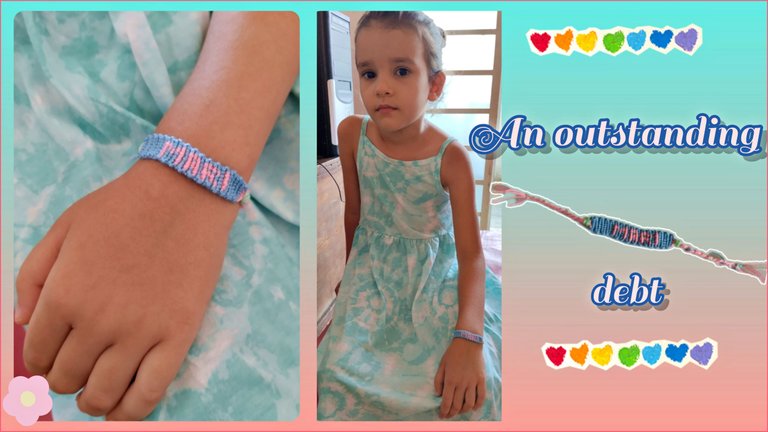
To create the name I used the website FRIENDSHIP-BRACELETS. My little girl's name is Maria, but I call her Mari, and that's what I wanted to put on her bracelet, in pink, which is her favourite colour, and which she chose herself.
Materials
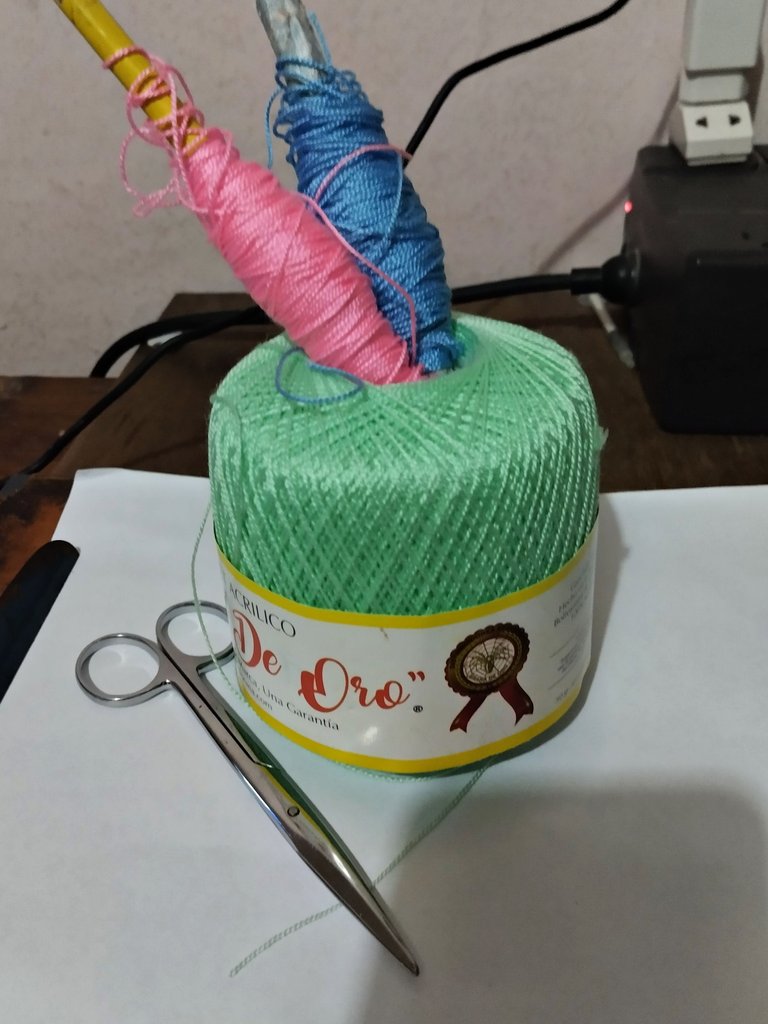
-Acrylic threads, one in blue for the background and one in pink for the name.
-Scissors
-Wooden board with a clip as a tool to help hold the threads.
Steps
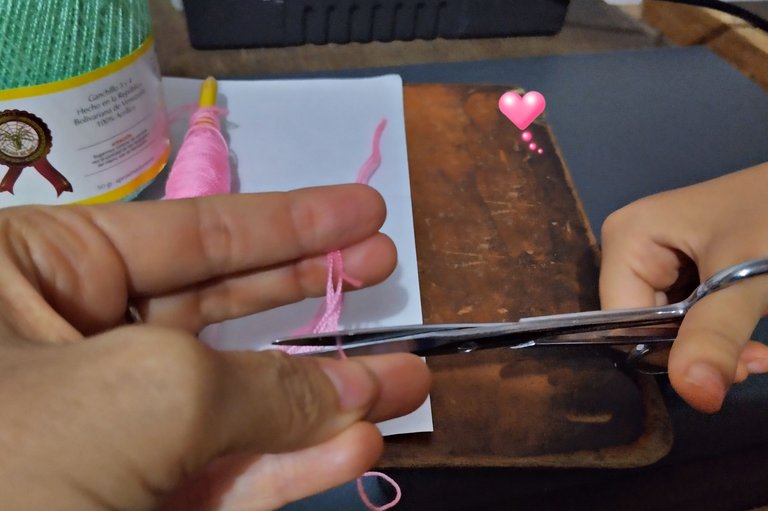
-I started by cutting seven strands of 40 cm long pink thread for the base, these are the threads that will form the letters of the name. As a guide thread I used blue thread, this is the one I use to make the alpha knots in the bracelet, so I made sure I had a ball with enough blue thread so I wouldn't run out while I was weaving.
I left one end of the yarn strands loose, and knotted them before putting them under the clasp. I wove the bracelet from the top down, first making five rows of blue. The first row I made with right-facing alpha knots and when I finished weaving that row I started the next row below, weaving it with left-facing knots and alternating between each one until all five rows were complete.
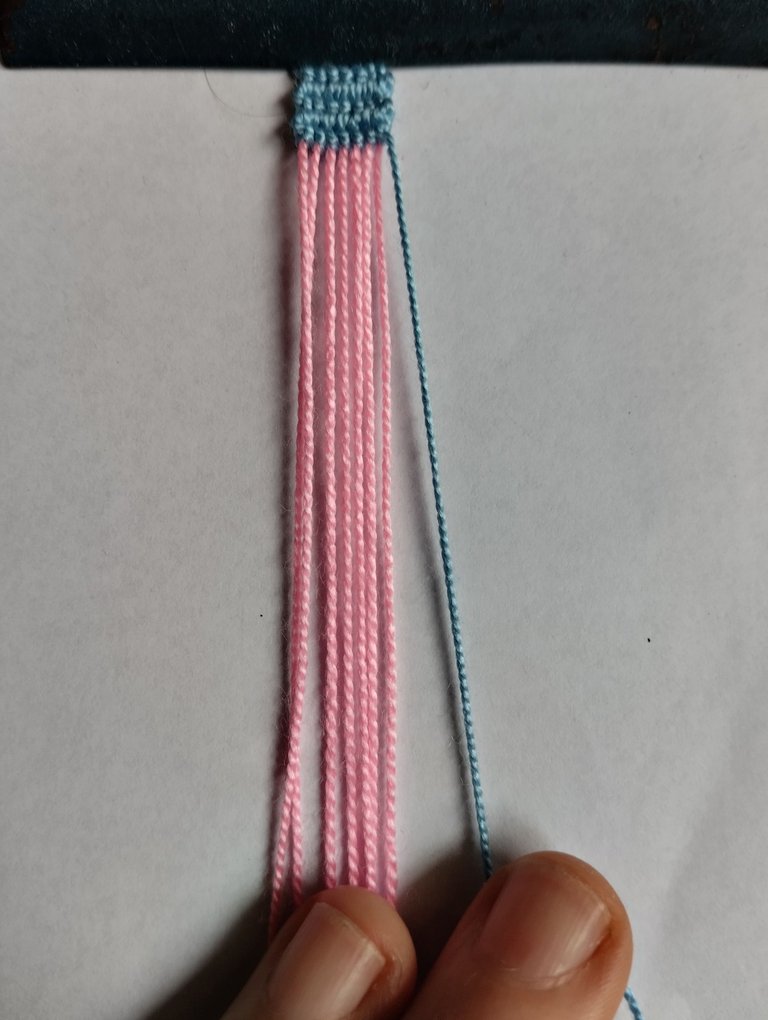
The knot is made as follows. The guide thread (blue) is passed over the base thread (pink), making a loop behind it, this procedure is done twice on each strand of thread to form a stitch.
This is how I weave knots until I reach the part of the pattern with the letters. Every time I am going to knit a stitch belonging to the letter, I place the guide thread (blue) horizontally, and the base thread (pink) I tie it around, passing it behind the blue thread. I do this step every time I find a stitch that belongs to any letter and, in this way, little by little the letters of the name MARI are formed.
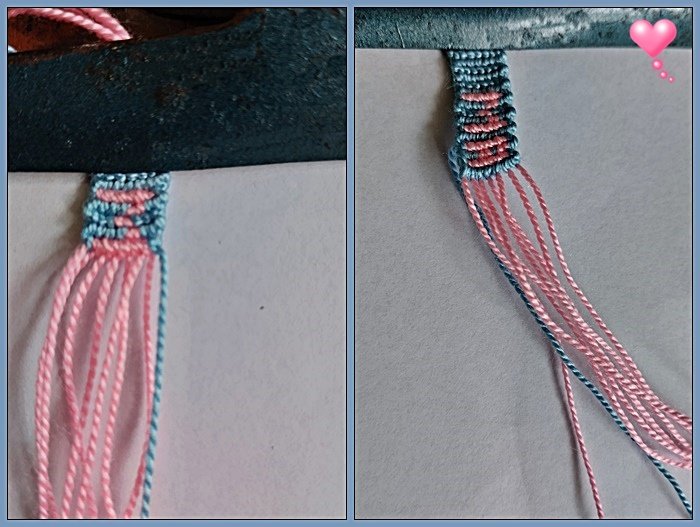
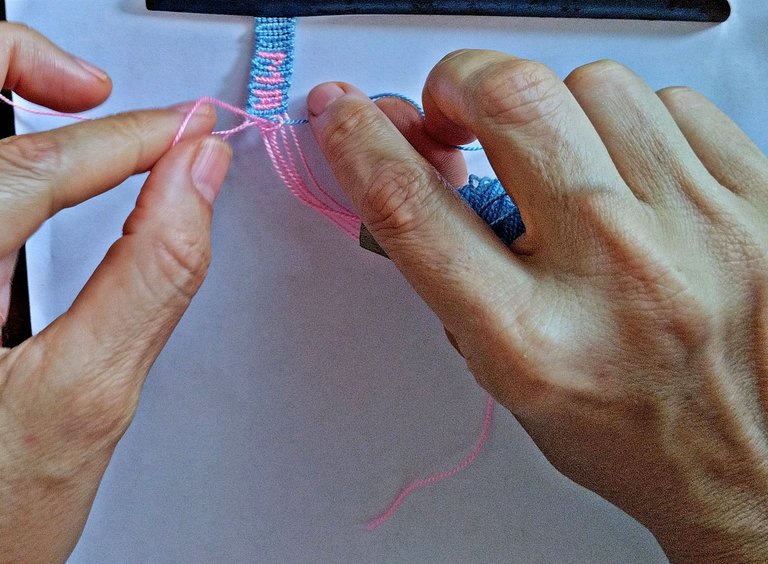
When I finished weaving the name I did four rows underneath (following the same process as the initial step). Then I braided the loose threads at both ends to make it easier to adjust it around my little girl's wrist.
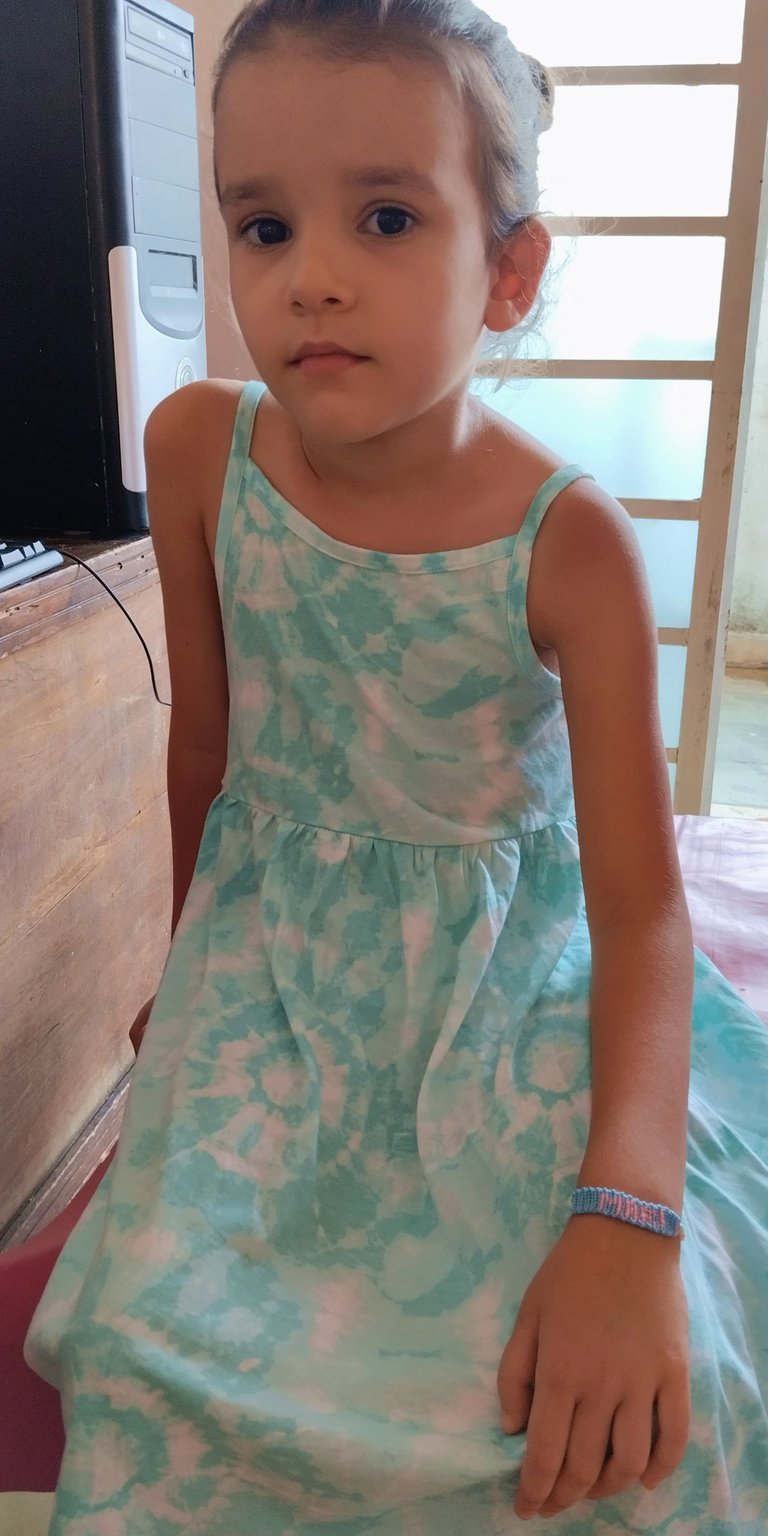
Mari is happy with her bracelet now (and I am), mostly because she was part of the process. She helped me cut the threads and was the one who chose the colour. I was showing her each time I made progress with the letters and she gave me the go ahead 🤗 😄.
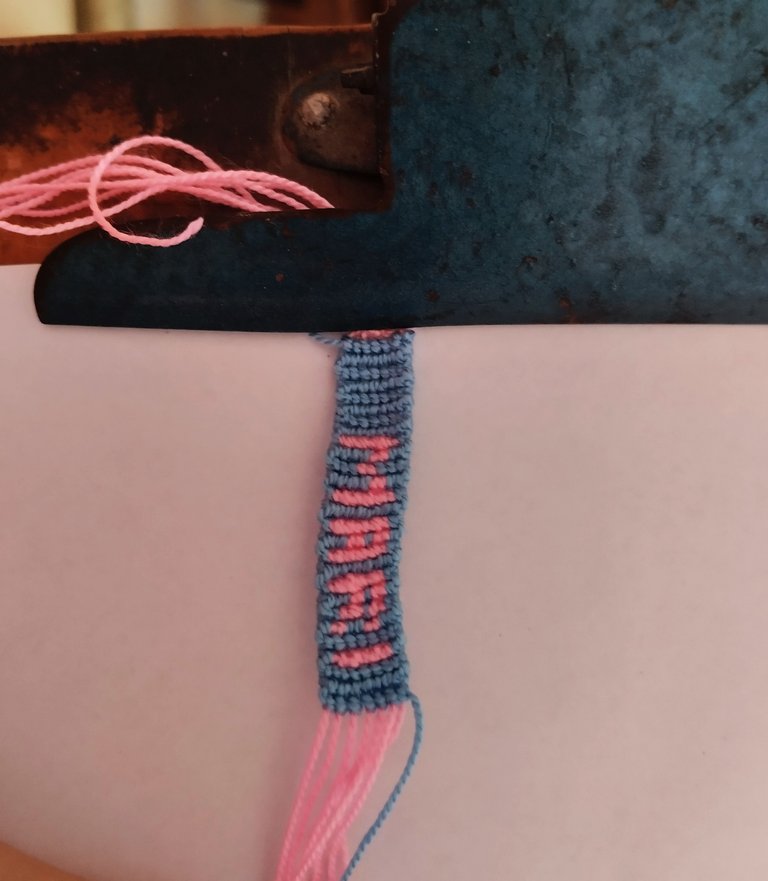
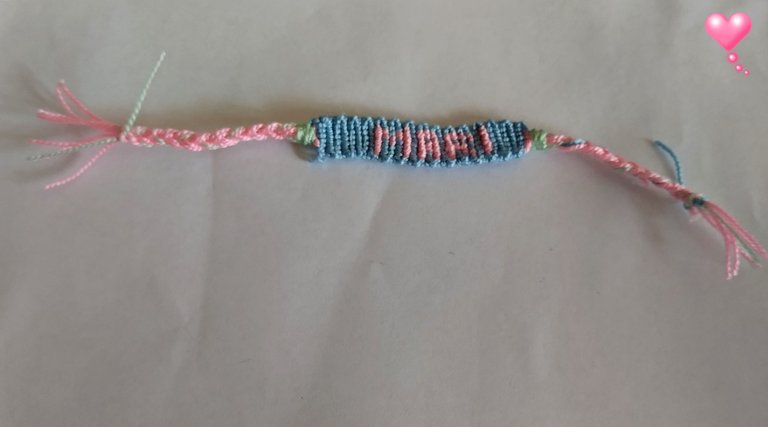
I remember at the beginning when I started with the first bracelet, I found everything very complicated and it took me a long time to tie the knots, I had to watch several youtube tutorials to learn, but with time, and practice, I can now make them faster. I think I should take it to the next level and start making more elaborate designs to challenge myself.
I hope you liked this craft. It's a bracelet that I made with the desire to please my little girl, so it was made with a lot of love ❤️.
Versión en Español
Desde que comencé a hacer pulseras tejidas con hilo, mi niña siempre me ha pedido que le haga una con su nombre. Mi primera pulsera fue de regalo para ella, pero era un diseño bastante sencillo y sin su nombre así que ella me sigue insistiendo en que quiere su nombre tejido, por lo que me he dedicado hoy a cumplir esa deuda pendiente con ella.
Para crear el nombre me ayudé del sitio web FRIENDSHIP-BRACELETS. Mi niña se llama María, pero yo la llamo Mari, y así quise ponerlo en su manilla, en color rosado, que es su preferido, y que además escogió ella misma.
Materiales
-Hilos acrílicos, uno en color azul para el fondo y otro rosado para el nombre.
-Tijeras
-Tabla de madera con presilla como herramienta para ayudar a sujetar los hilos.
Pasos
-Comencé cortando siete hebras de hilo de 40 cm de largo de color rosado para la base, estos son los hilos que van a formar las letras del nombre. Como hilo guía utilicé el azul, con este es con el que voy haciendo los nudos alpha en la pulsera, por tanto, me aseguré de tener un ovillo con suficiente hilo azul para que no se me terminara mientras hacia el tejido.
Dejé suelto un extremo de las hebras de los hilos, y las anudé antes de ponerlas bajo la presilla. La pulsera la tejí desde arriba hacia abajo, haciendo primero cinco filas de color azul. La primera fila la hice con nudos alpha orientados hacia la derecha y cuando acabo de tejer esa fila comencé la siguiente debajo, tejiéndola con nudos orientados hacia la izquierda y alternando entre cada una hasta completar las cinco.
El nudo se hace de la siguiente manera. Se pasa el hilo guía (azul) por encima del hilo base (rosado), realizando un lazo por detrás del mismo, este procedimiento se realiza dos veces en cada hebra de hilo para así formar un punto.
De esta manera es que voy tejiendo nudos hasta llegar a la parte del patrón con las letras. Cada vez que voy a tejer un punto perteneciente a la letra, coloco el hilo guía (azul) de manera horizontal, y el hilo base (rosado) lo anudo alrededor, pasándolo por detrás del hilo azul. Realizo este paso cada vez que encuentro un punto que pertenece a cualquier letra y, de esta manera poco a poco se van formando las letras del nombre MARI.
Cuando terminé de tejer el nombre hice cuatro filas debajo (siguiendo el mismo proceso que el paso inicial). Después trencé los hilos que quedaron sueltos en ambos extremos para que fuera más sencillo ajustarlo alrededor de la muñeca de mi niña.
Mari está contenta con su pulsera ahora (y yo), sobre todo porque ella fue parte del proceso. Me ayudó a cortar los hilos y fue quien escogió el color. Yo le iba mostrando cada vez que avanzaba con las letras y ella me daba el visto bueno 🤗😄.
Recuerdo que al principio cuando comencé con la primera pulsera, me parecía todo muy complicado y me demoraba mucho haciendo los nudos, tuve que ver varios tutoriales de youtube para aprender, pero con el tiempo, y la práctica, ya puedo hacerlas con mayor rapidez. Creo que debería pasar a un siguiente nivel comenzar a hacer diseños más elaborados para imponerme retos y superarme.
Espero que les haya gustado esta manualidad. Es una manilla que realicé con el deseo de complacer a mi niña, así que fue hecha con mucho cariño ❤️.
Contenido original del autor. 2024 @jordy0827. Todos los derechos reservados.


https://reddit.com/r/blogger/comments/1exhrni/handwoven_bracelet/
The rewards earned on this comment will go directly to the people( @jordy0827 ) sharing the post on Reddit as long as they are registered with @poshtoken. Sign up at https://hiveposh.com.
Un hermoso pulso para Mary , que bonito , se que lo disfrutará mucho 👍🏽❤️
Gracias, de hecho si que lo disfrutó
Nice
Thanks!
Te quedó muy bonito, seguro tu pequeña lo va usar por mucho tiempo 🥰
Muchas gracias amigo!
Ha quedado bellísima 👍
Muchas gracias 🤗
Te quedó precioso 🥰💜... Me encantan los colores que utilizaste para tu proyecto. Le queda hermoso a María Claudia . Bendiciones para ella.
!PIZZA 🍕
!DIY
Muchas gracias amiga!
Saludos 🤗
$PIZZA slices delivered:
@chacald.dcymt(1/5) tipped @jordy0827
You can query your personal balance by
!DIYSTATSThanks 🤗 🥰 @chacald.dcymt
Wow , this is so nice
Thank you so much!
The bracelet turned out very nice, excellent work!!!!! It really seems complicated to make, but your explanation was fantastic. Mary is always a beautiful model 🥰
Thank you very much My friend 🤗🥰
@jordy0827. MB post.
Que bonito 😍🙌 Me encantó 💕
Gracias 🤗🥰
Un lindo trabajo tejido. Y las princesas lo lucen hermoso. Saludos
Muchas gracias 🤗
Wow, this is beautiful, I love the design with her name, you did nice and she will be so happy, she have a good eyes for a beautiful style like this, Weldone.
Thank you very much! I am glad you liked it 🤗