Hola buenas noches queridos amigos , espero que se encuentren bien , hoy les quiero compartir una linda Diadema que realicé con una temática muy poco usada (ardilla), siempre me he catalogado como una persona que le gusta ir más allá , crear y en ocasiones tener algo exclusivo por ello trato que los accesorios de mi sobrina también sean únicos y diferentes, amamos lo diferente, me inspiré en una ardilla , dejé llevar mi imaginación y amé el resultado
Hello good evening dear friends, I hope you are well, today I want to share a nice headband that I made with a very little used theme (squirrel), I have always cataloged myself as a person who likes to go beyond, create and sometimes have something exclusive so I try that my niece's accessories are also unique and different, we love the different, I was inspired by a squirrel, I let my imagination and loved the result.

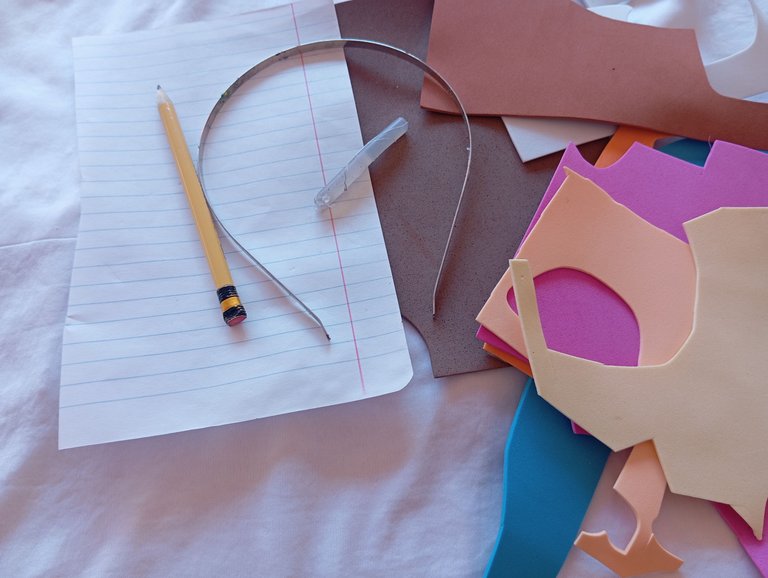
Materiales qué utilice:
-Foamis
-Tijera
-Silicon
-Cintillo
Materials I used:
-Foamis
-Scissors
-Silicon
-Cintillo
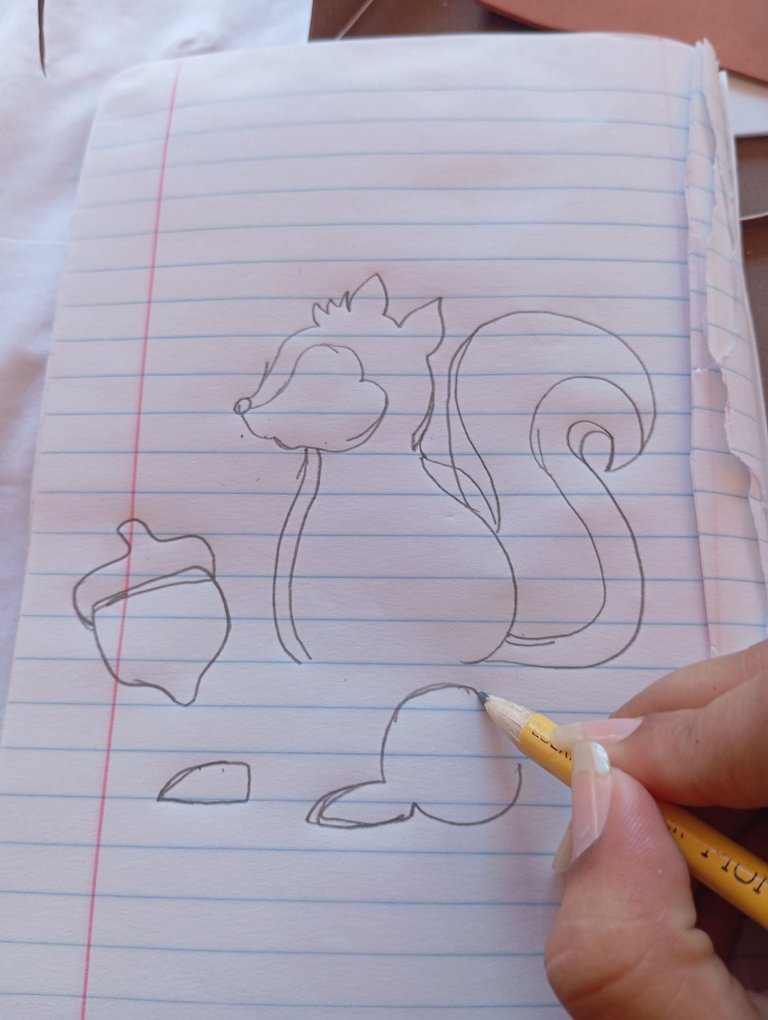
A continuación los pasos a seguir:
Iniciaremos primeramente realizando un patrón el cuál lleva inspirado una pequeña ardilla y una nuez así
Here are the steps to follow:
We will start firstly making a pattern which takes inspired a little squirrel and a walnut like this.
Luego vamos a continuar en este siguiente paso tomando nuestras piezas (patrón) vamos a marcar , para la ardilla trabaje con marrón , blanco y color piel , al igual que para la nuez , marrón y color piel
Then we will continue in this next step taking our pieces (pattern) we will mark, for the squirrel work with brown, white and skin color, as well as for the walnut, brown and skin color
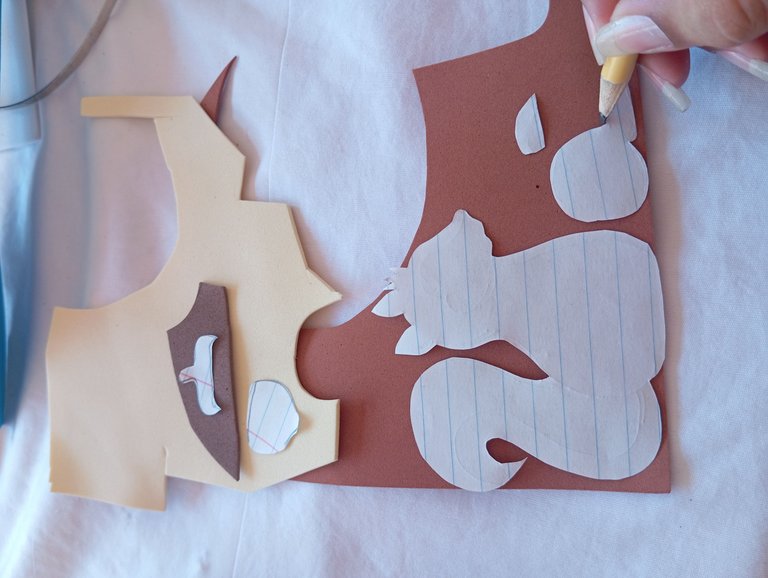
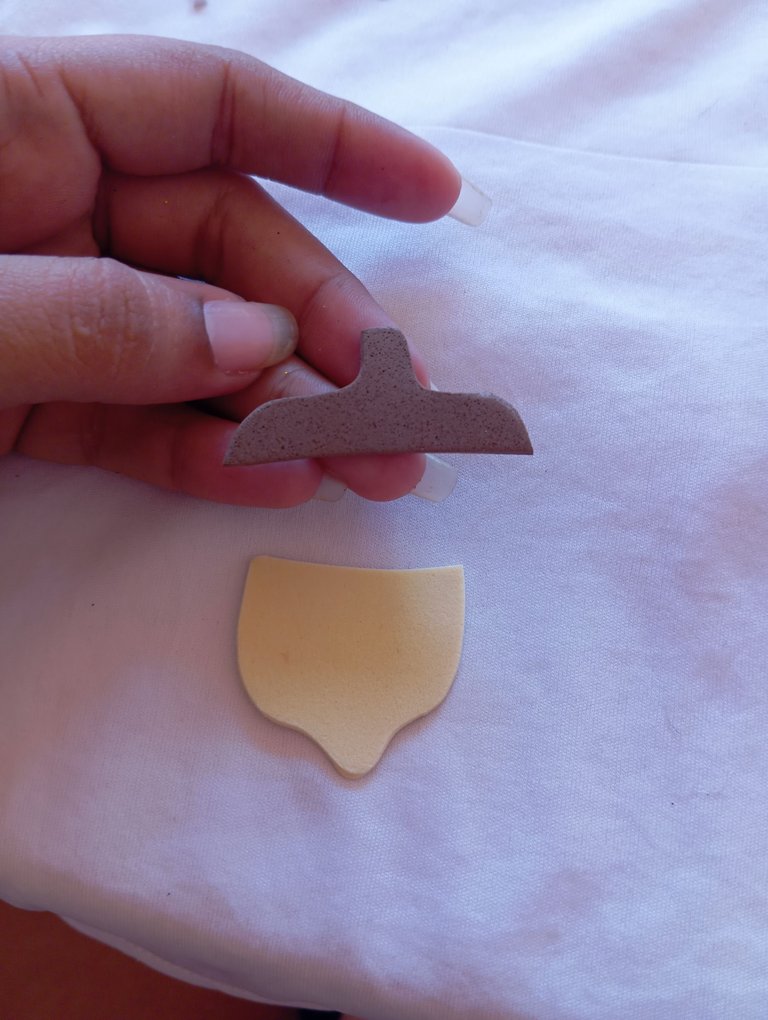
Una vez que marcamos las piezas en el paso anterior, vamos a continuar tomando nuestra tijera y recortando cada una (ardilla, pelaje blanco , rostro, y por último la nuez )
Once we marked the pieces in the previous step, we will continue by taking our scissors and cutting out each one (squirrel, white fur, face, and finally the walnut)

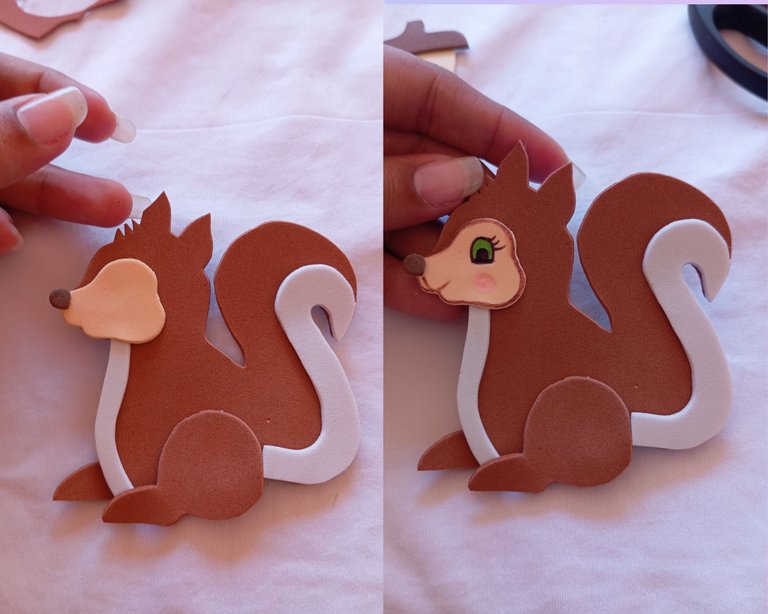
A continuación vamos a proceder pegando y formando nuestra ardilla, comenzamos pegando su rostro color piel , luego bajamos a pegar su pelaje blanco en la barriga y la cola , por último sus patas , seguidamente continuamos pintando su ojo color verde con negro y sus mejillas coloradas , (como se encuentra en posición de lado únicamente realizamos un ojo)
Next we are going to proceed gluing and forming our squirrel, we start by gluing its skin colored face, then we go down to glue its white fur on the belly and tail, finally its legs, then we continue painting its green eye with black and its colored cheeks, (as it is in sideways position we only make one eye).
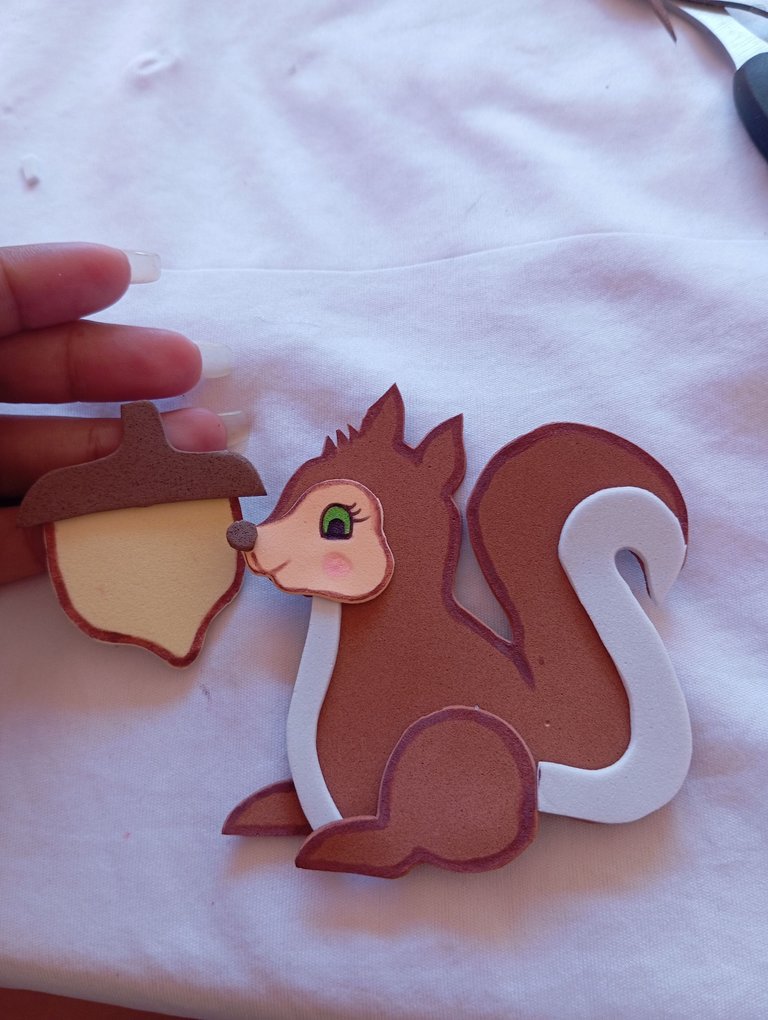
Seguidamente continuaremos pegando la nuez , al mismo tiempo tomando lápiz color y retocando los bordes de ambos diseños (nuez y ardilla) de esta manera resaltará el diseño
Next we will continue pasting the nut, at the same time taking color pencil and retouching the edges of both designs (nut and squirrel) in this way will highlight the design.
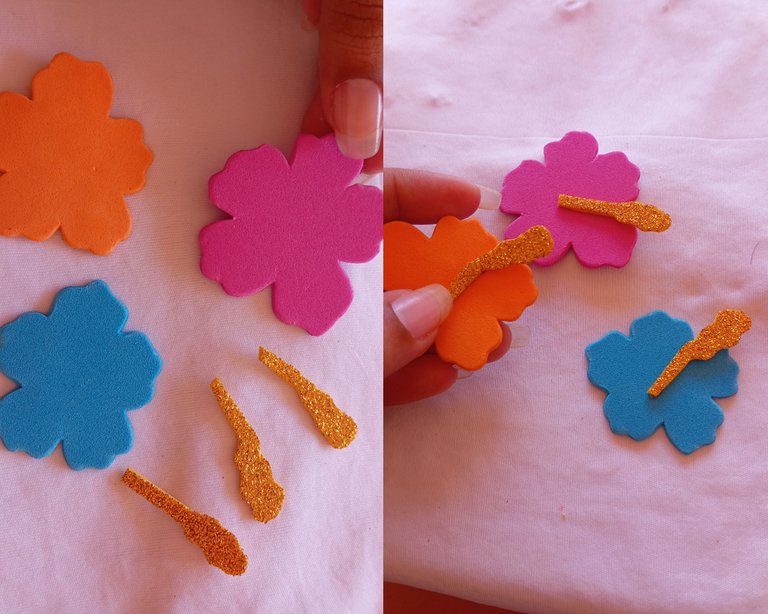
A continuación vamos a proceder recortando tres flores tipo hawaiana de diferentes colores para que se vea más llamativo
Next we will proceed by cutting out three different colored Hawaiian flowers to make it look more eye-catching.
Seguidamente vamos a continuar tomando dos tiras de foamis del color de nuestra preferencia, en esta ocasión utilicé amarillo y dorado , comenzamos pegando desde una esquina y procedimos enrollando cuidadosamente para que se quede los dos colores uno al lado del otro
Next we are going to continue taking two strips of foamis of the color of our preference, this time I used yellow and gold, we start gluing from one corner and proceeded rolling carefully to keep the two colors side by side.

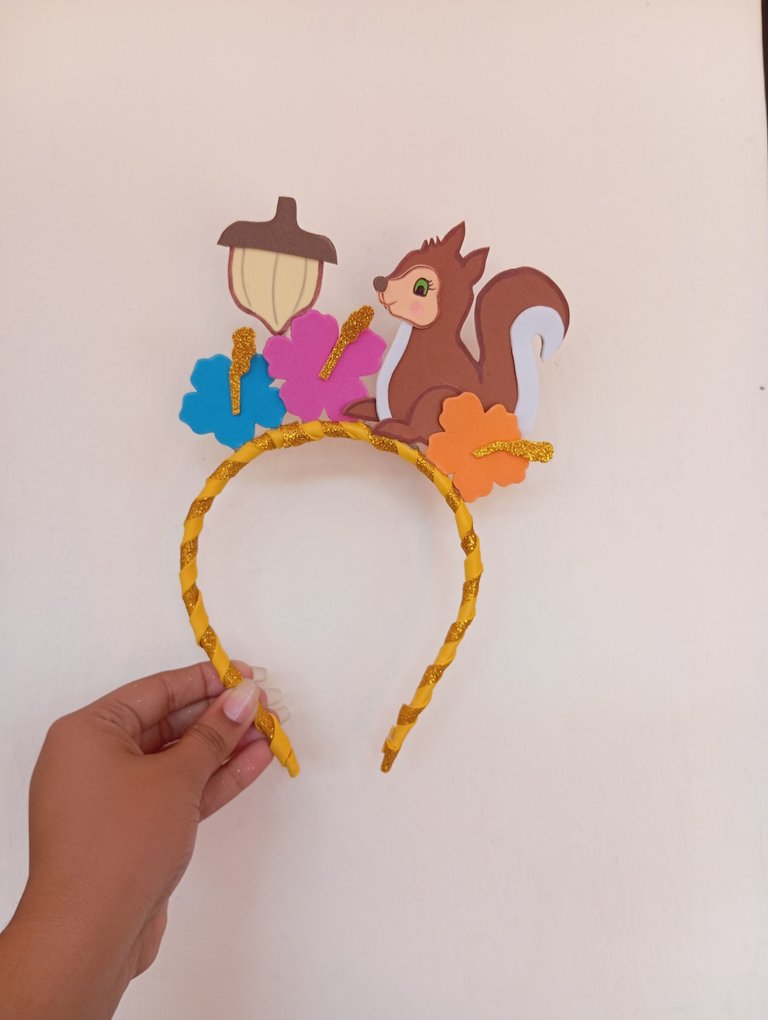
Una vez listo nuestro Cintillo y nuestro diseño , vamos a continuar pegando las dos flores en una esquina, arriba la nuez , y en el otro lado la ardilla y la flor
Once our headband and our design are ready, we will continue gluing the two flowers in one corner, the walnut on top, and the squirrel and the flower on the other side.
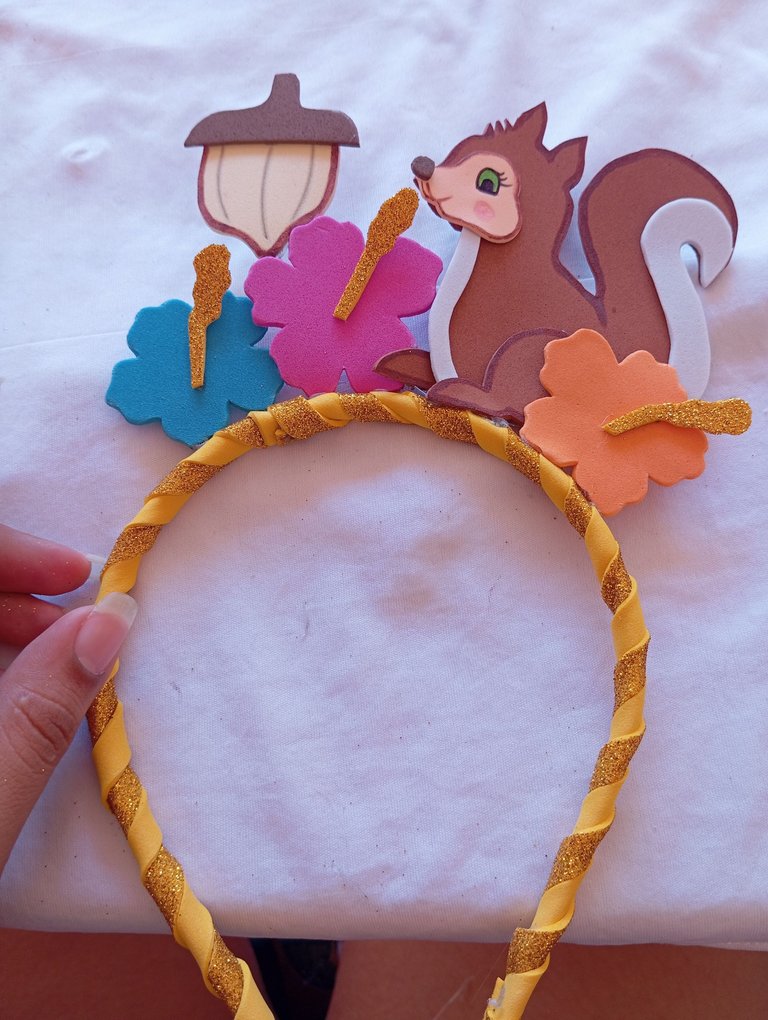
Este es el resultado final de mi hermosa Diadema, espero les guste y sea de motivo a seguir para ustedes , lo realicé con mucho amor como todo lo que hago
Créditos: las fotos las tomé con mi redmi 12 y traduje los textos con el traductor deepl, feliz noche para todos amigos
This is the final result of my beautiful headband, I hope you like it and I hope you like it, I made it with a lot of love like everything I do.
Credits: the photos were taken with my redmi 12 and I translated the texts with the deepl translator, happy evening to all friends
Muy creativa genial para los carnavales escolares como accesorios para las niñas de la casa.
The hair band you made is really amazing. I like hair bands like this a lot. Especially when you make it yourself, it looks a little more beautiful.