Hola buenas tardes amigos de la comunidad,feliz fin de semana espero que se encuentren bien, e estado un poco ausente porque la semana la tengo full trabajo, aprovecho la oportunidad para compartirles un accesorio para el cabello ideal para nuestras princesas, espero les guste es muy lindo, delicado y fácil de realizar
Hello good afternoon friends of the community, happy weekend I hope you are well, I have been a little absent because the week I have full work, I take the opportunity to share an ideal hair accessory for our princesses, I hope you like it is very nice, delicate and easy to perform.
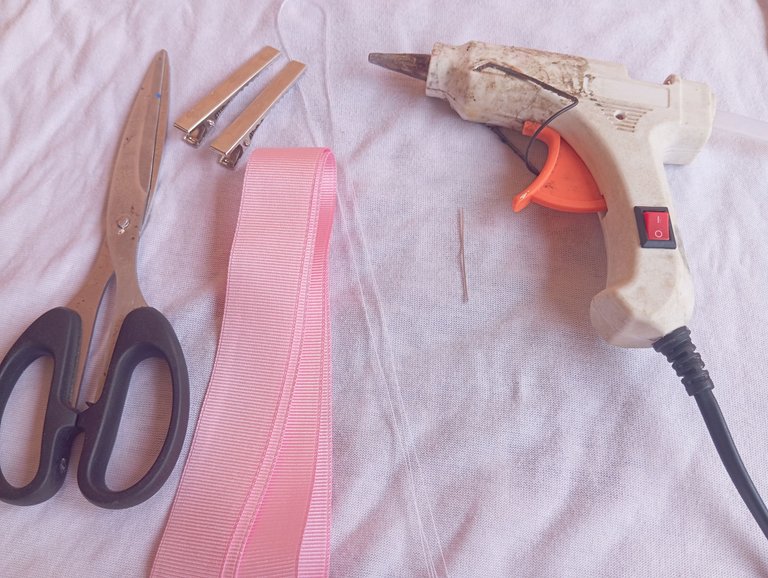
Materiales qué utilice :
-Cinta gruesa
-Cinta delgada
-Pelota de pelusa
-Pinzas
-Tijera
-Silicon
-Hilo y aguja
Materials I used:
-Thick ribbon
-Thin ribbon
-Lint ball
-Tweezers
-Scissors
-Silicon
-Thread and needle
A continuación los pasos a seguir :
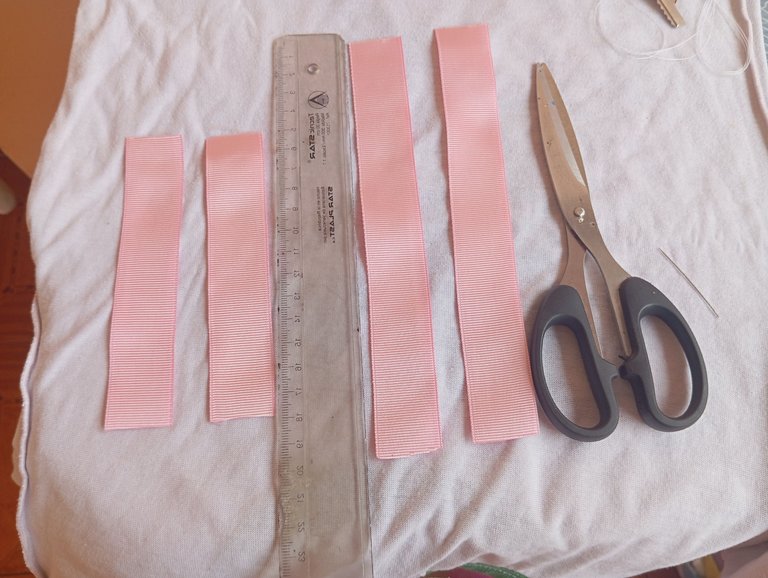
Iniciaremos tomando nuestra cinta y la recortaremos en cuatro piezas , dos serán de 20 centímetros y las otras dos de 13 centímetros, utilizaremos dos cintas por cada pinza
Here are the steps to follow:
We will start by taking our ribbon and cut it into four pieces, two will be 20 centimeters and the other two will be 13 centimeters, we will use two ribbons for each clamp.
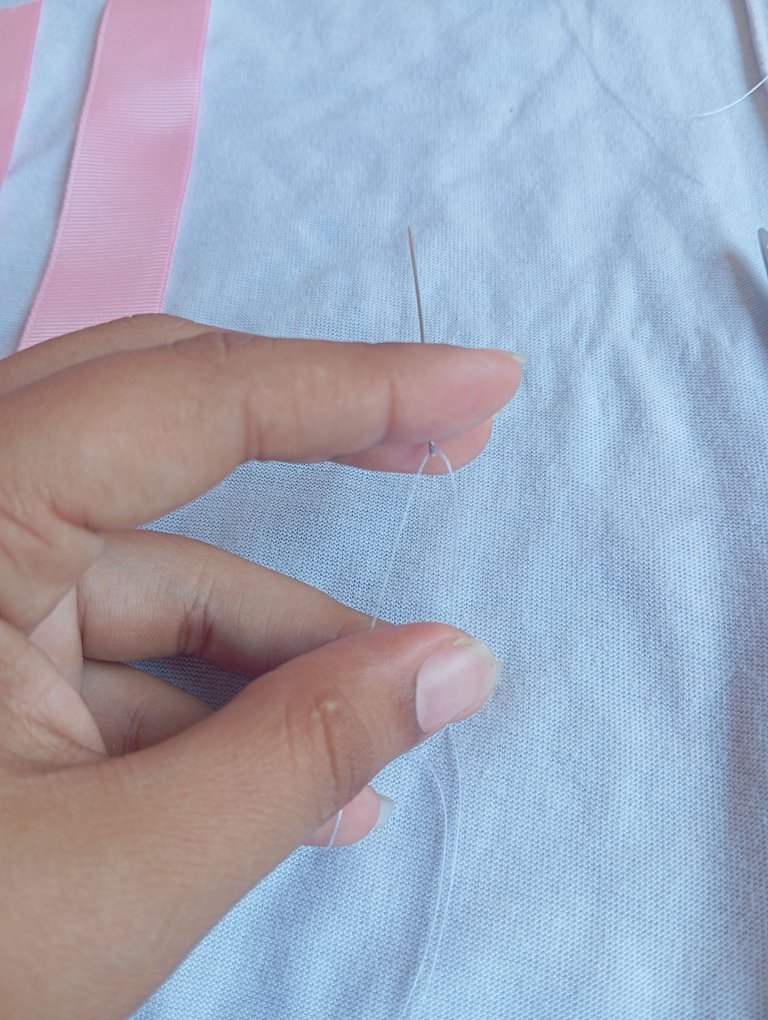
Una vez que tengamos lista nuestra cinta vamos a proceder tomando nuestra aguja e introduciremos el hilo para proceder a realizar el diseño de nuestras pinzas
Once we have our ribbon ready we will proceed to take our needle and introduce the thread to proceed to make the design of our tweezers.
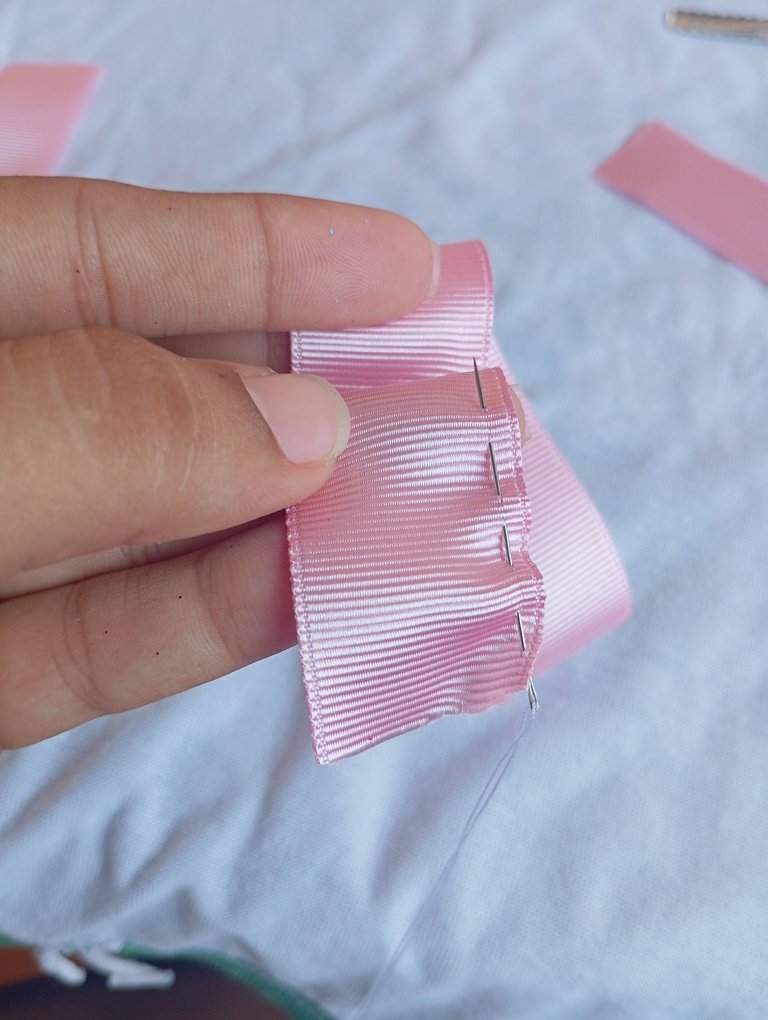
A continuación vamos a proceder tomando nuestros 20 centímetros de cinta y comenzaremos a introducir la aguja con el hilo de forma punto salteada como si fueramos a realizar un basteado
Next we are going to proceed taking our 20 centimeters of ribbon and we will begin to introduce the needle with the thread in a skipped stitch as if we were going to make a baste.
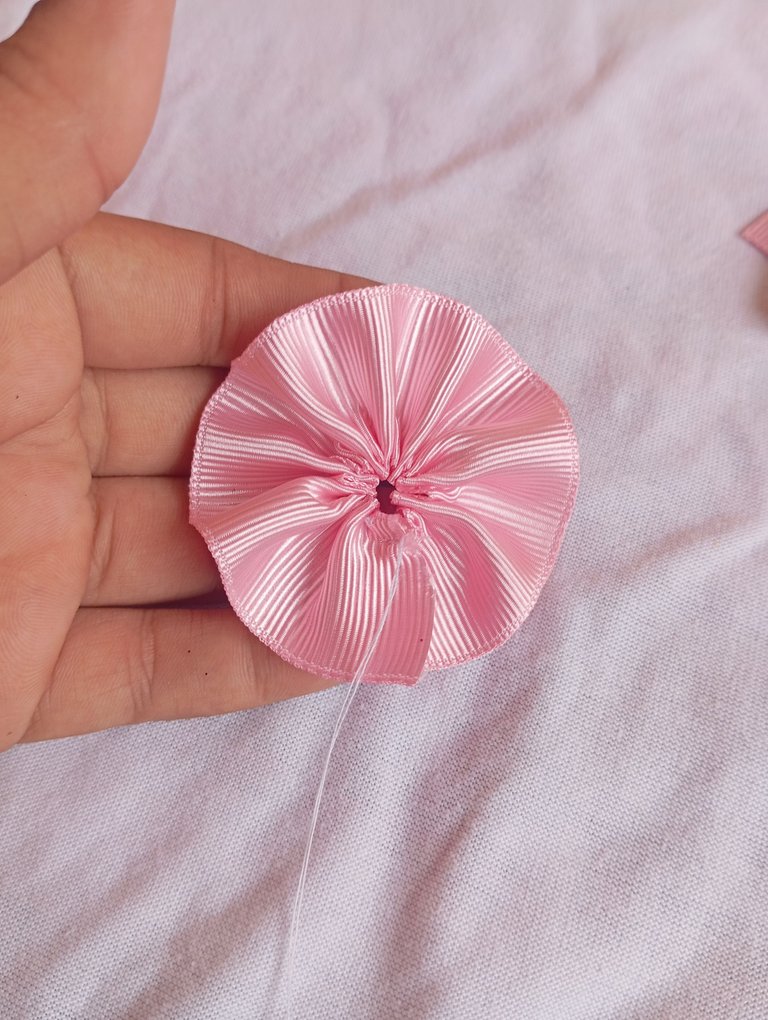
Una vez que lleguemos al final de la costura vamos a proceder jalando el hilo y realizando un forma similar a un círculo moldeado como pueden apreciar
Once we get to the end of the seam we will proceed pulling the thread and making a shape similar to a molded circle as you can see.
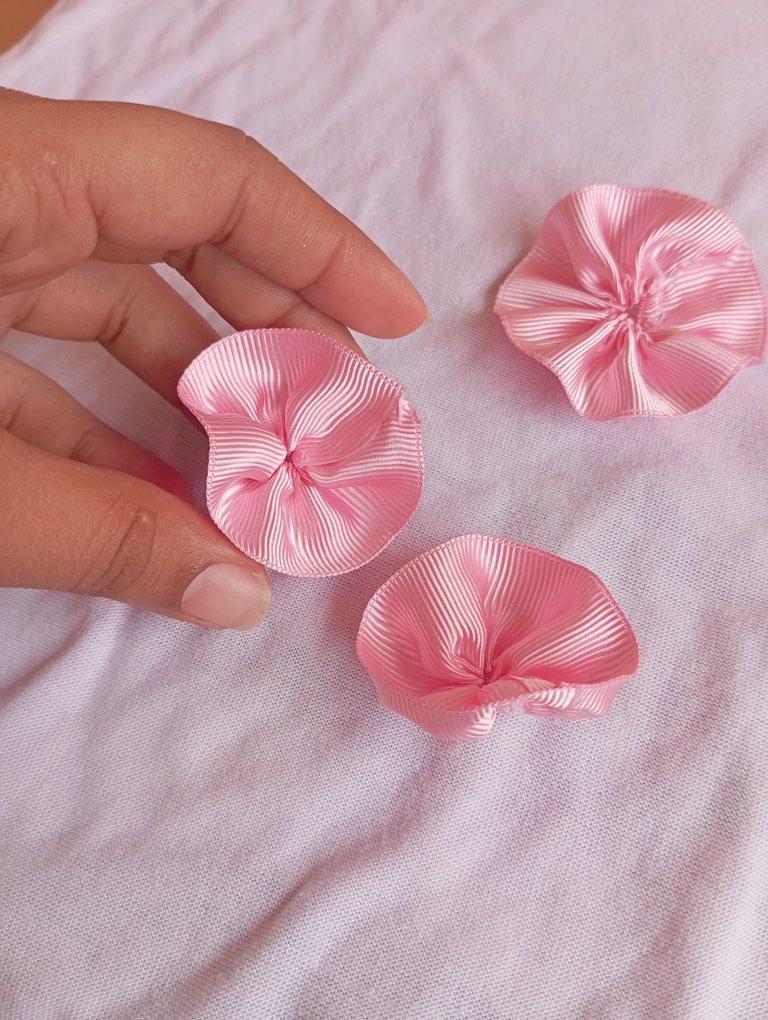
Luego de la misma manera que realizamos las piezas que vamos a hacer con la cinta pequeña de 13 centímetros, hacemos una costura tipo basteado y jalamos formando una pieza más pequeña que la primera
Then in the same way that we made the pieces we are going to make with the small 13 centimeter ribbon, we make a baste stitch and pull forming a smaller piece than the first one.
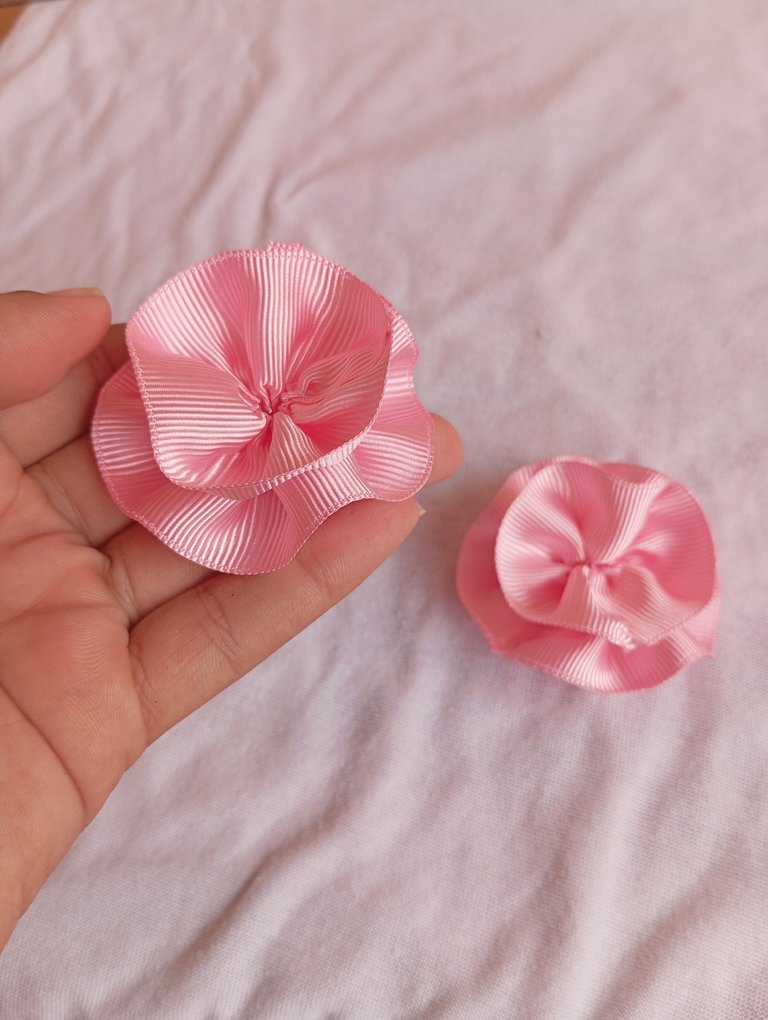
Luego continuaremos pegando nuestro diseño más pequeño encima del más grande, que quede en todo el centro
Then we continue gluing our smaller design on top of the larger one, so that it is in the center.
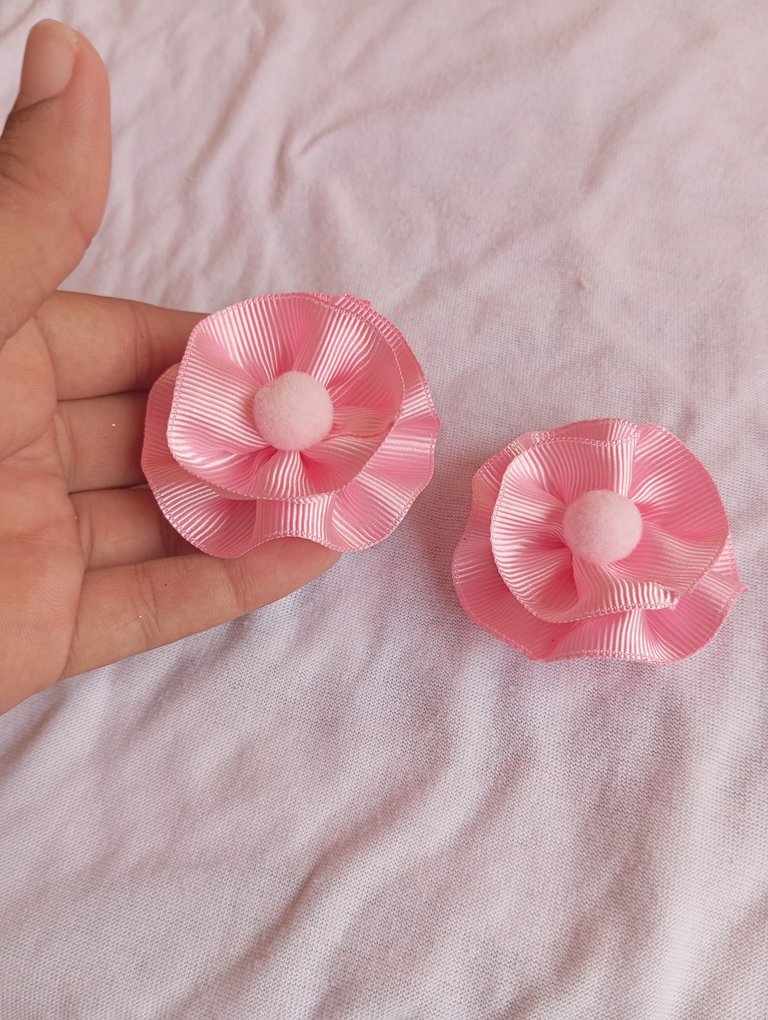
Para finalizar con mi diseño de accesorio vamos a proceder pegando en el centro una pelota de pelusa para que le dé un toque diferente y llamativo
To finish with my accessory design we will proceed by gluing a fluff ball in the center to give it a different and striking touch.
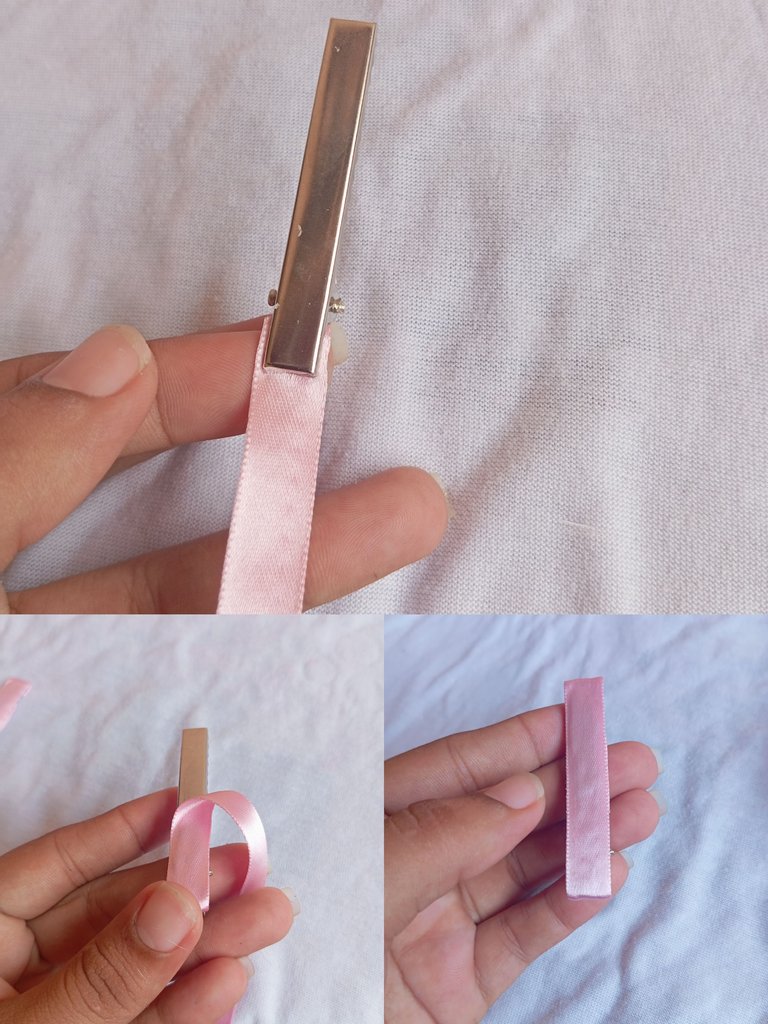
A continuación vamos a proceder en este siguiente paso decorando las pinzas , tomaremos una cinta delgada del mismo color (olvide colocarla al principio de los materiales) vamos a comenzar pegando la cinta desde la parte de abajo de la pinza , luego continuaremos pegando por arriba de la pinza hasta cubrir la por completo como pueden apreciar
Next we are going to proceed in this next step decorating the clothespins, we will take a thin ribbon of the same color (forget to place it at the beginning of the materials) we will start gluing the ribbon from the bottom of the clothespin, then we will continue gluing on top of the clothespin until we cover it completely as you can see.
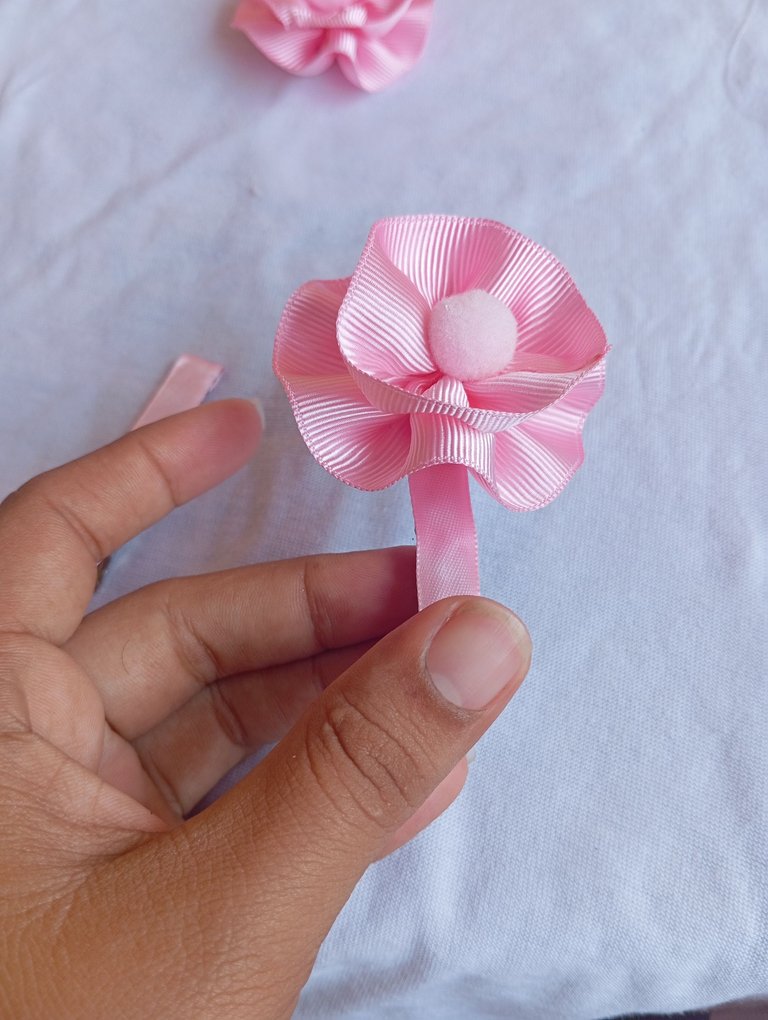
Una vez lista la pinza y el diseño de nuestro accesorio, continuaremos pegando en una parte que va hacia la punta de nuestra pinza, finalizando nuestro accesorio
Once the clamp and the design of our accessory are ready, we will continue gluing in a part that goes towards the tip of our clamp, finishing our accessory.
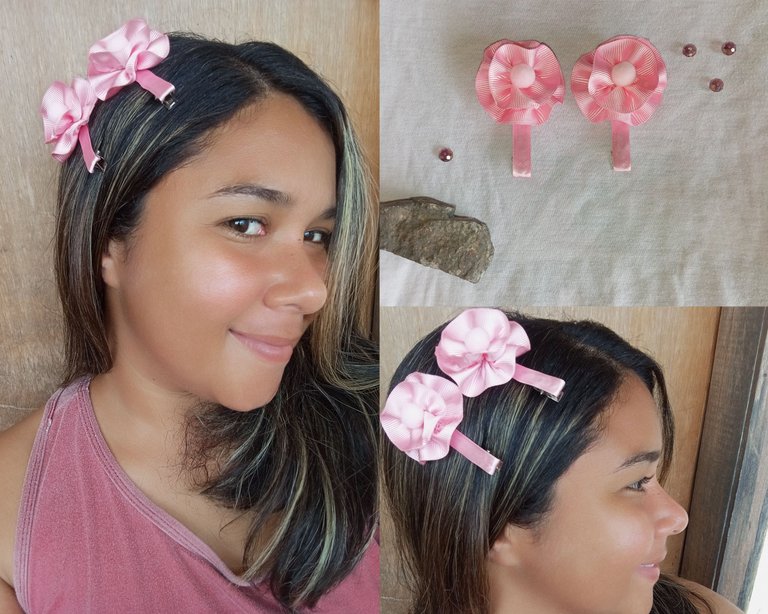
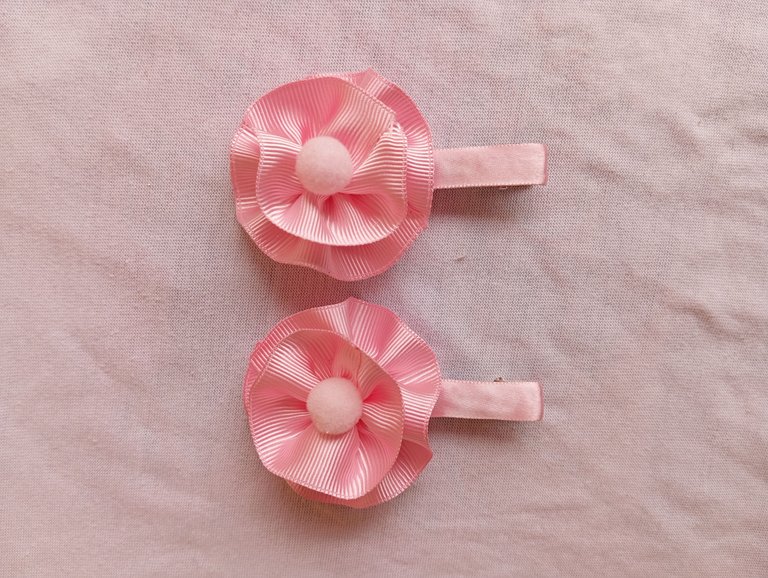
Resultado final: así fue como realicé mis lindos y delicados accesorios para el cabello , ideal para una tarde casual o una noche elegante amigos
Créditos: las fotos las tomé con mi redmi 12 y traduje los textos con el traductor deepl, hasta la próxima
Final result: this is how I made my cute and delicate hair accessories, ideal for a casual afternoon or an elegant evening with friends.
Credits: the pictures were taken with my redmi 12 and I translated the texts with the deepl translator, see you next time.
Cierto se ven muy bonitos, el color rosa le da ese toque sutil y delicado. Saluditos.
Gracias amiga feliz tarde
Están muy benitos y delicados. Buen trabajo. Gracias por compartir en nuestra comunidad.
!discovery 40
Gracias amiga por apreciarlo
This post was shared and voted inside the discord by the curators team of discovery-it
Join our Community and follow our Curation Trail
Discovery-it is also a Witness, vote for us here
Delegate to us for passive income. Check our 80% fee-back Program
Wow! Your hair accessories look so nice and your tutorial was great as every step was simplified. Great job!
thank you for appreciating my work
Congratulations @jorgelissanchez! You have completed the following achievement on the Hive blockchain And have been rewarded with New badge(s)
Your next target is to reach 3750 replies.
You can view your badges on your board and compare yourself to others in the Ranking
If you no longer want to receive notifications, reply to this comment with the word
STOPThe color is very nice, you did a nice work and it a creativity, keep it up.
thank you I did it with a lot of love
Nice accessories, I love it dear friend 💖🙋🙋
Thanks My Friends