🇬🇧 English 🇬🇧
WELCOME ❤️
Hello #hive friends happy Sunday!! What a pleasure to be with you again in a new publication.
Greetings dear #jelwery community!! I am new to publishing in this community, I introduce myself, my name is Joviannys Gabriela, it is a pleasure to be here with you sharing a little of my hobby, crafts.
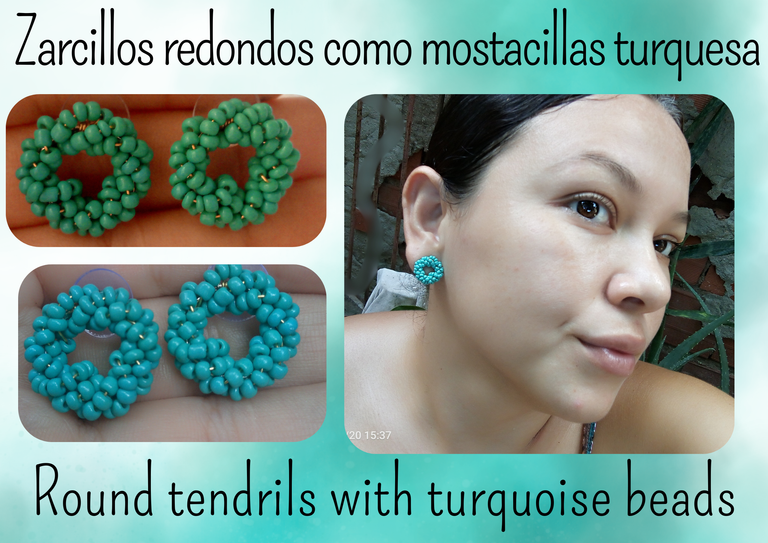
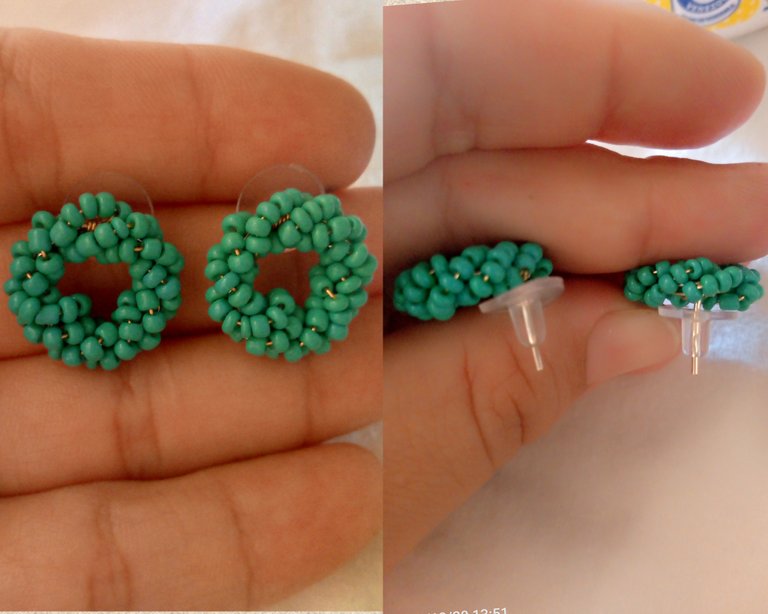
Today I present this project to you, they are round earrings adorned with turquoise beads, ideal for a day at the beach, out for a walk, they are very comfortable and cool earrings and anyone who uses them will attract attention.
It is a very simple step by step, with few materials and creativity you can make this piece, without anything else to say we begin the manufacturing process.
🇪🇦 Español 🇪🇦
BIENVENIDOS ❤️
Hola amigos de #hive feliz domingo!! Que placer estar de nuevos con ustedes en una nueva publicación.
Saludo querida comunidad de #jelwery !! Soy nueva publicando en esta comunidad, me presento me llamo Joviannys Gabriela, es un placer estar aqui con ustedes compartiendo un poco de mi pasatiempo, las manualidades.
Hoy le presento este proyecto, son unos zarcillos redondos adornados con mostacillas en color turquesa ideales para un dia de playa, de paseo, son unos zarcillos muy comodos y cool y cualquiera que los utilice llamara la atencion.
Es un paso a paso muy sencillos, con pocos materiales y creatividad se puede realizar está pieza, sin mas nada que decir empezamos con el procesó de elaboración.
🇬🇧 English 🇬🇧
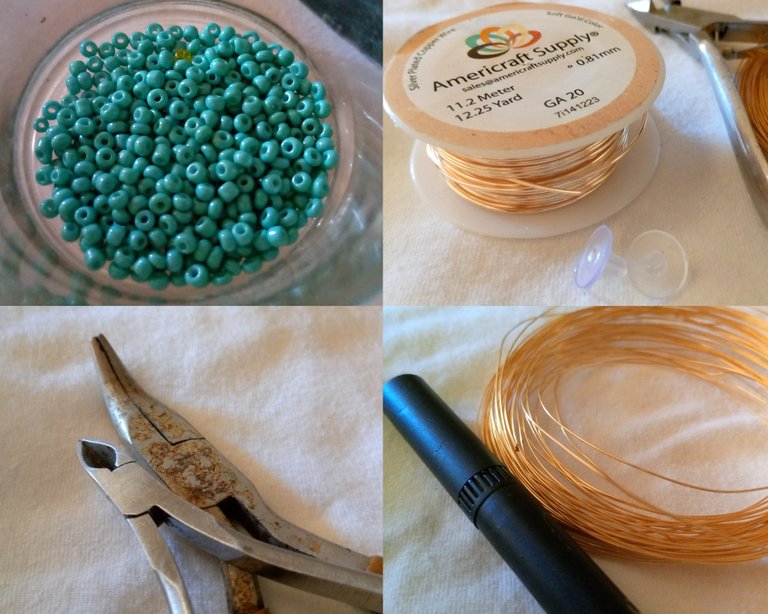
MATERIALS
▪️Turquoise bead
▪️Wire #20
▪️Wire #26
▪️Madril of measurements
▪️Cutting clamp
▪️Flat clamp
▪️Lids for tendrils
🇪🇦 Español 🇪🇦
MATERIALES
▪️Mostacilla color turquesa
▪️Alambre #20
▪️Alambre #26
▪️Madril de medidas
▪️Pinza de cortar
▪️Pinza plana
▪️Tapas para zarcillos
🇬🇧 STEPS / 🇪🇦 PASOS
🇬🇧 English 🇬🇧
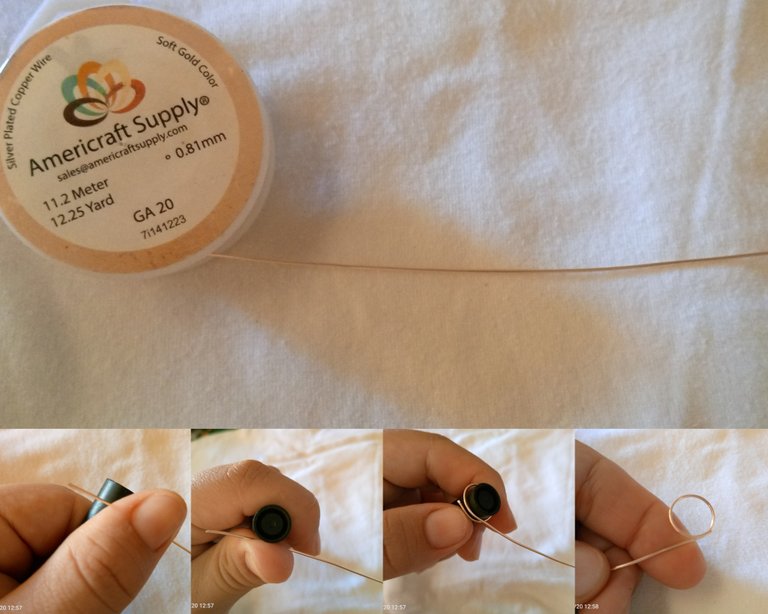
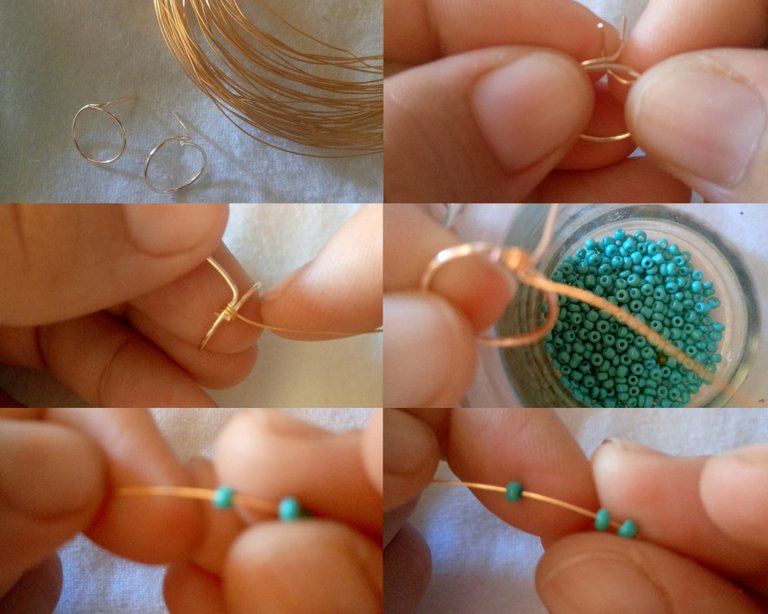
1_ We take the #20 wire straight from the roll and stretch it, with the mandrel (in this case I use a marker replacing the mandrel) and the wire we make a circle. We take the wire firm and wrap it around the marker to make the circle on it, as seen in the image.
🇪🇦 Español 🇪🇦
1_ Tomamos el alambre #20 directo del rollo y estiramos, con el mandril (en este caso yo utilizo un marcador sustituyendo el mandril) y el alambre hacemos uno círculo. El alambre lo tomamos firme y lo enrrolamos en el marcador para hacer el círculo sobre este, como se observa en la imagen.
🇬🇧 English 🇬🇧
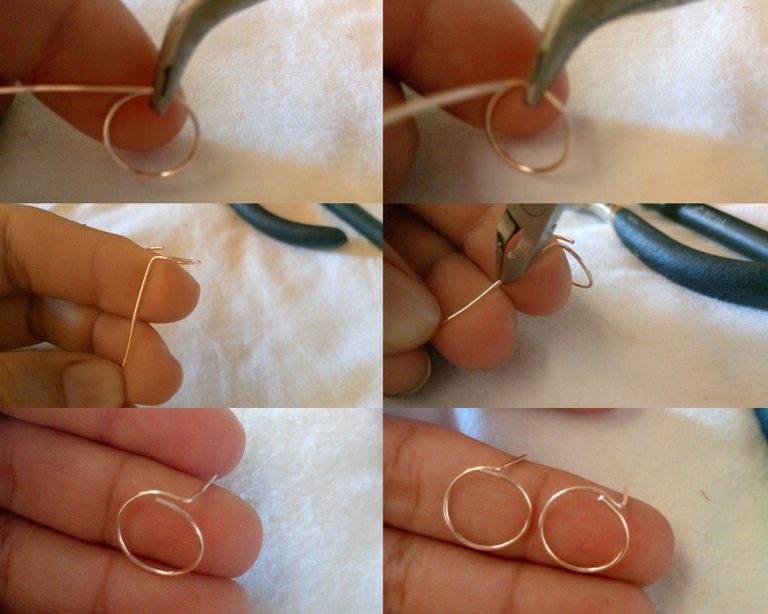
2_ Once you have the circle, take the flat clamp and make the wire break vertically, this will be the holder of the tendril. It is cut leaving approximately 1 cm long (I measure it with the thickness of my finger), as seen in the image.
🇪🇦 Español 🇪🇦
2_ Ya teniendo el círculo, tomanos la pinza plana y hacemos el quiebre del alambre en vertical, este sera el sujetador del zarcillo. Se corta dejando 1 cm aproximadamente de largo (yo lo mido con el grueso de mi dedo), como se observa en la imágen.
🇬🇧 English 🇬🇧
3_ Having the two bases of the tendrils ready, we take 1 meter of #26 wire, and we wind a little to the base so that it is very firm, in the rest of the wire we begin to introduce the beads to begin the winding.
🇪🇦 Español 🇪🇦
3_ Teniendo las dos bases de los zarcillos lista, tomamos 1 metro de alambre #26, y enrrollamos un poco a la base que quede muy firme, en el resto del alambre empezamos a introducir las mostacillas para incial el enrrollado.
🇬🇧 English 🇬🇧
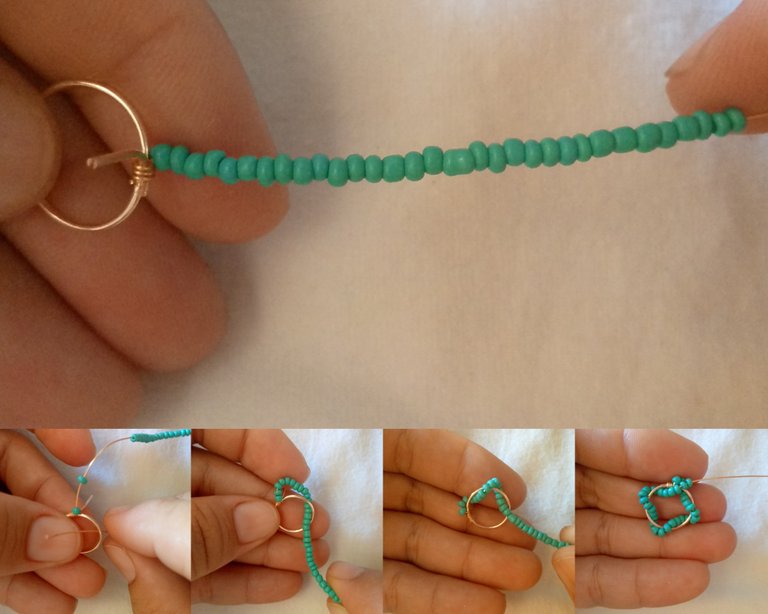
4_ We make a first turn around the ring, leaving space between each turn.
🇪🇦 Español 🇪🇦
4_ Damos una primera vuelta al aro dejando espacio entre cada vuelta.
🇬🇧 English 🇬🇧
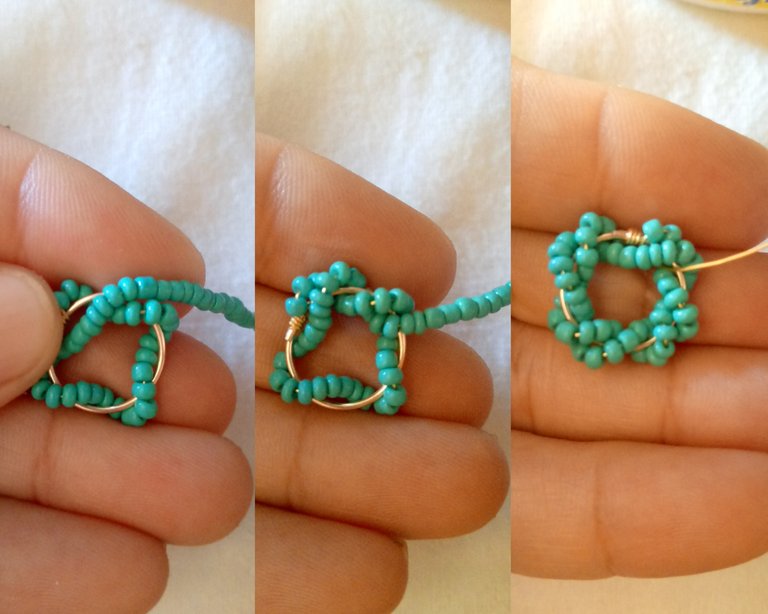
5_ We start the second round next to the first row of beads that we made previously, and we turn the hoop.
🇪🇦 Español 🇪🇦
5_ La segunda vuelta la empesamos al lado de la primera fila de mostacillas que hicimos anteriormente, y damos vuelta al aro.
🇬🇧 English 🇬🇧
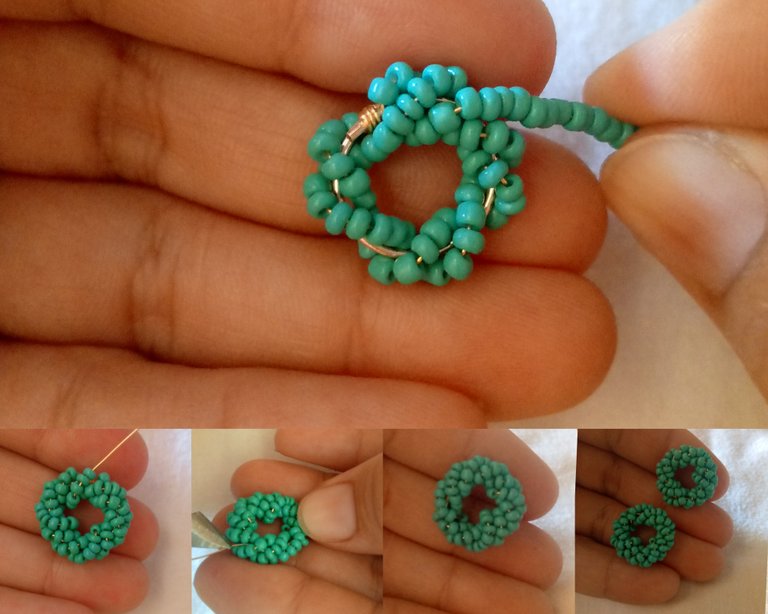
6_ We finish by taking the last lap in the space between the two rows we did previously. The loop is closed and the excess wire is cut, as seen in the image.
🇪🇦 Español 🇪🇦
6_ Terminamos dando la última vuelta en el espacio que queda entra las dos fila que hicimos anteriormente. Se cierra la vuelta y se corta el exedente de alambre, como se observa en la imagen.
🇬🇧 English 🇬🇧
7_ We finish by placing the lids on the tendrils and ready to use.
🇪🇦 Español 🇪🇦
7_ Terminamos colocándole las tapa a los zarcillos y listos para usar.
🇬🇧 English 🇬🇧
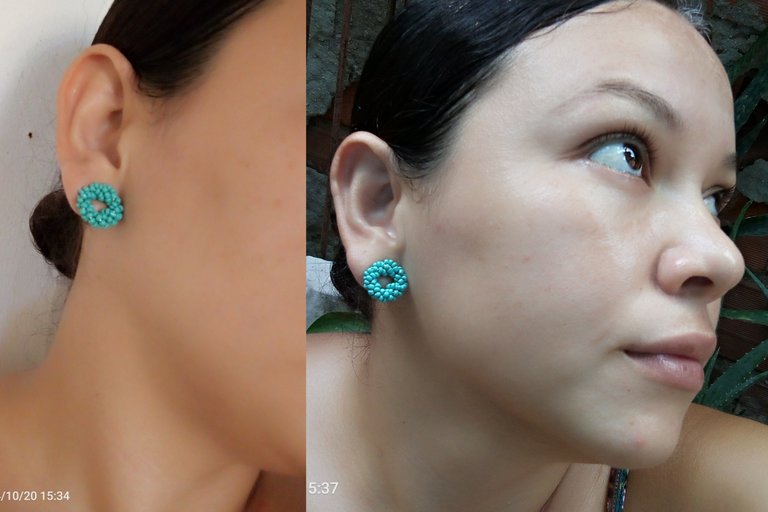
And this is how beautiful and fresh these turquoise tendrils are, I hope you like them, I made them with a lot of love.
🇪🇦 Español 🇪🇦
Y asi de hermosos y frescos quedan estos zarcillos color turquesa, espero que les guste, los hice con mucho amor.

🇬🇧 See you in a next post
🇪🇦 Nos vemos en una próxima publicación!

🇬🇧
Resources:
canvas
photo collage
Infinix smartphone
Translated with www.deepl.comOriginal content from the author @joviannyss
🇪🇦
Recursos:
canva
Foto collage
Telefono inteligente Infinix
Traducido con www.deepl.comContenido original del autor @joviannyss
Te damos la bienvenida a la comunidad, nos encanta tener gente creativa, estos zarcillos están muy originales y las piedras usadas el color turquesa es hermoso, lo hacer parecer un sencillo de realizar, felicidades.
Te invitamos a leer las reglas de la comunidad donde una de ellas es que los postvdeben ser mayores a 950 palabras en dos idiomas, por favor tómalo en cuenta para próximas publicaciones 😉, bienvenida sigue creando.
Gracias por la bienvenida!. No ví las reglas🫢, me tomaré mi tiempo de leerlas.
Wowrhis is so lovely.
Weldone dear
So lovely dear
Congratulations @joviannyss! You have completed the following achievement on the Hive blockchain And have been rewarded with New badge(s)
Your next target is to reach 200 upvotes.
You can view your badges on your board and compare yourself to others in the Ranking
If you no longer want to receive notifications, reply to this comment with the word
STOPSo beautiful 😍