(ENG)
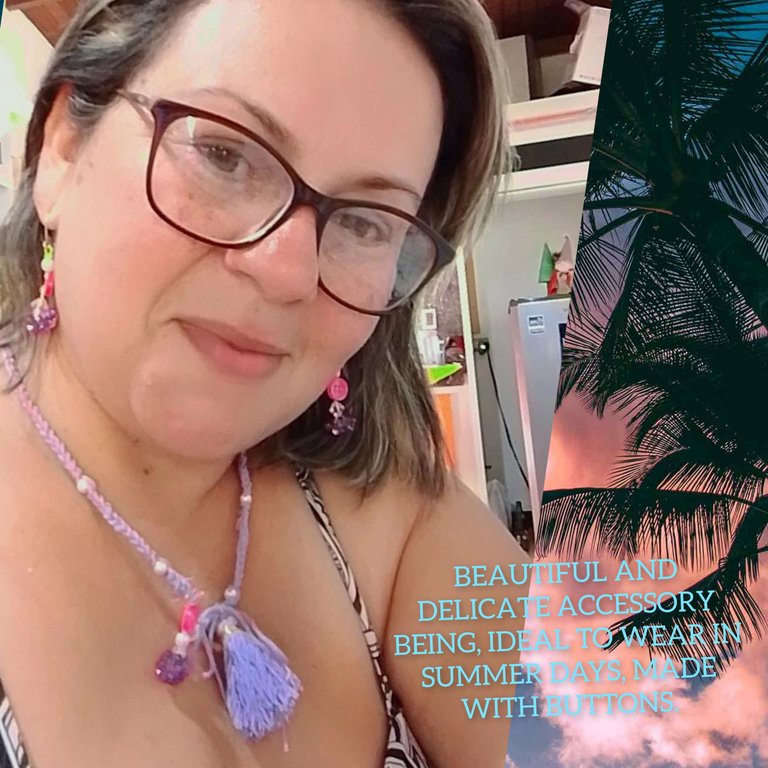
Hello everyone, in this great community of good creators @jewelry, I am pleased to start this year, showing you a nice and very easy manual project, this time it is about a set of accessories, created with recyclable and useful material. , ideal for use on the beach and rivers, since its materials are resistant to water and sun, and will make you look very beautiful when using them. The invitation is to follow me and I show you how easy it is to create, inviting you to make your own, being able to make the combination of colors and buttons of your preference.
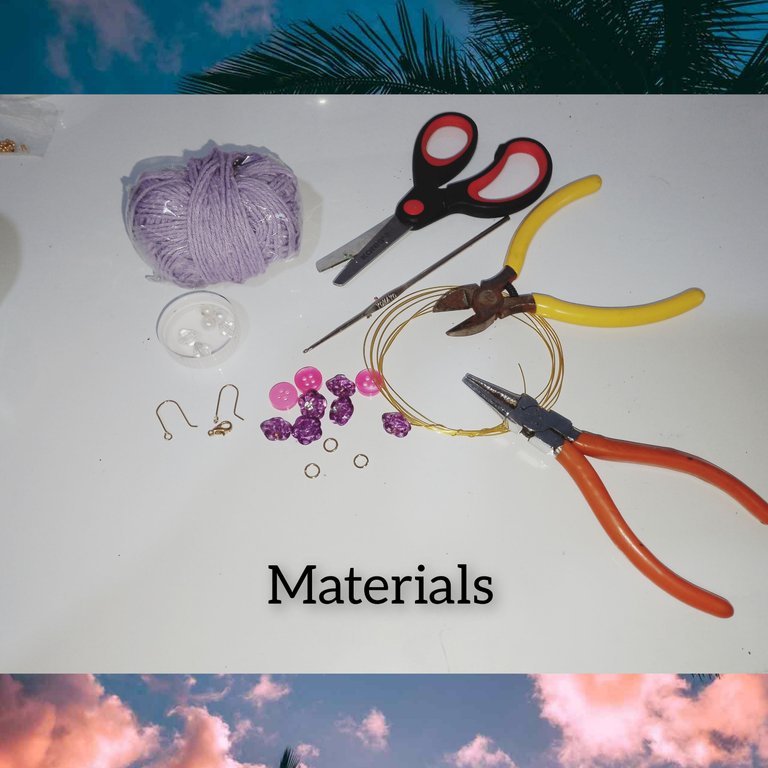
Materials used:
. Buttons, pink with four holes.
. Purple buttons, with a silver center with a pin, in the shape of small flowers.
. Wire.
. Yarn for knitting.
. Wire.
. Knitting needle.
. Pearls n10, white.
. Crystals n10.
. Jewelry tweezers.
. Scissors.
. Jewelry earrings.
. Hook for earrings.
Steps to follow:
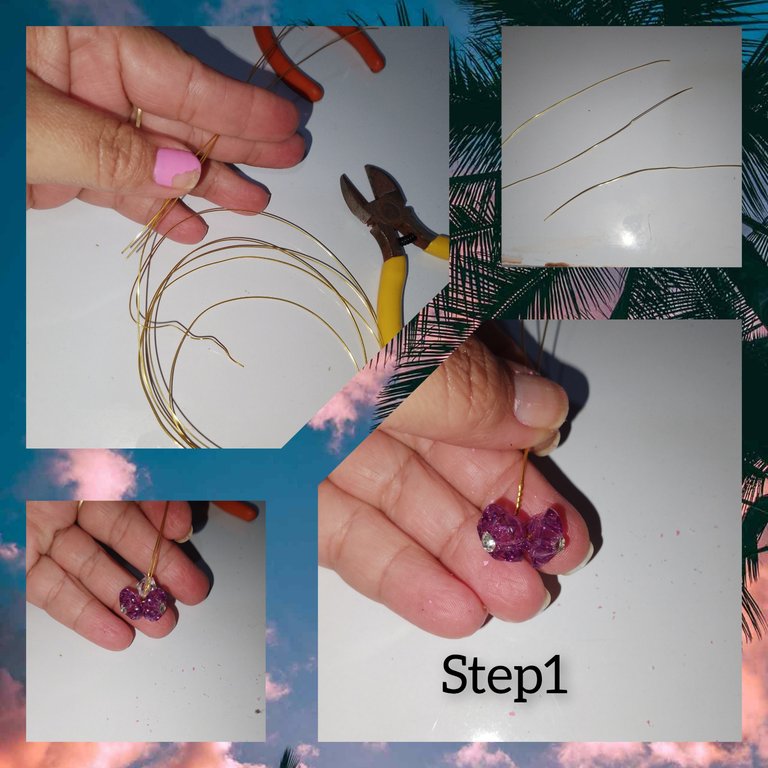
1.) Start by cutting three pieces of wire, equal in size. I start by inserting two flower buds in the center of the wire, after centering them, I turn the wire in a spiral, leaving the buds firmly fixed and trying to ensure that they face the outside.
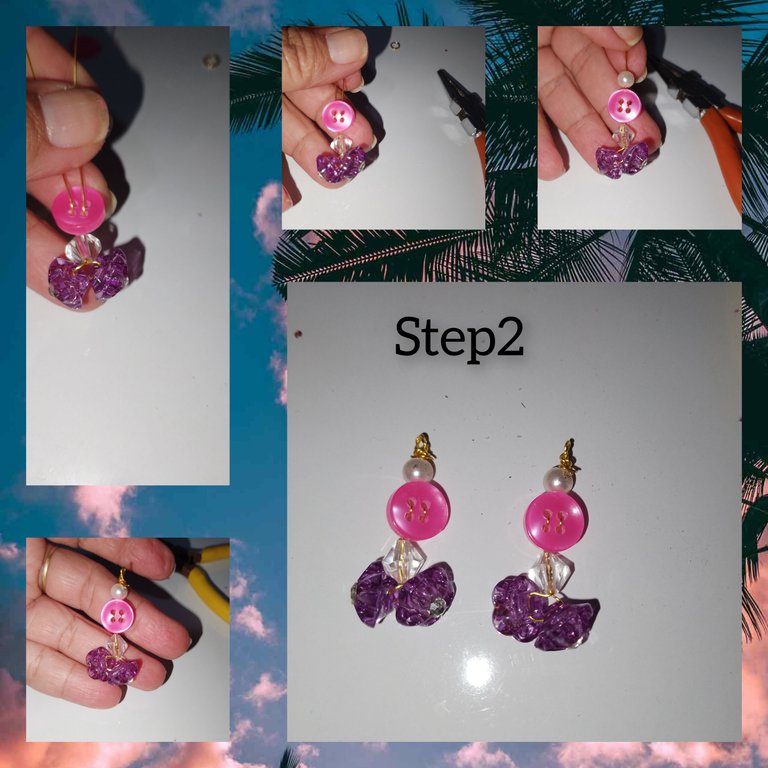
2.) I continue, placing a crystal, followed by a button, to this I place a CD, wire tip through a hole and continue in the following ones, leaving the wires in the back part, to follow the order of the idea, of For this project, in a way, I place a pearl and the remaining wire with it, and with the help of the round tip tweezers, I make a small earring. I repeat the process, to make the same one and complete the pair.
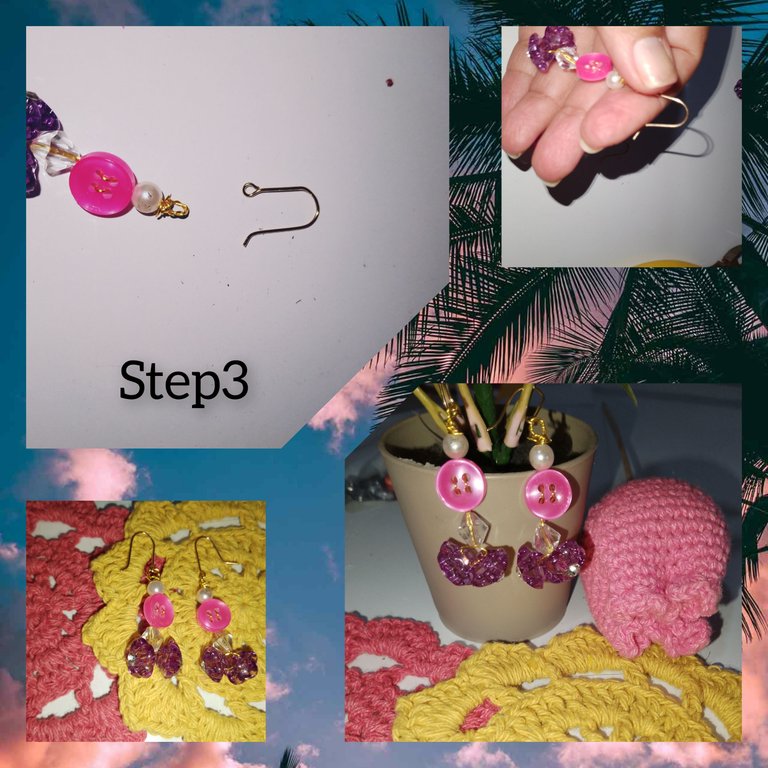
3.) For the next step, all that remains is to place the hooks. And in this way, the earrings of this cute set of accessories for summer are ready.
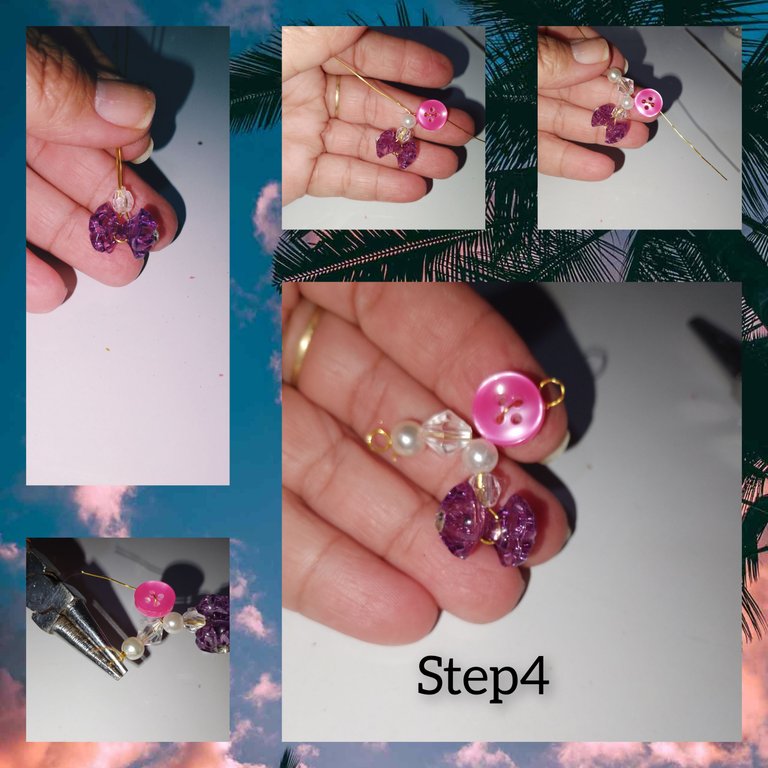
4.) I will use the last cut of wire, I place the two flower buttons, I repeat the process of going around several times, with both wires, I place a crystal followed by a pearl, I separated the wires, on one of the sides I place a button and I make a small earring using the round tip pliers and the next one, I place a crystal and a pearl, again I make a small earring.
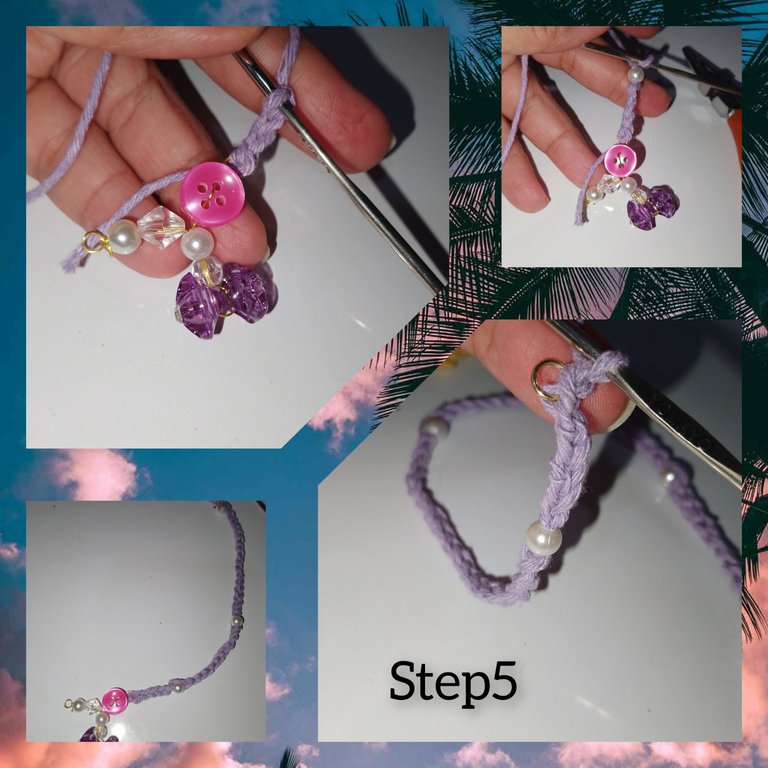
5.), I tie the thread at the first end, I knit seven chain stitches, with the help of the needle I introduce a pearl, I knit fifteen chain stitches and place a pearl, then fifteen and a pearl, I continue, I knit seven chain stitches and a new one pearl, reached the length of a first end, I knit five chain stitches and tie a jewelry earring. I finish off and cut the thread.
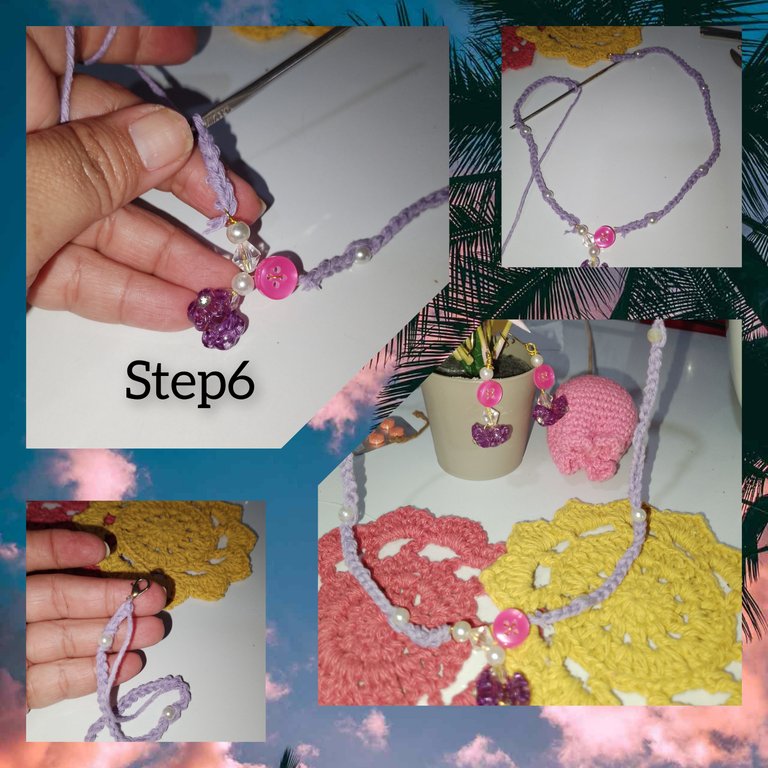
6.) I continue, weaving the next side of the cord, carrying out the same sequence of stitching and placement of beads, and at the end of this, I place the pin on this side, tying, considerably with twoknots.
7.) To make it more striking and attractive, with the knitting thread, I make twenty turns, around the union of the three central fingers of the hand, tie and leaving a centimeter, secure with wire, cut the strands in the inner part, he detached the threads from each strand of thread a little, to give it volume, and making one side tied it to the cord.
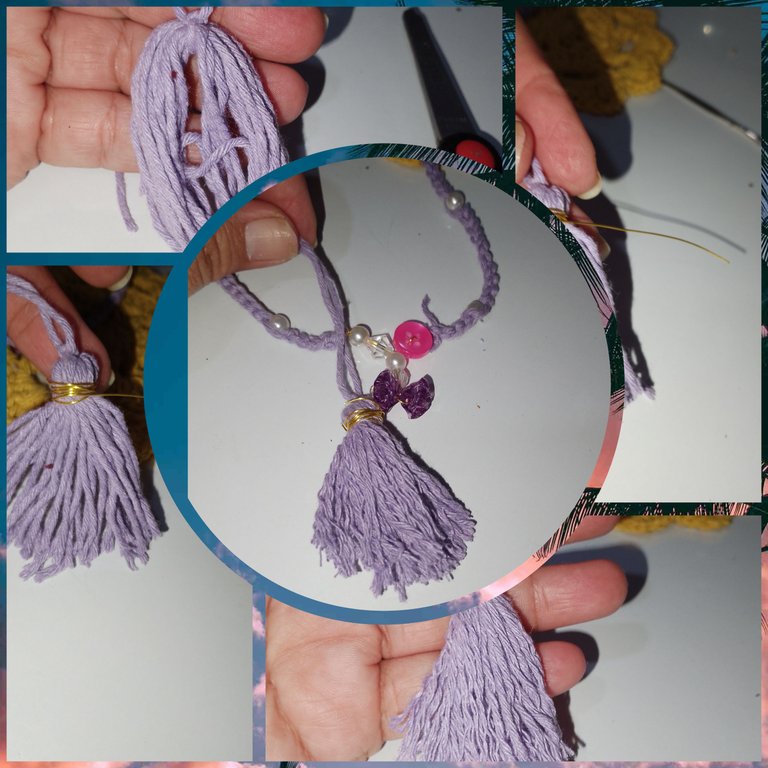
Leaving it like this, ready to show off.
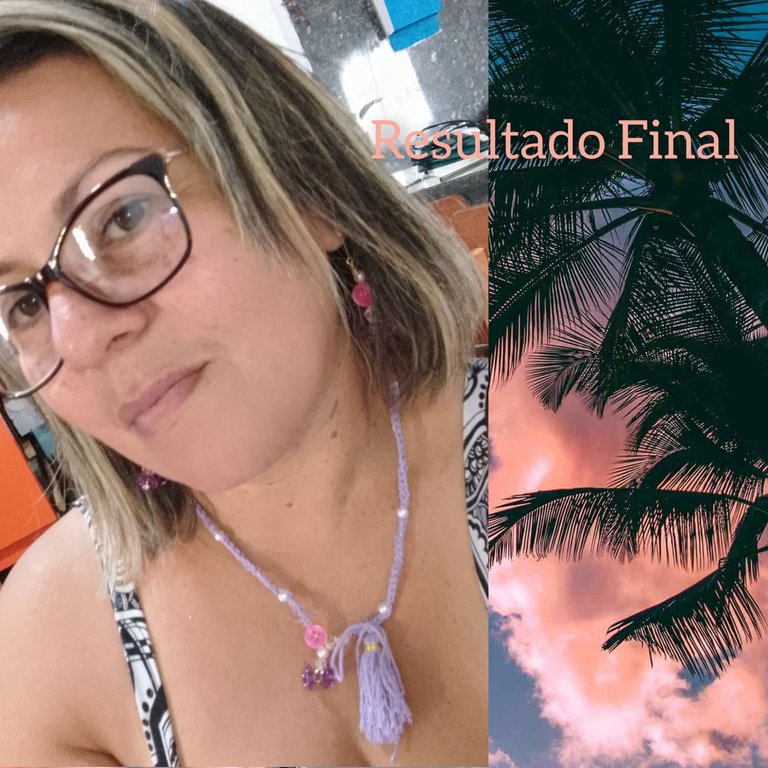
. All photos are my property.
. Use incollage.
. Use language translator.
Grateful for having followed me to the end, it will be until the next opportunity.
(Esp)
Hola a todos, en esta gran comunidad de buenos creadores @jewelry, me complace iniciar este año, mostrándoles un, lindo y muy facil proyecto, manual, en esta oportunidad de trata, de un set de accesorios, creados con material reciclable y de provecho, ideal para usar en la playa y ríos, ya que sus materiales, son resistente a el agua y sol, y te hará lucir muy hermosa, al usarlos. La invitación es a seguirme y les muestro lo fácil de su creación, invitándolos a realizar el suyo, pudiendo, hacer la combinación de colores y botones de su preferencia.

Materiales usados:
. Botones, rosados de cuatro hoyos.
. Botones morados, con centro plateado con pasador, con forma de pequeñas flores.
. Alambre.
. Hilo para tejer.
. Alambre.
. Aguja para tejer.
. Perlas n10, de color blanca.
. Cristales n10.
. Pinzas de bisutería.
. Tijeras.
. Aritos de bisutería.
. Anzuelo para aretes.

Pasos a seguir:
1.) comienzo, cortando tres trozos de alambre, de igual tamaño. Inicio, introduciendo dos botones de flores en el centro de el alambre,luego de centrarlos, doy vueltas en espiral a el alambre, dejando bien fijo a los botones y tratando estos queden en frente al exterior.

2.) Continuo, colocando un cristal, seguido de un botón, a este le coloco cd, punta de alambre por un hoyo y continuo en los siguientes, dejando los alambre en la parte tracera, para seguir, el orden de la idea, de este proyecto, de manera, qué, coloco una perla y con ella alambre restante, y con ayuda de la pinza punta redonda, hago un pequeños arito. Repito el proceso, para realizar una igual y completar el par.

3.) para el siguiente paso, solo quedará, colocar los anzuelos. Y de esta manera, quedan listos los aretes de este lindo set de accesorios para verano.

4.) Usaré el último corte de alambre, coloco los dos botones de flores, repito el proceso de dar varias vueltas, con ambos alambres, coloco un cristal seguido de una perla, separó los alambre, en uno de los lados coloco un botón y hago un pequeño arito usando la pinza punta redonda y el el siguiente, coloco un cristal y un perla, nuevamente hago un pequeño arito.

5.), ato de un primer extremo el hilo, tejo siete puntos cadenas, con ayuda de la aguja introduzco una perla, tejo quince puntos cadenas y coloco una perla, luego quince y una perla, continuo, tejo siete puntos cadenas y una nueva perla, alcanzado el largo de un primer extremo, tejo cinco puntos cadenas y ato un arito de bisutería. Remato y corto el hilo.

6.) continuo, tejiendo el siguiente lado de el cordón, llevando la misma secuencia de punto y colocación de perlas, y al concluir con ello, coloco en este la do el pasador, atando, considerablemente con dos nudos.

7.) Para hacerlo más llamativo y vistoso, con el hilo de tejer , doy veinte vueltas, al alrededor de la unión de los los tres dedos centrales de la mano, ato y dejando un centímetro, aseguro con alambre, corto las hebras en la parte interior, desprendió un poco los hilos de cada hebra de hilo, para dr volumen, y haciendo un lado lo ato a el cordón.

Quedando así, listo par lucir.

. Todas las fotos son de mí propiedad.
. Use incollage.
. Use traductor lenguaje.
Agradecida me hayas seguido hasta el final, será hasta una próxima oportunidad.
Estos son unos accesorios muy bonitos con un proceso sencillo de elaboración, y nos dejas un paso a paso bien fácil de seguir.
Te luce muy bonitos. Gracias por tu aporte a la comunidad. Que tengas una bendecida semana ✨
Muy agradecida por su buen y motivador, comentario... abrazos
This is so simple and cute, i loved the way you have used your old earings and made a great jewelry out of it and some other random stuff. Loved it💞
Gracias amigo, que bueno le haya gustado
You can check out this post and your own profile on the map. Be part of the Worldmappin Community and join our Discord Channel to get in touch with other travelers, ask questions or just be updated on our latest features.
Wow! This is so simple and beautiful. A good necklace that is so easy to make, well done.
Gracias por, siempre estar ahí y por sus siempre motivadoras, palabras
Los botones le aportan personalidad a tu jovial diseño. Todo muy bonito.
Bendiciones.
Muy agradecida por su aprecio amiga... gracias por su apoyo
Hola.
Se ven muy bonitos tus accesorios amiga, felicidades, bonito trabajo.
Gracias cariño, por tu apoyo, que bueno te haya gustado