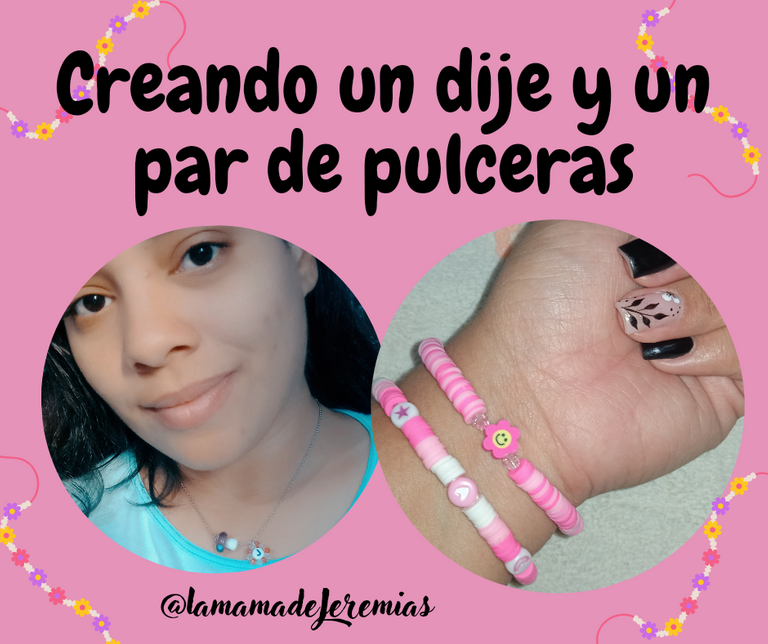
Saludos amigos de @jewelry, estoy por aquí para mostrarles unas cositas lindas que hice el fin de semana, son muy sencillas de realizar, pero super coquetas.
Algo que tengo que mencionar es que me tomó tiempo realizarlas pues tuve que ponerme a separar los materiales; cuando compré el material para la bisutería tuve la loca idea de colocar todas las mostacillas y pucas en un mismo envase, obviamente todo se mezcló, ahora tengo que comprar un tupper de esos que son para botones y con mucha calma ponerme a separar todo por color y tipo. Me va a dar mucho trabajo, pero nadie me manda, cierto? Jejeje.
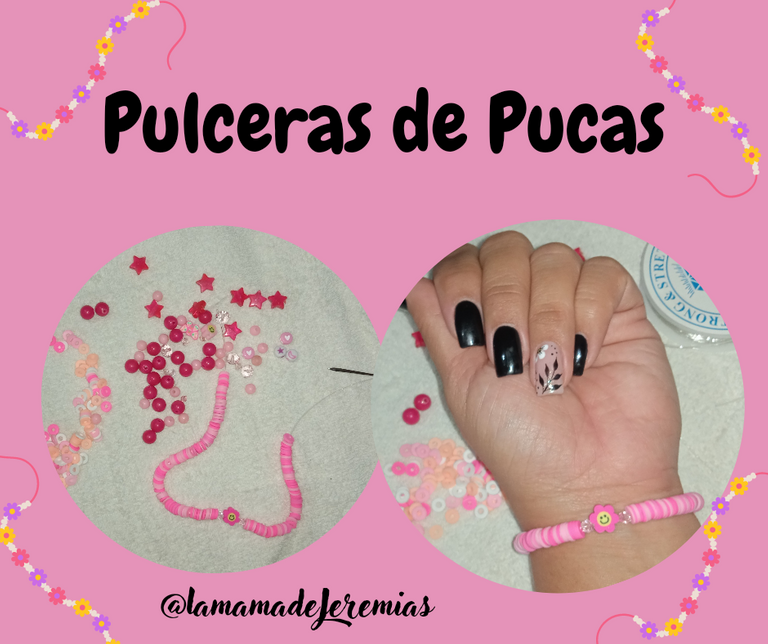
Aquí les muestro como realice dos pulceras con pucas. Los materiales son pucas, nylon engomado y pasador de figurita.
En el caso de la primera pulcera la hice con pucas rosadas mezcladas, y un pasador de flor fucsia. El procedimiento es pasar todas las pucas sin orden específico por el nylon engomado. Medir el grueso de la muñeca, de manera que no quede muy suelta o muy apretada. Y por último hacer el nudo. Yo hago un nudo como para amarrar zapatos y luego hago el mismo nudo pero en sentido contrario, de esta manera el nudo no se desata.
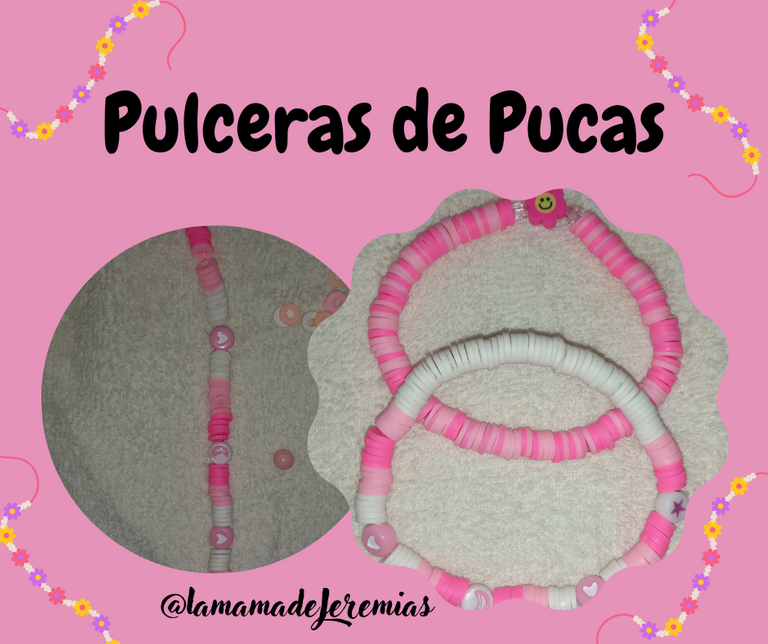
La segunda pulcera si me detuve a ordenar las pucas por color y colocarle los pasadores con cada secuencia de color. 6 pucas de cada color, un pasador y 6 pucas nuevamente. Por último el mismo procedimiento: medir el grueso de la muñeca y hacer el nudo, primero en un sentido y luego al contrario. Al escribir esta parte de mi publicación me doy cuenta que seria mucho mas útil explicarlo en un vídeo, así que prometo hacer un video para mi próxima publicación.
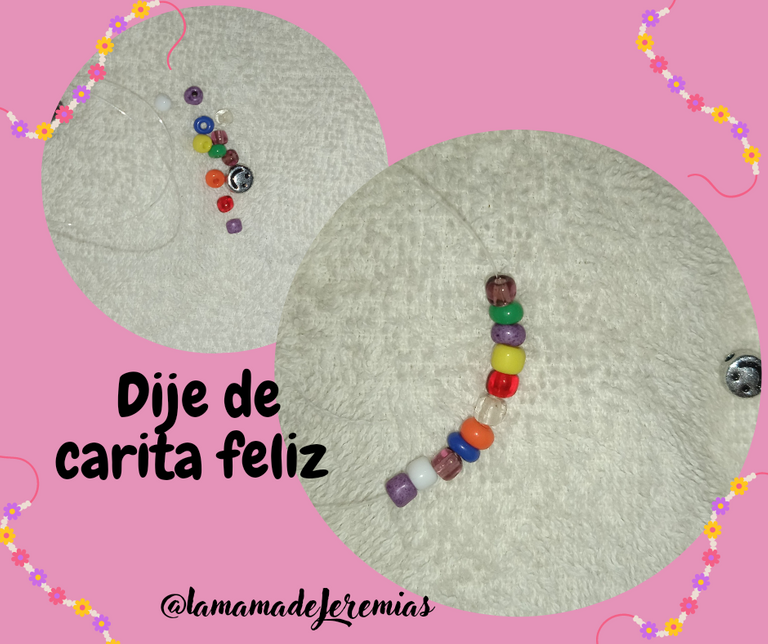
También hice un dije para la cadena que tengo en la foto de portada del post. Es la inicial del nombre de mi hijo, el se llama Jeremías. Este dije lo hice como 3 veces porque no me quedaba como yo quería y tampoco tome fotos. Por eso decidí hacer uno parecido para explicarles el procedimiento a realizar.
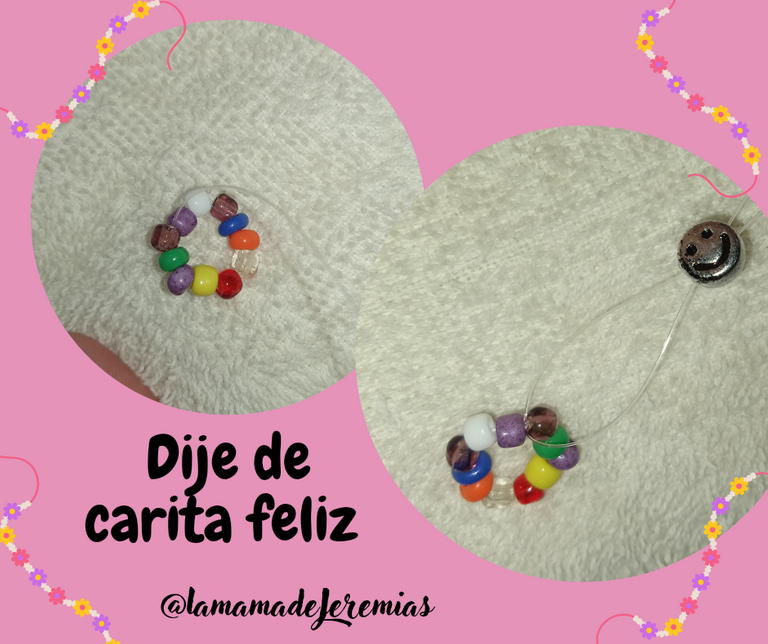
Para este dije use mostacillas de colores, un pasador de carita feliz, nylon y un aro de plata como colgante. Pasamos todas las mostacillas y el aro de plata por el nylon, en el orden que deseamos, mi dije lo hice con Swarovski blancos y rojos, el rojo es el color favorito de mi hijo.
Volviendo al dije, una vez tengamos todos las mostacillas en el nylon, anudamos las dos puntas formando un círculo, pasamos ambas puntas por dentro del orificio del pasador, ubicando el pasador en el centro del círculo de mostacillas,uno de los extremos del nylon lo pasamos por detras del círculo de mostacillas de manera que podamos anudar y fijar el pasador dento del círculo de mostacillas. Cortamos el excedente de nylon y listo. Colgamos en nuestra cadena.
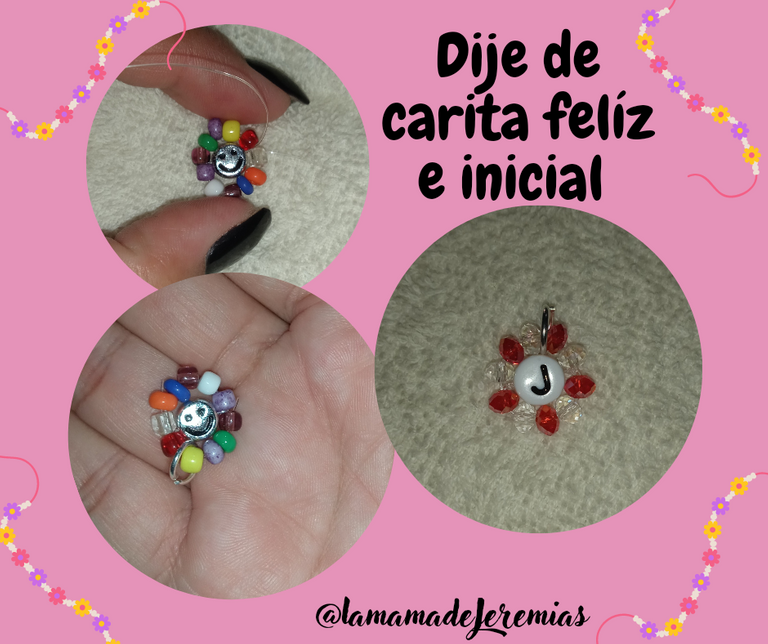
Esta fue mi creacion del fin de semana, espero les guste y puedan hacer uno para ustedes. Me despido por ahora, agradeciendo de antemano sus valiosos comentarios y sugerencias.
Fotos de mi propiedad, tomadas con mi Redmi 9A y editadas en Canva.
Ingles
Greetings friends of @jewelry, I'm here to show you some cute little things I made over the weekend, they are very simple to make, but super cute.
Something I have to mention is that it took me some time to make them because I had to separate the materials; when I bought the material for the jewelry I had the crazy idea of putting all the beads and pucas in the same container, obviously everything was mixed, now I have to buy a tupper of those that are for buttons and calmly start to separate everything by color and type. It's going to give me a lot of work, but nobody sends me, right? Hehehe.

Here I show you how I made two pulceras with pucas. The materials are pucas, rubberized nylon and figurine pin.
In the case of the first pulcera I made it with pink pucas mixed, and a fuchsia flower pin. The procedure is to pass all the pucas in no specific order through the rubberized nylon. Measure the thickness of the wrist, so that it is not too loose or too tight. And finally tie the knot. I tie a knot like for tying shoes and then tie the same knot but in the opposite direction, this way the knot does not come untied.

The second pulcera if I stopped to order the pucas by color and place the pins with each color sequence. 6 pucas of each color, one pin and 6 pucas again. Finally the same procedure: measure the thickness of the wrist and tie the knot, first one way and then the other way around. While writing this part of my post I realize that it would be much more useful to explain it in a video, so I promise to make a video for my next post.

I also made a charm for the chain I have in the cover photo of the post. It is the initial of my son's name, his name is Jeremiah. I made this pendant about 3 times because it didn't fit the way I wanted and I didn't take pictures either. That's why I decided to make a similar one to explain the procedure to do.

For this pendant I used colored beads, a smiley face pin, nylon and a silver ring as a pendant. We pass all the beads and the silver ring through the nylon, in the order we want, I made my pendant with white and red Swarovski, red is my son's favorite color.
Going back to the pendant, once we have all the beads in the nylon, we knot the two ends forming a circle, we pass both ends inside the hole of the pin, placing the pin in the center of the circle of beads, one of the ends of the nylon we pass it behind the circle of beads so that we can knot and fix the pin inside the circle of beads. Cut off the excess nylon and that's it. We hang it on our chain.

This was my weekend creation, I hope you like it and you can make one for yourselves. I say goodbye for now, thanking you in advance for your valuable comments and suggestions.
Photos of my property, taken with my Redmi 9A and edited in Canva.

The rewards earned on this comment will go directly to the people sharing the post on Twitter as long as they are registered with @poshtoken. Sign up at https://hiveposh.com.
Estan muy bonitas!
Gracias!!
Thank you for sharing this post on HIVE!
Your content got selected by our fellow curator ashikstd & you just received a little thank you upvote from us for your great work! Your post will be featured in one of our recurring compilations which are aiming to offer you a stage to widen your audience within the DIY scene of Hive. Stay creative & HIVE ON!
Please vote for our hive witness <3
Las pulceras rosadas me gustaron muchísimo, amiga, de verdad que las usaría y eso que no son de mi estilo 🌸🌺🌼💖