*** BIENVENIDOS A MI BLOG***
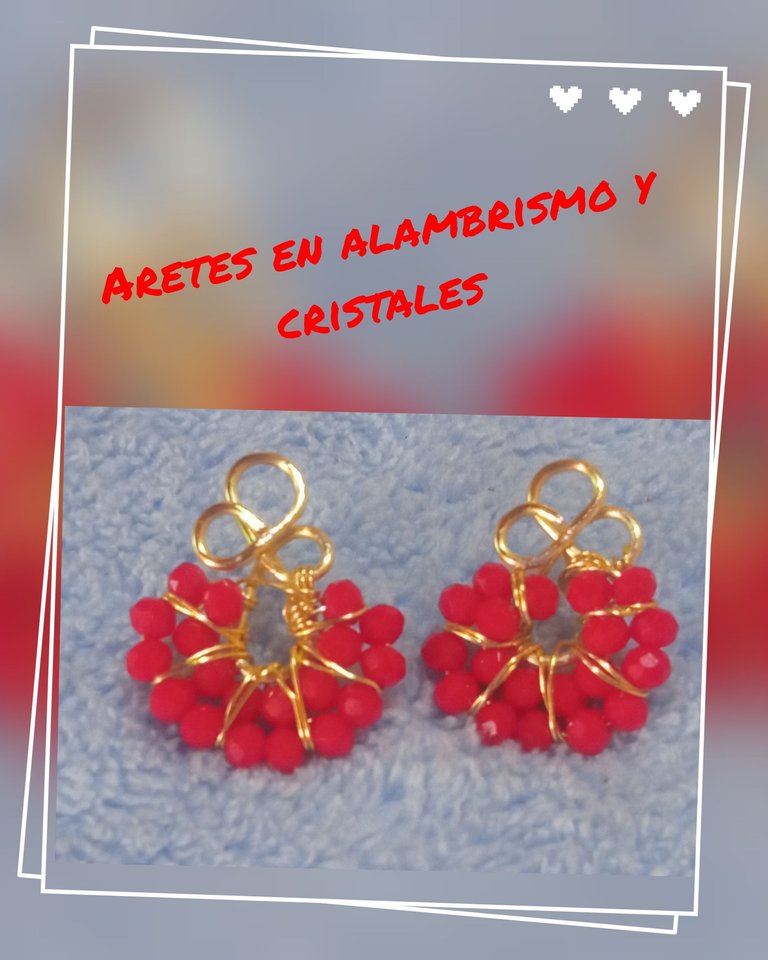
Hola, hola comunidad de #Hive y comunidad hermosa de #Jewelry deseo estén todos bien que hayan disfrutado de unas fiestas de carnaval en paz , armonía y con mucha música , playa arena y sol 😎, yo fuí a disfrutar las comparsas acá en Maturín , la verdad unas bellezas de trajes , mucha creatividad y colorido como debe ser, bueno mis queridos amigos en esta oportunidad les traigo el tutorial o paso a paso para elaborar unos bellos aretes o zarcillos en alambre y cristales , son bellísimos .. y en color rojo , el color en tendencia de este año... La verdad es un color llamativo transmite fuerza , es también conocido como el color de la pasión... En lo que va de mes de febrero y marzo he realizado muchos accesorios con ese color , así que los invito a quedarse hasta el final y vean como realice este hermoso proyecto, espero les guste.
Hello, hello #Hive community and beautiful community of #Jewelry I wish you are all well I wish you have enjoyed a carnival festivities in peace, harmony and with lots of music, beach sand and sun 😎, I went to enjoy the comparsas here in Maturin, the truth some beautiful costumes, lots of creativity and colorful as it should be, well my dear friends this time I bring you the tutorial or step by step to develop a beautiful earrings or earrings in wire and crystals, they are beautiful . . and in red, the color in trend this year .... The truth is a striking color that transmits strength, it is also known as the color of passion .... So far in February and March I have made many accessories with this color, so I invite you to stay until the end and see how I made this beautiful project, I hope you like it.
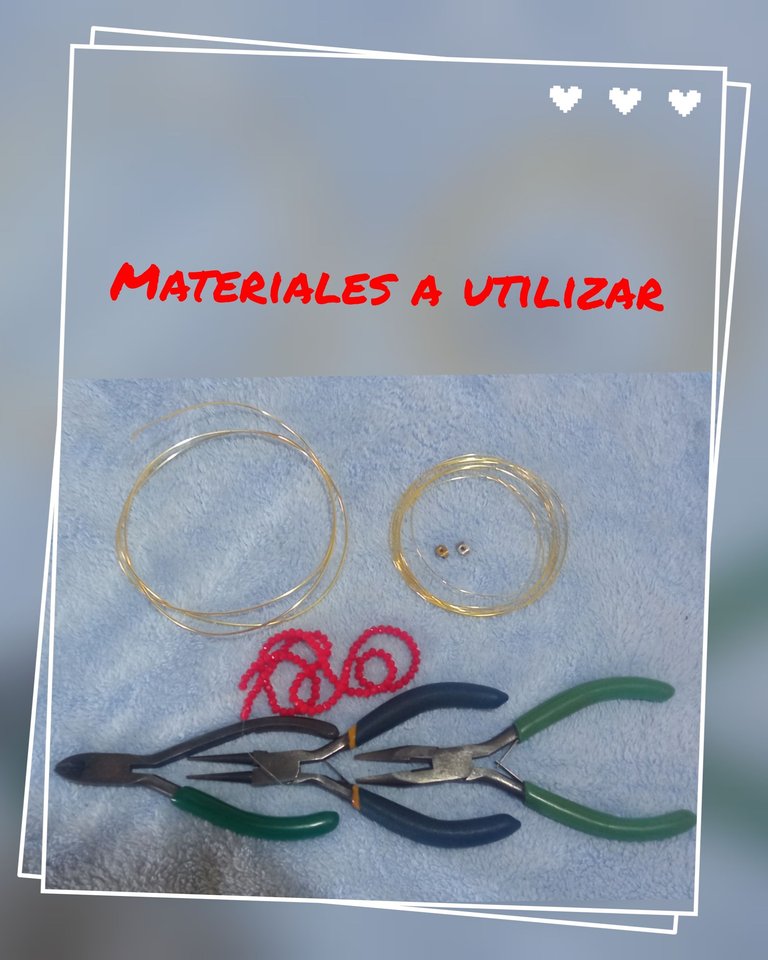
Materiales a utilizar .
☑️ Alambre tpc No 18.
☑️ Alambre tpc No 26.
☑️ Tira de cristal puede ser cualquier color, yo utilicé color rojo No 3.
☑️ Pinza punta redonda.
☑️ Pinza punta plana.
☑️ Pinza piqueta.
☑️ Lima de uñas.
☑️ Tapitas para aretes.
Materials to be used .
☑️ tpc wire No 18.
☑️ tpc wire No 26.
☑️ Glass strip can be any color, I used red No 3.
☑️ Round nose pliers.
☑️ Flat tip tweezers.
☑️ Tweezers pickaxe.
☑️ Nail file.
☑️ Earring caps.
Tutorial o paso a paso.
Comienzo marcando la mitad de la punta de la pinza para guiarme y realizar los aros del mismo tamaño , realizo el primer aro o lub con el alambre No 18 , luego realizo el segundo en la misma dirección que el primero , luego realizo el tercero con la parte más gruesa de la pinza y el cuarto también lo realizo con esa medida Pero tratando que quede como tipo gota o sea un poco más grande, llevo el alambre hasta el centro de los aros y doblo dejando unos 2 cm de alambre , el cual va a ser el clavito del arete ( 1 al 6 ).
Tutorial or step by step.
I start by marking the middle of the tip of the clamp to guide me and make the rings of the same size, I make the first ring or lub with the wire No 18, then I make the second one in the same direction as the first one, then I make the third one with the thickest part of the plier and the fourth one I also make it with that measure but trying to make it like a drop or a little bigger, I take the wire to the center of the hoops and bend leaving about 2 cm of wire, which is going to be the earring pin (1 to 6).

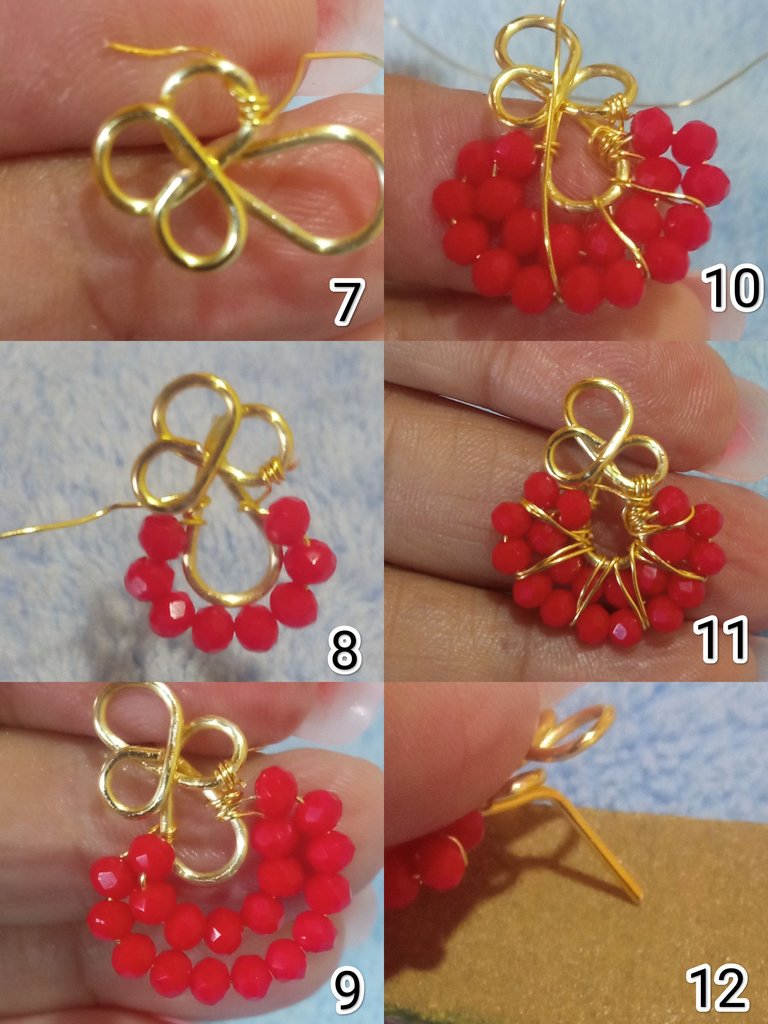
Luego pico 45 cm de alambre No 26 y realizo 3 vueltas en uno de aros , lo aprieto bien e introduzco 8 cristales rojos No 3, lo llevo hasta la parte de arriba del otro extremo doy dos vueltas e introduzco 11 cristales , los llevo al otro extremo que queden bien unos encima del otro , luego empiezo a pasar el alambre entre los cristales cuidando que quede bien apretados y cierta simetría entre ellos, repito el proceso de pasar el alambre dos veces para que se pueda apreciar el alambre , doy varias vueltas para sujetar bien los cristales , corto el excedente aprieto con la pinza punta plana, luego limo la punta del alambre con la lima , realizo este mismo procedimiento en el otro arete o zarcillo, verifico que este todo bien y doy por terminado este hermoso trabajo
( 7 al 12 ).
Then I pick 45 cm of wire No 26 and make 3 turns in one of the rings, I tighten it well and introduce 8 red crystals No 3, I take it to the top of the other end I make two turns and introduce 11 crystals, I take them to the other end that are well on top of each other, then I start to pass the wire between the crystals taking care that it is well tightened and certain symmetry between them, I repeat the process of passing the wire twice so that the wire can be appreciated, I make several turns to hold the crystals well, I cut the excess I tighten with the flat tip tweezers, then I file the tip of the wire with the file, I perform this same procedure in the other earring or earring, I verify that everything is fine and I finish this beautiful work (7 to 12).
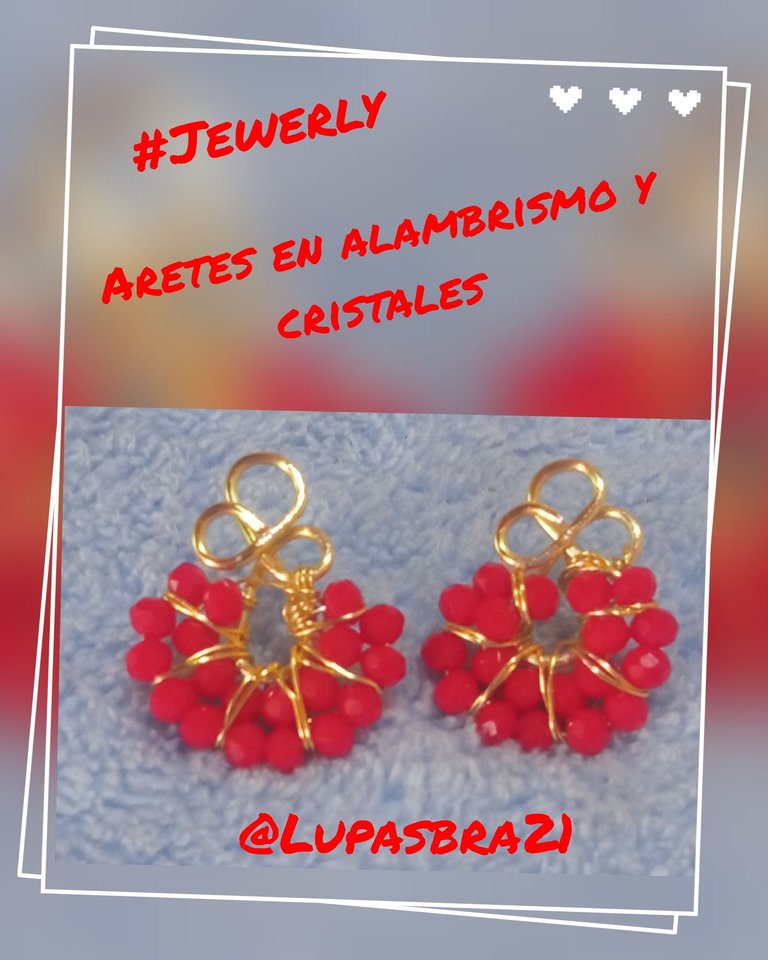
Espero haya sido de su agrado este hermoso proyecto, todas las fotos son de mi propiedad @Lupasbra21, utilicé la aplicación polish para la edición de fotos y usé el traductor Deepl translate, será hasta una próxima oportunidad, gracias por su apoyo , un 🫂 Para todos.
I hope you liked this beautiful project, all photos are my property @Lupasbra21, I used the polish application for photo editing and I used the translator Deepl translate, it will be until a next opportunity, thank you for your support , a 🫂 To all.
WOW! It is so shining, charming, and lovely. It looks fantastic. Love its design and color. Nice work! Keep up the good work!
Gracias, gracias me alegro que le hayan gustado, la verdad son muy bonitos .
Bendecida noche. Wow te quedaron muy bonitos tus aretes. Esa combinación es muy elegante.
Gracias @virgilio07 , si muy lindos .
Beautiful jewelry. This is really good and amazing. I will try this for one of my friend
This earings is really pretty. And I am literally amazed by it.
Thanks for sharing this with us.
Wow! Se ven tan elegantes✨ hiciste un trabajo precioso, el contraste entre el rojo y el dorado luce genial ☺️