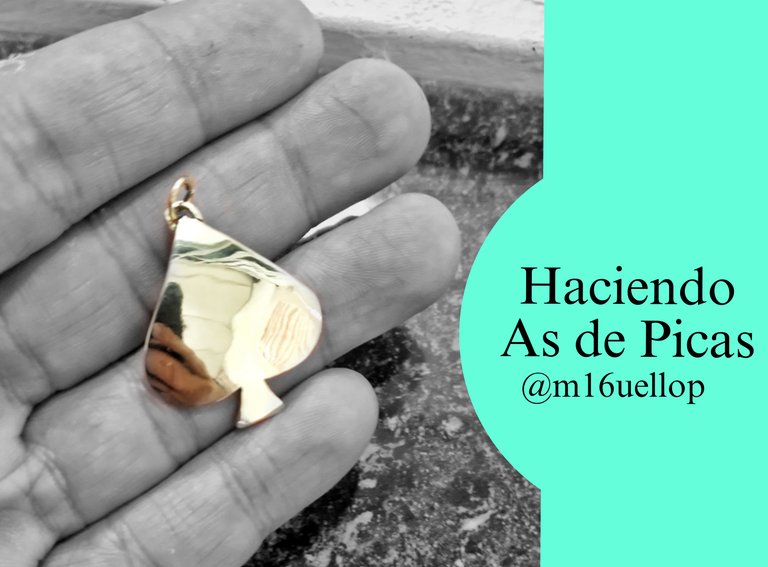
Saludos, esta semana que apenas termina, para mí ha sido en parte el inicio de la normalidad en el trabajo de hacer piezas de joyería artesanal, dentro de eso estuvo este pedido de un As de Picas, que es una de las cartas de más valor en el juego de póker, como símbolo se le ha atribuido su relación con la autoridad, fuerza y el poder, al ser en algunos juegos la carta de mayor puntuación tiene.
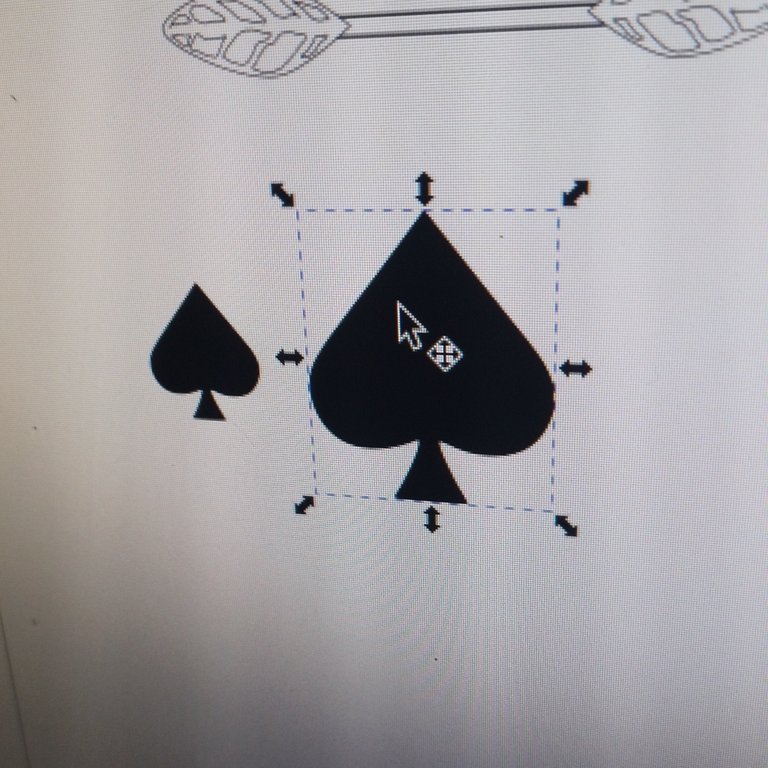
El amigo me pidió que el símbolo midiera 2,5 cm aproximadamente para que fuera un dije, así que para esto dibuje este símbolo en Inkscape, para poder en parte poder imprimirlo con la medida exacta.
Una vez impresa, toca buscar los materiales y herramientas que usaremos para hacer nuestro dije:
- Lámina de latón de 0.75 mm, argolla de alambre de latón de 1 mm.
- Dremel, fresa para abrir hueco de 0.75 mm.
- Pega de barra.
- Lija de grano 220, 360 y 400.
- Lima.
- Arco de segueta y sierra 2/0 para cortar metal.
- Motor de banco y cera de pulir.
- Pinza de joyería redonda.
- Dado de embutir de madera.
Esta es una pieza que es un diseño básico y muy simple de hacer, pero sí requiere precisión en el corte para que quede estéticamente agradable.
Proceso
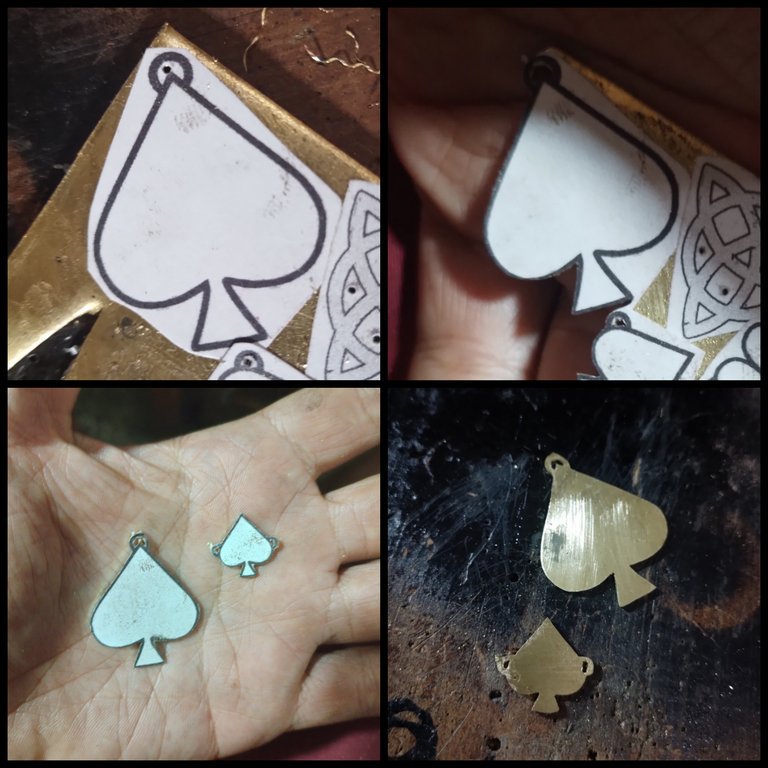
Lije un poco la lámina de metal y luego aplique sobre ella la pega de parra y coloqué el dibujo del As de pica, esperé un poco a que se pegara más o menos bien en la lámina, después de allí agarré el Dremel y abrí un hueco donde pasara la argolla.
La caladora con la sierra 2/0, la metí por el agujero cortando la parte por donde pasara el aro, después empecé a cortar la silueta exterior; aquí va reflexión para mí y que también a ustedes les puede servir, y es que debí hacer las líneas guías de la silueta del dije más delgado, para así hacer el corte más preciso.
Al terminar de cortar la silueta exterior, le desprendo la impresión y procedo a lijas un poco con la lija 220, para detallar mejor la figura y ver qué defectos hay que arreglarle.
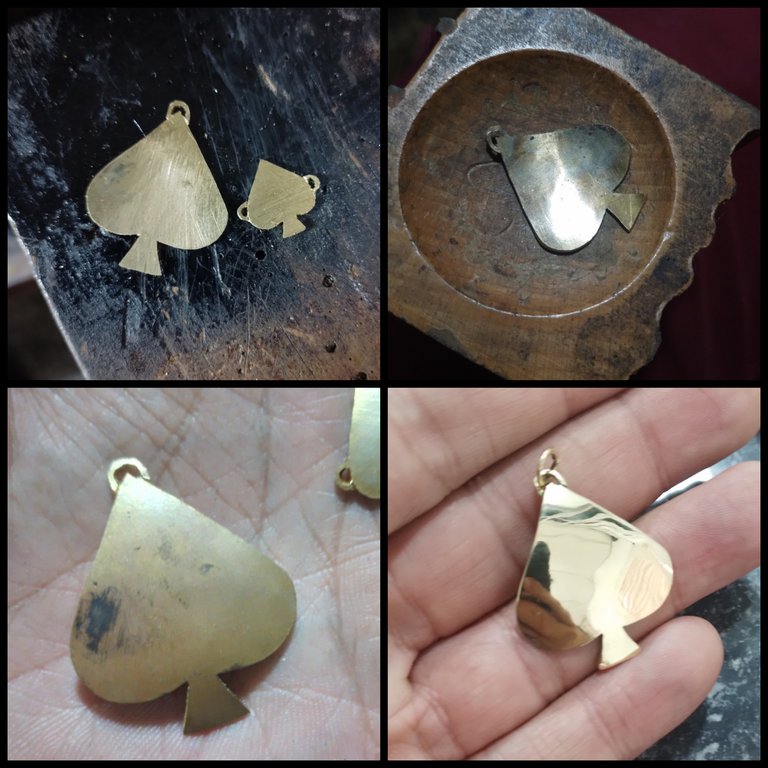
Con la lima voy corrigiendo imperfecciones e igualmente uso la segueta para esto, así también para detallar la línea de la silueta del As de Picas, luego volteo la pieza y la golpeo en el embutidor para darle una presentación cóncava, después lijo la pieza pasando las lijas de grano 220, 360 y 400, terminado esto se pasa a pulir en el tambor de banco con el uso de unos discos de tela de algodón y cera de pulir, el acabado que le di fue brillo tipo espejo, para finalizar le puse la argolla que tenía ya dispuesta para el dije.
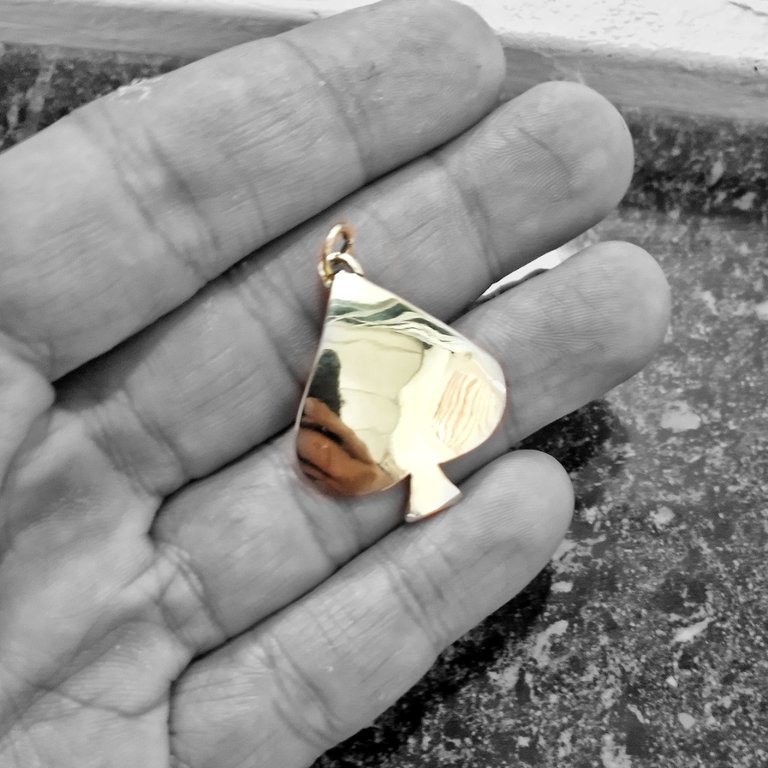
Una vez terminado el corte, lijado y pulido, lo limpié con un cepillo de dientes para sacarle los residuos de cera y luego mandar a bañar en oro, quedando así una pieza simple pero elegante.
Me hubiese haber tenido más y mejores fotos para este proyecto, pero la persona que los encargo se los llevó el mismo día y le gustó como quedó.
Honestamente, me encantaría saber sus impresiones sobre esta pieza.
Si quieres conocer más sobre las piezas de joyería que hago, puedes ver más de mi trabajo de joyería en: https://www.instagram.com/m16ueljoyas
English / Google Translate
Greetings, this week that has just ended, for me has been in part the beginning of normality in the work of making handmade jewelry pieces, within that was this order for an Ace of Spades, which is one of the most valuable cards in the game of poker, as a symbol it has been attributed its relationship with authority, strength and power, being in some games the highest scoring card.
My friend asked me to make the symbol approximately 2.5 cm long so that it could be a charm, so I drew this symbol in Inkscape, so that I could partly print it with the exact measurement.
Once printed, it's time to find the materials and tools that we will use to make our charm:
- 0.75 mm brass sheet, 1 mm brass wire ring.
- Dremel, 0.75 mm hole cutter.
- Glue stick.
- 220, 360 and 400 grit sandpaper.
- File.
- Hacksaw and 2/0 saw to cut metal.
- Bench motor and polishing wax.
- Round jewelry pliers.
- Wooden die.
This is a piece that is a basic design and very simple to make, but it does require precision in cutting so that it is aesthetically pleasing.
Process
I sanded the metal sheet a little and then applied the vine glue on it and placed the Ace of Spade drawing, I waited a bit for it to stick more or less well on the sheet, after that I grabbed the Dremel and opened a hole where the ring would pass.
I inserted the jigsaw with the 2/0 saw through the hole, cutting the part where the ring would go through, then I started to cut the outer silhouette; here is a reflection for me that may also be useful to you, and that is that I should have made the guide lines of the pendant silhouette thinner, in order to make the cut more precise.
When I finished cutting the outer silhouette, I removed the print and proceeded to sand it a little with 220 grit sandpaper, to better detail the figure and see what defects need to be fixed.
With the file I correct imperfections and I also use the hacksaw for this, as well as to detail the line of the silhouette of the Ace of Spades, then I turn the piece over and hit it on the embosser to give it a concave presentation, then I sand the piece using 220, 360 and 400 grit sandpaper, once this is finished it is polished on the bench drum using some cotton cloth discs and polishing wax, the finish I gave it was a mirror-like shine, to finish I put on the ring that I already had ready for the pendant.
Once I finished cutting, sanding and polishing, I cleaned it with a toothbrush to remove any wax residue and then sent it to be gold plated, leaving a simple but elegant piece.
I wish I had more and better photos for this project, but the person who ordered them took them the same day and liked how they turned out.
Honestly, I would love to know your impressions about this piece.
If you want to know more about the jewelry pieces I make, you can see more of my jewelry work at: https://www.instagram.com/m16ueljoyas
Como siempre te ha quedado precioso amigo me encanta como lo pusiste se ve muy bien tu técnica siempre es hermosa. Saludos
Gracias... Por allí viene una pieza engastada esa si es algo más compleja
Sending Love and Ecency Curation Vote!
 Follow Eceny's curation trail to earn better APR on your own HP. : )
Gracias
Realmente encantador, tu técnica siempre me ha maravillado @ml6uellop. Saluditos 🤗
It looks really beautiful and neat. I love the concept too. I would love to see more from you in the future.