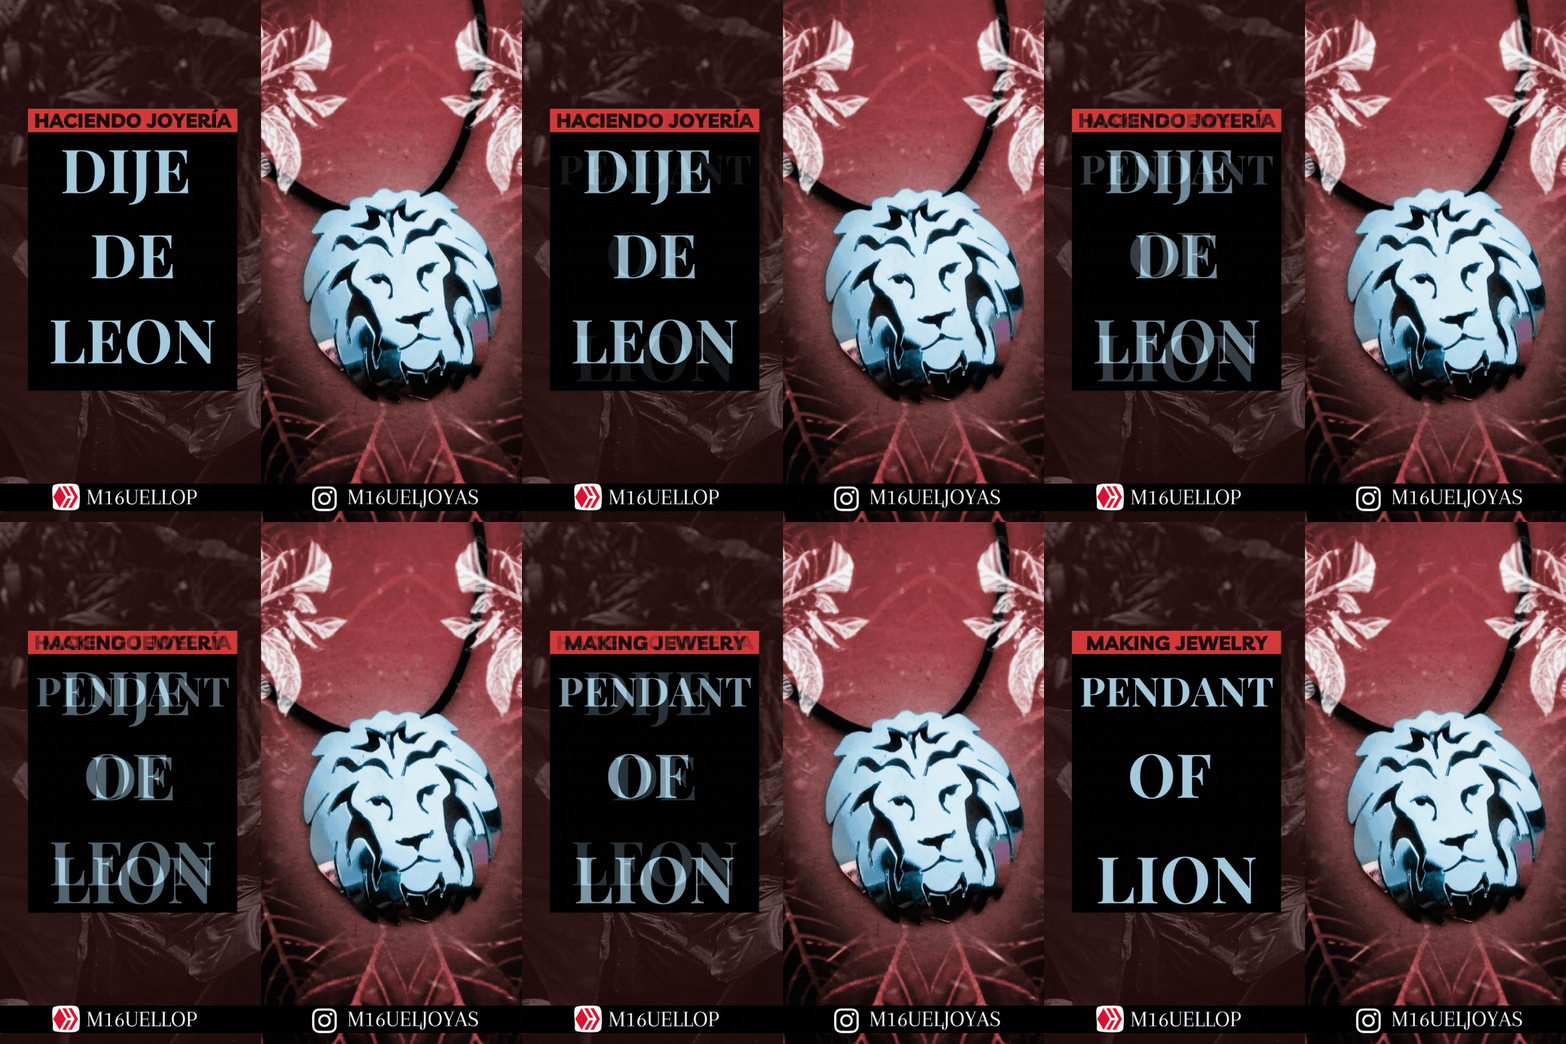
Saludos, aquí les traigo otra de mis piezas y su proceso, este es mi modelo de León, el cual diseñe hace ya varios años usando el programa Inkscape desde la PC; el concepto con este diseño principalmente era tener una representación de este animal de la forma simplificada, elegante y llamativa, con un estilo propio, técnicamente usando la menor cantidad de cortes.
Para hacer esta pieza se requiere ya tener cierta experiencia en el corte o calado de láminas con segueta, aun así trataré de explicar un poco el proceso de su elaboración, tratando de ser lo más descriptivo posible y que puedas aprender algo si estás iniciándote en la elaboración con la joyería.
Ahora vamos con la lista de cosas que use:
🦁 Lámina de bronce 0,5 mm
🦁 Arco de segueta y pelos de segueta 0/2
🦁 Lijas 3M de número 220, 340 y 400
🦁 Astillero de Madera o superficie plana con forma de V para hacer los cortes.
🦁 Dremel.
🦁 Fresa de 0,7 mm y Porta lijas.
🦁 Mopa de pulir y cera de pulir para joyería.
🦁 Argolla de cobre.
PROCESO DE ELABORACIÓN
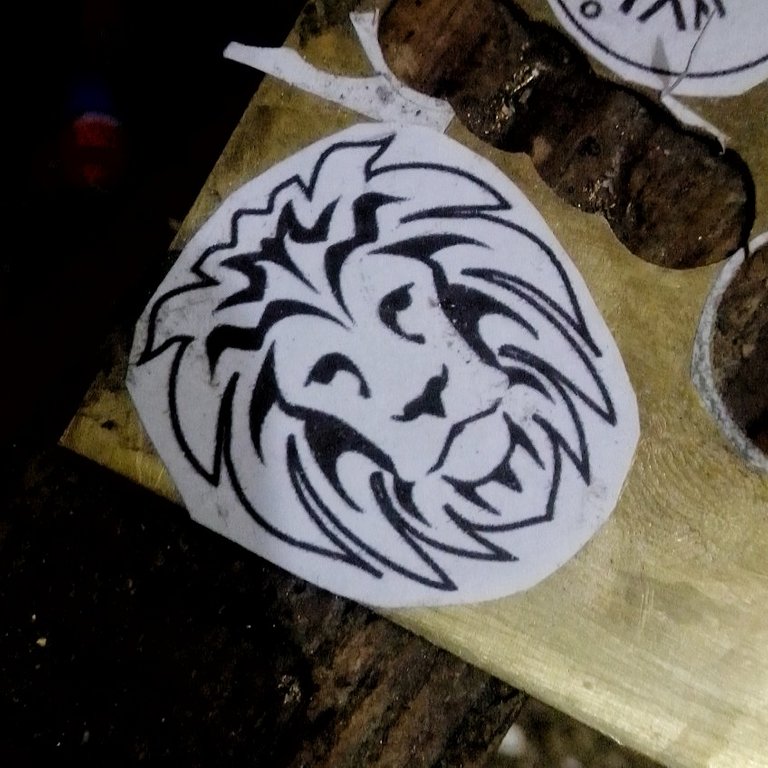
Le pasé lija 220 a la lámina de bronce para dejar la superficie limpia, luego pase pega de barra y pegue el diseño. También puedes pegar con pega blanca, pero allí debes aplicar en la lámina, esperar a que se seque un poco y pegar el diseño.
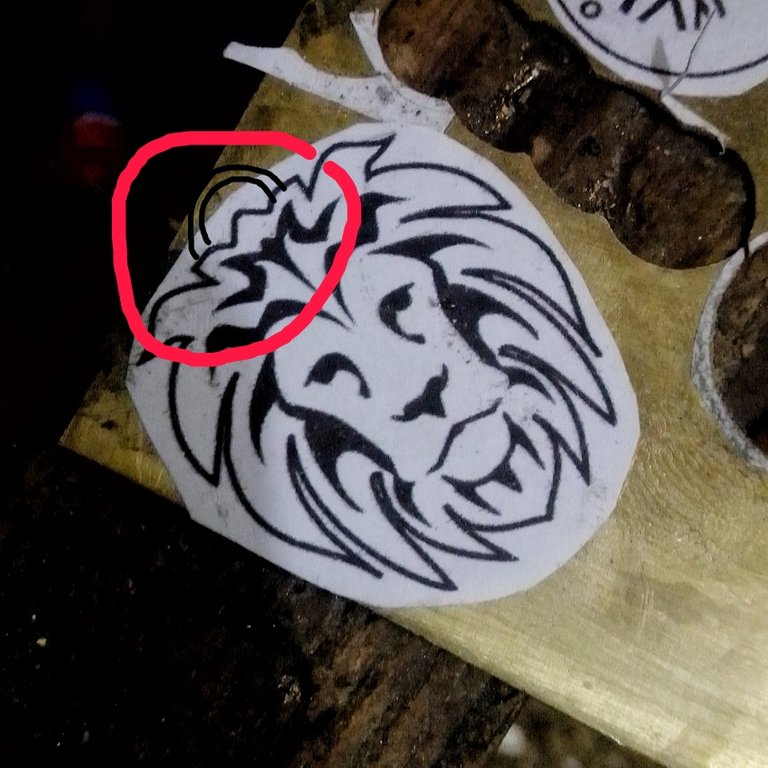
Importante, esta pieza está preparada para soldar por detrás un aro por donde pasara el cordón o cadena del collar, así que si vas a hacer un dije y no tienes implementos para soldar, dibuja el área donde colocaras la argolla para el collar. Fíjate en el ejemplo de la imagen de abajo
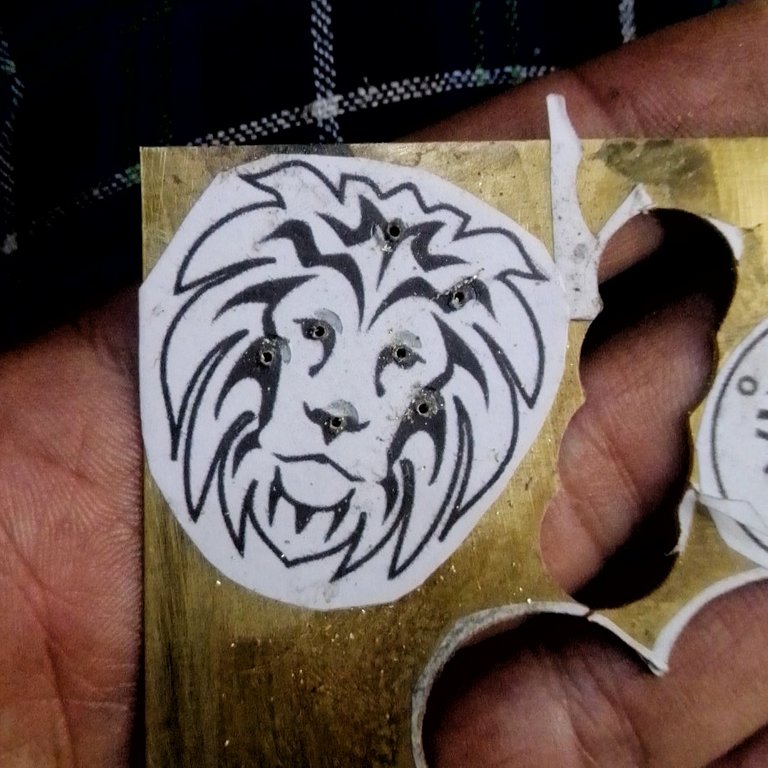
Con el Dremel y la fresa de 0,7 mm abrí los agujeros en todos los espacios donde haré los cortes internos.
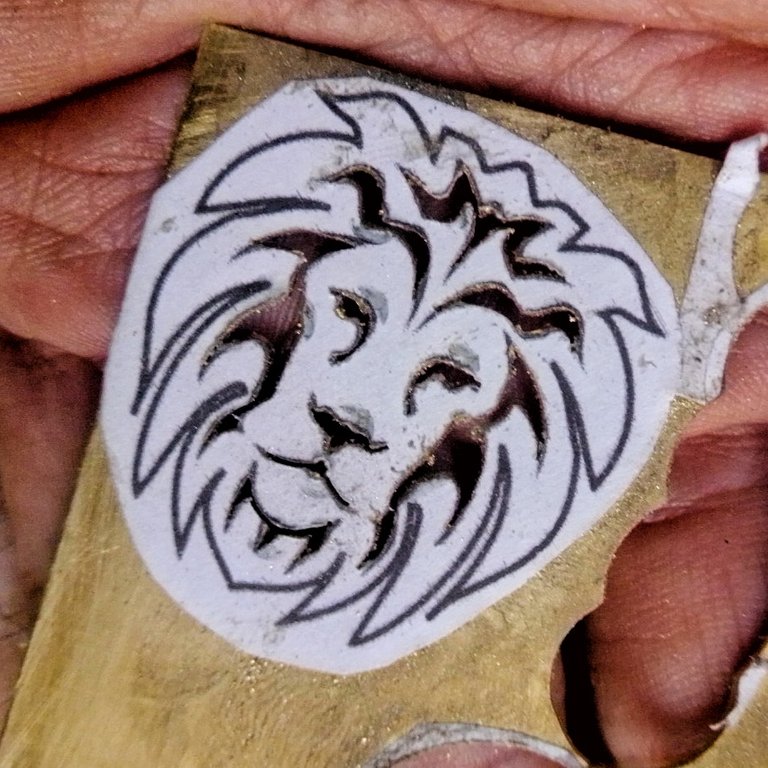
Usando el arco de segueta meto el pelo de segueta en los agujeros y poco a poco voy haciendo los cortes, hay que tener cuidado de no pasarse porque hay espacios de separación que están muy cerca; ahora lo que te voy a comentar no es del todo necesario, pero quizás por ejemplo lo más recomendable sea iniciar desde el centro de la figura hacia afuera en cuanto a los sectores de corte o de abajo hacia arriba, para evitar problemas...
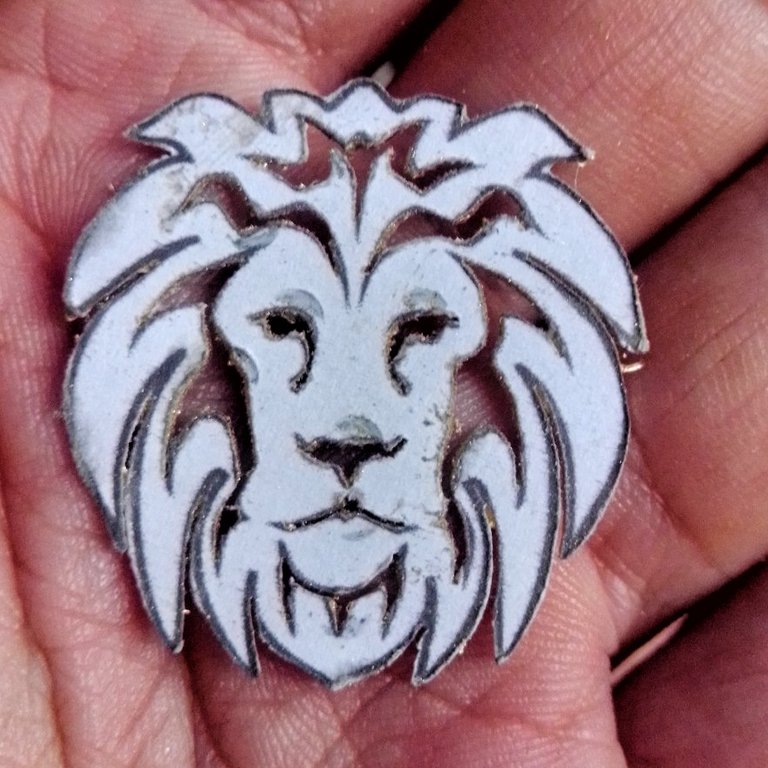
Después de hacer los cortes internos con la misma segueta cortamos la silueta exterior, también con mucho cuidado porque la lámina es algo delgada, se debe tratar de no dejar bordes puntiagudos para que no lastime al que se vaya a poner la pieza. Al culminar el corte exterior se debe remover el dibujo impreso, a veces solo con el dedo lo puedes quitar o si no lo sumerges en agua un rato y después lo retiras.
Ahora observando la pieza, toca ver qué hay que mejorar con la segueta y con cuidado corregir los detalles del corte tanto interno como externo, por esto recomiendo necesario tratar de hacer esta técnica muy bien desde el principio, aunque sé que cuesta mucho tiempo y práctica dominarla.
Otra recomendación es que si haces tus propios diseños cuida de ponerle una línea de guía delgada y seguirla fielmente cuando procedas hacer el corte con la segueta, así se ahorra trabajo y se gana en la estética del acabado.
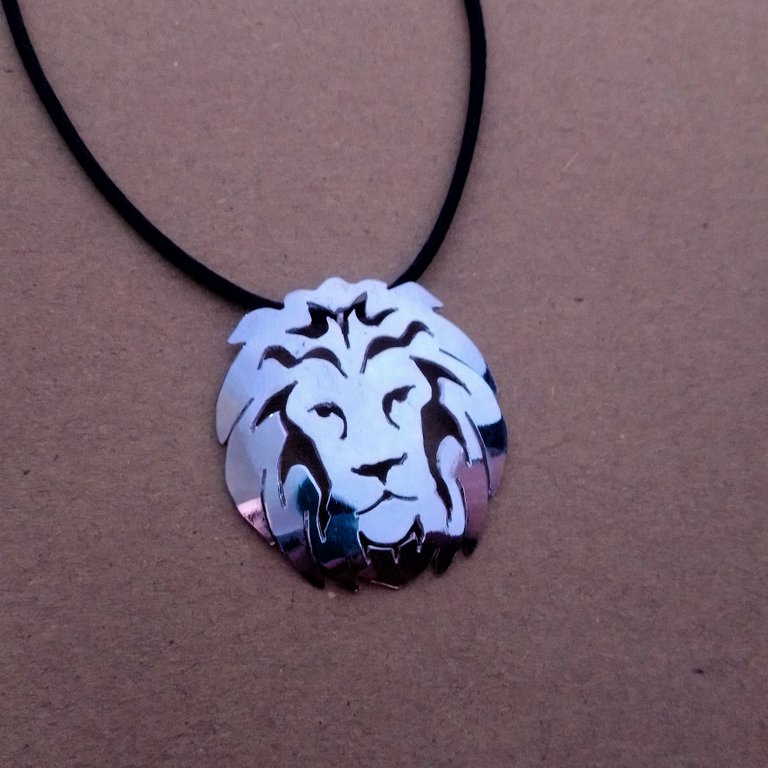
Los últimos pasos son el pasar las lijas número 220, 340 y 400 con el Dremel, después con la misma mano se va moldeando la melena del león hacia adentro para que la pieza tenga ese acabado levantado. En este caso por detrás le soldé un aro dónde pasaría el cordón del collar o la cadena. Yo recomiendo que eviten esto si no cuentan con soplete y los implementos para soldadura.
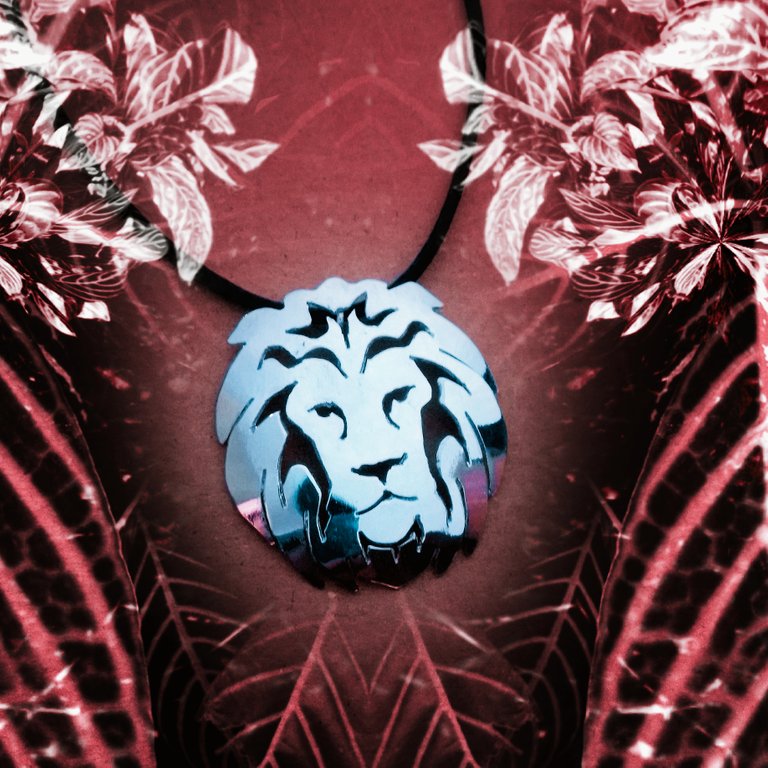
Para finalizar después de las lijas toca pulir, para esto usamos las mopas de telas que son para este fin que viene con el Dremel, si no cuentas con esto puedes con el porta lijas, envolver tela o algodón, aplicas la cera y con cuidado que no se te vuele la pieza sacarle brillo. La foto de arriba es de la pieza terminada después de haber sido bañada en plata.
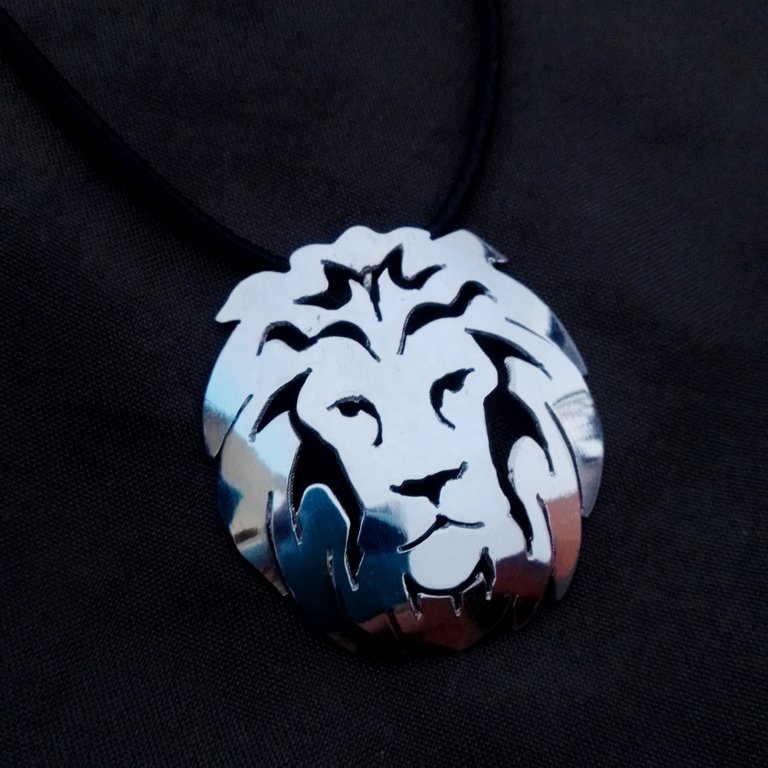
Esta es otra foto de la pieza terminada.
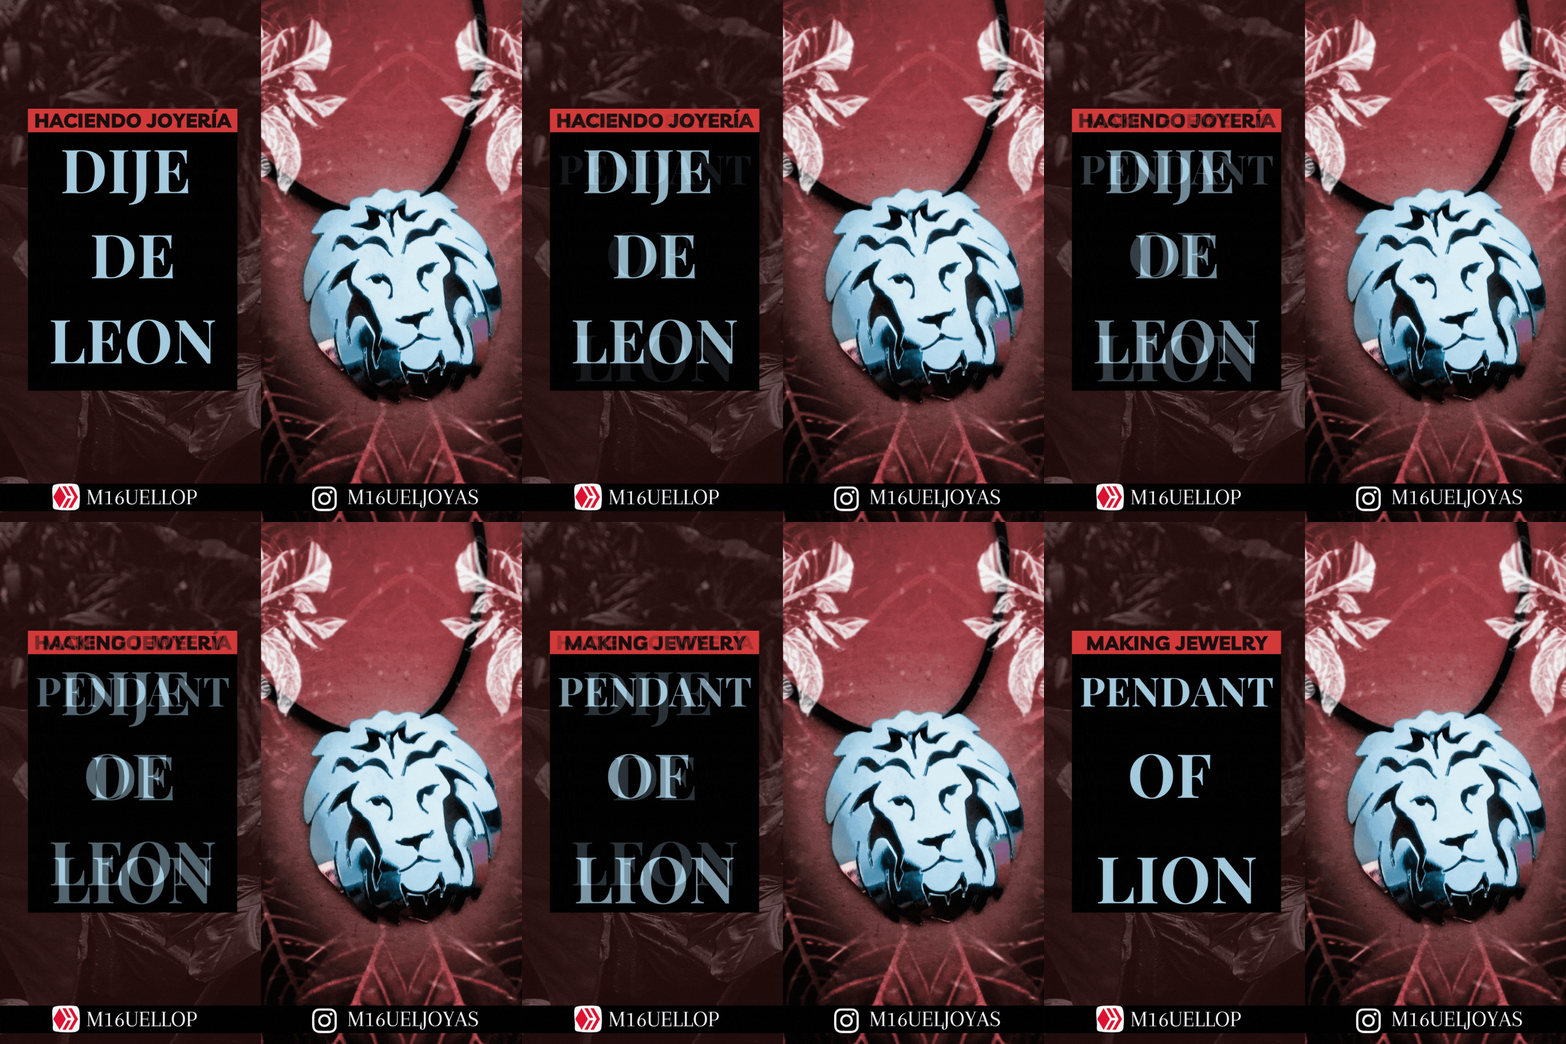
Esta última es la foto editada en Picsart para publicar en las redes sociales... Me gusta complementar siempre las fotografías.
Espero les haya gustado la pieza y la descripción de los procesos, a futuro espero poner más detalladas las fotos mostrándome utilizando las herramientas, en esta publicación por el afán solo tomé esas pocas fotos, pero quería mostrarle mi león 😀.
Gracias por el apoyo y puedes conocer o ver más de mi trabajo en Instagram.
https://www.instagram.com/m16ueljoyas/
<<<<<<<<<<<<<>>>>>>>>>>>>>>>>
English version / google translator
<<<<<<<<<<<<<>>>>>>>>>>>>>>>>
Greetings, here I bring you another of my pieces and its process, this is my Leon model, which I designed several years ago using the Inkscape program from the PC; The concept with this design was mainly to have a representation of this animal in a simplified, elegant and striking way, with its own style, technically using the least amount of cuts.
To make this piece it is required to already have some experience in cutting or cutting sheets with a hacksaw, even so I will try to explain a little the process of its elaboration, trying to be as descriptive as possible and that you can learn something if you are starting in the crafting with jewelry.
Now let's go with the list of things I use:
🦁 Bronze foil 0.5 mm
🦁 Hacksaw bow and hacksaw hairs 0/2
🦁 3M sandpaper number 220, 340 and 400
🦁 Wood Shipyard or V-shaped flat surface to make the cuts.
🦁 Dremel.
🦁 0.7 mm strawberry and sandpaper holder.
🦁 Polishing mop and polishing wax for jewelry.
🦁 Copper ring.
ELABORATION PROCESS

I sanded the bronze sheet with 220 sandpaper to leave the surface clean, then I applied a bar glue and glued the design. You can also paste with white glue, but there you must apply on the sheet, wait for it to dry a bit and paste the design.
Important, this piece is prepared to weld a ring behind where the cord or chain of the necklace will pass, so if you are going to make a pendant and you do not have any welding tools, draw the area where you will place the ring for the necklace. Take a look at the example image below


With the Dremel and the 0.7mm bit I made the holes in all the spaces where I will make the internal cuts.

Using the hacksaw bow I insert the hacksaw hair into the holes and little by little I make the cuts, you have to be careful not to go too far because there are gaps that are very close; Now what I am going to tell you is not entirely necessary, but perhaps, for example, it is best to start from the center of the figure outwards in terms of the cutting sectors or from the bottom up, to avoid problems...

After making the internal cuts with the same saw, we cut the external silhouette, also very carefully because the sheet is somewhat thin, try not to leave sharp edges so that it does not hurt the person who is going to put the piece on. At the end of the outer cut, the printed drawing must be removed, sometimes you can remove it only with your finger or if you do not submerge it in water for a while and then remove it.
Now observing the piece, it's time to see what needs to be improved with the hacksaw and carefully correct the details of the cut, both internal and external, for this reason I recommend it is necessary to try to do this technique very well from the beginning, although I know that it takes a lot of time and practice. master the.
Another recommendation is that if you make your own designs, take care to put a thin guide line on it and follow it faithfully when you proceed to make the cut with the saw, thus saving work and gaining in the aesthetics of the finish.

The last steps are to pass sandpaper number 220, 340 and 400 with the Dremel, then with the same hand the lion's mane is molded inwards so that the piece has that raised finish. In this case, I welded a ring on the back where the necklace cord or chain would pass. I recommend that you avoid this if you do not have a torch and welding implements.
To finish after the sandpaper it is time to polish, for this we use the cloth mops that are for this purpose that comes with the Dremel, if you do not have this you can with the sandpaper holder, wrap cloth or cotton, apply the wax and carefully don't blow off the piece to polish it. The photo above is of the finished piece after it has been silver plated.

This is another photo of the finished piece.

This last one is the photo edited on Picsart to post on social networks... I always like to complement the photos.
I hope you liked the piece and the description of the processes, in the future I hope to put more detailed photos showing myself using the tools, in this publication I only took those few photos, but I wanted to show you my lion 😀.
Thanks for the support and you can learn or see more of my work on Instagram.
Gran trabajo, ese león quedó regio amigo @m16uellop, un gran dije y un excelente procedimiento 😉
Gracias amiga es una pieza de mis clásicas 🦁👍
Te ha quedado lindo, realmente haces un bello trabajo.
Gracias ☺️🦁
Has sido votado por
PROYECTO ENLACE
'Conectando Ideas y Comunidades'
PROYECTO ENLACE es un proyecto de curación de habla hispana enfocado en recompensar contenido de calidad y apoyar autores en su proceso de crecimiento en HIVE.
Creemos y apostamos por el futuro de esta gran plataforma, y estamos muy emocionados de poder hacerla crecer junto a esta comunidad. Así que te invitamos a usar nuestra etiqueta ENLACE y estar atento a todas las actividades que tenemos preparadas y que estaremos publicando en breve.
¿QUIERES AUTOMATIZAR TUS GANANCIAS DE CURACIÓN? SE PARTE DEL PROYECTO ENLACE APOYANDO A NUESTRO TRAIL EN HIVE.VOTE INGRESA AQUÍ PARA CONOCER LOS DETALLES.
¿QUIERES INVERTIR ENLACE? DESCUBRE COMO HACERLO Y GENERAR INGRESOS DE FORMA SEMANAL MEDIANTE TU DELEGACIÓN DE HP AQUÍ TE EXPLICAMOS COMO.
Te invitamos a participar en nuestro servidor de Discord: https://discord.gg/3S9y7BbWfS
Atentamente
EQUIPO ENLACE 2022
Un trabajo espectacular @m16uellop se ve increíble.
Gracias amiga
Precioso amigo. Siempre mostrando tu arte en piezas tan maravillosas y bien elaboradas. Felicidades y mil éxitos @m16uellop ✨
Gracias, las tuyas no se quedan atras
Dios bendiga tus manos, quedo hermoso, que limpio tu trabajo. Saludos
Gracias, estaré publicando más maravillas ☺️😘
The campaign aims to onboard new application developers to grow our ecosystem. If you missed the presentation, you can watch it on YouTube.
You cast your vote for the proposal on Peakd, Ecency, or using HiveSigner.
Thank you!Dear @m16uellop,May I ask you to review and support the Dev Marketing Proposal (https://peakd.com/me/proposals/232) we presented on Conference Day 1 at HiveFest?