
Saludos amigos de la comunidad Jewelry, espero se encuentren bien les mando un fuerte abrazo, hoy en casita preparándome para ir de nuevo mañana al hospital, mientras tanto les quiero compartir una linda diadema súper fácil y económica de realizar, esta diadema la puedes realizar para niña o también para ti en una ocasión especial.
Greetings friends of the Jewelry community, I hope you are well. I send you a big hug. I'm at home today getting ready to go back to the hospital tomorrow. In the meantime, I want to share with you a beautiful headband that is super easy and inexpensive to make. You can make this headband for a girl or even for yourself on a special occasion.
Realicé una diadema de Minnie Mouse, una ratoncita muy coqueta conocida por muchos de nosotros, es uno de los personajes que más me gustaba en la infancia, así que hoy les comparto un tutorial de como pueden realizarla de forma fácil, puedes realizarla de acuerdo al color que gustes los más comunes son rojo y rosa, en Pinterest también puedes encontrar algunas ideas y moldes Minnie utilicé foami y limpiapipas, también puedes agregar otros materiales como tela o cinta para el lazo, a continuación les comparto los materiales y el paso a paso.
I made a Minnie Mouse headband, a very flirtatious little mouse known by many of us, she is one of the characters that I liked the most in my childhood, so today I share with you a tutorial on how you can make it easily, you can make it according to the color you like, the most common are red and pink, on Pinterest you can also find some ideas and molds Minnie I used foam and pipe cleaners, you can also add other materials such as fabric or ribbon for the bow, below I share the materials and the step by step.
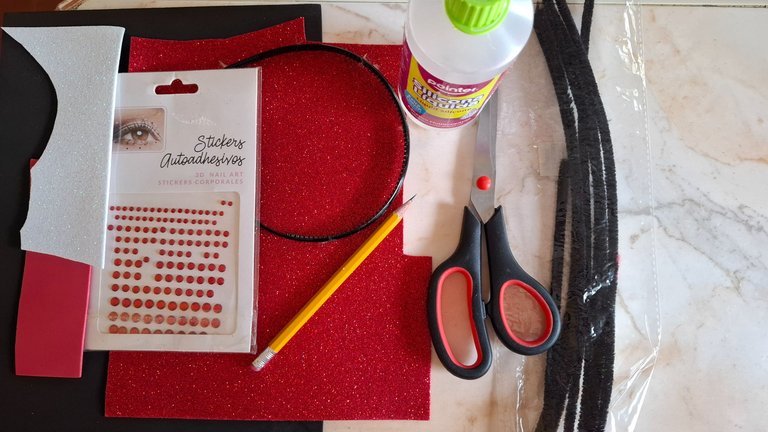
| Materiales | Materials |
|---|---|
| Limpiapipas negro | black pipe cleaner |
| Foami negro | Black foam |
| Foami rojo escarchado | Frosted red foami |
| Foami rojo simple | Simple red foam |
| Foami blanco escarchado | Frosted white foami |
| Pegatinas brillantes rojas | Red glossy stickers |
| Tijera | Scissors |
| Silicón | Silicone |
| Lápiz | Pencil |
Paso a paso / Step by step
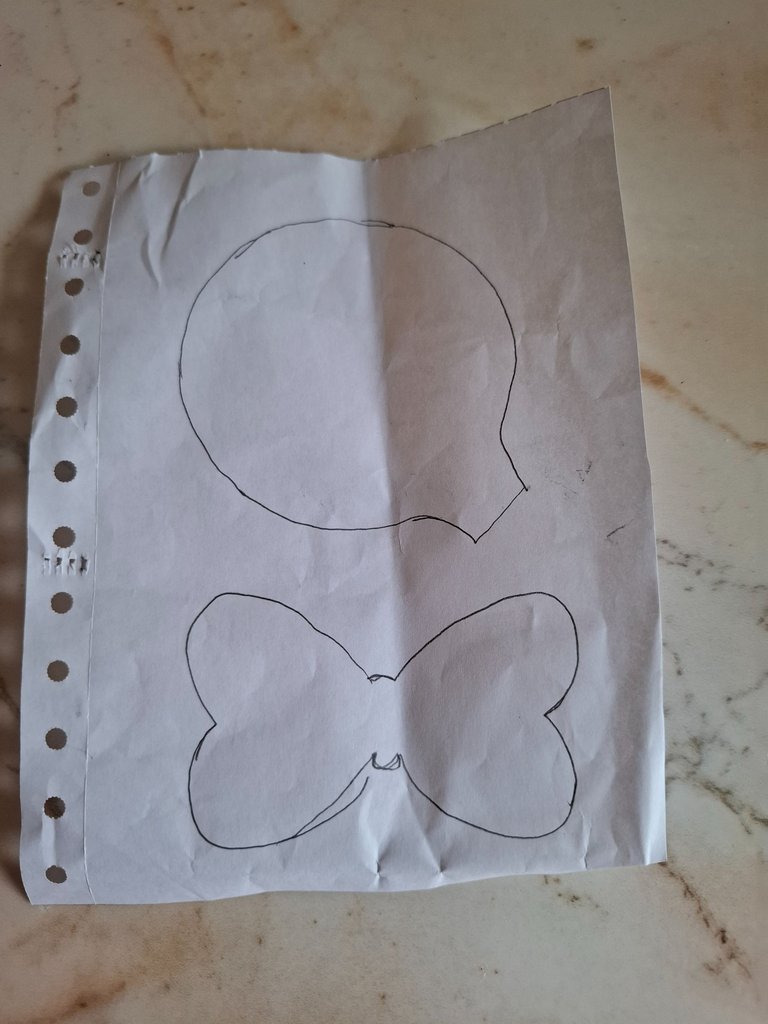
Para comenzar voy a dibujar el molde de las orejas y lazo en una hoja de reciclaje, deberás calcular el tamaño que desees yo lo realicé mediano.
To start, I'm going to draw the pattern of the ears and bow on a piece of recycled paper. You'll need to calculate the size you want; I made it medium.
 |  |
|---|
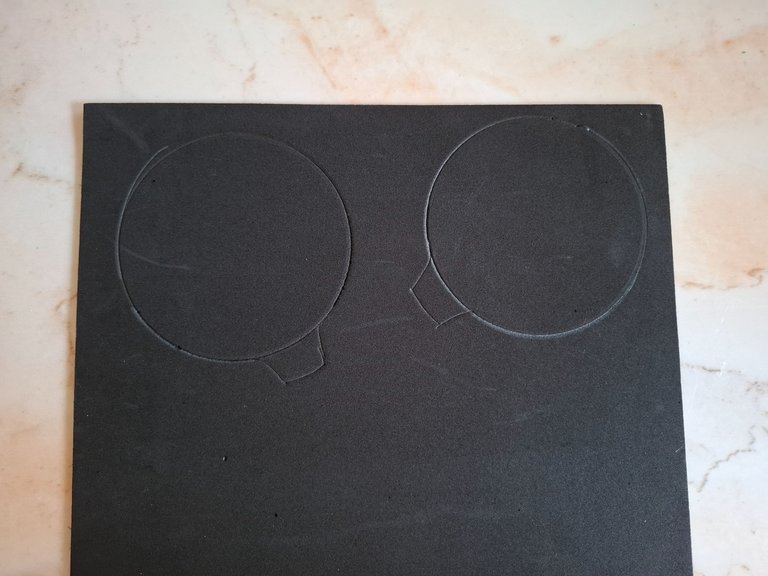
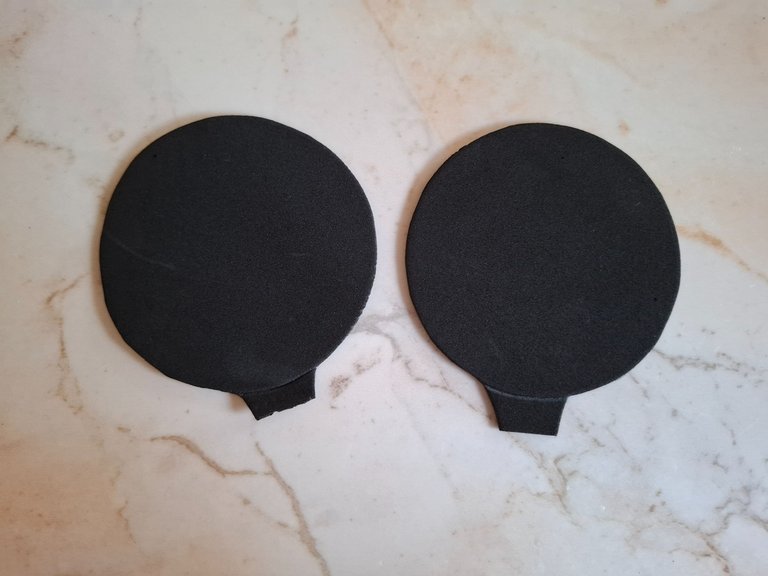
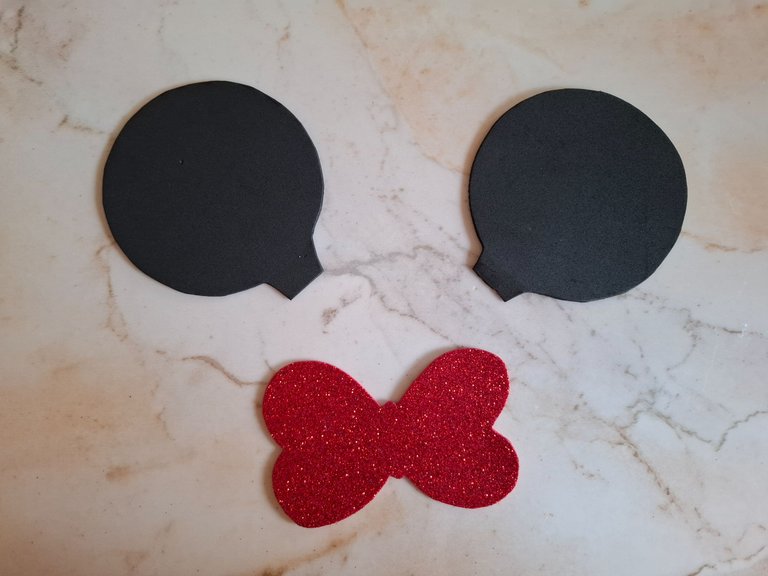
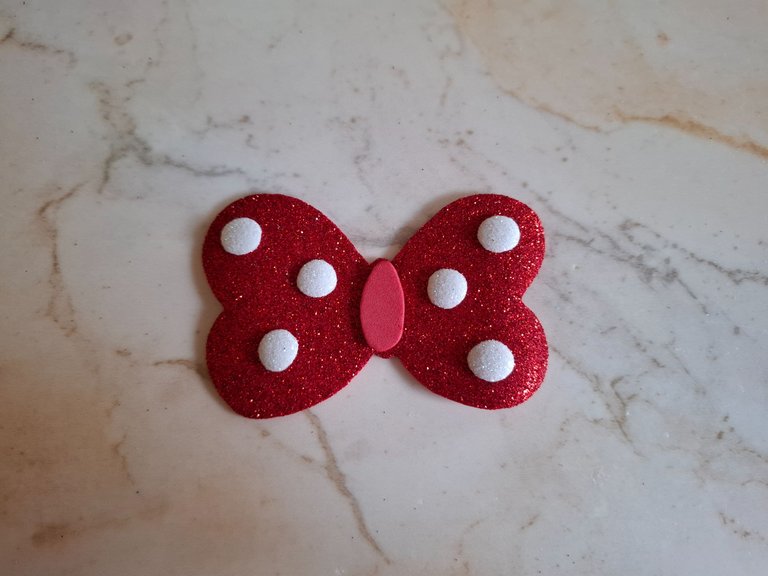
Voy a colocar estos moldes en foami negro para las orejas dejando una pequeña pestaña en la parte inferior del círculo, esto nos va a ayudar a sostener mejor sobre el cintillo, también vas a dibujar el lazo en foami rojo escarchado.
I'm going to place these molds on black foam for the ears, leaving a small tab at the bottom of the circle. This will help us hold it better on the headband. You're also going to draw the bow in frosted red foam.
 |  |
|---|
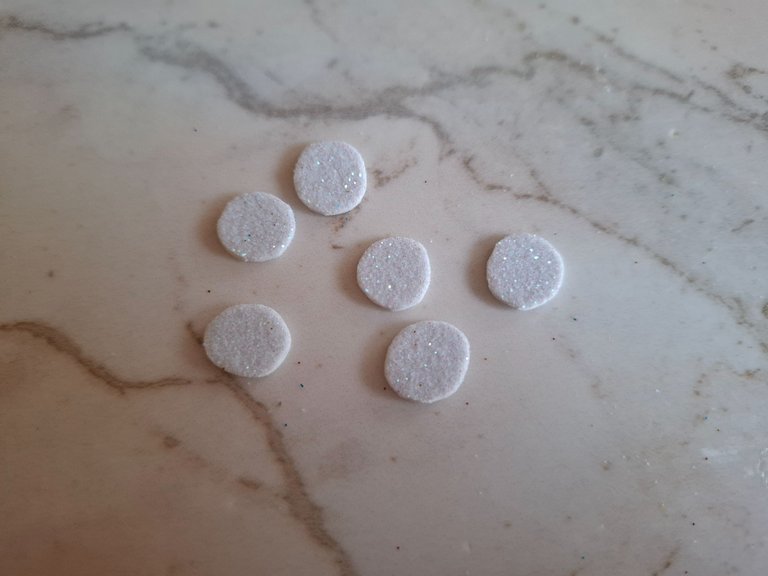
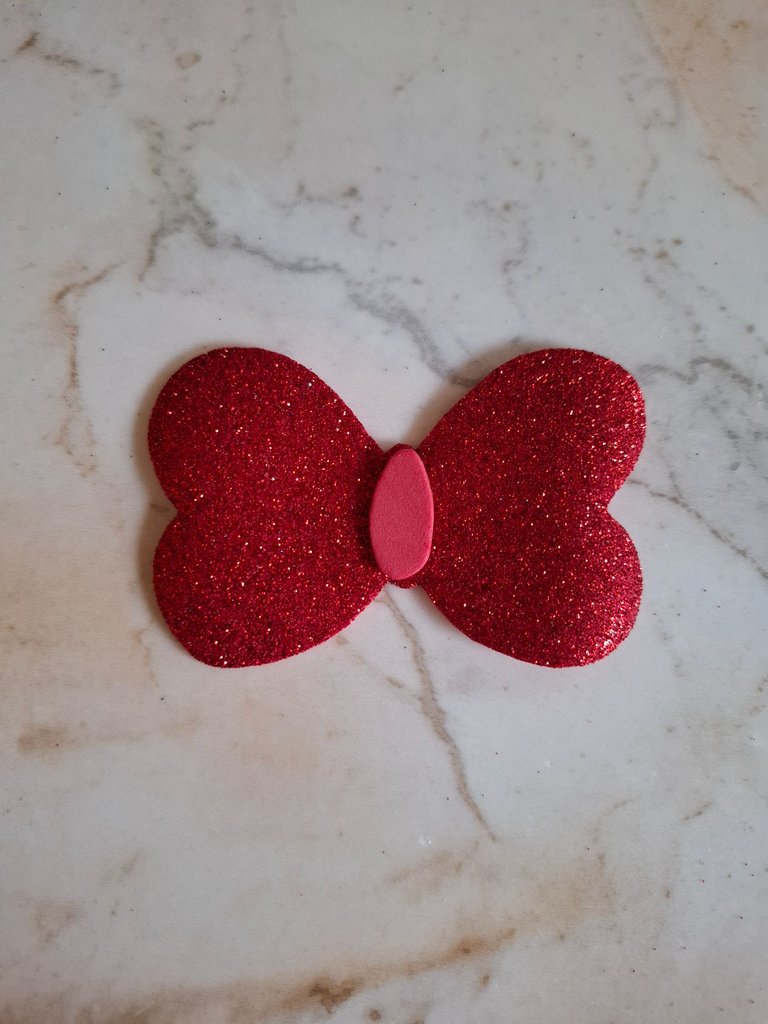
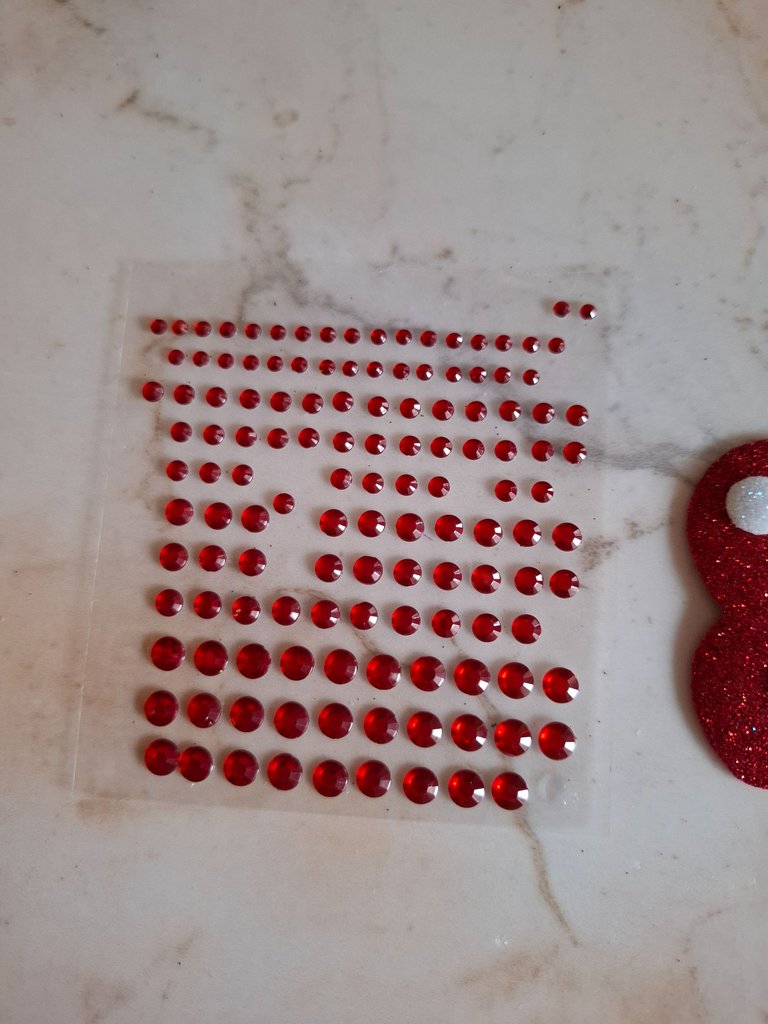
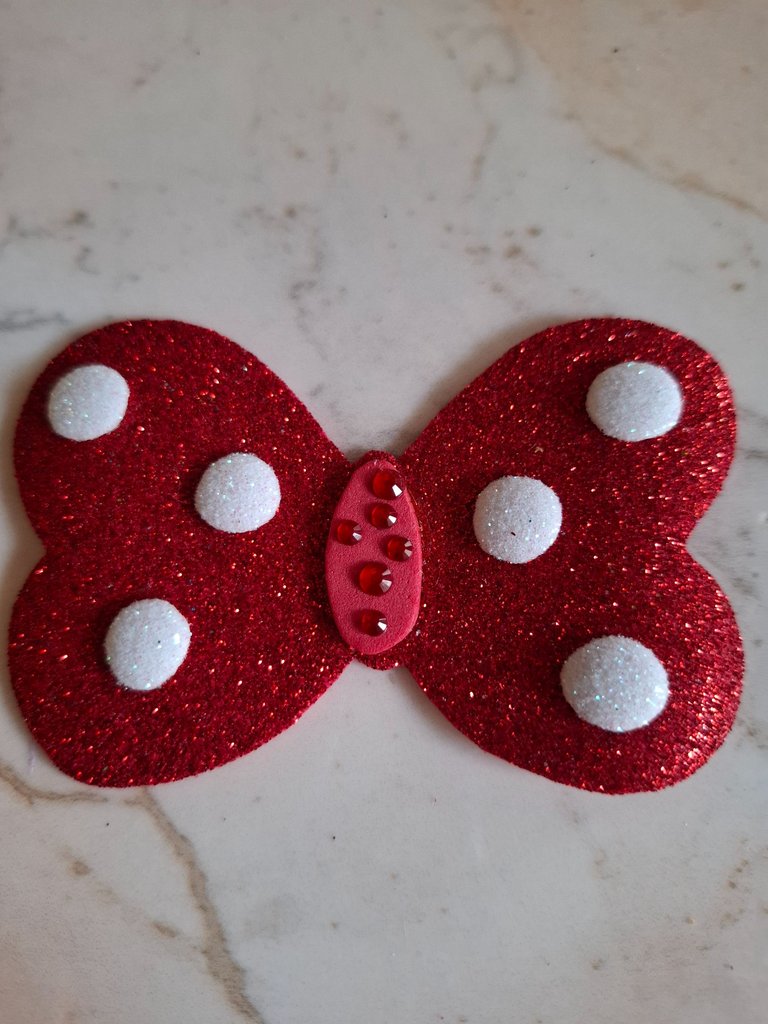
Para decorar el lazo voy a cortar un retazo de foami rojo de forma alargada y lo ubicamos en el centro del lazo, allí mismo coloqué pegatinas rojas brillantes, también realicé seis pequeños círculos en foami blanco escarchado que serán los puntos del lazo, puedes aplicar calor para termoformar.
To decorate the bow, I'm going to cut a piece of red foam in an elongated shape and place it in the center of the bow. There I placed shiny red stickers. I also made six small circles in frosted white foam that will be the points of the bow. You can apply heat to thermoform them.
 |  |  |
|---|
 |  |
|---|
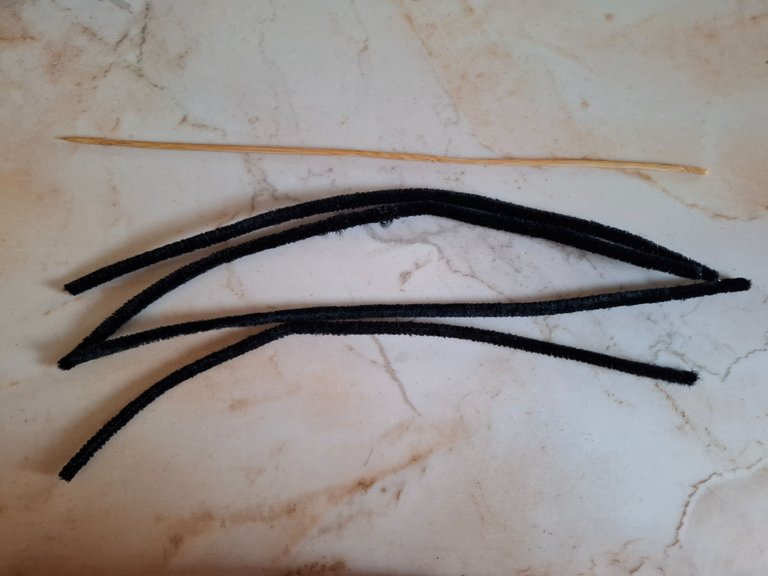
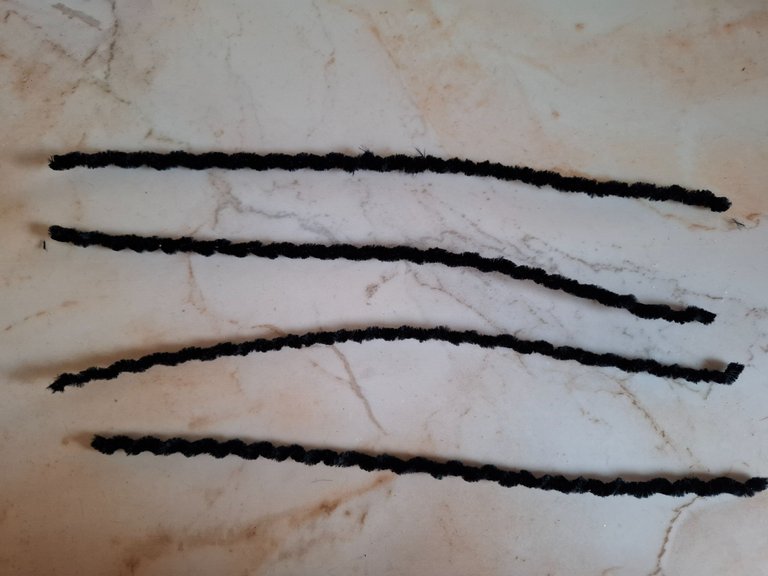
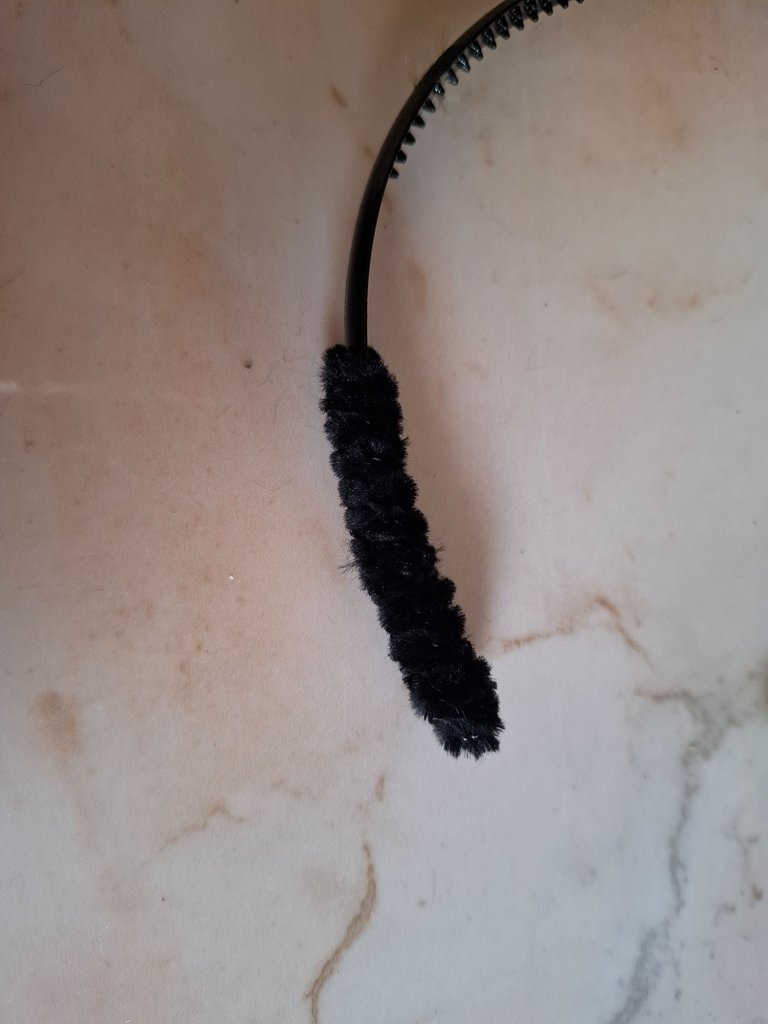
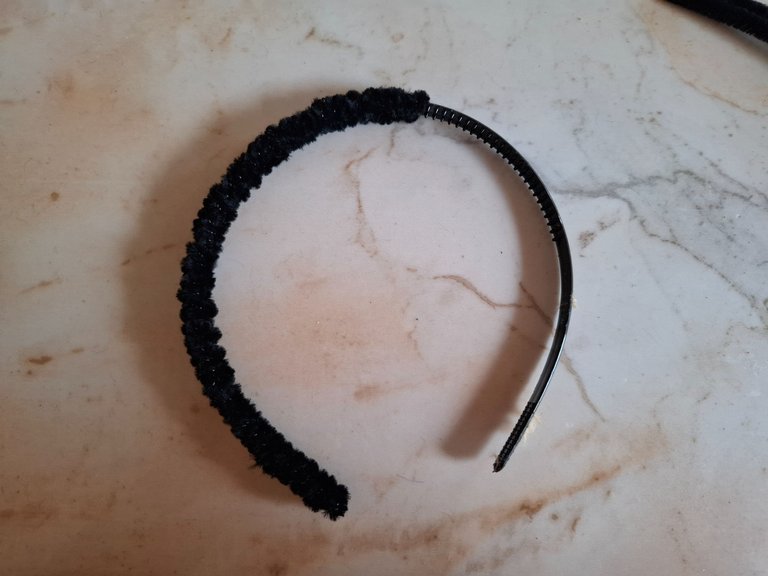
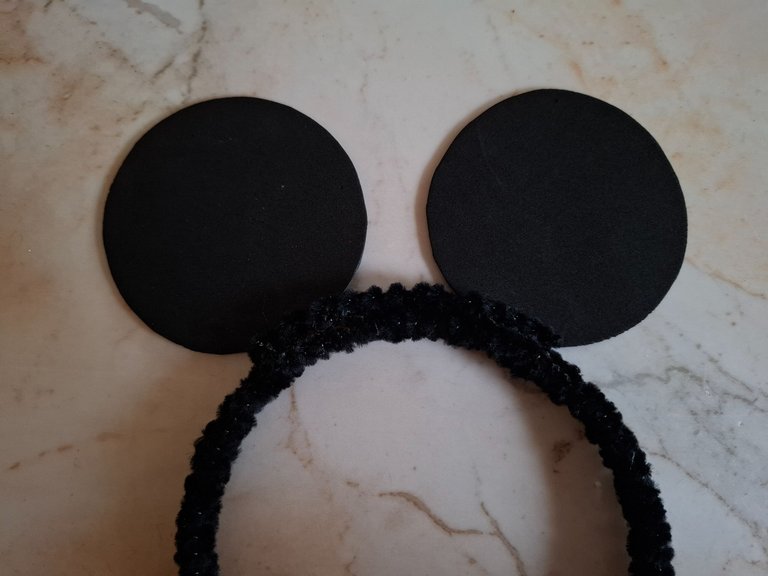
Una vez listo el lazo y las dos orejas, voy a comenzar a forrar el cintillo, para esto utilicé siete limpiapipas color negro, esto es opcional ya que puedes dejar el cintillo sin cubrir, primero coloqué cada uno en un palillo para dar el efecto de peluche, luego pegué con silicón dando vueltas al cintillo hasta finalizar.
Once the bow and the two ears are ready, I'm going to start covering the headband. For this, I used seven black pipe cleaners. This is optional since you can leave the headband uncovered. First, I placed each one on a toothpick to give the plush effect, then I glued it with silicone, twisting it around the headband until it was finished.
 |  |
|---|
 |  |
|---|
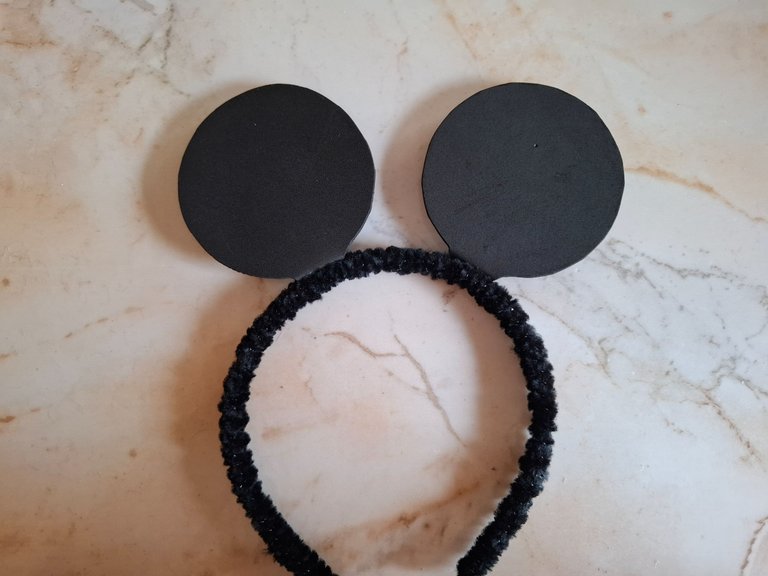
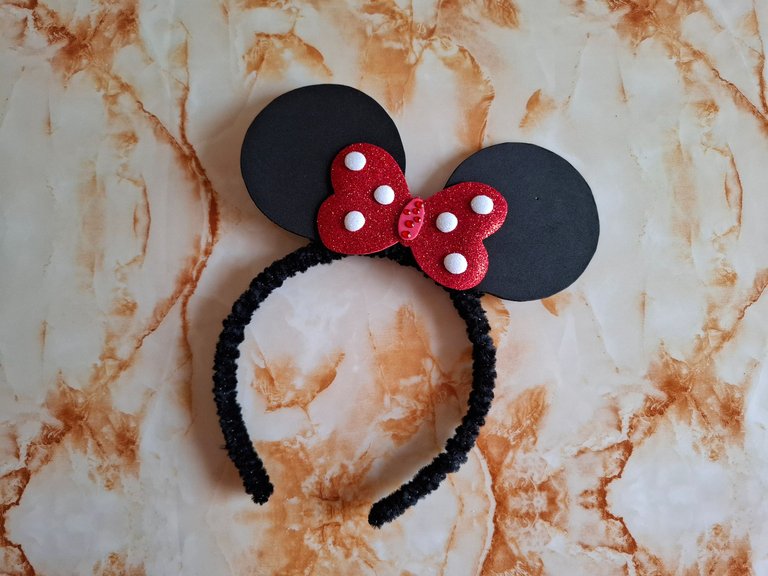
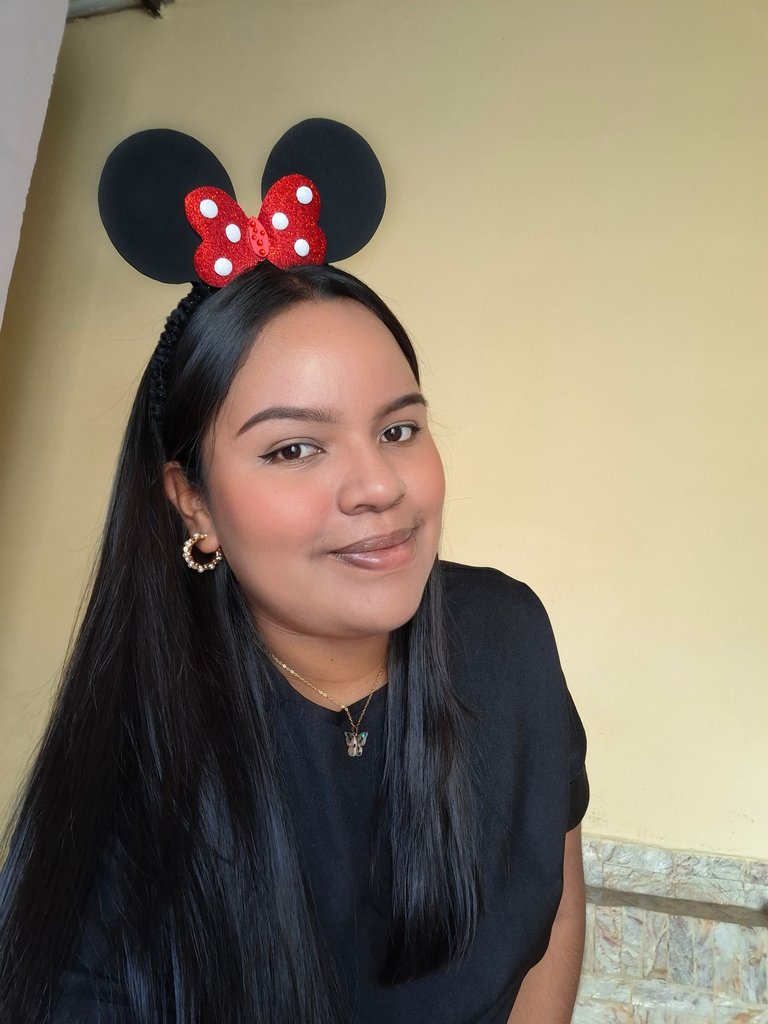
Pegamos las orejas sobre el cintillo y el lazo en el centro, por último coloqué un limpiapipas negro para reforzar la parte de atrás, así de esta forma se sostendrá mejor y no se moverá de su lugar. Y así de esta forma obtendrás tu diadema de Minnie Mouse, queda super bonita, al final les comparto una foto de como luce puesta.
We glued the ears onto the headband and the bow in the center. Finally, I added a black pipe cleaner to reinforce the back so it stays in place better. And that's how you'll have your Minnie Mouse headband. It looks super cute. I'll share a photo of it at the end.
 |  |
|---|
Gracias por visitar mi publicación nos vemos en una próxima oportunidad con más ideas creativas.
Thanks for visiting my post. See you next time with more creative ideas.


Sending you Ecency curation votes
Muchas gracias 🫂
Te ves muy tierna modelando tu creación, de veras te quedó encantador 🤗
Gracias bella, saludos 😘
Hola! Te quedó muy linda tu diadema, me encanta el efecto que le das al foami con el calor. Excelente trabajo! Saludos 😊
Muchas gracias por el apoyo, saludos 😉
What a beautiful design! It looks amazing. It shows your creativity and skills. Good to see how you made it. Well done!
Very grateful for the support, a hug
This hair band is pretty cool. Amazed by it. Thanks for sharing this with us.
Thanks, regards
Waao this is very cute and pretty head band.
Awww se ve encantadora esta diadema💖 está muy bonito este diseño y también se ve divertido y creativo✨